Firm Italian meringue with intense tones / Merengue italiano firme con tonos intensos
FULL ENGLISH VERSION
Learn how to master the Italian meringue for good 🎂
Hello hello dear HIVERS happy start of the week, in this opportunity I will make my first participation in the community of @hivefood my name is Elianis Guerrero, I work with pastry since 2012, mostly jellies but I also make cakes and I started using HIVE since late October last year ❤️ and since then at the pace that my time allows me I have tried to share my knowledge here 🧑🍳.
Today I will make my debut in this community with a recipe for Italian meringue that for me since I make it this way has been a shot in the dark and I will also take the opportunity to show you how I achieve the dark tones.
This recipe for me is worth gold, more than a recipe it is an infallible formula, in which it is only a matter of respecting proportions and processes which will guarantee you to have total control and never fail.
once failed many times with the Italian meringue, I tried many recipes, sometimes they came out well, sometimes not, but since I do it the way you are going to see below I have never had more stumbles with this cream that although it is very versatile after you master it gives many of us headaches.
Based on the size of the cake I had to decorate and my previous experiences, I knew that 6 eggs was the right amount to work safely without missing any mixture. I use about 3 eggs for a small medium cake, 6 eggs for a medium cake like the one I will be decorating here today and about 8 or 9 eggs for a larger one.
But as I mentioned at the beginning, today I am going to share with you a formula, where depending on the amount you need, you can increase or decrease the amount of mixture.
The materials you need to have are: sugar, egg whites, water, essence and the quantities depend on the amount you want to prepare respecting the proportions of the formula that I will share with you below.
 |  |  |  |
|---|
The formula or way of working is as follows:
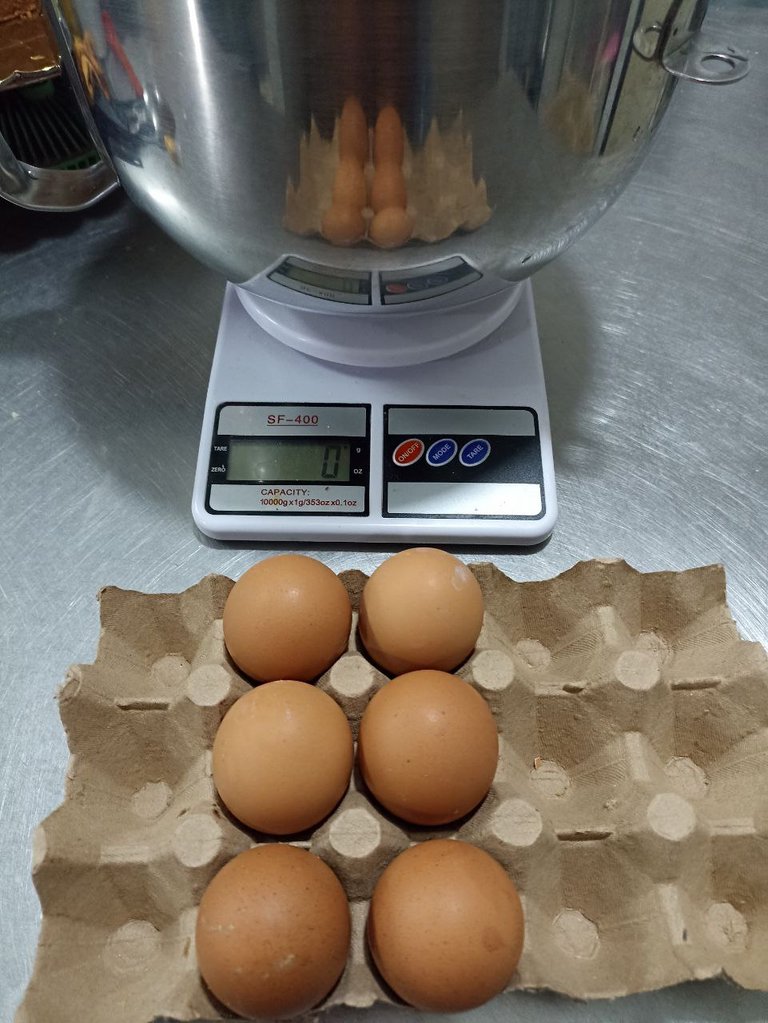
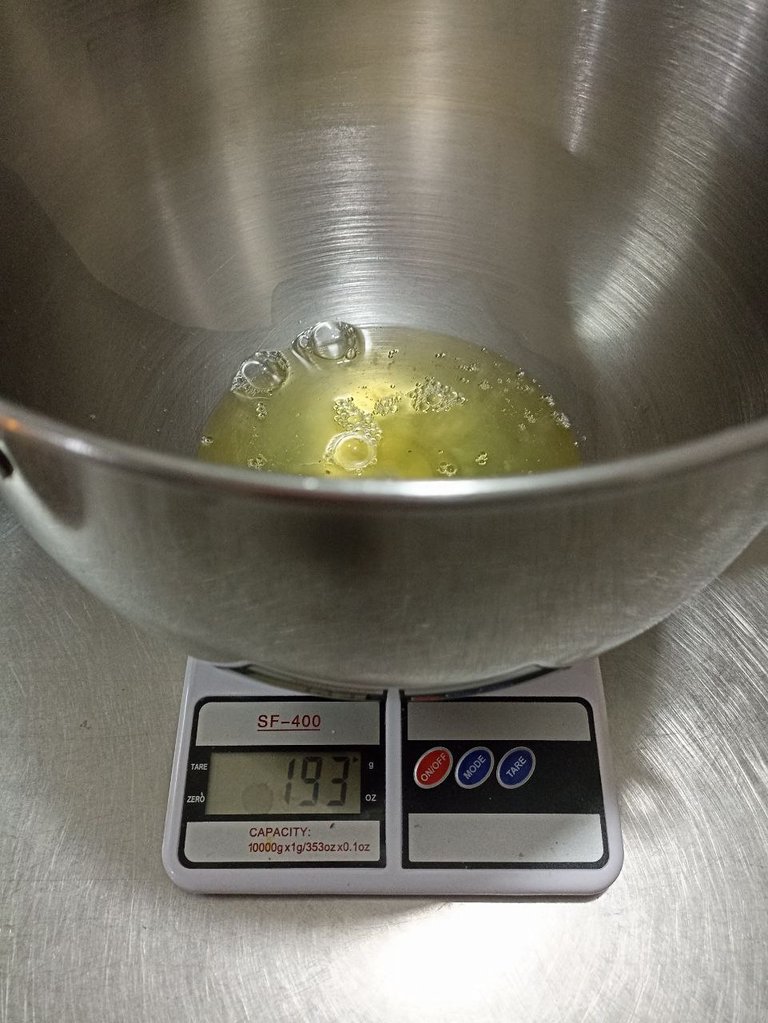
The first thing I do is to weigh the egg whites, this time they weighed 193 grams.
After knowing how much my egg whites weigh, this will determine the proportion of water and sugar to use.
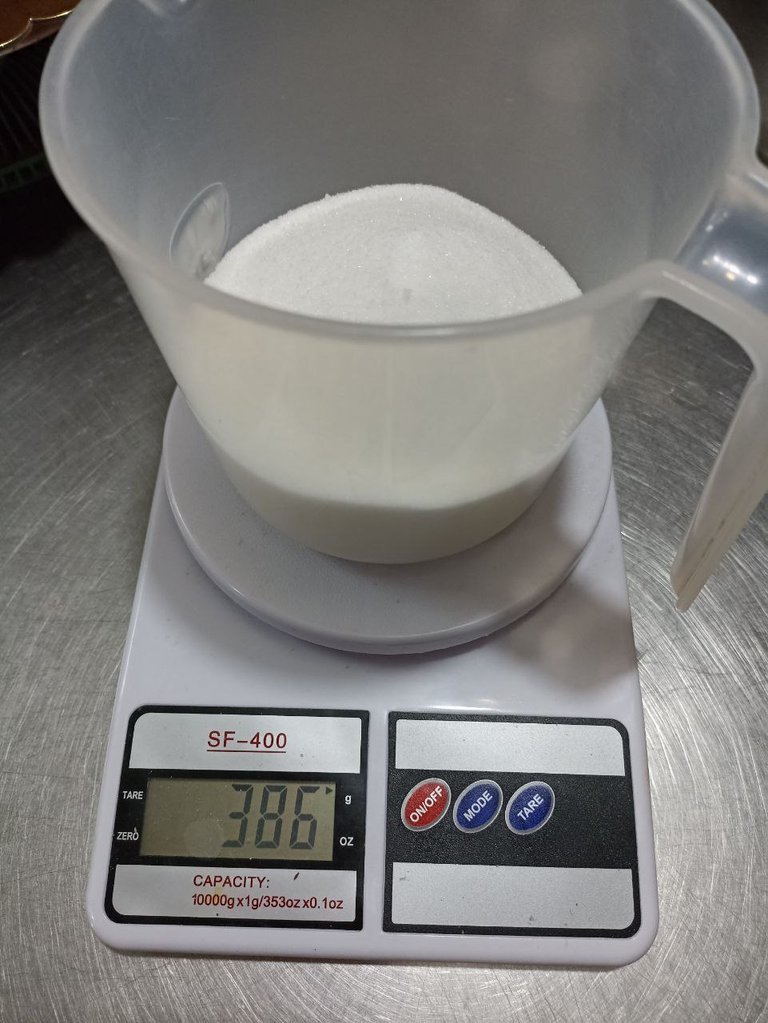
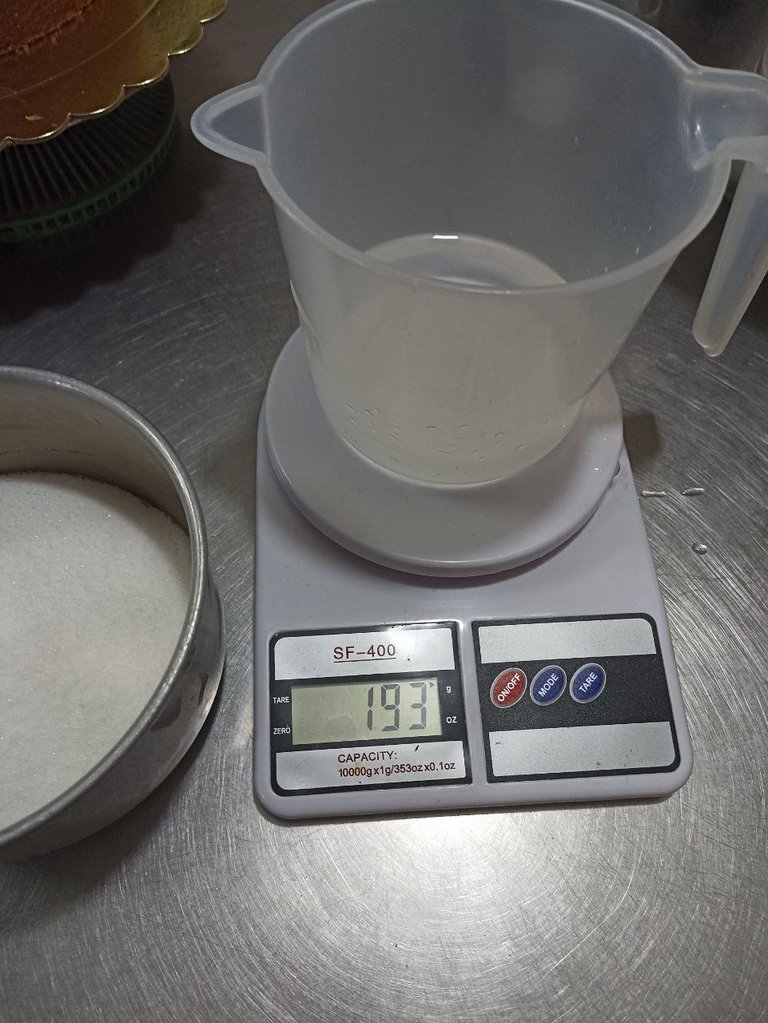
The amount of sugar would be twice what the egg whites weighed (193x2=386) and the amount of water would be the same amount as the egg whites weighed: 193 ML of water.
When I was taught this recipe I was told that it was, 100 grams of egg whites, 100 ML of water and 200 grams of sugar, but seeing that sometimes I had some egg whites left over I saw more practical to weigh directly by number of eggs and I vary the number of eggs depending on the amount of meringue I will need (this depends on the size of the cake).
 |  |  |  |
|---|
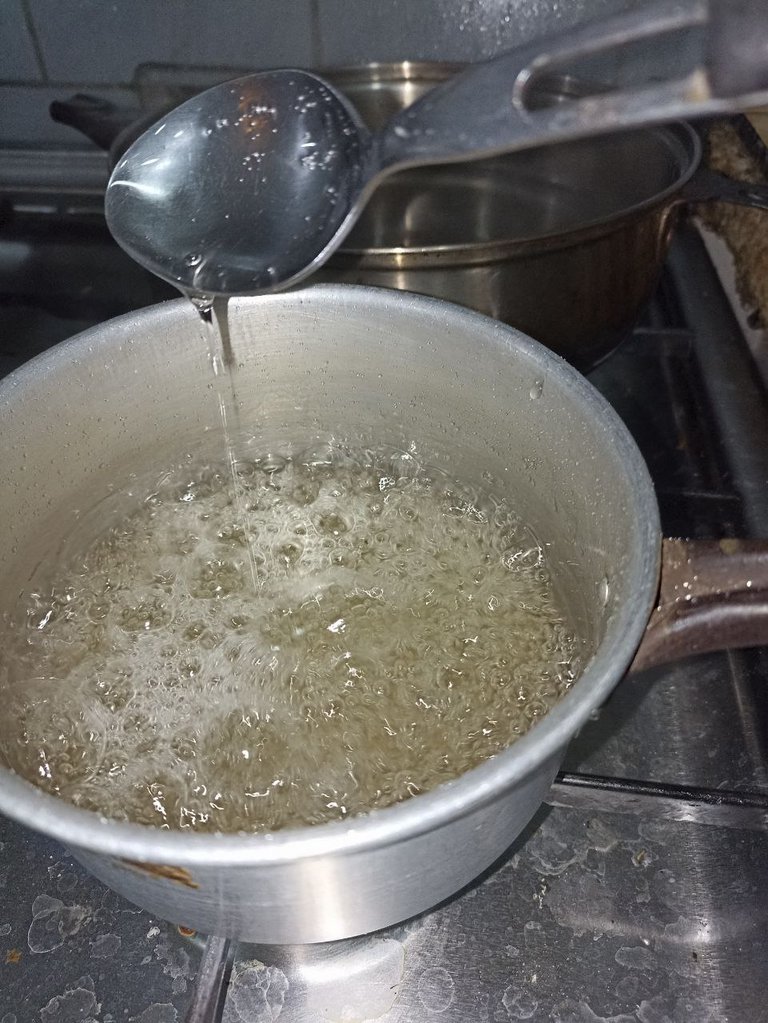
Once we have weighed all the materials, we beat the egg whites until they are stiff and on the other hand, in a saucepan we place the sugar with the water until it is almost caramelized.
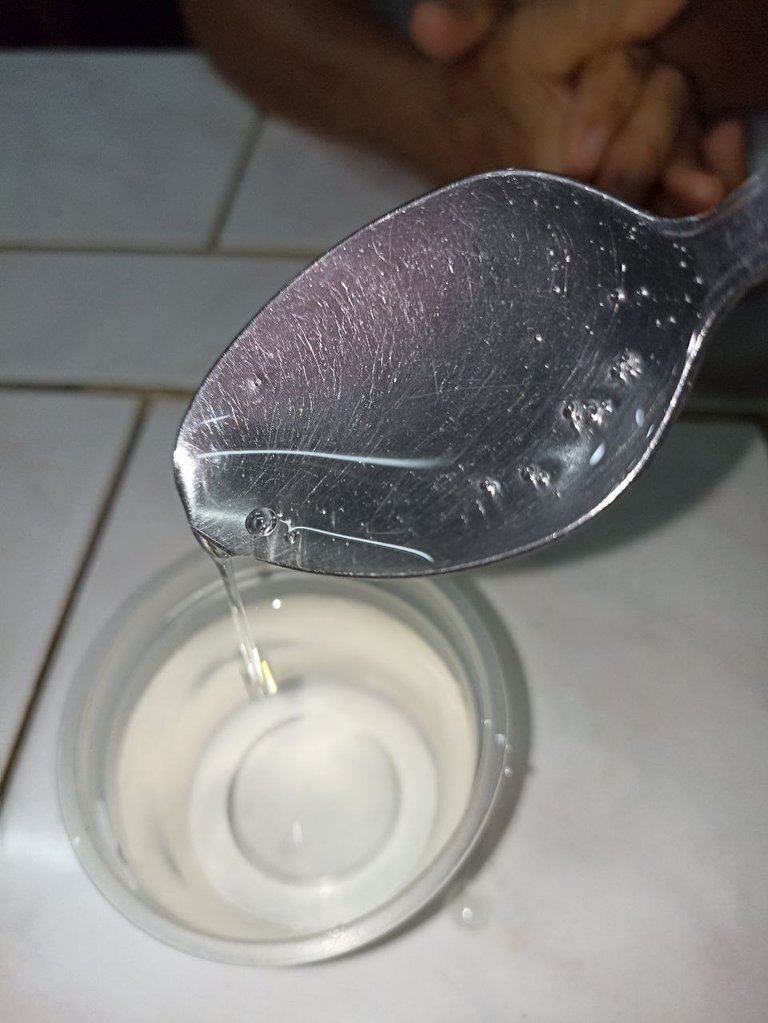
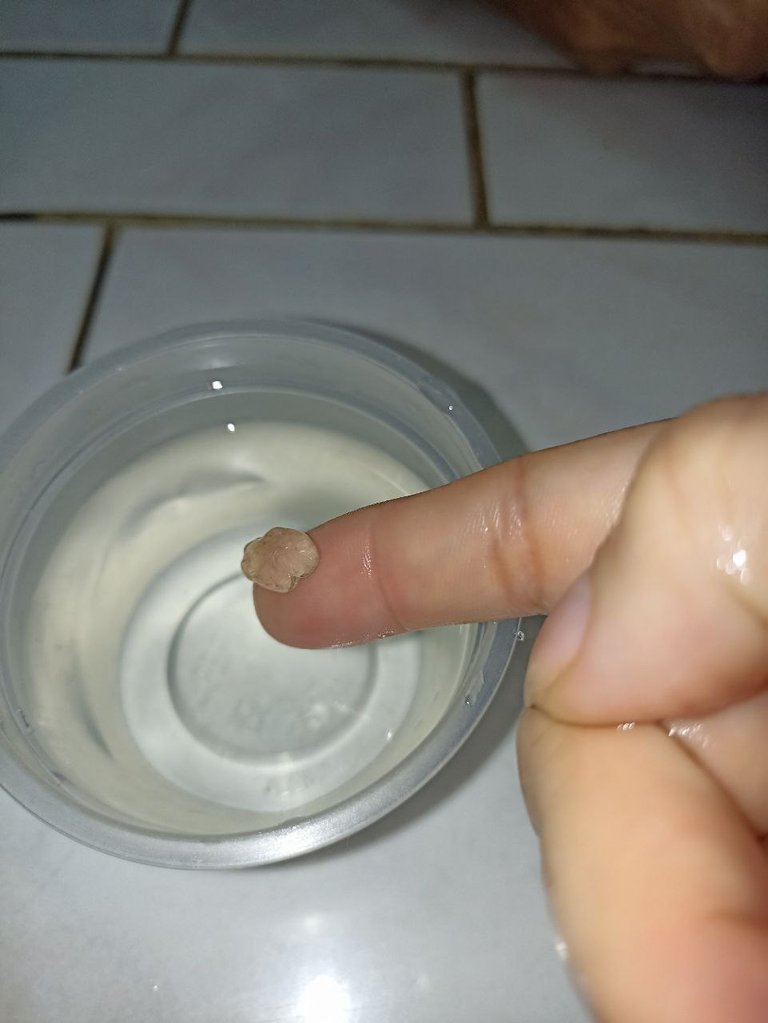
It is very important to watch the correct point of the syrup, it cannot become caramelized because it damages the mixture, but it cannot be too liquid either because the meringue will be watery.
Yo para verificar el punto correcto tengo dos formas, una es con una cucharilla ver qué al vaciar almíbar se forme una especie de hilo como pueden ver en la foto y la segunda forma es echar un poquito del almíbar en agua si se forma una bolita está en buen punto, si el almíbar se disuelve aún le falta.
 |  |
|---|
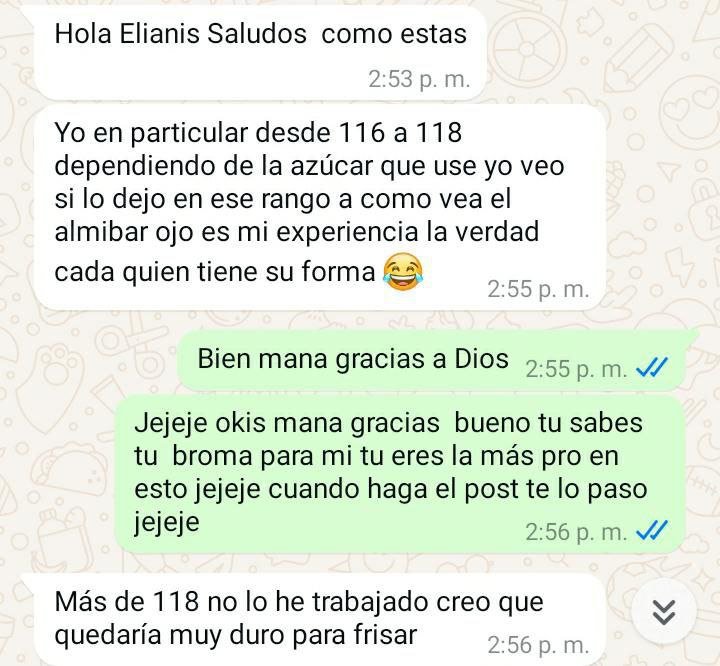
You can also use a thermometer and have as a precise point the temperature, which according to two colleagues who are super experts and use a thermometer told me that it should be between 116 to 119 Celsius degrees . Here are the ig accounts of my two friends who gave me this information with total certainty: dubrascake y luifascupcakes.
 |  |  |
|---|
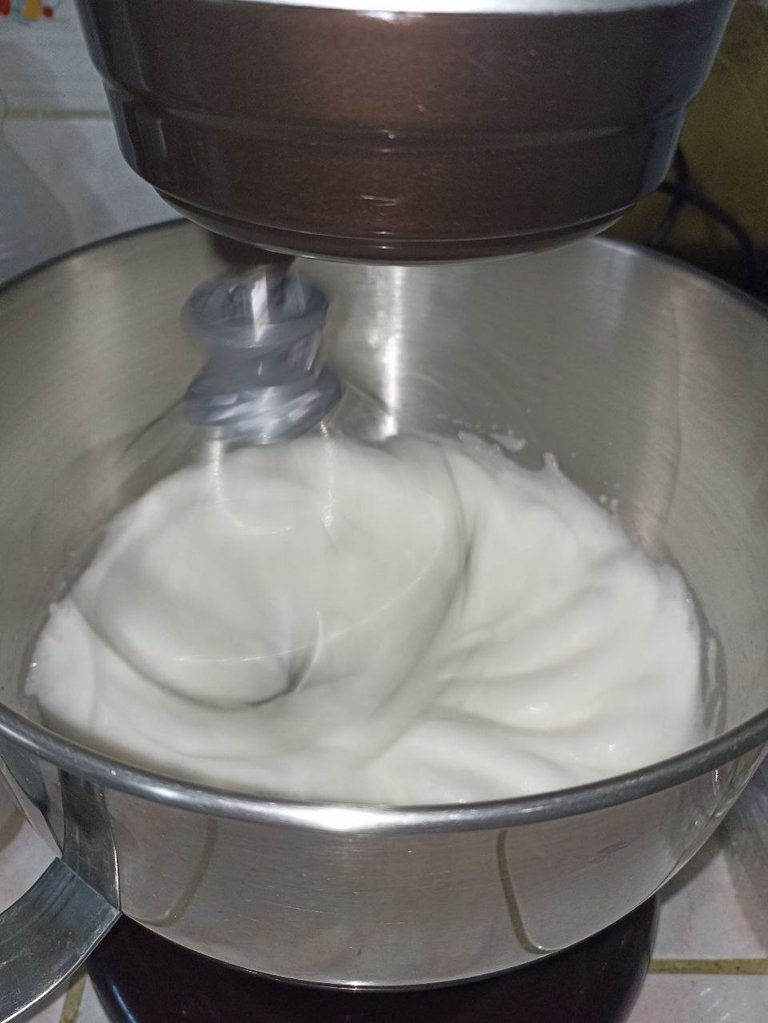
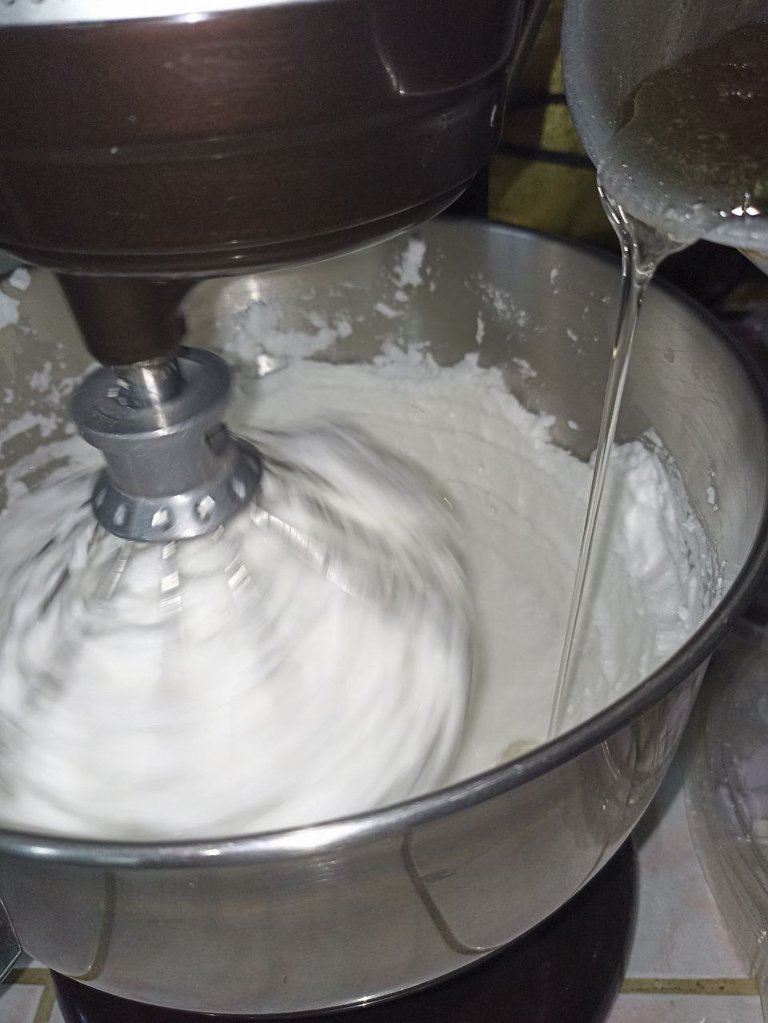
Once the syrup is at the right point, add it to the mixer with the egg whites beating at medium/high speed.
Three important things:
The egg whites must be stiff and the caramel must be added very carefully, I add it a little at a time until it is finished.
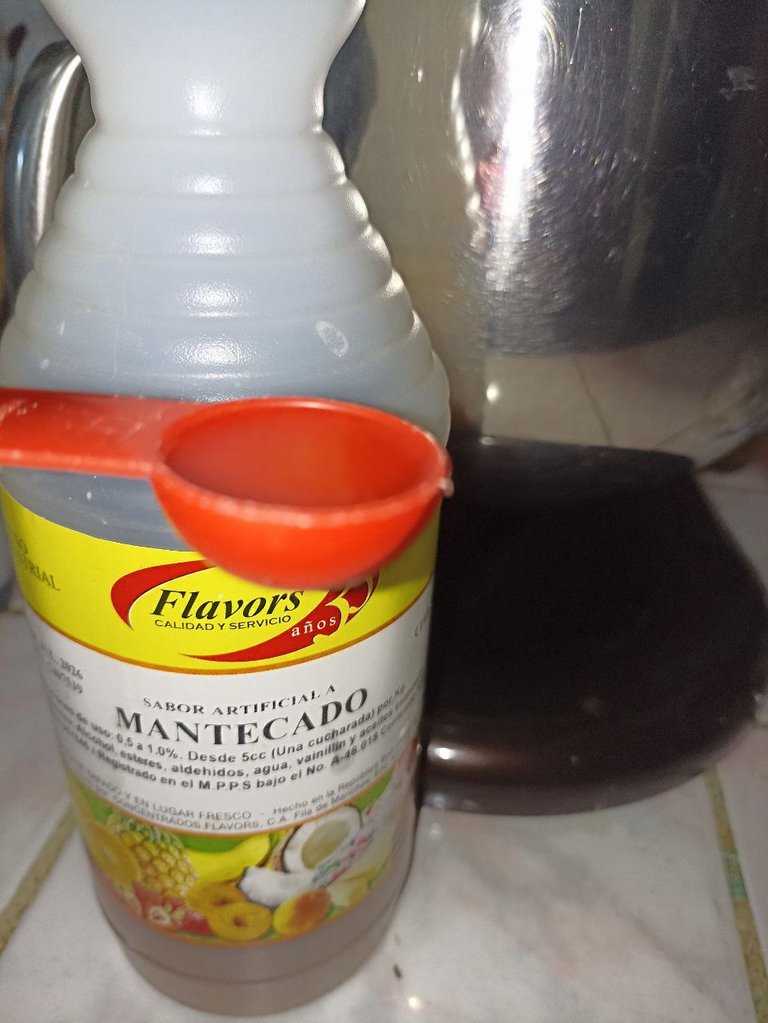
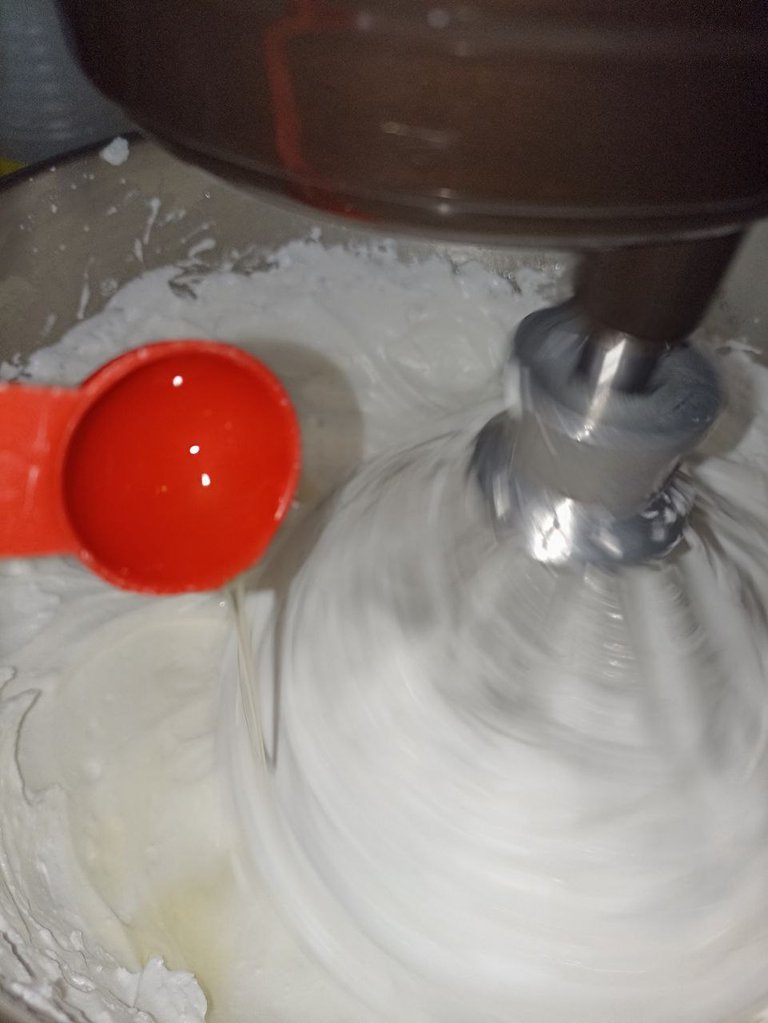
To add the essence it is necessary to wait a while for the temperature of the mixture to drop a little, we add it when it almost starts to cool down.
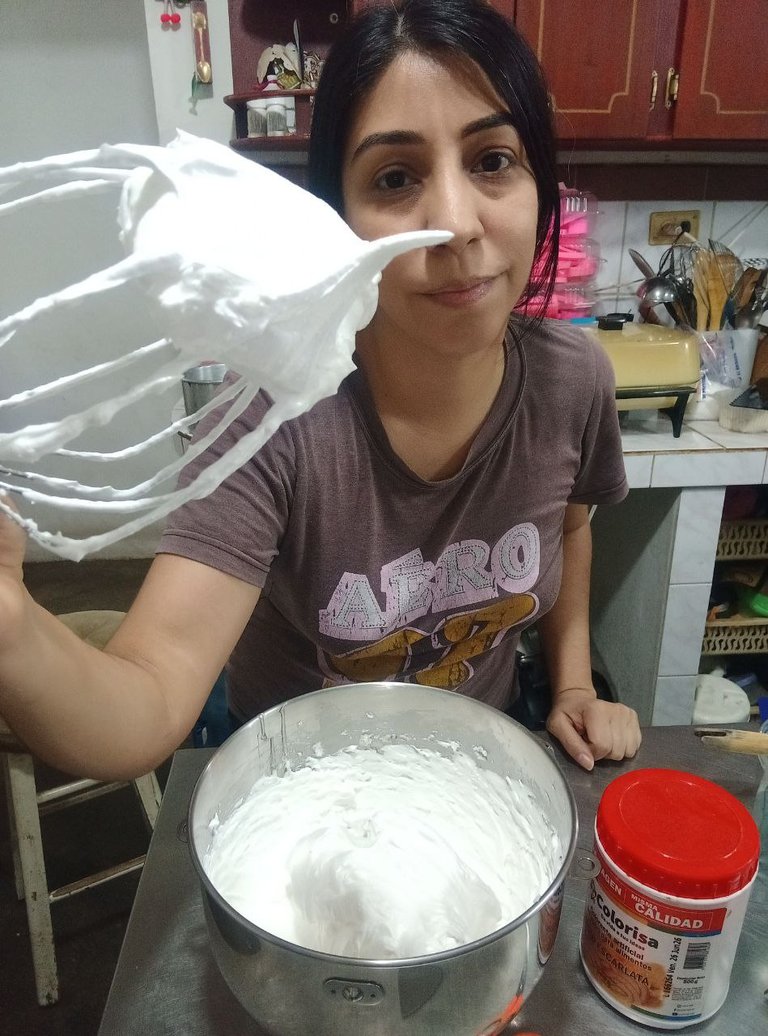
It is very important to beat until the bowl is completely cold, removing it before the time is what causes the mixture to lose stability.
 | 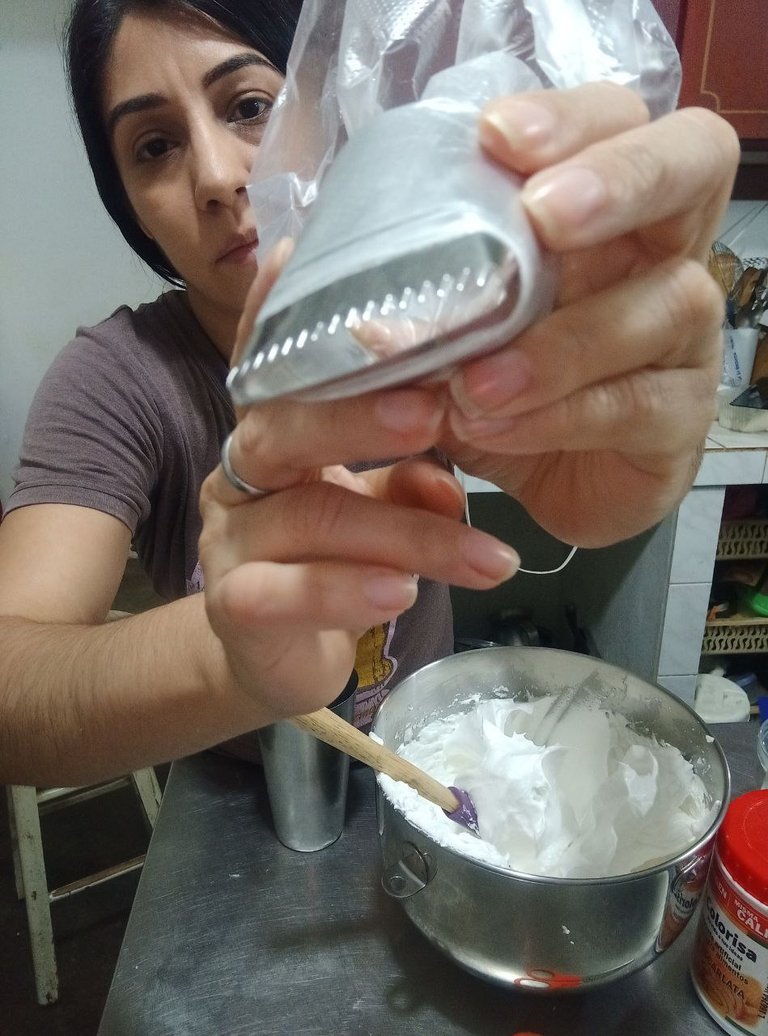 |  |  |
|---|
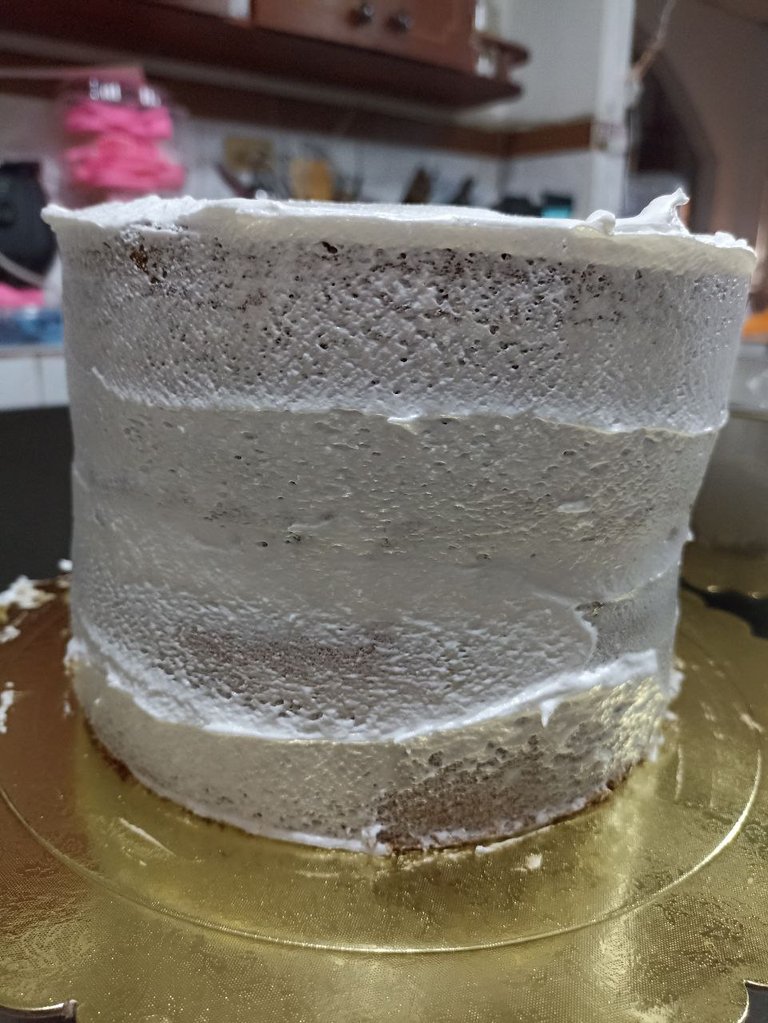
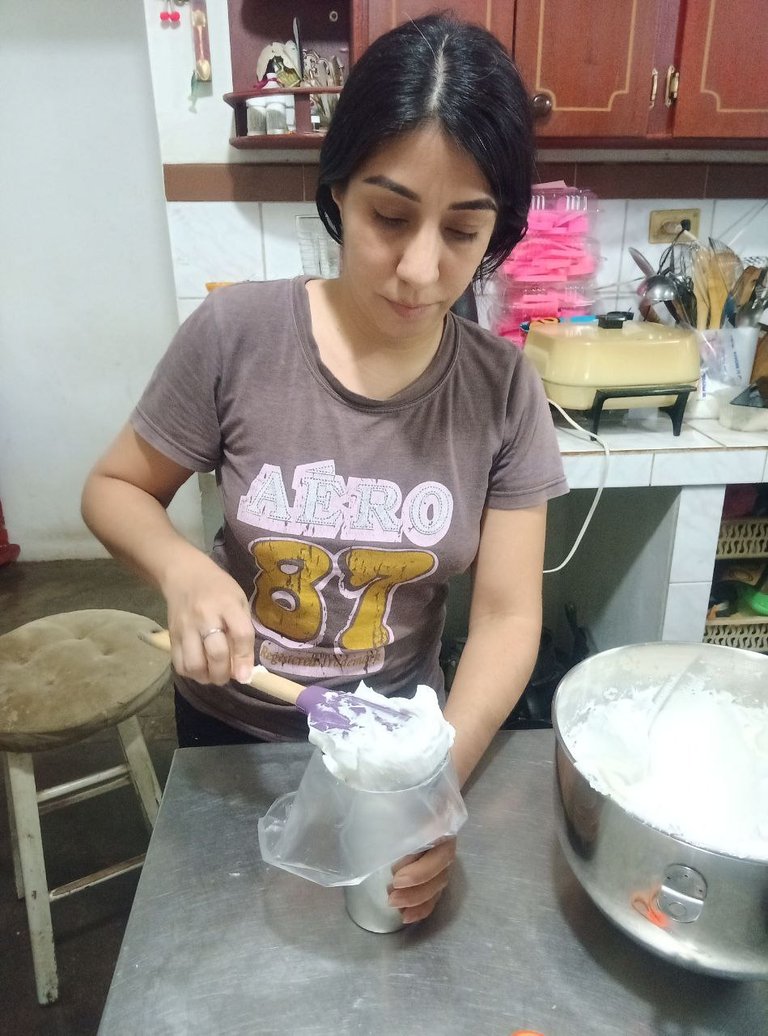
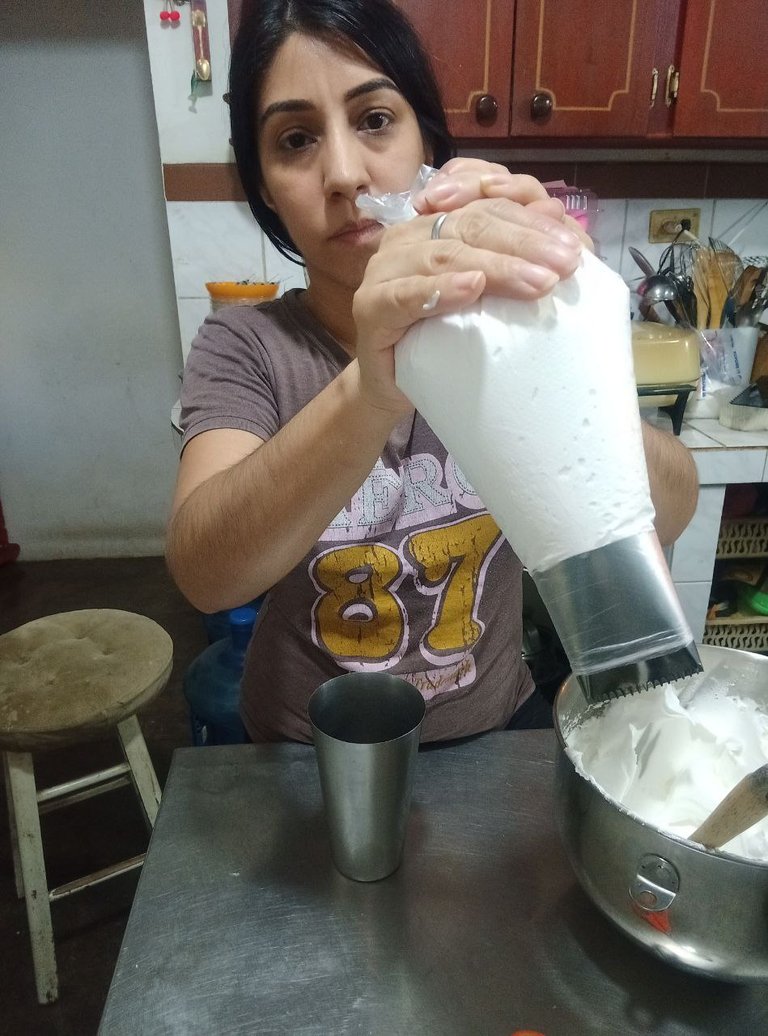
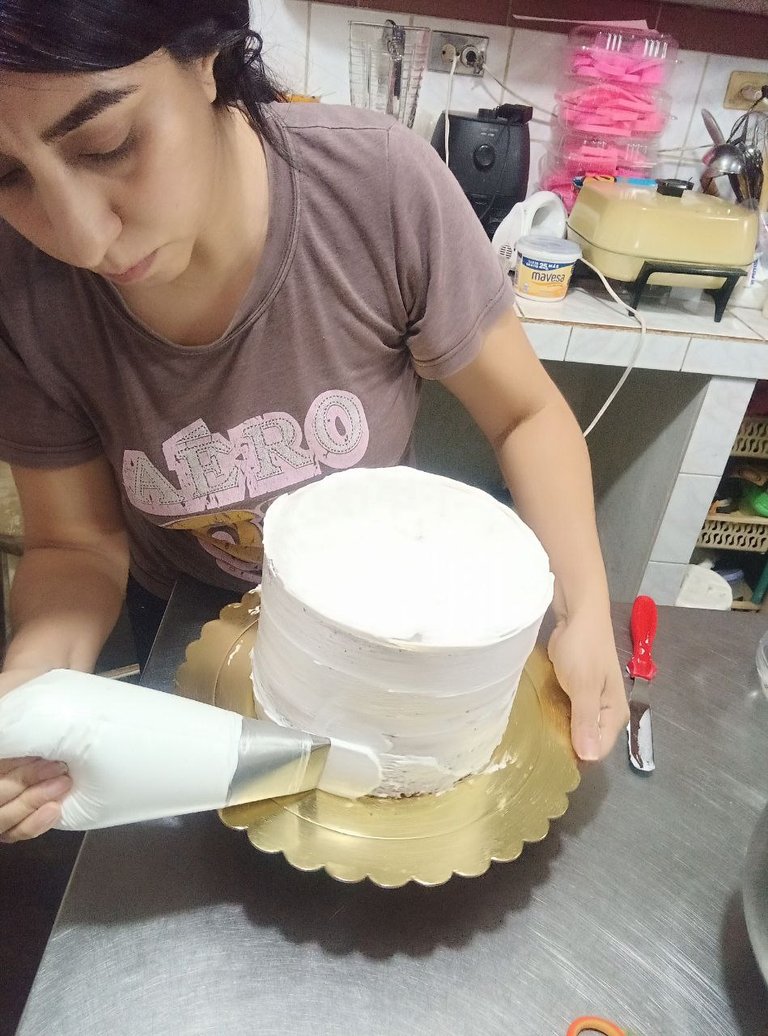
After I have the meringue ready to use I make my crumb topping, fill the piping bags with the meringue (I use a glass for convenience) and then cover the cake with meringue with the help of a piping bag to smooth later. I like to use this type of wide nozzles to cover faster and better distributed, this saves time and helps you to be able to smooth easier. Here I used Wilton nozzle #789.
 |  |  |  |
|---|
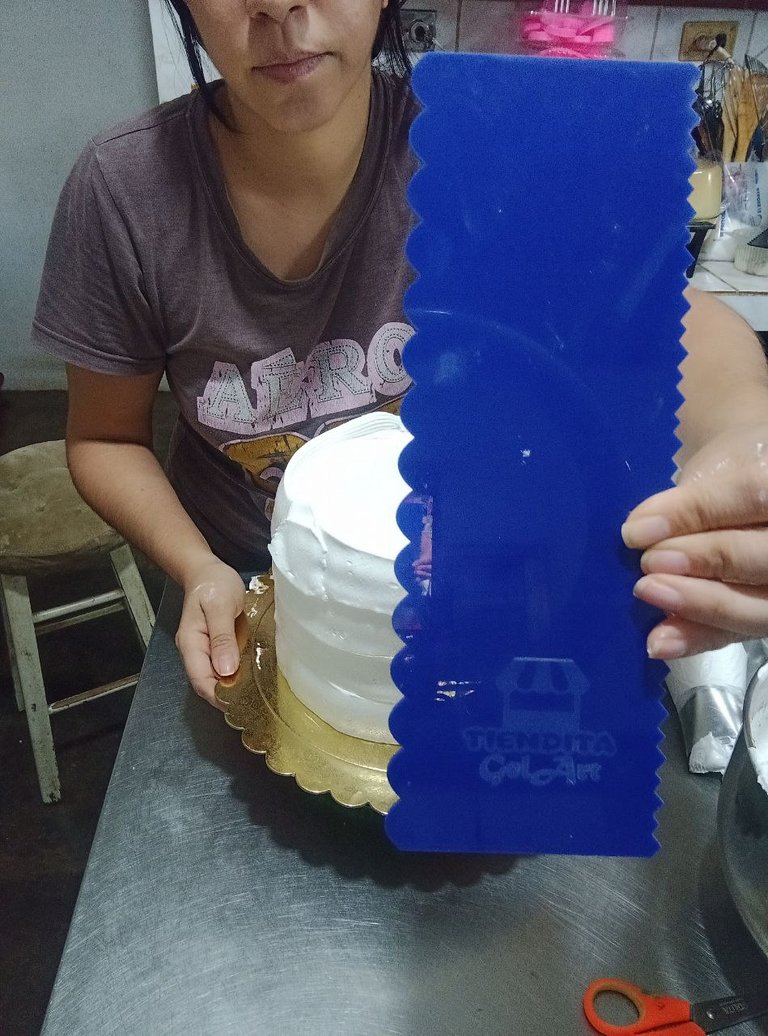
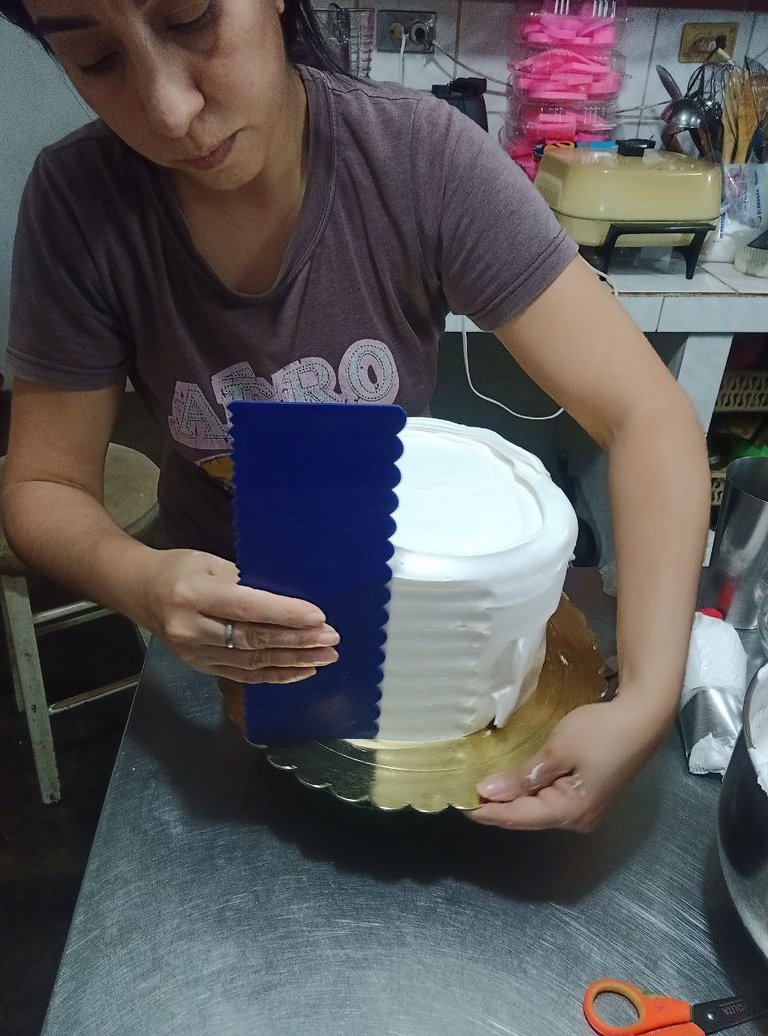
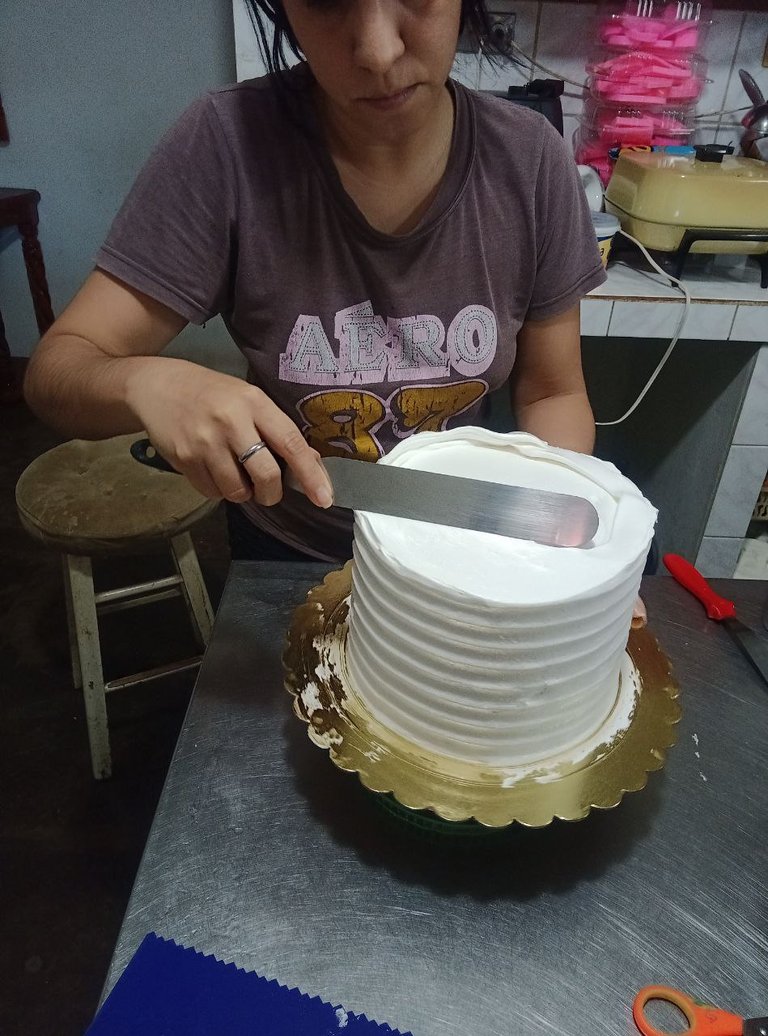
After completely covering the cake I smooth it with the comb of my preference and try to put the top as straight and smooth as possible. Then I use the piping bags and nozzles to put the colored part on this cake. The nozzle I used was the 1M from wilton.
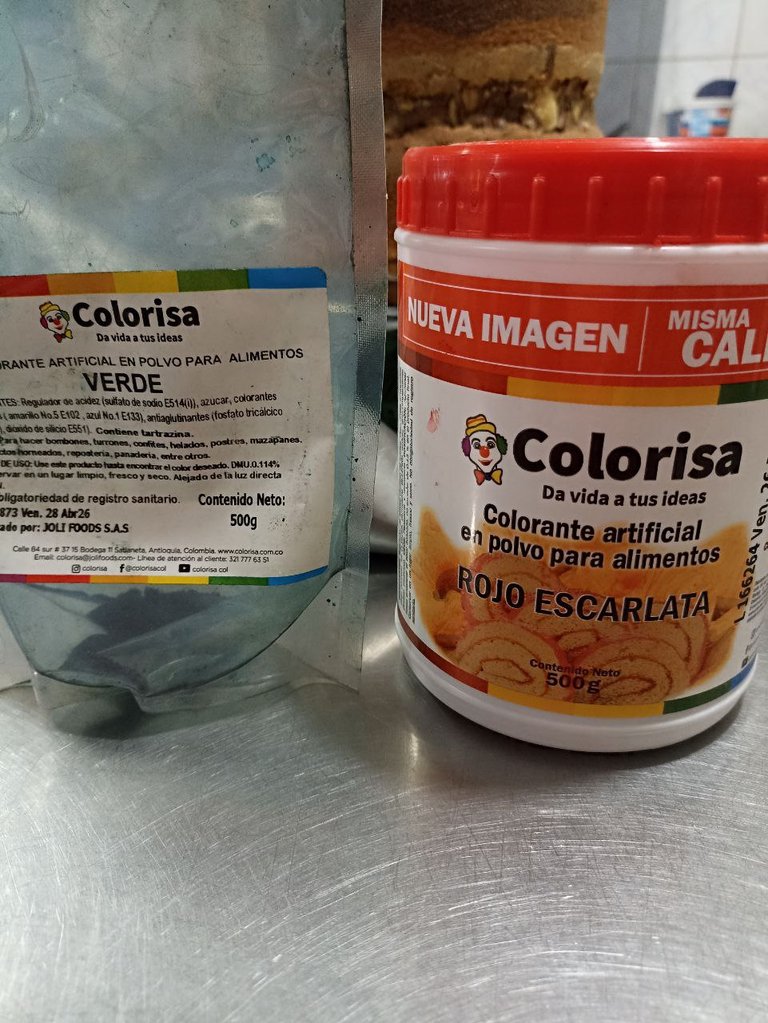
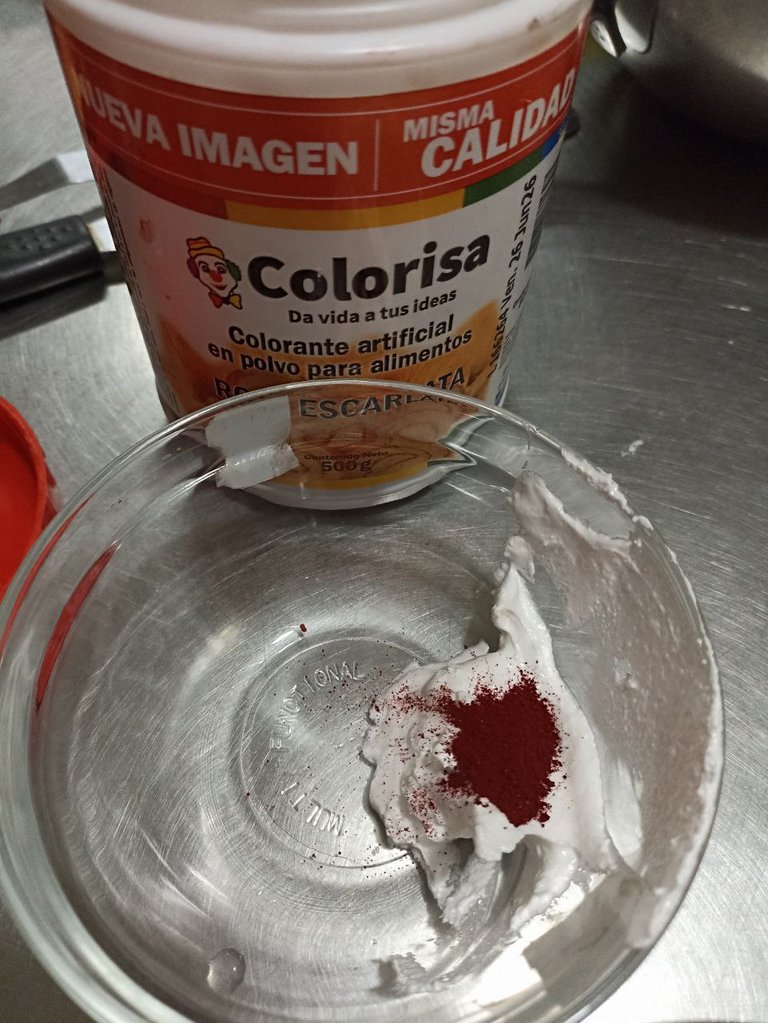
For this part I used powder colorants for the dark tones, powder colorants are much more concentrated than liquid and gel colorants and for dark tones in meringue they are the best especially when we are going to have to use piping bag and nozzles.
 |  |  |
|---|---|---|
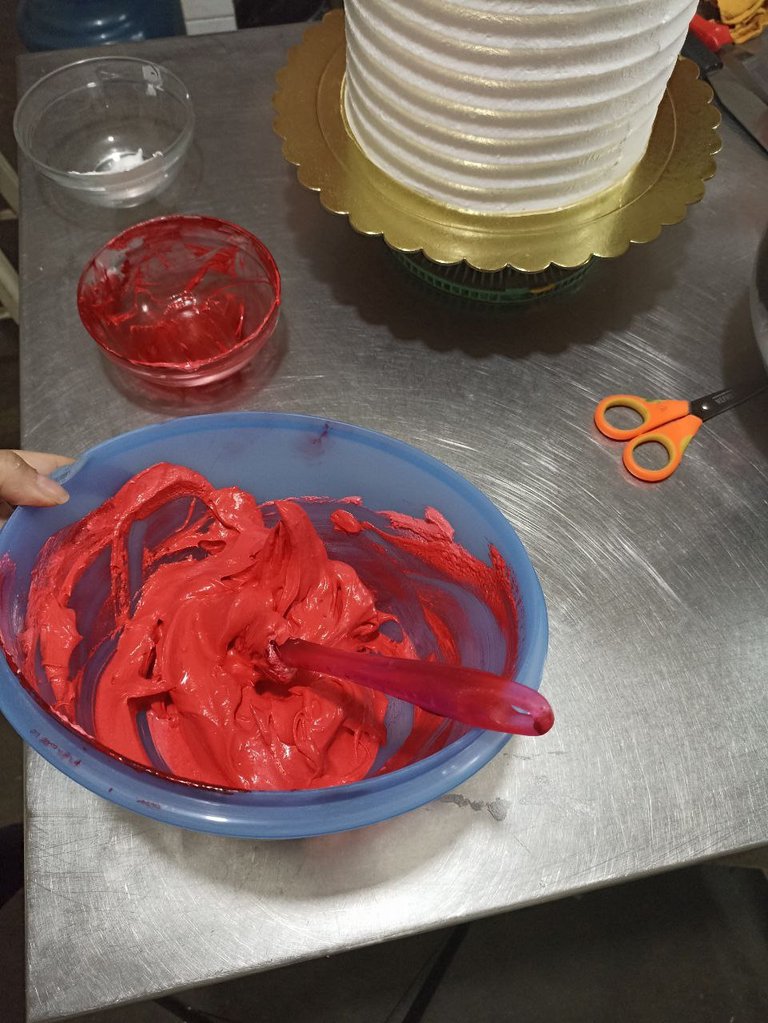 |  | 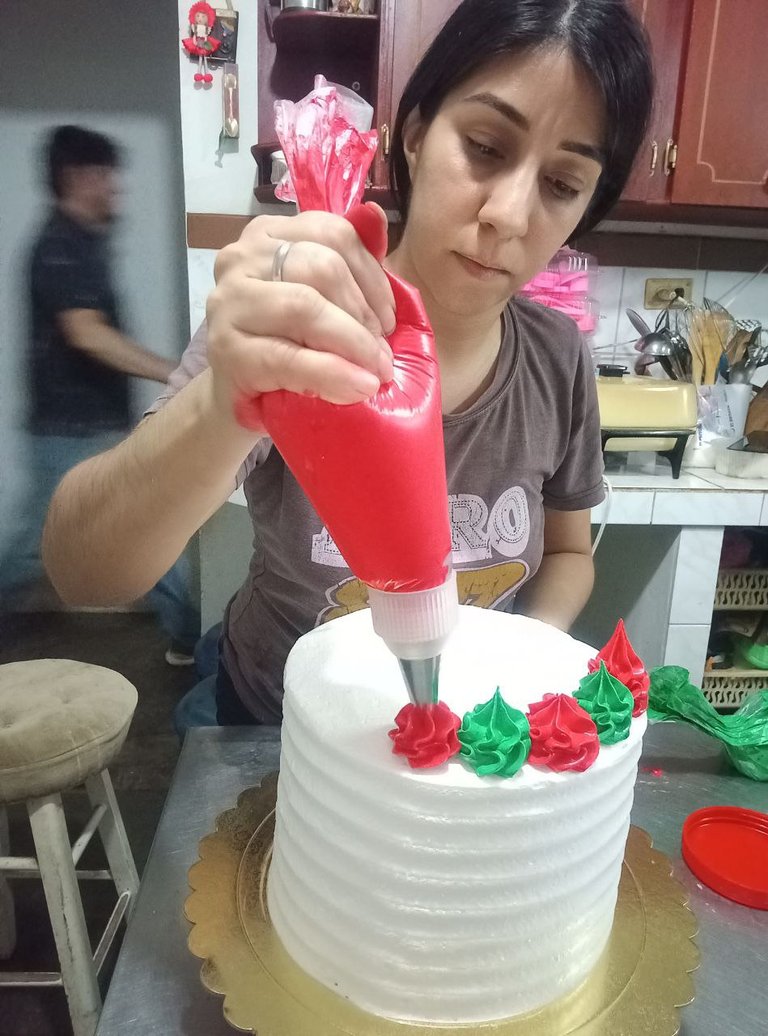 |
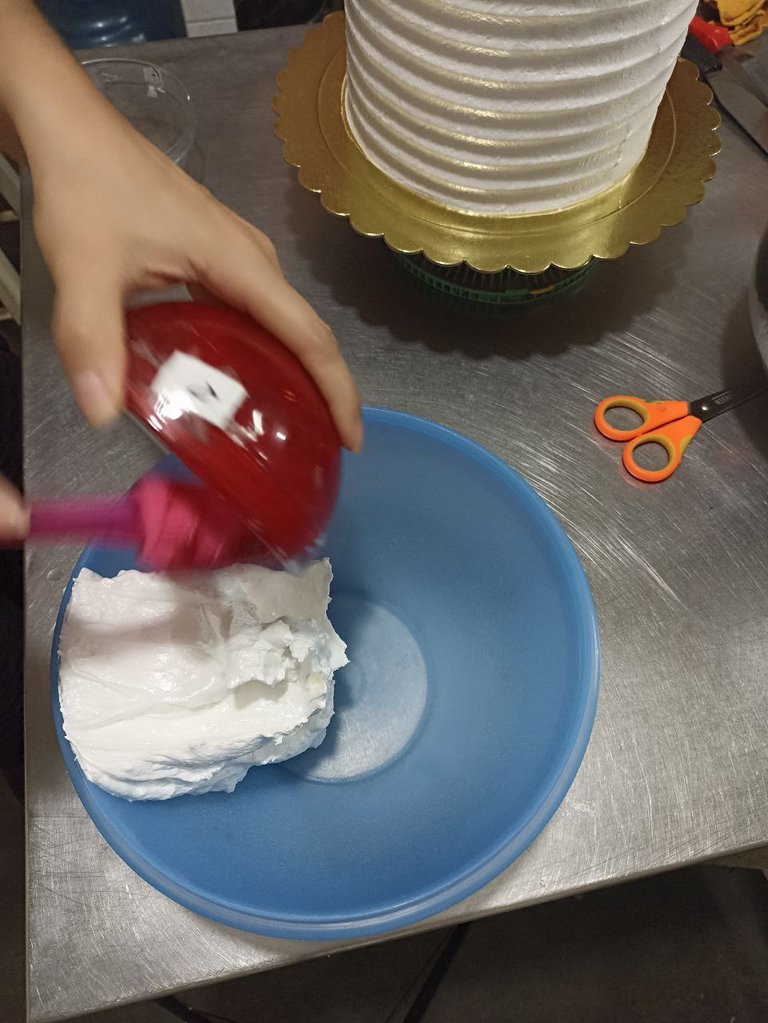
The coloring powder can be added directly to the meringue and mixed, some people I have seen dilute it in a little bit of essence or water (I do not do this), what I do is that I prefer to take a small part of the meringue in another container, add the color there and mix well so that the powder disintegrates completely and releases all the color and then I add it to the rest of the mixture.
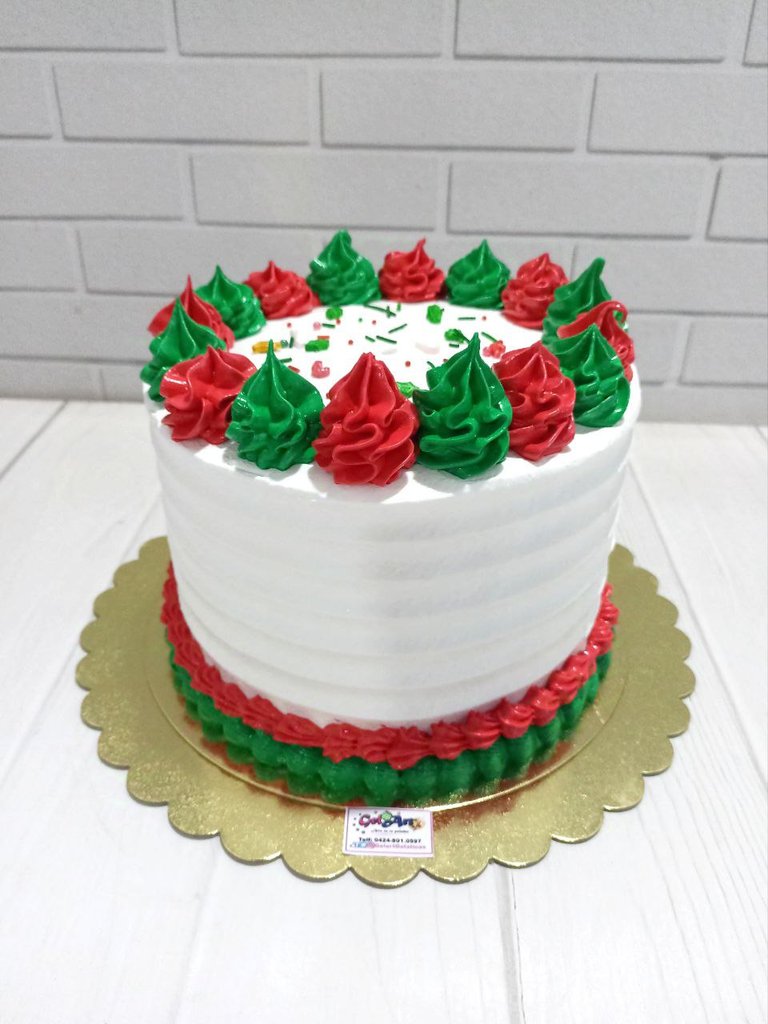
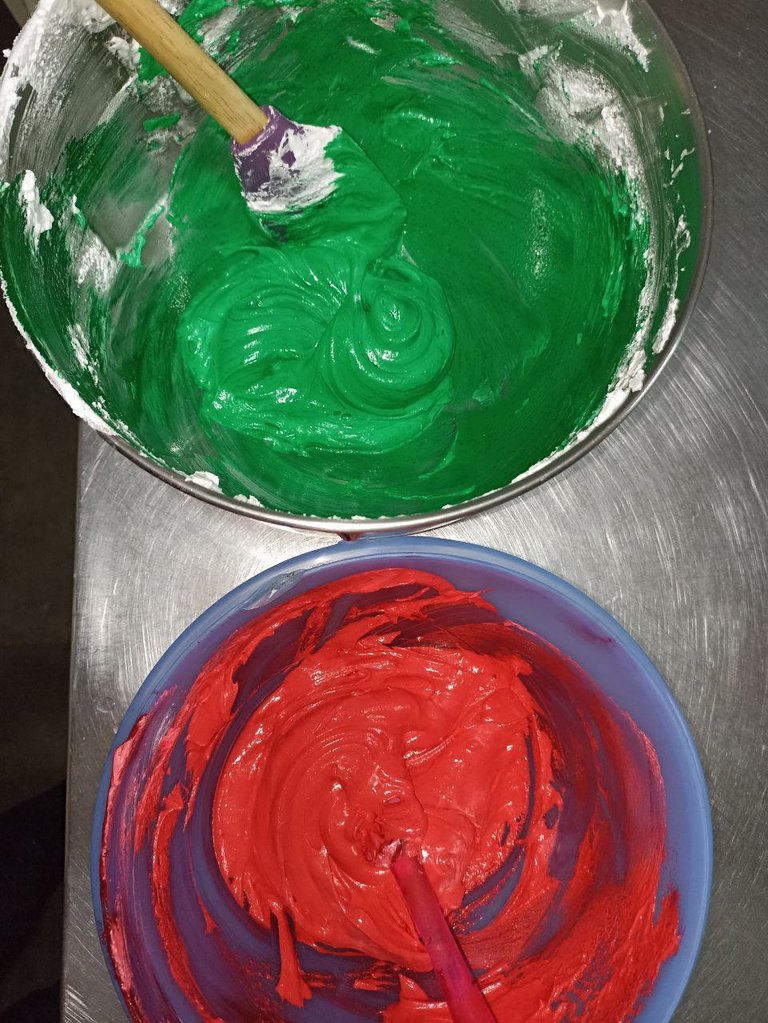
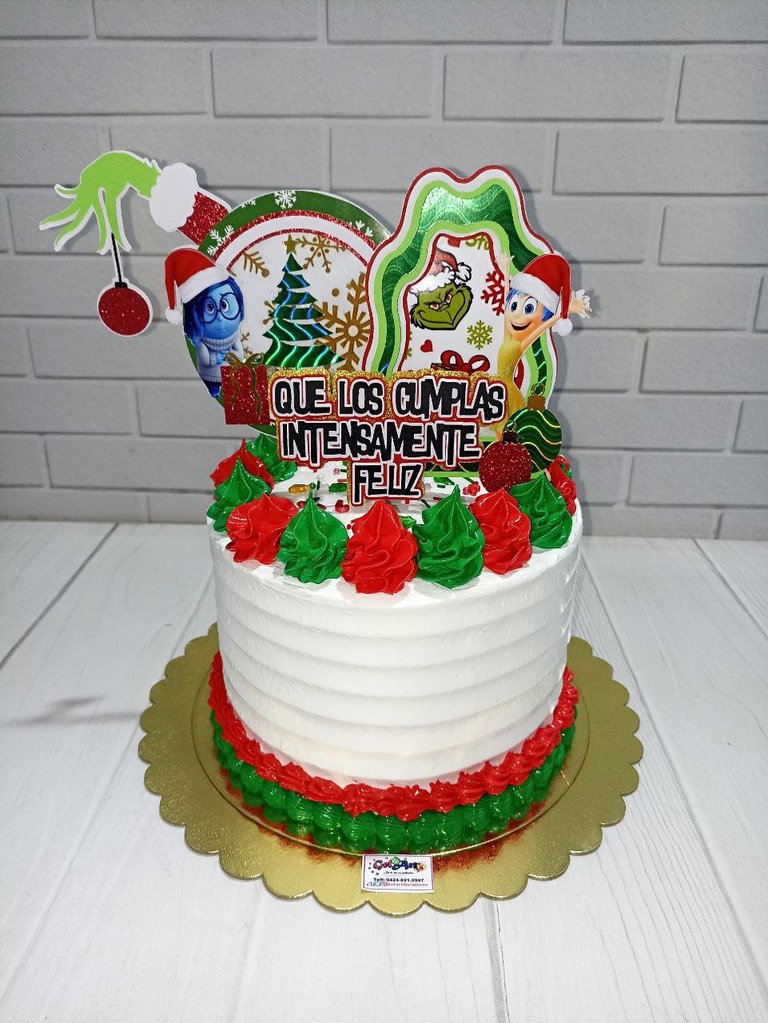
And this is how I get the dark tones with powdered coloring directly to the meringue, when the decoration deserves it and you can't use airbrush. You can see in the photo of the finished cake how the meringue holds super firm with super intense Christmas tones.
I hope you liked my post and that it will be a contribution for those who need it as valuable as it was for me, this formula helped me to always get a perfect Italian meringue and if you still did not know this way of making it, this magic formula, or you have not yet mastered the meringue, I know that this “recipe” will help you a lot.
I say goodbye for the moment to this beautiful community and to all my dear HIVERS who stopped by here 🧑🍳❤️ thanks for reading me and I'll see you in a future post. Many blessings and a warm hug 🤗.

The photos used throughout the post were taken with my Redmi 10S phone.
Banners & Signatures Made in Corel Draw Photo-Paint
Translation to English with DeepL
My Social Media


Español

Aprende a dominar para siempre el merengue italiano 🎂
Hola hola queridos HIVERS feliz inicio de semana, en esta oportunidad haré mi primera participación en la comunidad de @hivefood mi nombre es Elianis Guerrero, trabajo con repostería desde el 2012, más que todo gelatinas pero también hago tortas y comencé a usar HIVE desde finales de octubre del año pasado ❤️ y desde ese entonces al ritmo que me permite mi tiempo he intentado ir compartiendo mis conocimientos por acá 🧑🍳.
Hoy haré mi debut está comunidad con una receta de merengue italiano que para mí desde que la hago así ha sido un tiro al piso y también aprovecharé para mostrarles como logro los tonos oscuros.

Está receta para mi vale oro, más que una receta es una fórmula infalible, en la que sólo es cuestión de respetar proporciones y procesos lo que les garantizará tener total control y nunca fallar.
Yo en su momento fallé muchas veces con el merengue italiano, probé muchas recetas, a veces salían bien, a veces no, pero desde que la hago de la forma que van a ver a continuación no he tenido nunca más tropiezos con esta crema que aunque es muy versátil luego que la dominas a muchos nos da dolores de cabeza.
En base al tamaño de la torta que tenía que decorar y a mis experiencias previas sabía que con 6 huevos era la cantidad apropiada para trabajar sobre seguro si que me faltara mezcla. Yo uso para una torta mediana pequeña unos 3 huevos, para una mediana como la que hoy estaré decorando acá 6 huevos y para una más grande unos 8 o 9 huevos.
Pero como les comenté al principio más que receta hoy les voy a compartir una fórmula, dónde ustedes dependiendo la cantidad que necesiten podrán aumentar o disminuir la cantidad de mezcla.
Los materiales que necesitan tener son: azúcar, claras de huevo, agua, esencia y las cantidades dependen de la cantidad que quieran preparar respetando las proporciones de la fórmula que les compartiré a continuación.
 |  |  |  |
|---|
La fórmula o manera de trabajar es la siguiente:
Lo primero que hago es pesar las claras de los huevos, en esta oportunidad pesaron 193 gramos.
Luego de saber cuánto pesan mis claras esto va a determinar la proporción de agua y azúcar a utilizar.
La cantidad de azúcar sería el doble de lo que pesaron las claras (193x2=386) y la cantidad de agua sería la misma cantidad que pesaron las claras: 193 ML de agua.
Cuando me enseñaron esta receta me dijeron que era, 100 gramos de claras, 100 ML de agua y 200 grs de azúcar, pero al ver qué a veces me sobraban claras ví más práctico pesar directamente por cantidad de huevos y la cantidad de huevos la vario dependiendo de la cantidad de merengue que voy a necesitar (esto depende del tamaño de la torta).
 |  |  |  |
|---|
Una vez tenemos pesados todos los materiales ponemos a batir las claras hasta que estén a punto de nieve/suspiro y por otro lado en una olla colocamos el azúcar con el agua hasta que esté casi a punto de caramelo.
Es súper importante vigilar el punto correcto del almibar, no puede hacerse caramelo porque daña la mezcla pero tampoco puede estar muy líquido porque nos queda aguado el merengue.
Yo para verificar el punto correcto tengo dos formas, una es con una cucharilla ver qué al vaciar almíbar se forme una especie de hilo como pueden ver en la foto y la segunda forma es echar un poquito del almíbar en agua si se forma una bolita está en buen punto, si el almíbar se disuelve aún le falta.
 |  |
|---|
También se puede usar termómetro y tener como punto preciso la temperatura, la cual según dos colegas que son súper expertas y usan termómetro me dijeron que debe ser entre 116 a 119 grados centígrados. Por acá les dejo las cuentas de ig de mis dos amigas que me pasaron este dato con total certeza: dubrascake y luifascupcakes.
 |  |  |
|---|
Luego que el almibar está en el punto correcto lo agregamos a la batidora con las claras batiendo a una velocidad intermedia/alta.
Tres cosas importantes:
Las claras deben estar punto de nieve y el caramelo lo debemos agregar con mucho cuidado, yo lo voy agregando de poquito en poquito hasta terminar.
Para agregar la esencia hay que esperar un rato que baje un poco la temperatura de la mezcla, la agregamos cuando casi comienza a enfriar.
Es súper importante batir hasta que el bowl esté completamente frío, el retirar antes de tiempo es lo que causa que la mezcla luego pierda la estabilidad.
 |  |  |  |
|---|
Luego que tengo el merengue listo para usar hago mi capa recoge miga, lleno las mangas con el merengue (me ayudo para mayor comodidad con un vaso) y luego cubro la torta con merengue con ayuda de una manga para posteriormente alisar. Me gusta usar este tipo de boquillas anchas para cubrir más rápido y quede mejor distribuido, esto ahorra tiempo y te ayuda a poder alisar más fácil. Acá utilicé la boquilla #789 de la marca Wilton.
 |  |  |  |
|---|
Luego de cubrir por completo la torta la aliso con el peine de mi preferencia y trato de poner la parte superior lo más derechita y lisa posible. Para posteriormente con las mangas y boquillas poner la parte que lleva color en esta torta. La boquilla que utilice fue la 1M de wilton.
Para esta parte utilicé para los tonos oscuros, colorantes en polvo, los colorantes en polvo son mucho más concentrados que los líquidos y en gel y para tonos oscuros en merengue son la mejor en especial cuando vamos a tener que usar manga y boquillas.
 |  |  |
|---|---|---|
 |  |  |
Los colorantes en polvo los podemos agregar directamente al merengue y mezclar, hay personas que he visto diluyen en un poquito de esencia o agua (esto no lo hago) lo que si hago es que prefiero sacar una pequeña parte del merengue en otro envase, agregar allí el color y mezclar bien para que se desintegre por completo el polvo y suelte todo el color y luego lo agrego al resto de la mezcla.
Y de esta forma con colorantes en polvo es que obtengo los tonos oscuros así directos al merengue, cuando la decoración lo amerita y no se puede usar aerógrafo. Pueden observar en la foto de la torta ya finalizada como se mantiene super firme el merengue con tonos navideños super intensos.
Espero les haya gustado mi post y que sea un aporte para quien lo necesite tan valioso como en su momento lo fue para mí, está fórmula me sirvió para siempre obtener un merengue italiano perfecto y si aún no conocían está forma de hacerlo, esta fórmula mágica, o aún no terminan de dominar el merengue, se que está "receta" les va ayudar mucho.

Me despido por el momento de esta bella comunidad y de todos mis queridos HIVERS que se pasaron por acá 🧑🍳❤️ gracias por leerme y pues ya será hasta un próximo post. Muchas bendiciones y un meloso abrazo 🤗.

Las fotos usadas a lo largo del post fueron tomadas con mi teléfono Redmi 10S.
Banners y Firma Hechos en Corel Draw Photo-Paint
Traducción al Inglés con DeepL
Mis Redes Sociales


Muy buen explicado para obtener este gran resultado.
Si amiga si lo aplicas al pie de la letra te aseguro te quedará súper espectacular 👌❤️ y bueno en caso de cualquier duda me preguntas ❤️ saludos gracias por comentar 🙏
Hola smiga @gelart muy bien explicado y la torta te quedó bellísima. Te felicito.
Saludos
Hola muchas gracias por tu comentario ❤️ me alegra que te haya gustado 🙏saludoss 🤗
Congratulations @gelart! You have completed the following achievement on the Hive blockchain And have been rewarded with New badge(s)
Your next target is to reach 8000 upvotes.
You can view your badges on your board and compare yourself to others in the Ranking
If you no longer want to receive notifications, reply to this comment with the word
STOP🥳🥳 thanks
You can do it @gelart! Keep pushing yourself and reaching for the stars on Hive.
Dios mio el post que necesitaba en navidad 🎄 jajajjaa pero bueno ya yo guardé para futuras tortas, gracias por los datos…
Aprovecho para pedirte un favorsote Disculpa el abuso, Puedes apoyar con un voto a mi esposo @albertocoachbl en este concurso?? Te dejo el link del post 🙏
Gracias de antemano 🥰🥰
https://peakd.com/hive-140169/@lordbutterfly/help-us-decide-the-winner-of-vibes-week-27-community-poll
Gracias amiga, estamos a la orden, y bueno igual puedes usarlo para decorar las tortas los cumpleaños de este año jeje😉
claro cuenta con eso ya voy para allá 🫡❤️ muchos éxitos en el concurso 🙏🤗
Graciass bella, y sin duda voy a poner en practica tu receta 😍😍
Amo el merengue italiano, como dice se logra una textura muy firme en la torta pero es bien agradable al paladar. Además su color es precioso muy brillante.
Con esta publicación el que no sabe hacerlo va a lograrlo porque lo explicaste perfecto y tu producto final está precioso
Gracias amiga por pasar por acá, me alegra que te hayan gustado mi post, si con esta fórmula y siguiendo las recomendaciones seguro les sale perfecto.
Ciertamente el merengue italiano es una cobertura muy deliciosa y bonita, además económica.