How to make acorns edible! A step by step of the hot-leaching process
I grew up around oaks and acorns but who would ever try to actually eat them, right? Well, that finally happened. My lady and I have gotten into it these past three weeks and we feel fairly pro by this point.
Is it worth the effort? I say TOTALLY!
Here is how to gather and prepare acorns.
First you find yourself some oak in season. depending on where you live this is usually october until december or so. You cannot miss them, when it's acorn season they are literally everywhere!
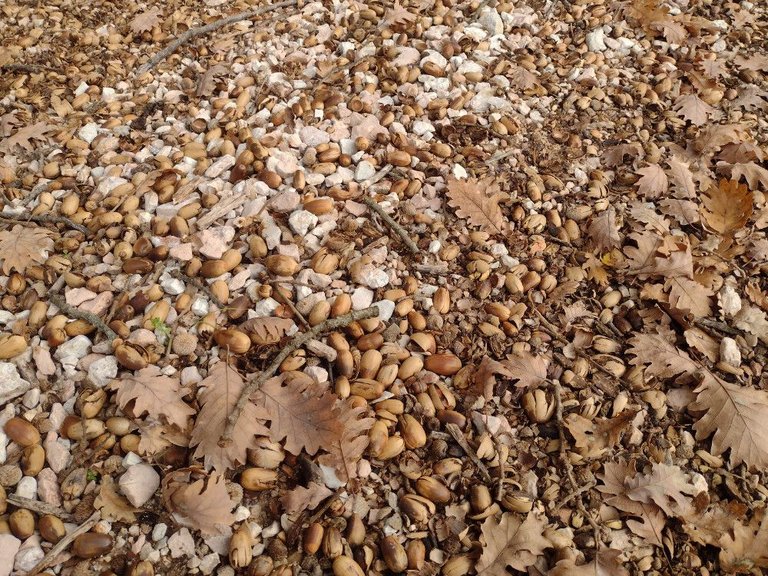
The process is pretty straightforward. Gather all the acorns up that are preferrably large, and undamaged.
Due to all that abundance you can be super picky. If there is a tear in the shell I will not gather it.
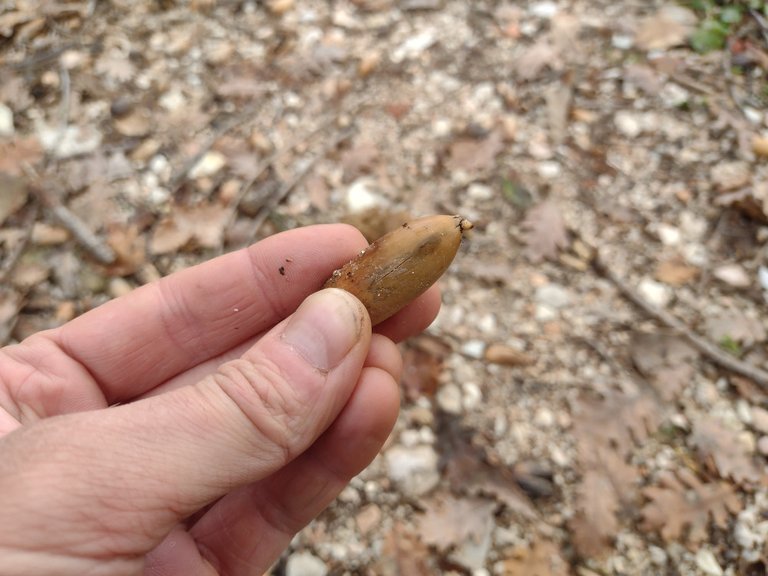
Then they all go into a bucket of sorts to get washed. Pour water over them and clean them a bit.. Damaged acorns will float at the top and can be taken out easily.
After that we usually gather the washed acorns and dry them on the stove for a bit to make cracking easier. Flip them regularly to not over-roast one side. We use this handy metal tray.
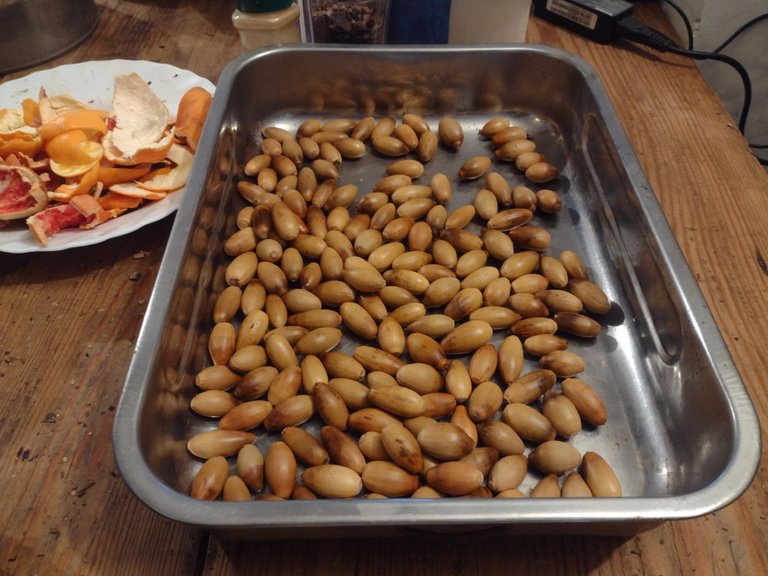
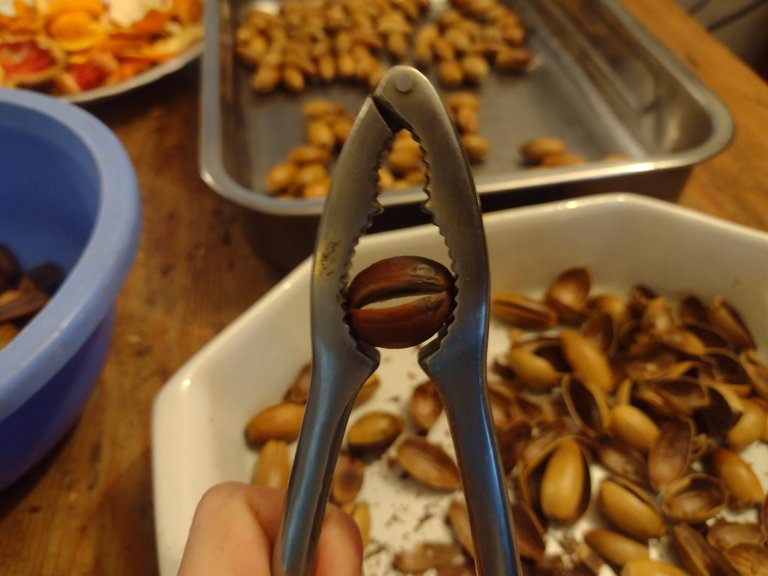
They will stop transpiring eventually. Now it's time to crack them using a simple nutcracker. Like so:
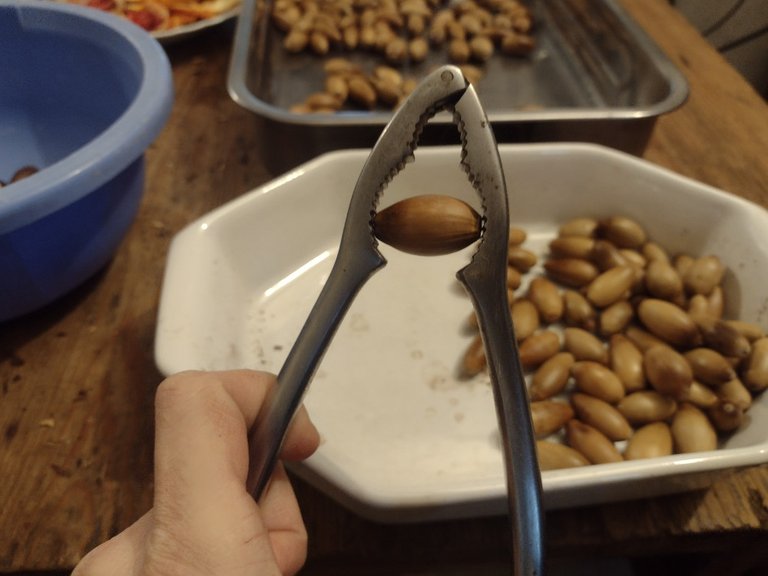
Our acorn routine has evolved to gather a few of the dried ones from the metal tray...
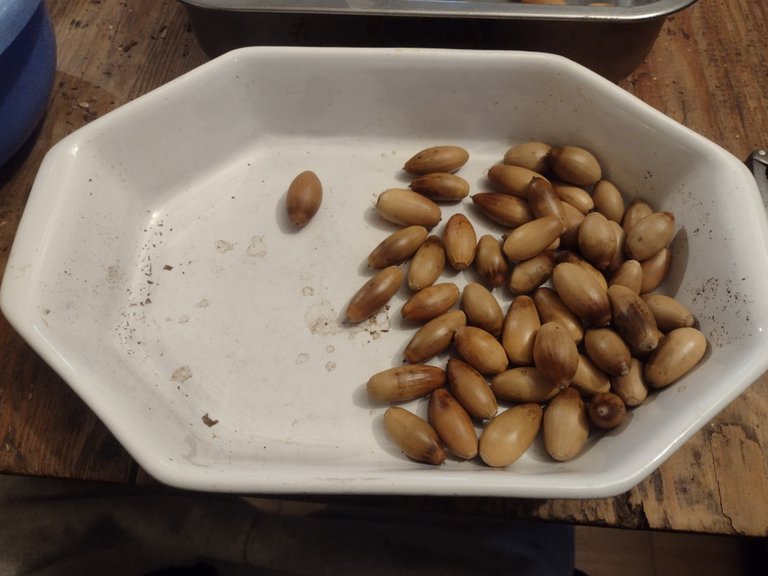
and put them in the white bowl thingie to be crushed.
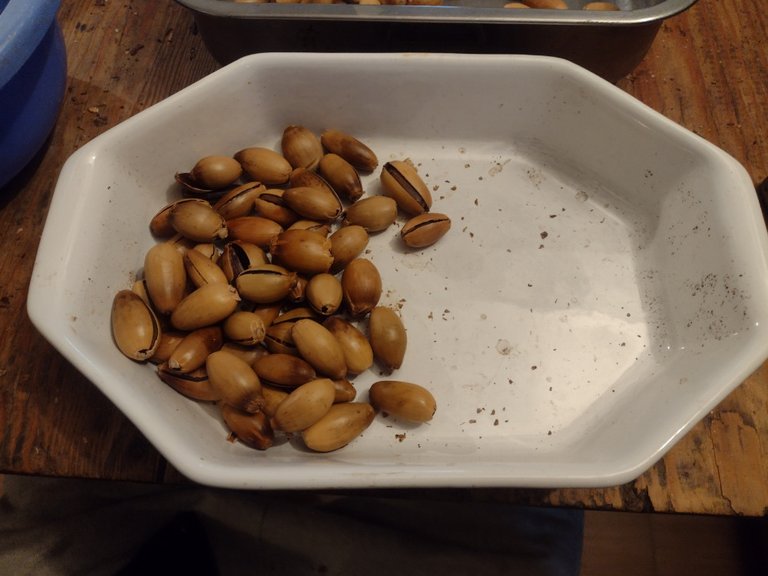
We then peel the shells off until we get to the bare acorns! If you have roasted and dried them a bit the shell comes off easily. Acorns come in different colorings...
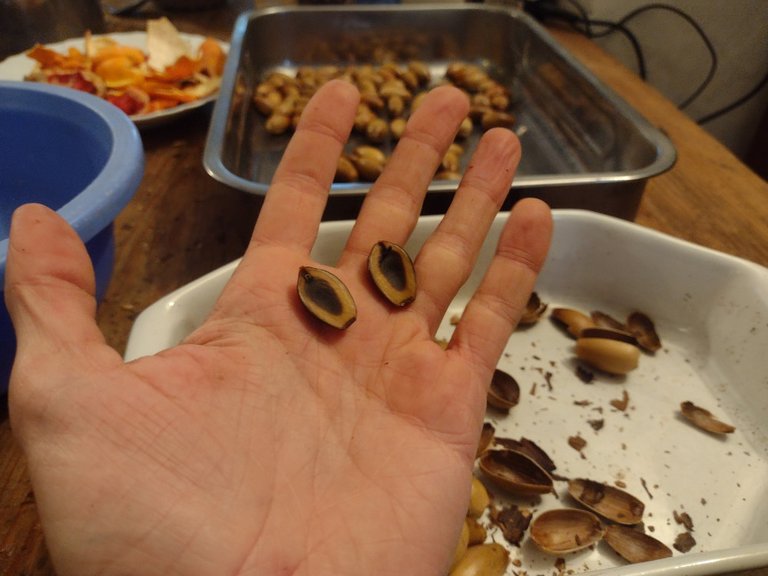
some are brighter than others...
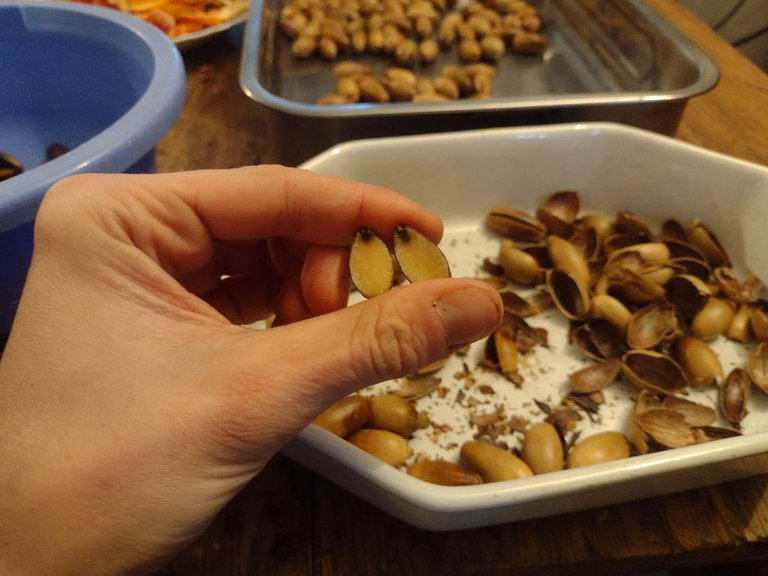
and yet others seem like they literally just dropped off a tree yesterday!
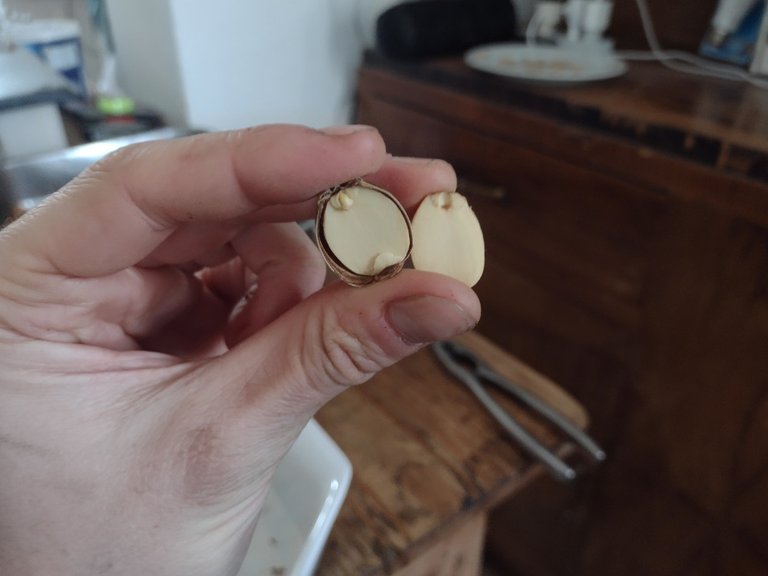
If the two halves stick together I will take the nut cracker again and help the acorn split.
The only thing you want to watch out for is worms. You can tell them pretty easily by the weird crumbly lines they leave in acorns. Can't see it well in this picture but there even was the slimy whitish maggot thingie ;)
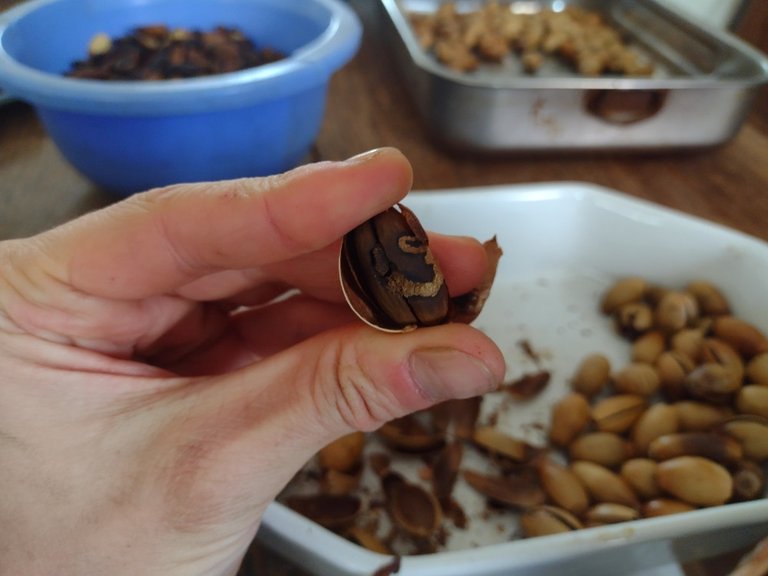
It's fine, I just put them to the "waste" pile (which goes entirely to our compost later).
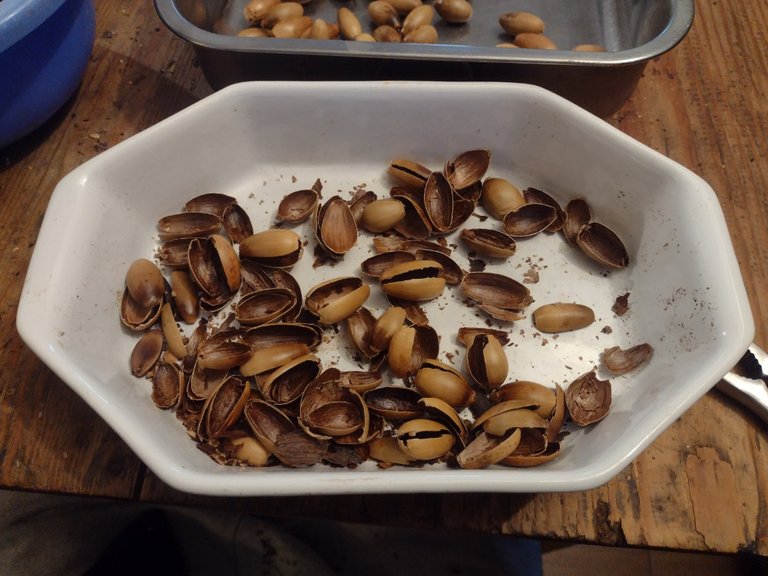
We usually do all this on the side during the day, five minute sessions when we feel like it. And the ready-to-leach acorns start piling up.
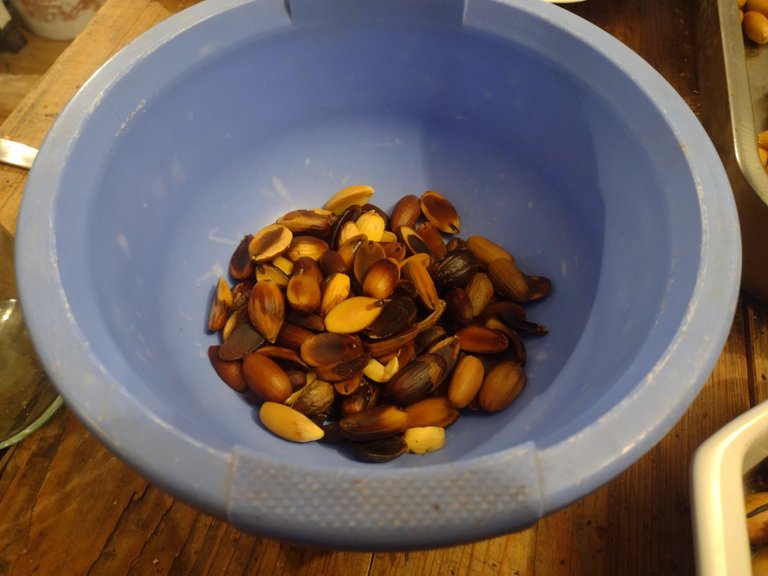
After a few lazy halfass days or so we have a batch ready (blue bowl) to get to the next step, leaching!
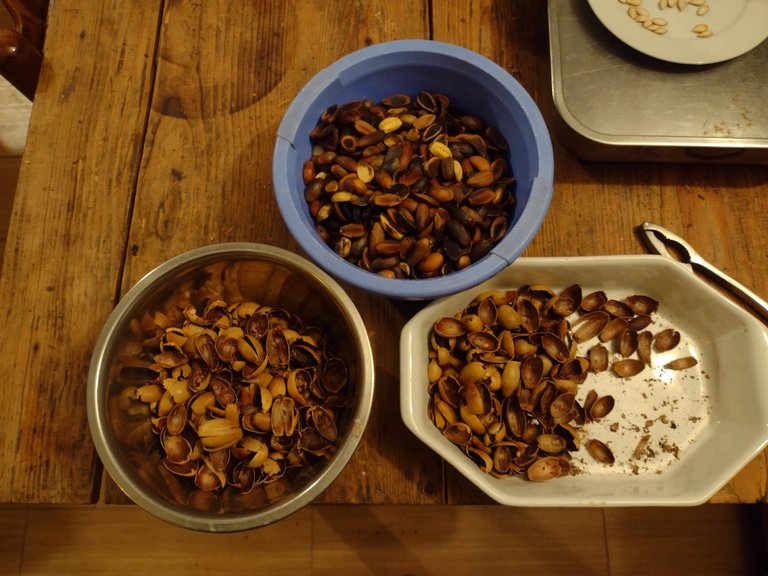
You see acorns have things in them that make them bitter tasting, akin to the odd goofy mouth feeling you get after eating an overripe Kaki. Yuk! So the leaching helps draw those saponins out to get a better taste for human tastebuds!
We tried cold leaching which works but takes too long. For cold leaching you would simply put these peeled acorns into cold water, and change that water every 8 to 12 hours for the next few days until the water is no longer murky.
We tried and it does work, but I'd rather be done with the processing in a night, so hot leaching it is! Boil water in a large enough pot and pour the peeled acorns in! Temperature doesn't matter so much, go with your gut feeling on this one.
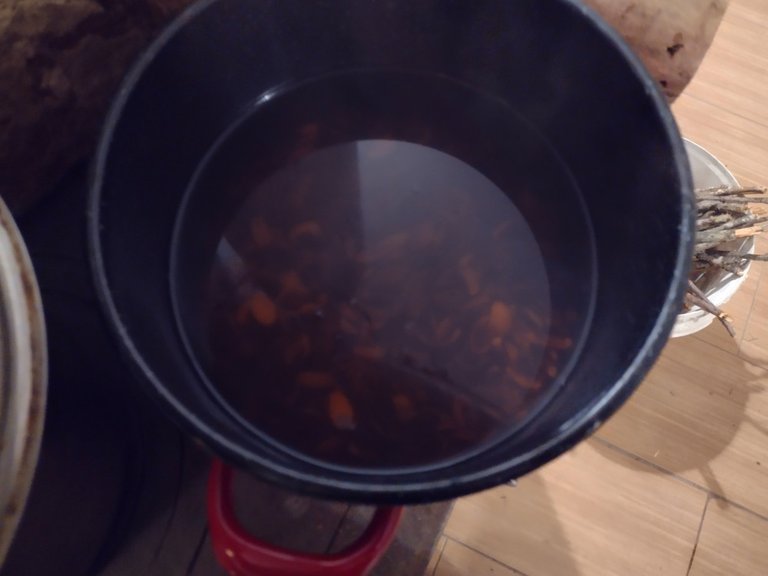
We stir it and wait until the water is boiling again. Overall I'd say the acorns are in there about 15 minutes or so... The water will turn cloudy and dark - due to the saponins we are leaching from the acorns.
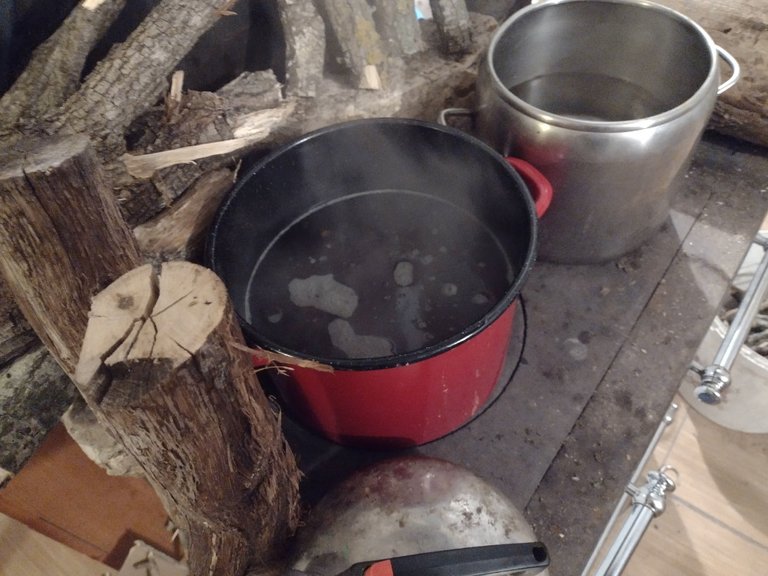
Then we use a strainer and the high caliber royal metal bucket to get rid of the leaching water.
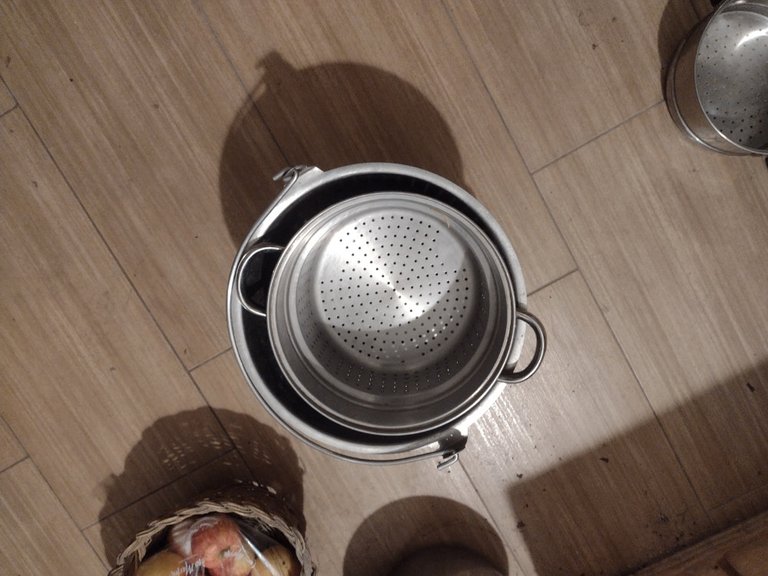
And dump it!
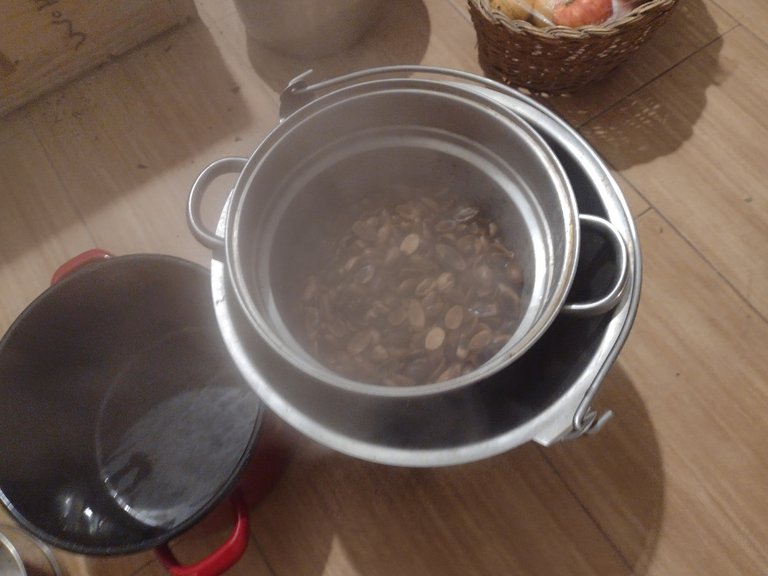
I then shake the strainer a bit and pour the acorns back into the boiling pot. At this time I usually take water from a second pot that had been heating up and pour it and the acorns into the red pot. We always have the red pot boiling acorns, and a second preheating water on our makeshift home-kitchen-workbench.
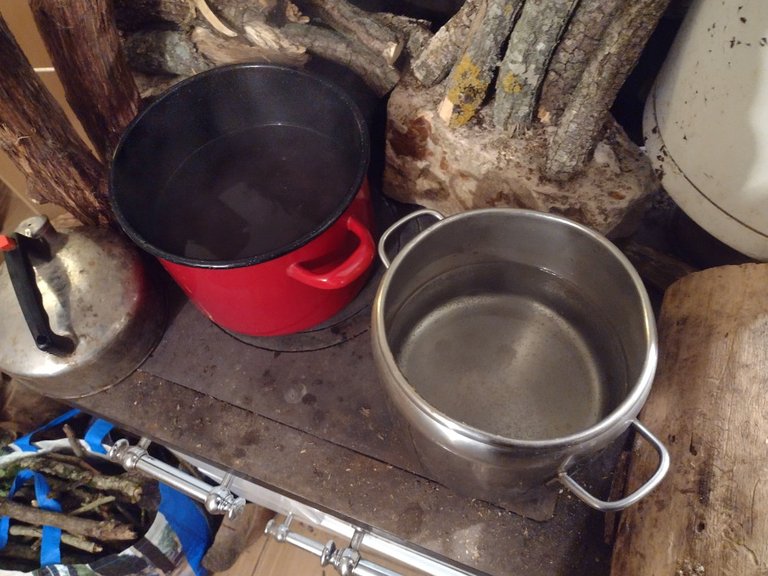
I then go outside to pour the leaching water into a container for later use in our composting adventures! So there is no water wasted here.
Well and now we repeat this leaching process... about 4 times overall seems to be enough to make them edible and not stingy in the corners of the mouth.... Seems like an aweful lot of work but it is easy when you do it on the side. Ahh, good old homesteading life...
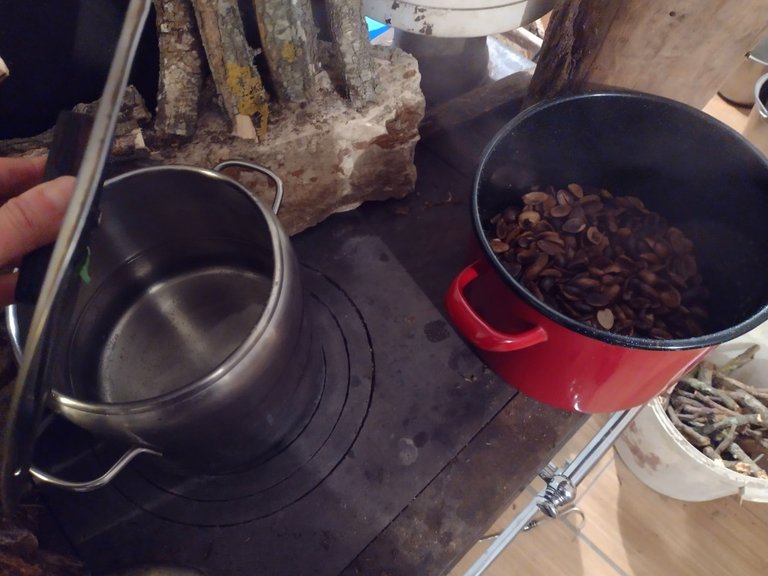
About 2 hours later or so and we are done! This is the fourth round and things are looking good! Well, they look similar and the water will not become transparent but about the fourth time is the time when the acorns stop tasting bitter.
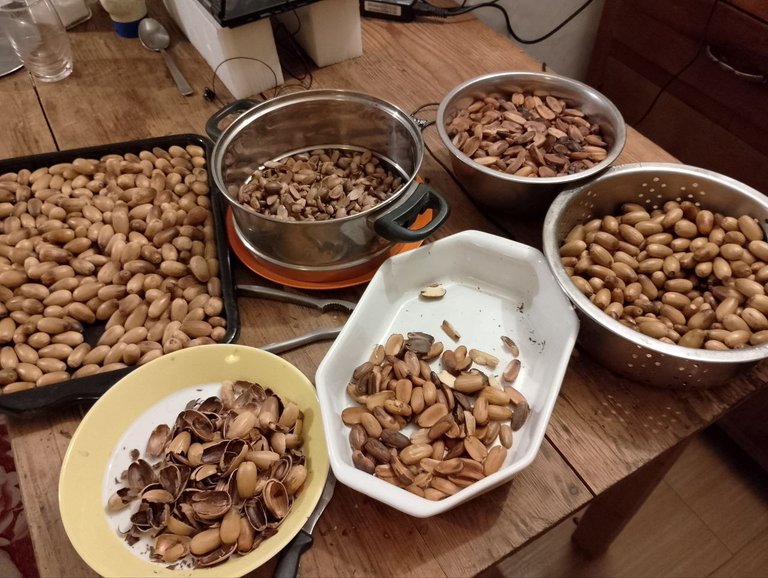
We then pour them into the strainer one last time and leave them there to dry.
And voila! You have some ready to eat and process acorns for making into tasty omelet, flour or what have you! It's been a fun few weeks but we are sure glad when we have the space back from our acorn laboratory here...
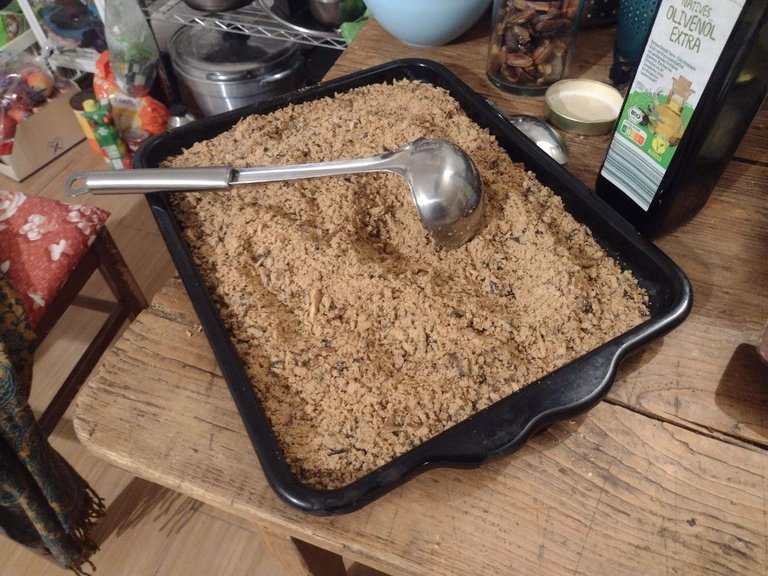
You get to flour by crushing the acorns after leaching, and then drying the product.
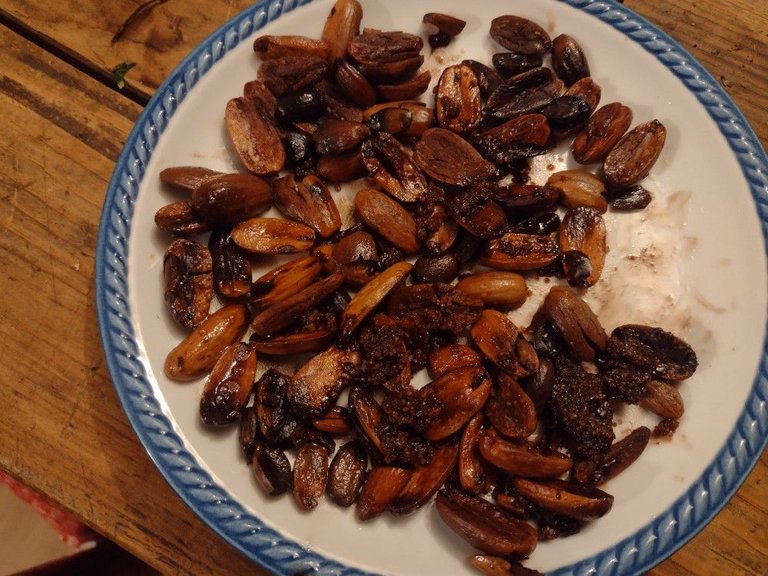
And while I am still in experimentation mode, it seems to work best to fry them in oil. They soak up fat like a potato would and would therefore make for amazing sweets and candy. Still trying things out here ;) Here is my latest variation, fried candied acorns... <3
Well it was fun, but we are glad that we now have several kilograms of ready to eat acorns frozen in the fridge. And man did I learn about nature these past two weeks ahaha. Hope you learned a bit too, let me know if you have any questions. Happy gathering!
Great stuff, @paradigmprospect !! I hope that the acorns here in central Portugal will be more tasty than those in Guardia - at the same time, I never prepped them as diligently as yourselves; thanks so much for sharing such detail into your process! Buon apetito a voi 🤩🤩🤩🤩
i wish i could invite you to an acorn omelete!
in the future!
Very cool, and thanks for sharing this very thorough illustrated guide! We don't have a lot of oaks around here, but I do remember a couple of our First Nations friends gathering huge volumes of acorns to make flour for fry bread.
fry bread sounds about right. they were created to soak up oils and it's only a matter of time before i find the perfect use case.
thanks!
Wonderful sharing. I should pick acorns also beside chestnuts.
i am jealous, found out yesterday you do not have to leach chestnuts.
i have yet to work with them but i may end up preferring living close to chestnuts rather than acorns.
how is the wood of castagne? do you use it to heat?
Yes, it’s a big advantage! They taste sweet.
If you want to produce a flour of them then it is for a long run.
We use wood of chestnuts for heating but it’s not the most valued.
excited to try it out. thanks!
Hi.... I found your post because of @anafae 's post.
I wondered about this some years back and googled it and got an explanation about how this was done, but of course no photos or extra details. It was fun to see how it is actually done.
hey thanks for stopping by. ye i figured it is good to make one post about it, we have merely tried out things we read on the internet and found the hot leach to be the most practical, we would prefer not to boil things to death but in this case it yields a great result.