[ES/EN] Hice jamón cocido estilo York... te cuento todo/ I made cooked ham york style... I tell you everything about.

Hola #hivers y #foodlovers
Espero que su semana haya estado bien, yo la pasé preparando un jamón cocido que les traigo hoy para compartir.
Como de costumbre les digo, esto no pretende ser una receta, es solamente la história de cómo hago para crear algo que me gusta y me divierte.
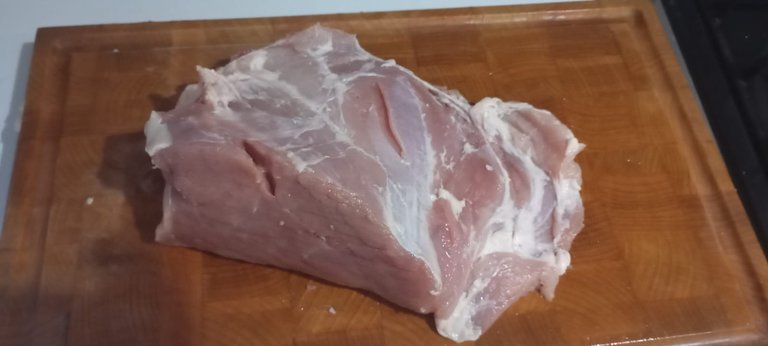
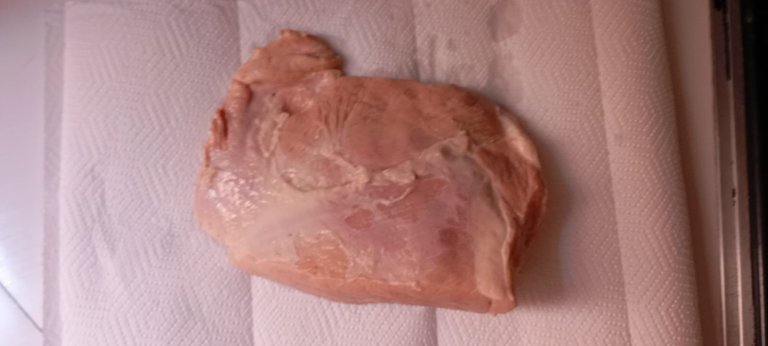
Todo comienza con un buen pedazo de pierna de cerdo. 1kg para ser exactos.
En este caso tenía de excedente la salmuera sobrante de unas aceitunas que utilicé para otra preparación (a lo mejor algún día les cuente). Así que decidí utilizarla como base para crear la salmuera donde mariné esa carne de ahí arriba.
Puse la salmuera de las aceitunas más 1L de agua en una olla y la puse al fogón. Ya que comenzó a calentarse puse 20g de sal gruesa, 5g (si no tienes salmuera debes poner 20g) de sal fina y otros 20g de azucar. Además, puse 3 hojas de Laurel, 3 dientes de ajo y 5g de comino. Me mantuve agitando hasta que se disolvió completamente la sal y el azucar. En ese momento aparté la salmuera del fogón y puse una porción generosa de wisky (esto fue solo para experimentar con el sabor), pero si no te interesa puedes evitar esta parte.
En otras ocaciones he incluido en la mezcla, pimienta, nuez moscada y paprika, pero está vez andaba buscando un sabor más natural así que decidí eliminar esas de la mezcla, lo menciono solo para que sepan que esta también es una opción.
Este es el momento de jugar con los ingredientes, experimentar y crear nuevos sabores. Dense la posibilidad de crear.
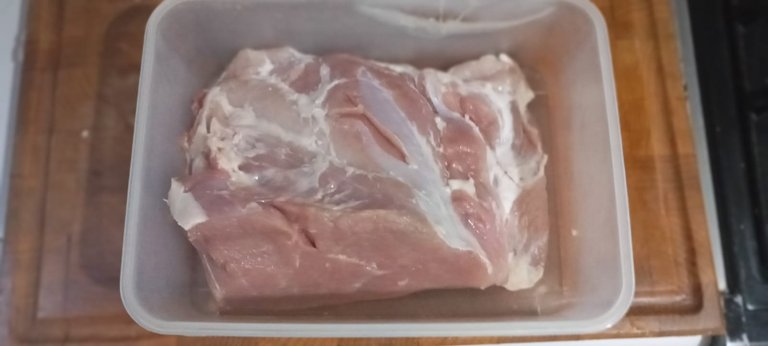
Ya con todo listo pasé mi pieza de carne a un tupper plástico (si tienes un recipiente de vidrio mejor, pero yo lo hice en plástico porque no tengo recipiente de vidrio de ese porte). Y en el recipiente vacié mi salmuera con la mezcla de especias.
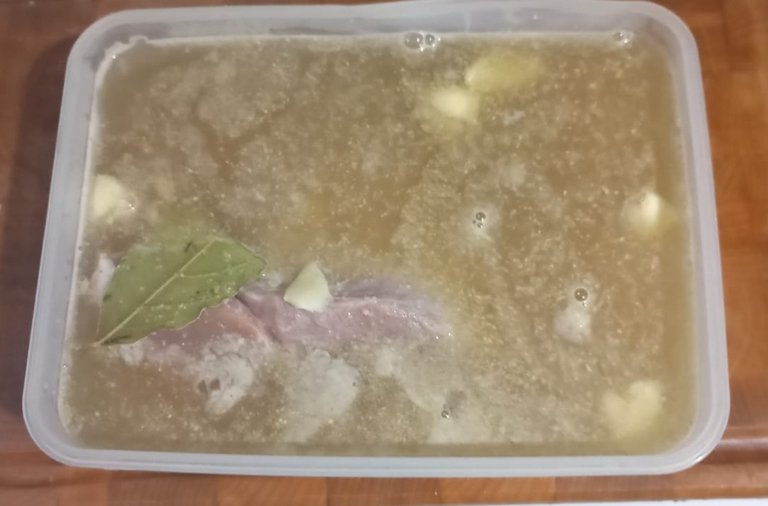
Ya que tienes todo listo, se cubre con la tapa y se deja reposar para que enfríe, al poco rato se pasa al refri.

Mientras esperamos les comento unos detalles
La carne se debe dejar marinar por, al menos, 4 días en el refrigerador.
Si la carne queda parcialmente fuera de la salmuera, es necesario voltearla al menos una vez al día. De lo contrario la parte que está fuera no se marinará, y lo que es peor es posible que se oxide y afecte el sabor del producto.
Por otro lado, es recomendable, a ser posible, inyectar parte de la salmuera a la carne. Esta es una experiencia personal, yo no lo hice y tanto el color como el sabor de la carne en el centro de la pieza es diferente a la corteza, pues el centro no alcanza a marinarse bien si no se inyecta. Pero, tampoco es que sea obligatorio, si no tienes, no puedes o simplemente no quieres, puedes hacerlo sin inyectar y también te va a quedar bueno.
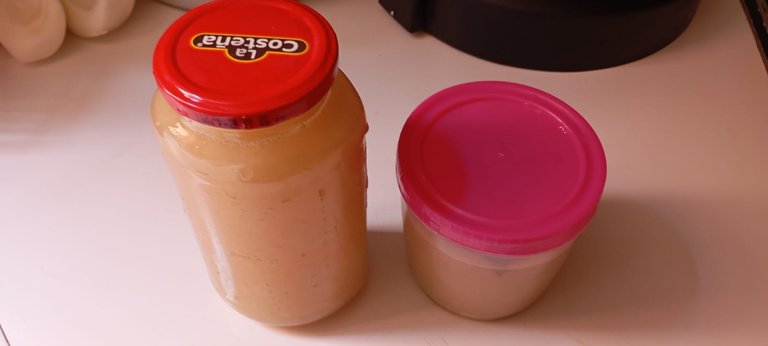
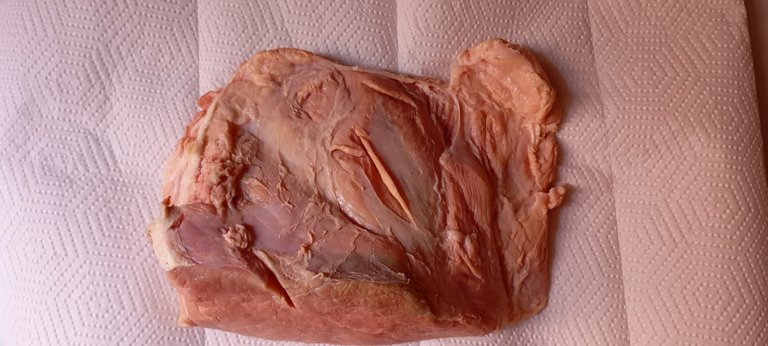
Pasados los 4 días de marinado la carne está lista para ser cocida. Lo primero es sacarla de la salmuera y reservar la salmuera restante para la próxima preparación.
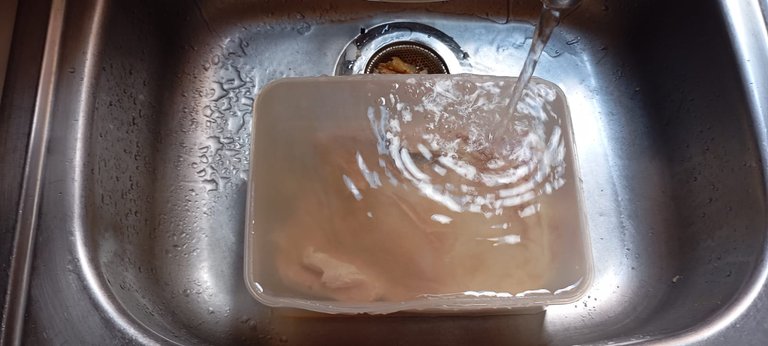
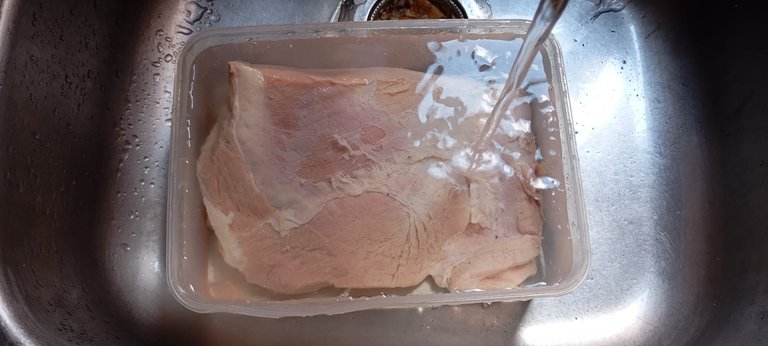
Luego es necesario lavar bien la carne con agua corriente y masajear la pieza de carne para eliminar los restos de salmuera que puedan haber quedado adheridos a la carne.
Lava varias veces hasta que el agua salga clara.
Y luego puedes usar un paño limpio, o papel toalla para secarlo lo más posible. Es posible que incluso necesites usar dos paños o fragmentos de papel.
Es común que el papel quede muy húmedo e incluso puede que hasta de deshaga, dejando fragmentos en la carne. Es por eso que yo recomiendo usar paños límpios.

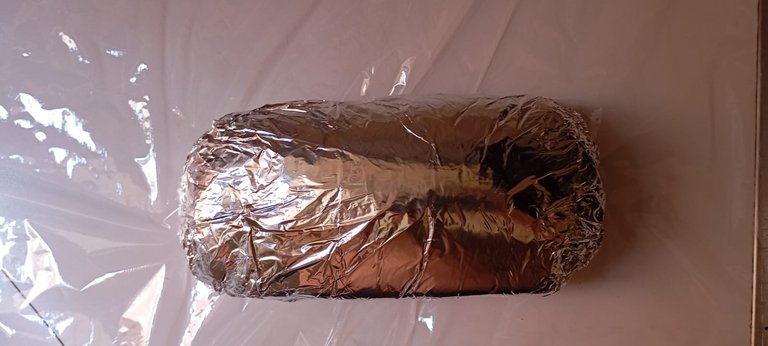
Ya que la carne está lavada y bien seca es el momento de prepararla para ponerla a cocer. Si tienes un molde que se ajuste es recomendable, pero en mi caso no cuento con ese aditamento así que lo que hago es cubrirla con papel aluminio.
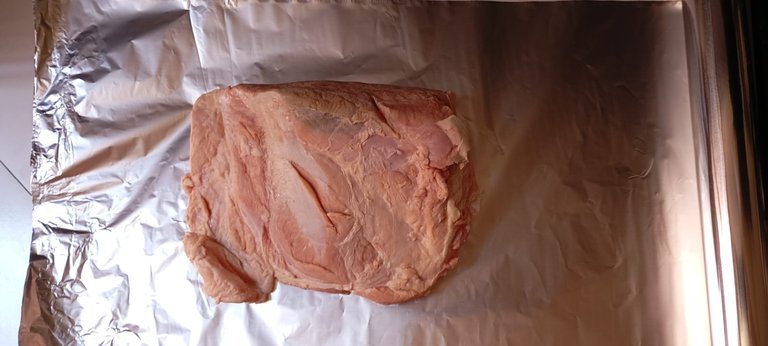
Yo intento moldear la pieza en este punto a una forma aproximadamente cilíndrica, de esta forma se facilitará el corte una vez cocido, además reduce el volumen de la pieza haciendo más cencilla su cocción.
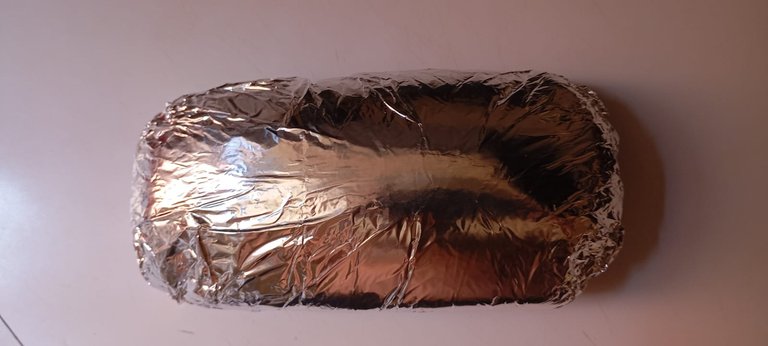
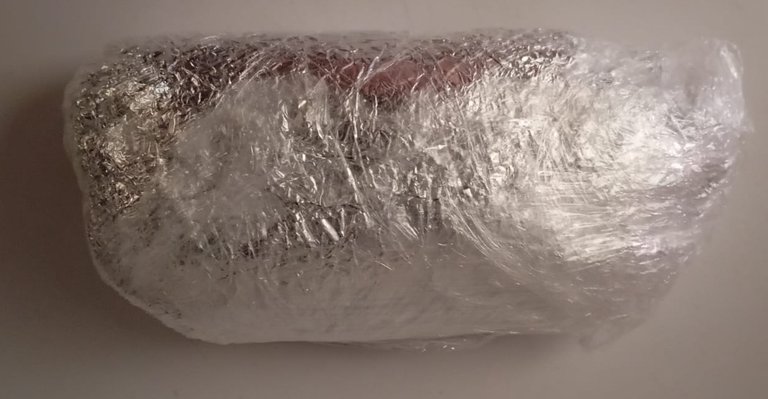
Una vez formado el ciclindro, es necesario aislarlo del agua, de manera que la carne se cocine con la temperatura y los jugos que tiene, pero que no entre agua para que no lave el sabor.
Yo en mi caso lo que hago es envolverlo con papel film de forma que limite en todo lo posible el contacto de la carne con el agua de la cocción.
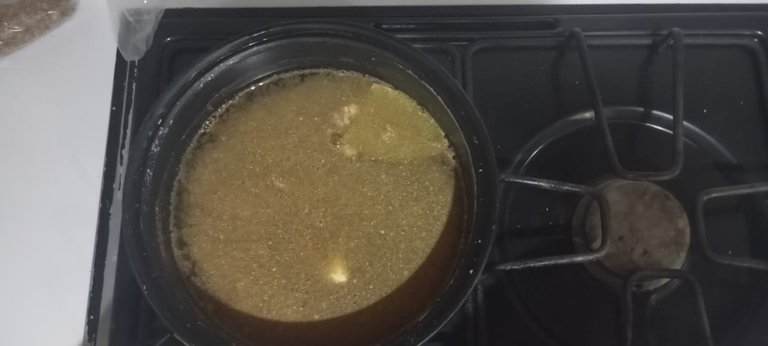
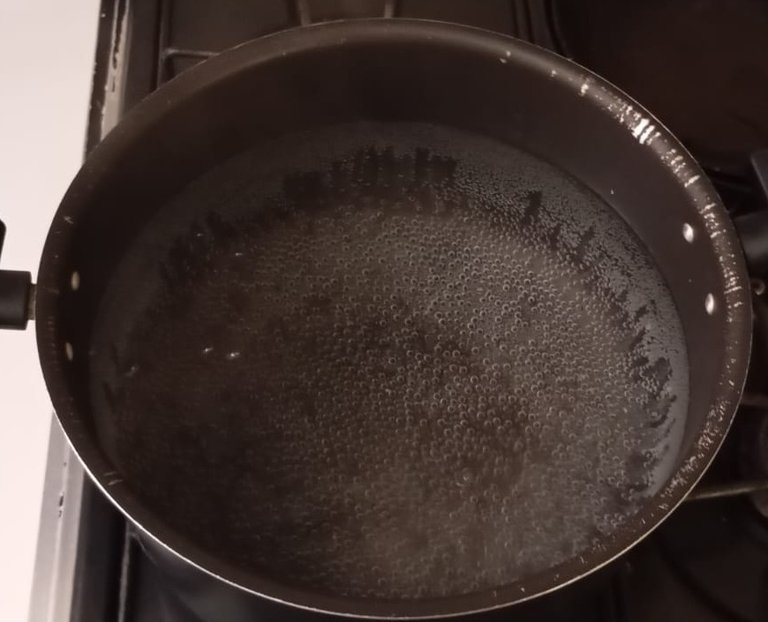
Una vez que el paquete está aislado lo mejor posible es hora de la cocción. Acá lo que vamos a hacer es poner una olla con agua al fogón, con llama alta y esperar a que el agua se caliente hasta unos 80°C. Si no tienes termómetro de cocina (como yo) no pasa nada. El secreto es esperar que el agua comience a formar burbujas en el fondo de la olla y el agua comience a humear, pero sin ebullir así 👇.
Es importante que la cantidad de agua en la olla debe ser suficiente para cubrir el paquete que hemos formado previamente.
Ya que el agua está lista, se pone la carne a cocinar, acá hay que tener en cuenta dos cosas.
La carne debe cocerse uniformemente así que no se debe dejar que el paquete flote.
El agua no debe hervir, si hierve es posible que el jamón no se cocine correctamente en el centro.
Entonces lo que hago en este momento es bajar la llama todo lo que se pueda antes de poner a cocinar el jamón, y luego pongo el paquete en la olla.
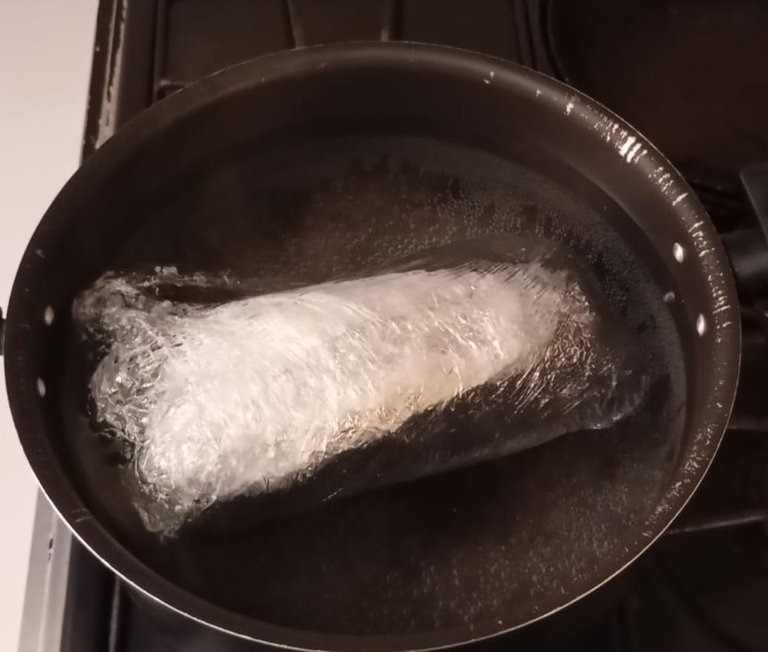
pero como pueden ver: flota.
Así que acá hay que ponerse creativos en la cocina, yo lo resolví con una taza y una tapa.
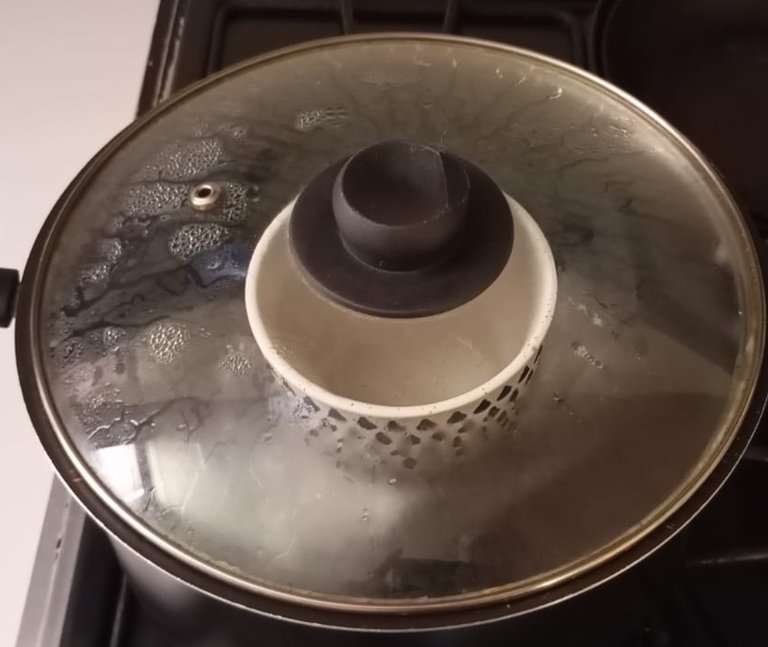
De esta manera la tasa y la tapa no permiten que la carne flote y se cocerá correctemente.
El tiempo de cocción recomendado es de 45min por cada kg de carne que se esté cociendo, pero yo prefiero dejarlo una hora. Acá solo les puedo recomendar que hagan sus pruebas y decidan que tiempo de cocción es el que mejor les funciona a ustedes.
Otro detalle es ajustar la altura de la llama para que el agua se mantenga a la temperatura adecuada (justo por debajo de la temperatura de ebullición 75-80°C).
Pasado el tiempo de cocción se extrae la pieza de la olla, acá es recomendable pasar el jamón a una segunda olla que contenga agua con hielo para dar un golpe térmico. De esto, desgraciademente no tengo imagen, una disculpa.
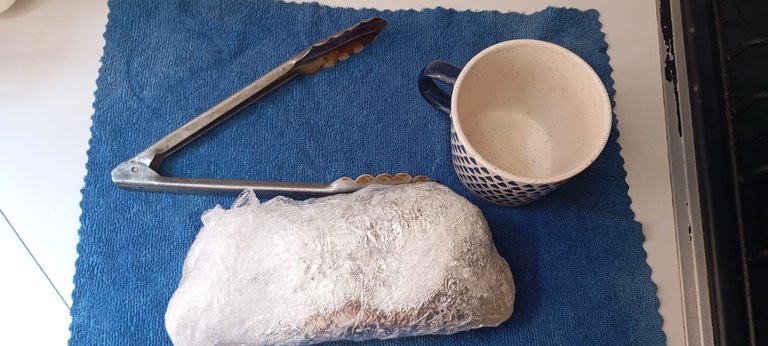
Para sacar el jamón del agua caliente no use las manos, mejor unas pinzas o algo semejante.
Ya que esté fresco el jamón retira el papel film y aún envuelto en el papel aluminio pasalo al refri y déjalo enfriar al menos dos horas.
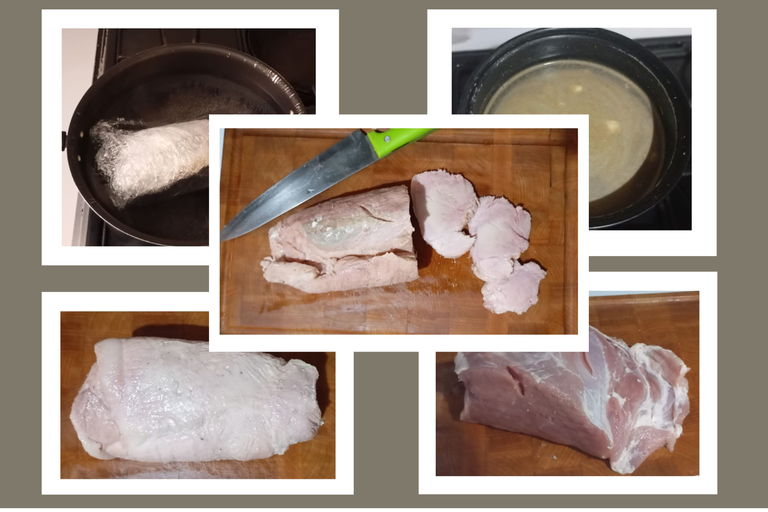
Luego de ese tiempo ya se puede descubrir y deberá quedar algo así.
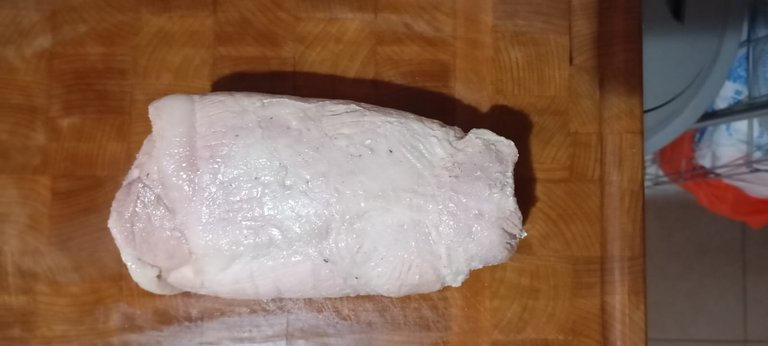
Nota que este jamón se ve de color crema claro, casi blanco, esto es porque no utilizamos ningún nitrato o sal de cura (sal de nitro para los paisanos). La sal de cura hace que tome un color rosa más atractivo, pero es tambíen menos saludable. La desición de usarla o no queda complentamente a discreción tuya.
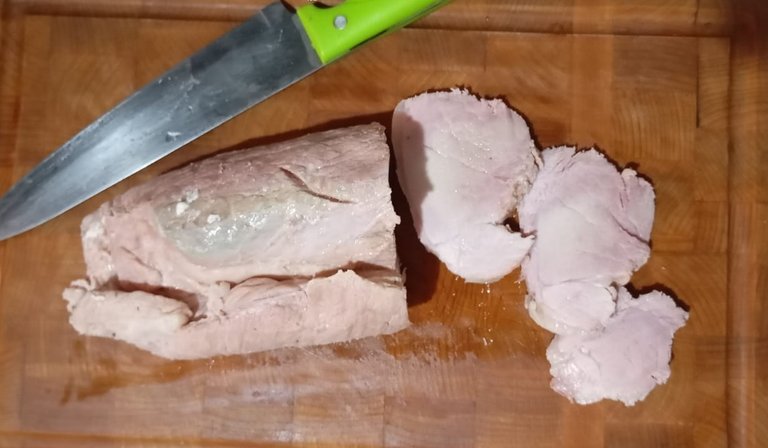
Y listo, ya tienes un jamón cocido al estilo york, completamente natural, sin colorantes, aditivos o conservantes. De muy buen sabor y disponible para usar en cualquier momento. En teoría este fiambre puede durar meses en el refri, yo no lo puedo atestiguar, los mios no sueles llegar a la semana 😅.
Esto es todo por hoy #hivers espero les haya gustado el post.
Nos vemos👋.

P. S. He estado pensando que me encantaría comenzar a comercializar fiambres 100% naturales y artesanales, pero no me decido, siento que quizás no estoy listo. Cuéntenme en comentarios a ustedes que les parece.
Disclaimers
Texto por @gornat
imágenes tomadas por @gornat con un telefono Xiaomi POCO
Imagen de portada creada por @gornat en Canva con imágenes tomadas por @gornat
Separadores de idiomas creados por @gornat en canva con recursos gratuitos de la página
Separador de @ecency tomado del canal de recursos del discord
Traducido con ayuda de DeepSeek.

Hello #hivers and #foodlovers,
I hope your week has been good. Mine was spent preparing a cooked ham that I’m sharing with you today.
As I always say, this isn’t meant to be a recipe, just the story of how I go about creating something I enjoy and have fun with.
It all starts with a good piece of pork leg. 1kg, to be exact.
In this case, I had some leftover brine from olives that I used for another preparation (maybe I'll tell you about that someday). So I decided to use it as the base for creating the brine where I marinated that piece of meat above.
So I put the olive brine plus 1L of water in a pot and placed it on the stove. Once it began to heat up, I added 20g of coarse salt, 5g (if you don't have brine you should add 20g) of fine salt, and another 20g of sugar. I also added 3 bay leaves, 3 garlic cloves, and 5g of cumin. I kept stirring until the salt and sugar completely dissolved. At that point, I removed the brine from the heat and added a generous portion of whiskey (this was just to experiment with flavor), but you can skip this part if you're not interested.
On other occasions, I've included pepper, nutmeg, and paprika in the mix, but this time I was looking for a more natural flavor so I decided to leave those out. I mention this just so you know these are also options.
This is the moment to play with ingredients, experiment, and create new flavors. Give yourself permission to create.
With everything ready, I transferred my piece of meat to a plastic container (if you have a glass container that's better, but I used plastic because I don't have a glass container that size). Then I poured my spiced brine mixture into the container.
Once everything is ready, cover it with the lid and let it rest to cool down. After a little while, transfer it to the fridge.
While we wait I´m going to comment some details
The meat should marinate for at least 4 days in the refrigerator.
If the meat isn't fully submerged in the brine, you must flip it at least once a day. Otherwise, the exposed part won't marinate properly, and worse, it might oxidize and affect the final flavor.
Additionally, it's recommended to inject some brine into the meat if possible. This comes from personal experience - I didn't do it, and both the color and flavor of the meat's center differed from the outer crust since the center didn't marinate properly without injection. However, this isn't mandatory. If you don't have the tools, can't, or simply don't want to, you can skip the injection and it'll still turn out good.
After the 4 days of marinating, the meat is ready to be cooked. First step is to remove it from the brine and reserve the remaining brine for your next preparation
Next, you need to thoroughly rinse the meat under running water and massage the piece to remove any remaining brine that might be clinging to the meat.
Rinse several times until the water runs clear.
Then you can use a clean cloth or paper towels to dry it as thoroughly as possible. You might even need to use two cloths or several paper towel sheets.
The paper towels often get very damp and may even fall apart, leaving bits on the meat. That's why I recommend using clean cloths instead.
Now that the meat is washed and thoroughly dried, it's time to prepare it for cooking. If you have a properly fitting mold/pan, that's ideal - but since I don't have that accessory, I wrap it in aluminum foil instead.
At this point, I try to shape the piece into an approximately cylindrical form. This will make it easier to slice once cooked, and it also reduces the volume of the piece, simplifying the cooking process.
Once you've formed the cylinder, you need to isolate it from water so the meat cooks in its own temperature and juices, without letting water in that would wash away the flavor.
In my case, what I do is wrap it tightly in plastic wrap to minimize any contact between the meat and the cooking water as much as possible.
Once the package is sealed as tightly as possible, it's time to cook. Here's what we'll do: place a pot of water on the stove over high heat and wait until it reaches about 80°C (176°F). If you don't have a kitchen thermometer (like me), no problem. The trick is to wait until the water starts forming bubbles at the bottom of the pot and begins to steam, but without reaching a full boil like this 👇.
It’s important that the amount of water in the pot is enough to fully submerge the package we prepared earlier.
Once the water is ready, add the meat to cook. Here, two things are crucial:
The meat must cook evenly, so don’t let the package float.
The water must not boil—if it does, the ham may not cook properly in the center.
So at this point, I turn the heat down as low as possible before adding the ham package to the pot. Then, I place the package in the water.
But as you can see: it floats.
So here’s where you get creative in the kitchen, I solved it with a cup and a lid.
This way, the cup and lid prevent the meat from floating, ensuring it cooks properly.
The recommended cooking time is 45 minutes per kilogram of meat, but I prefer to leave it for a full hour. Here, I can only suggest you experiment to determine what cooking time works best for you.
Another key detail is to adjust the heat to maintain the water at the right temperature (just below boiling, around 75-80°C / 167-176°F).
Once the cooking time is complete, remove the meat from the pot. Here, it’s recommended to transfer the ham to a second pot filled with ice water for a thermal shock. Unfortunately, I don’t have a photo of this step ,my apologies.
To remove the ham from the hot water, don’t use your hands, grab some tongs or something similar.
Once the ham has cooled, remove the plastic wrap and, still wrapped in aluminum foil, transfer it to the fridge. Let it chill for at least two hours.
After that time, you can unwrap it, and it should look something like this.
Note that this ham has a light cream color, almost white, because we didn’t use any nitrates or curing salt (‘sal de nitro’ for fellow cooks). Curing salt gives it a more attractive pink hue but is also less healthy. The choice to use it or not is entirely up to you.
And there you go! You’ve got yourself a fully natural York-style cooked ham, no dyes, additives, or preservatives. It’s flavorful and ready to use anytime.
In theory, this cold cut can last months in the fridge… but I can’t personally vouch for that. Mine never make it past a week! 😅.
That’s all for today, #hivers! Hope you enjoyed this post.
See you around! 👋.
P.S. I’ve been thinking… I’d love to start selling 100% natural, artisanal cold cuts, but I can’t quite decide. I feel like maybe I’m not ready yet. Tell me in the comments, what do you all think?
Disclaimers
Text by @gornat
Images captured by @gornat using a Xiaomi POCO phone
Cover image designed by @gornat on Canva, using original photos taken by @gornat
Language dividers created by @gornat on Canva with free resources from the site
Separator from @ecency (sourced from their Discord resource channel)
Translated with assistance from DeepSeek
Muy buena receta, excelente post
Gracias, me alegro que te gustara.
$wine
Pues yo creo que debes hacer tu negocio de fiambres. Eso se ve muy rico 😋🤤
Muchas gracias, el apoyo de la comunidad me ayuda mucho a tomar la decisión.
$wine
😘
♥️
Buena receta
gracias!