🐰Unboxing crochet supplies and using some of those supplies to make a chubby rabbit🐰
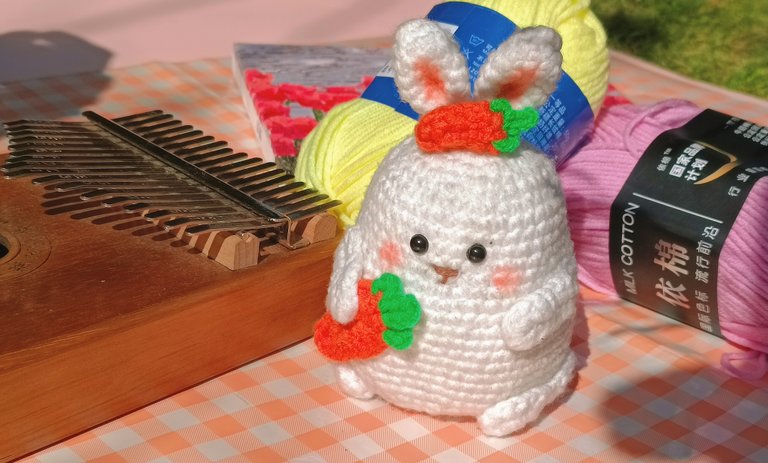


Hello guys,
Welcome back to my handmade new post. How is it going guys? Is everything OK? I think everyone will be fine. Today is Friday, so what are you doing? I usually do some kind of handmade in my free time. These days, I had the idea to try again a handmade that I have been interested in since I was a child. That is crochet. Even though I love crocheting, I don't always spend time on crochet because I get dizzy when I spend too much time on it. Today I'm going to talk about unboxing the crochet supplies my mom bought me and the chubby rabbit I made using those supplies.
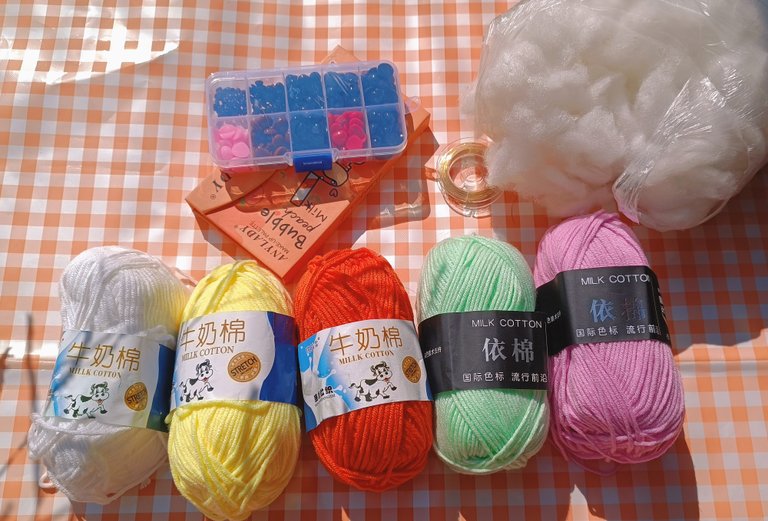

I bought the milk cotton yarn. I also have other colors of yarn at home, so I asked my mom to buy the colors I use most. The colors of the yarn I bought today are white, beige, orange, green and purple. In the past, these milk cotton yarns were among the cheapest yarns in the area where I live, but due to the increase in commodity prices, now the price has doubled. And I also bought some silicone used in crochet.
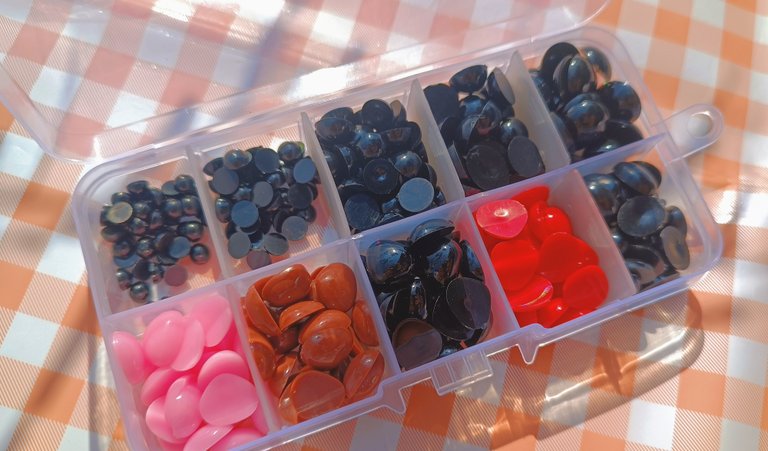
These days I'm thinking of making crochet plushies, so I also bought a box with eyes and noses. In that box, there are 5 eye sizes and 5 nose colors. I thought that box would be expensive, but I only cost 6000MMK for that box. 6000MMk is equivalent to about 2.8$.
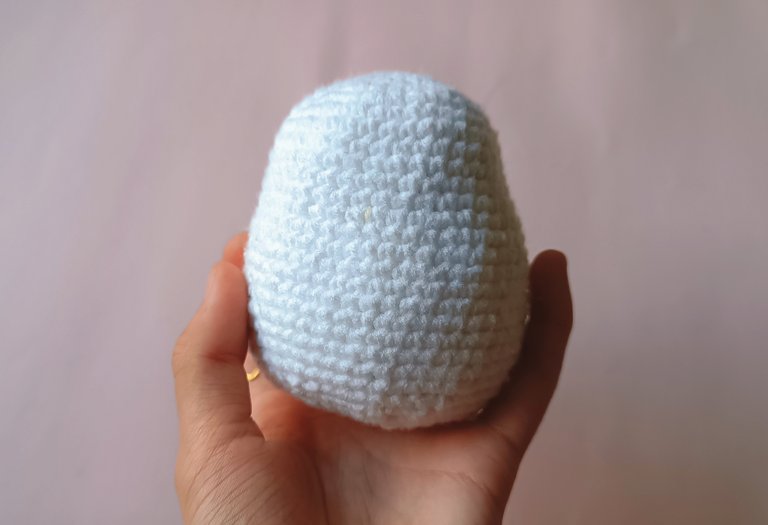
Today, I made a chubby rabbit using mainly white yarn from those yarns. Although I have basic crochet skills, I joined a crochet class because I was not good at making plushies. So I'm not going to tell you the crochet pattern I used to make this chubby rabbit. Today I'm going to talk about the embroidery and assembly I used when making this chubby rabbit.
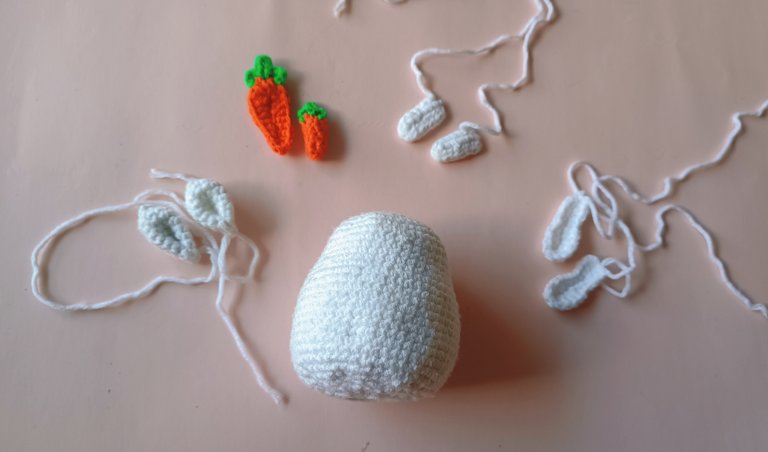
I used white yarn and made the body, hands, legs and ears. At the edge of that, I cut the yarn long enough.
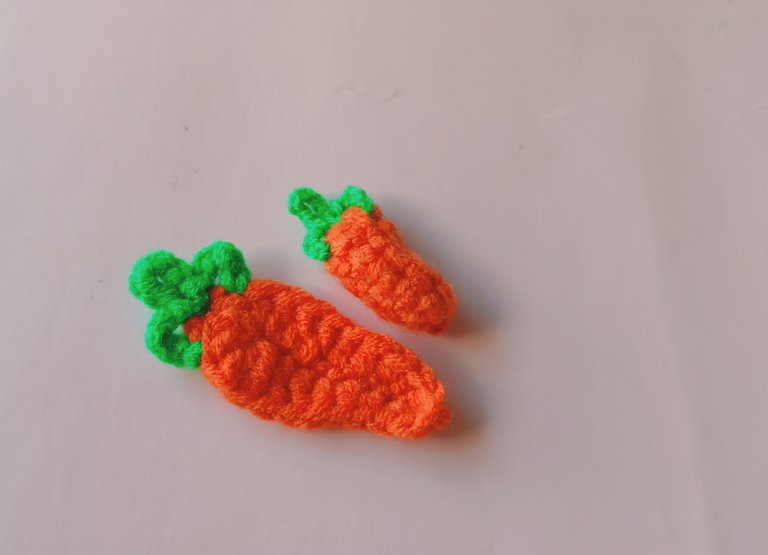
And using orange and green color yarn, we made baby carrot and small carrot. One is to be attached to the rabbit's hand and the baby carrot is to be attached to the head.
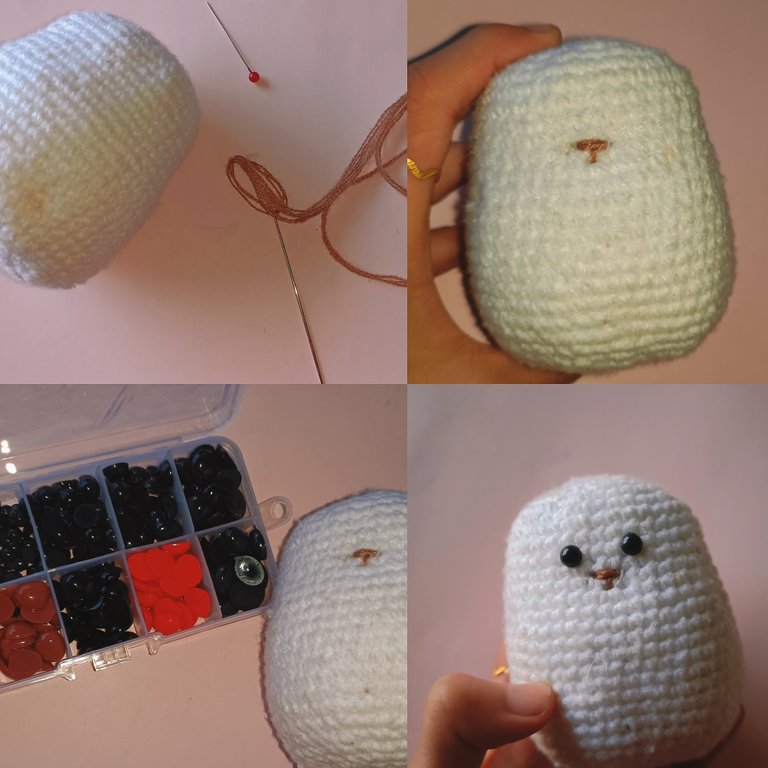
First, I used brown yarn to make the nose on the rabbit's body. Then I attached the 2 eyes with a little glue.
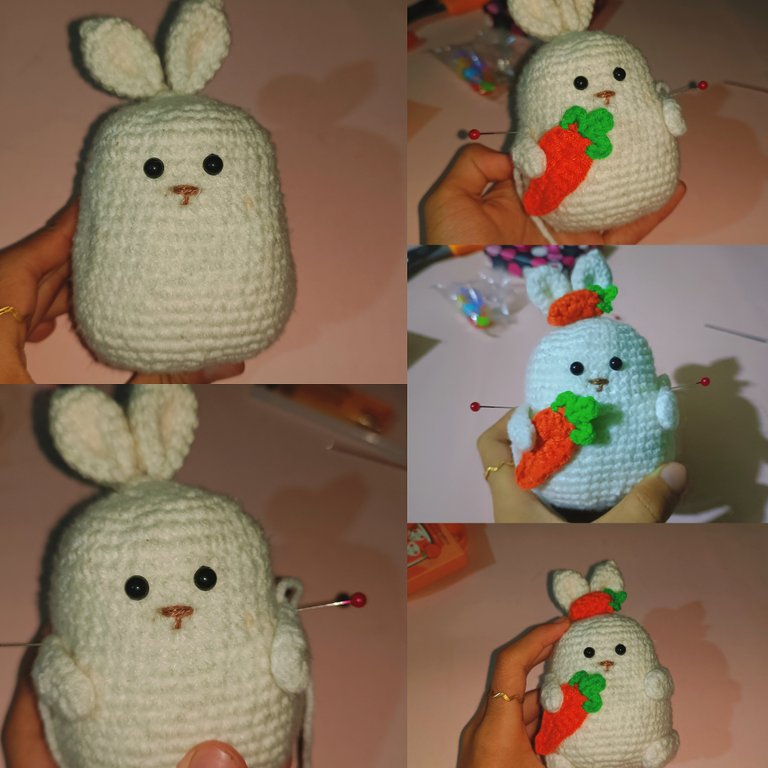
Then I sewed the legs, ears and hands together on the body.

In the final step, I decorated the Rabbit's ears and face by using some eye shadow.
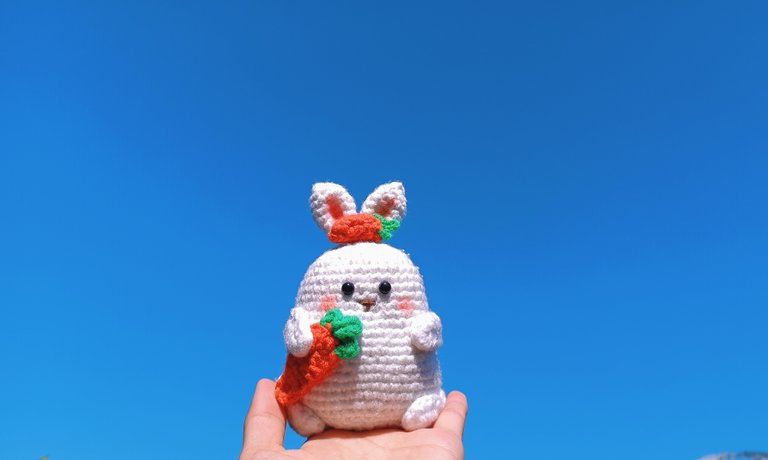
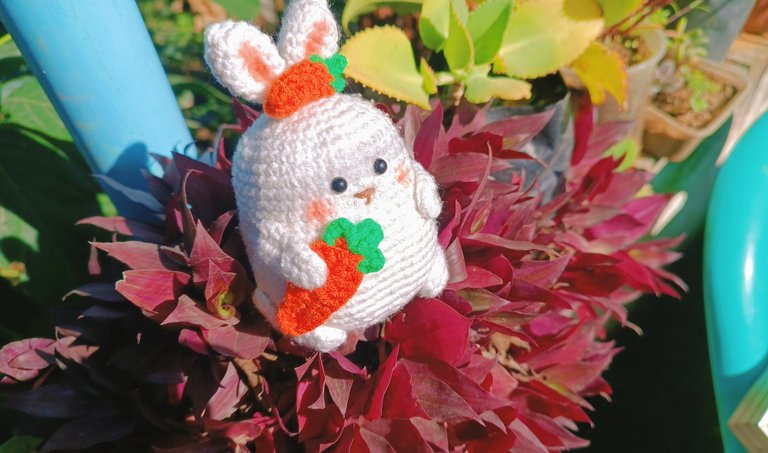


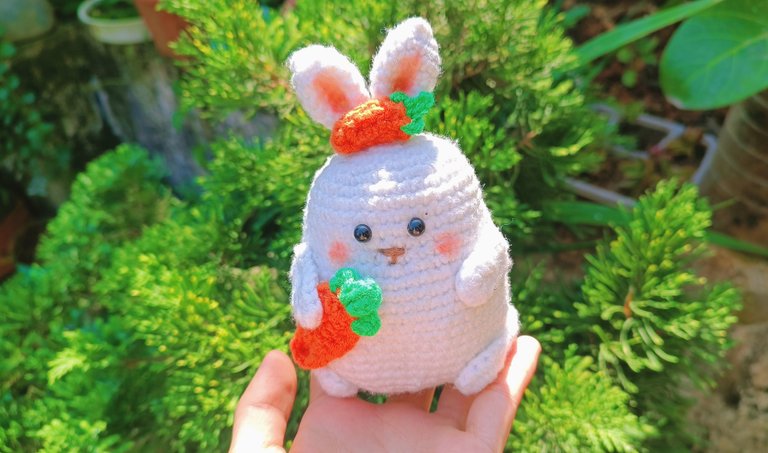
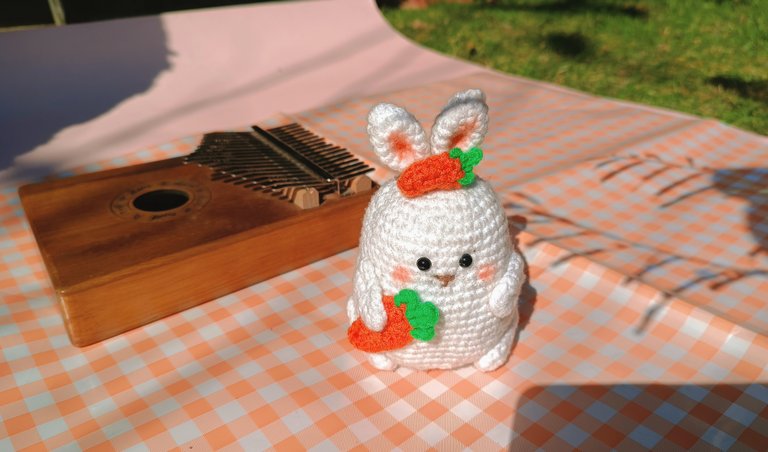

That's it for today. Above are some pictures of the chubby rabbit I took today. I'll see you soon in a new post. Have a nice day.
@winelay 🍇
Yay! 🤗
Your content has been boosted with Ecency Points, by @winelay.
Use Ecency daily to boost your growth on platform!
Support Ecency
Vote for new Proposal
Delegate HP and earn more
That is a cute little. White color is so neat and pure. Nice work.
Thank you for your support and attention.💛
Wow this is creative and really beautiful I love it.
This post has been selected by the Hive Learners Community team and will receive support from the lazypanda. Kindly click on the banner to visit our community and check out our Discord channel here.
Ohh. Thank you very much for your attention and support. I am trying to show better handmade.
This is so cute!! I love the photos you took also. Colorful photos with lots of textures always inspire me. Appreciate that a kalimba was in the pics too. Best of luck with your handmade crafts!
What a cute bunny! I loved! 🥰😍💗 I congratulated you, it's a really nice job!
Thank you for your comment. I am trying to create better handmade things.
How cute he looks😍✨
Thank you.💛
Such a cute Chubby rabbit. Nice work.
Thank you for your attention.
que lindo! muy bello trabajo
how nice! very beautiful work
Thank you for your attention.💛
Nice work dearie... Keep it up😘
Thank you.
ချစ်စရာလေး ။ အမလည်း သိုးမွှေးအရုပ်လေးတွေထိုးတာ သင်ဖူးတယ်။ အခုတော့ သိုးမွှေးမထိုးဖြစ်တော့ဘူး။
!LUV
!HUG
@myothuzar, sorry!
You are out of hugs for today.
You can call the HUG bot a maximum of 3 per day.
The current call limits are:
winelay, myothuzar sent you LUV. 🙂 (5/5) tools | trade | connect | daily
Made with LUV by crrdlx.
ကျေးဇူးတင်ပါတယ်ရှင့်.ညီမလည်းမထိုးဖြစ်တာကြာပြီဒီရက်ပိုင်းမှပြန်ထိုးနေတာ
I like the eye shadow decor you gave the bunny
Nice work.