I made a beautiful papper tree
Hello good people of DIYHub, its my first post for the year and I'm wishing everyone here a happy wnd prosperous new year.
Today I want to share with you guys a very beautiful art I was able to make, this art is a prove to me that anything can be achieved if we determine to do it.
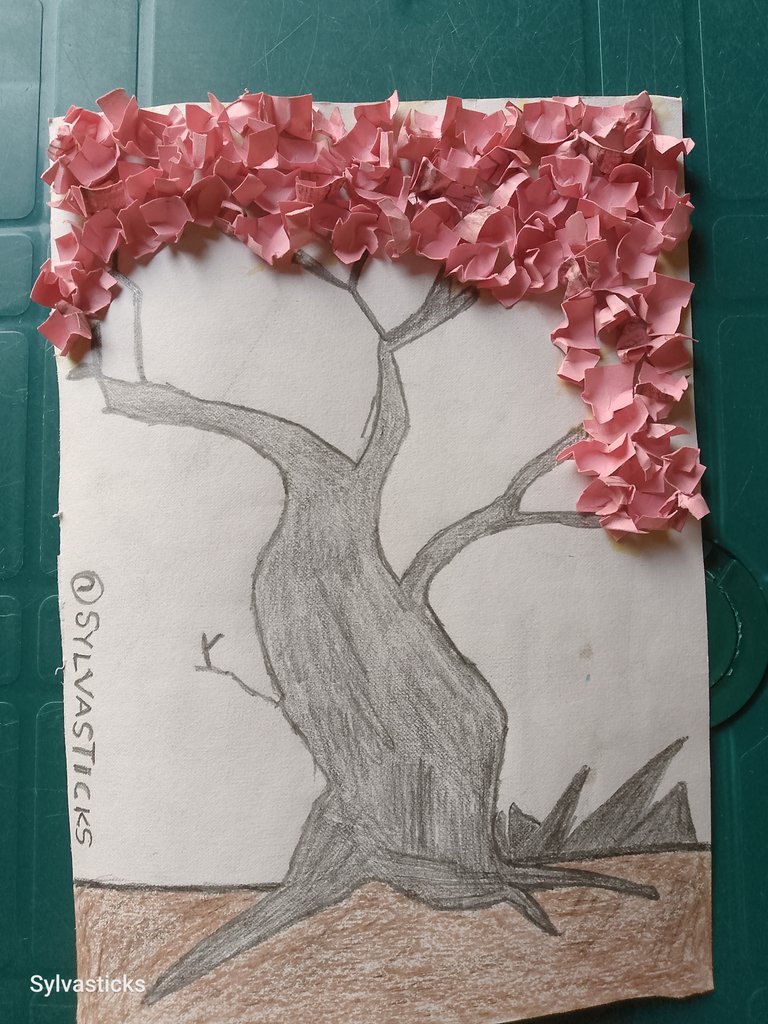
This is actually my first time trying out something really different from my pattern of cardboard paper DIY, without much ado let's check it out.
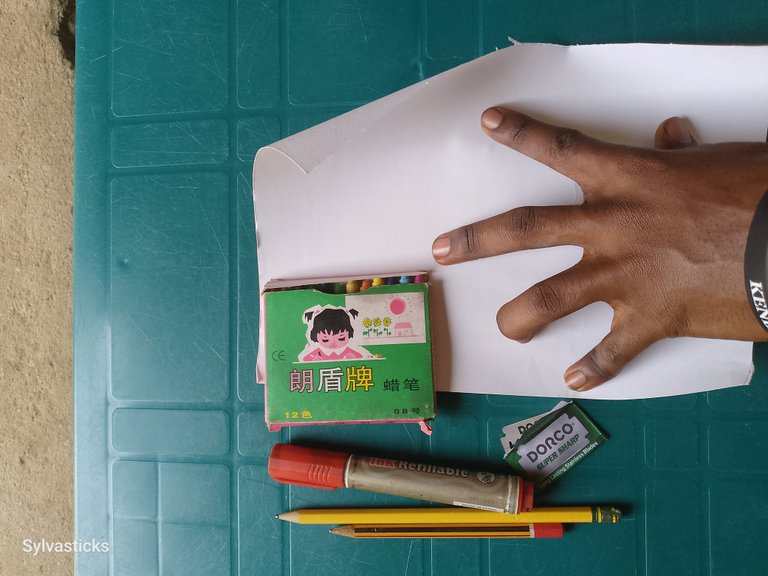
TOOLS USED
WHITE CARDBOARD PAPER
PINK CARDBOARD PAPER
PENCIL
GUM
CRAYON
STEPS
First of all I cut out my white cardboard paper in the desired square shape.
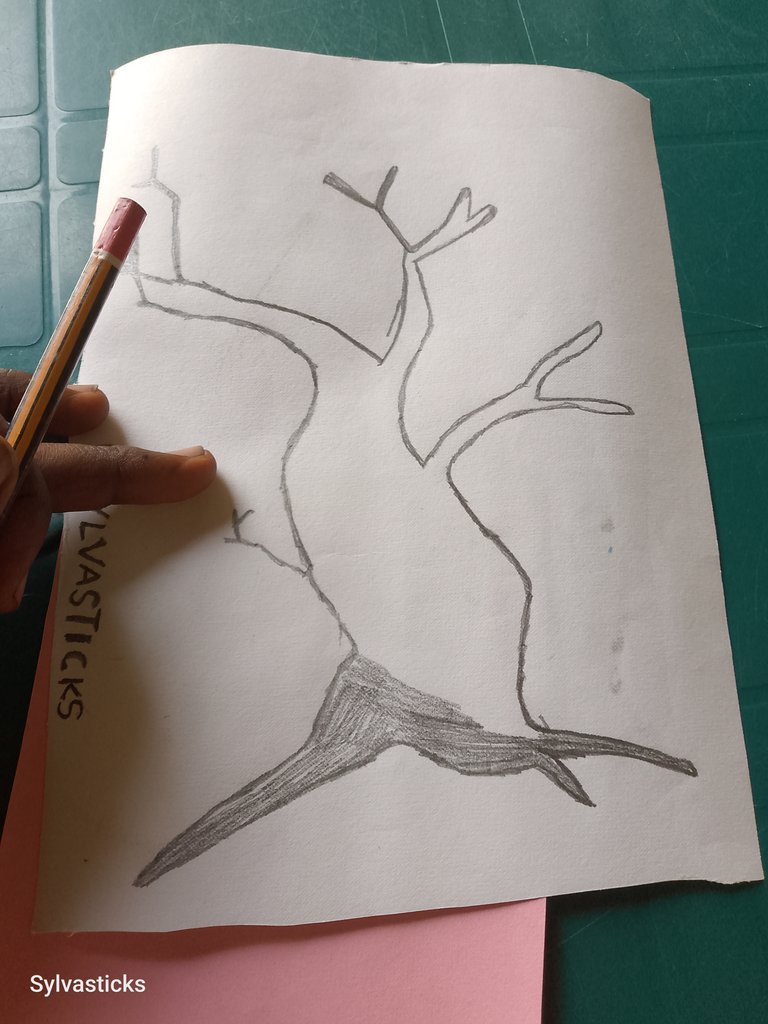
After which I started crafting a tree on the paper, it took me some time before i got it correctly.
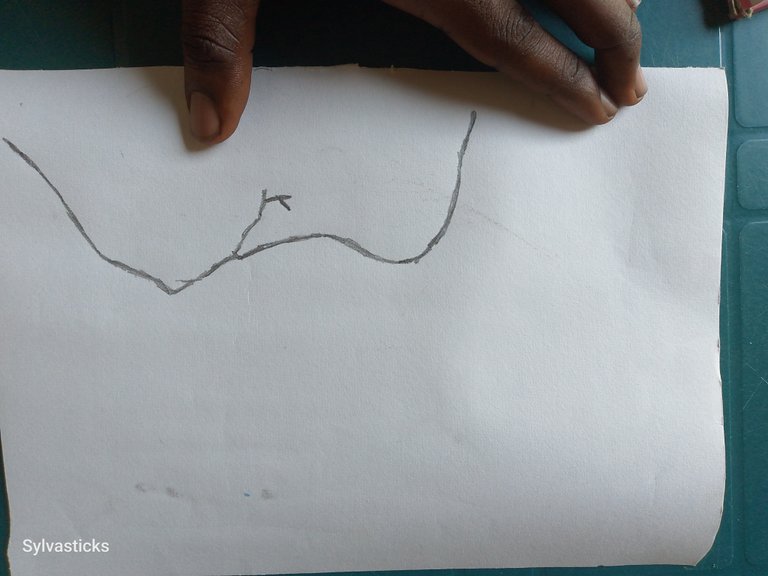
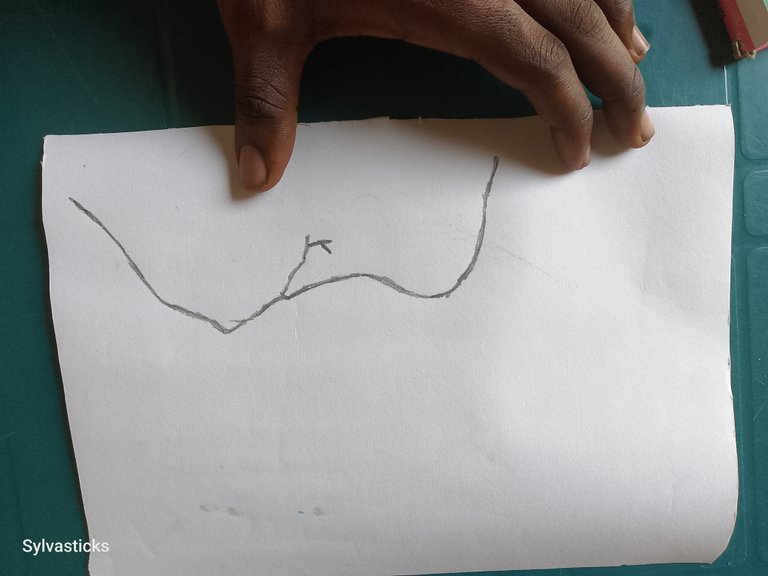
This is just the process of how the drawing went, I'm showing you guys from the scratch, it's always a little bit stressful because I was also the one taking the pictures.
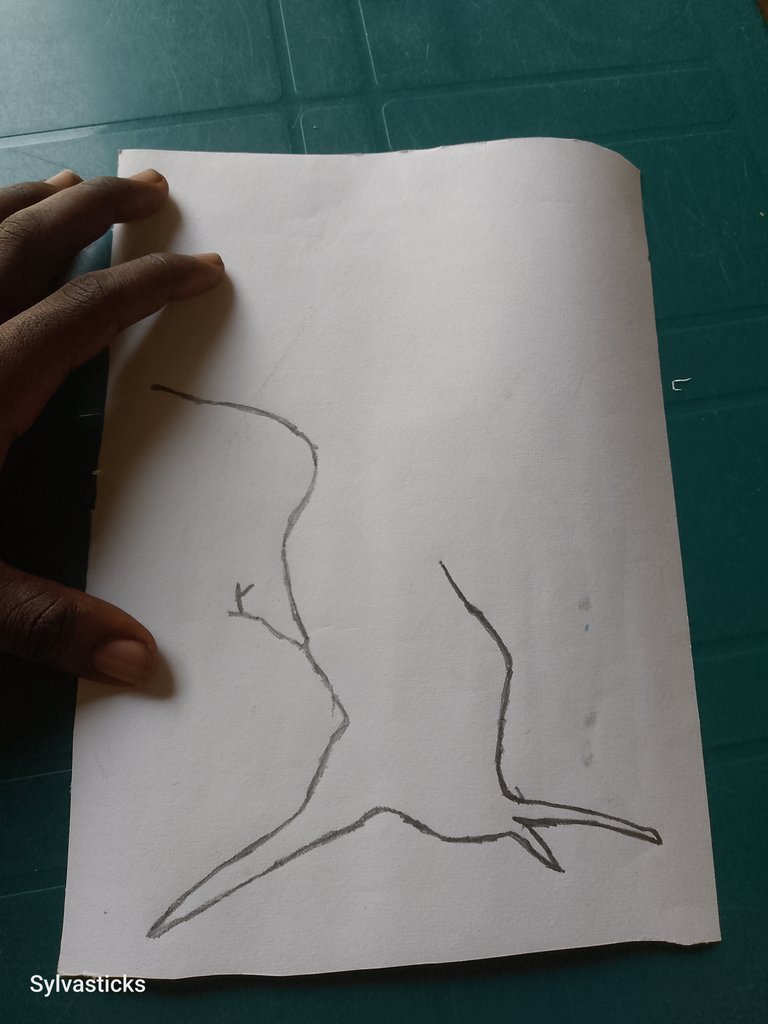
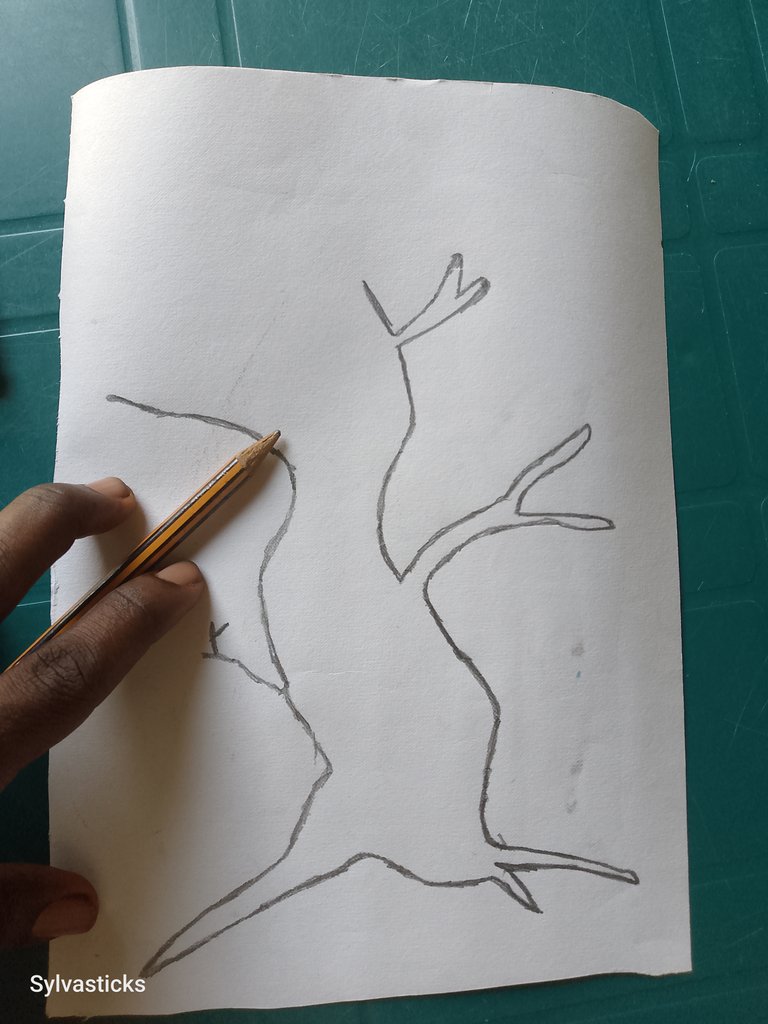
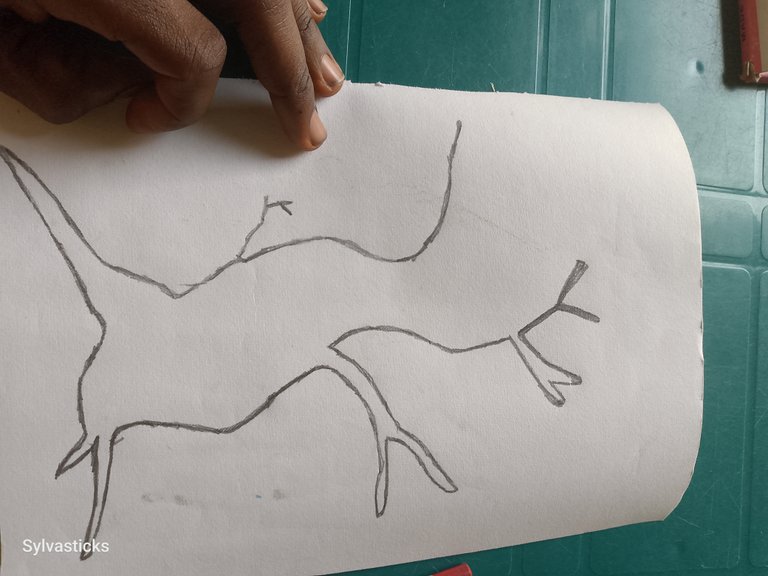
As you can see the tree is beginning to take shape.
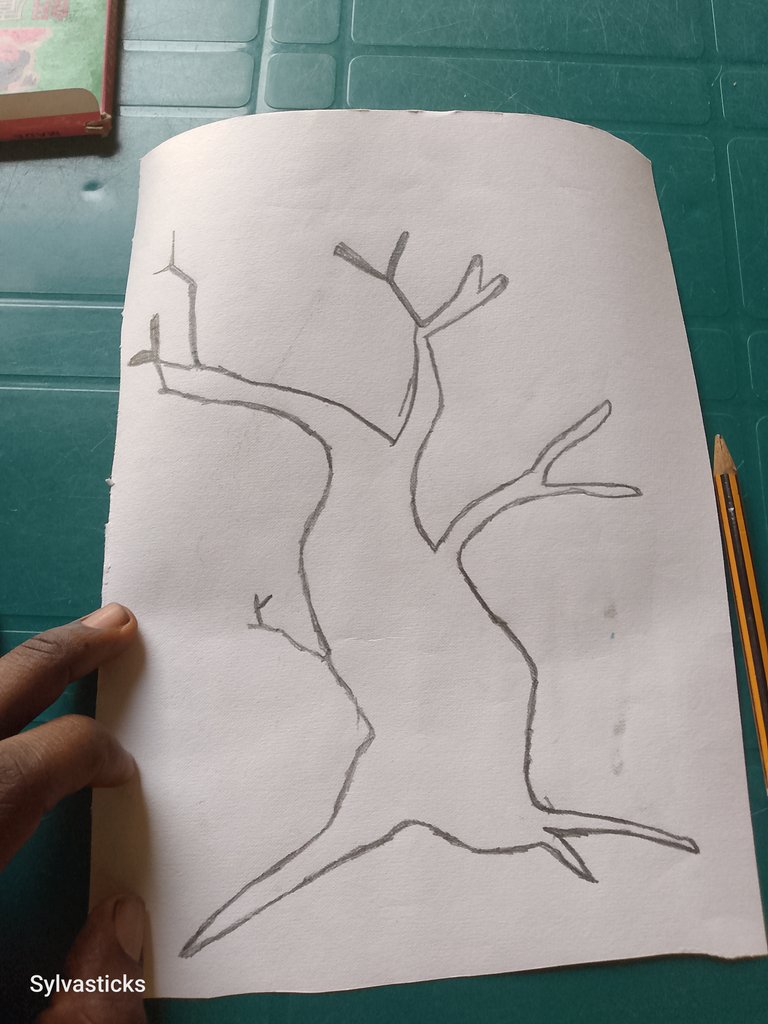
Step 2
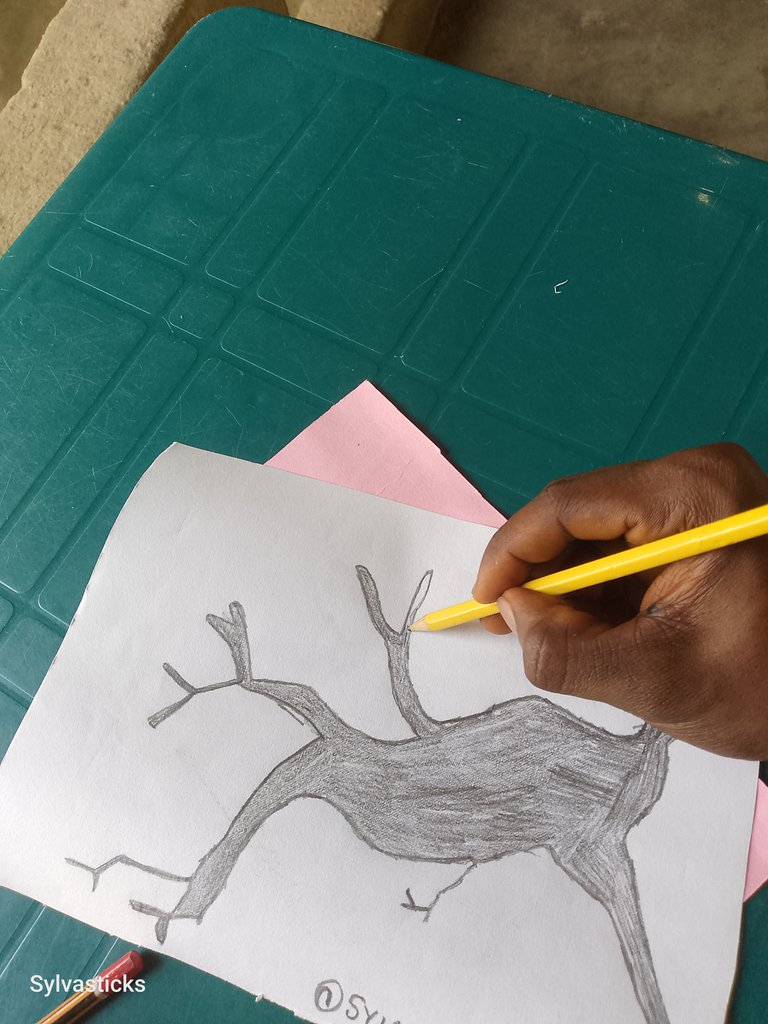
Shading; I started shadjing the body of the tree yo give it a unique look because of the white Paper I used, and here is how it went.

Step 3
Making of the flowers🌻
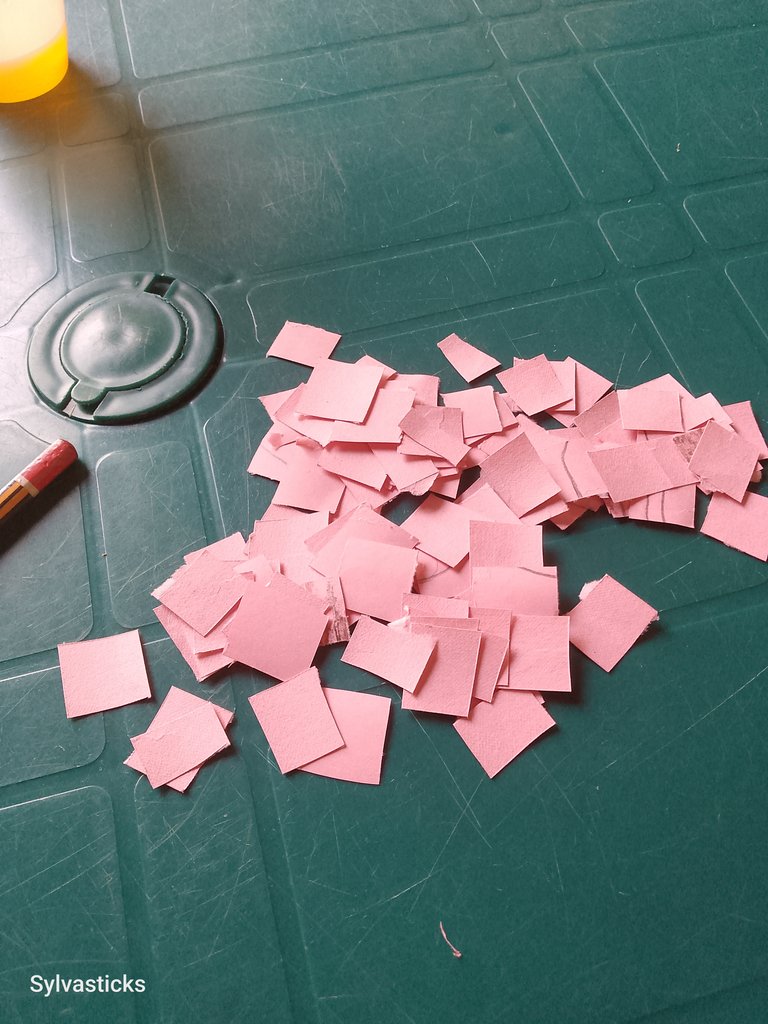
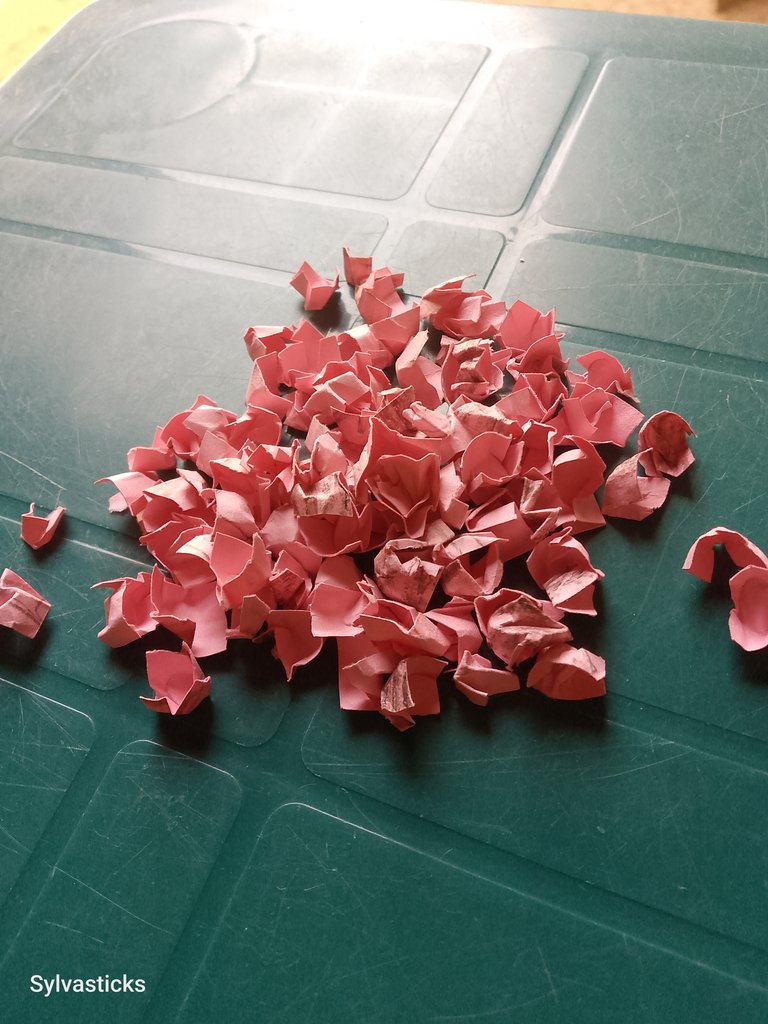
Here what i did was to creat the leaves for the tree so I started by cutting the cardboard into smaller squre pieces like this.
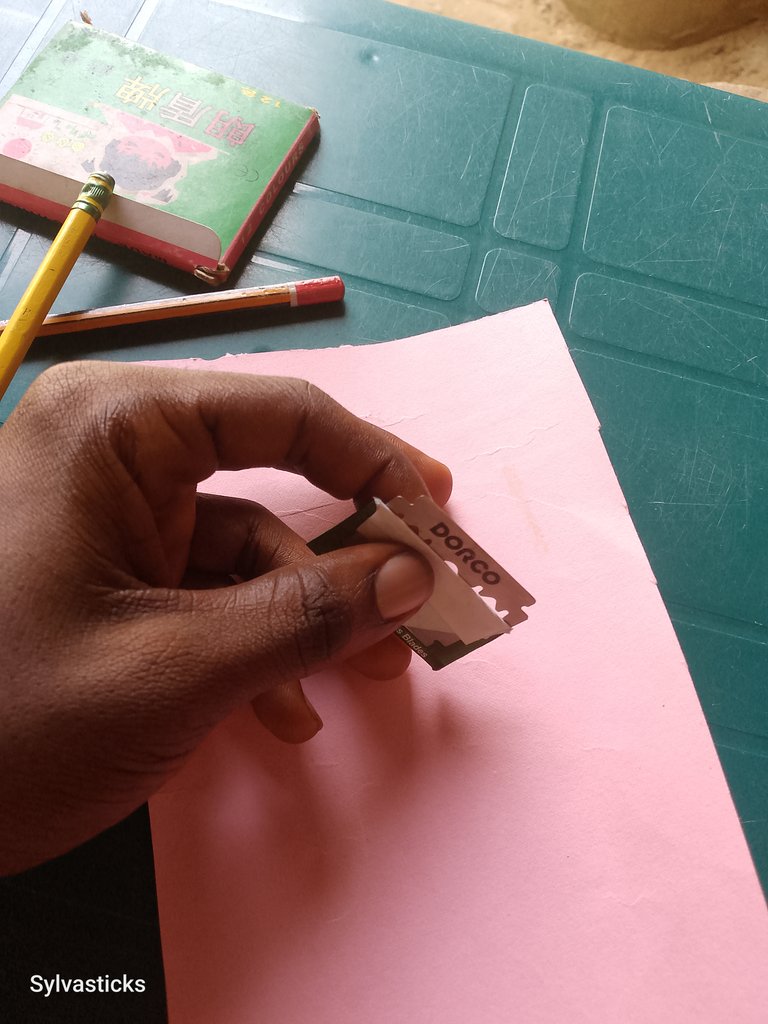
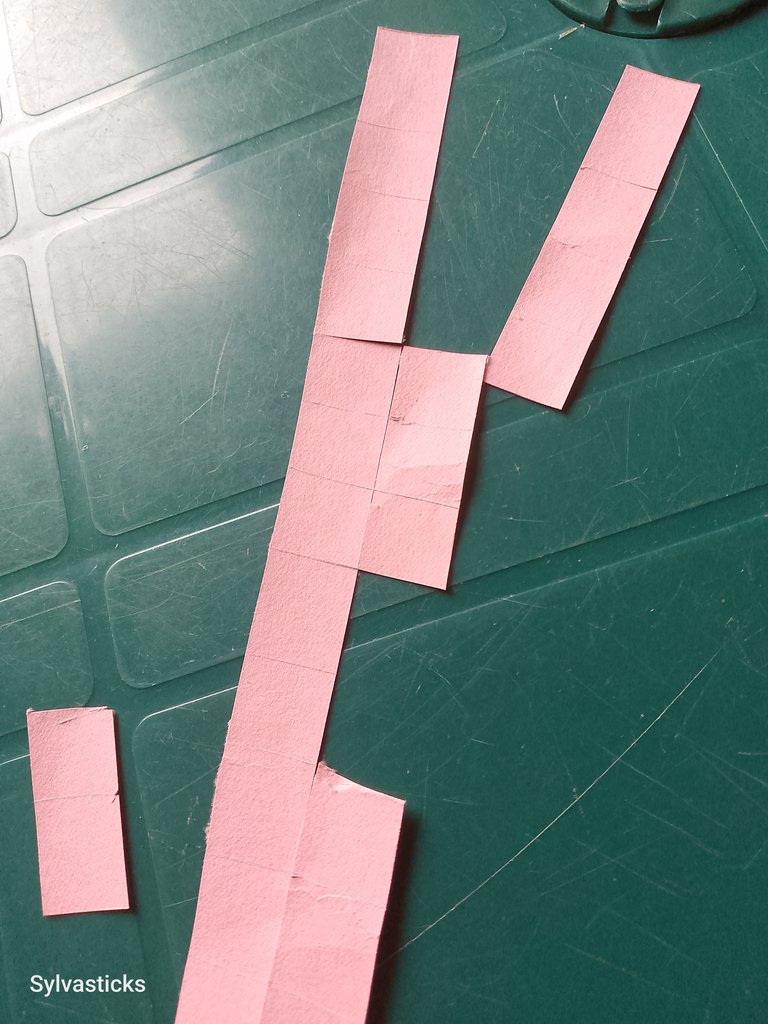
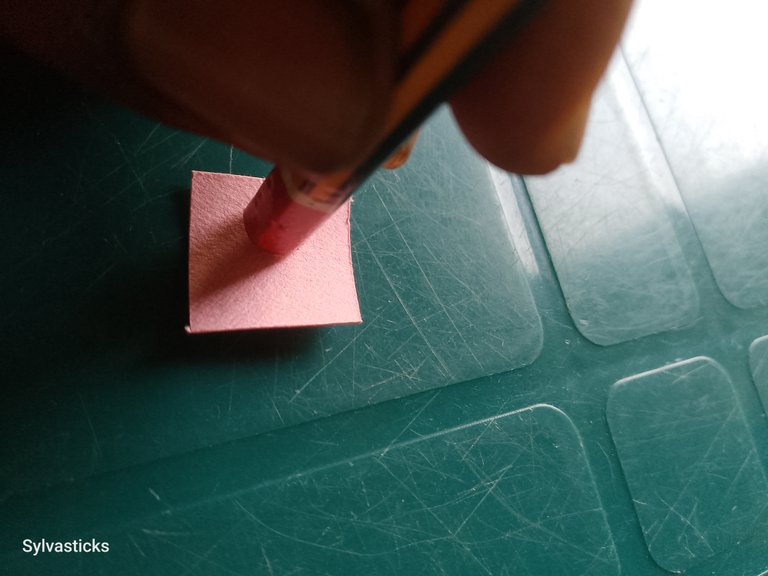
To fold the paper I used the edge of a pencil by placing it on the paper then just fold it to the size of the buttom of the pencil, here is an example.
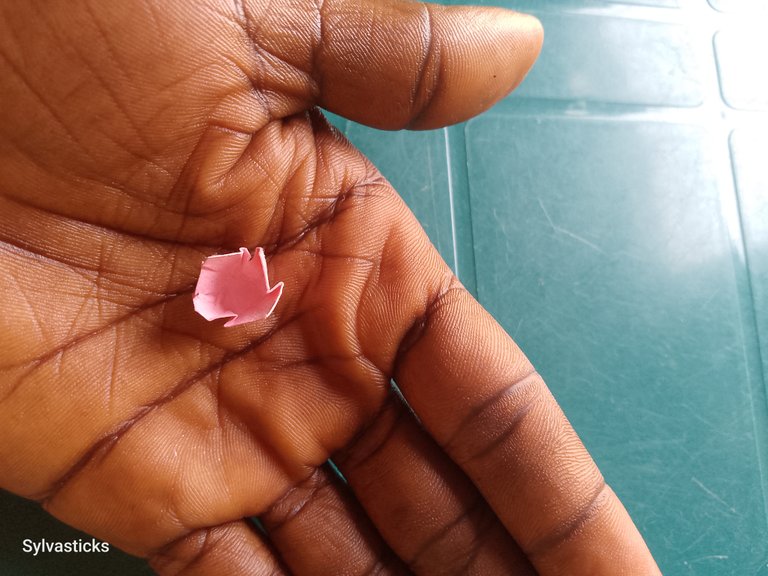
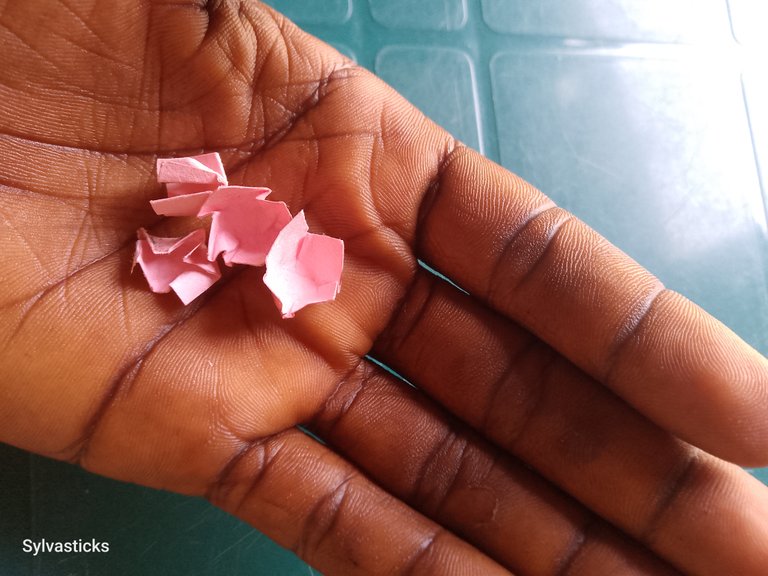
It took me 25 minutes to get it all done
Step 4
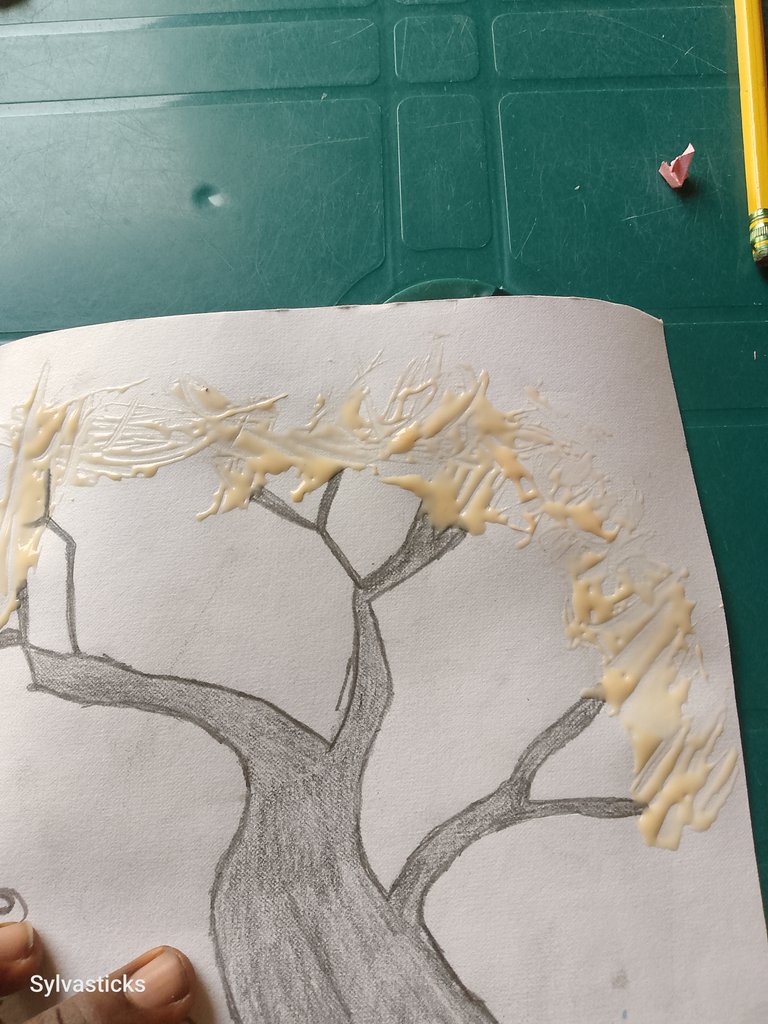
Flowering;it was time to add the flowers to the tree, first thing to do here is pread your gum where the flowers will be positioned
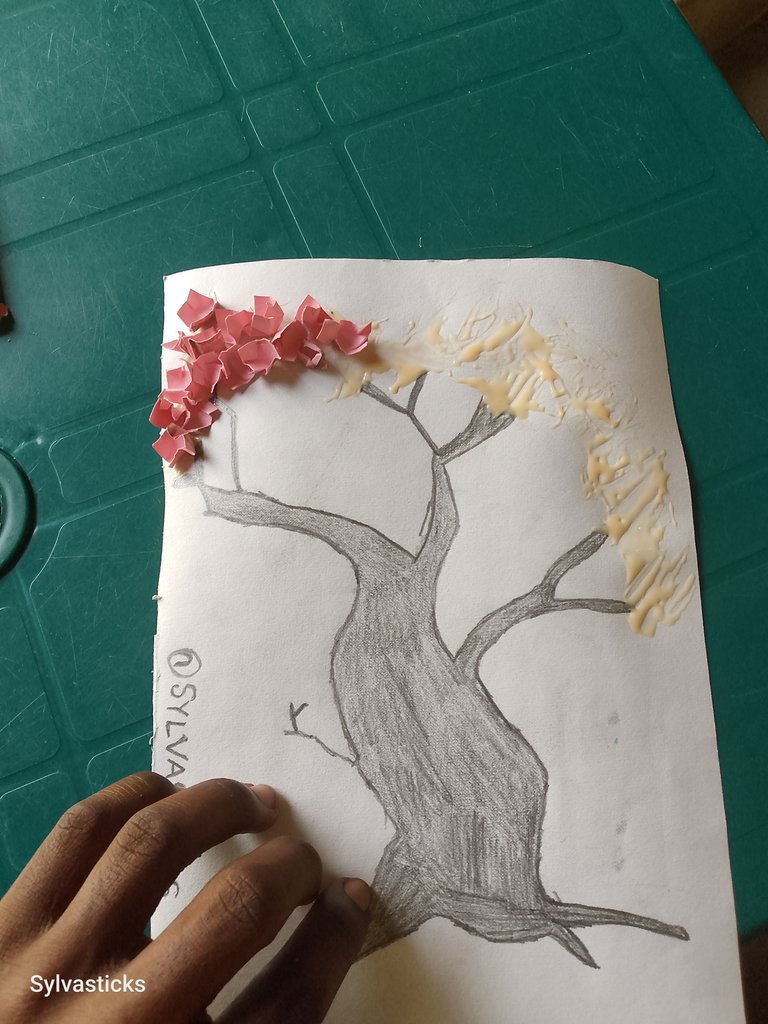
Then gentle position your paper flowers on the gum

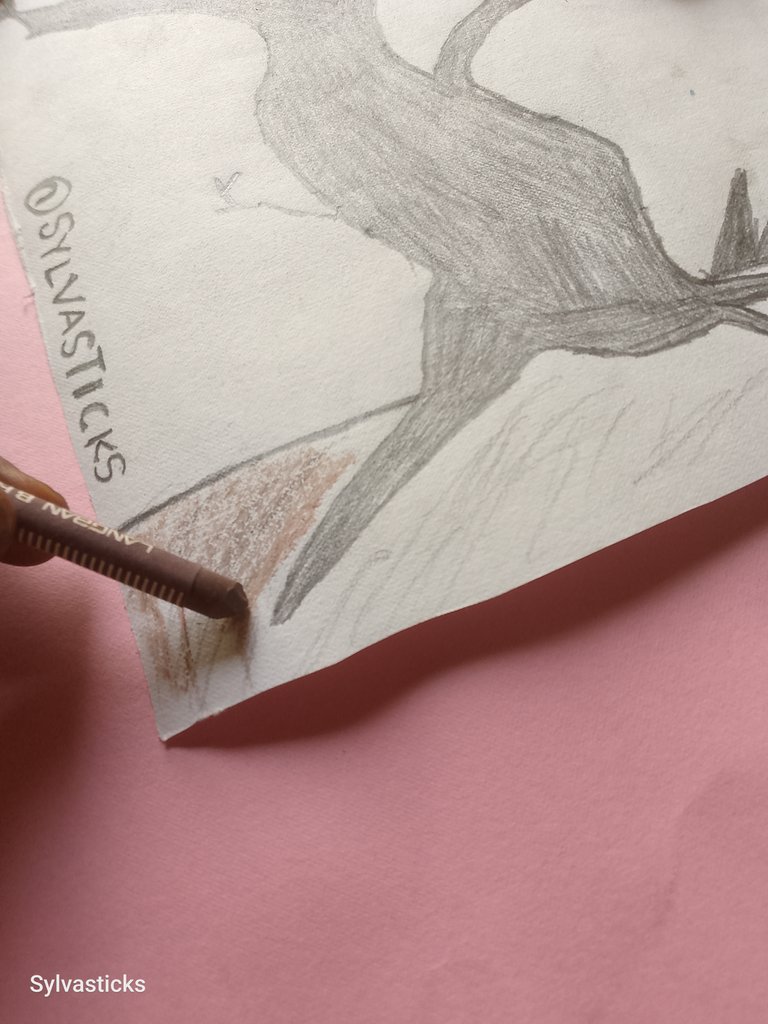
To spice things up i decided to do a little coloring using a crayon
Step 5
Colourspice; I decided to give it a soil effect by drawing a line to divide the root of the tree into the soil.
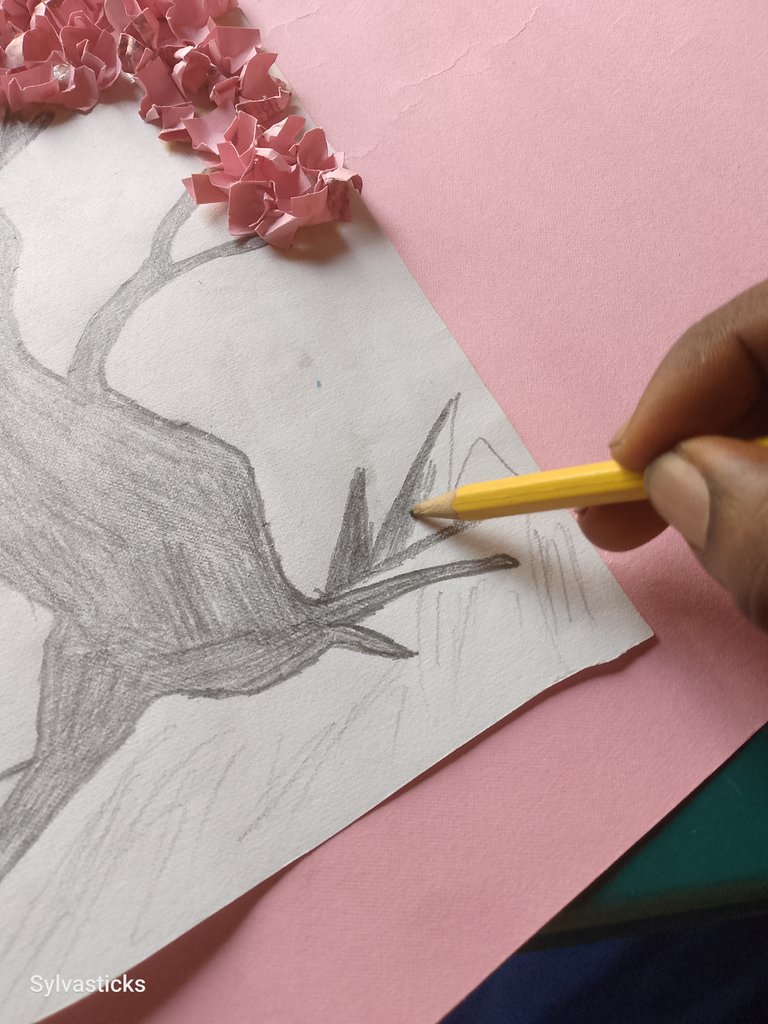
Then I gave it a deep brown color
That was the final step, here is how it came out
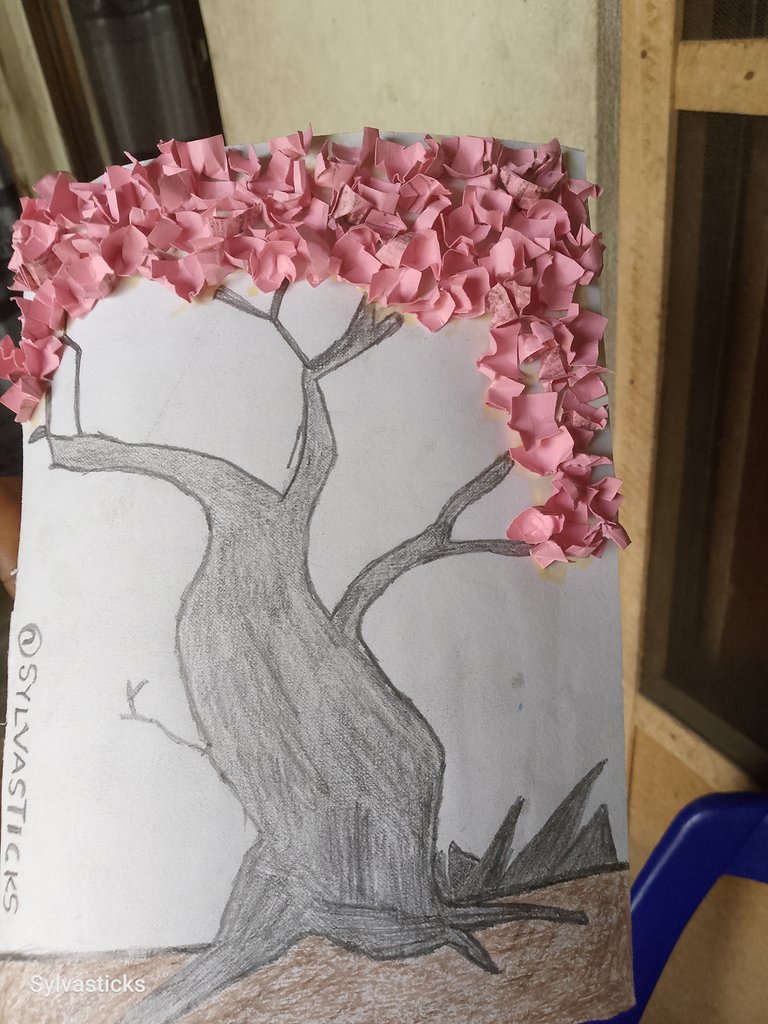
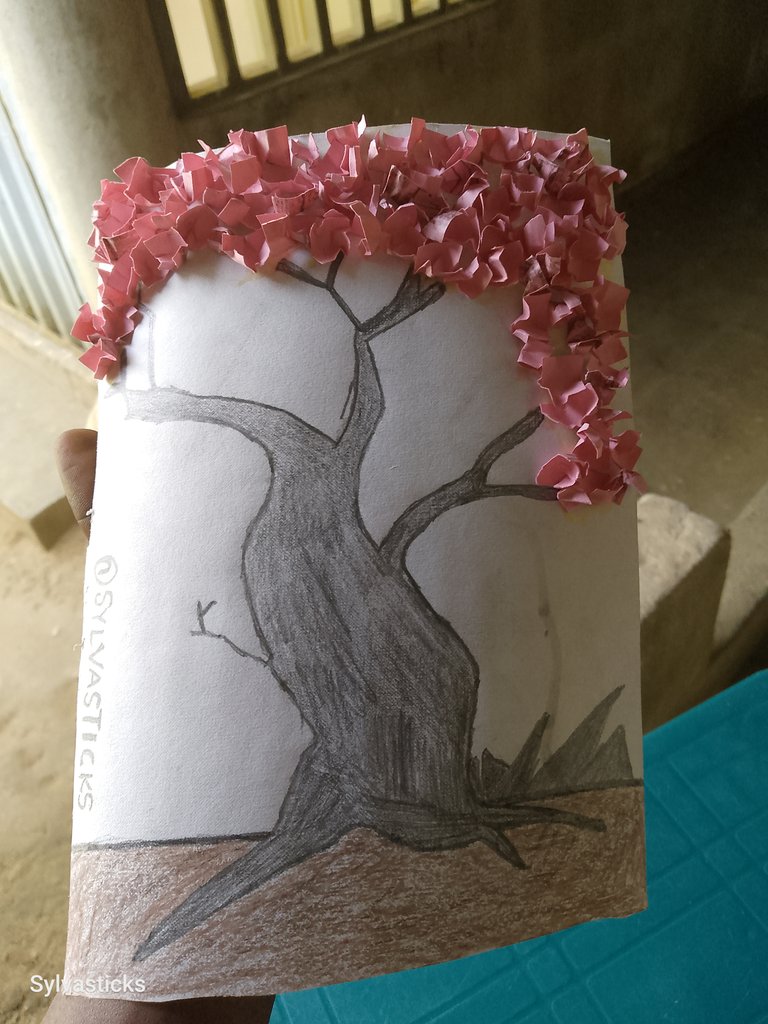
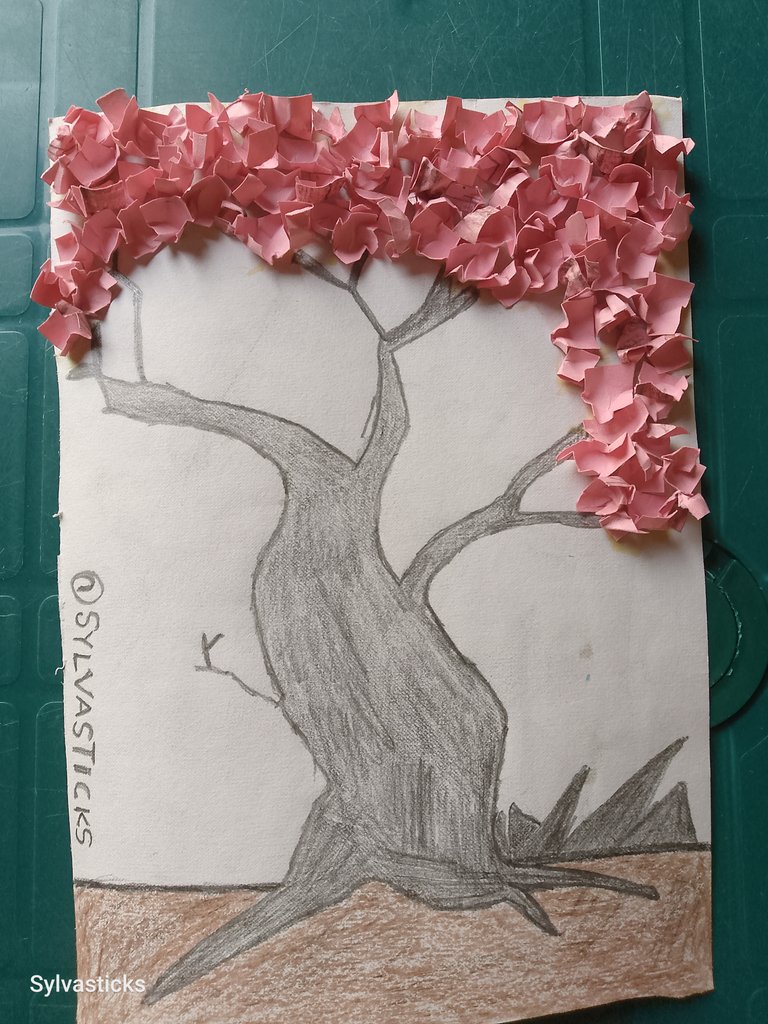
It's so beautiful so i decided to give it out to my neighbor.
Thanks for stopping by
I'm @sylvasticks
Impressive, good job 👍
Thank man