Repair Chronicles: Restoring the Beauty of a Broken Dining Chair
Since I am alone at home now while my entire family is in the Philippines, I make it a point to entertain myself and stay occupied. This helps me avoid excessive sadness and constantly dwelling on thoughts of them.
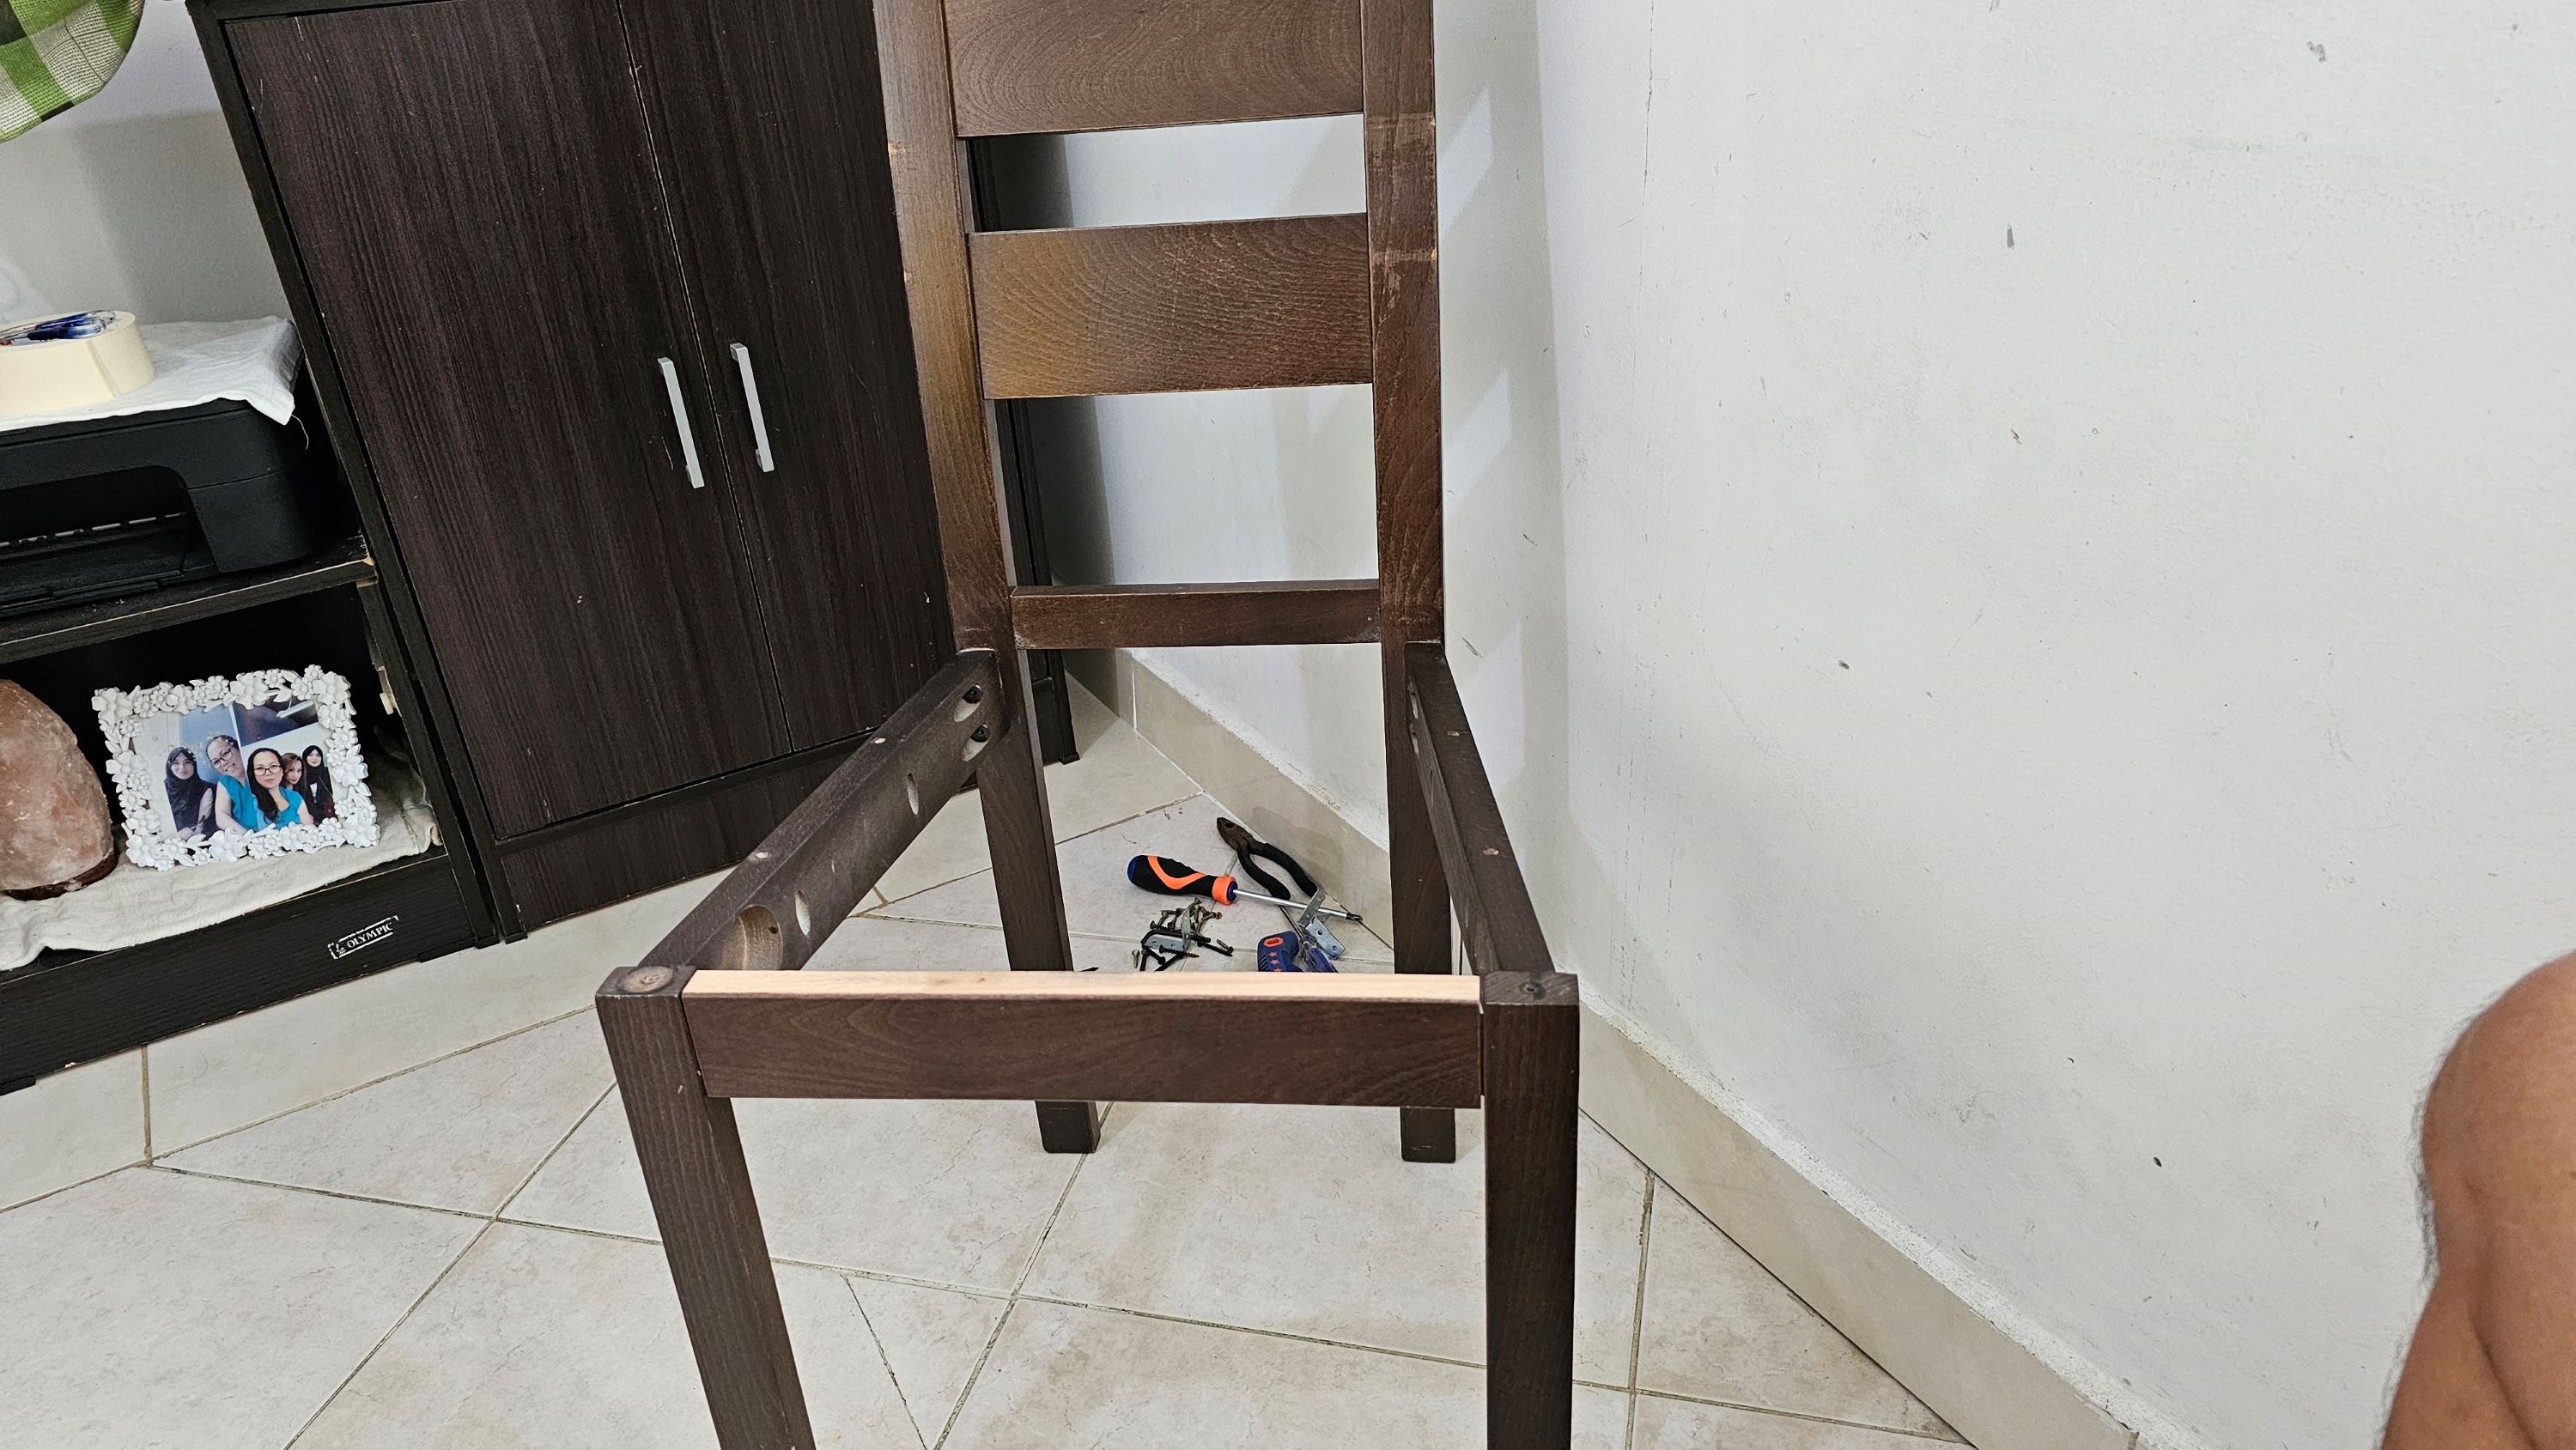
I repaired the dining table chair by replacing the wide plank seating that had broken in the middle. Fortunately, I had some extra foam stored away specifically for this purpose.
This short blog aims to highlight the value of wood and foam scraps by sharing my personal experience. It serves as a reminder that even seemingly insignificant materials can be repurposed and utilized effectively in the future.
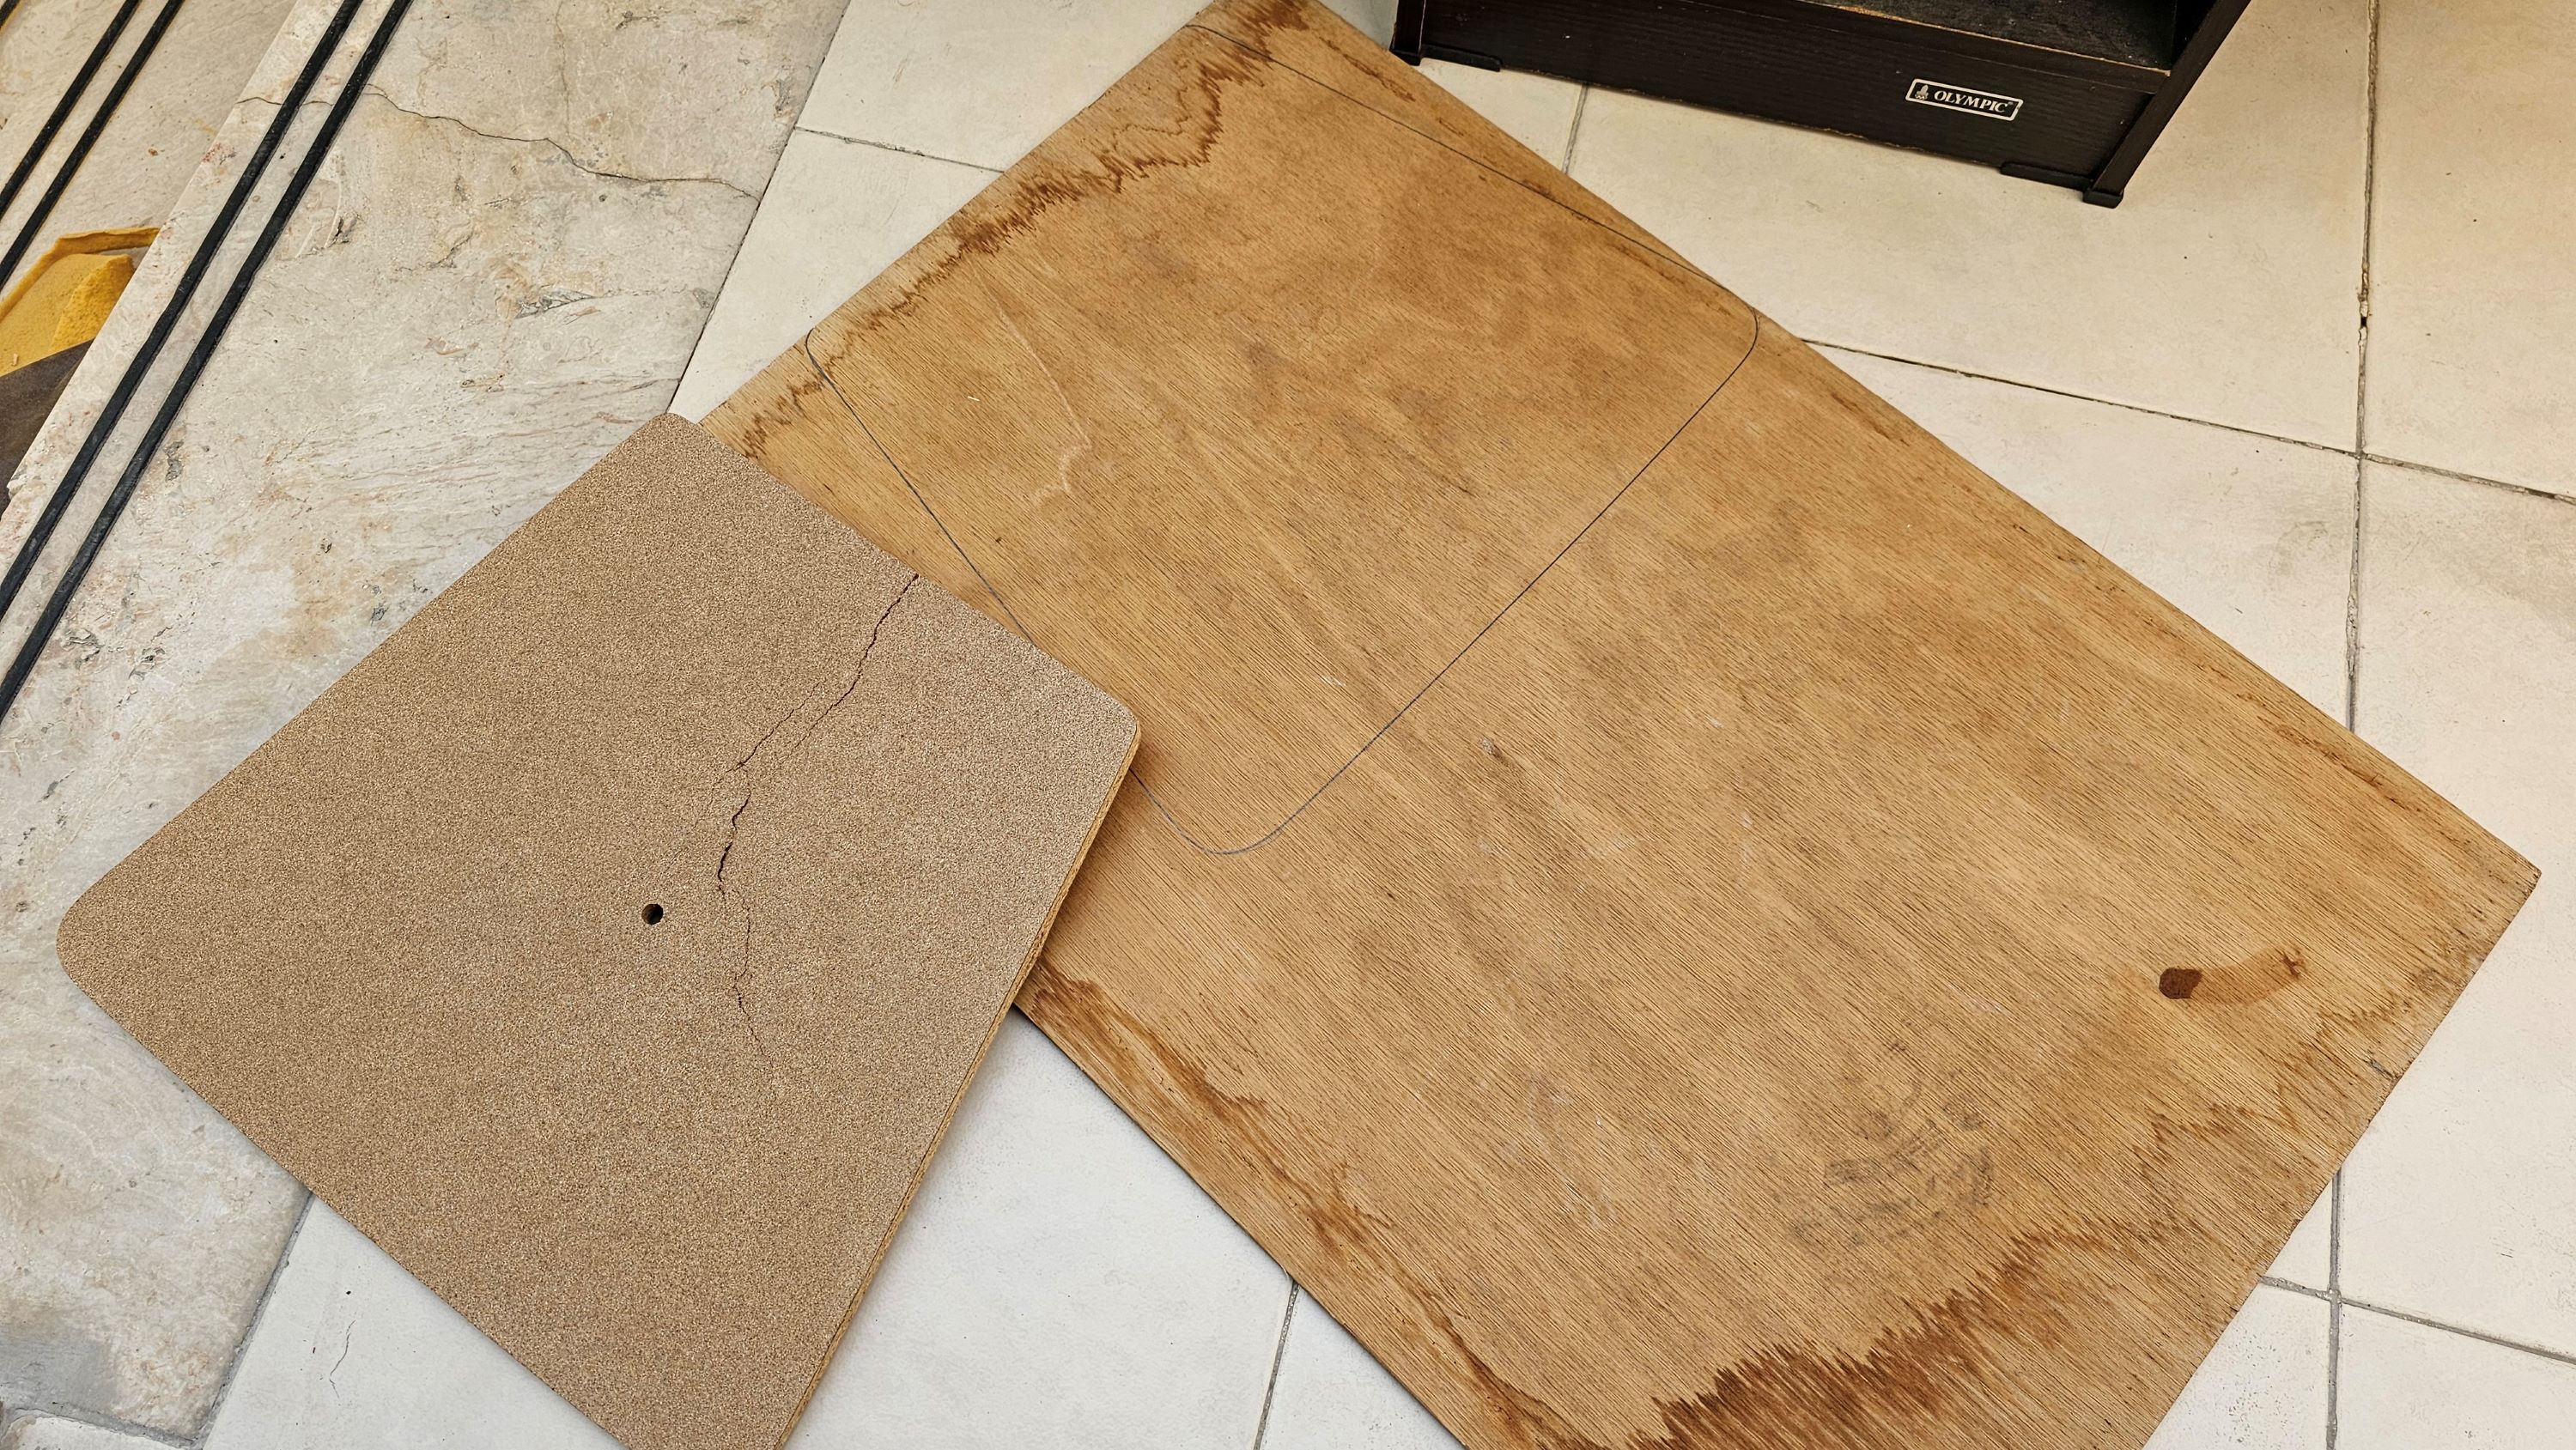
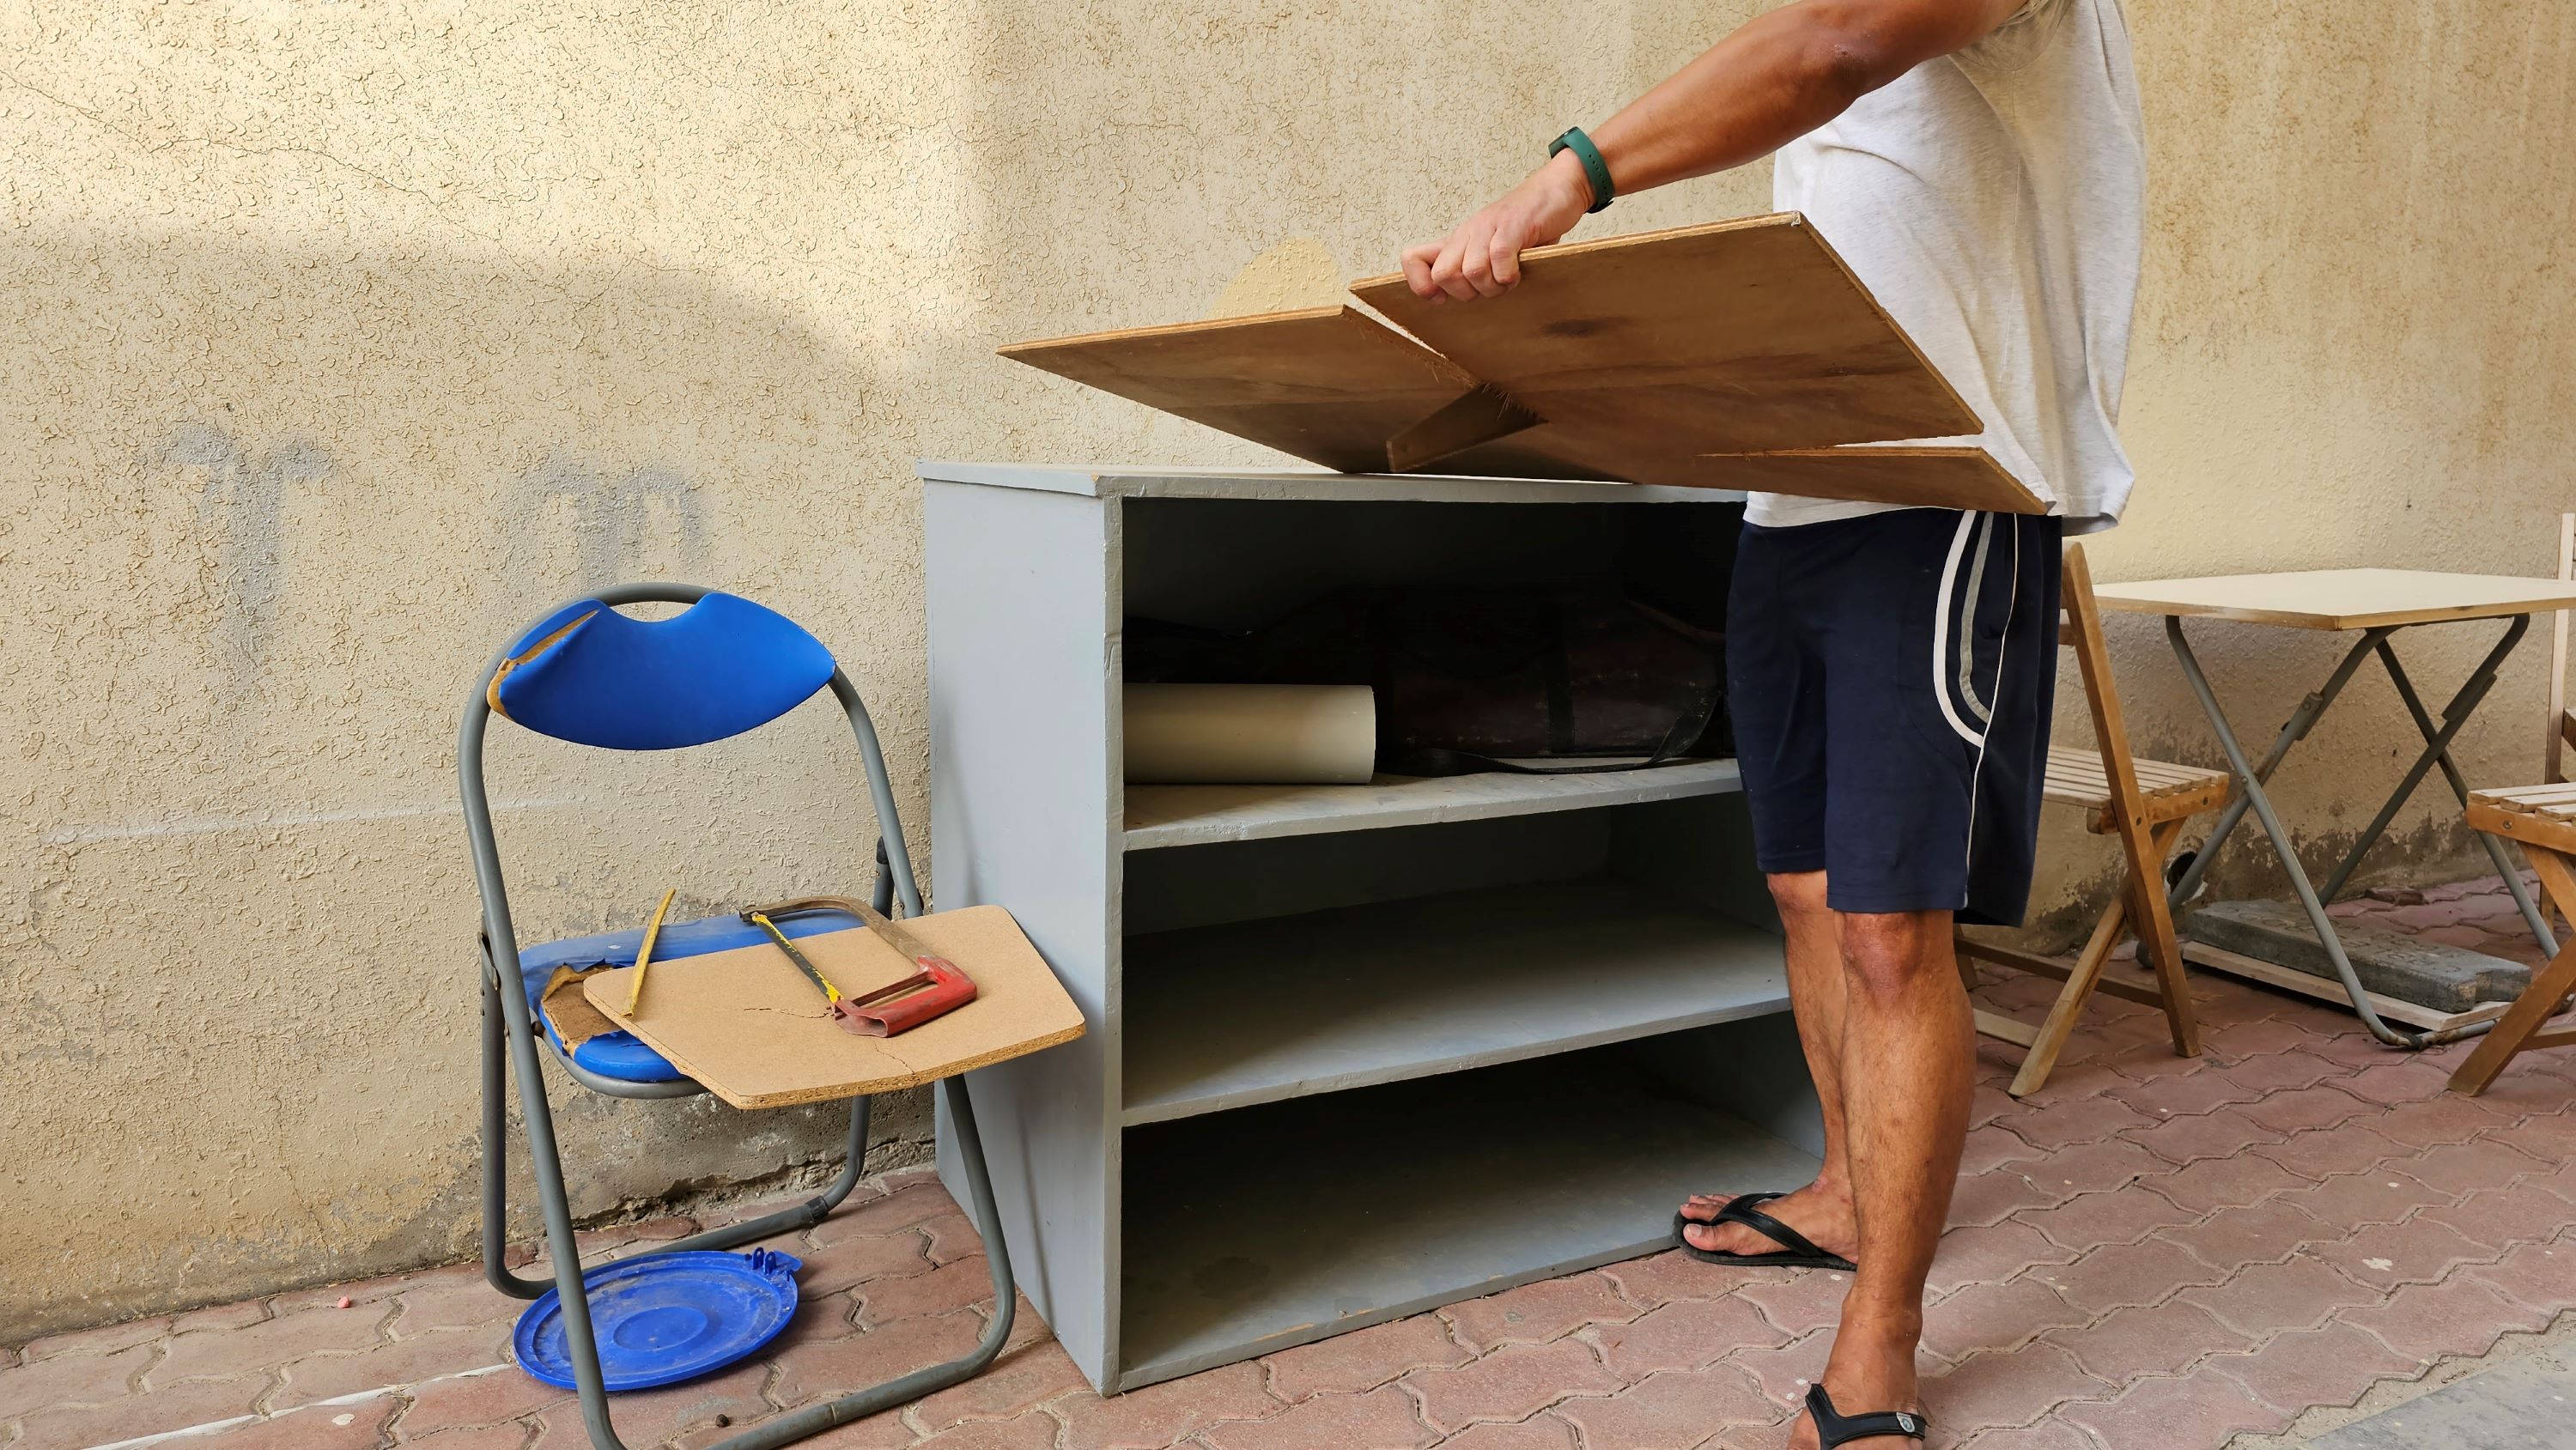
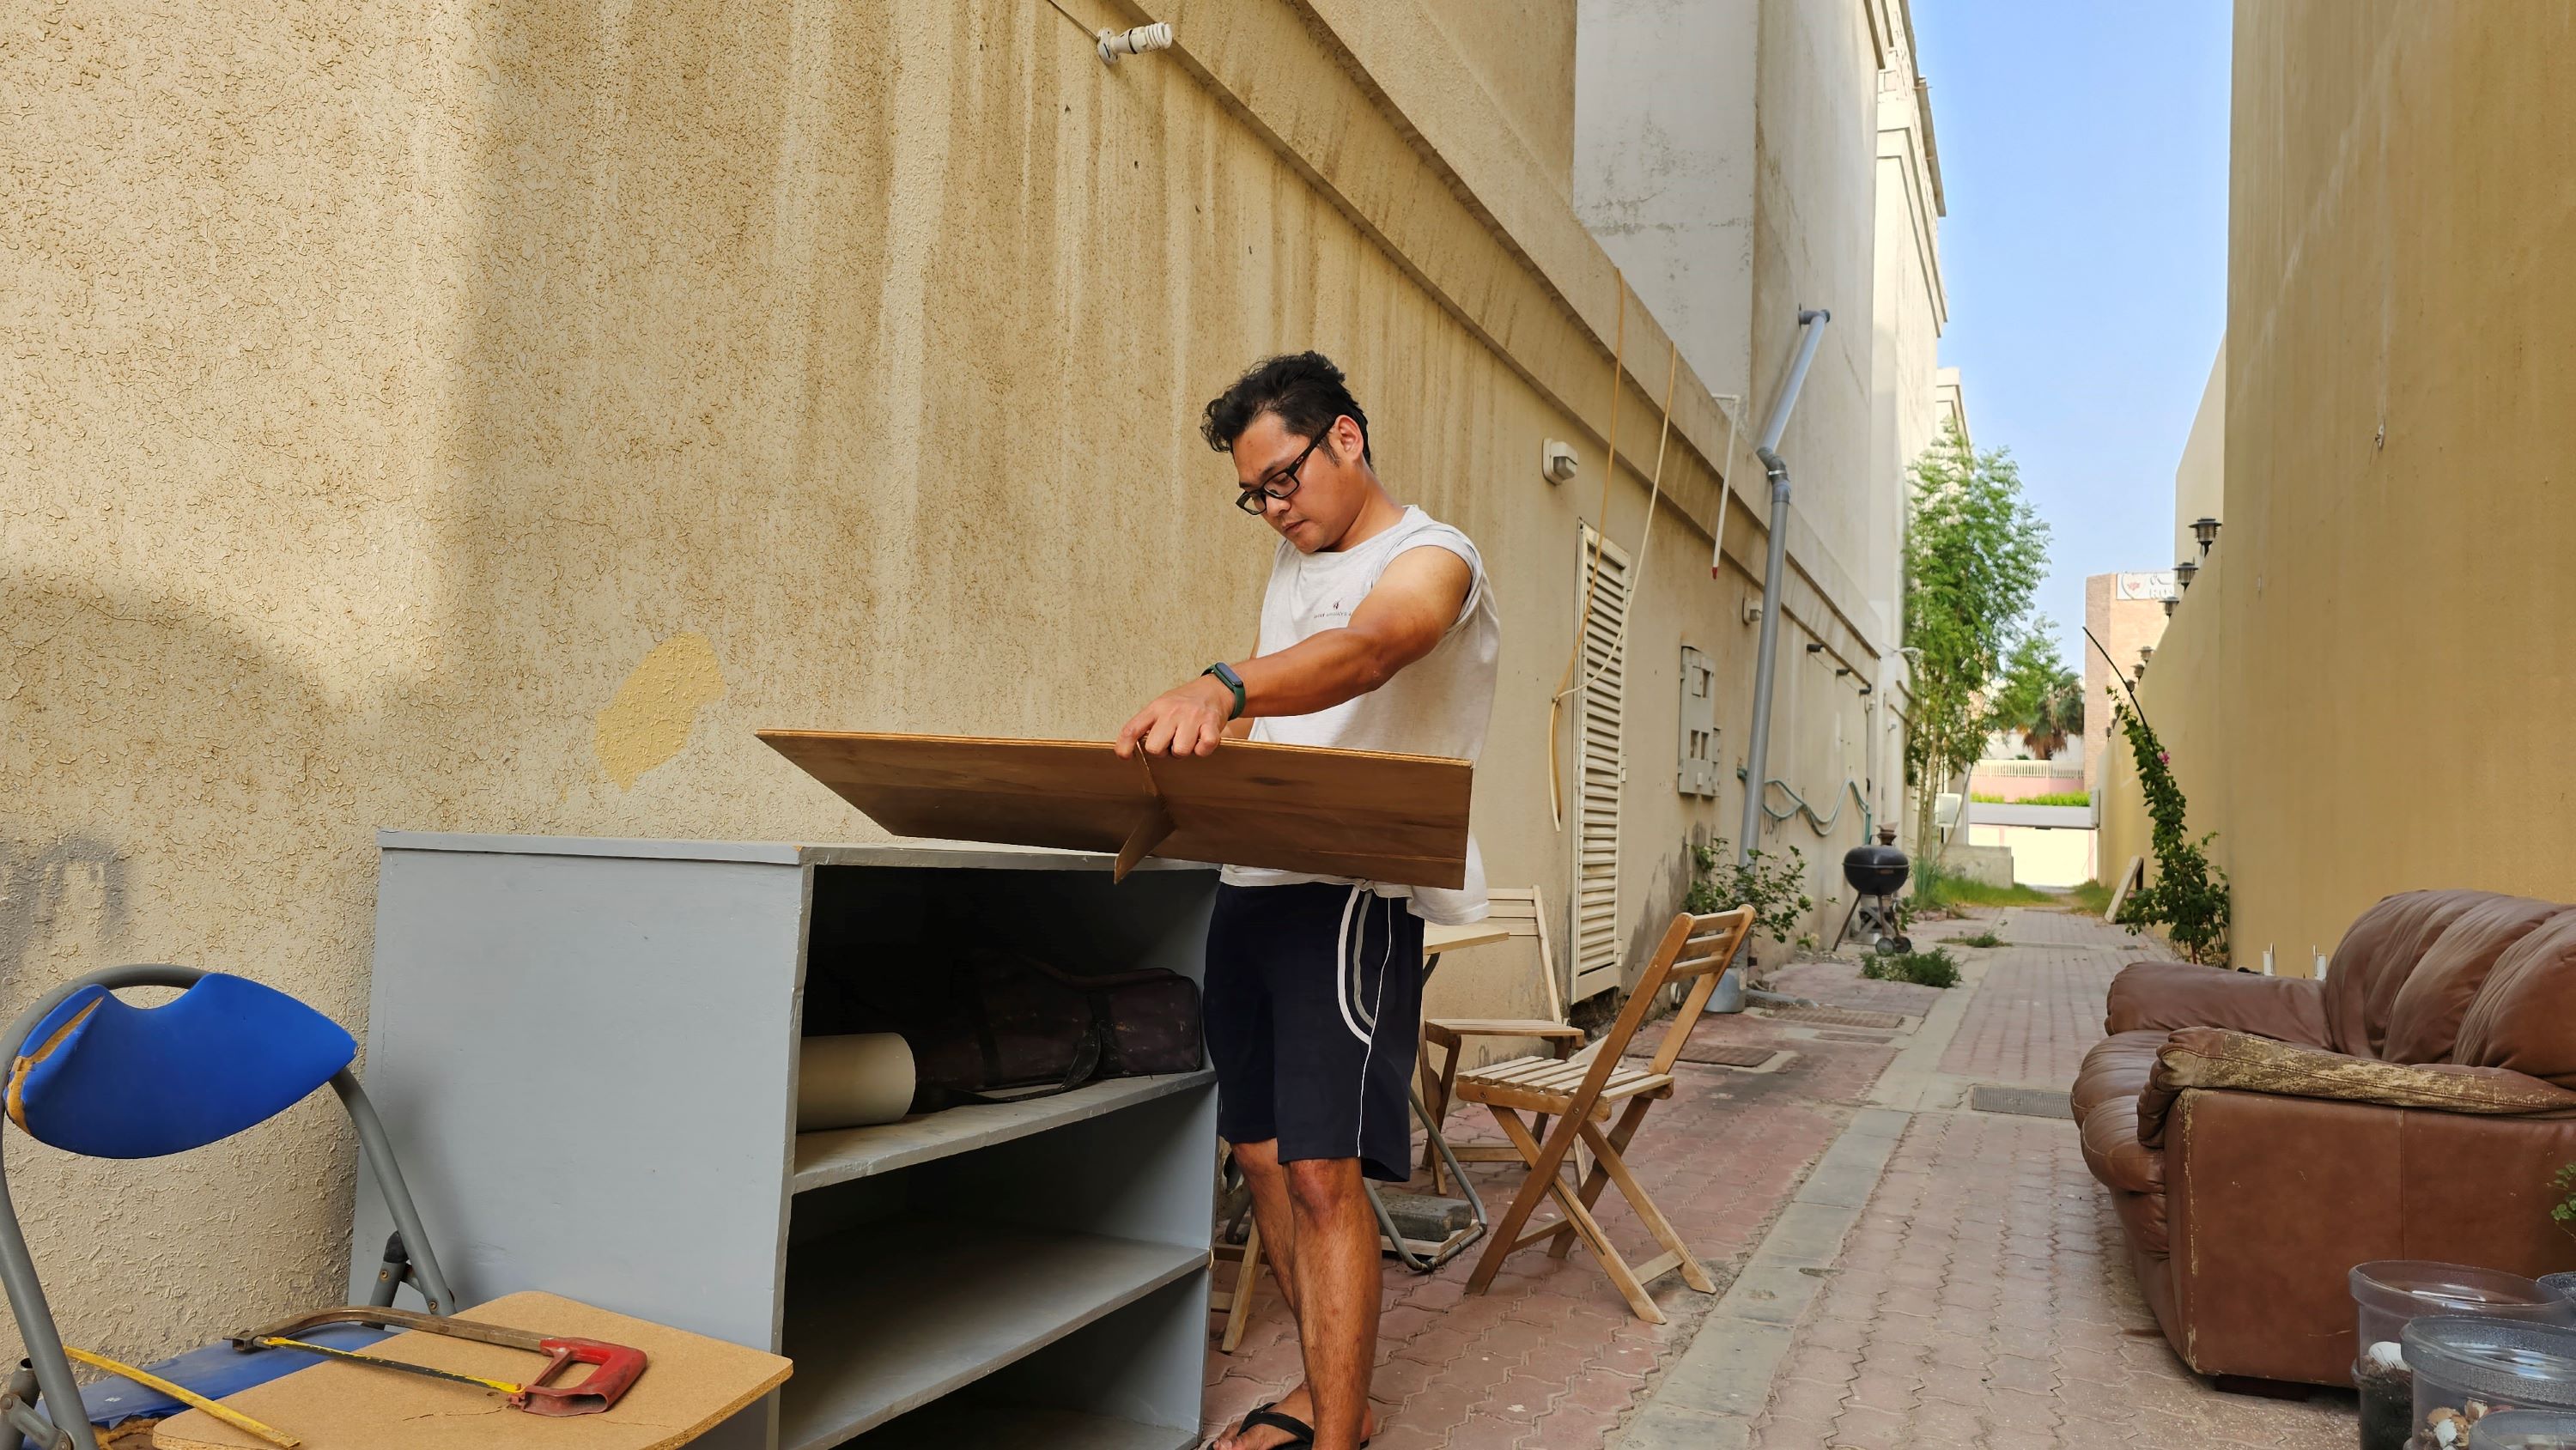
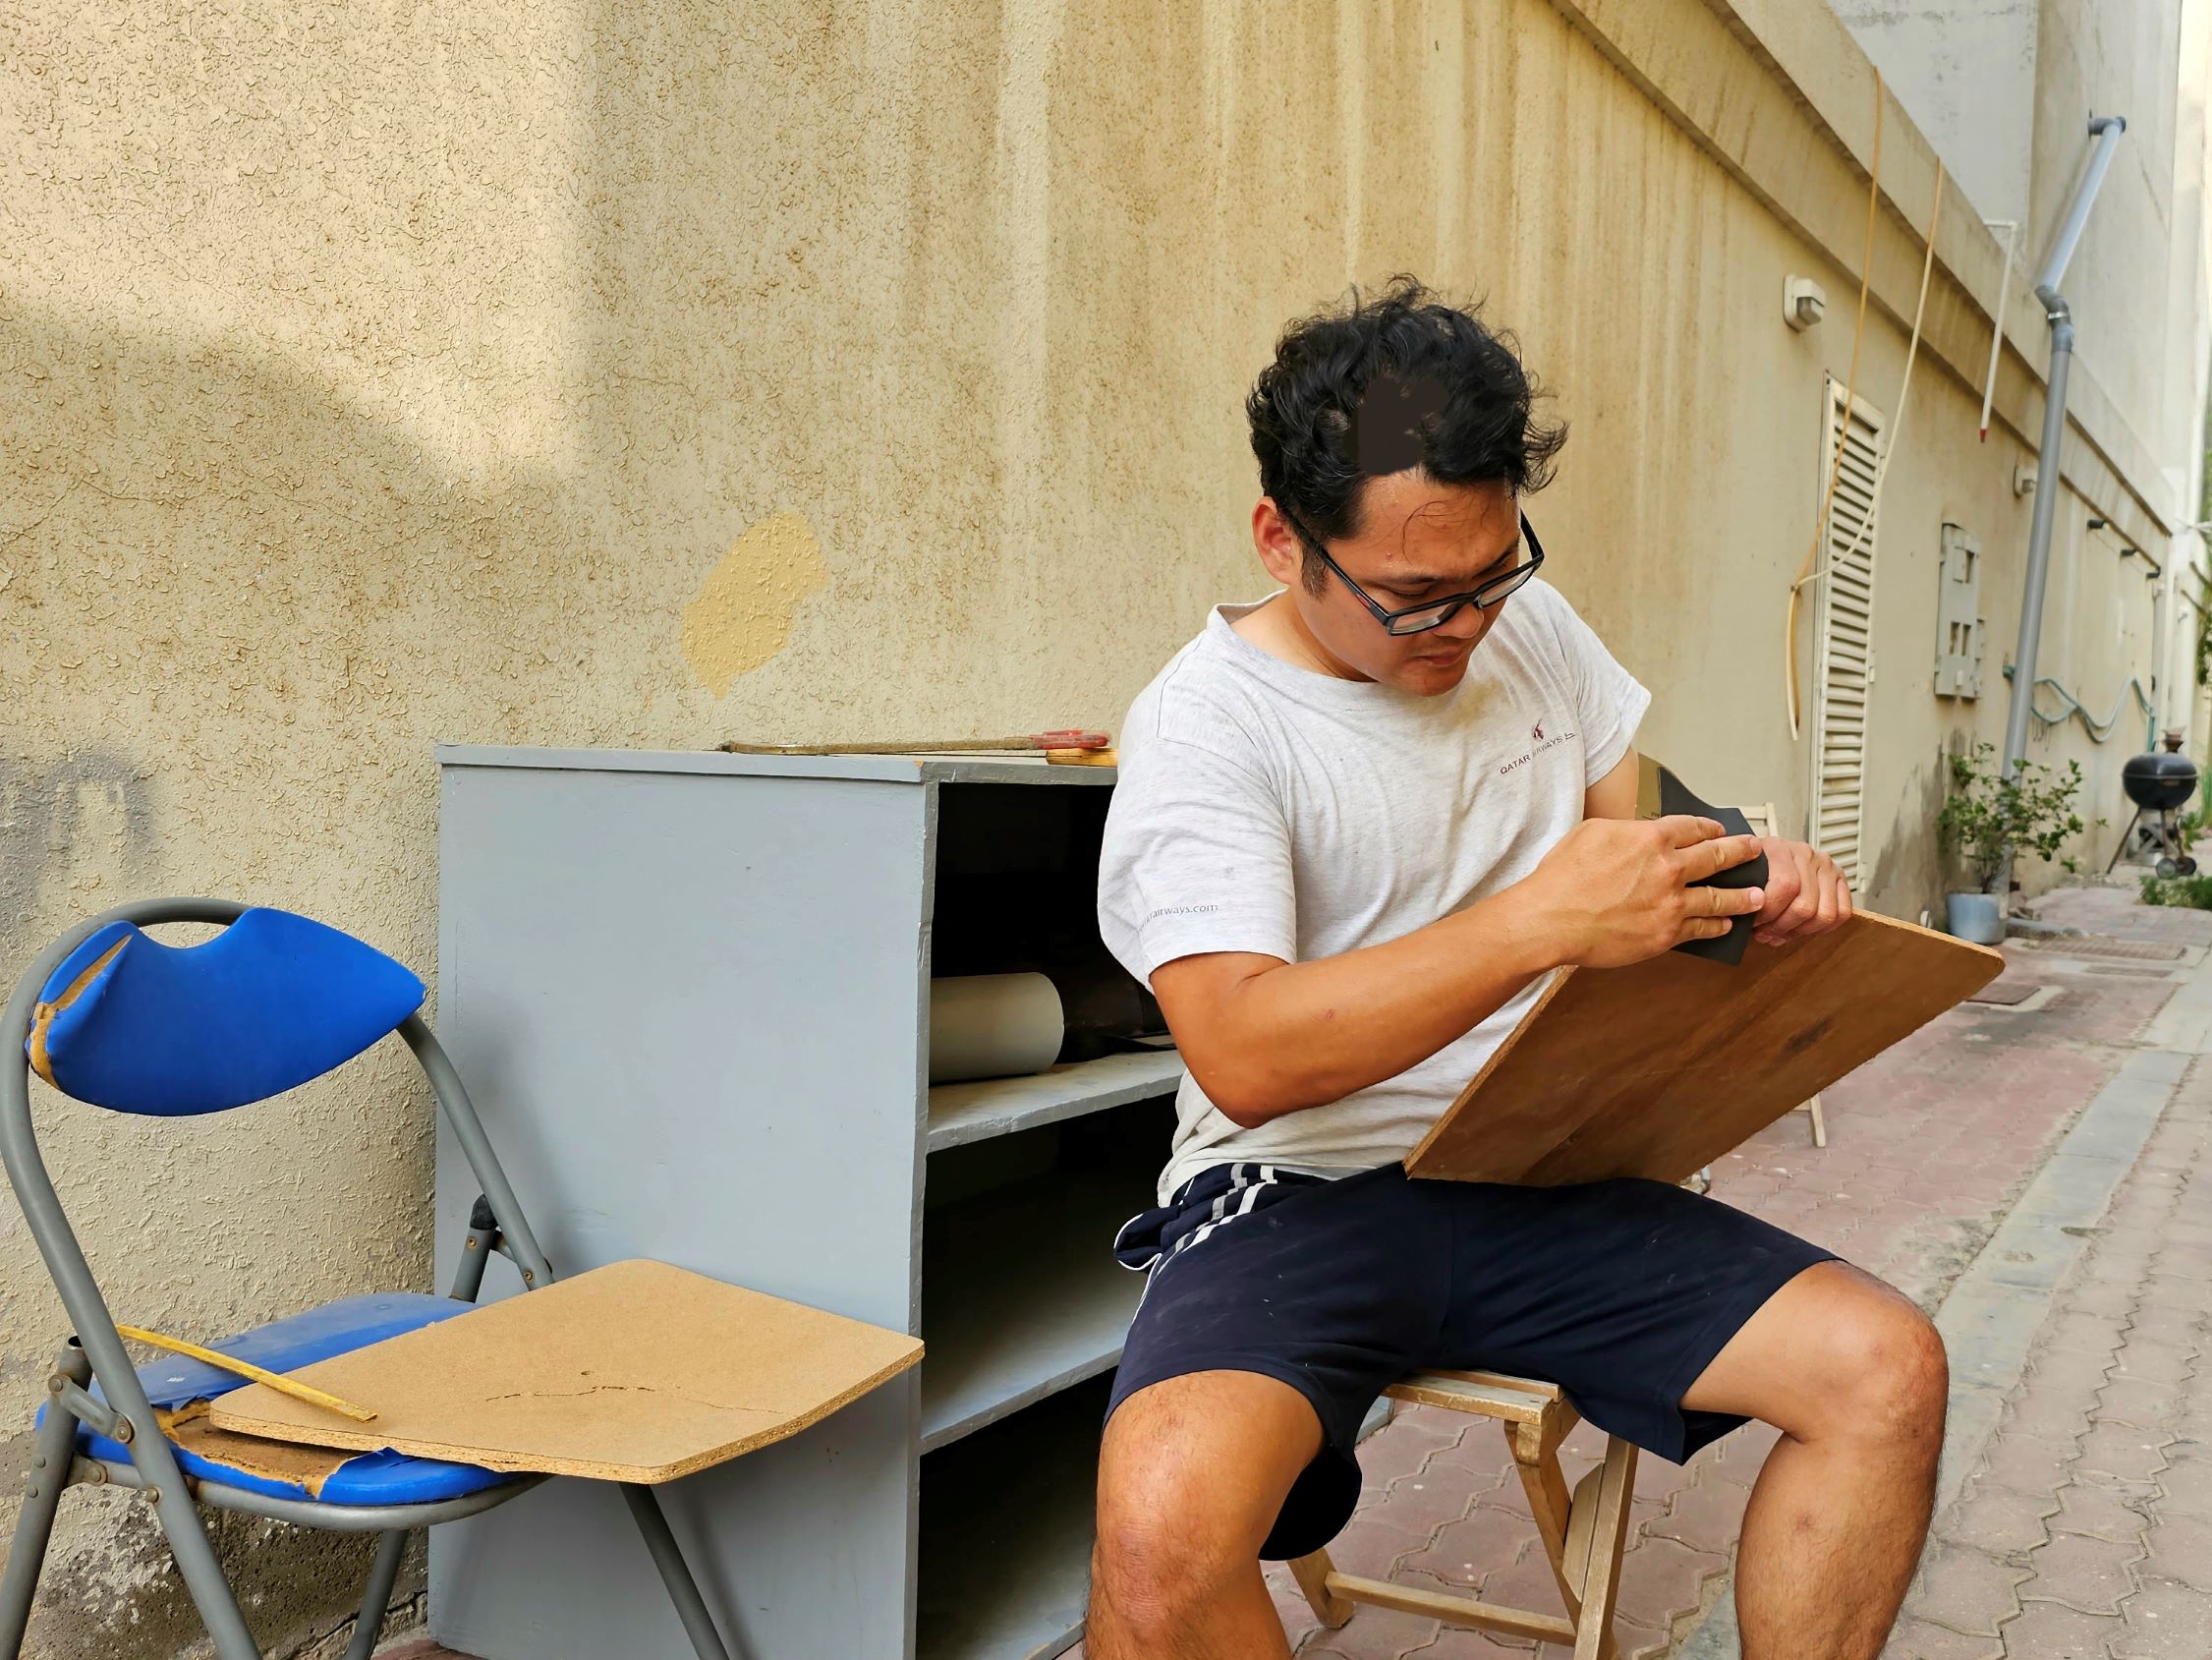
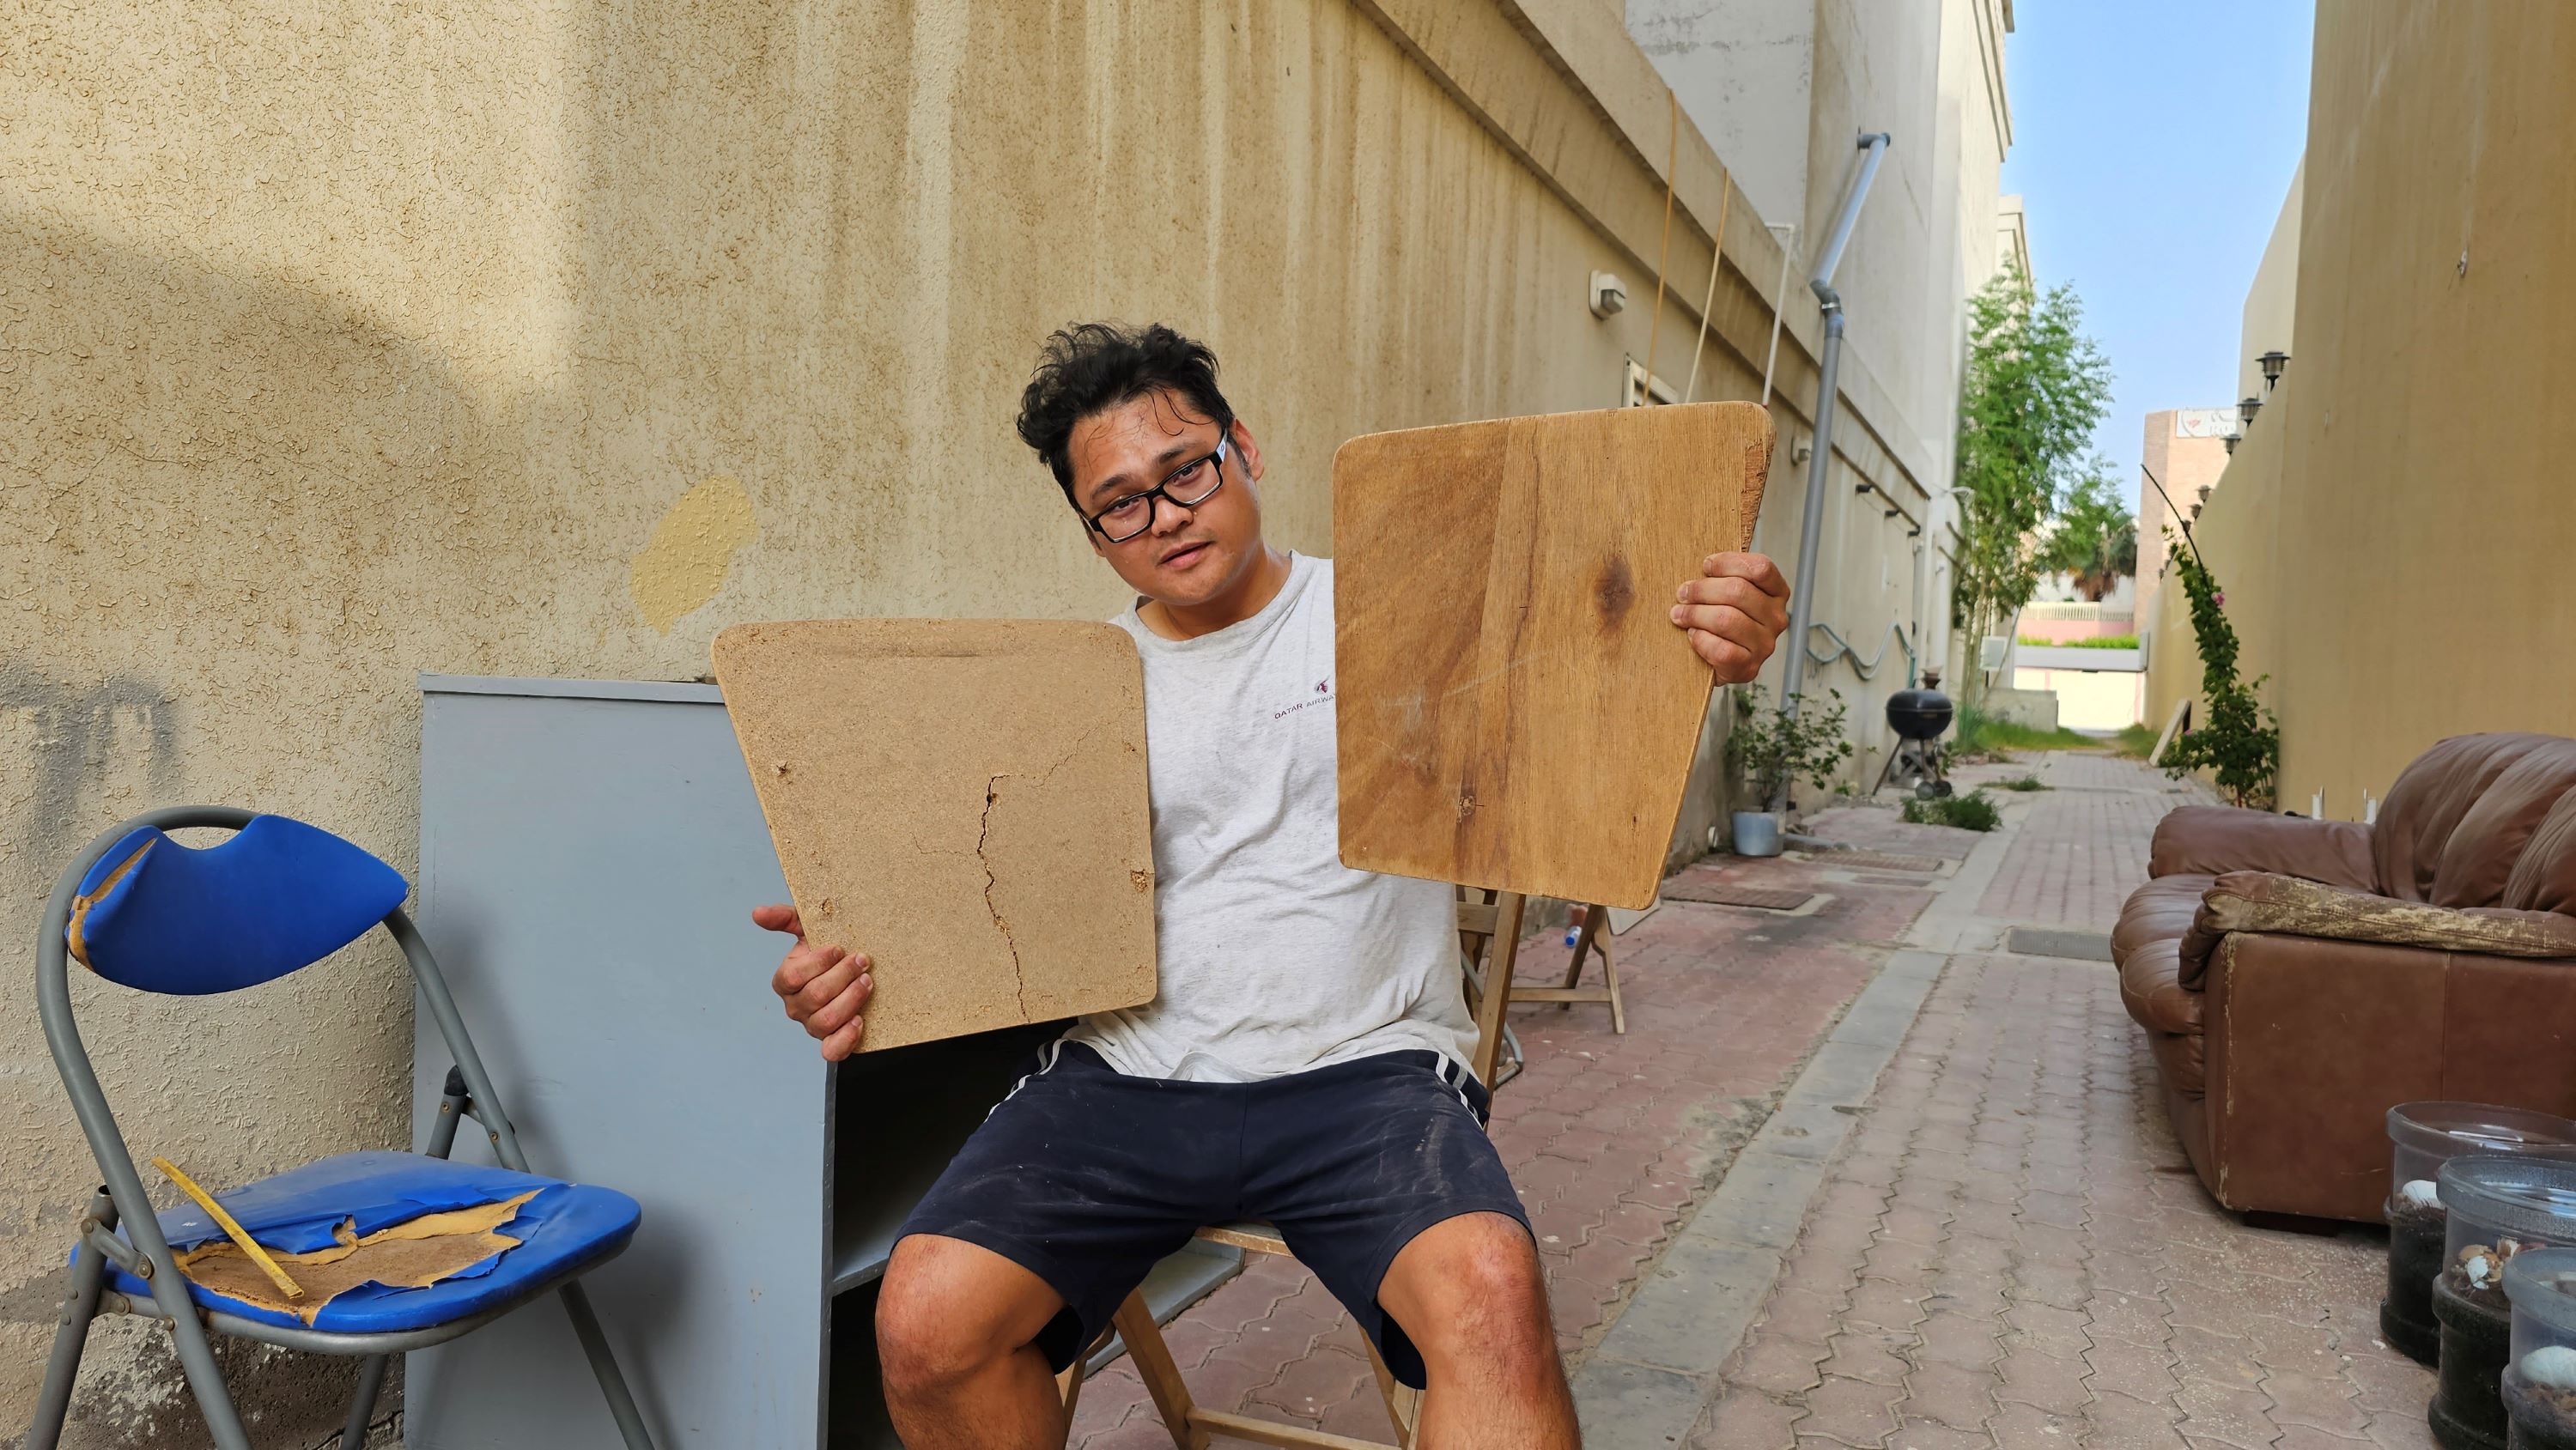
The finished product showcased in the blog is the result of my efforts. To ensure accurate measurements, I used the old plank as a template and traced its shape onto the plywood before making the cut.
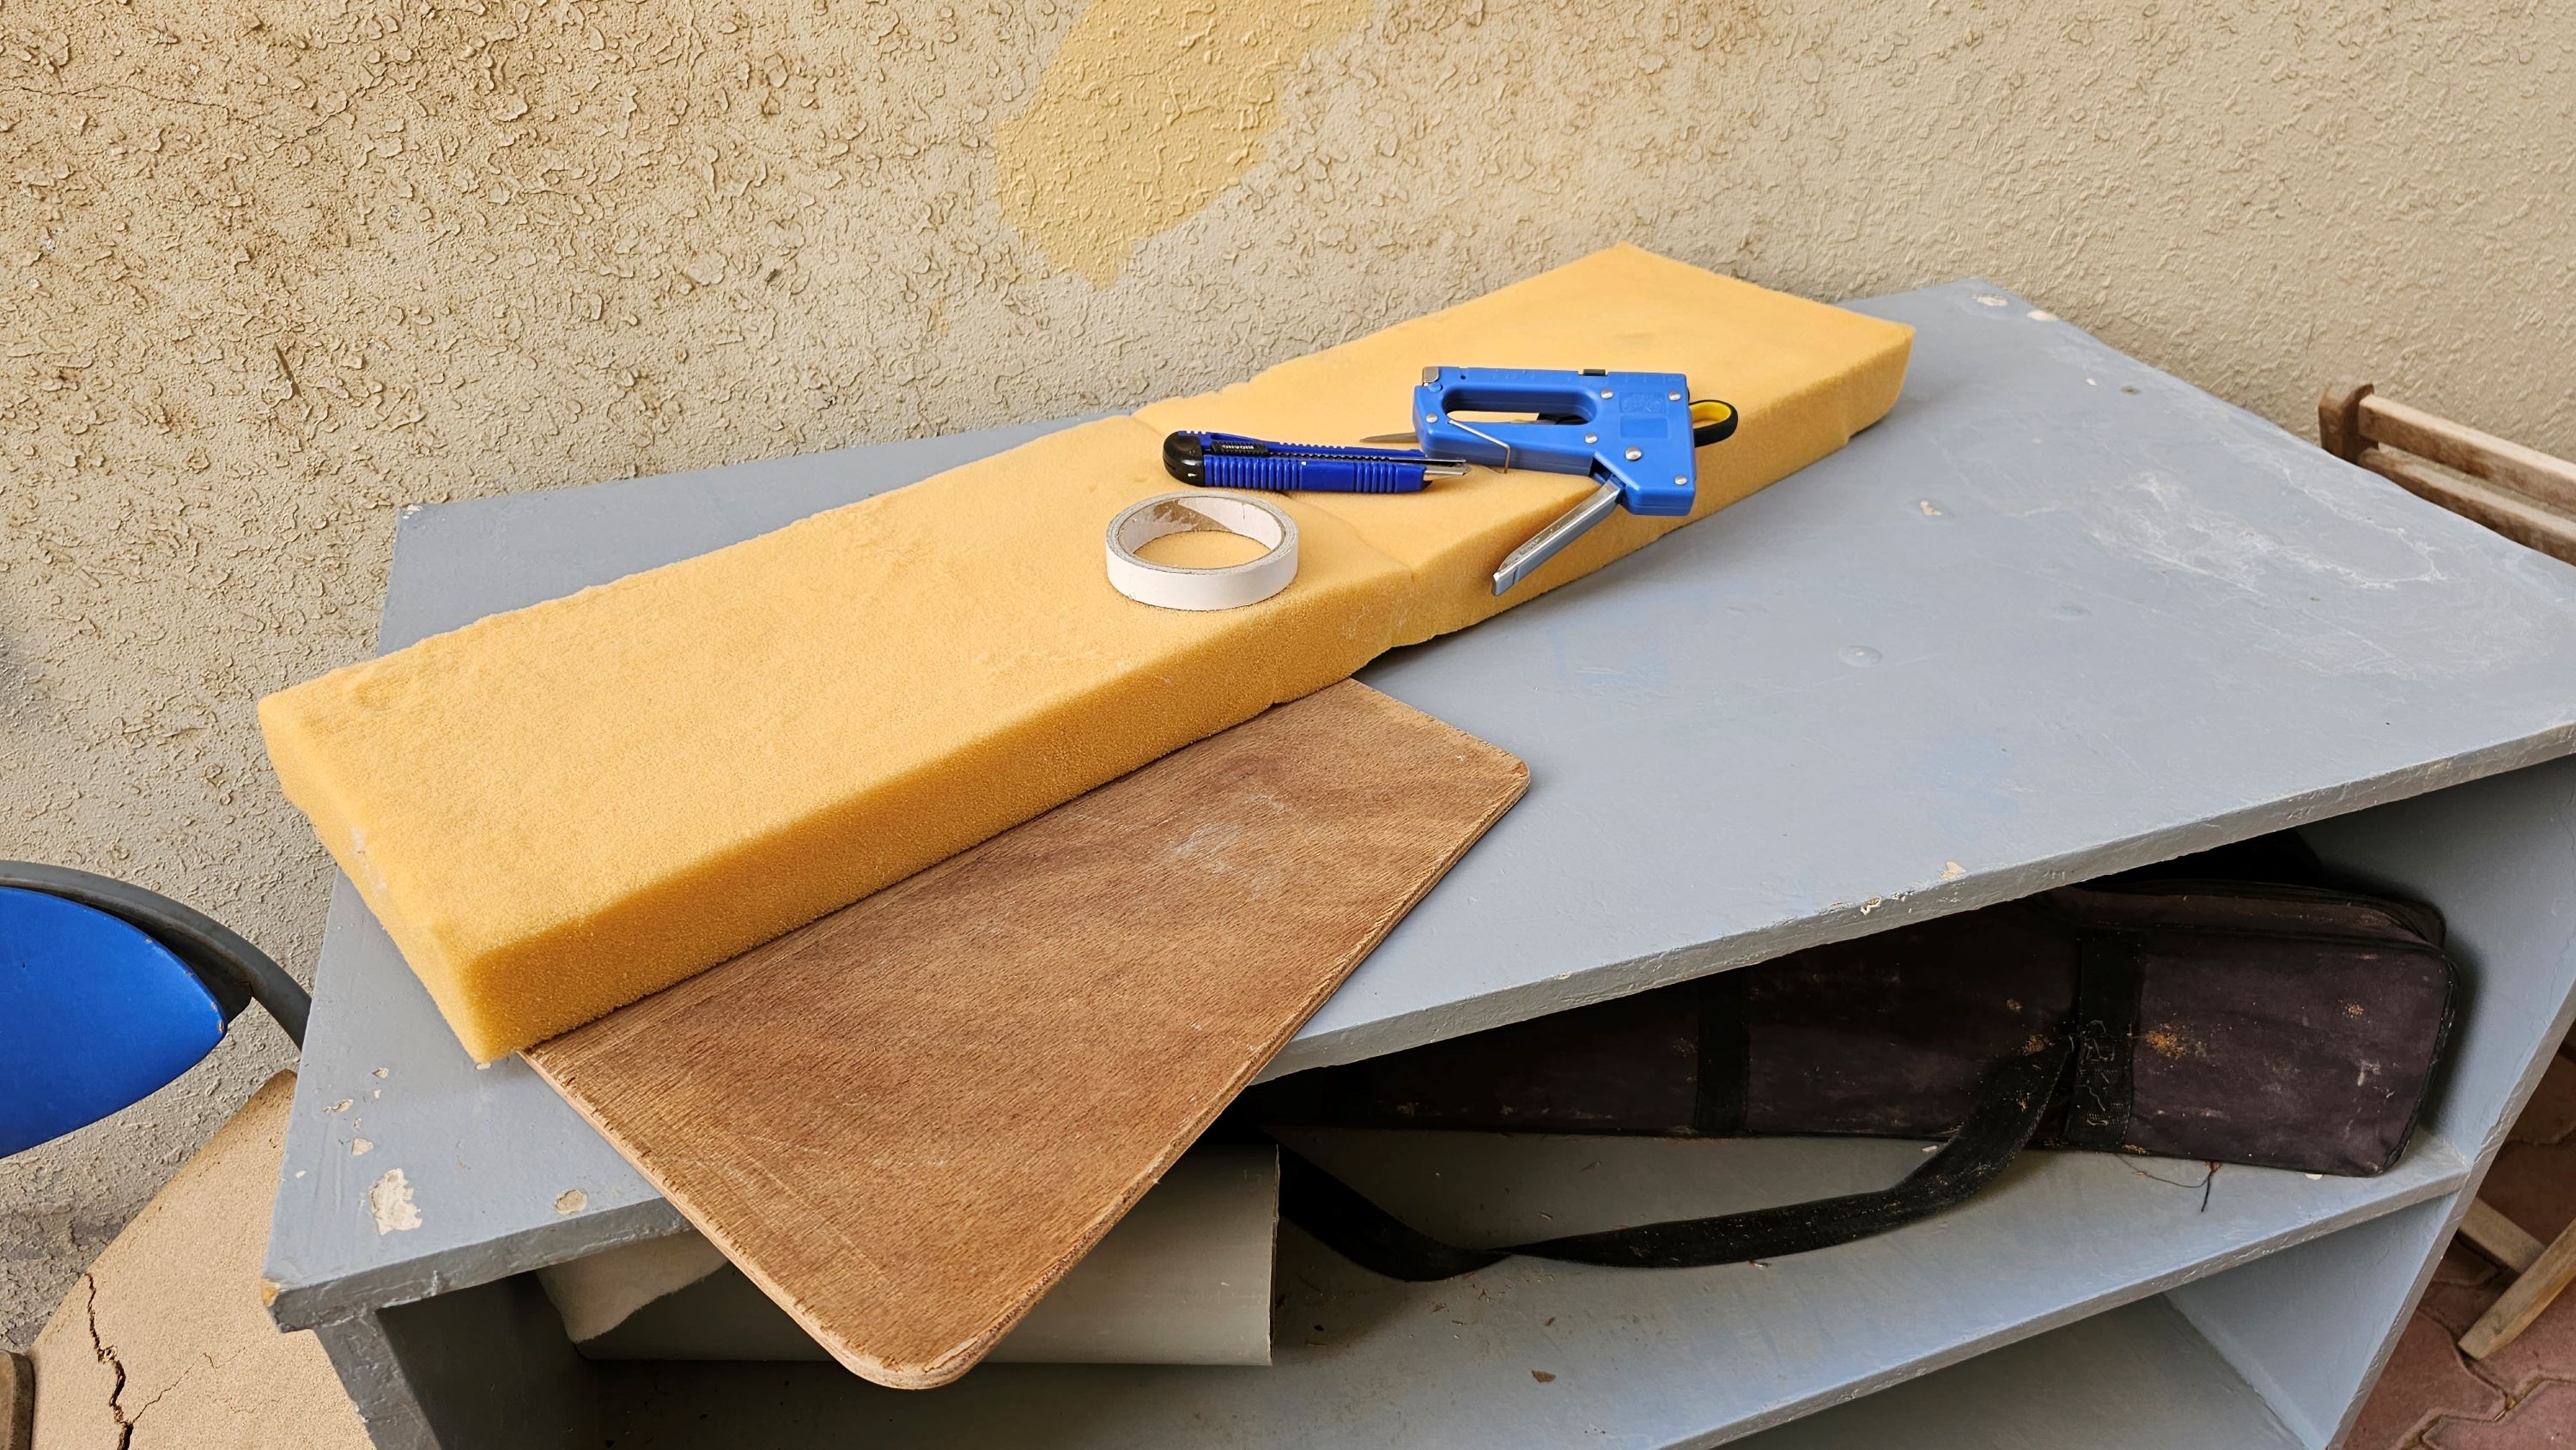
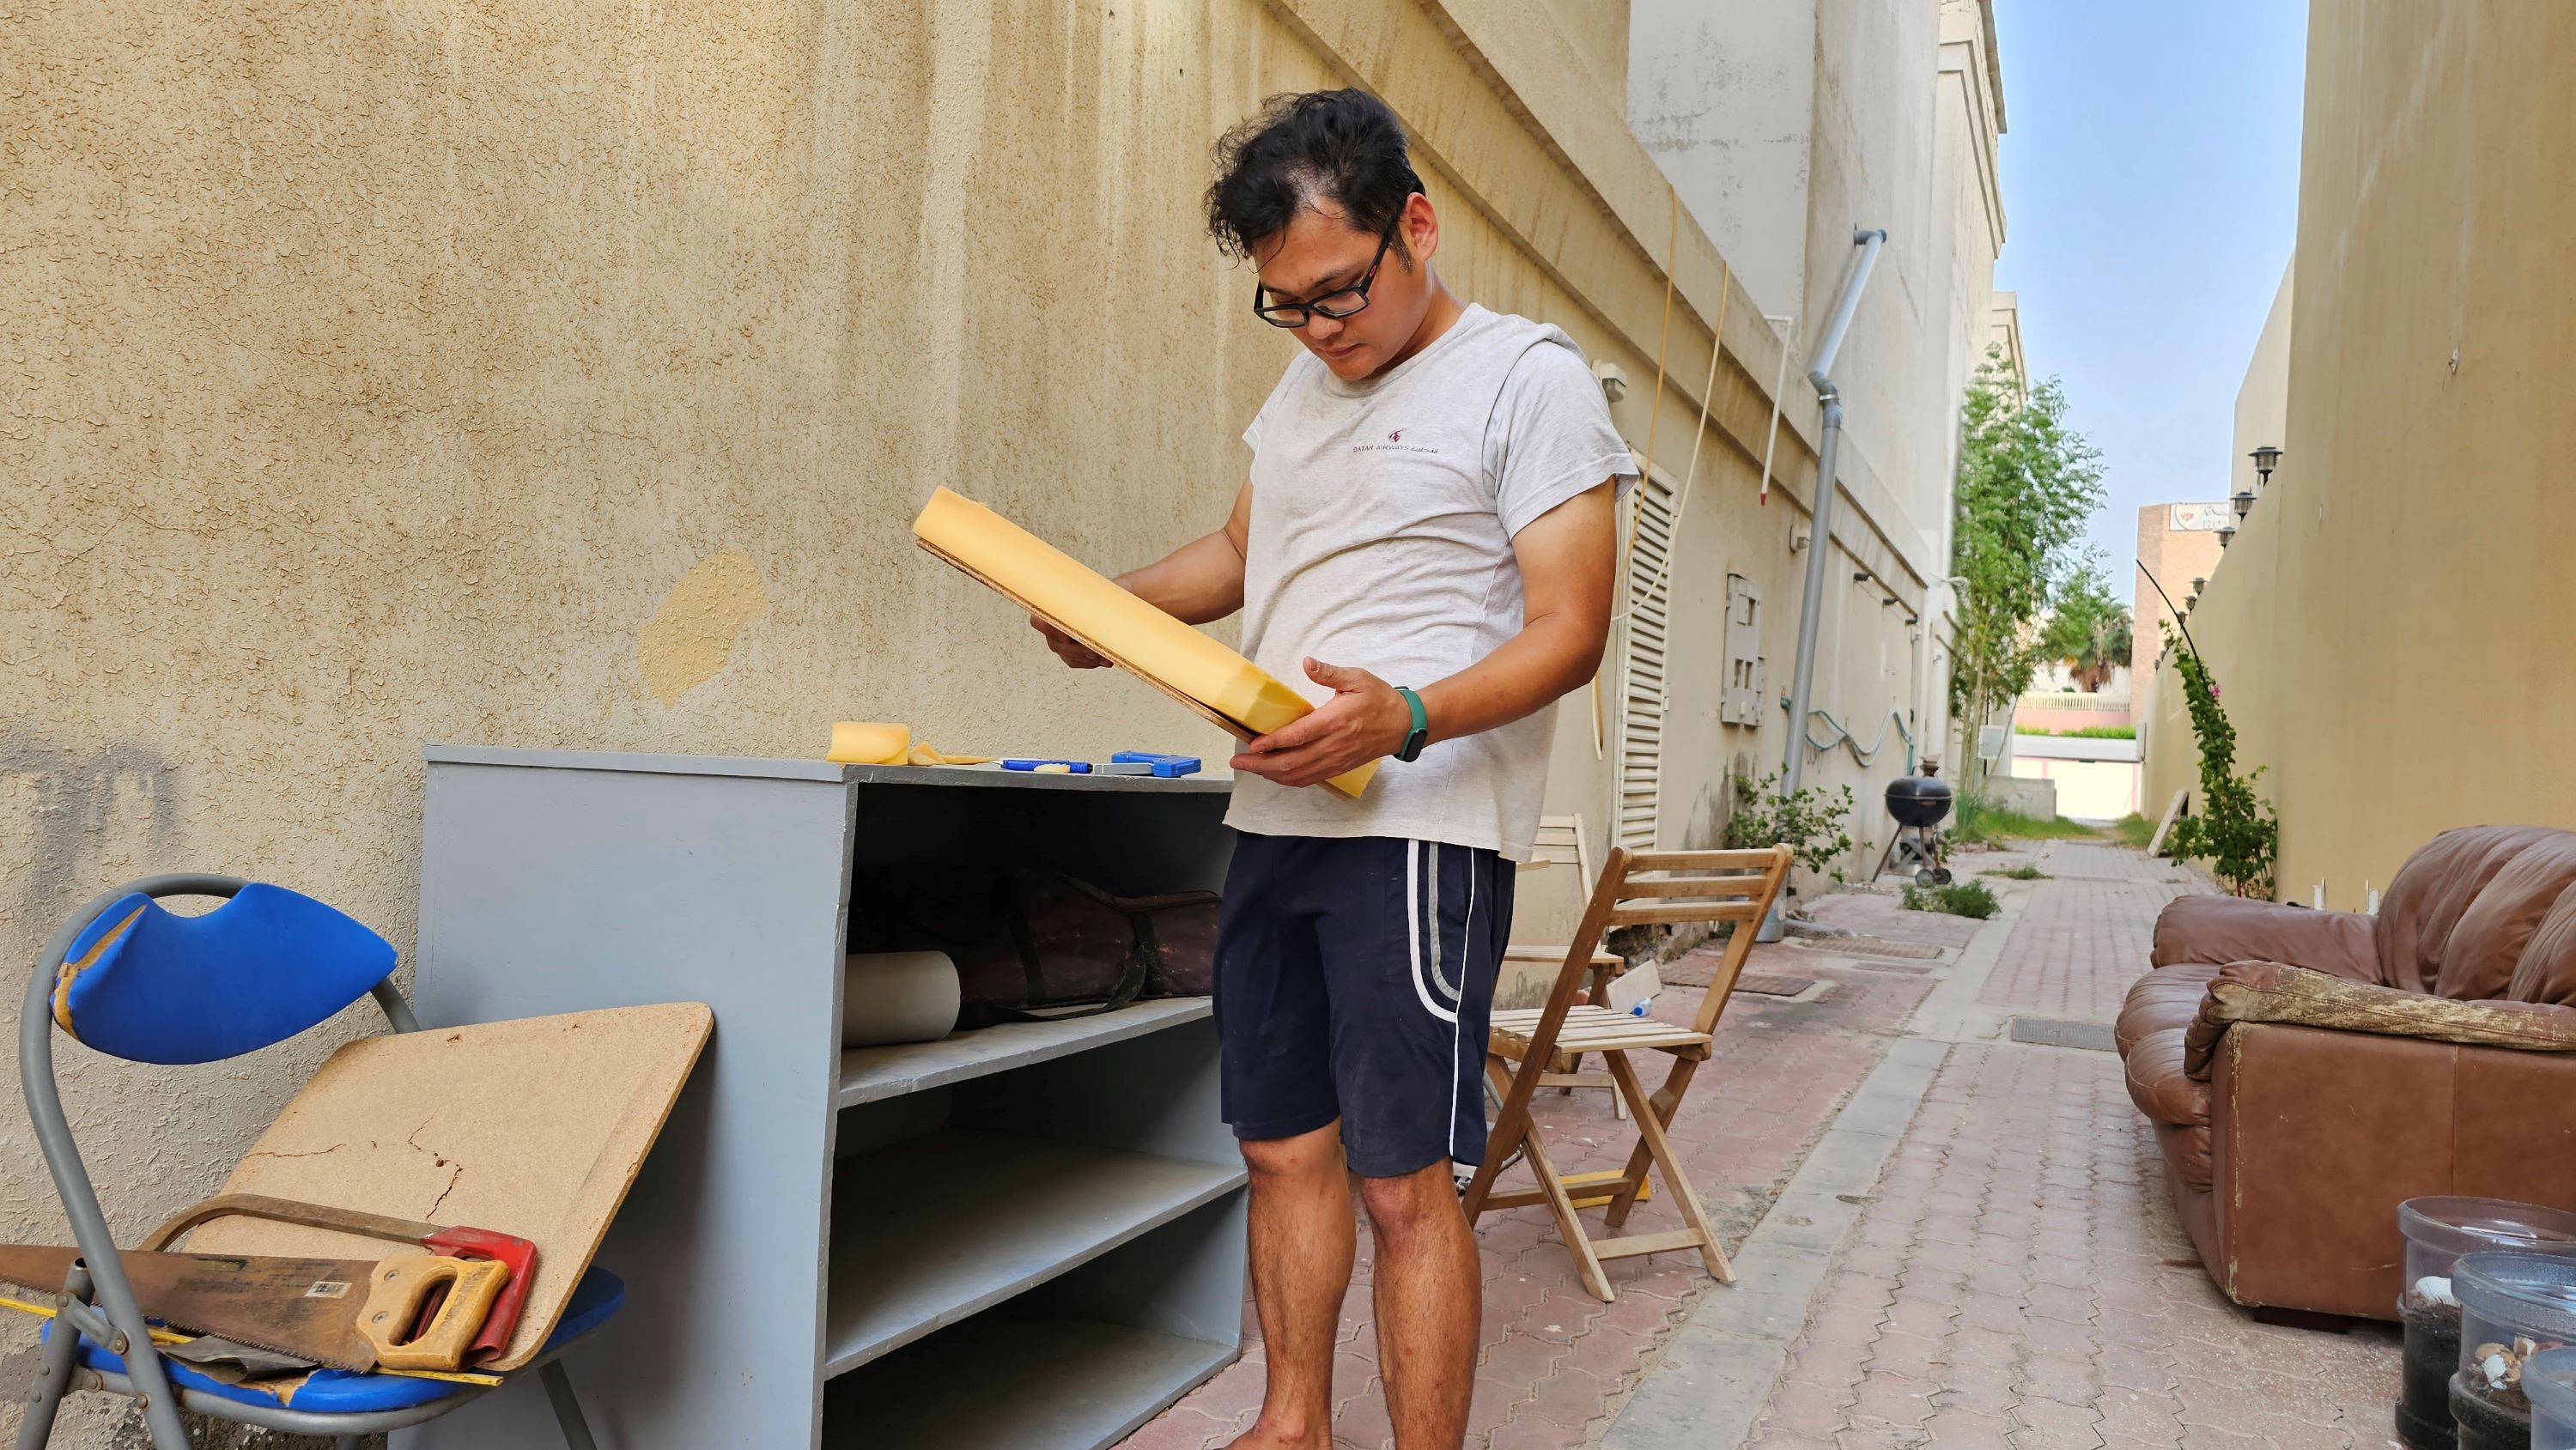
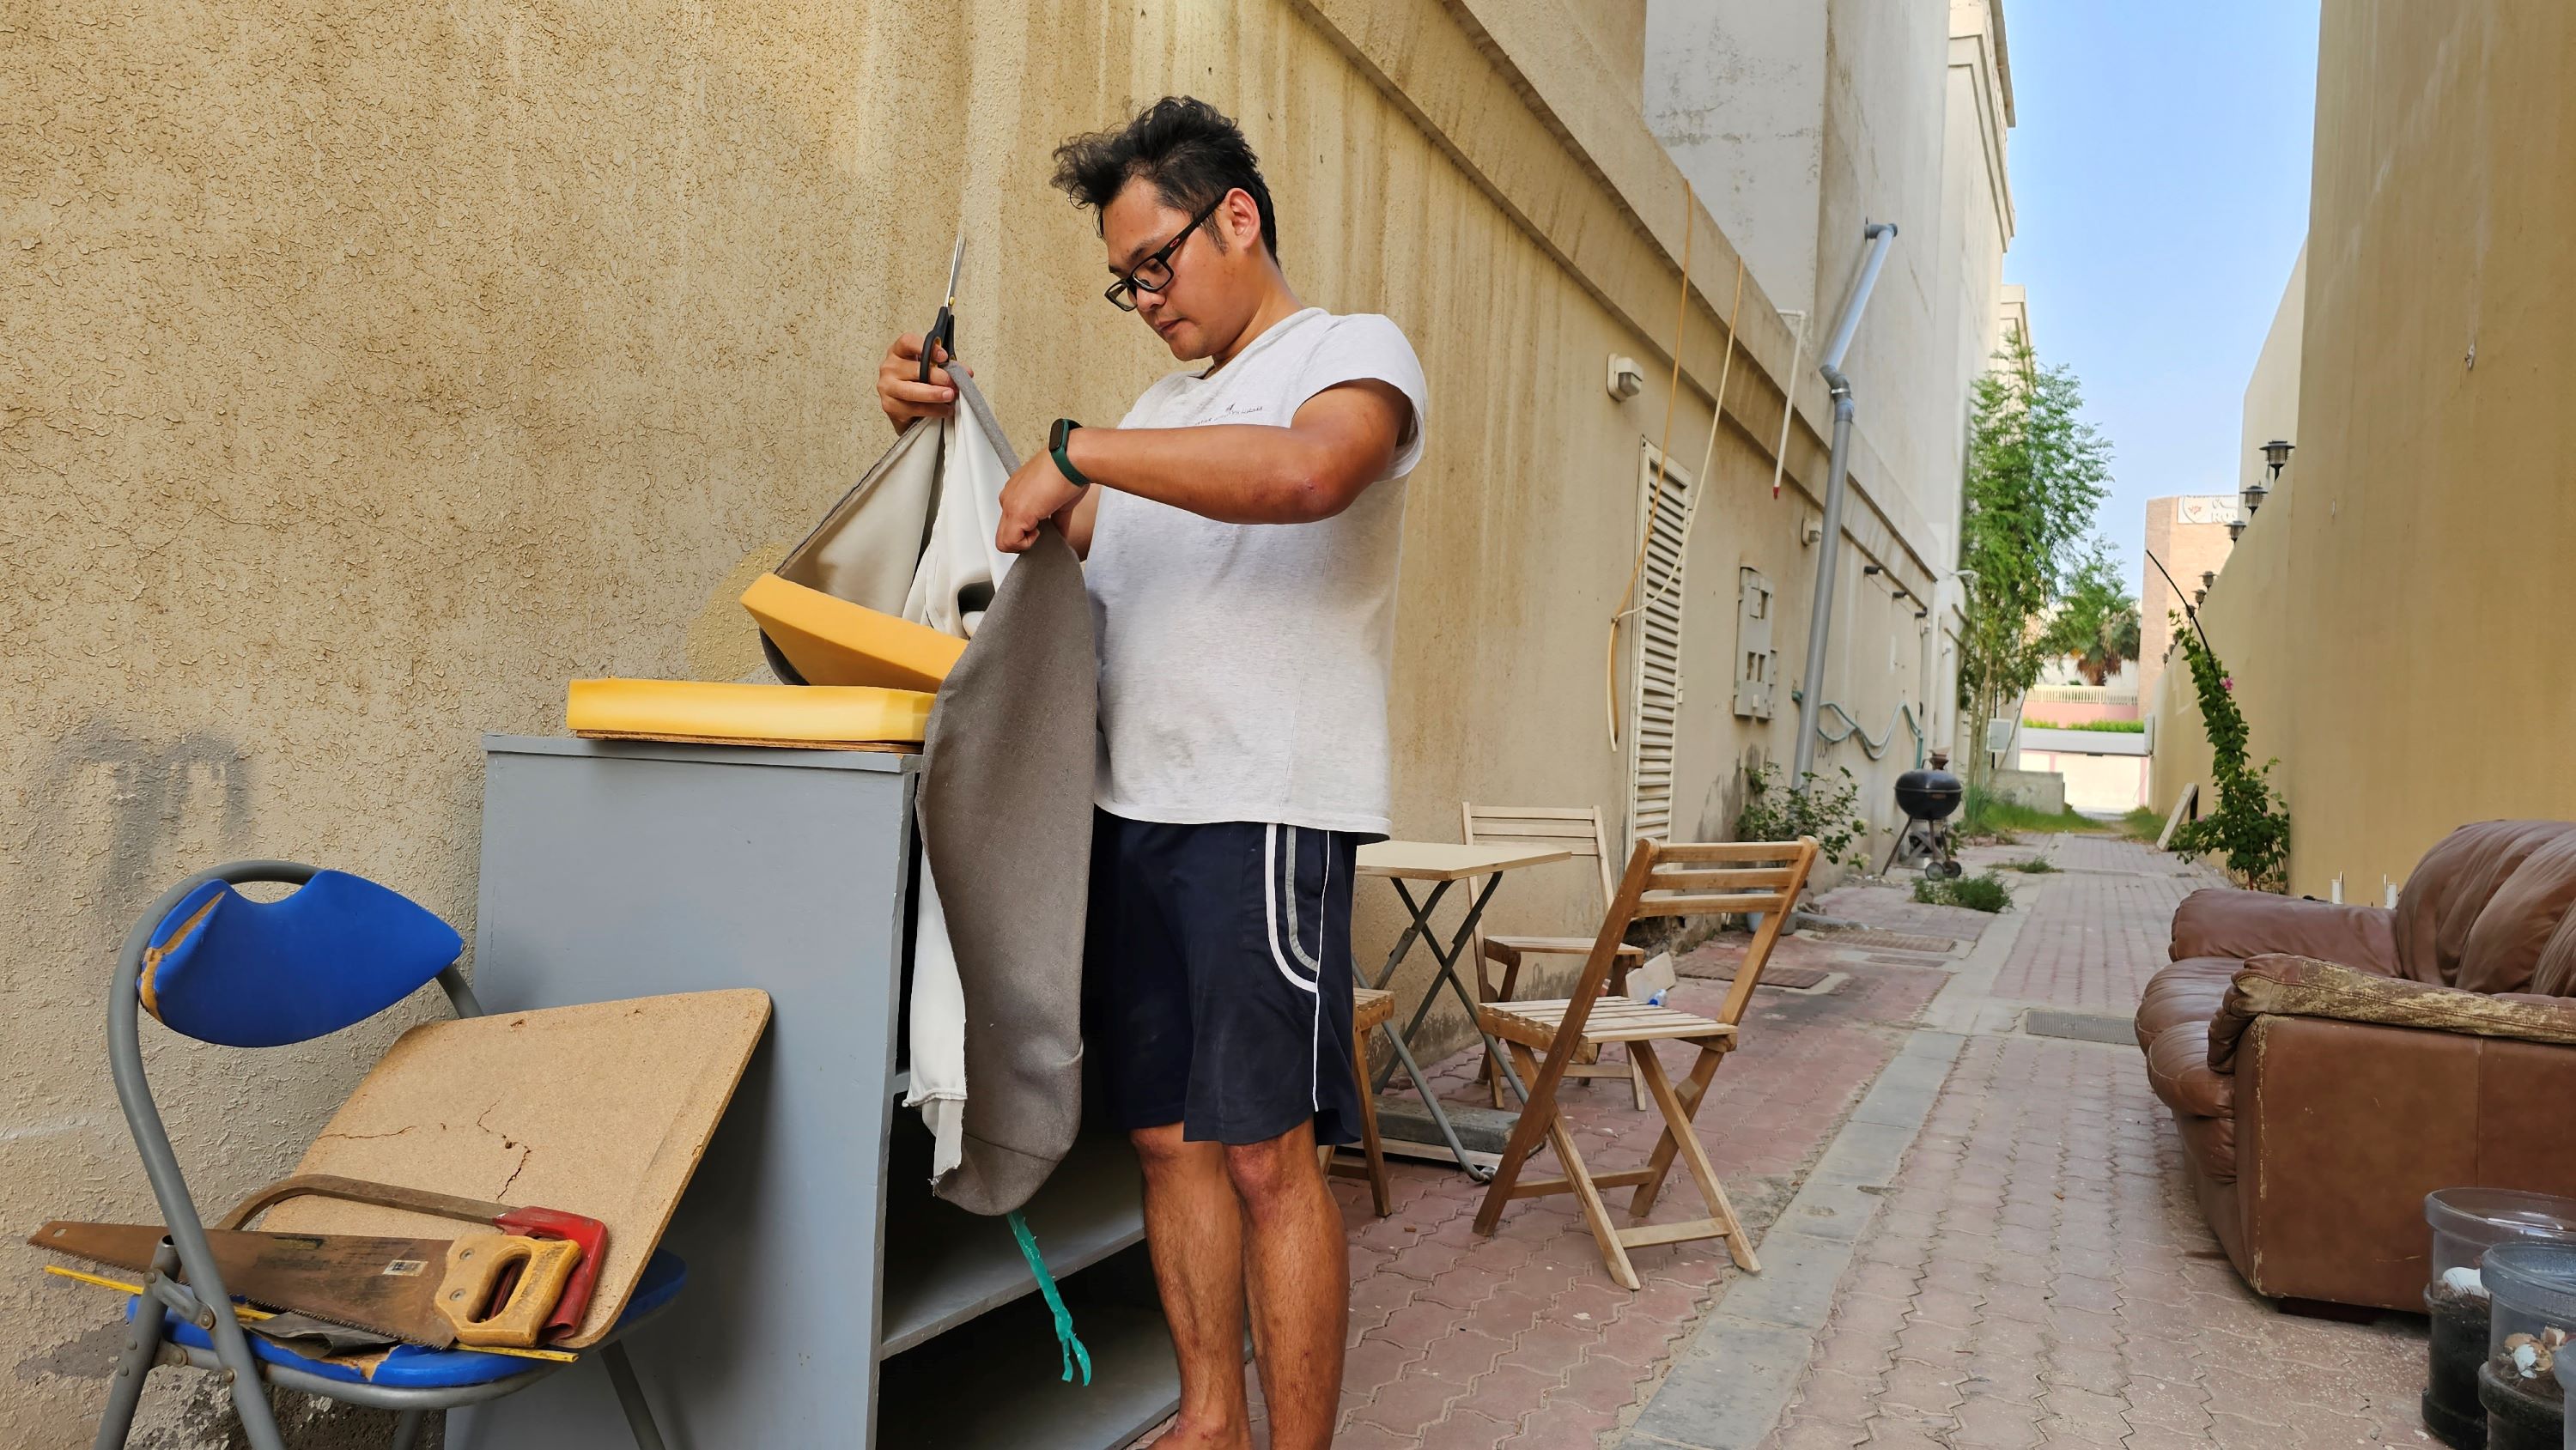
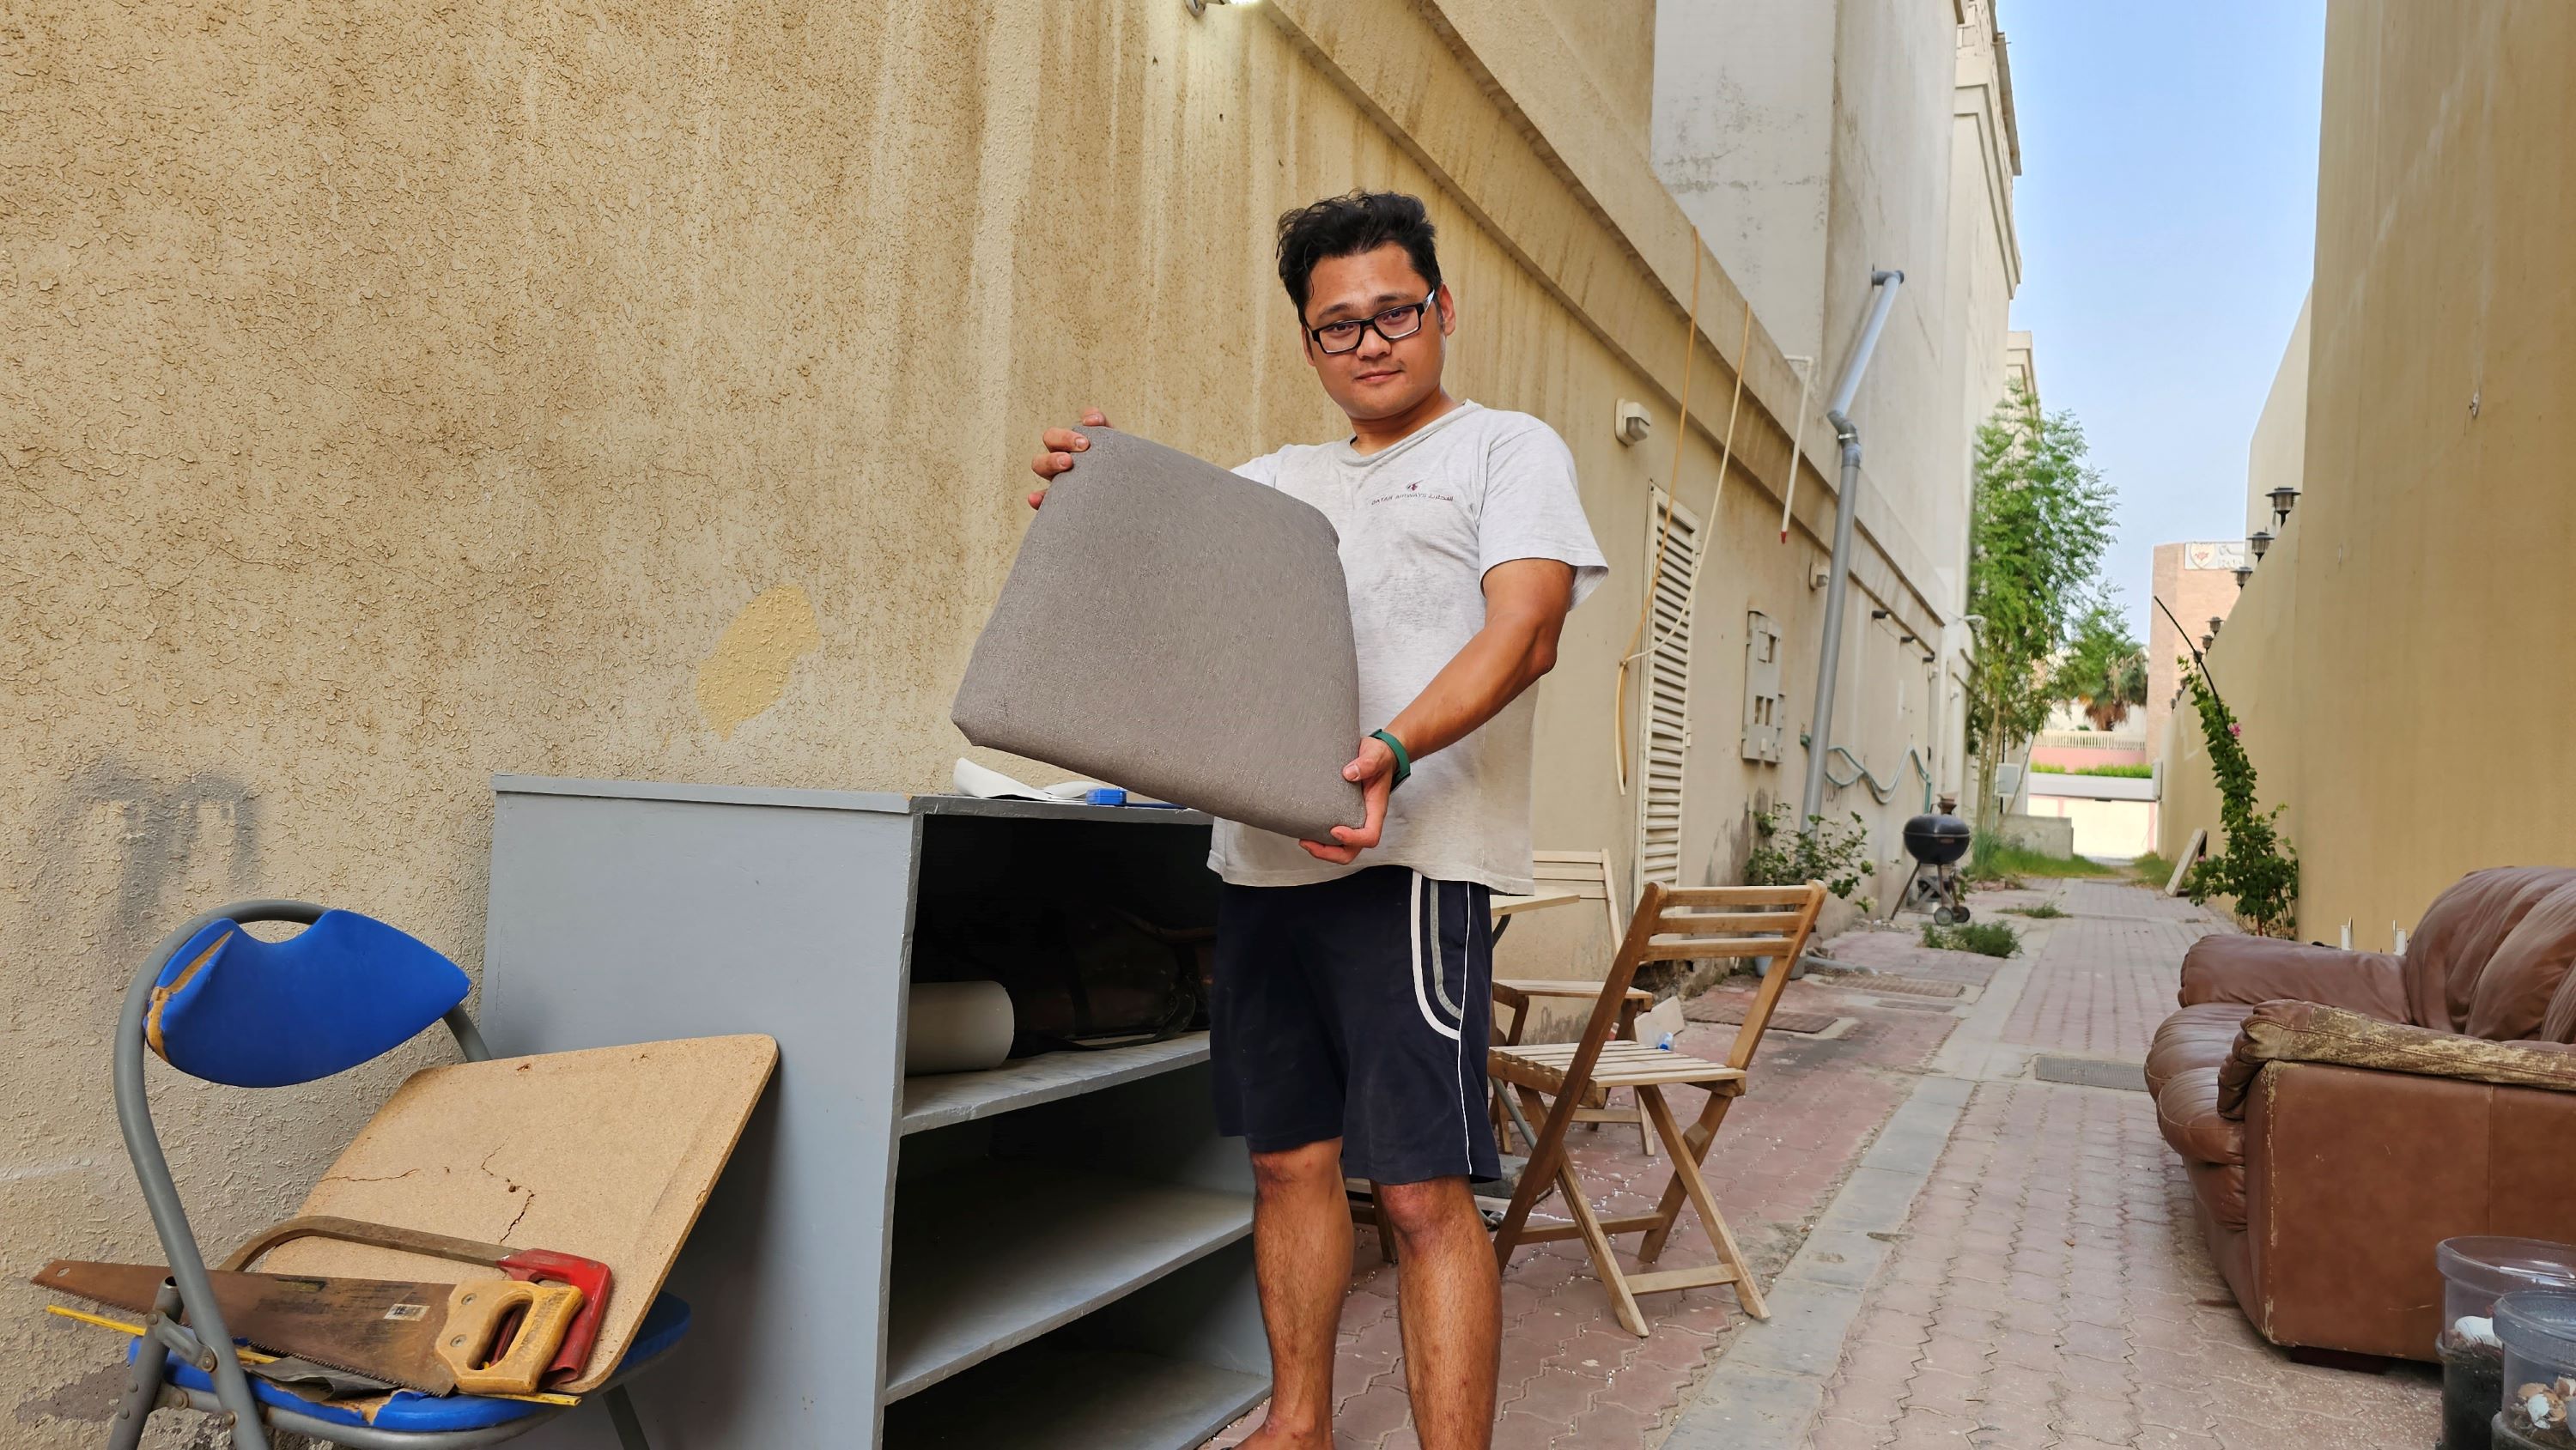
To complete the project, I covered the seat with foam and repurposed fabric from our office that was no longer in use. Instead of using thumb tacks, I opted for a Staple Gun Tacker to secure the fabric in place.
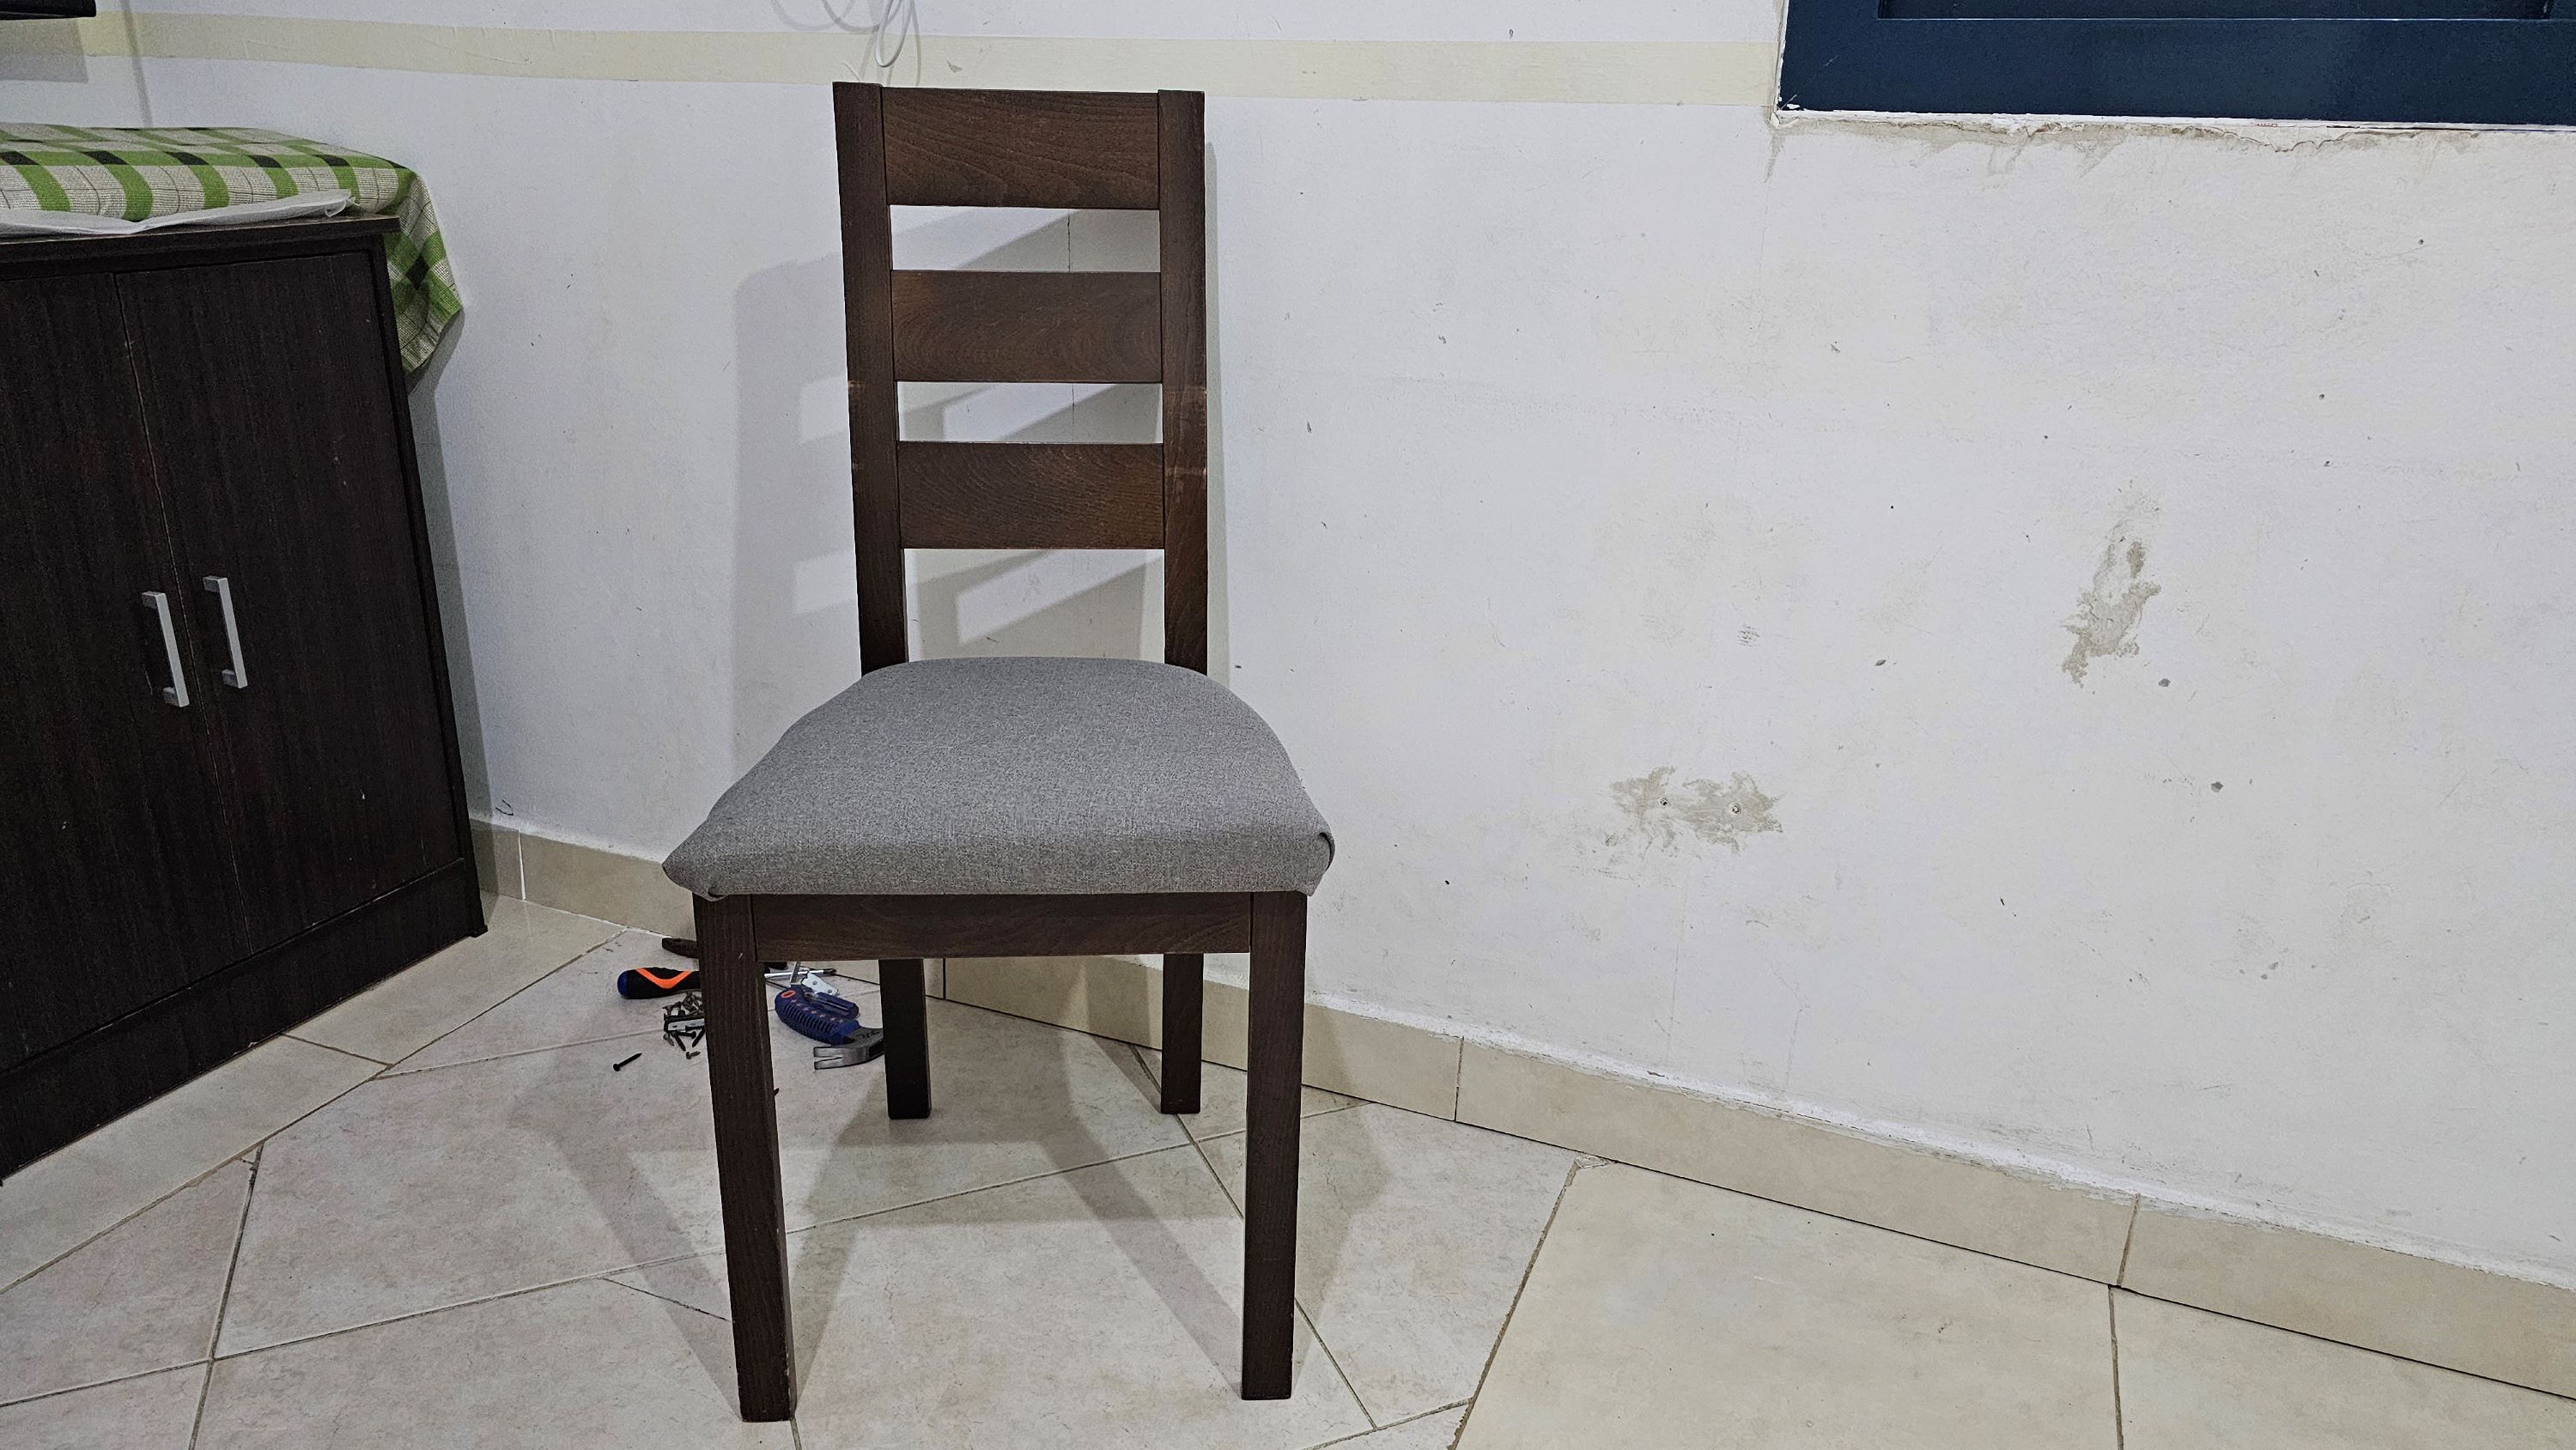
It's a better seat and it's soft and durable.
0
0
0.000
This post has been manually curated by @bhattg from Indiaunited community. Join us on our Discord Server.
Do you know that you can earn a passive income by delegating to @indiaunited. We share more than 100 % of the curation rewards with the delegators in the form of IUC tokens. HP delegators and IUC token holders also get upto 20% additional vote weight.
Here are some handy links for delegations: 100HP, 250HP, 500HP, 1000HP.
100% of the rewards from this comment goes to the curator for their manual curation efforts. Please encourage the curator @bhattg by upvoting this comment and support the community by voting the posts made by @indiaunited.
great repair buddy! I gues the chair was not that comfy before it haha
Does this mean that you are going to post more DIYs here? Nice!
Hehehe... Yes, it is not. ^_^
I am going to post more DIY if I have. hehehe
magaling ka pala bro gumawa ng upuan hehe, keep up the good job!
Repairing lang po. ^_^
Mga scratch materials.