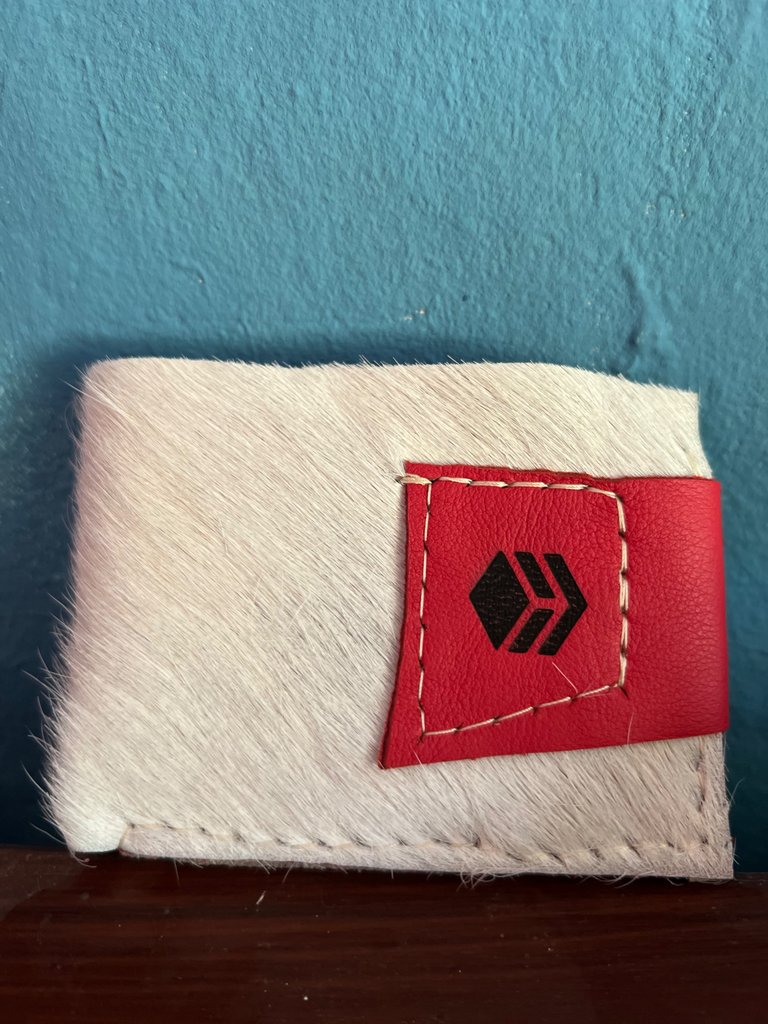
Recycling Leather Scraps into a Hive Wallet
Hello dear Hive & Beautiful community @DIYhub. Beautiful creations with recycled materials you have made!
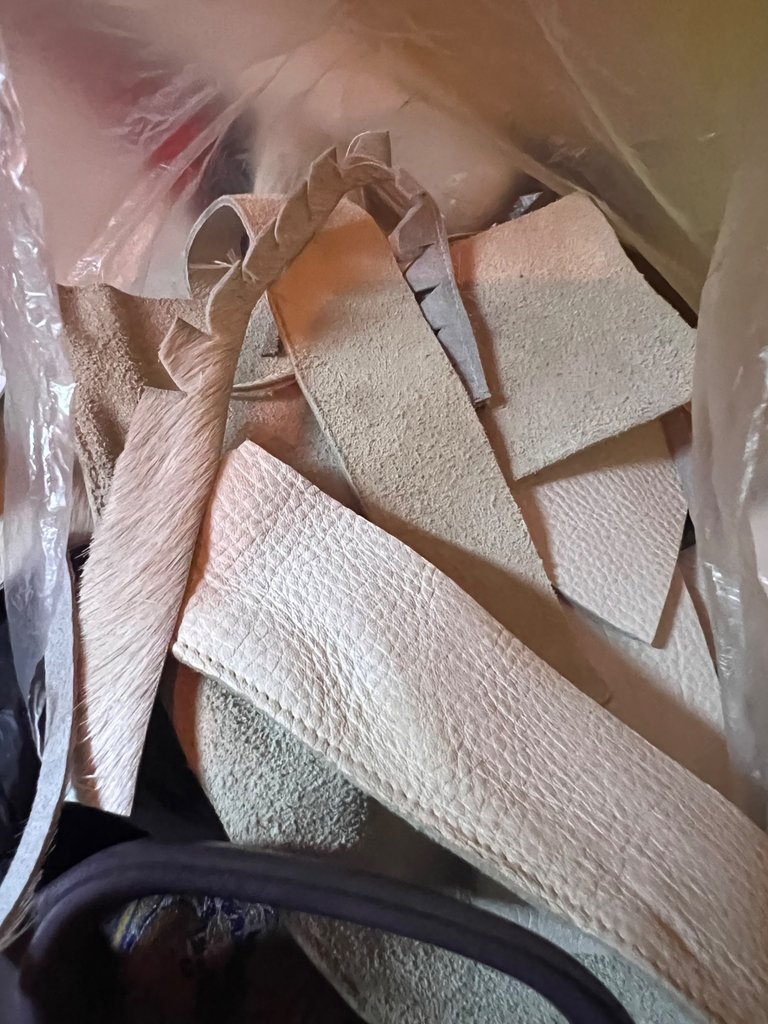
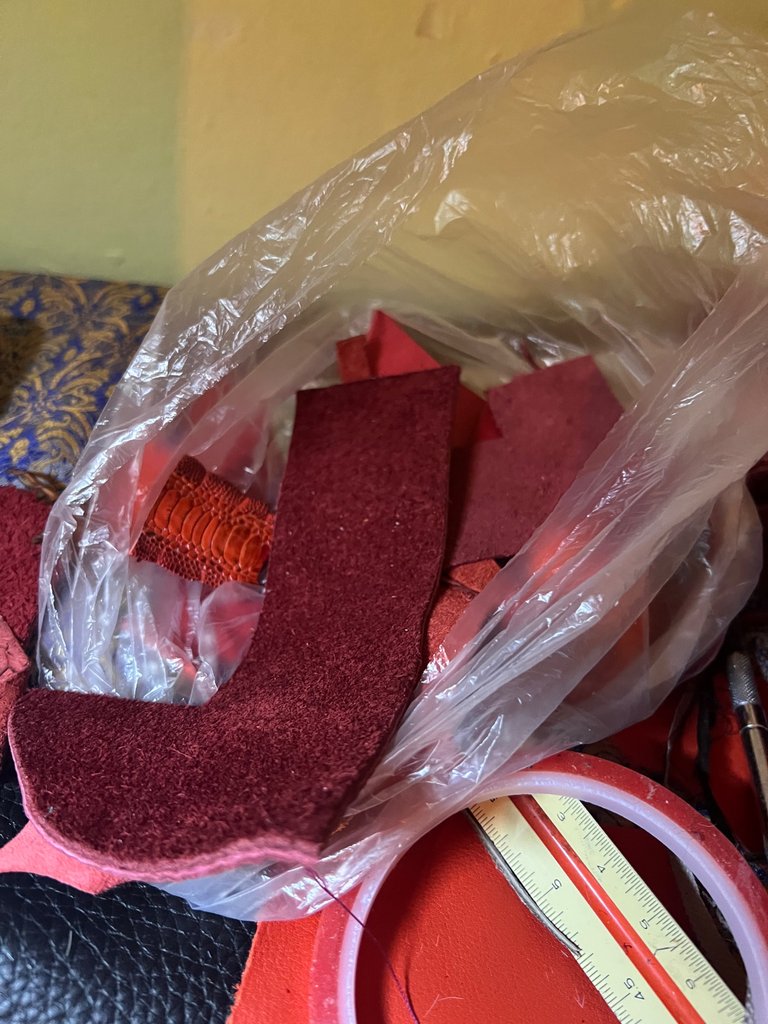
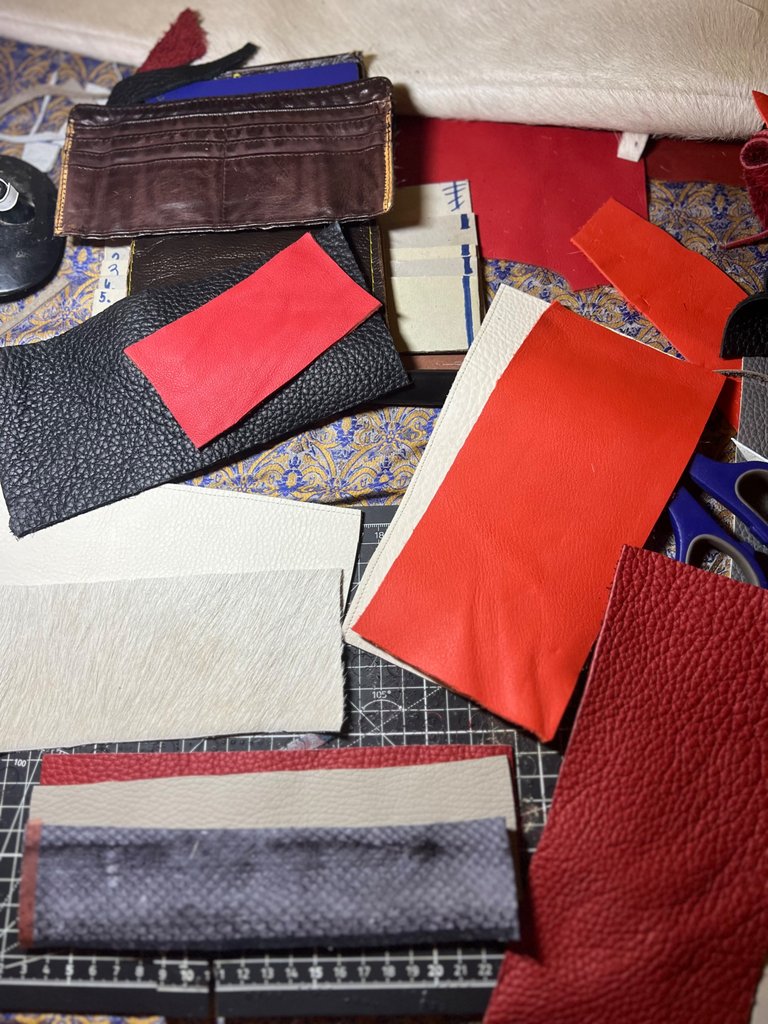
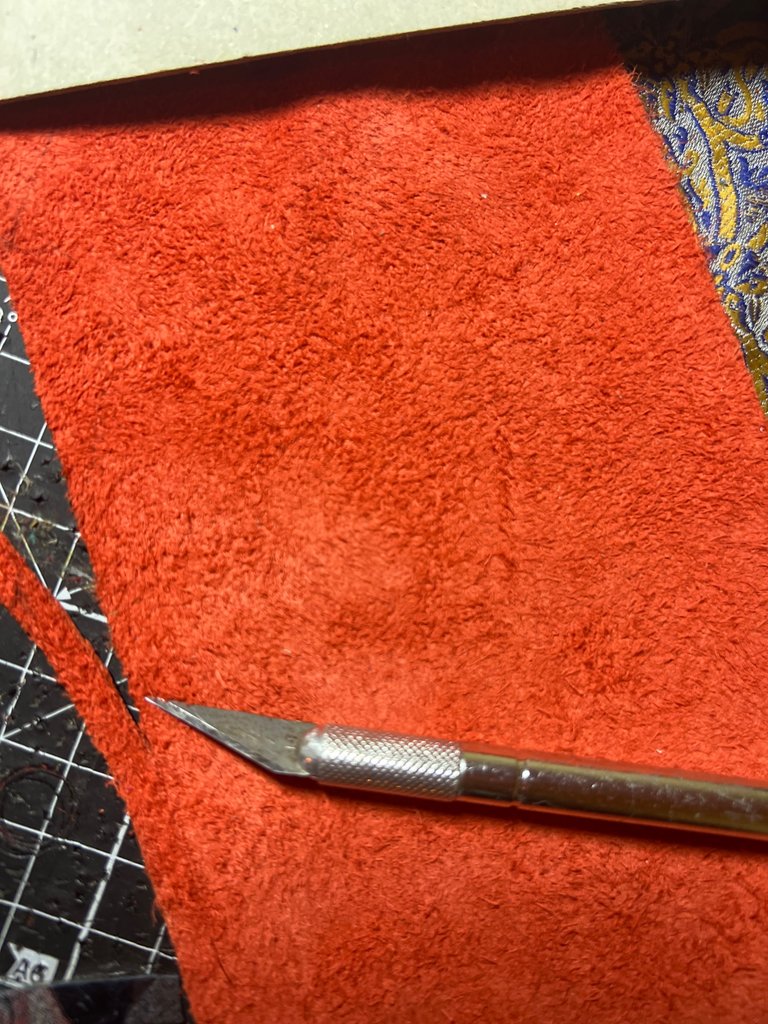
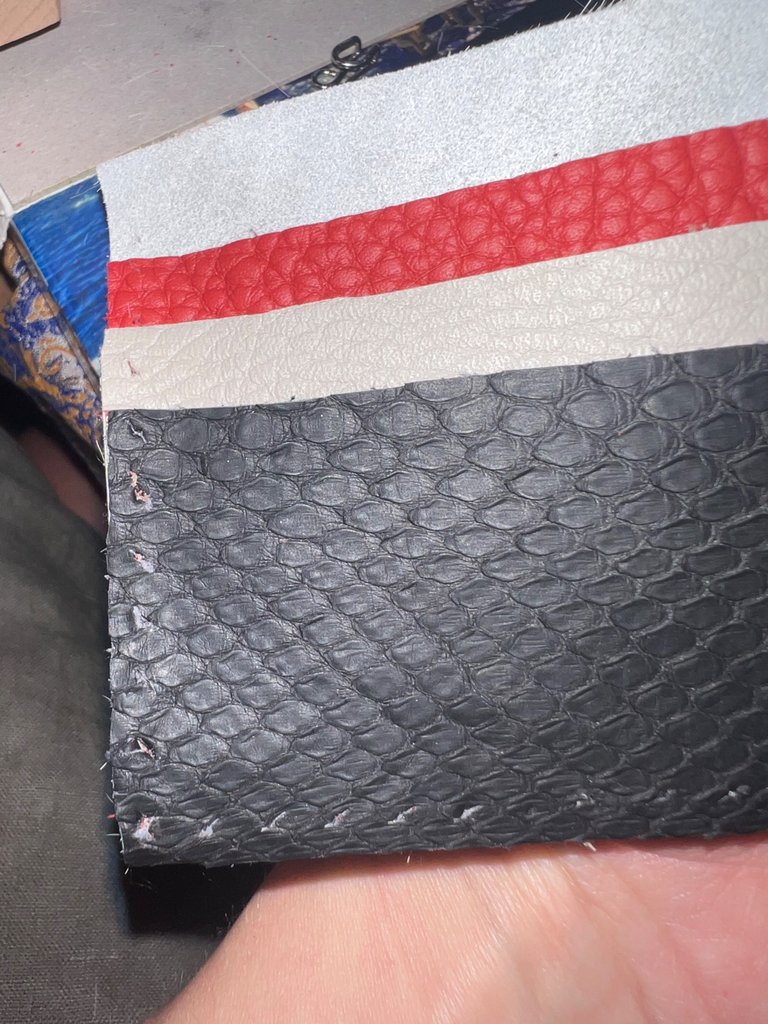
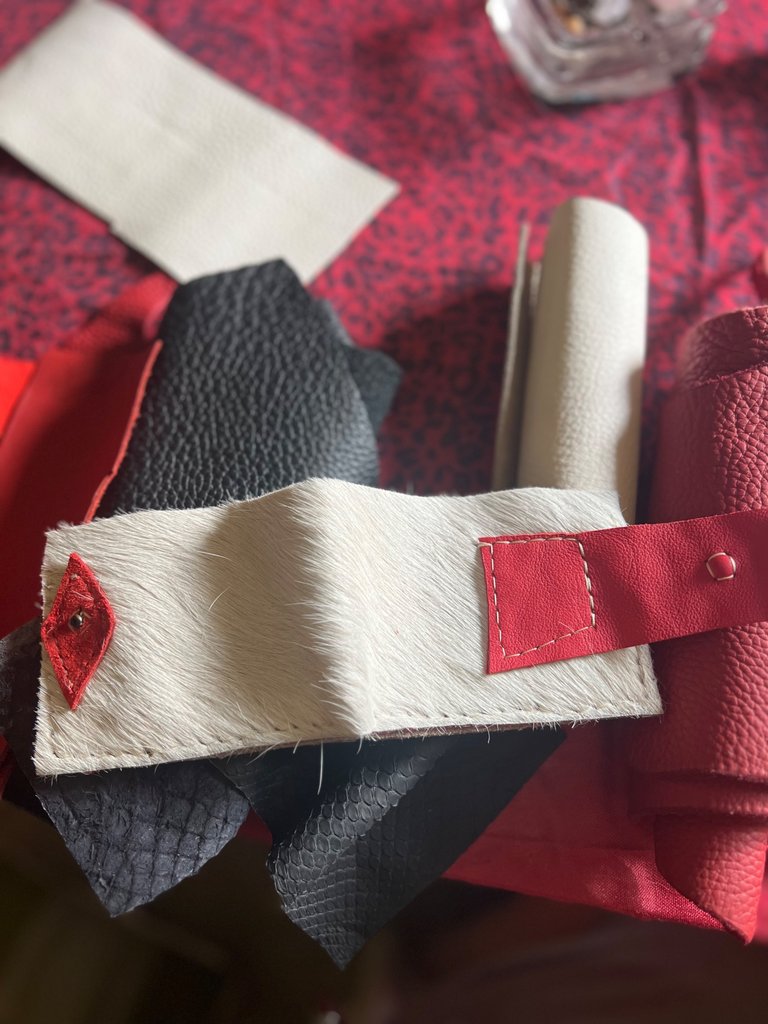
When i saw the DIY contest i decided to join, my husband & I, we are a lot into DIY & recycling, we also work with different mediums. One of our favorite is LEATHER. We are saving leather scraps from the Fashion industry in France, from where we get our scraps.
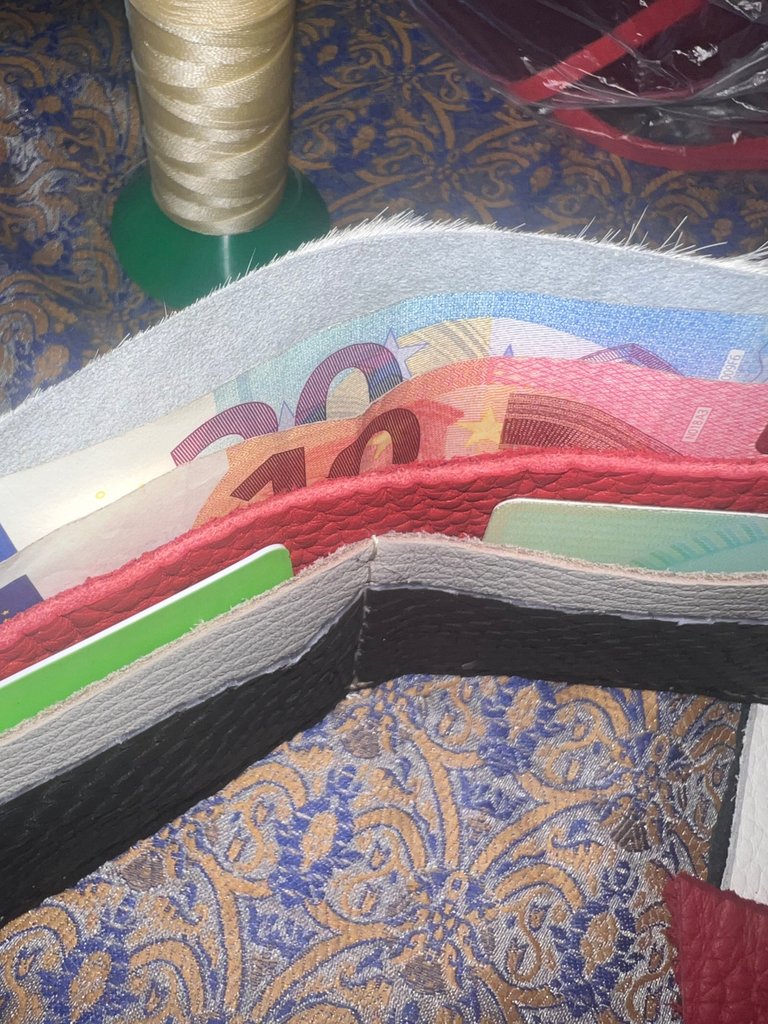
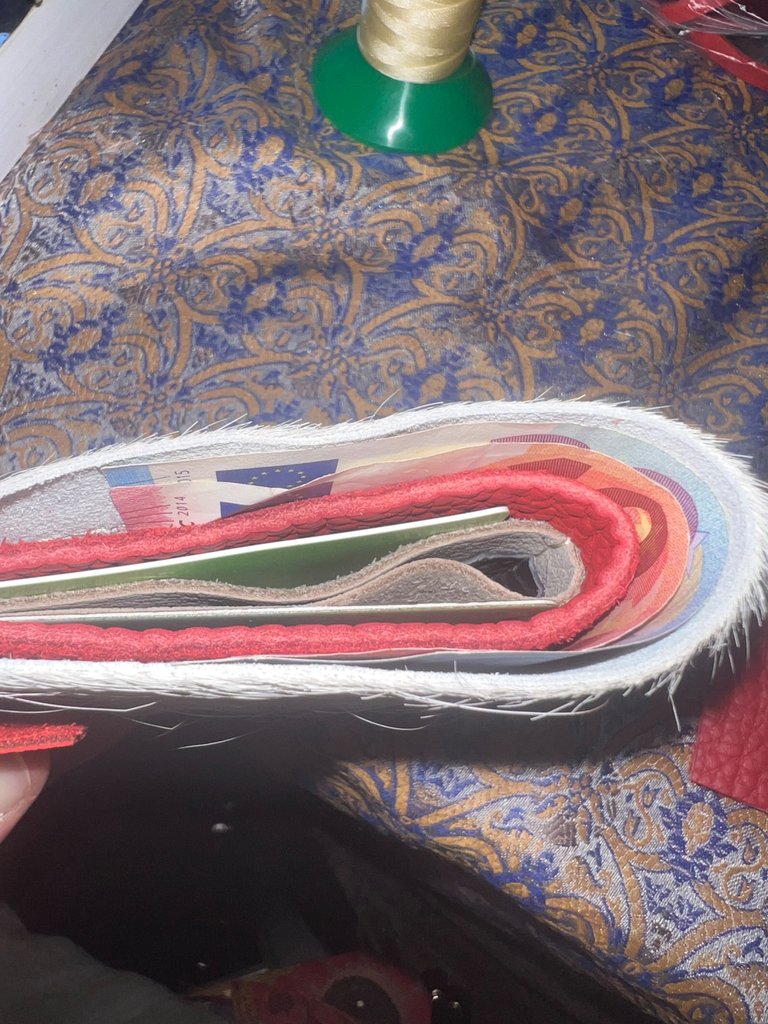
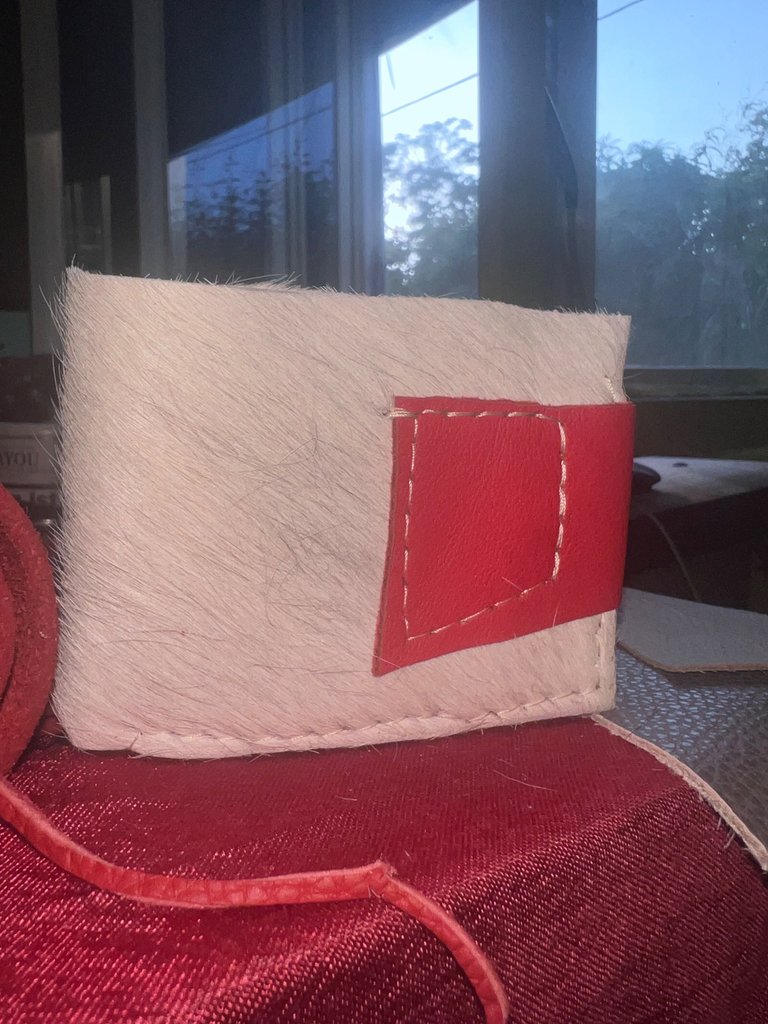
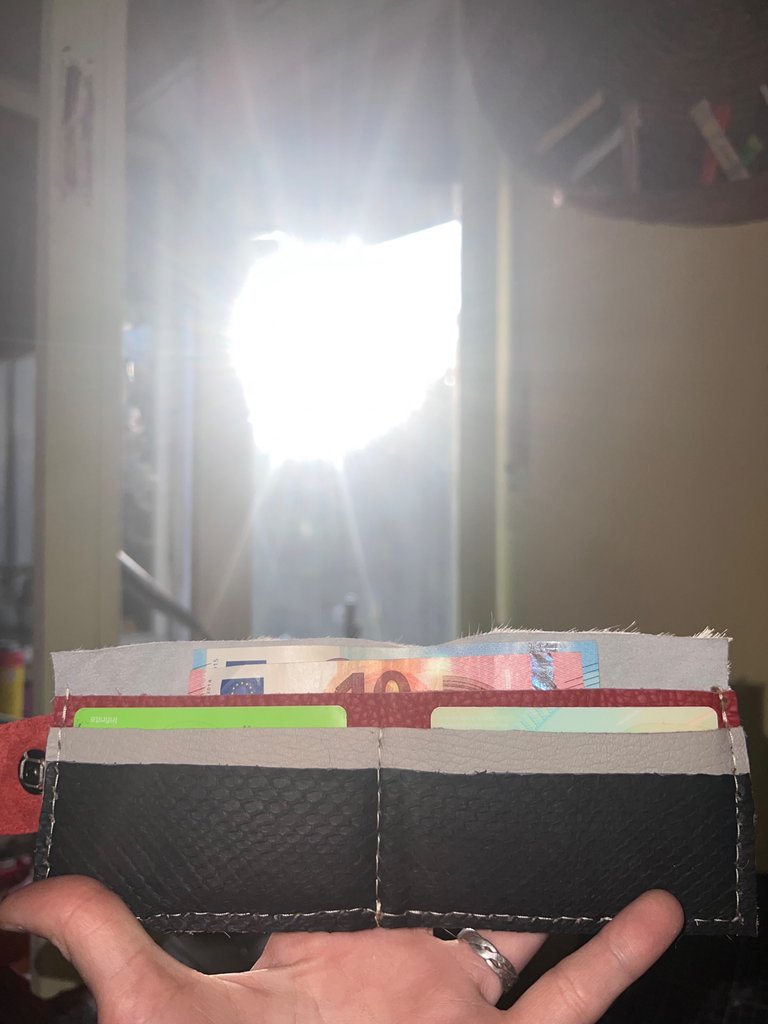
Therefore the HIVE WALLET I have created for this DIY - JUNE CONTEST of #RECYCLINGDIY is in fact a Recycling of an already recycled material somehow :). I do love to find a new life & purpose for any scraps. It is indeed so much potential in everything.
WARNING: this will be a very long entry as I have documented every single step when comes to this item born out of recycling scraps of leather. Also Leather as medium has many steps in putting it together, and it seems more complex than just stitching together few pieces.
**
In this entry you will find 4 Phases:
Phase 1: **
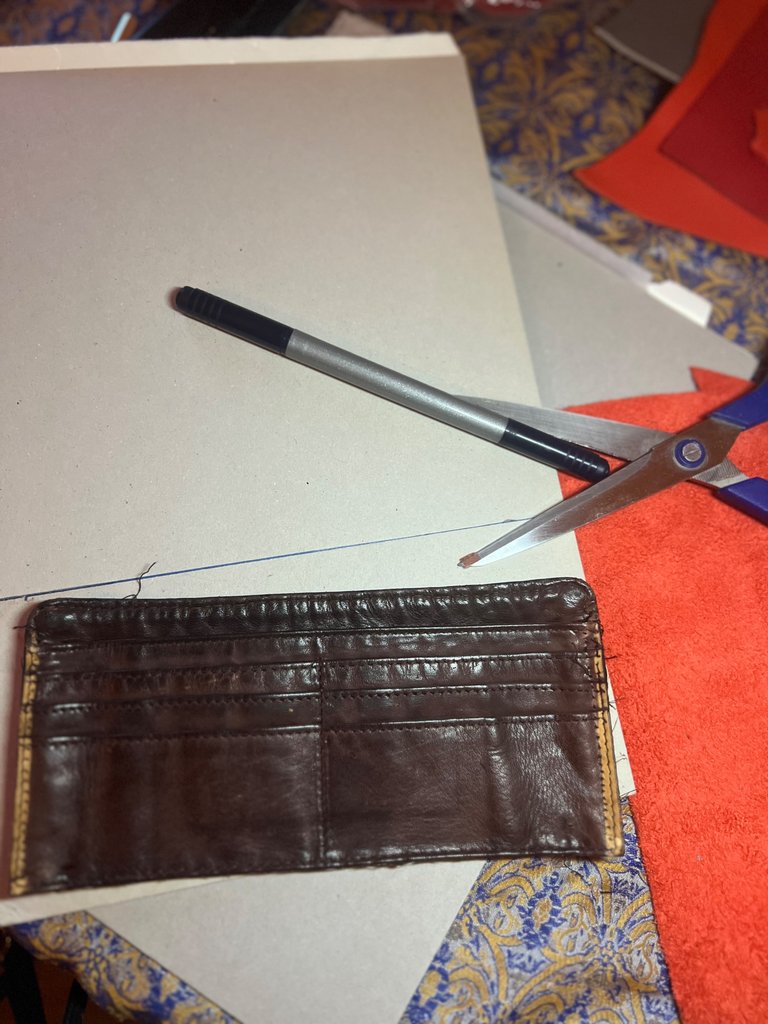
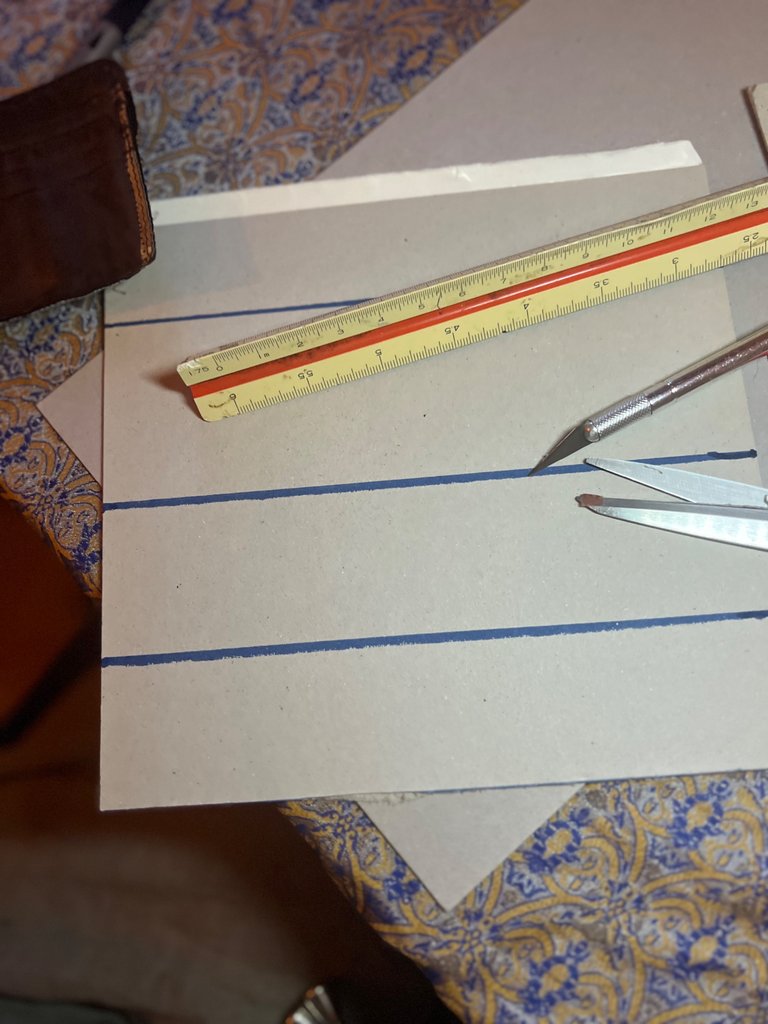
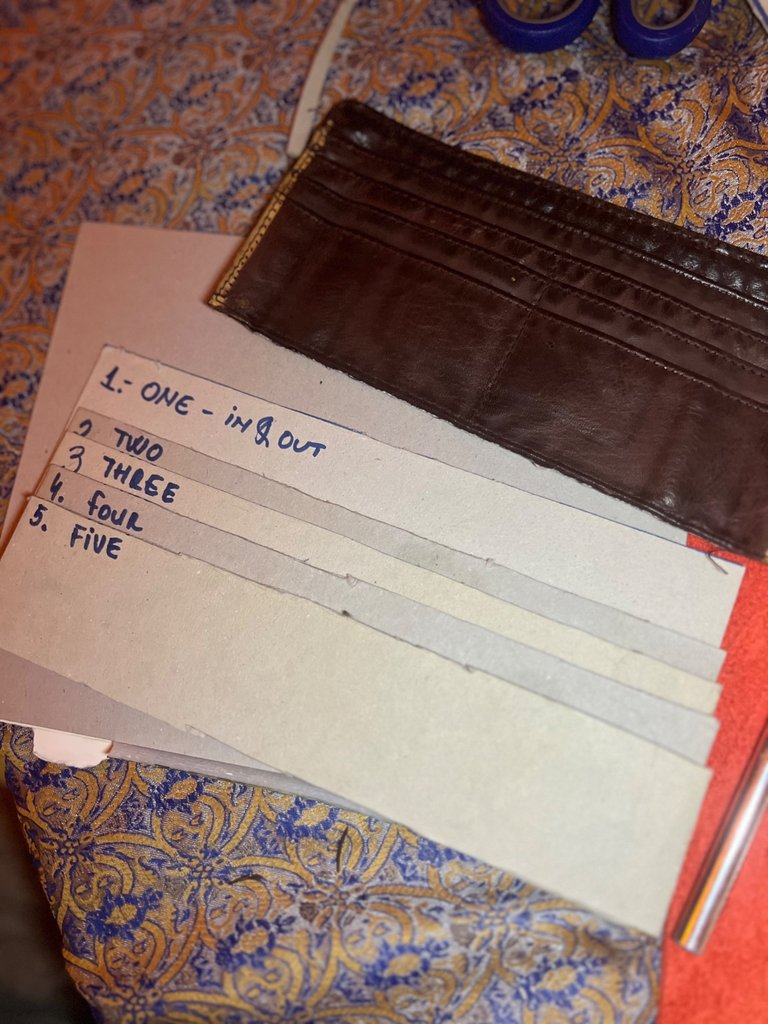
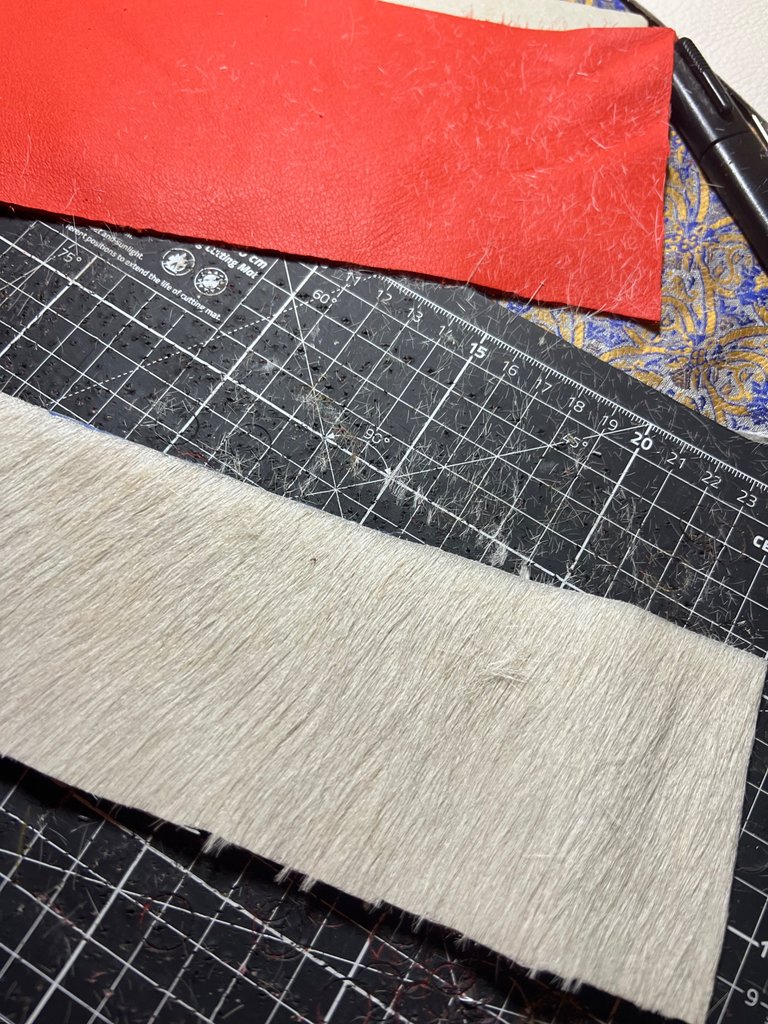
Contains the recycling of an old broken wallet in order to recrate the pattern for the HIVE Wallet & Selecting the pieces of scrap Leather that I will work with.
Materials used in this phase are:
1.Old Wallet
2.Carton from an old Sketch Book
3.Pencils
4.Scissors
5.Cutting Knife
6.Ruler
7.Creativity :)
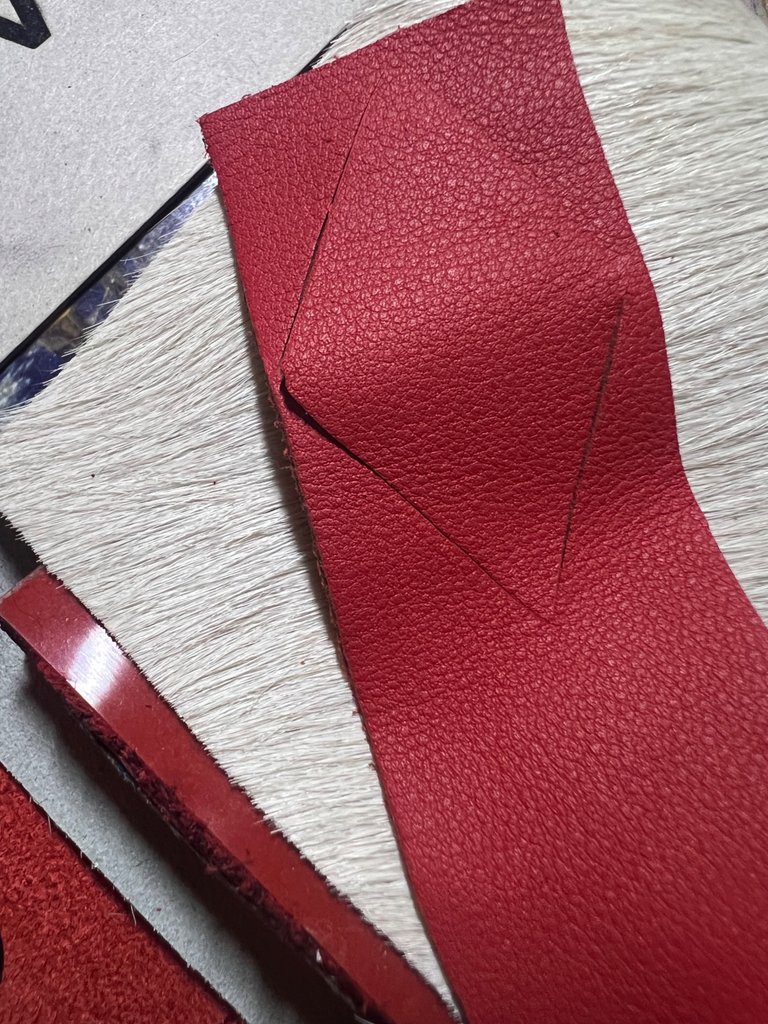
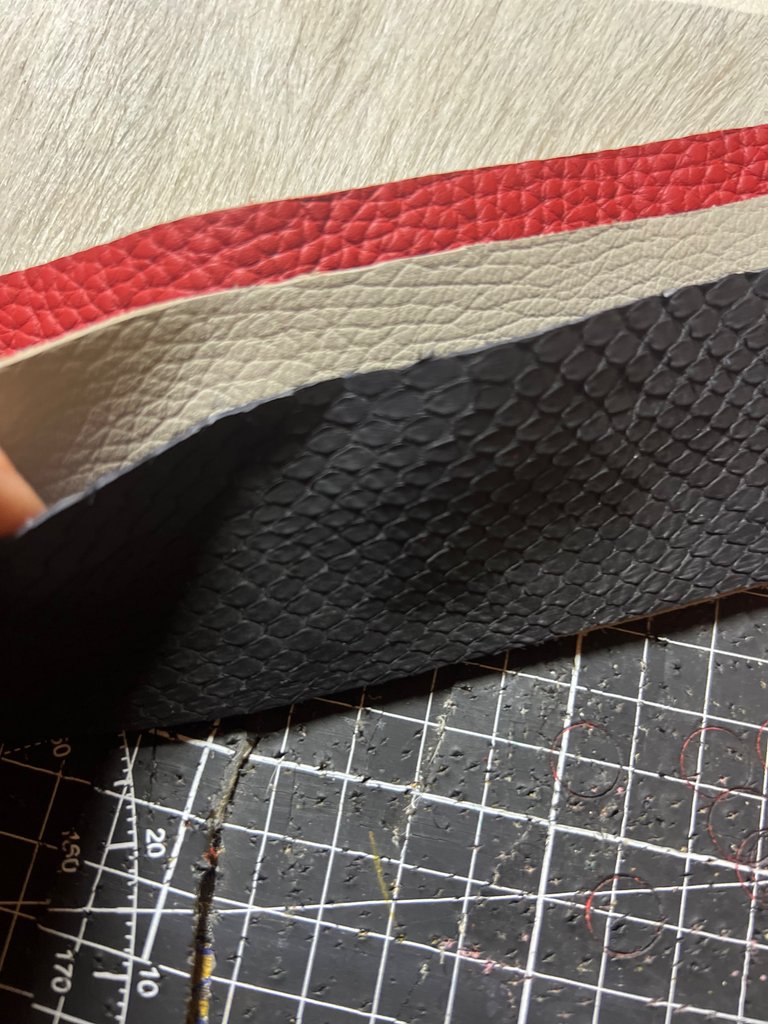
In this phase I have also adjusted the wallet size according to the pattern and cut out the edges of the leather scrap where was needed.
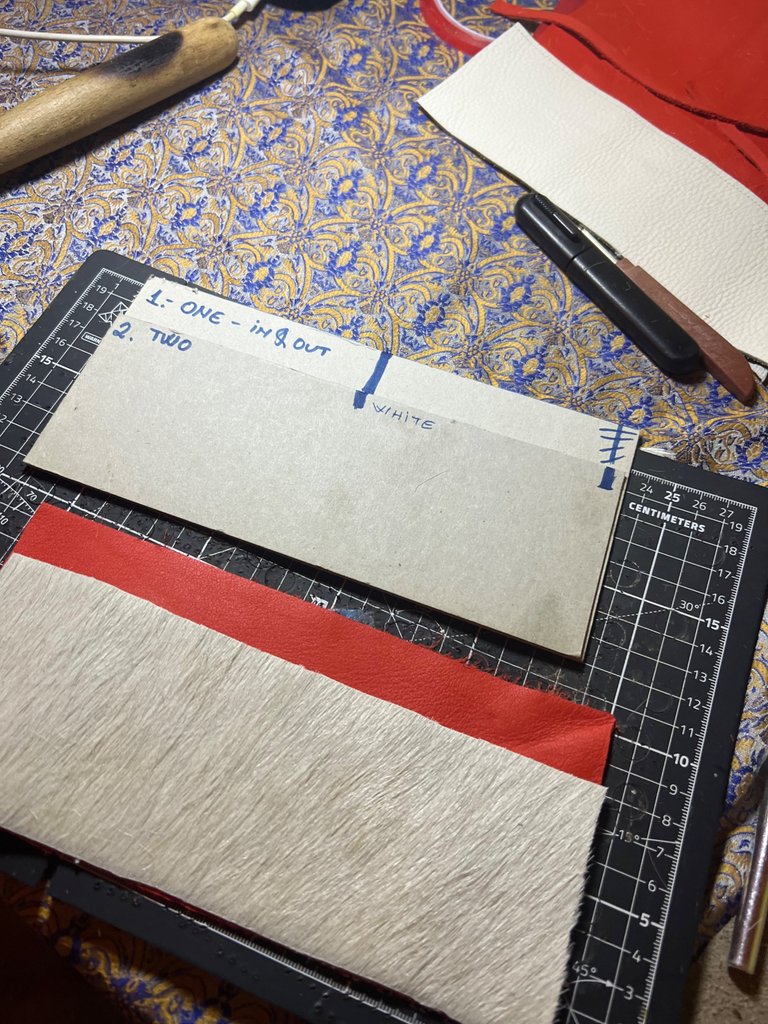
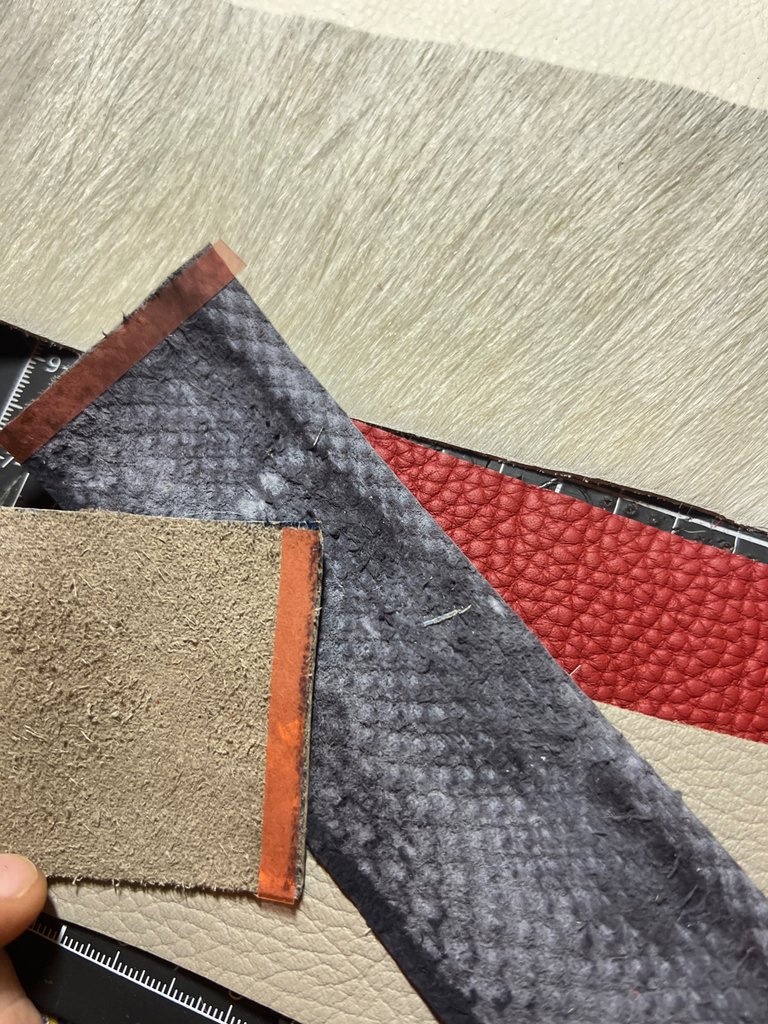
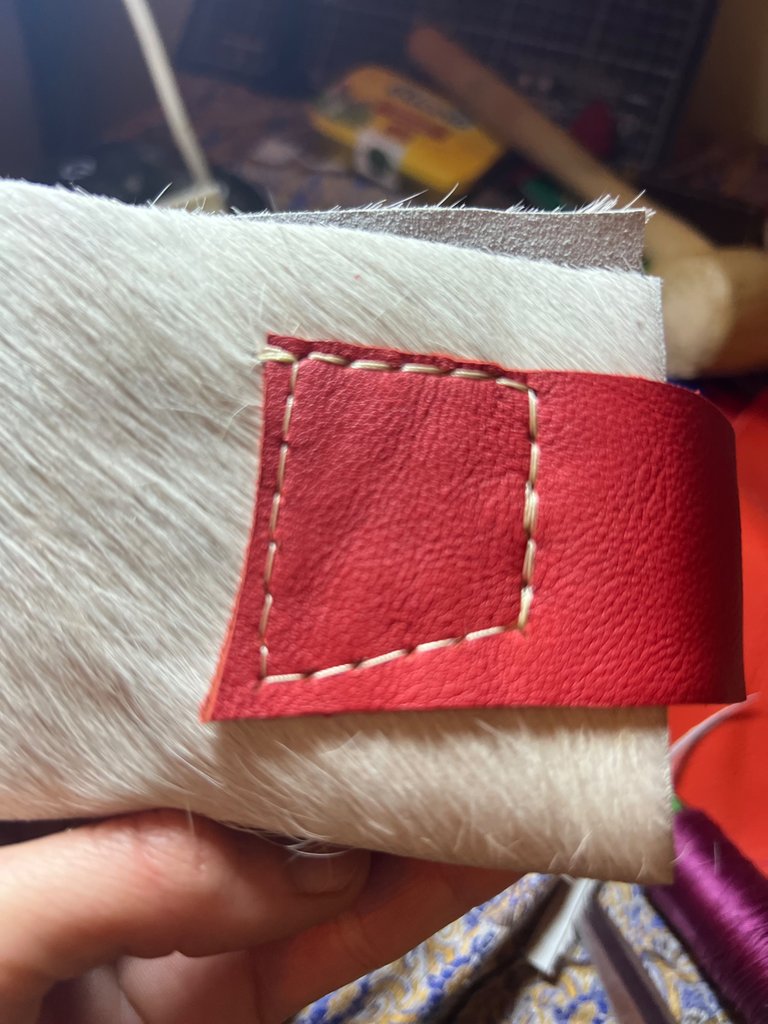
PHASE 2:
- Materials needed: Leather Glue / Double sided Tape
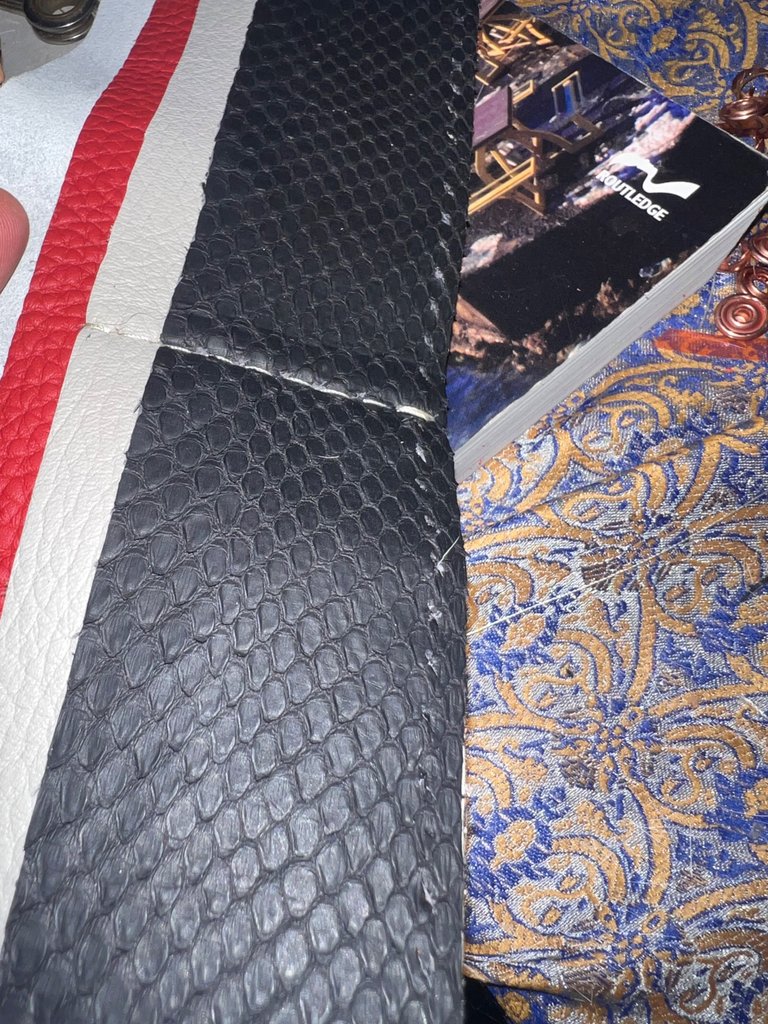
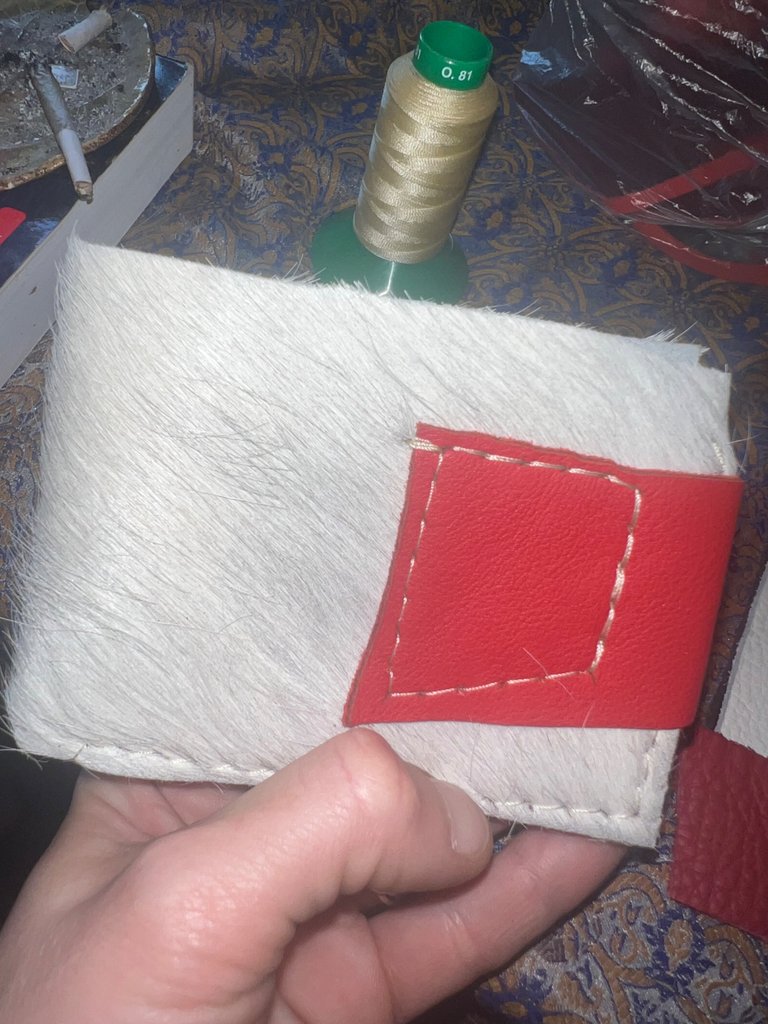
In order to Prepare the Layers of Leather to come together, one has to tape them or you can also glue them together, depends on what materials you have available. It's your choice. This step is important as the pieces of leather have to be properly attached together as the next step is to make the holes manually in order to be able to stitch them.
In this project I have taped them using double sided tape, I have tested the functionality of the pockets before making the holes. As in this stage one is still able to readjust if needed.
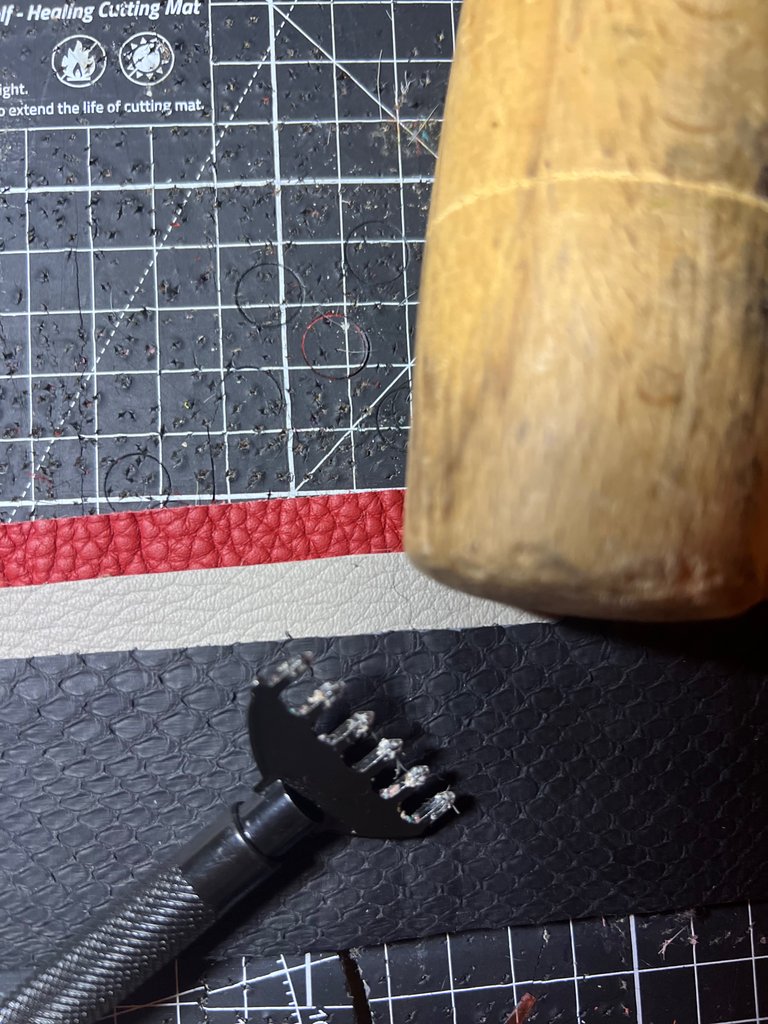
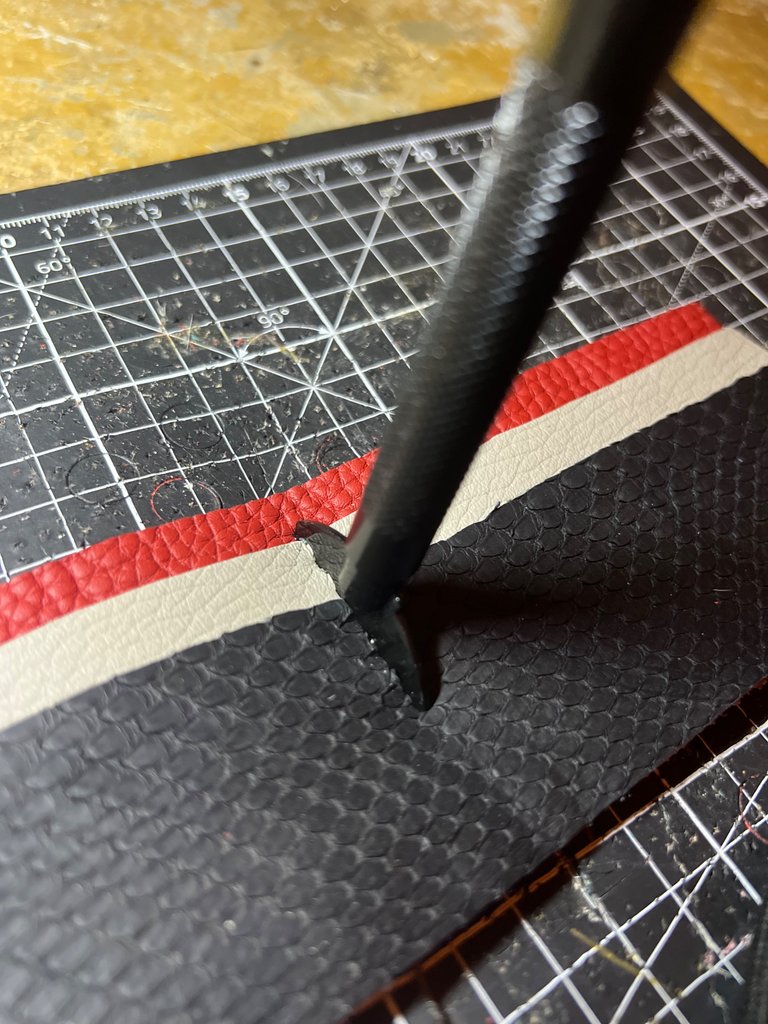
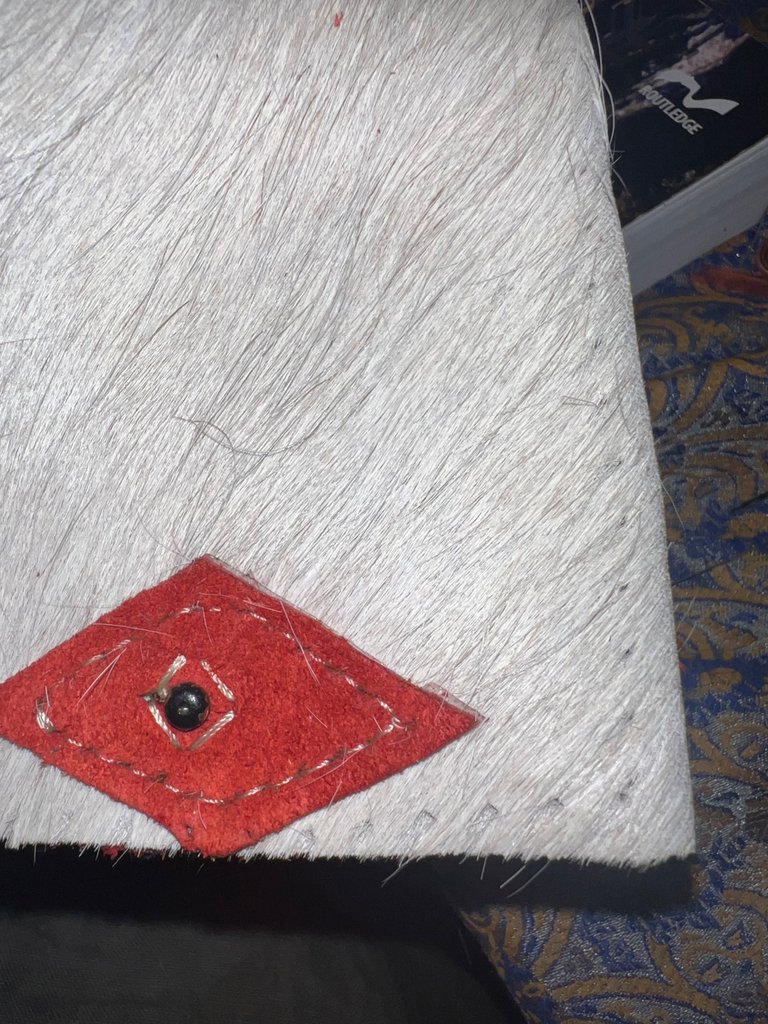
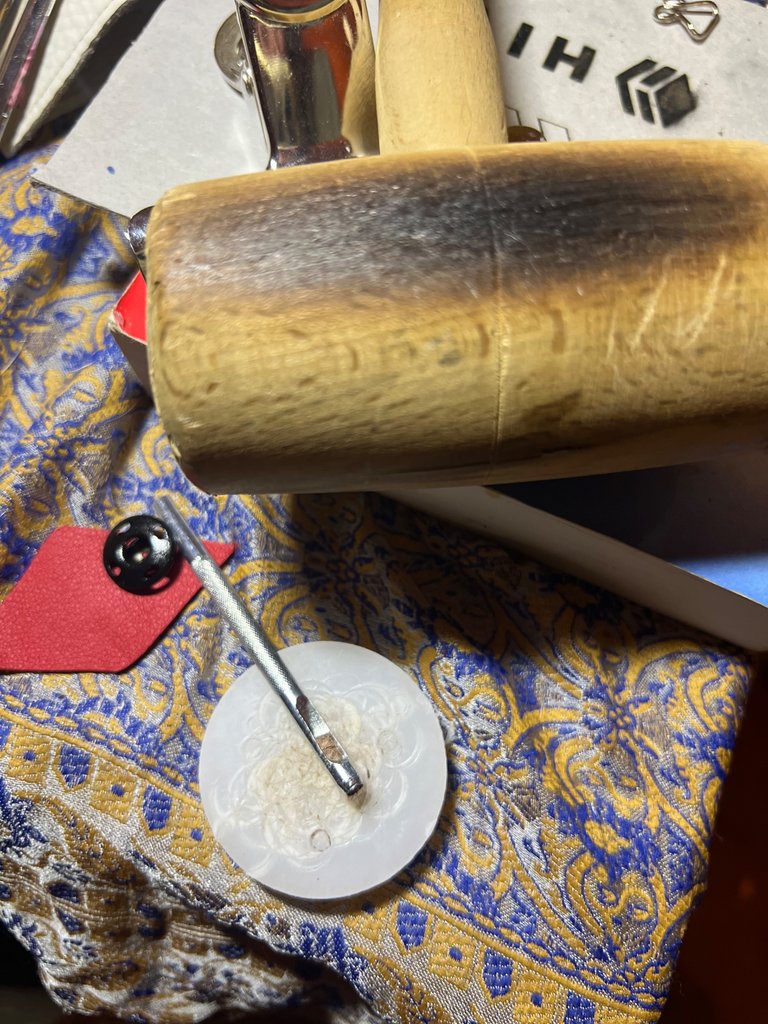
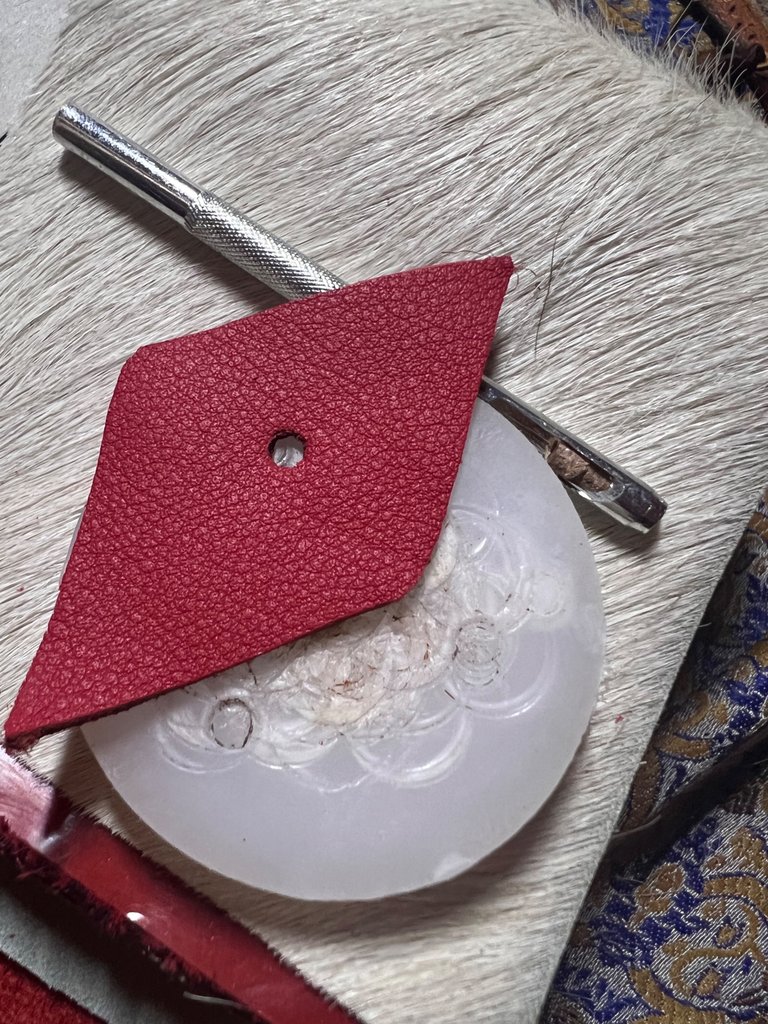
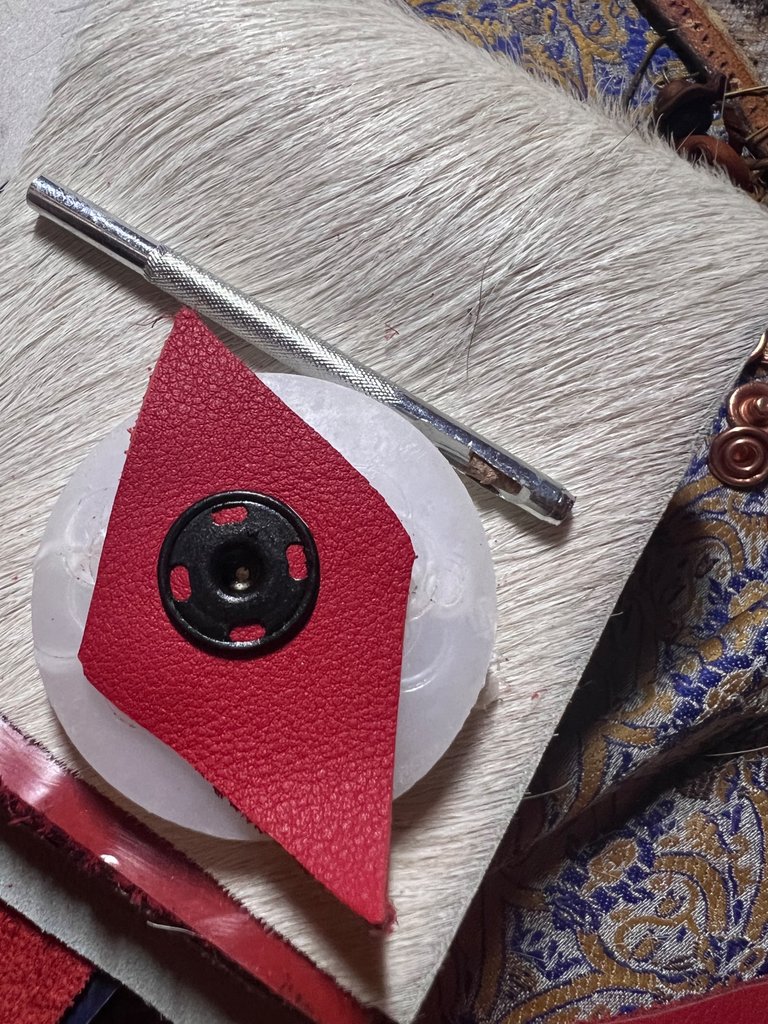
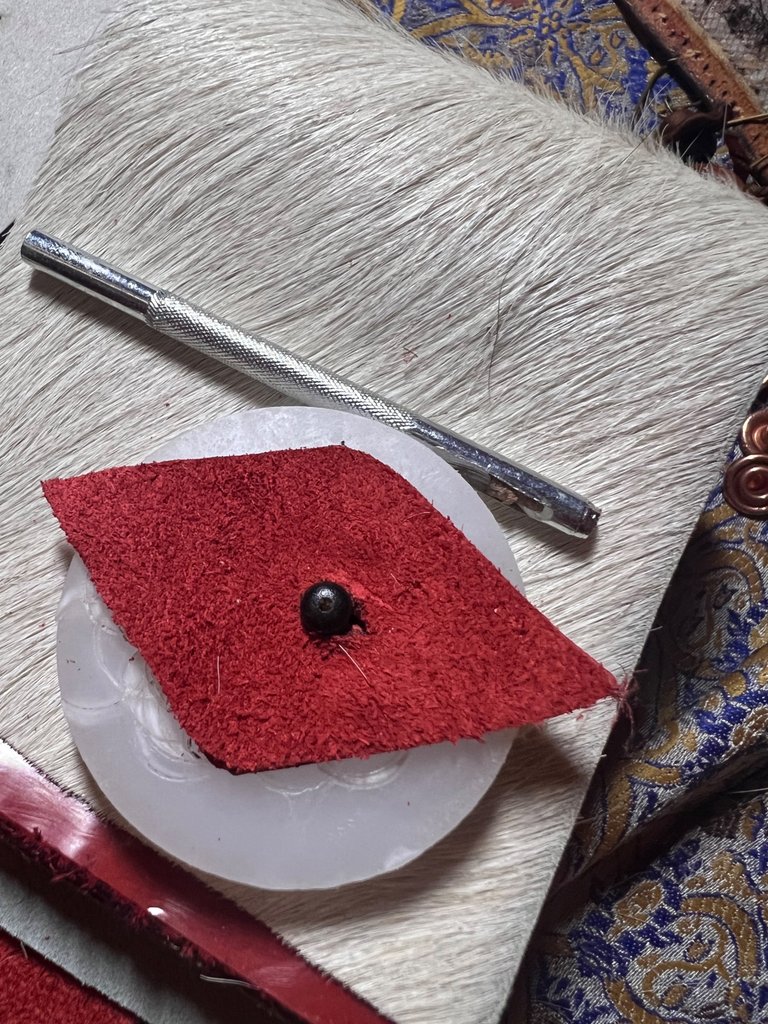
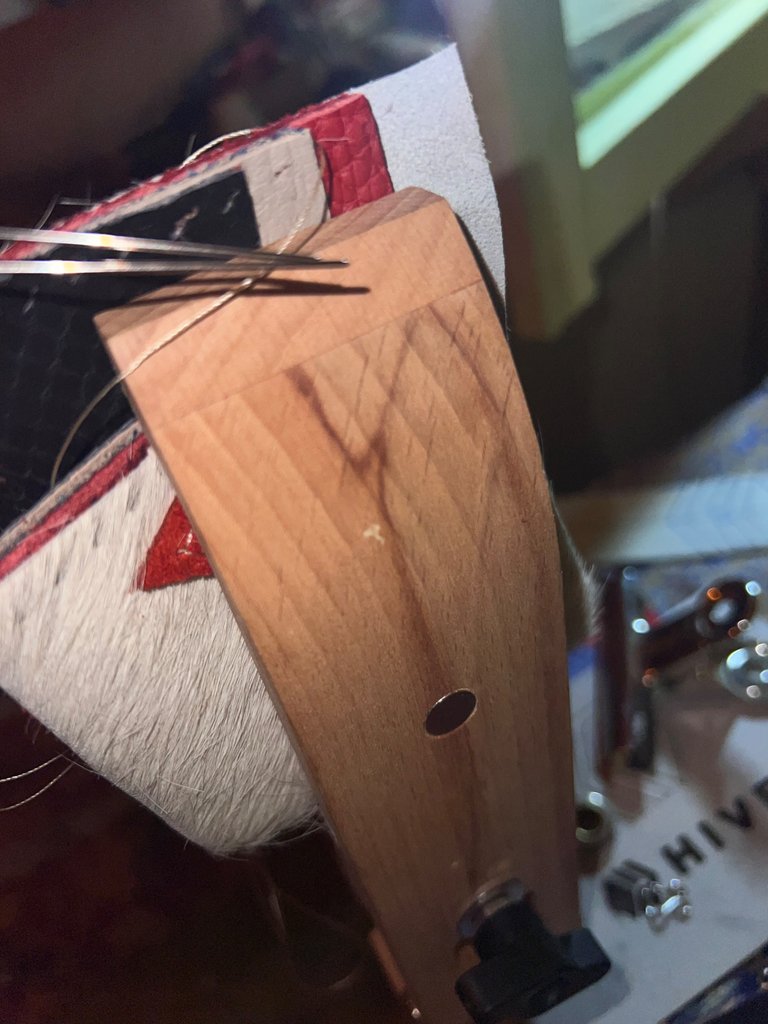
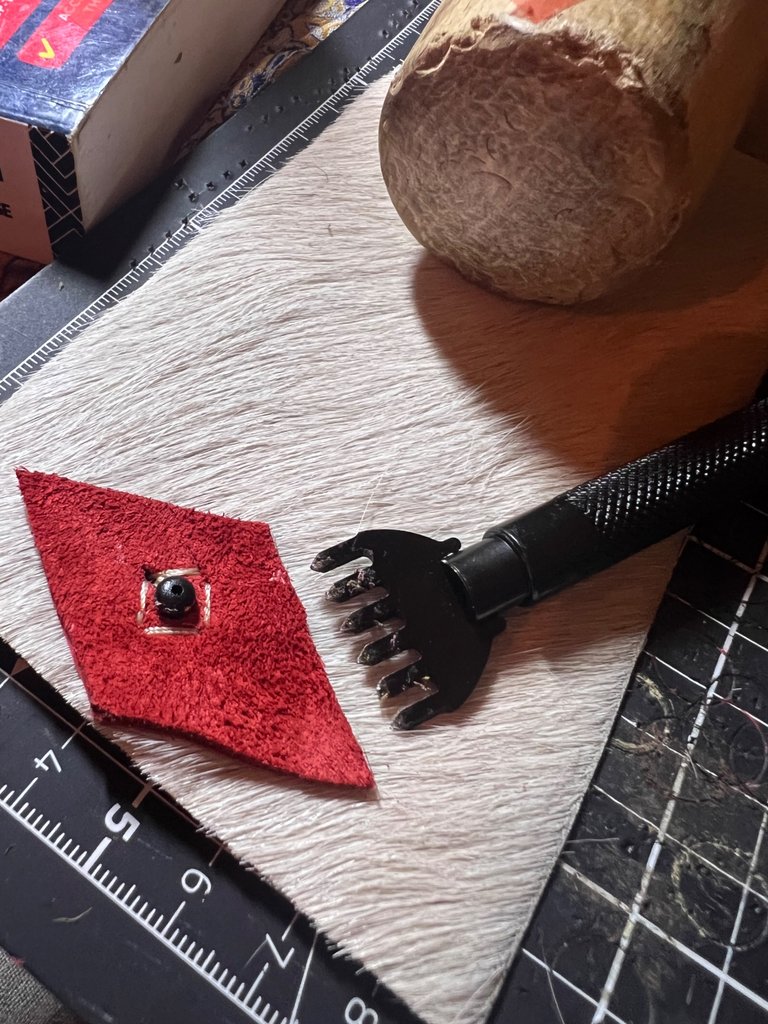
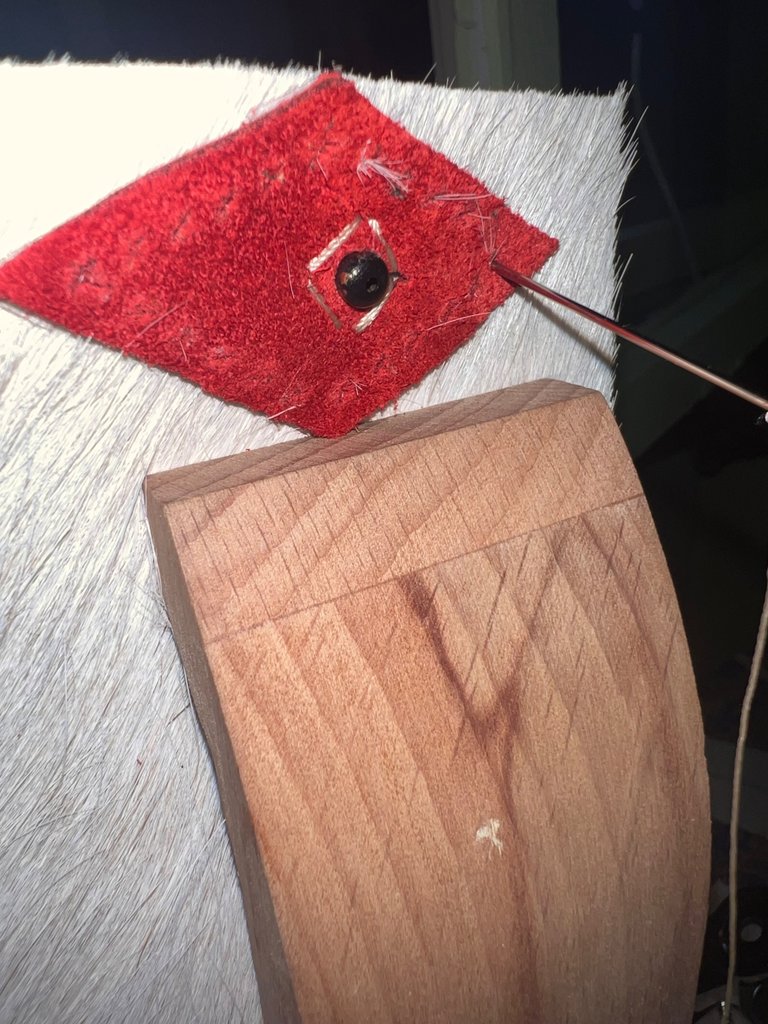
PHASE 3: Punching / Poking the Leather
Materials / Tools Used / Needed:
1.Leather Punch: Fork style & cylindrical
2.Cutting Matt
3.Silicone support
4.Wooden Hammer
5.Precision :)
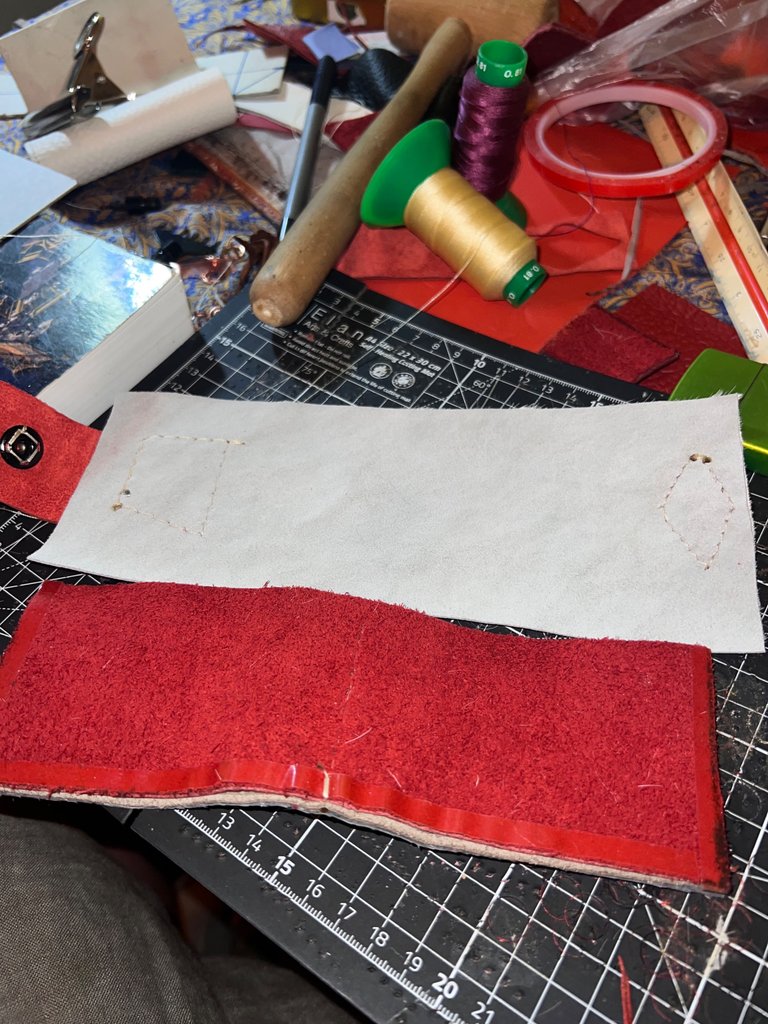
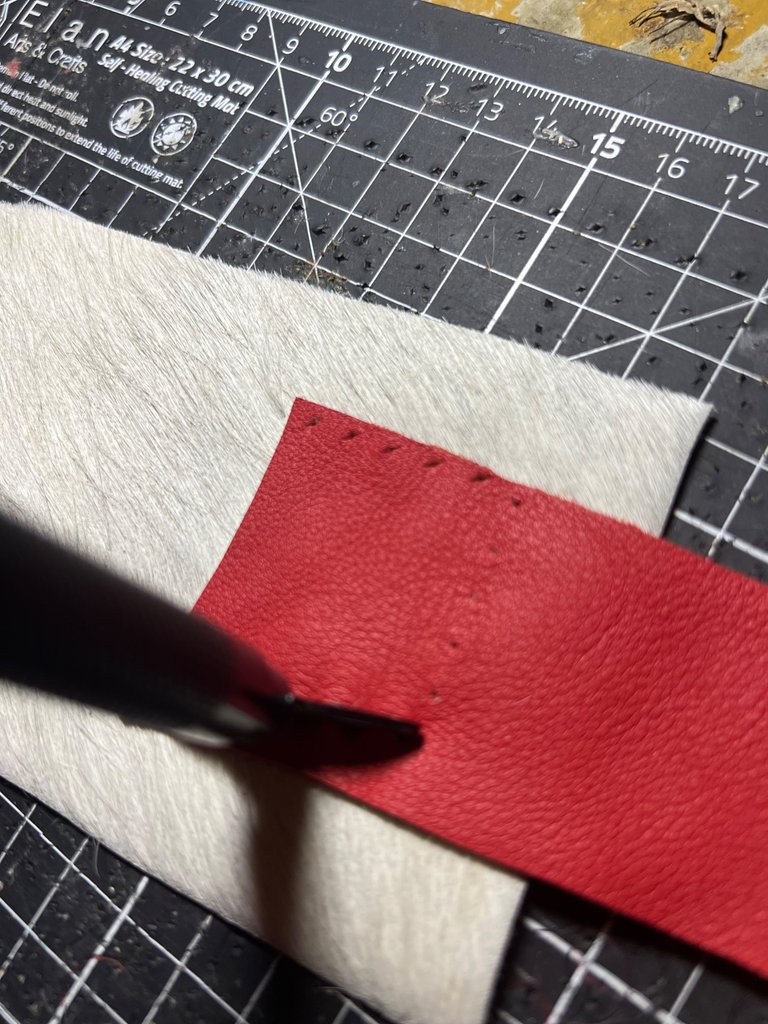
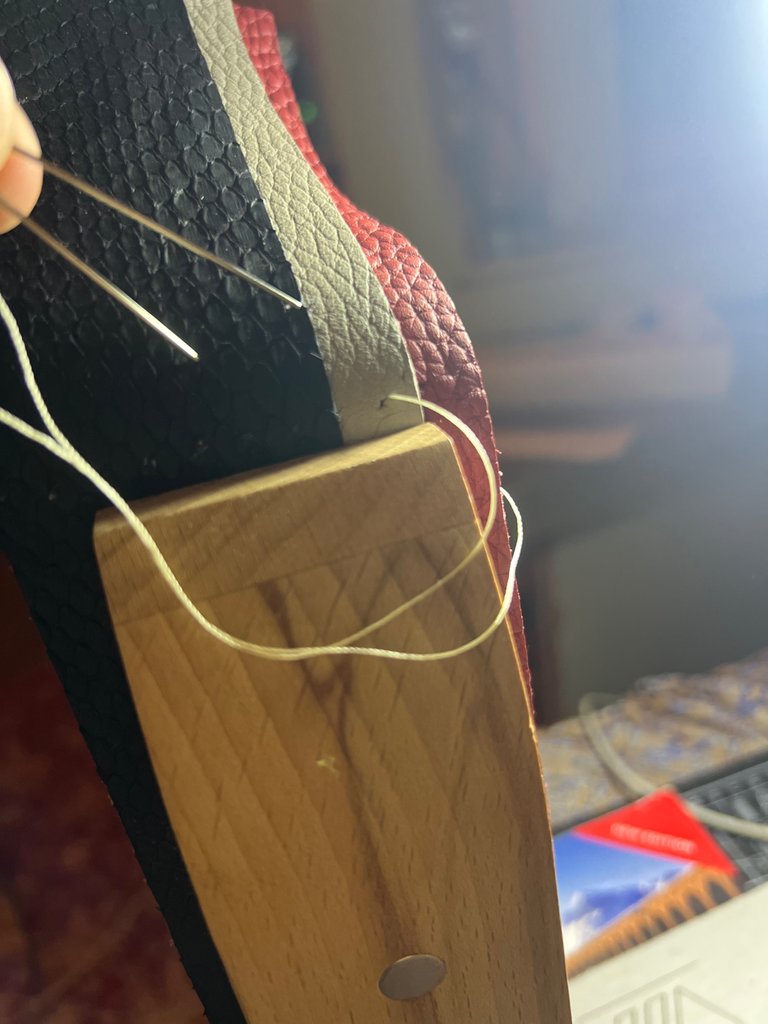
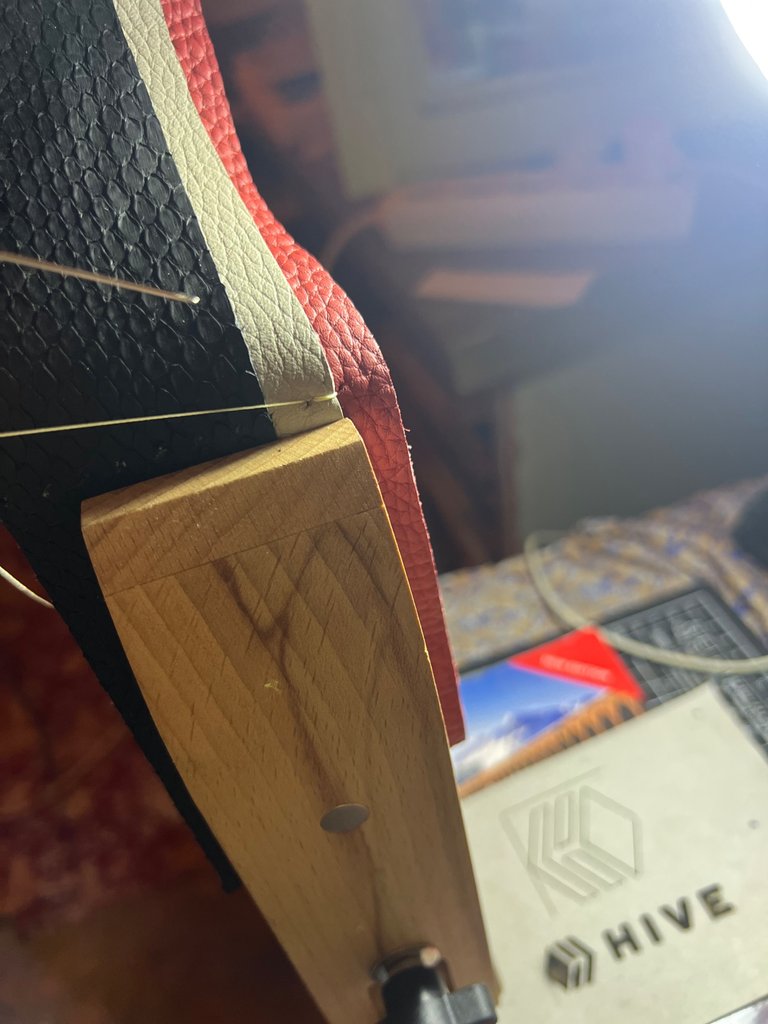
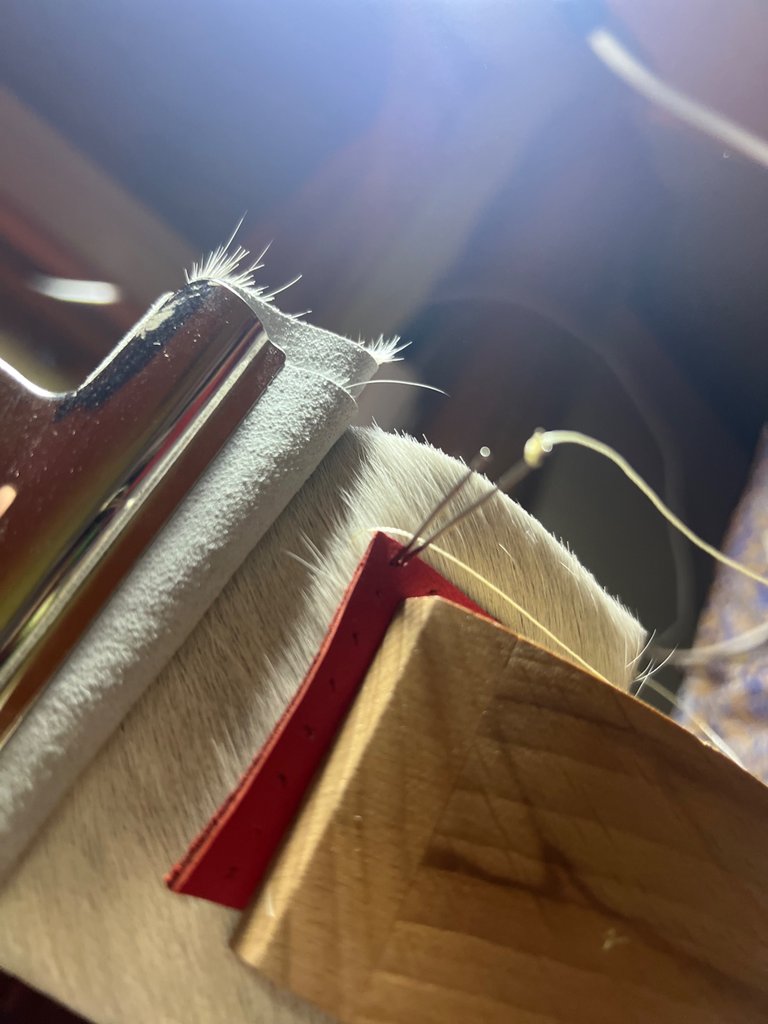
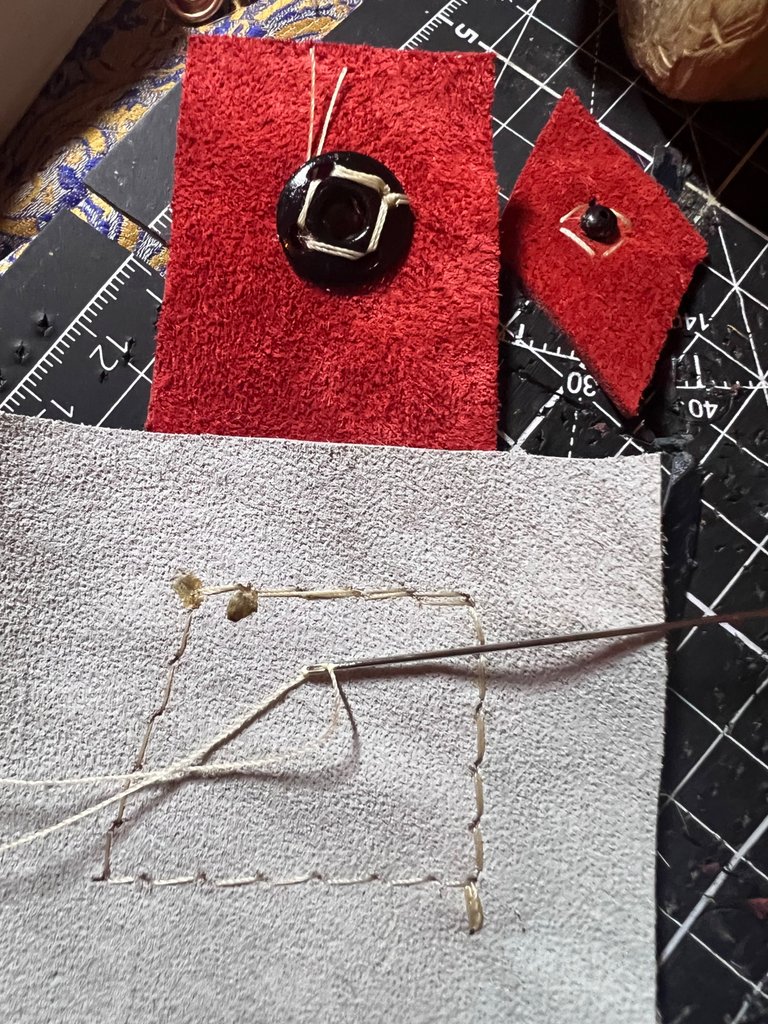
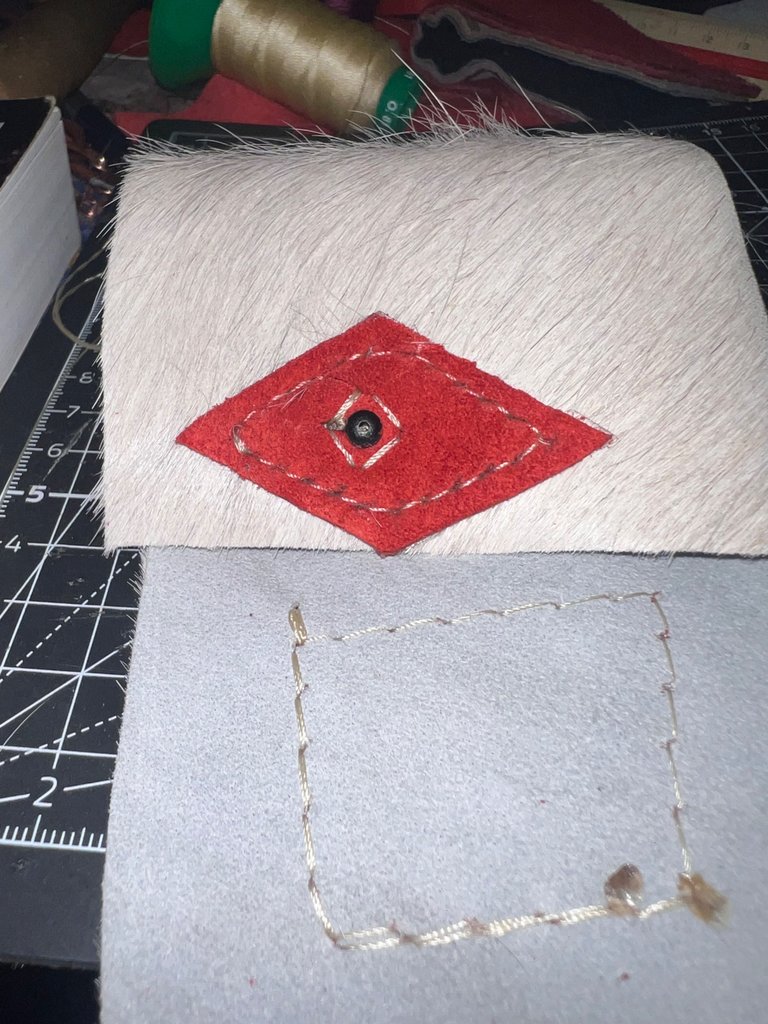
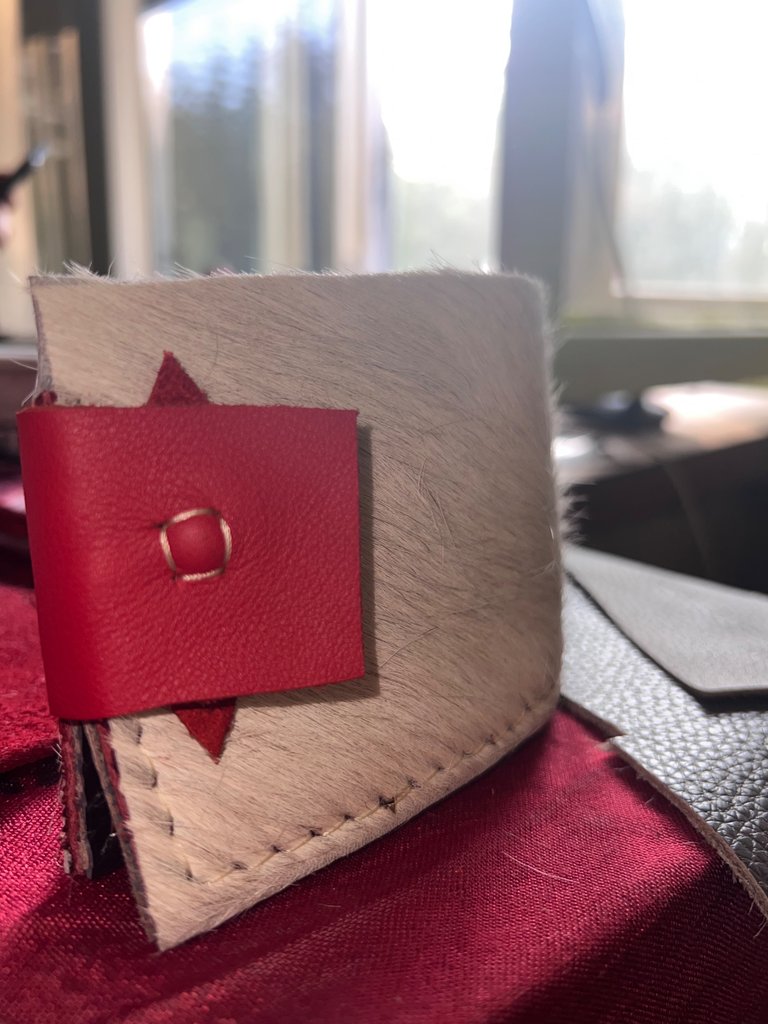
PHASE 4: HAND Stitching - Saddle Stitch
Materials / Tools used / Needed:
1.Needles
2.Nylon Thread
3.Scissors
4.Stitching Pony
5.Metal Clips
6.Lighter ( to burn the Nylon Thread)
7.Patience :)
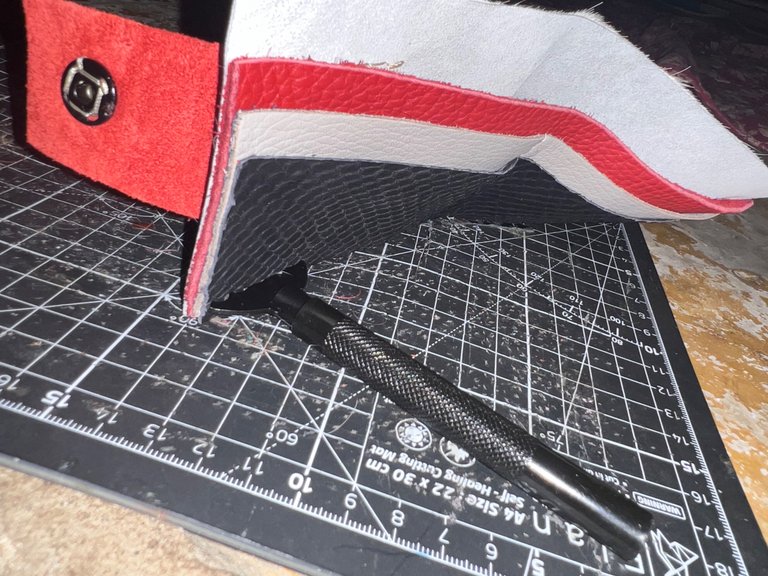
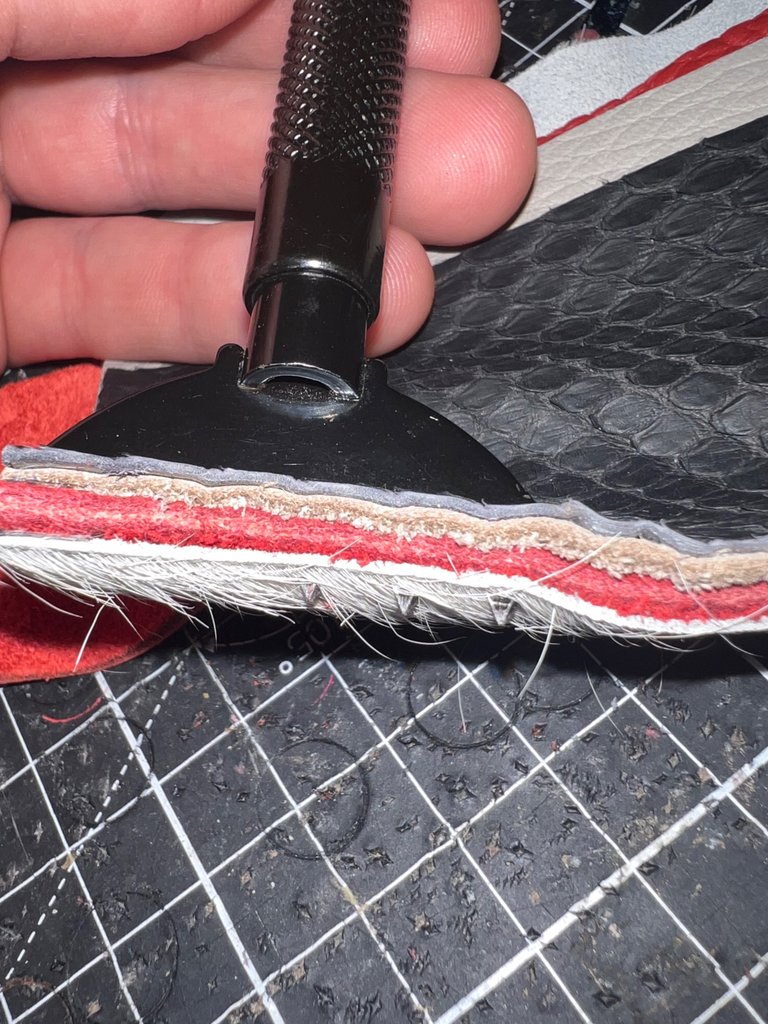
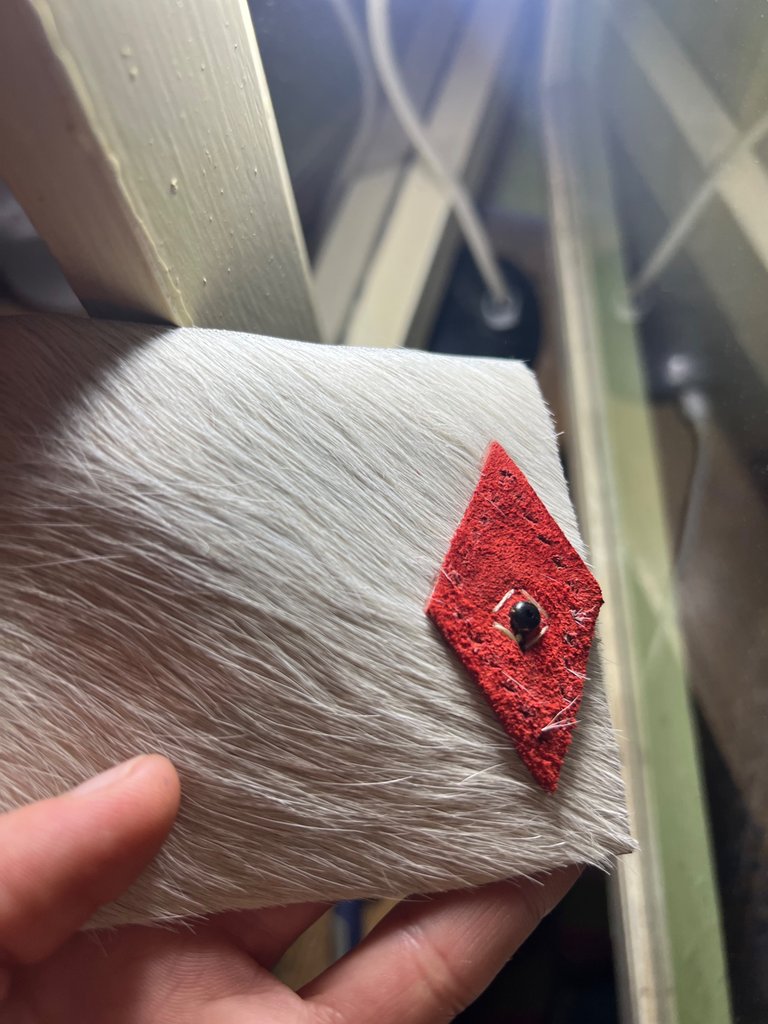
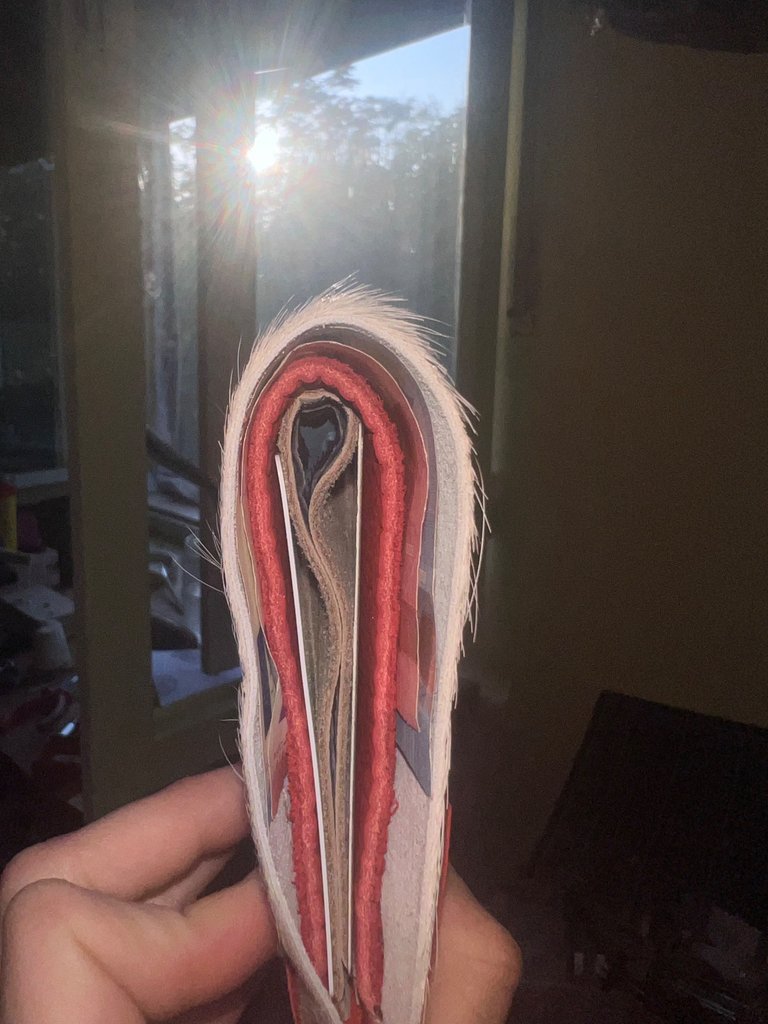
Note for the reader: Leather is not a straight forward process somehow, as you need to do a piece & come back to it and do half of the other piece and then you come back to both... in order to stitch them together.
I will let the pictures speak on their own, yet i have tried to make it as coherent as possible yet there are few steps that you can see in different phases.... that's because the back and forth nature of the medium.
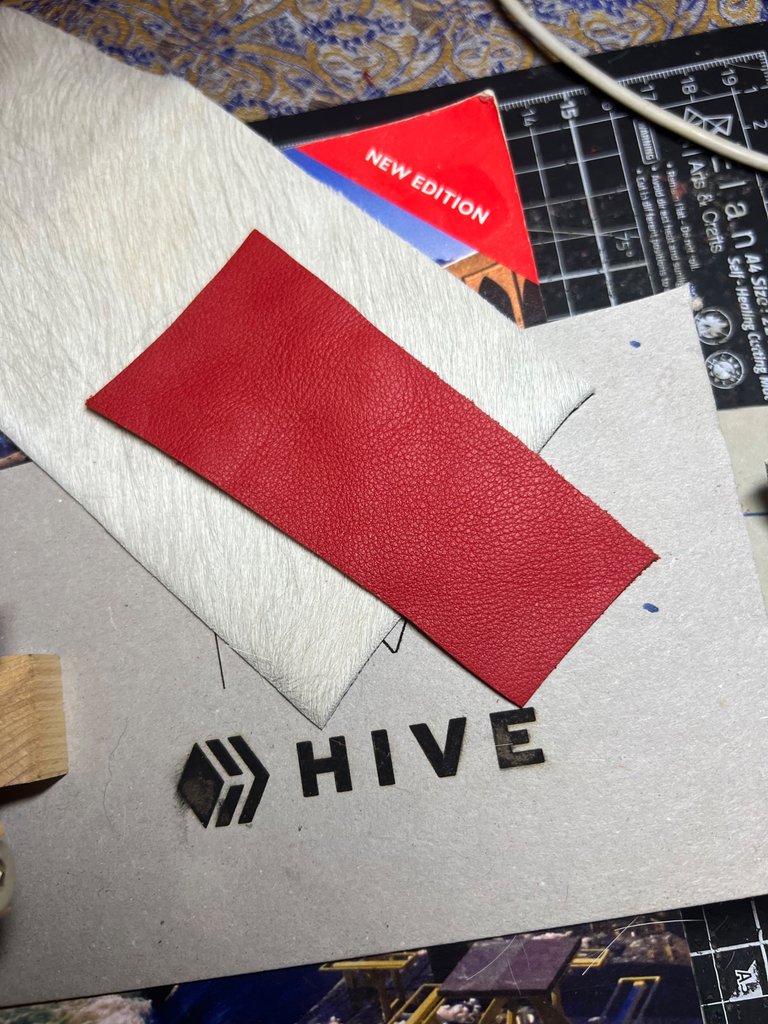
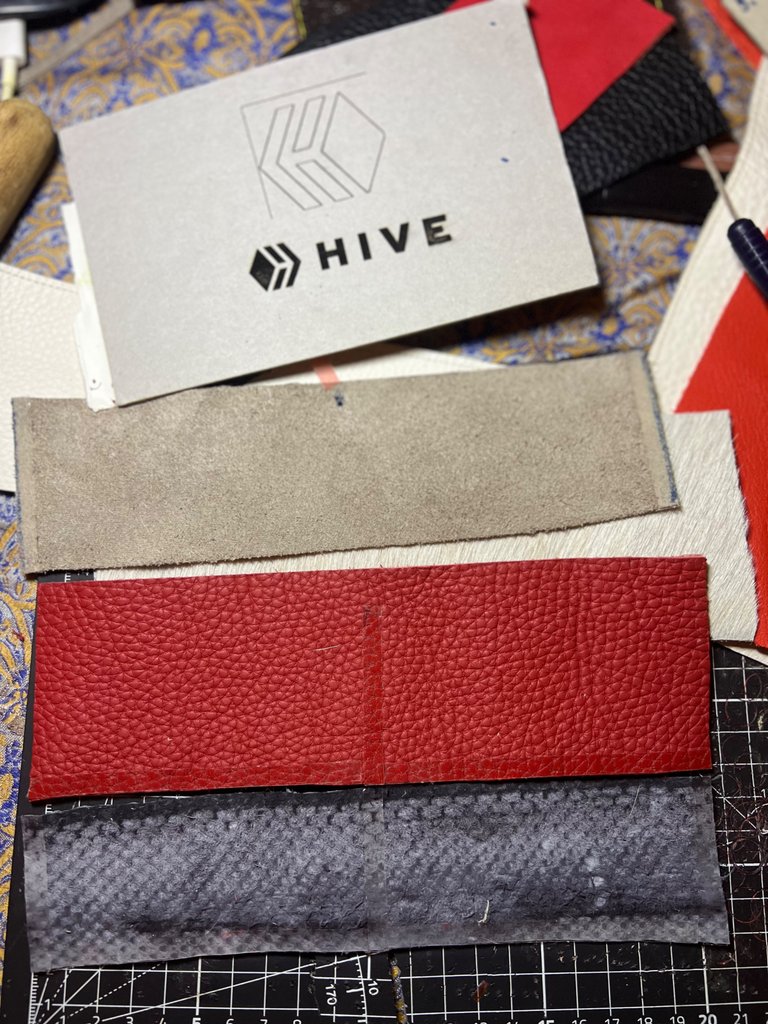
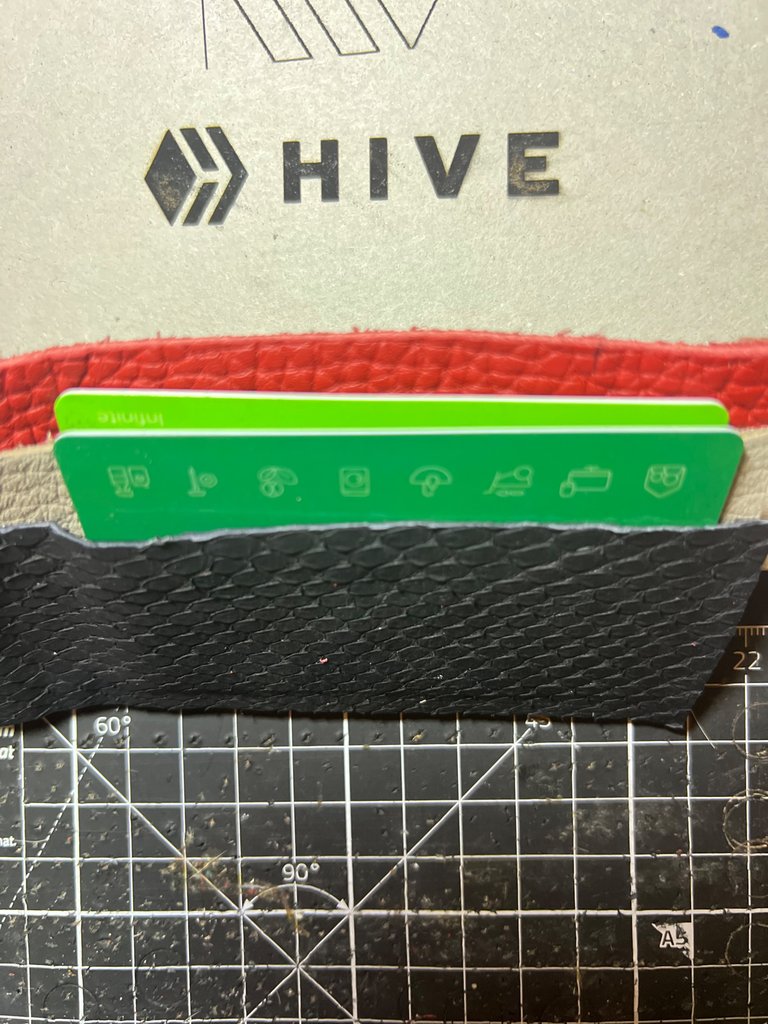
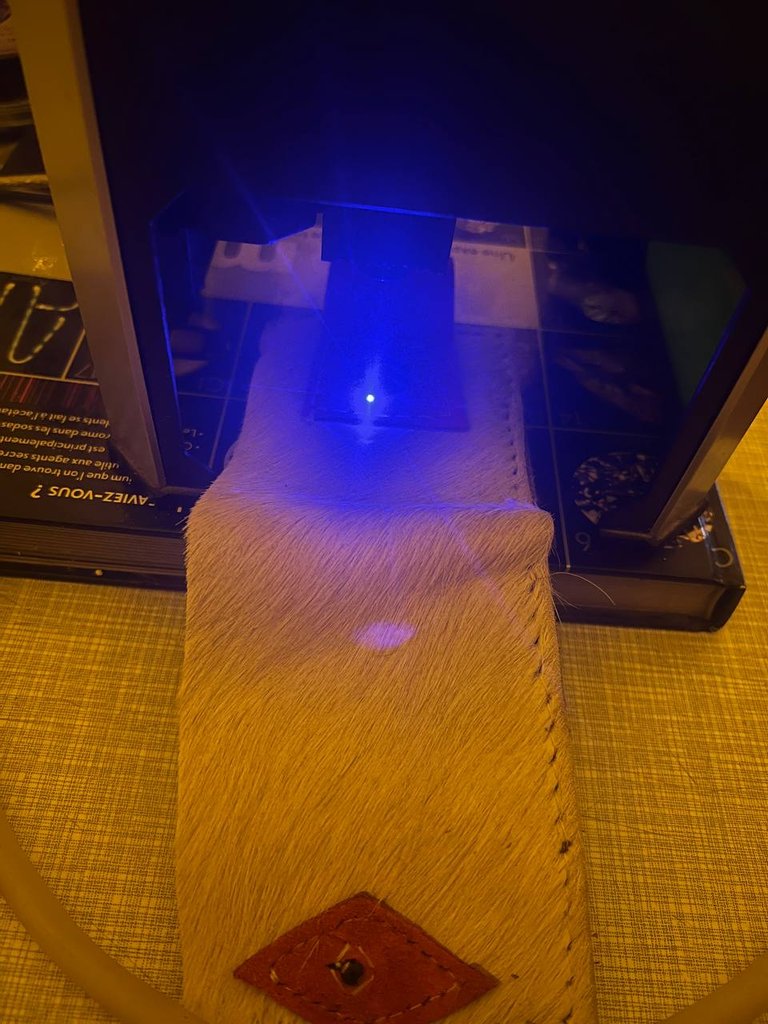
In Phase 5 i have used a Laser printer which we have in order to get the nice touch of the HIVE logo.
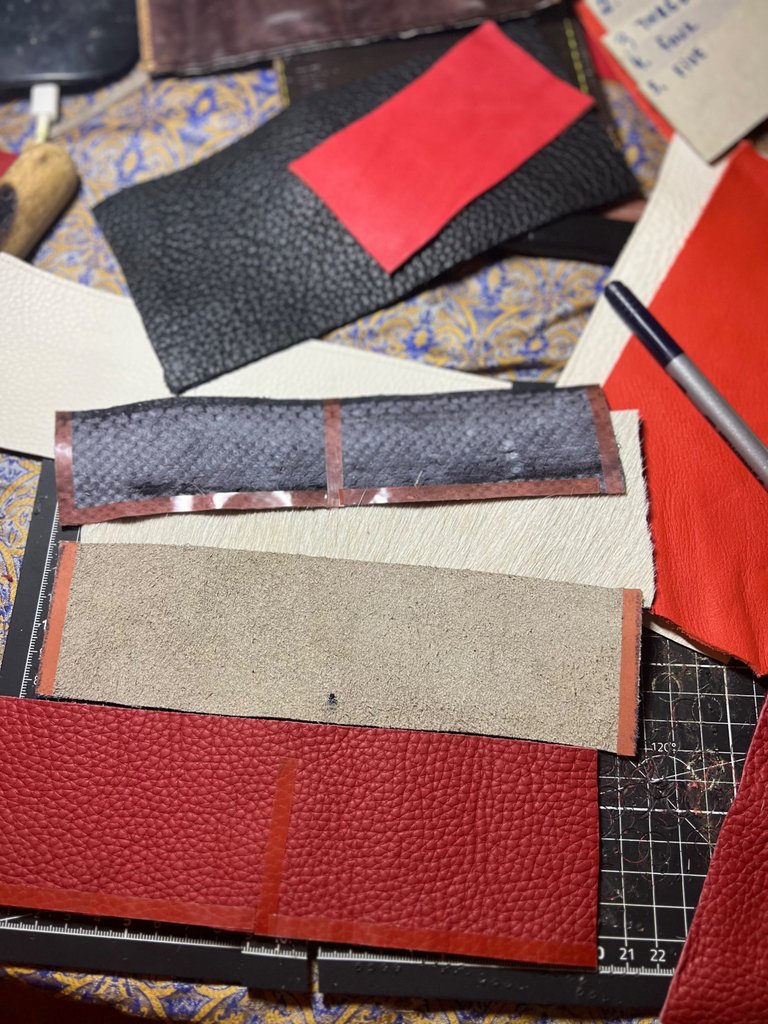
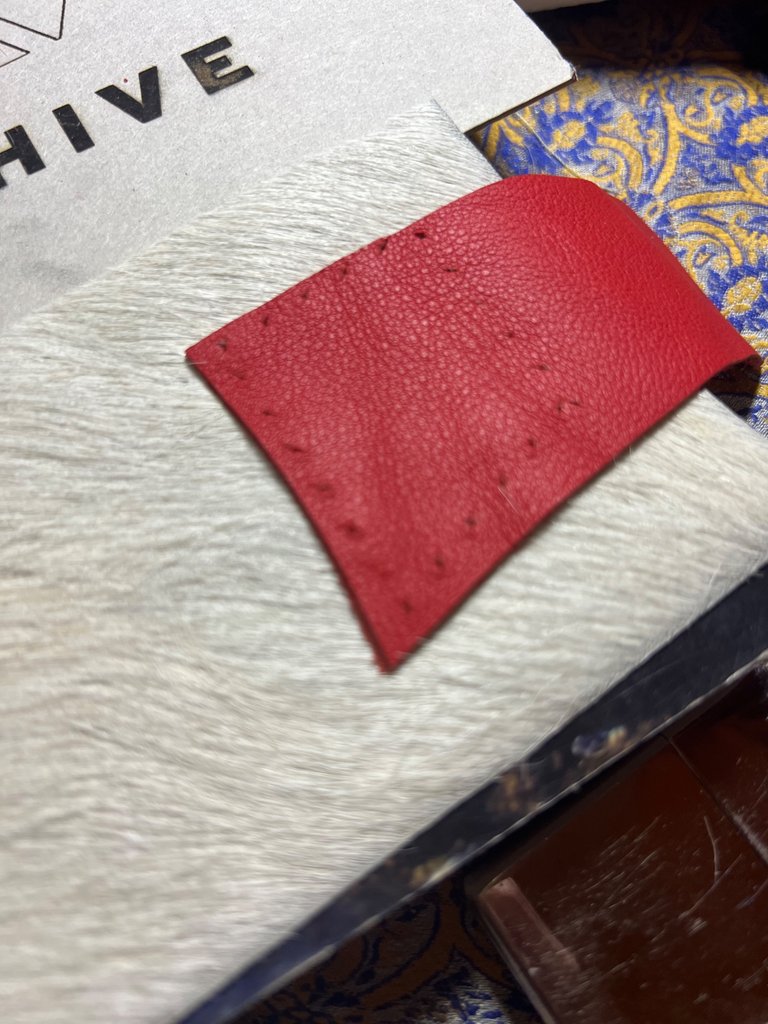
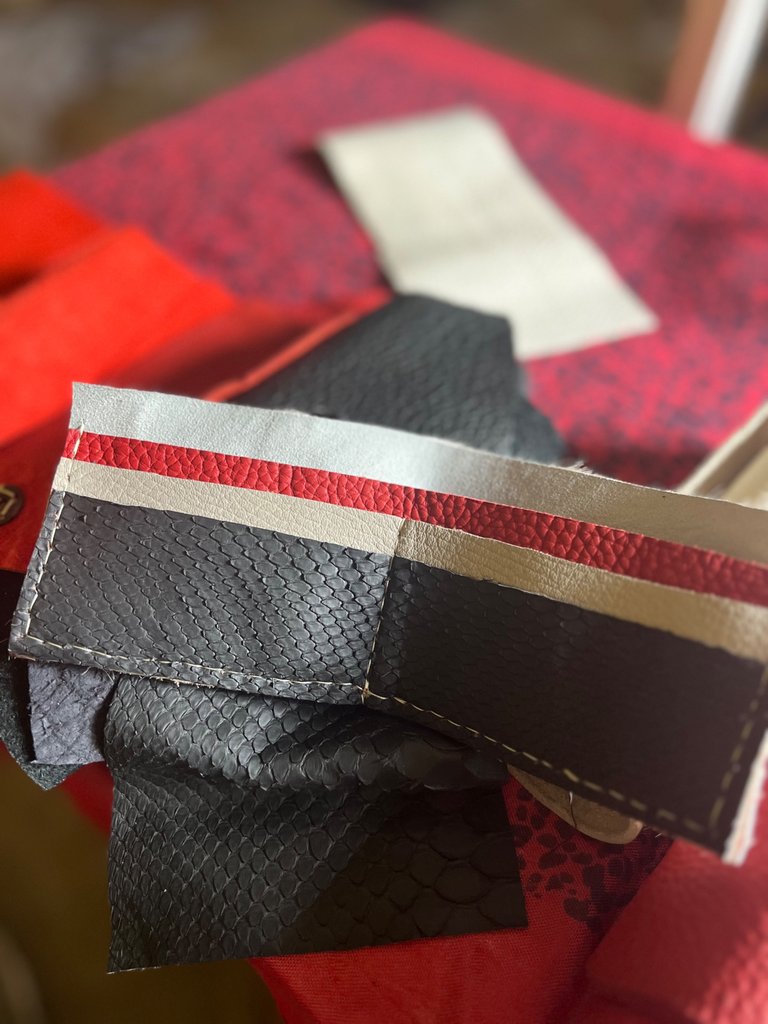
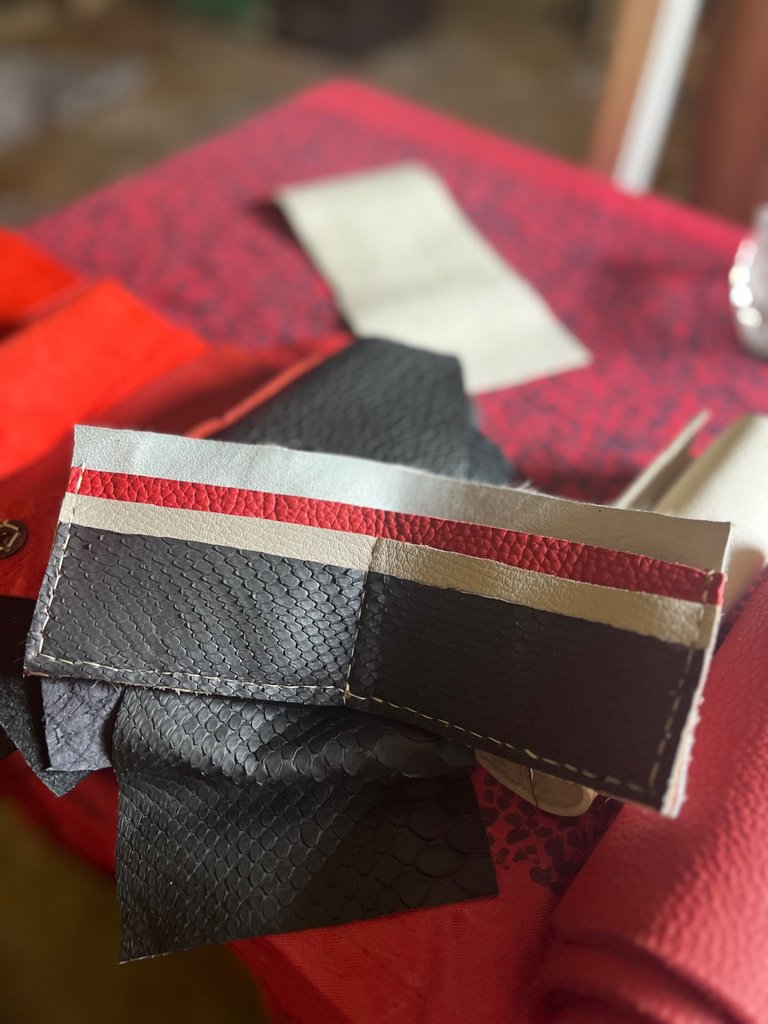
Phase 1:
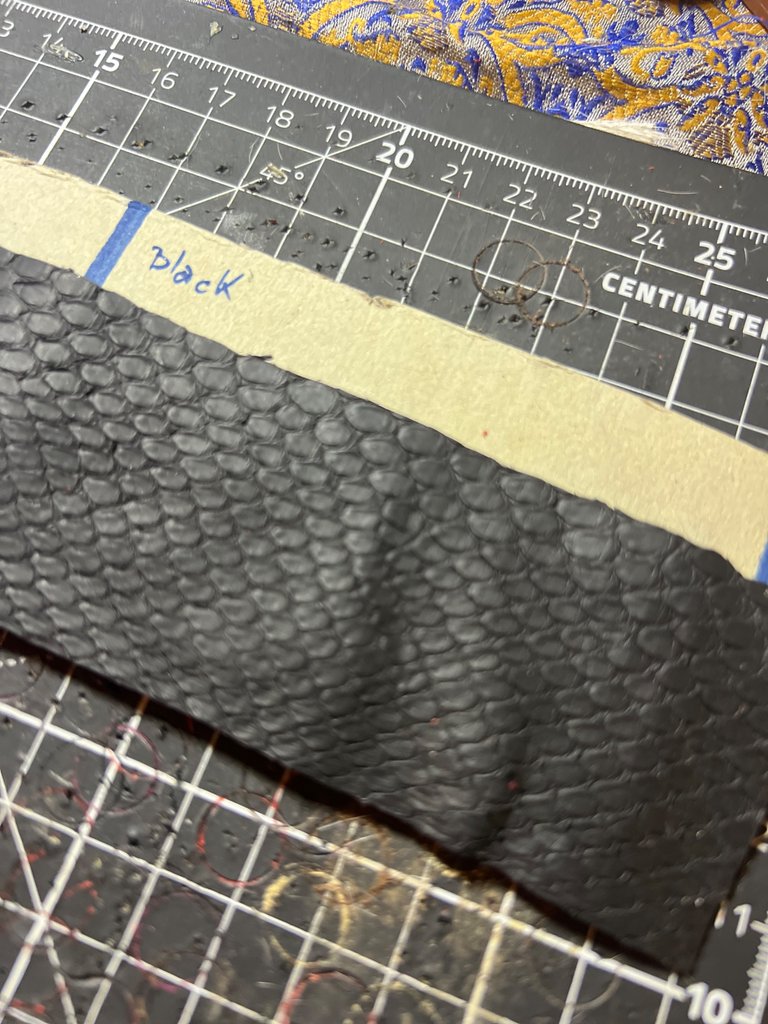
Selecting the Leather scraps
Cutting out the Pattern & Leather pieces

PHASE 2:
Using a double faced tape: I am applying the tape on the edges of the Leather in order to put them together / preparing them for hand poking which is the process used in leather work as one has to do the holes manually in order to be able to stitch the pieces together.
Phase 3: Poking the leather:
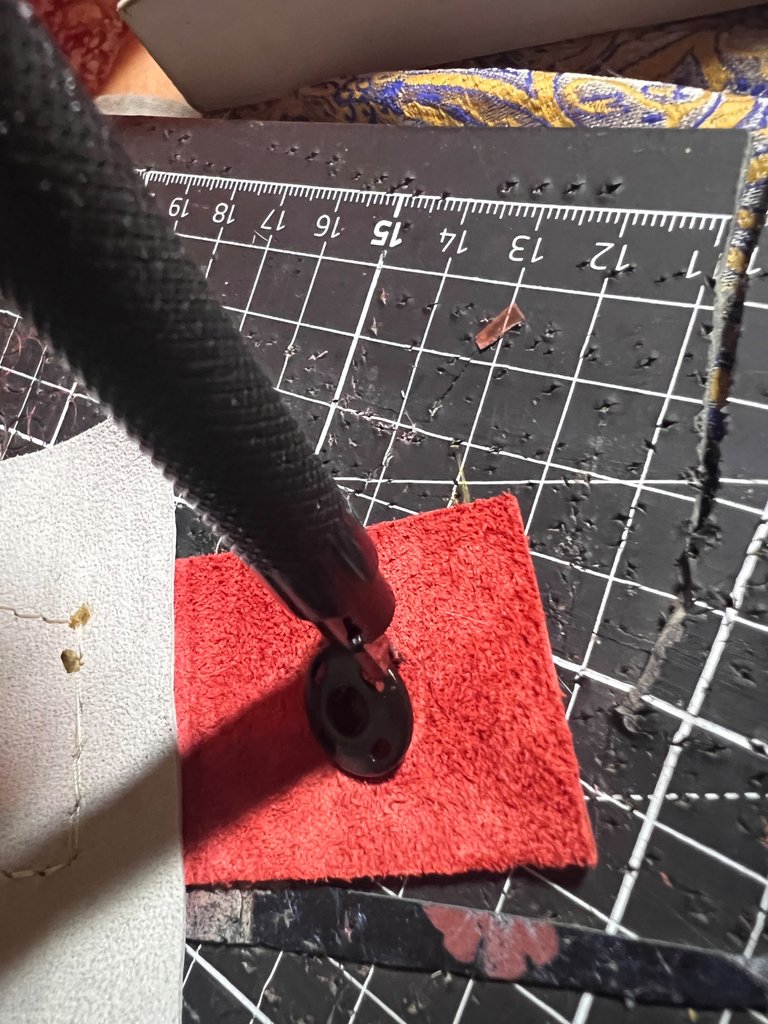

**
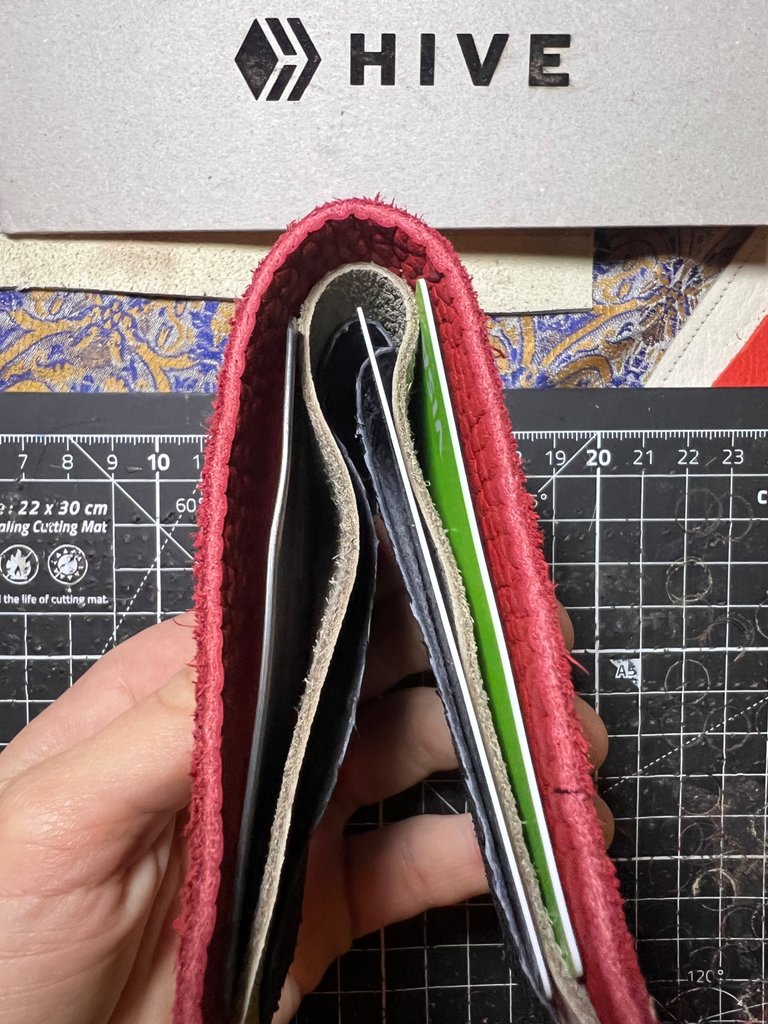
Phase 4:
Hand Stitching / Saddle stitching
**


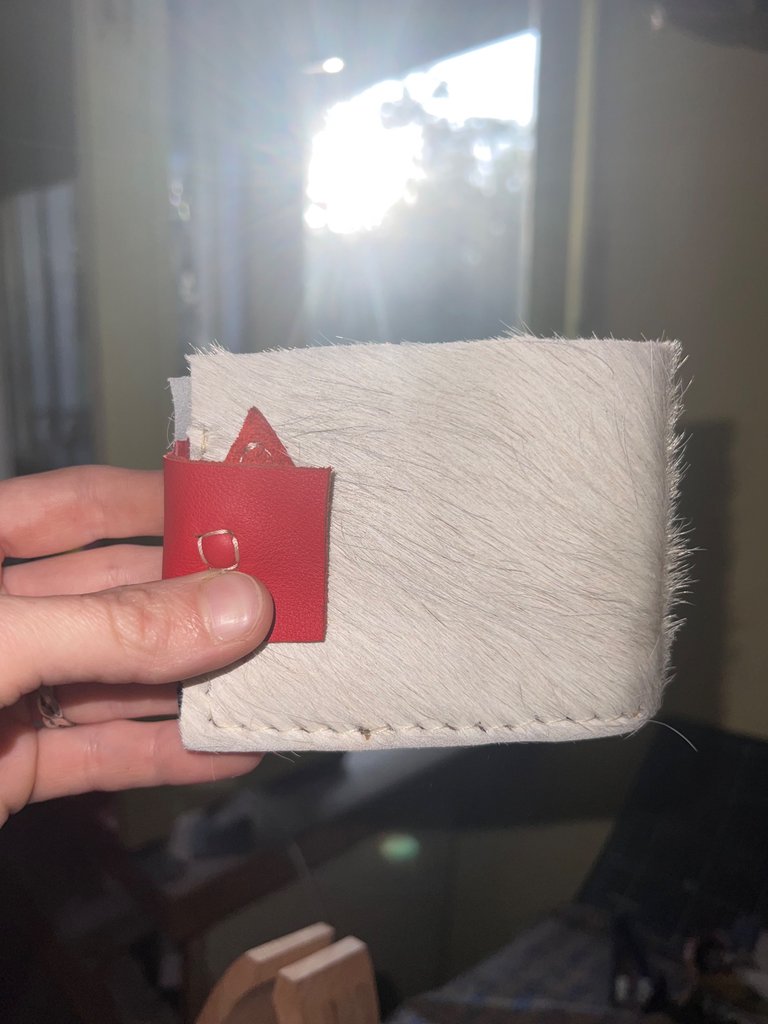
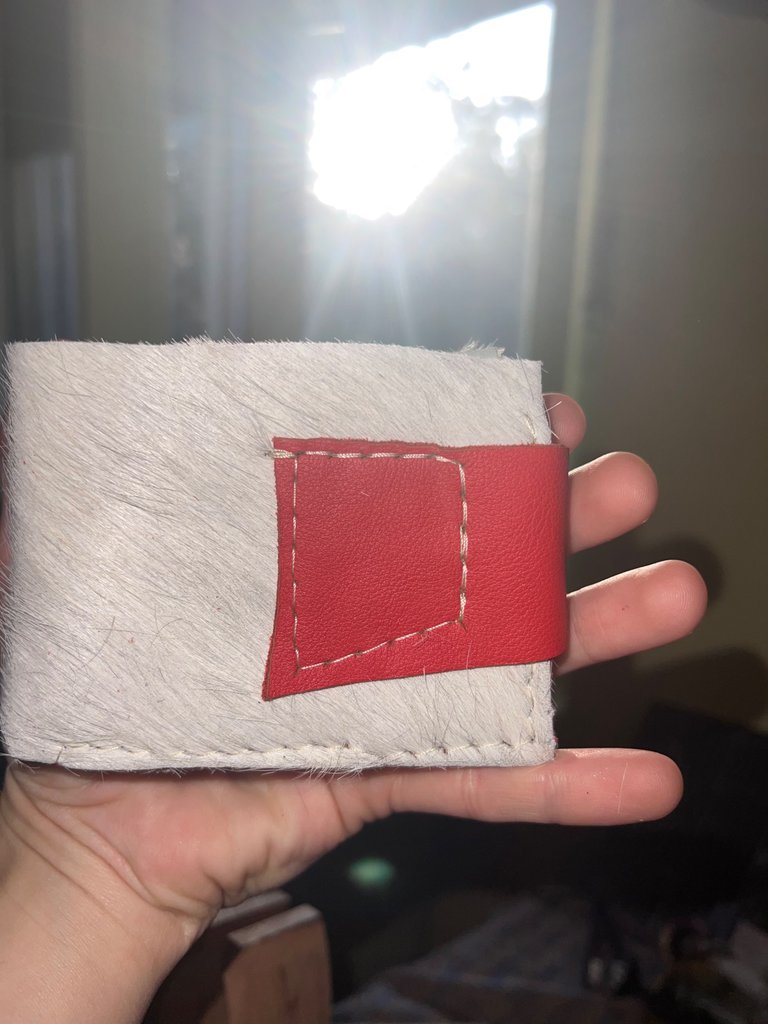
Phase 5 : Laser Printing
It is stylish, elegant, and beautiful. It is very useful and what you did, that's great. Love this. Keep up the good work!
selected by @rezoanulvibes
Glad to read this! Thank you for your feedback. I am happy to see that you find it stylish, elegant, beautiful. Thank you once again!
Definitely will keep up the good work 🙂 & share more of my creations & DIY projects with the community of @diyhub !
Congratulations @iuliaqiparosa! You have completed the following achievement on the Hive blockchain And have been rewarded with New badge(s)
Your next target is to reach 1250 upvotes.
You can view your badges on your board and compare yourself to others in the Ranking
If you no longer want to receive notifications, reply to this comment with the word
STOPCheck out our last posts:
Now this is beautiful.
I want one 😻
Happy to hear that you find it beautiful!
I can make one for you! 🙂
Awesome
Except I'm thousands of miles away 🥲
Soon I will have few different styles of the Hive Wallets available in our online shop, for those who would like to own one.
Perhaps the thousands of miles can be covered by the post services. 🥲
I will drop a link here when the items will be online, in case you will be still interested.
This will be a testament of my appreciation of the Hive & giving some tangible value to the platform in a unique way.
Amazing. That's a real big milestone and I wish you all the best 🙏🏿
Thank you! Same to you! All the best! 🙂
You did a great work here
It looks beautiful
You really give full detaing