Spineback Turtle in 3D Decorative Figure Quilling Technique [Eng-Esp]
Hello everyone... ✨
Hello to my dear Hivers and the dear community of artists Diyhub, as always very pleased and excited to be here again, showing you my work made with love and especially for you.
Greetings to the Splinterlands community, and everyone who lives there, I'm here to join the Splinterlands Art Contest
Today I am with you again to show you my art, I love every week to go through this wonderful world of magic, color, and lots of Splinterlands characters to look for new elements or characters to build different crafts such as jewelry, accessories, 3D figures and other things that motivate me, inspire me and activate my creativity and thus be able to create for you.
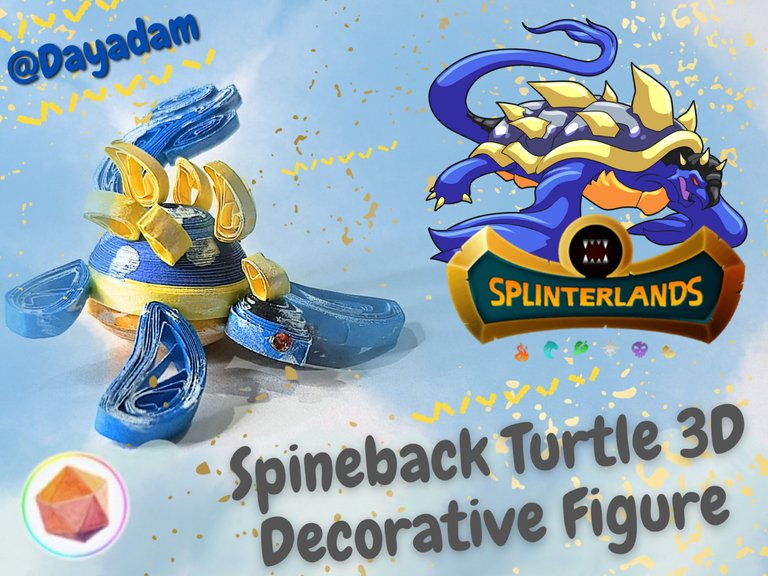
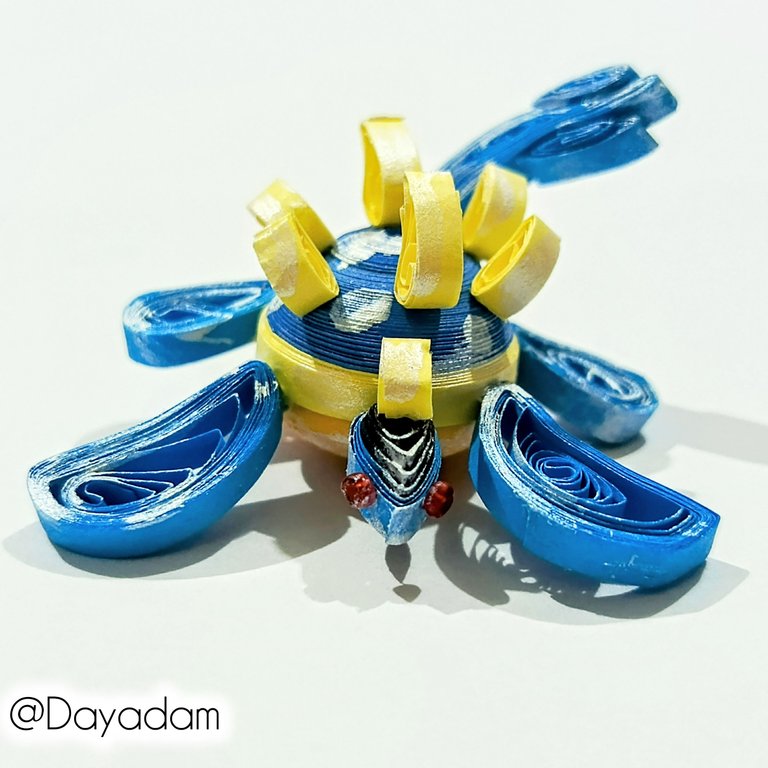
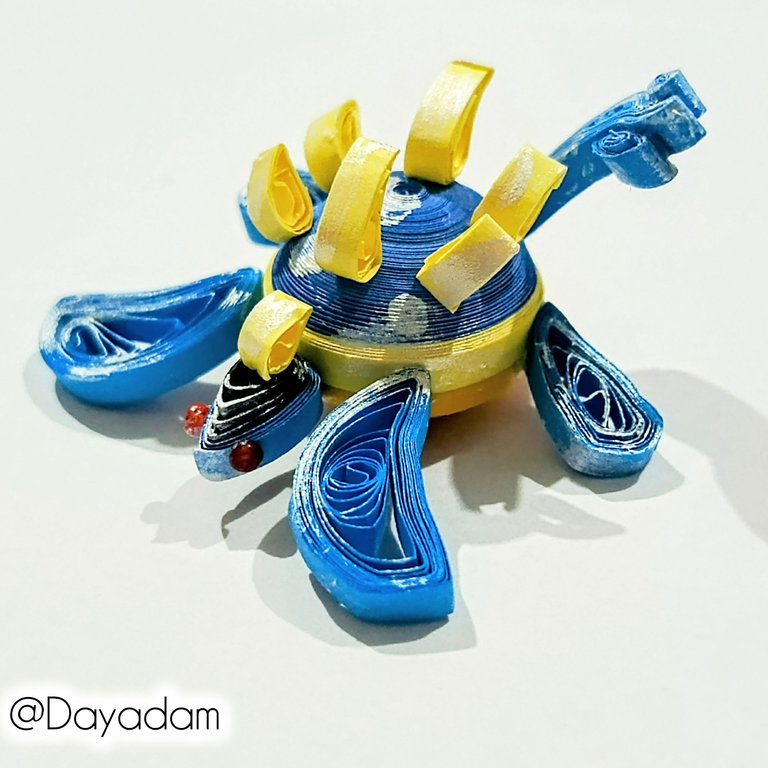
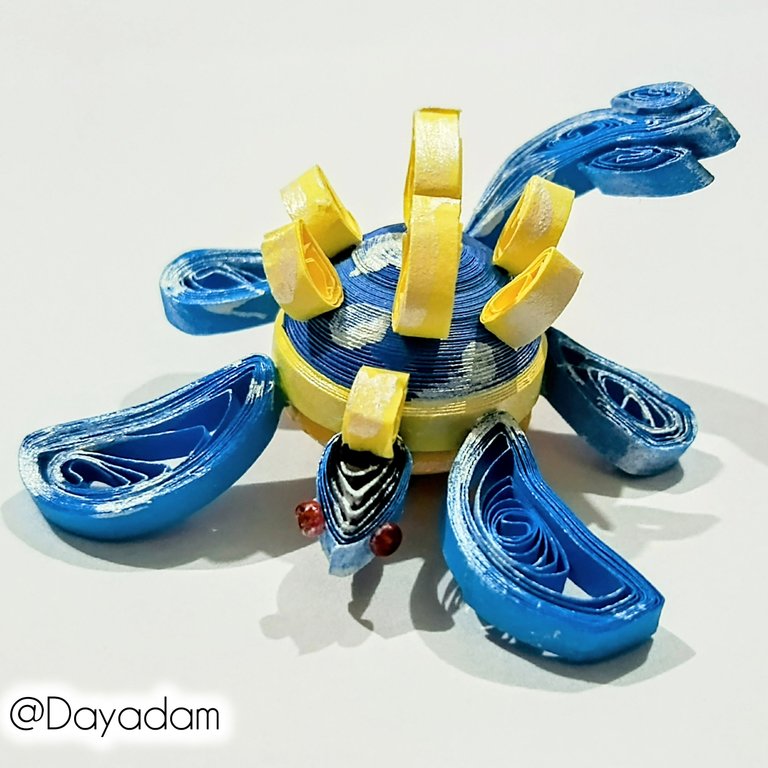
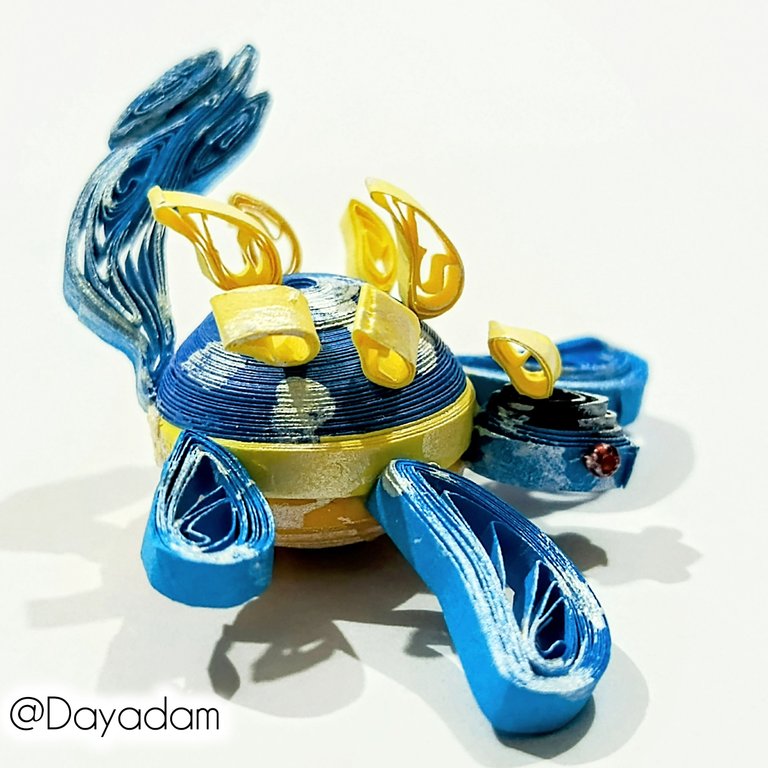
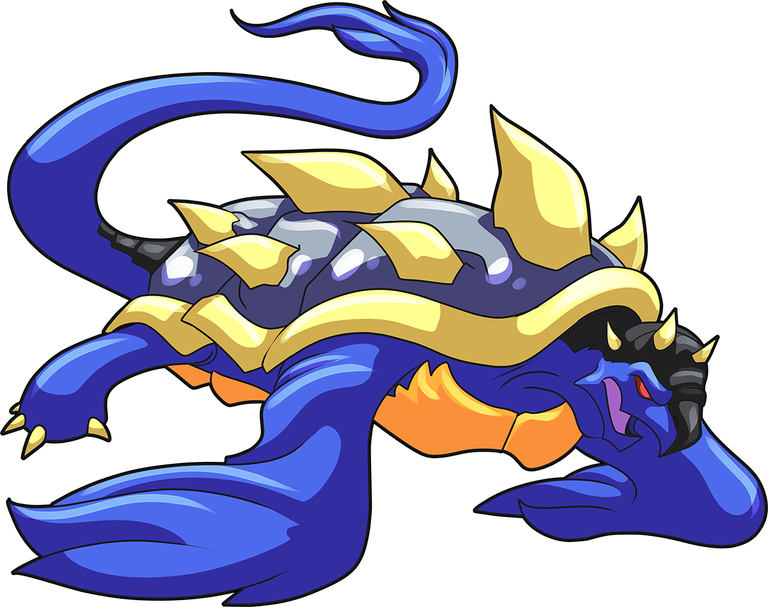
Today I bring you a new piece of art. I wanted to create a decorative 3D figure inspired by the card, Spineback Turtle, using the quilling technique.
If you want to know more about the game, I leave you my reference link to enter it and navigate through this wonderful world: https://splinterlands.com?ref=dayadam
Hoping you like my work, without further ado, I leave you with my creative process.
Let's start:😃

Hola a Todos...✨
Hola a mis queridos Hivers y a la querida comunidad de artistas Diyhub, como siempre muy complacida y emocionada de encontrarme por acá, mostrándole mi trabajo hecho con mucho amor y especialmente para ustedes.
Un saludo para la comunidad de Splinterlands, y todos los que hacen vida por allí, estoy por acá para unirme al Splinterlands Art Contest.
Hoy estoy con ustedes nuevamente para mostrarles mi arte, me encanta semana a semana pasar por ese maravilloso mundo de magia, color, y muchísimos personajes de Splinterlands para buscar nuevos elementos o personajes para construir diversas manualidades bien sean bisutería, accesorios, figuras en 3D entre otras cosas que me motiven, inspiren y activen mi creatividad y de esa manera poder crear para ustedes.
Para hoy les traigo un nuevo trabajo de arte, quise realizar una figura decorativa en 3D inspirada en la carta, Spineback Turtle en la técnica de quilling.
Si quieren saber más con respecto al juego les dejo mi enlace de referencia para que ingresen en él, y naveguen por este maravilloso mundo: https://splinterlands.com?ref=dayadam
Esperando les guste mi trabajo, sin más preámbulos, les dejo mi proceso creativo.
Comencemos:😃
 |
 |
 |

• Cintas para quilling.
• Pintura metalizada color perla.
• Plantilla para moldear círculos.
• Canutillos rojos.
• Pega blanca extra fuerte (de carpintería).
• Tijera.
• Quilling strips.
• Pearl-colored metallic paint.
• Circle template.
• Red bugle beads.
• Extra-strong white glue (carpentry glue).
• Scissors.

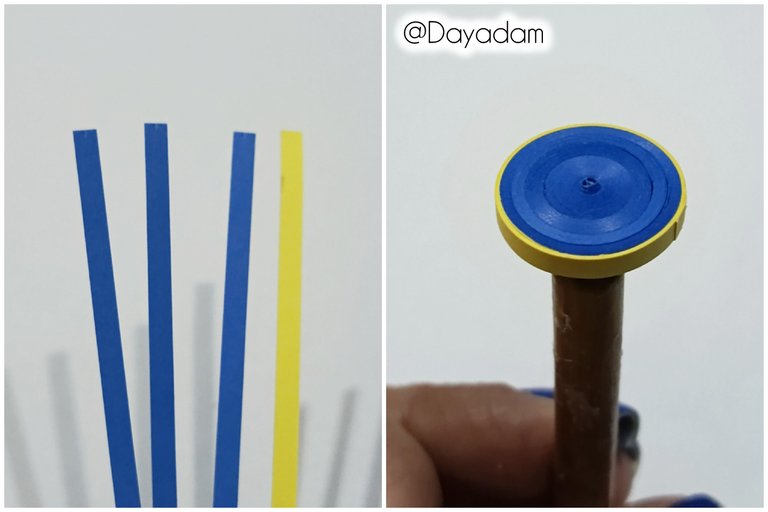
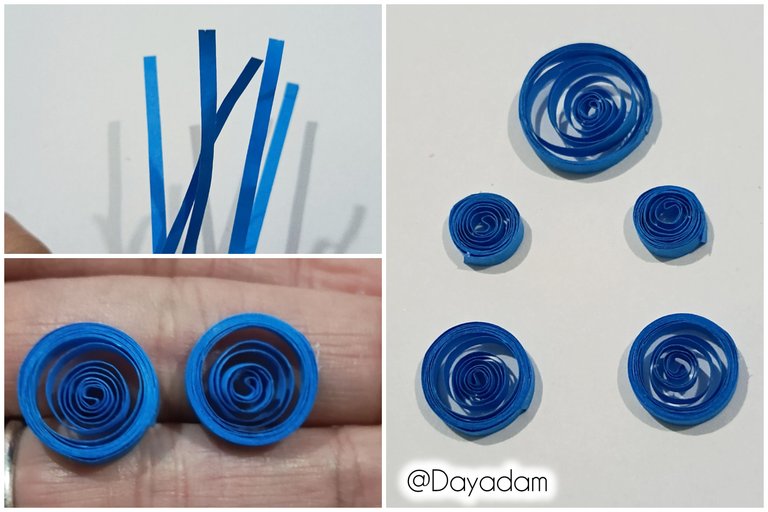
• Start by taking blue and yellow quilling tape 3 mm wide, join both together to form a single strip, roll it up with the quilling needle starting with the blue tape and ending with the yellow tape to form a closed circle, seal with extra-strong white glue and remove from the needle.
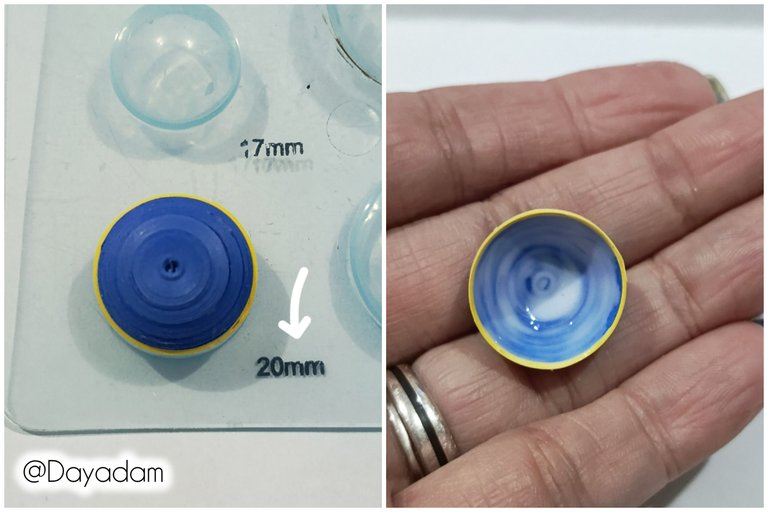
• We will mold it on a template for molding circles measuring 20 mm, applying glue to the inside to prevent it from deforming.
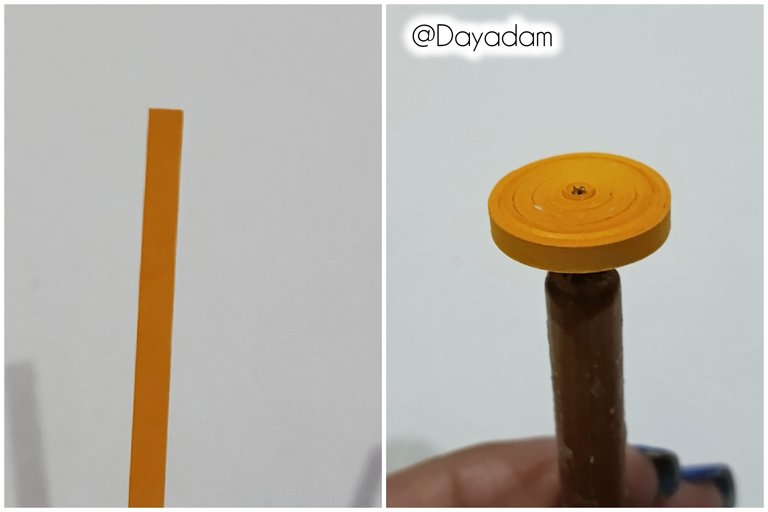
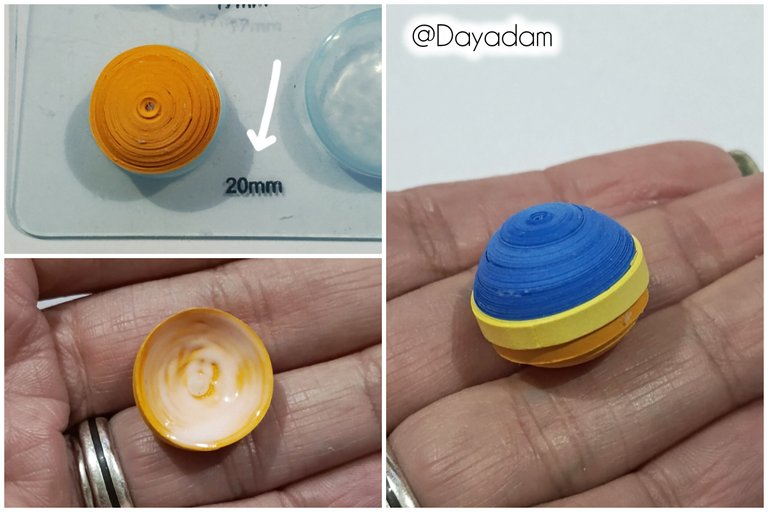
• Using the same parameters as above, we will make a closed circle, but this time with orange tape 3 mm wide. We will follow all the same steps as before, and once ready, we will join it to the other piece with extra-strong white glue.

• Comenzamos tomando cinta para quilling de color azul y amarilla de 3 mm de ancho, uniremos ambas para formar una sola, enrollamos con la aguja para quilling empezando por la cinta azul hasta finalizar con la amarilla para formar un círculo cerrado, sellamos con pega blanca extra fuerte sacamos de la aguja.
• Moldearemos en una plantilla para moldear círculos en la medida número 20 mm, aplicaremos pega en la parte interna para evitar que la misma se deforme.
• Bajo lo mismo parámetros anteriores realizaremos un círculo cerrado pero esta vez con cinta color naranja de 3 mm de ancho, seguiremos todos los mismos pasos anteriores, una vez listo uniremos a la otra pieza con pega blanca extra fuerte.
 |  |
 |  |
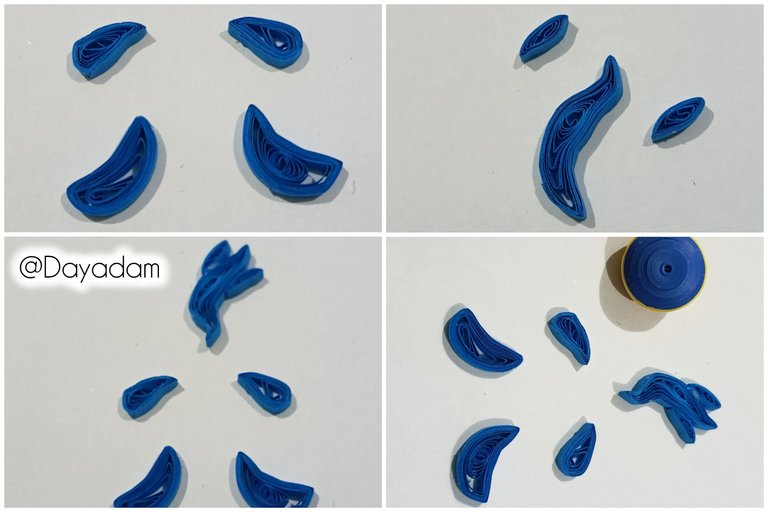
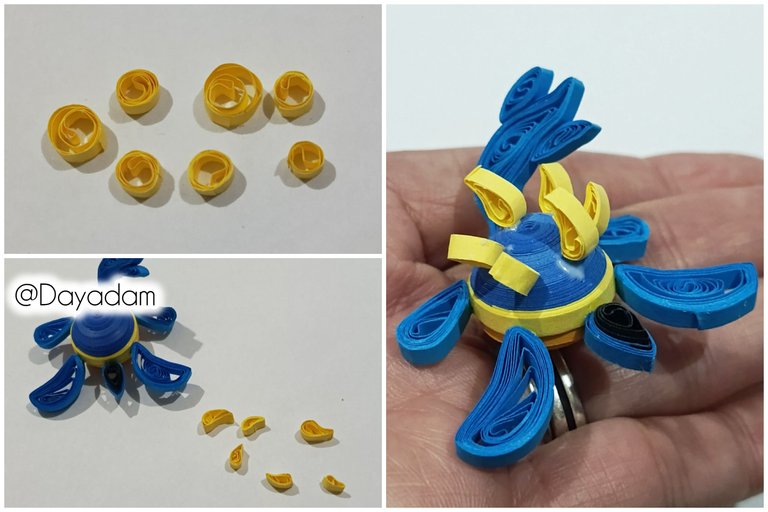
• Using blue tape that is a lighter shade than the one I used previously, 3 mm wide, I made five open circles of different sizes, as you can see in the image. We then molded them with our fingers to form the turtle's legs and tail.
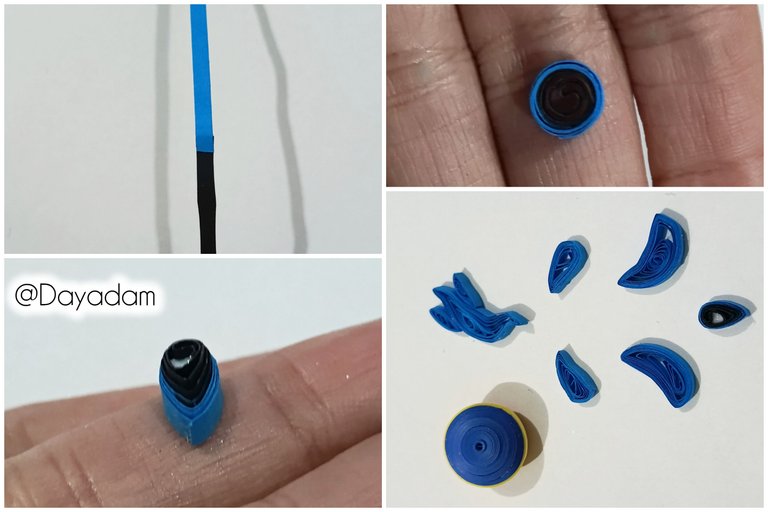
• We will make the head with blue and black ribbon, making a small closed circle. We will shape it into a drop and pull it up a little with our fingers.

• Con cinta de color azul de una tonalidad más clara que la que utilicé con anterioridad de 3 mm de ancho, realicé cinco círculos abiertos de diversos tamaños tal y como pueden ver en la imagen, estás procedemos a moldearlos con los dedos para formar las patas de la tortuga y la cola.
• La cabeza la realizaremos con cinta de color azul y negra, realizando un pequeño círculo cerrado, este los moldearemos en forma de gota y sacaremos un poco con los dedos hacia arriba.
 |  |  |
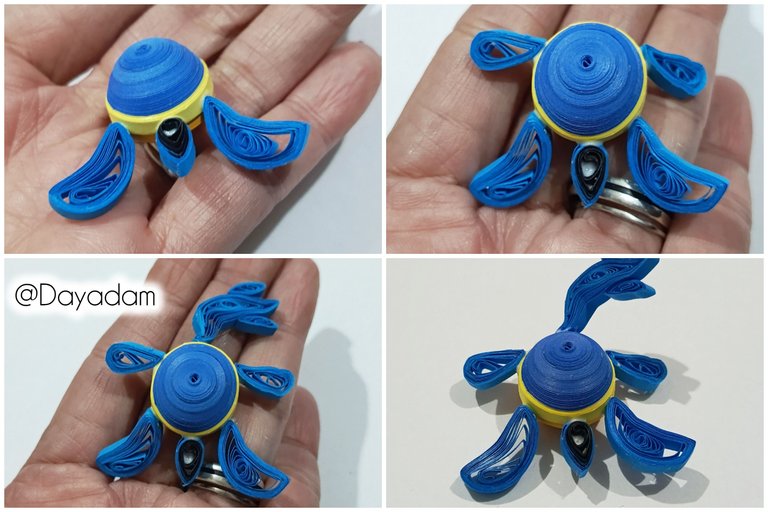
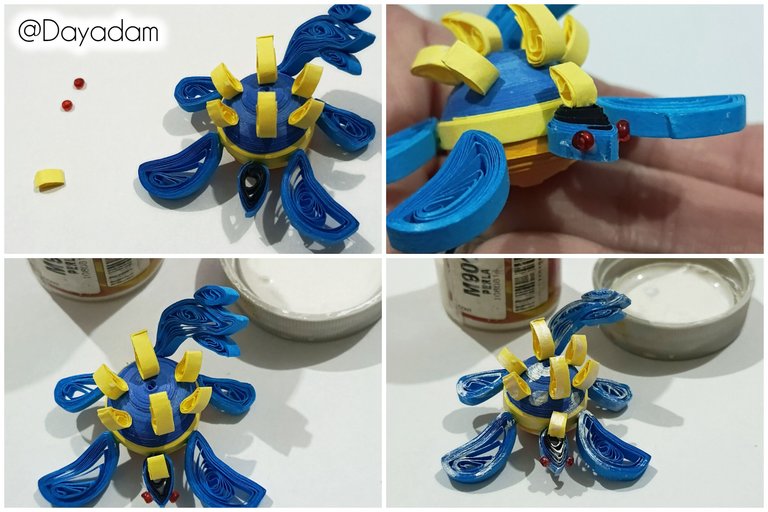
• We have all the pieces ready, so let's proceed to assemble our turtle by gluing the pieces together harmoniously.
• To form the spikes on the turtle's shell, we will make several open circles with yellow tape, shape them into spikes, and glue them to the shell.
• For the eyes, I glued two small red beads on both sides of the head.
• To finish, I used pearlescent metallic paint to add some details to certain parts of the turtle.
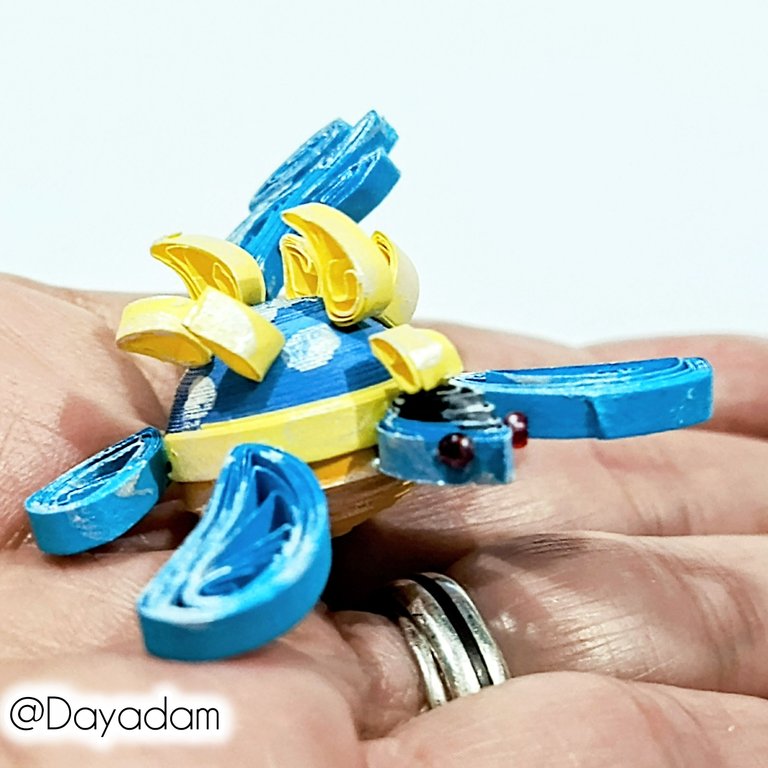
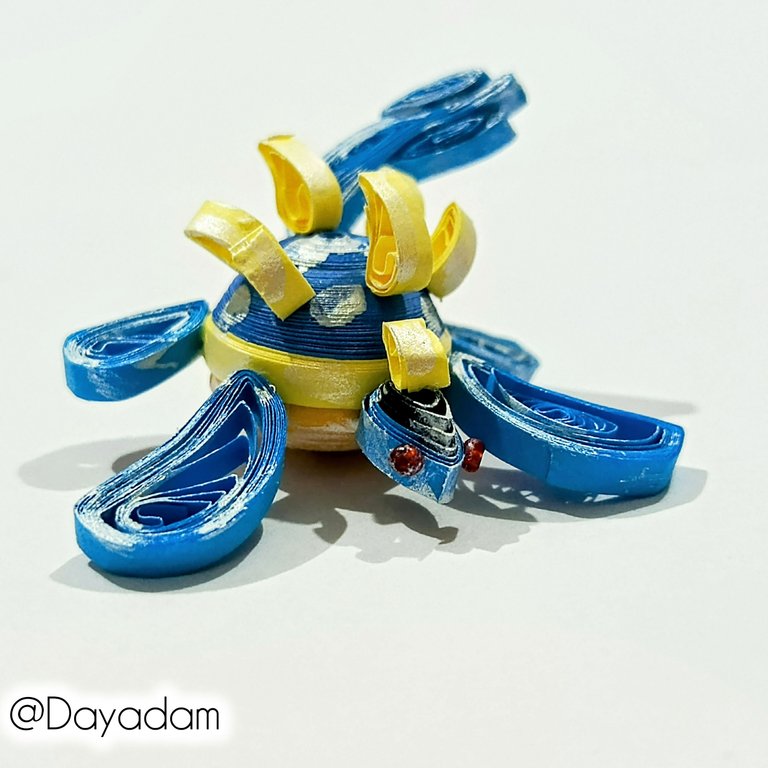
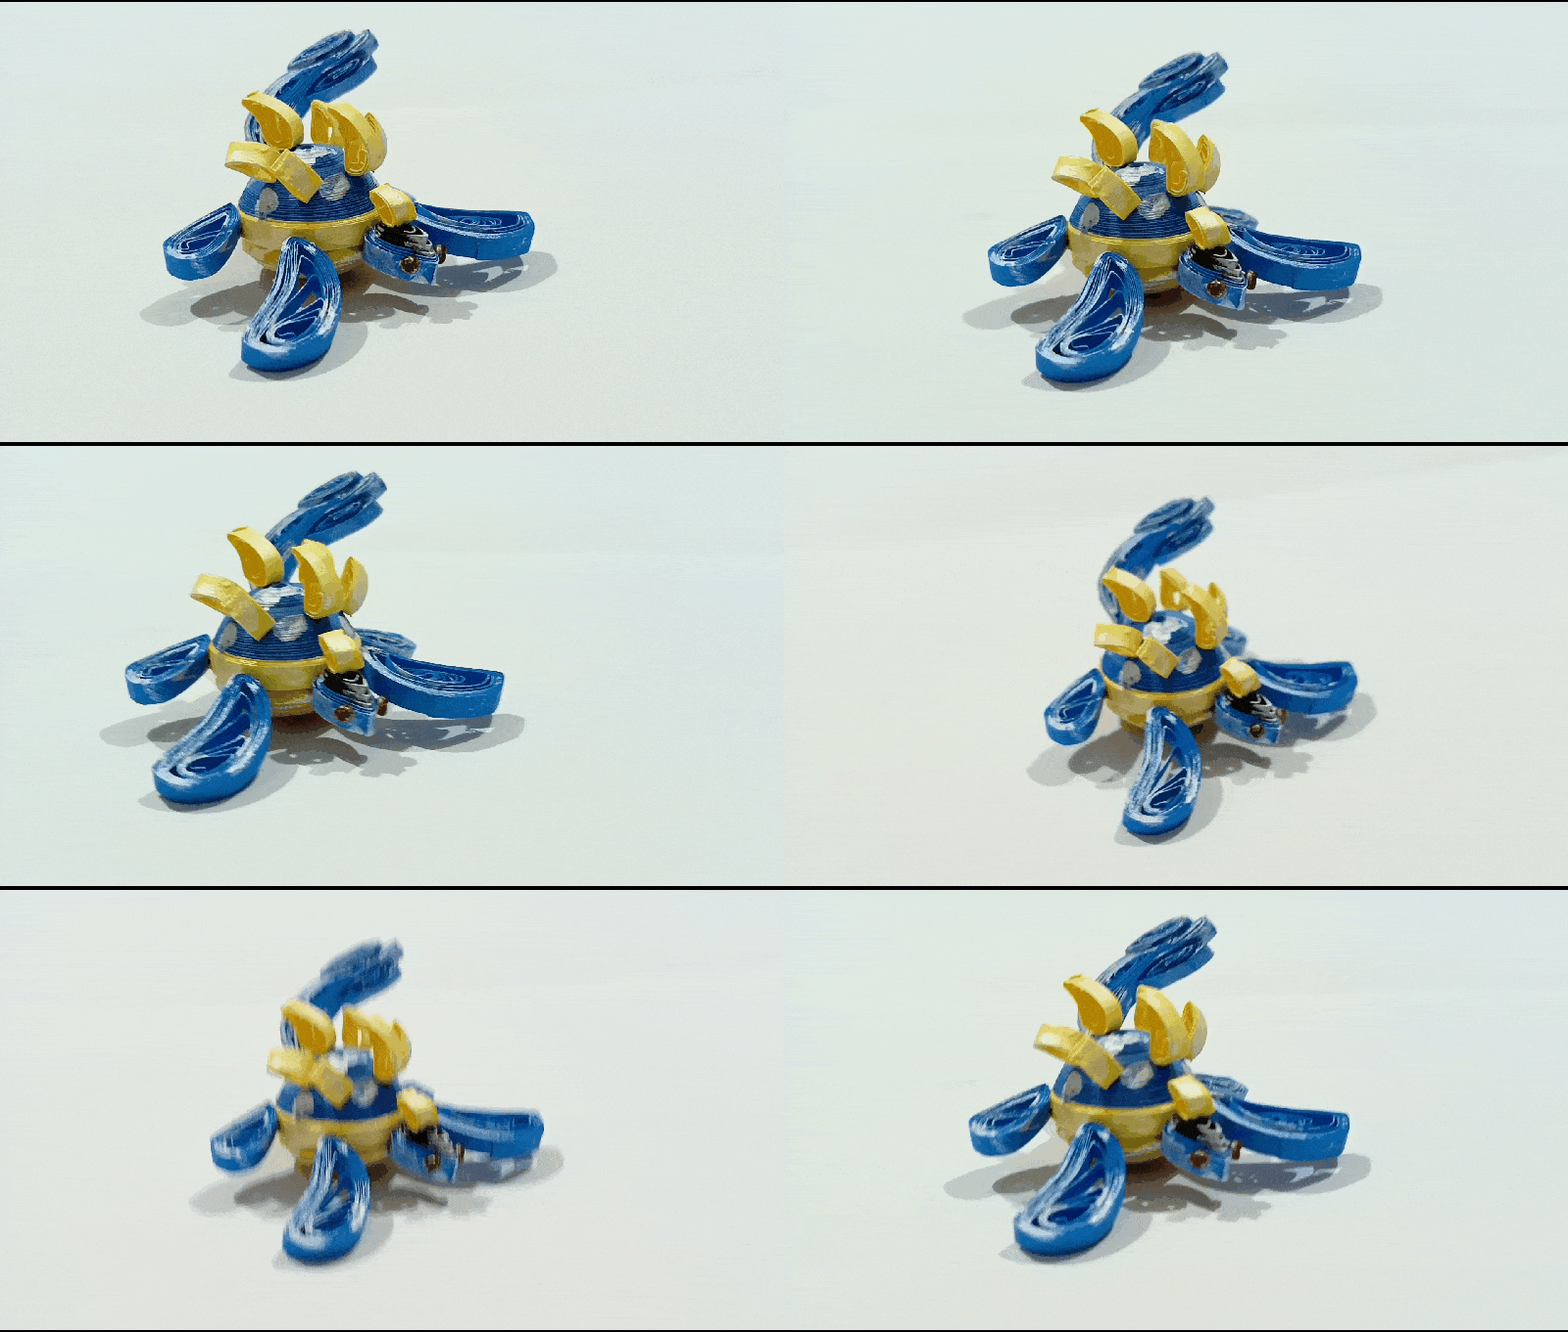
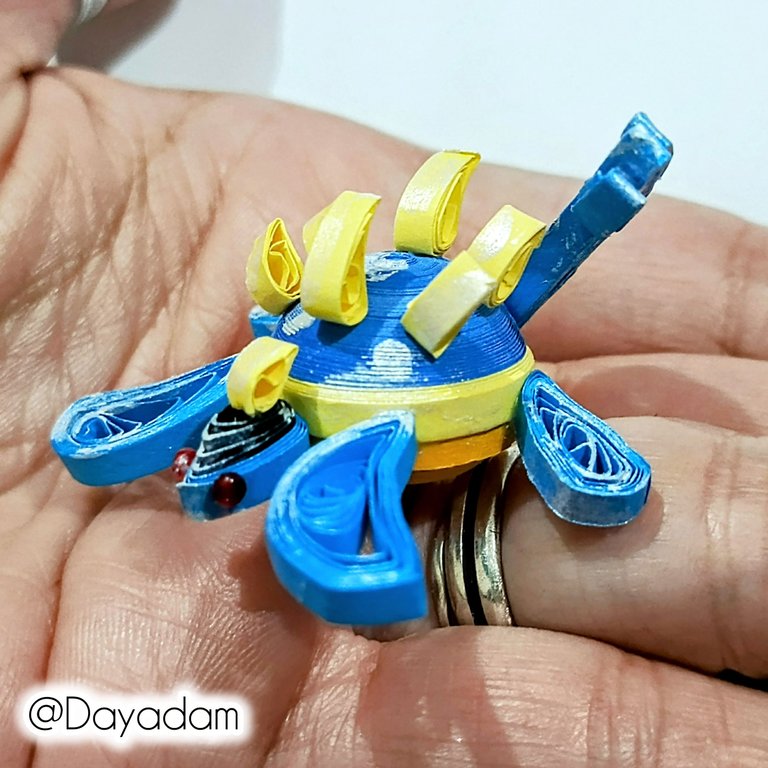
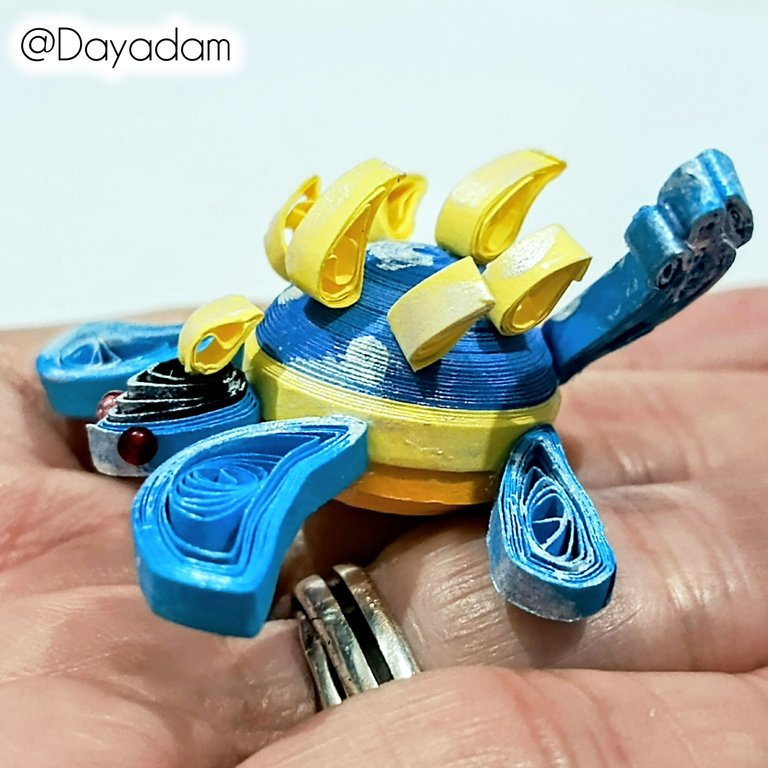
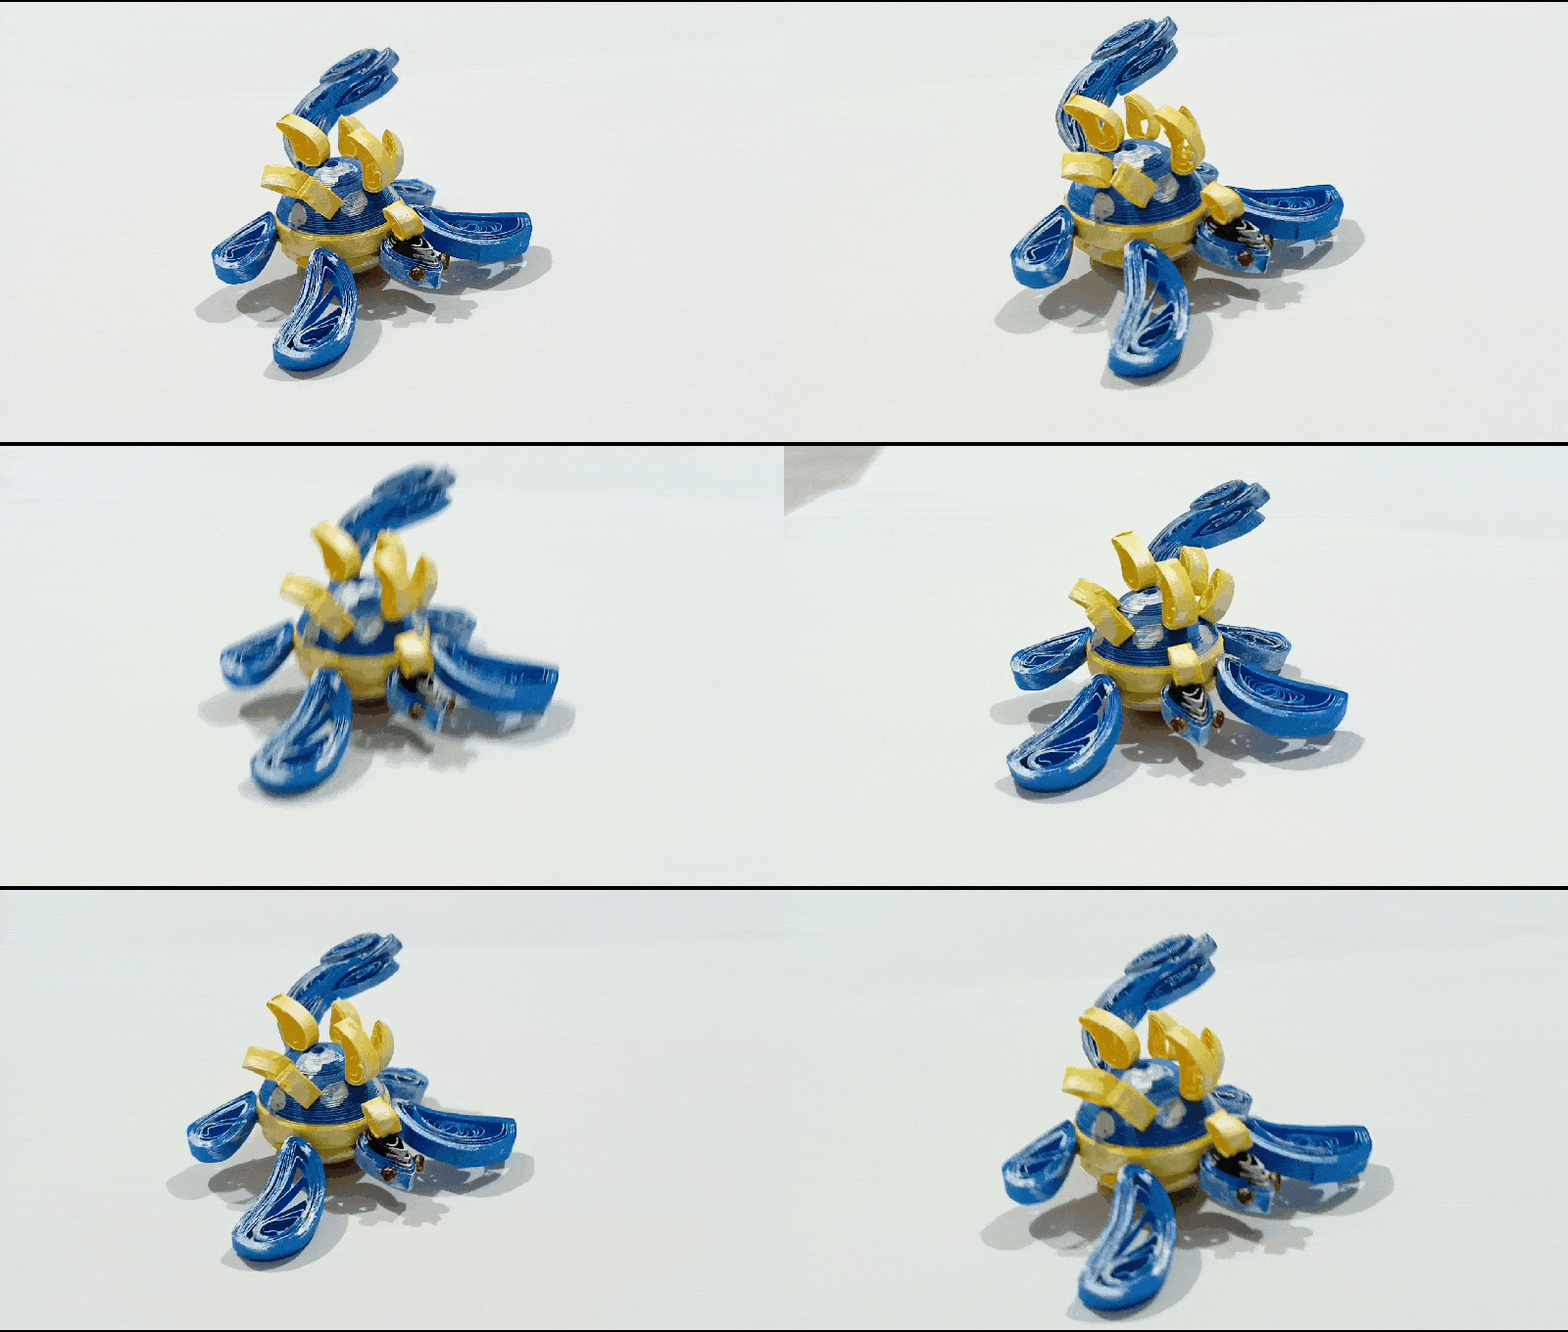
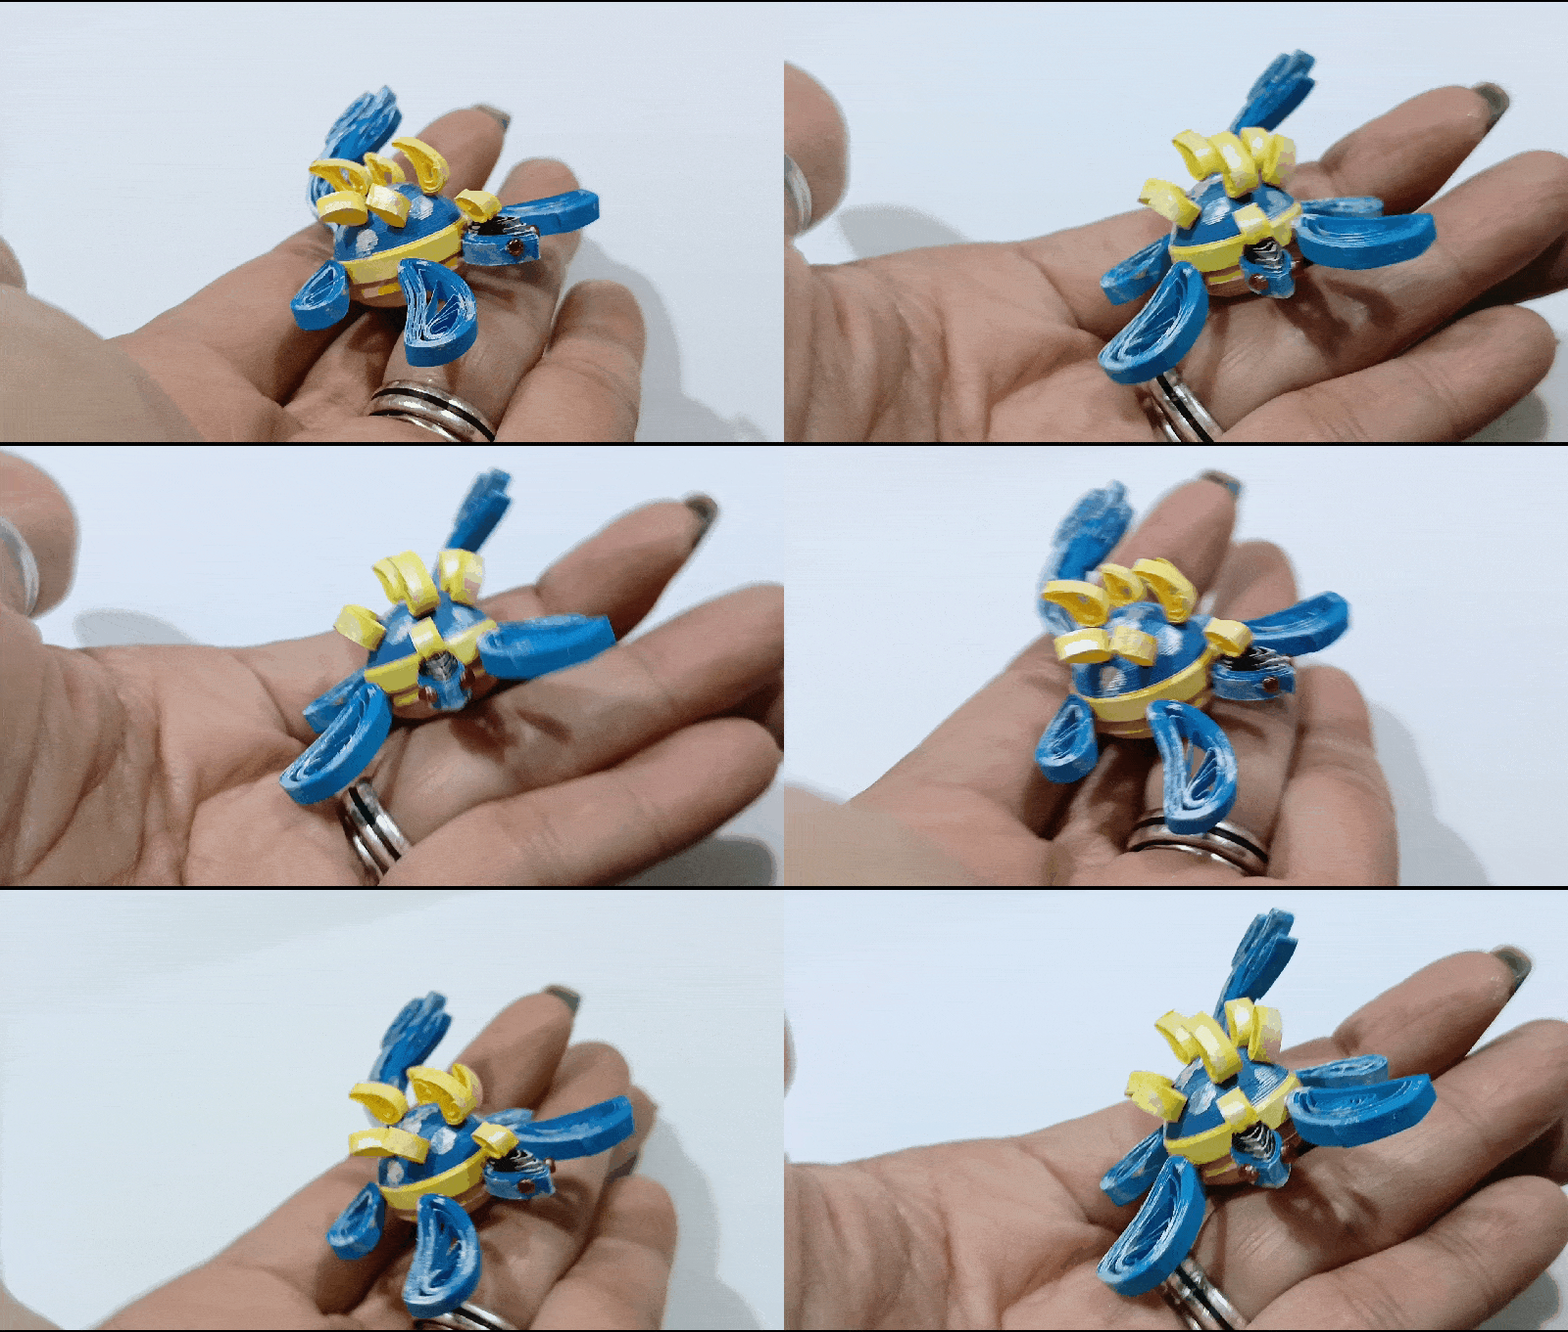
• This completes the 3D decorative figure I created, inspired by the character from the card “Spineback Turtle”.

• Tenemos todas las piezas listas, vamos a proceder a formar nuestra tortuga pegando las piezas de manera armónica.
• Para formar las púas que tiene la tortuga en el caparazón, realizaremos varios círculos abiertos con cinta de color amarillo moldearemos en forma de picos, pegamos del caparazón.
• Para los ojos pegué dos pequeñas mostacillas de color rojo, en ambos lados de la cabeza.
• Para finalizar con pintura metalizada color perlada, procedí a realizar algunos detalles en algunas partes de la tortuga.
• De esta manera tenemos listo esta figura decorativa en 3D que elabore, inspirado en el personaje de la carta "Spineback Turtle".
 |  |  |

 |
 |  |
 |
 |  |
 |  |
 |
 |
What did you think, did you like it?
I hope you did, I hope you liked my explanation, procedure and photos, I made them with love for you.
"Let out that muse that inspires you, and let your imagination fly".
Thank you all, see you next time.

¿Que les pareció, les gustó?
Espero que sí, que les haya gustado mi explicación, procedimiento y fotos, los hice con mucho cariño por y para ustedes.
"Deja salir esa musa que te inspira, y deja volar tu imaginación".
Gracias a todos, nos vemos en la próxima.

Banner y separador hecho por mí en Canva

Thanks for the support @splinterboost ✨
Te quedo genial @dayadam 🤩👏, sabes una vez hice esta tortuga de Splinterlands pero en el material que uso foami clay, deja ver si encuentro la foto.
Muy lindo tu trabajo quilling una vez más. Un saludo desde cuba 🇨🇺 y lindo martes !! 🤗☺️
Muchísimas gracias amigo, qué bueno que te haya gustado mi trabajo.
Te quedó muy bonita la escultura que realizaste de la carta. Saluditos...
¡Felicidades! Esta publicación obtuvo upvote y fue compartido por @la-colmena, un proyecto de Curación Manual para la comunidad hispana de Hive que cuenta con el respaldo de @curie.
Si te gusta el trabajo que hacemos, te invitamos a darle tu voto a este comentario y a votar como testigo por La Colmena.
Si quieres saber más sobre nuestro proyecto, te invitamos a acompañarnos en nuestro servidor de Discord.
Gracias por el apoyo ✨
Thanks for sharing! - @cieliss

Thanks for the support ✨
Impresionante como lograste realizar al personaje, con todos esos colores y formas. Eres realmente una experta
Gracias hermosa 😚❤️
!LADY
You received an upvote ecency
Thanks for the support 💞
aah que hermoso, quedo igualito jeje
aah how beautiful, it looked the same hehe
Gracias mi corazón ❤️
Hola amiga, espero estés bien, un caluroso abrazo desde la distancia, me encanto esta figura, gracias por enseñarnos hacerlas con cada paso muy bien detallado.
Gracias mi linda un placer que te haya gustado. Un abrazote inmenso y bendiciones para ti también desde la distancia 💖
!LUV