Ilthain // Pendant for Necklace Quilling Technique [Eng-Esp]
Hello everyone... ✨
Hello to my dear Hivers and the beloved community of artists #Jewelry, as always very pleased and excited to be here again, showing you my work made with love and especially for you.
Greetings to the Splinterlands community, and everyone who lives there, I'm here to join the Splinterlands Art Contest
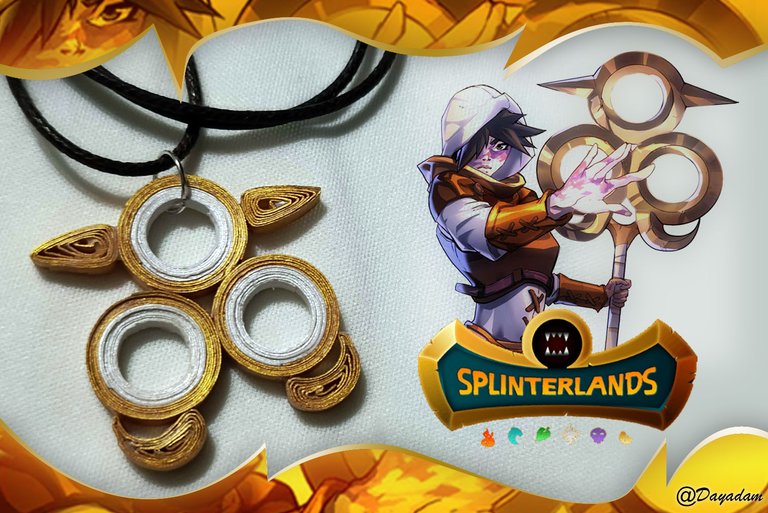
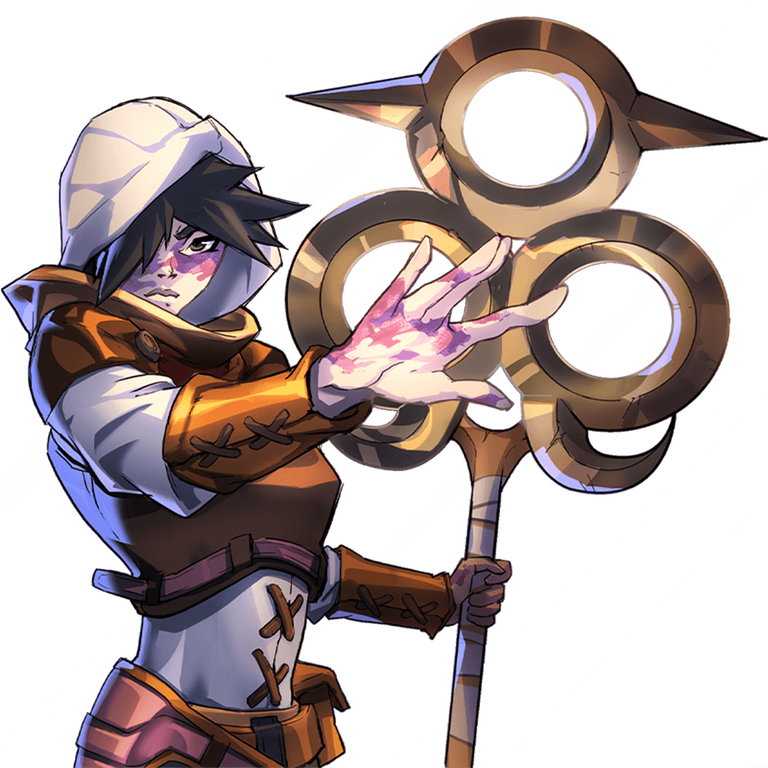
Today I bring you a simple pendant for necklace, in the quilling technique, of an element of the character of the letter, "Ilthain ", this element of his combat weapon caught my attention and I did not hesitate to materialize it for you.
If you want to know more about the game, I leave you my reference link to enter it and navigate through this wonderful world: https://splinterlands.com?ref=dayadam
Hoping you like my work, without further ado, I leave you with my creative process.
Let's start:😃

Hola a Todos...✨
Hola a mis queridos Hivers y a la querida comunidad de artistas #Jewelry, como siempre muy complacida y emocionada de encontrarme por acá nuevamente, mostrándole mi trabajo hecho con mucho amor y especialmente para ustedes.
Un saludo para la comunidad de Splinterlands, y todos los que hacen vida por allí, estoy por acá para unirme al reto Splinterlands Art Contest.
Para hoy les traigo un sencillo dije para collar, en la técnica de quilling, de un elemento del personaje de la carta, "Ilthain", me llamo mucho la atención este elemento de su arma de combate y no dude en materializarlo para ustedes.
Si quieren saber más con respecto al juego les dejo mi enlace de referencia para que ingresen en él, y naveguen por este maravilloso mundo: https://splinterlands.com?ref=dayadam
Esperando les guste mi trabajo, sin más preámbulos, les dejo mi proceso creativo.
Comencemos:😃

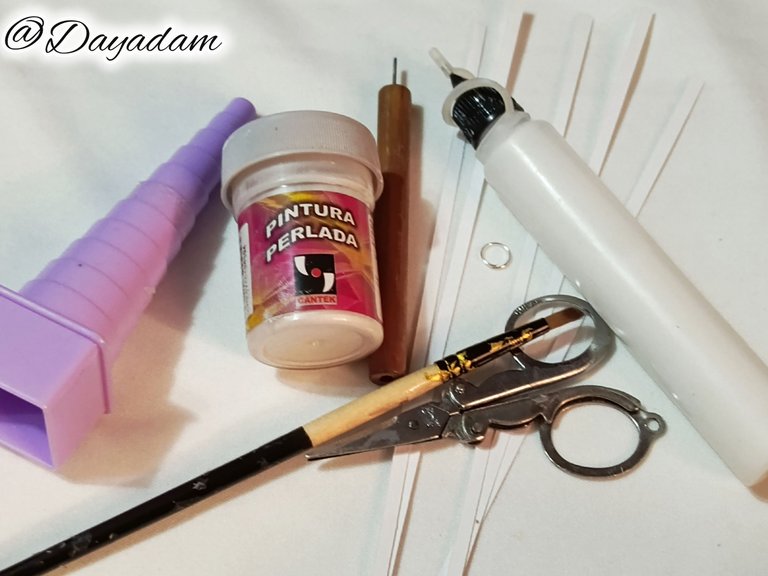
• Cintas de quilling.
• Aguja para quilling.
• Pega blanca extra fuerte (de carpintería).
• Molde para círculos.
• Tijera.
• Pincel.
• Argolla mediana de bisutería.
• Collar de tu preferencia.
- Quilling ribbons.
- Quilling needle.
- Extra strong white glue (woodworking glue).
- Mold for circles.
- Scissors.
- Brush.
- Medium size jewelry ring.
- Necklace of your choice.

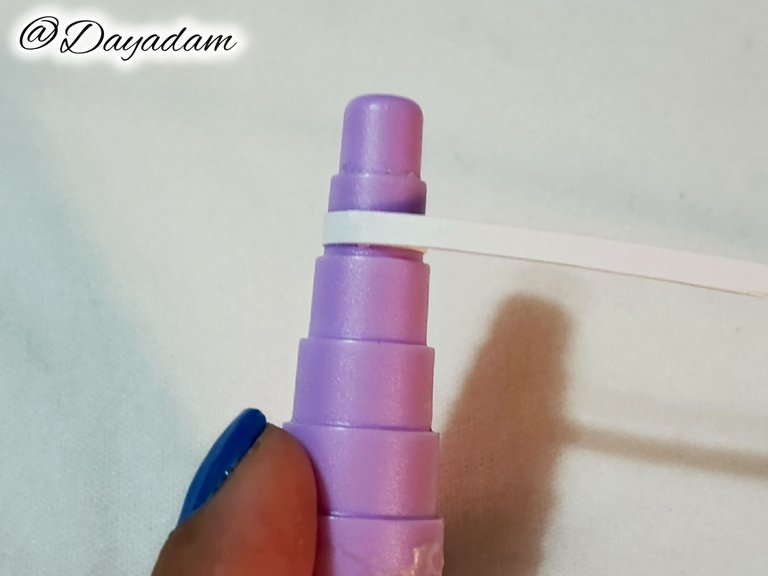
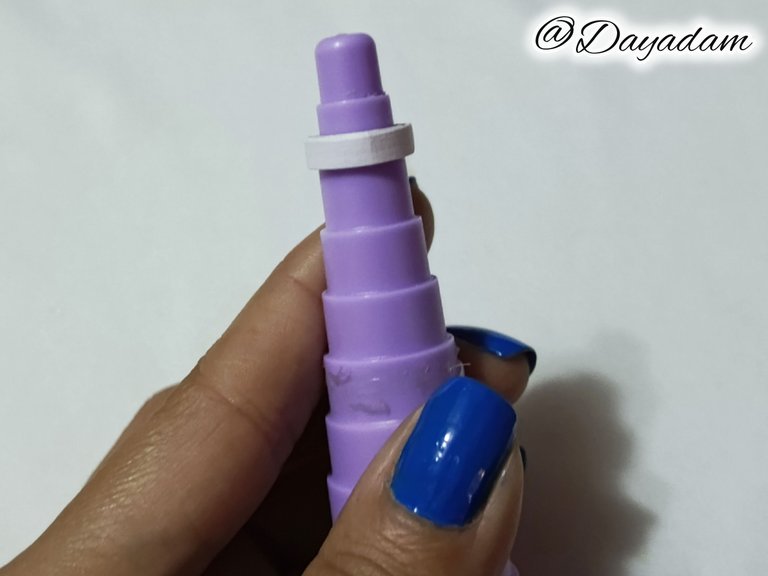
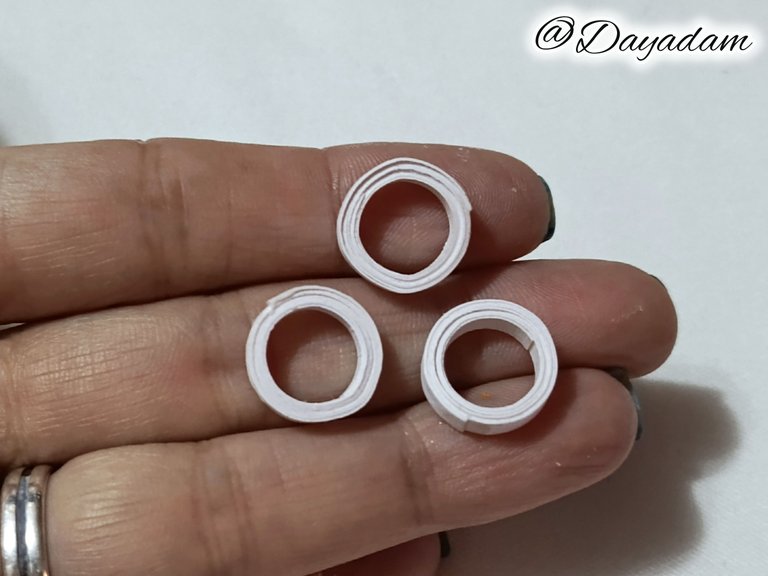
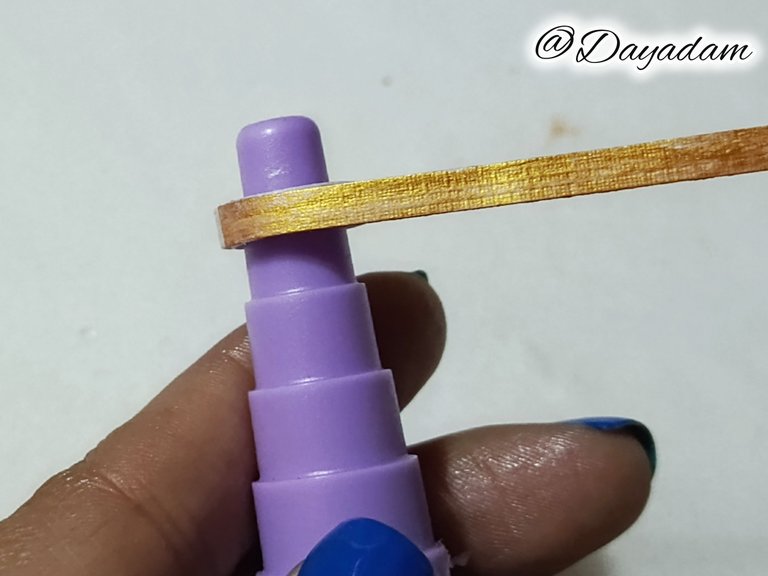
- Start by taking 3mm wide white quilling tape, we are going to roll it into a circle cone in the second measure from top to bottom, when we finish with all the tape we seal it with extra strong white glue. We will need three circles of the same size.
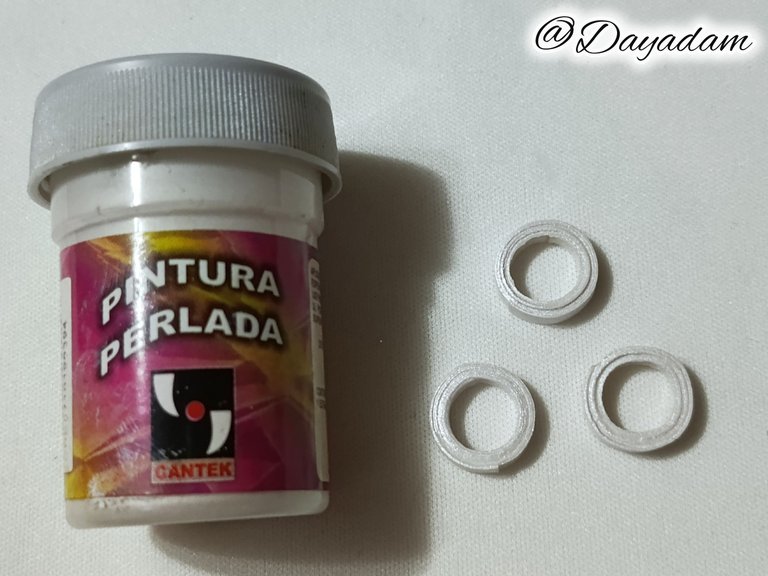
- Once the hollow circles are ready, we proceed to paint them with pearl water-based paint and let them dry very well.

• Comenzamos tomando cinta para quilling de color blanco de 3mm de ancho, vamos a enrollar en Cono para círculos en la segunda medida de arriba hacia abajo, al terminar con toda la cinta sellamos con pega blanca extra fuerte. Vamos a necesitar tres círculos de la misma medida.
• Una vez listos los círculos huecos, procedemos a pintar con pintura perlada al agua, dejamos secar muy bien.
 |  |
|---|
 |  |
|---|
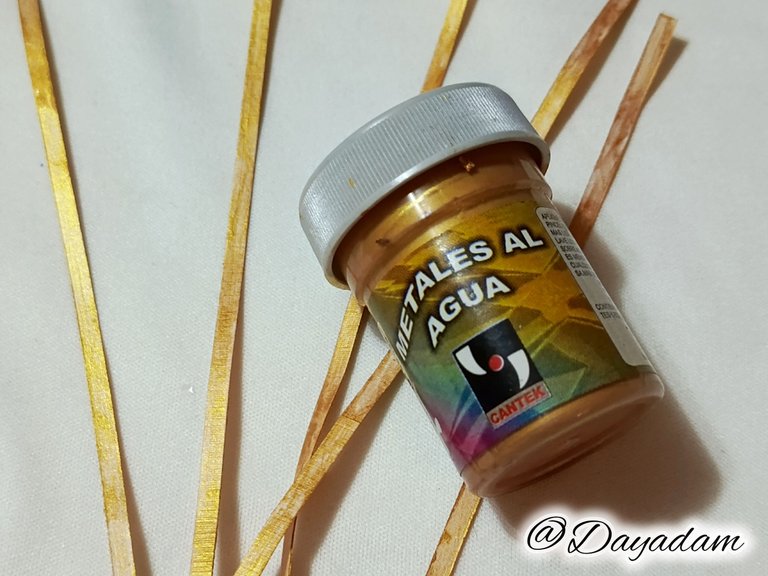
- We will take three 3 mm wide white strips and proceed to paint them with gold colored water-based paint, let them dry very well.
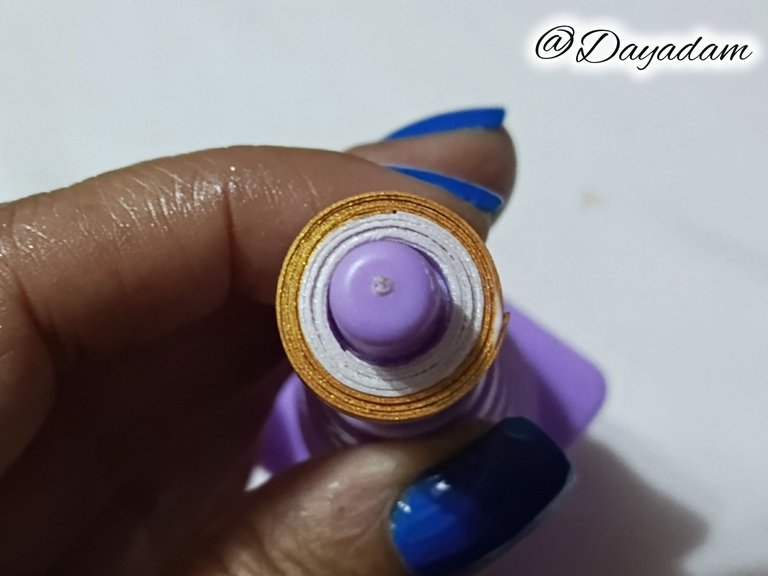
- Now we will take the circle that we made previously, we will place the ribbon that we painted and we will roll it up until we finish with it, we will seal it with extra strong white glue.
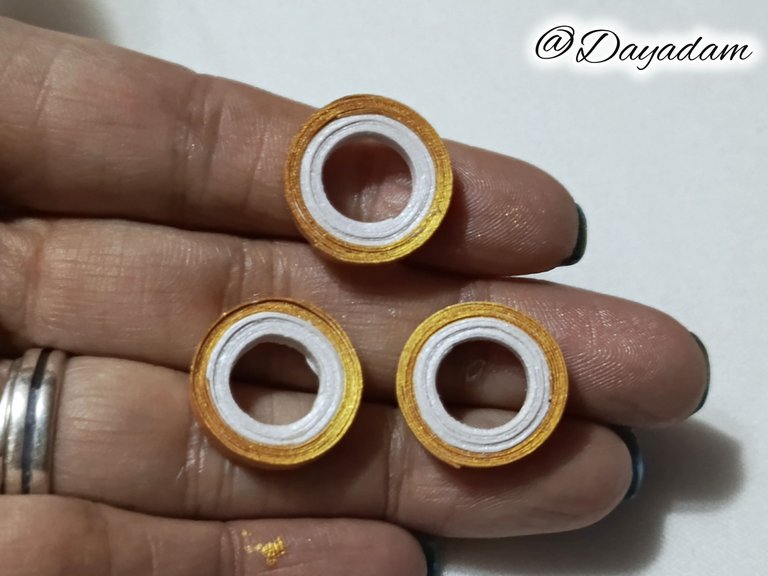
- We will do the same process with the 3 rings we made.

• Vamos a tomar tres tiras de color blanco de 3 mm de ancho y procederemos a pintarla con pintura al agua color oro, dejamos secar muy bien.
• Ahora tomaremos el círculo que elaboramos con anterioridad, colocaremos la cinta que pintamos y enrollaremos hasta terminar con la misma, sellamos con pega blanca extra fuerte.
• Realizaremos el mismo proceso con los 3 aros que realizamos.
 |  |
|---|
 |  |
|---|
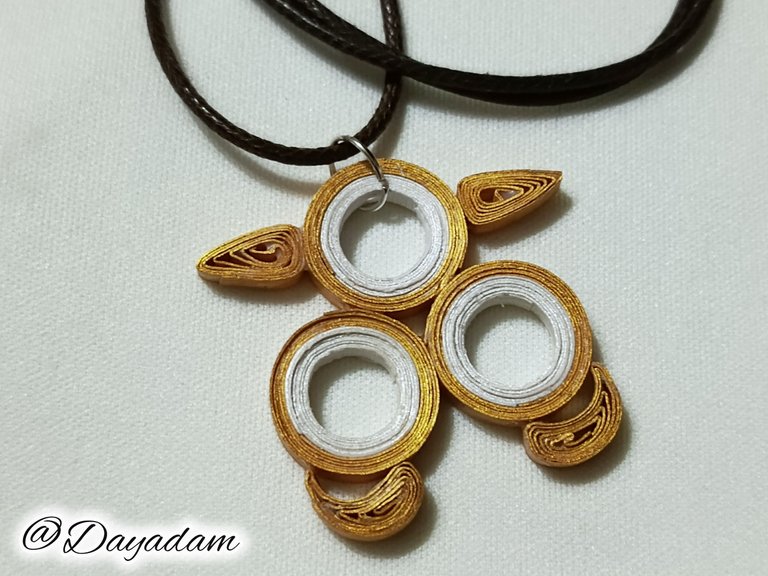
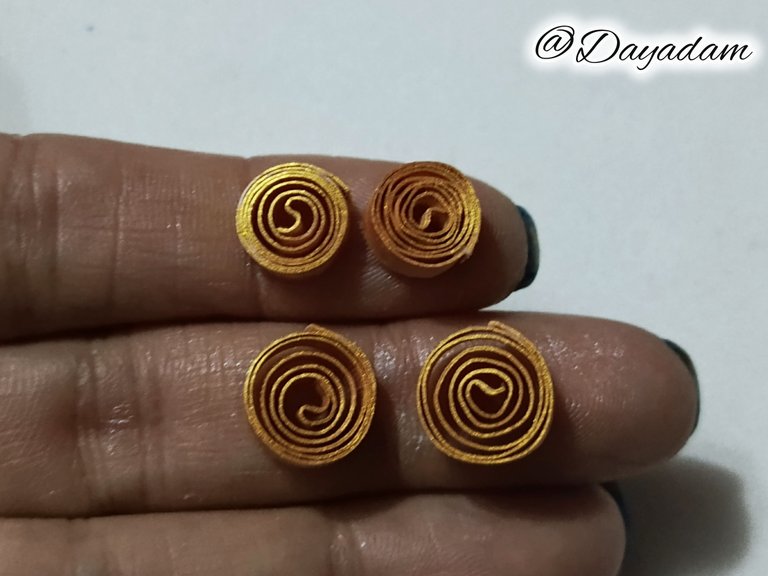
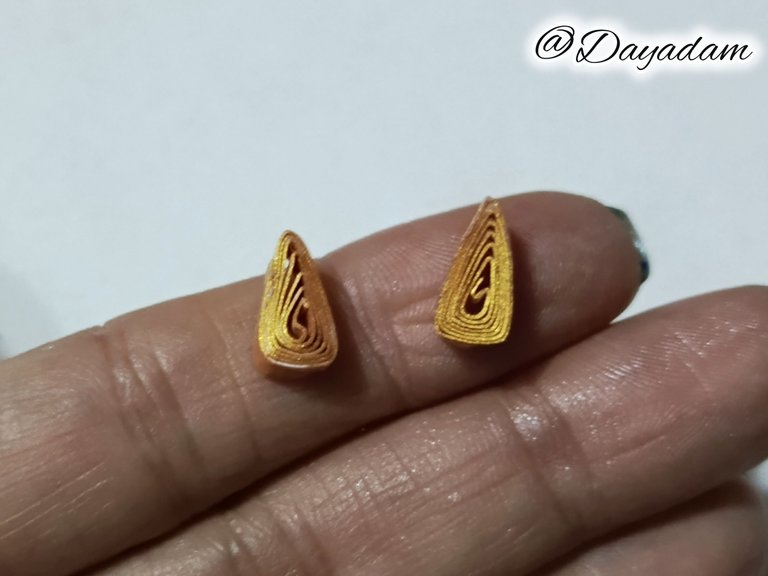
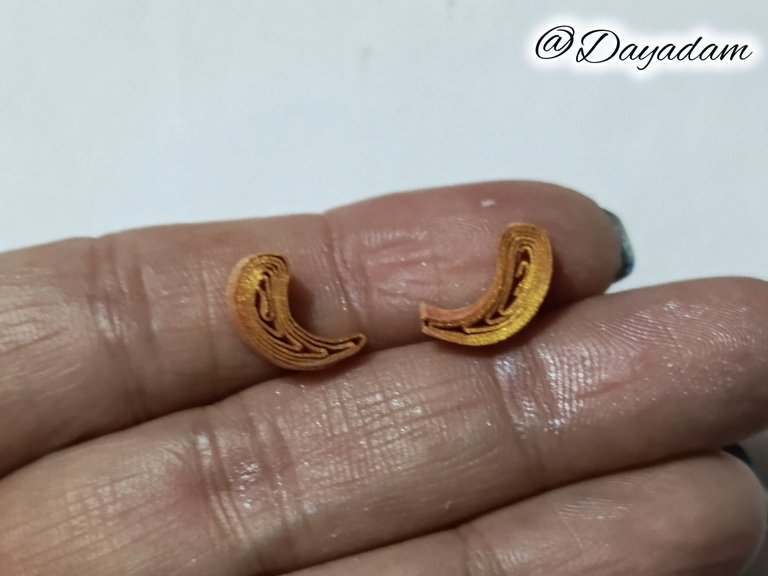
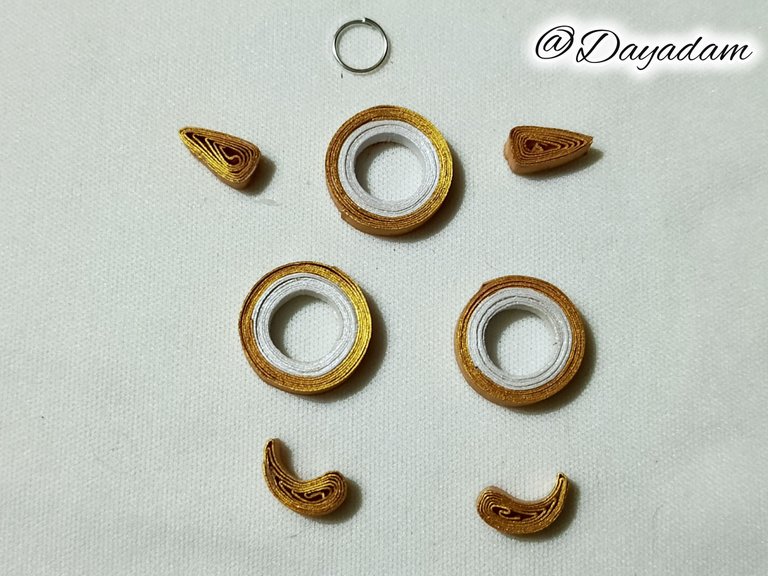
- Now we will proceed to make 4 open circles, two medium ones, and 4 a little larger ones.
- The 2 smaller circles will be molded in the shape of a slightly elongated triangle, the 2 larger ones as a kind of inclined triangle, as you can see in the images.
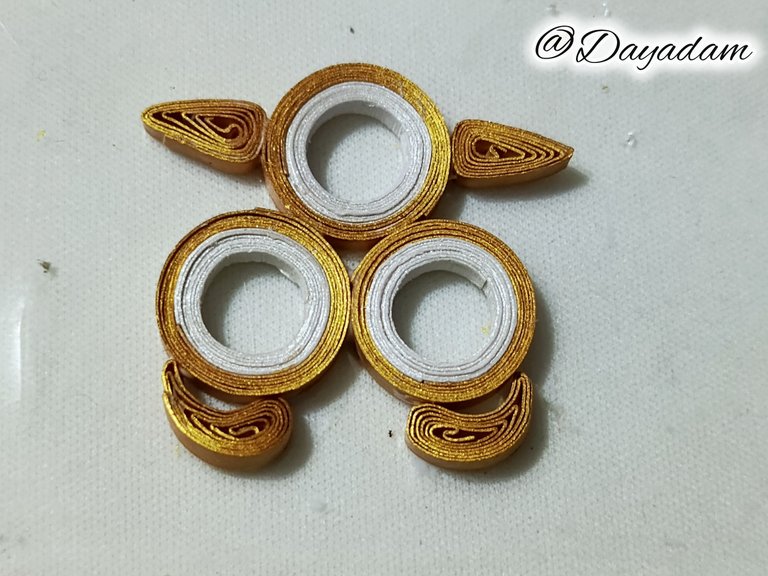
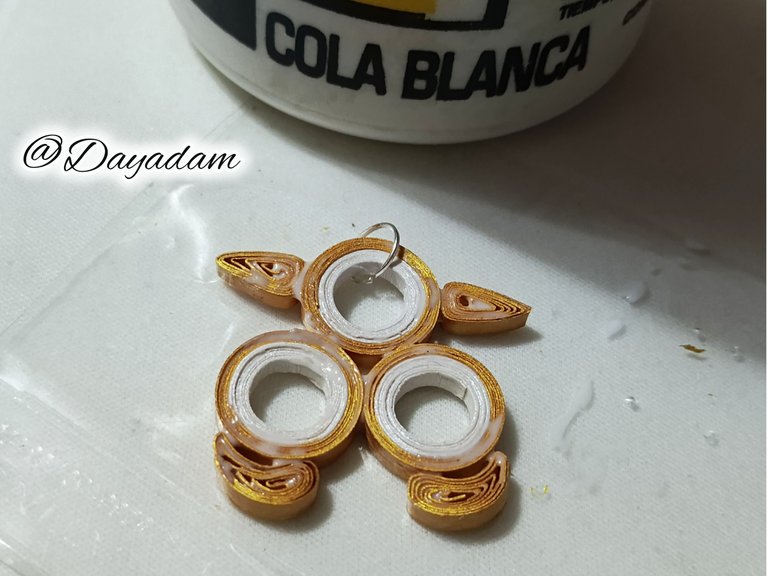
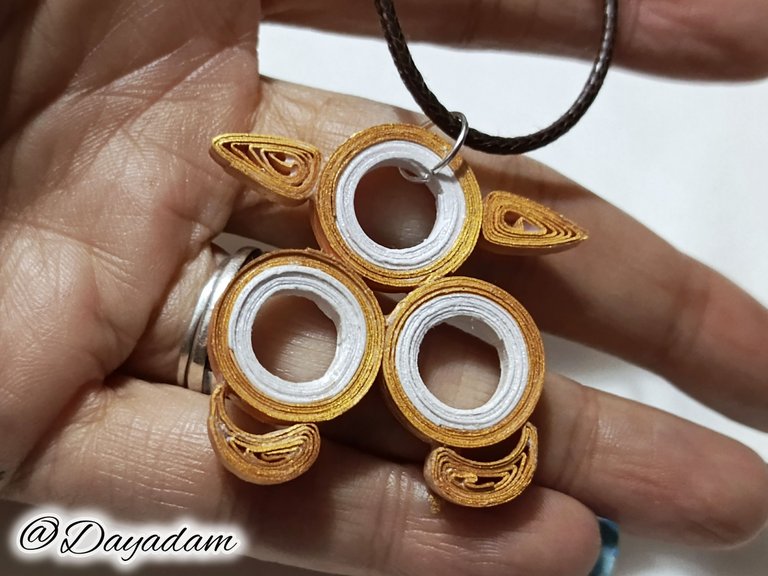
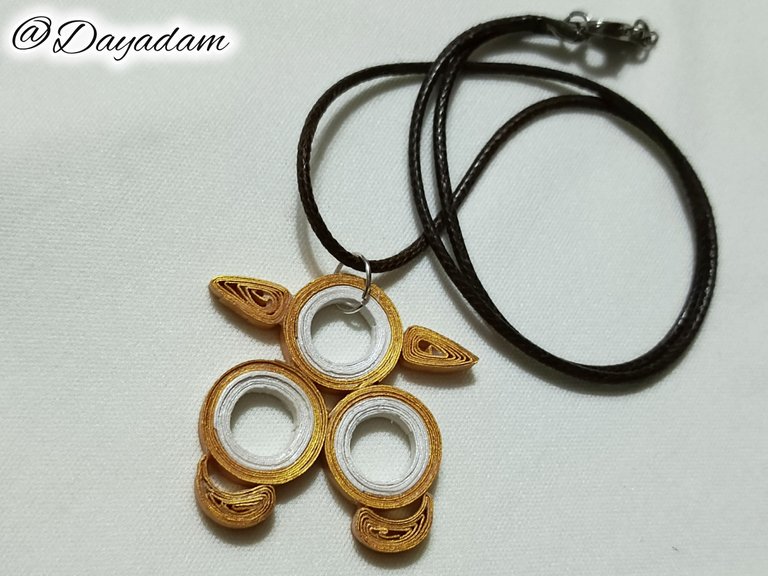
- At this point we will proceed to join all the pieces in a harmonic way, and we will add a medium size costume jewelry ring at the top of the piece.

- Ahora procederemos a realizar 4 círculos abiertos dos medianos, y 4 un poco más grandes.
- Los 2 círculos más pequeños los moldearemos en forma de triángulo un poco alargado, los 2 más grandes como una especie de triángulo inclinado, tal como lo pueden apreciar en las imágenes.
- En este punto vamos a proceder a unir todas las piezas de manera armónica, y vamos a agregar una argolla mediana de bisutería en la parte de arriba de la pieza.
 |  |  |
|---|
 |  |  |
|---|

 |
|---|
 |  |
|---|
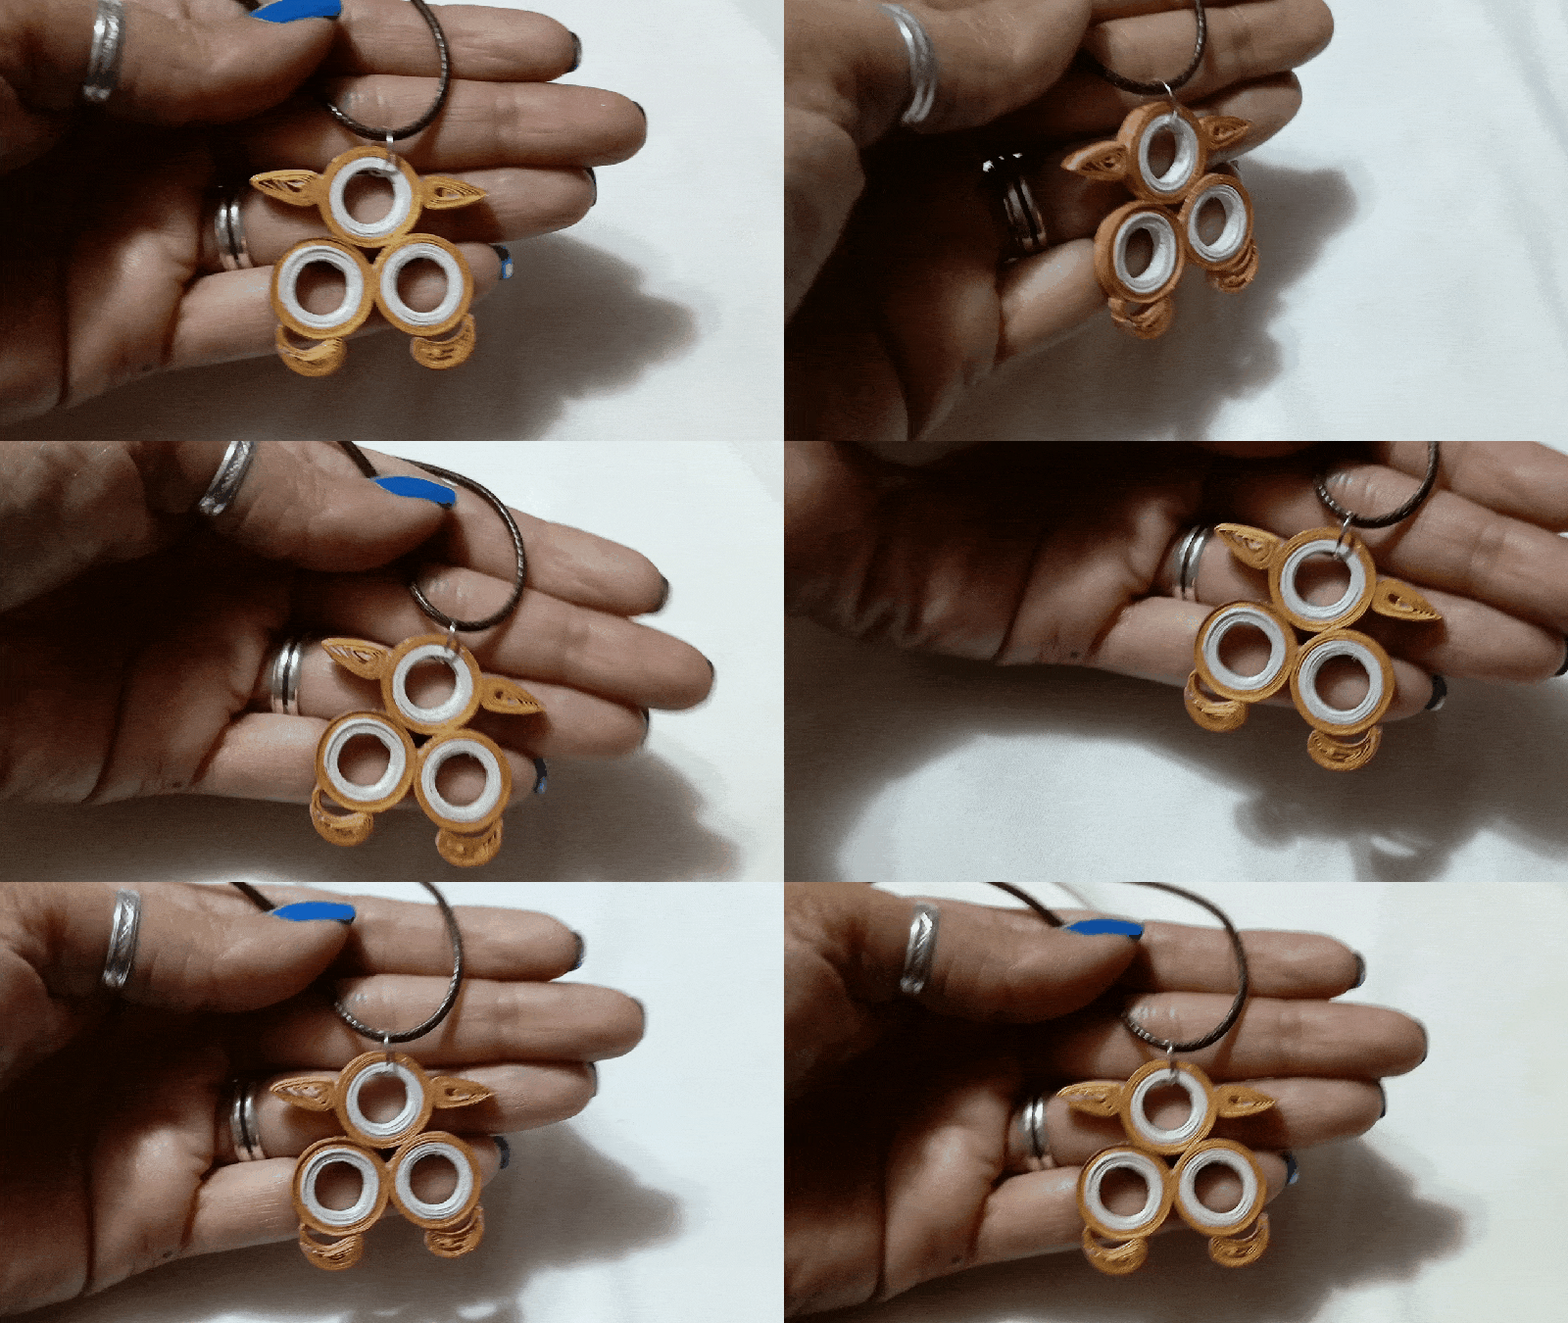

What did you think, did you like it?
I hope you did, I hope you liked my explanation, procedure and photos, I made them with love for you.
"Let out that muse that inspires you, and let your imagination fly".
Thank you all, see you next time.

¿Que les pareció, les gustó?
Espero que sí, que les haya gustado mi explicación, procedimiento y fotos, los hice con mucho cariño por y para ustedes.
"Deja salir esa musa que te inspira, y deja volar tu imaginación".
Gracias a todos, nos vemos en la próxima.


Thank you for the support @splinterboost ✨
Congratulations @dayadam! You have completed the following achievement on the Hive blockchain And have been rewarded with New badge(s)
Your next target is to reach 450 posts.
Your next target is to reach 150000 upvotes.
You can view your badges on your board and compare yourself to others in the Ranking
If you no longer want to receive notifications, reply to this comment with the word
STOPCheck out our last posts:
Thank you @hivebuzz 😊
That's great @dayadam! We're impressed with your progress on Hive! Keep going and reach your new target!
Delegate Tokens and HP to Fallen Angels to earn weekly rewards!
Delegate | Join to the guild
Thank you for the support @fallen.angels ⭐
Thank you for the support @amiegeoffrey and @ecency
You're welcome
Nice one
Thank you ✨
Guao... Qué bello y te quedó idéntico. Es increíble Cómo puedes recrear lo que sea con la técnica del que, por algo eres la reina del Quilling en Hive
Ay tan linda, de verdad que muchas gracias por tu comentario. 😘🥰💕
Amiga te ha quedado igual el cetronlo hiciste muy bien que bonito sw ve el accesorios, te deseo mucho éxito en el concurso 😉
Muchísimas gracias mi linda, por el apoyo, por tu lindo comentario, y por tus buenos deseos 💗
Another amazing piece, congratulations! 👏✨
Thank you very much, I am really glad you liked it 💕
This is really impressive friend, your quilling technique gets better and better every day. Well done and thanks for sharing this with us.
Thank you very much for your support and your kind words make my work @diyhub ✨
Thanks for sharing! - @isaria
