Creative Sunday | DIY Trouser making
Happy Sunday, dear Hivers!
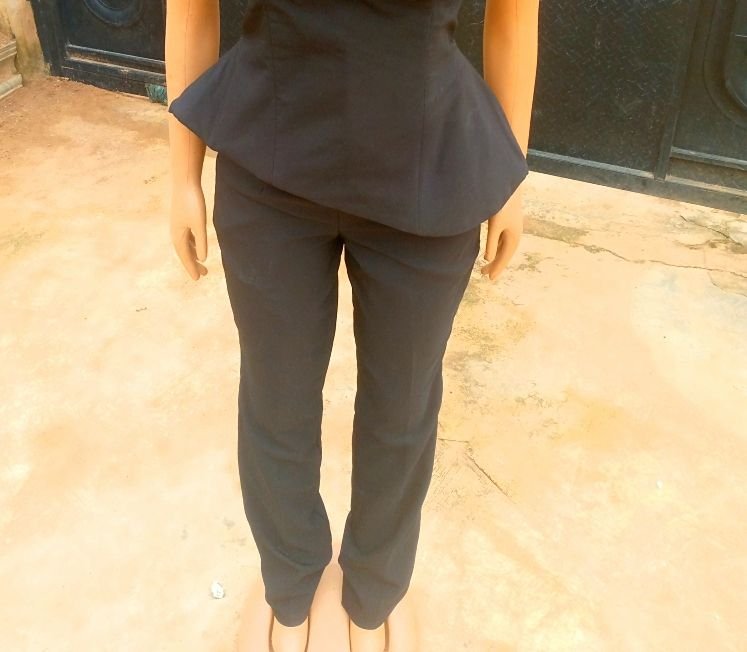
It's another exciting edition of the Hive learners Creative Sunday, and as usual, I will be sharing with you an easy sewing DIY on how to make a pair of trousers/pants.
Have you ever wondered how some of the clothing you wear came to be? Of course, we know they don't just fall from heaven. Before learning how to sew, my mind has always wondered how fashion designers were able to mold a plain piece of fabric into something fitting and fashionable, with learning, I discovered it's mostly about calculations and contouring, an intricate knowledge I must say, it was mind blowing getting to know the tips and tricks navigated before arriving at a special piece, just like I would be showing you in today's post.
Materials used for this project include
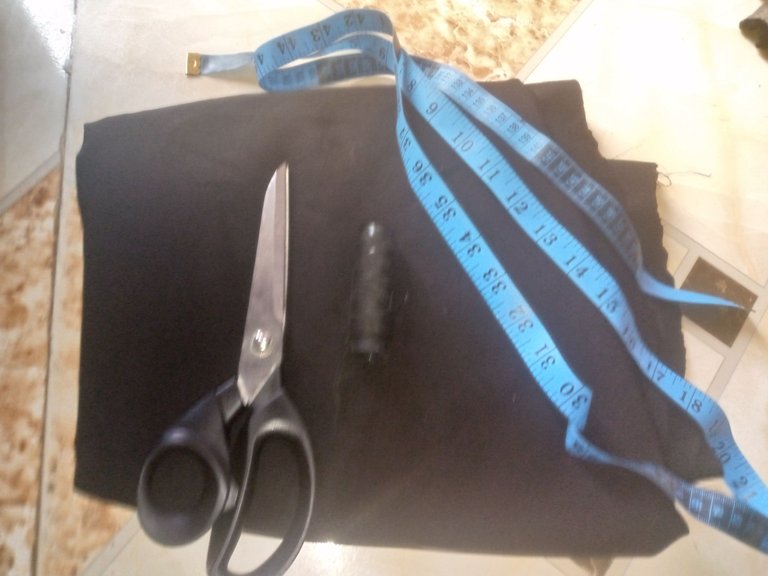
Plain crepe fabric
Zipper
Interfacing
matching coloured thread.
Cutting And Sewing Process
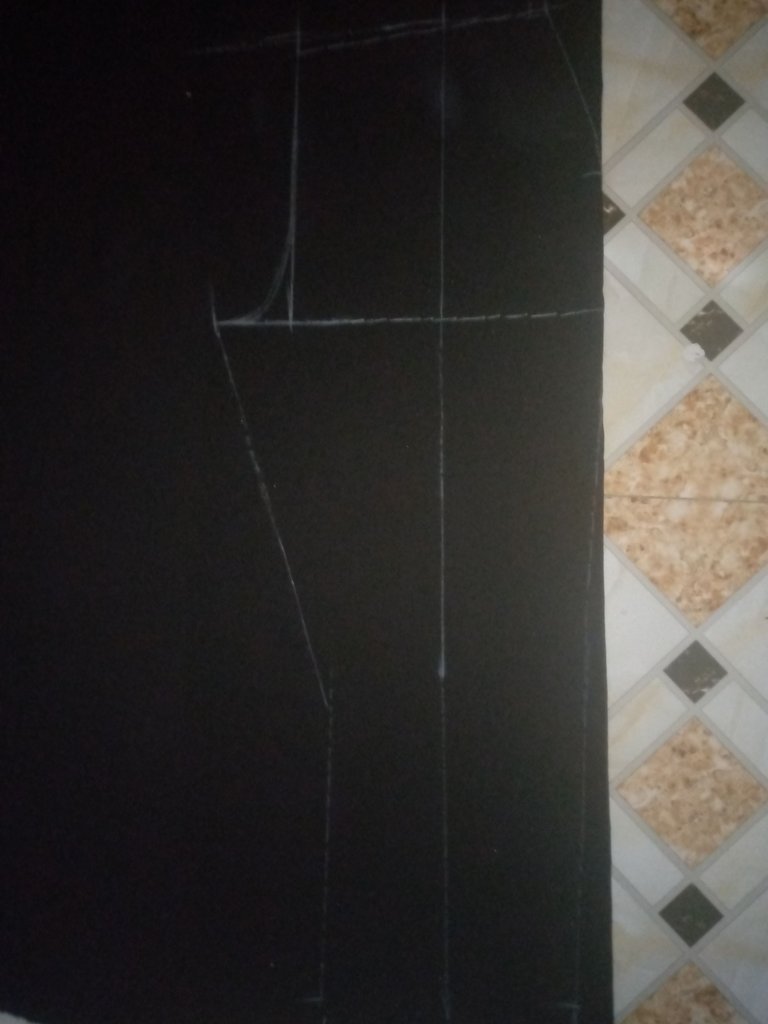
- First, I started by drafting the front trouser pattern, first by determining the waist, hip, crotch, lap, knee, and length measurements, extending the crotch area by 2.5 inches, which enables the trousers to fit comfortably around the crotch area.
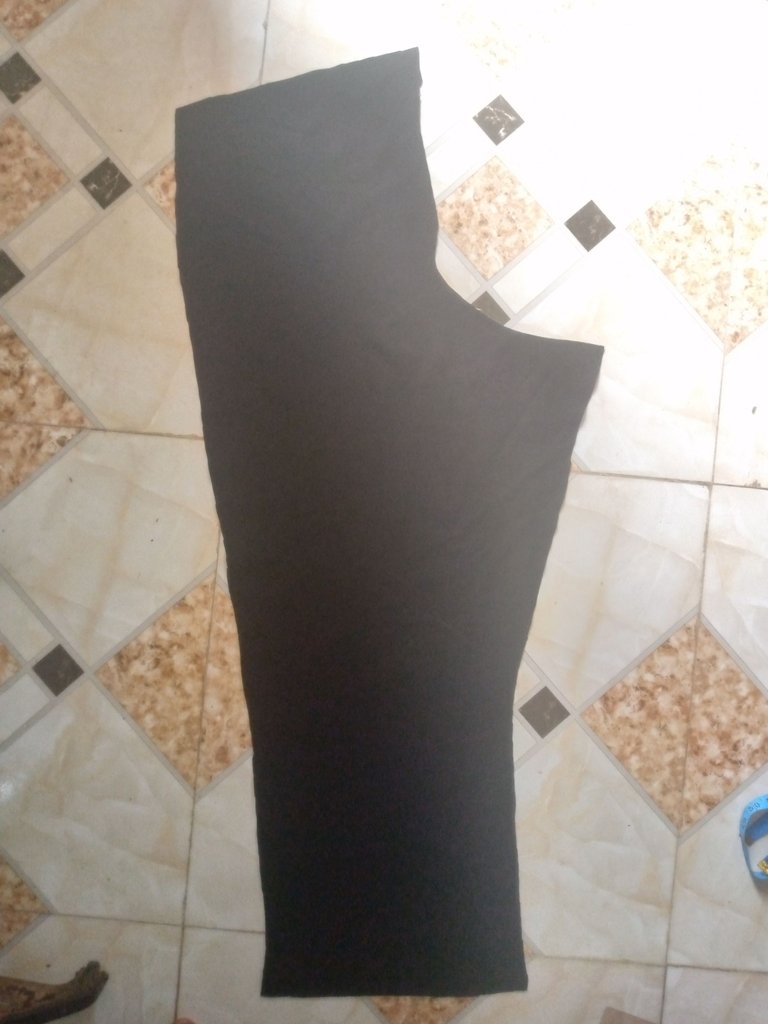
- Next, using the front pattern, I extended it by 2 inches all round, and this extra 2 inches serves as the seam allowance, and also enables the trousers to sit comfortably by your sides. If you check most of the trousers you have, both male and female, you would observe that the back side is always bigger than the front.
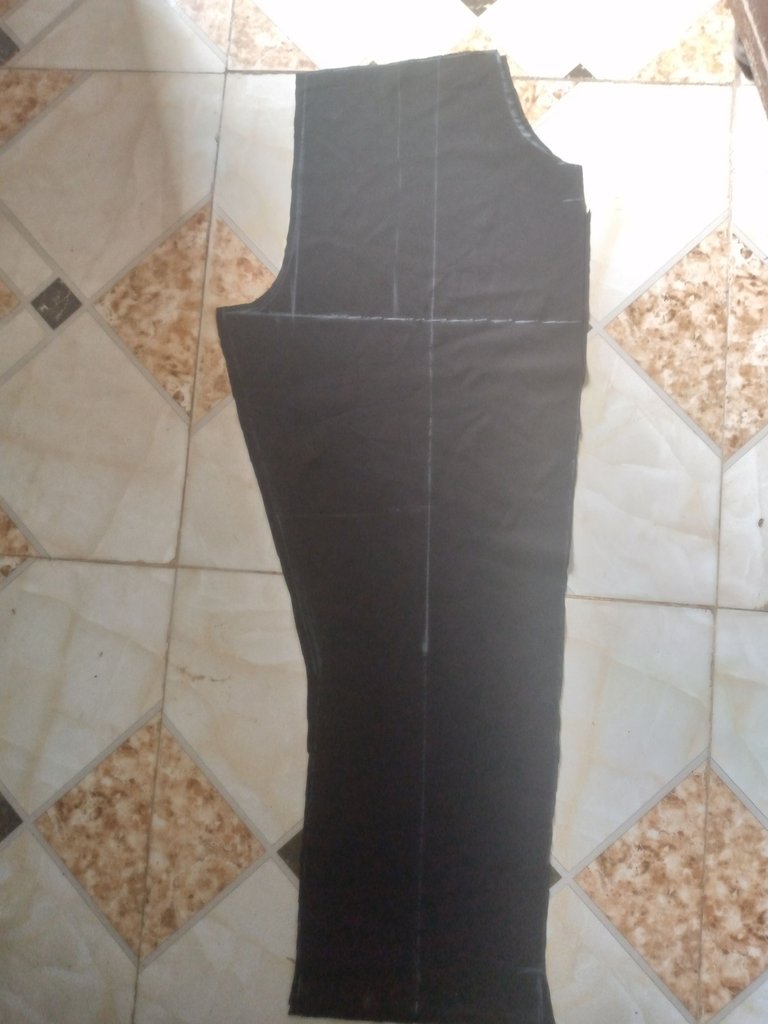
- Continuing, I joined the front and back crotch area, leaving a zipper allowance at the back
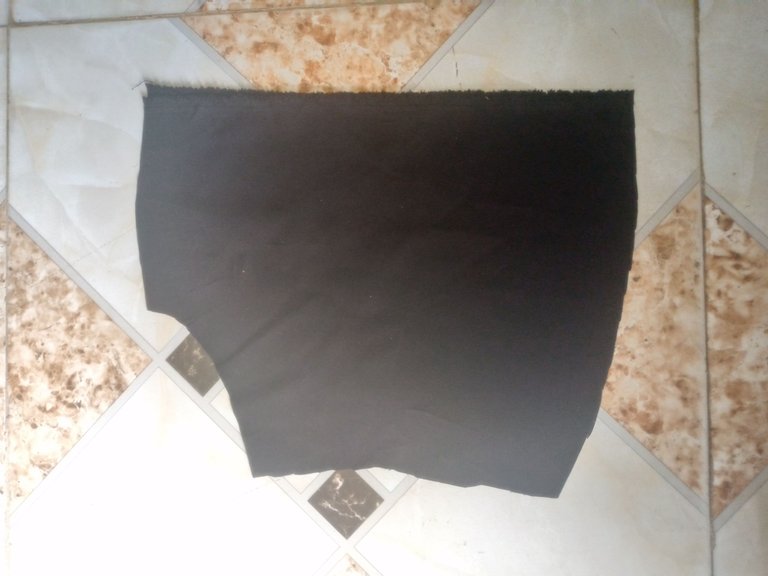

I also cut out the front pocket pattern pieces, which I sewed to both sides of the front pattern.
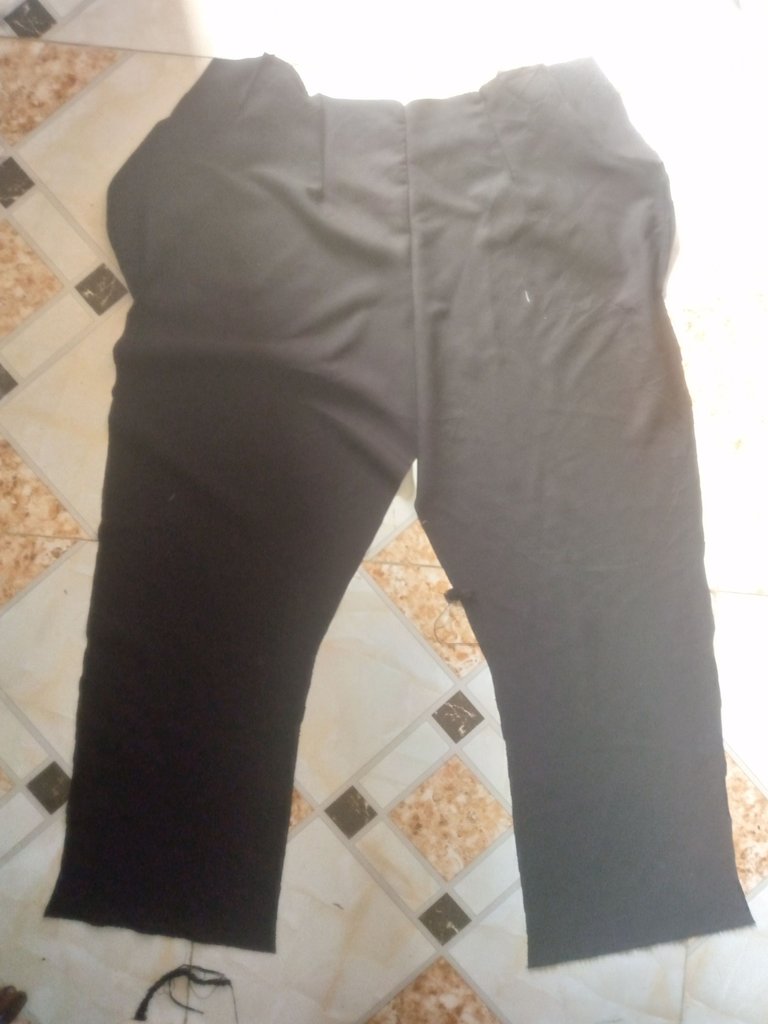
Moving on, I joined the sides and inseam area of the trousers.
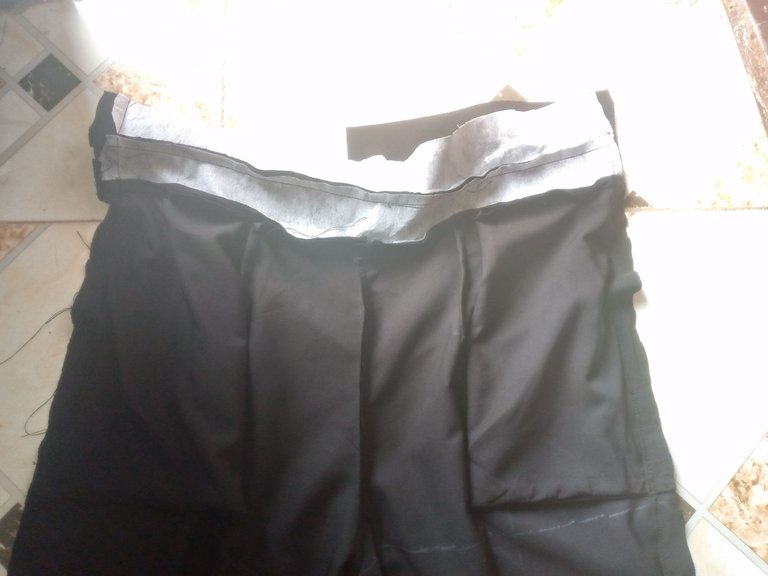
Next, I cut out the trouser waistband for both the front and back sides, ironed interfacing on the wrong side of the fabric before joining them. The interfacing helps give structure to the fabric.

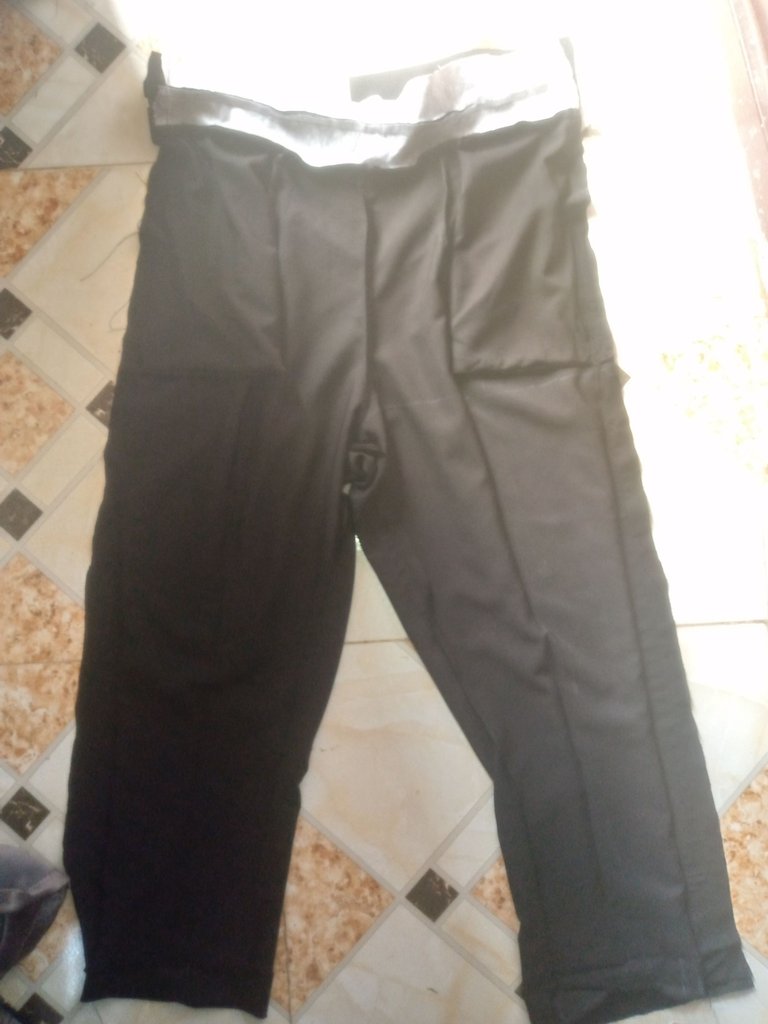
Finally, I sewed a zipper to the back, and hemmed the base of the trousers. And that completes the making process of the trousers.
I hope you learned some new today through this post.
All images are mine
View or trade
LOHtokens.@glorydee, You have received 1.0000 LOH for posting to Ladies of Hive.
We believe that you should be rewarded for the time and effort spent in creating articles. The goal is to encourage token holders to accumulate and hodl LOH tokens over a long period of time.
Dear Lady, thank you so much for showing us this easy DIY technique for making a pair of trouser. Your trouser turned out great, well done.
selected by @ibbtammy
Thank you so much
Manually Curated by @merit.ahama
Thank you
Congratulations @glorydee! You have completed the following achievement on the Hive blockchain And have been rewarded with New badge(s)
You can view your badges on your board and compare yourself to others in the Ranking
If you no longer want to receive notifications, reply to this comment with the word
STOP