Weed Wedsnesday! Grow Log Update Week 5
What's up Canna-Fam!? I don't know about you guys, but it's been a crazy week here in the Midwest. We had a few nice days last week, but for the most part we experienced a lot of rain. It was nice for the garden plants, but I had a lot of projects I wanted to work on, which just got put off til today now that the sun is poking out!
I also keep seeming to be falling a day behind each week on my posts, so starting next week I'll be moving my weekly updates to Wednesday, which shall henceforth be known as #WeedWednesday! 🤣✌🏼💚
When we last left off, the girls were ready to go into their permanent homes, and I had asked for suggestions on what sized planters I should use! I recently picked up some large 10-gallon buckets that I could use as planters, so I wasn't sure what to do. At first, I figured I could plant the photo’s in the garden and let them go, leaving the 10-gallon pots for the auto’s to see how big they could get.
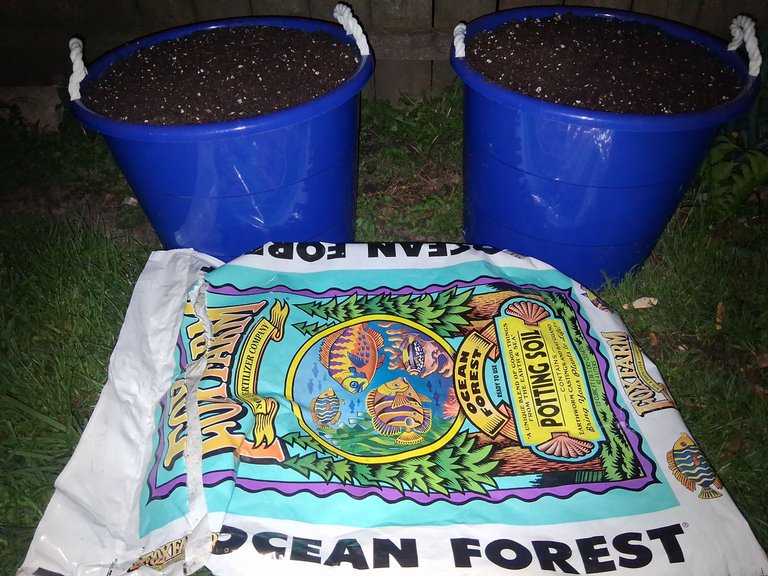
So on Tuesday the 29th I went out after work and picked up some more soil to get ready to plant. I really like how well the FoxFarm soil worked during my first grow, so I decided to pick up 2 bags of the Ocean Forest and 1 bag of the Happy Frog potting soil from the local Rural King during our run to town. When we got home that evening, I got started on prepping the large 10-gallon containers by drilling holes in the bottom for drainage, which I didn't even think to take pictures of! I couldn't even tell you how many holes I drilled, but I don't think I'll have to worry about root rot or anything like that!
With the drainage holes now drilled, it was time to start adding the new dirt to the containers, and even though I just bought new bags of soil, I decided to create my own mixture using the following items:
- Mulch
- Garden Soil (Living)
- Fox Farms Ocean Forest Potting Soil
- Fox Farms Happy Frog Potting Soil

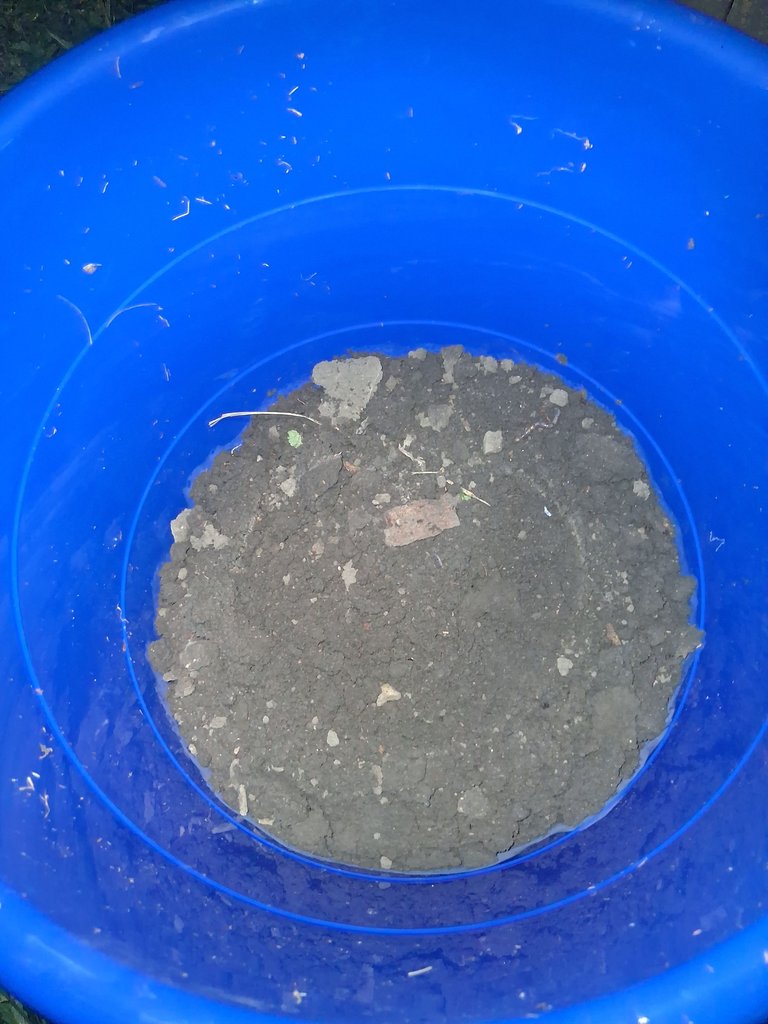
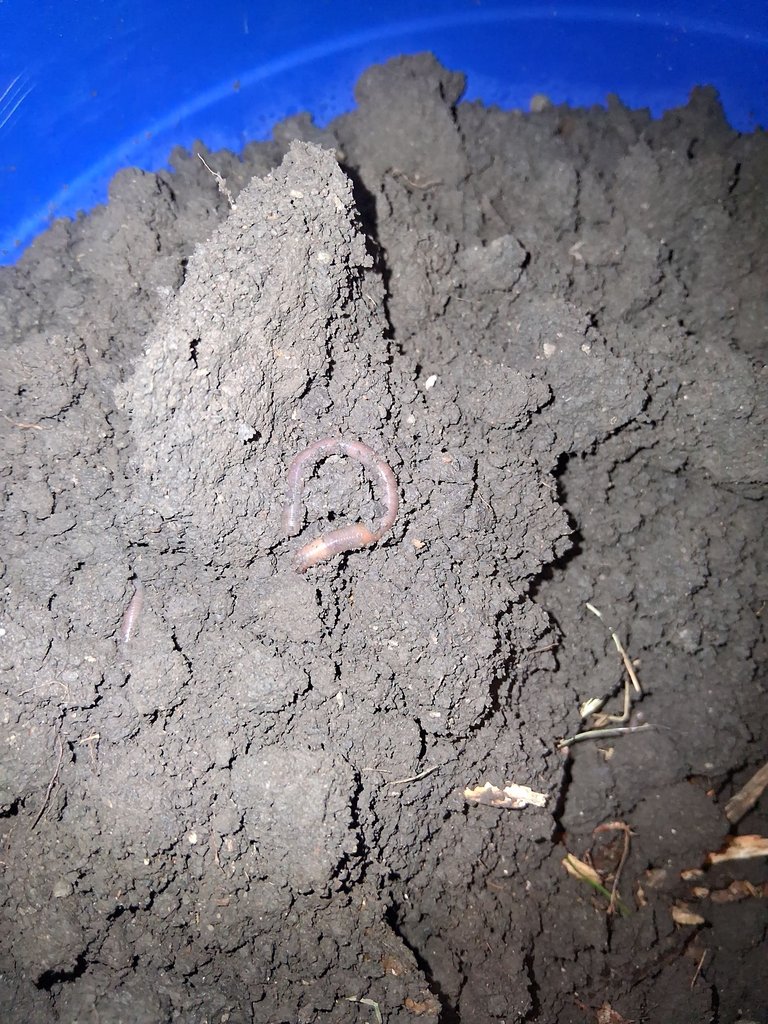
To start out, I placed a thin layer of mulch at the bottom of the container to help with drainage, and hopefully provide a nutrient boost as it starts to decompose. Then I put a few inches of good dirt from the garden on top of the mulch, which was loaded with little soil critters that should help keep my girls happy and healthy! You can see there's a worm in there too, which is always a good sign of healthy dirt!
 |  |
|---|
By this point my 10-gallon buckets were about a third of the way full or so, and even though I didn't take exact measurements on how much of each item I used, you can get a rough estimate from the pictures below. I used the lines in the container as my guide, and with the first two layers in I was up to the first line, so I switched over and added the Ocean Forest until it was about halfway between the top of the bucket and the line below it.

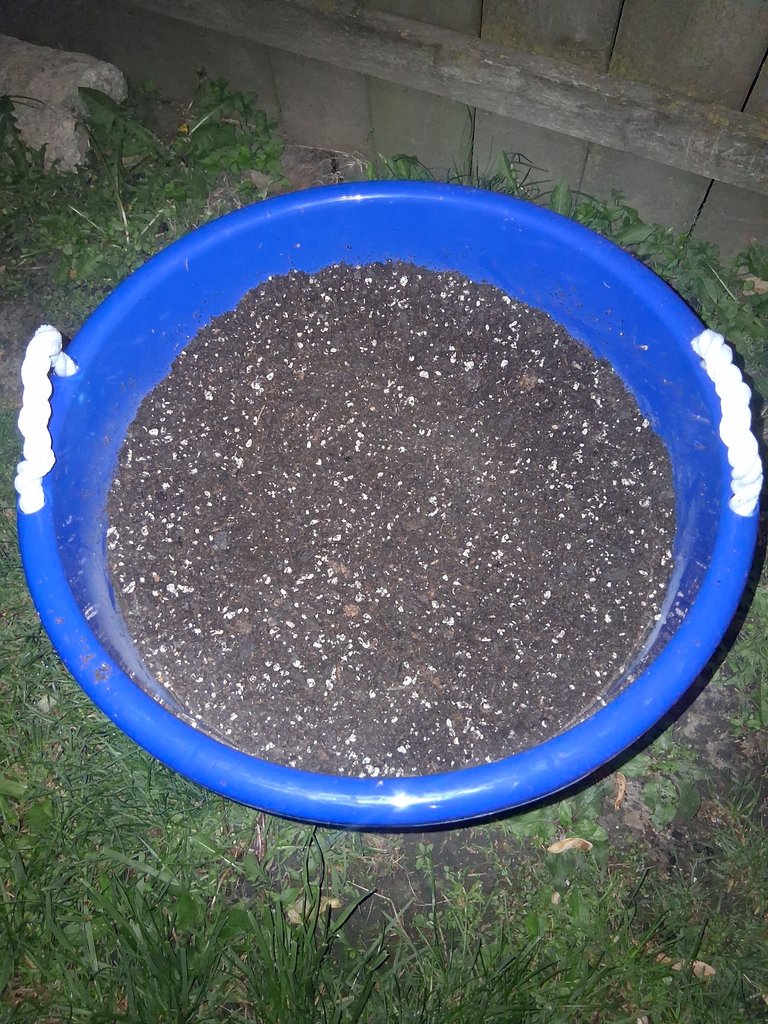
The Ocean Forest potting soil contains earthworm castings and bat guano, which should make it a good addition to the living garden soil and mulch at the bottom of the container. After that, I topped it off with the Happy Frog, which contains mycorrhizal fungi that aids in root development. My thought process here was that once I placed the plant inside the bucket, the Happy Frog will help boost the seedlings root growth, which will then grow into the nutrient dense living soil/Ocean Forest mixture. Hopefully this works out well, but only time will tell for sure!
Once I finished filling up the pots and taking my pictures, I let the soil settle and came in for the night to relax, but I was still unsure which plants were going to go into those big pots. I liked the idea of putting the auto's in there, but I didn't know if that was too big of a pot for them. But thankfully, that's when I logged into Hive and noticed a notification that would make things easier!
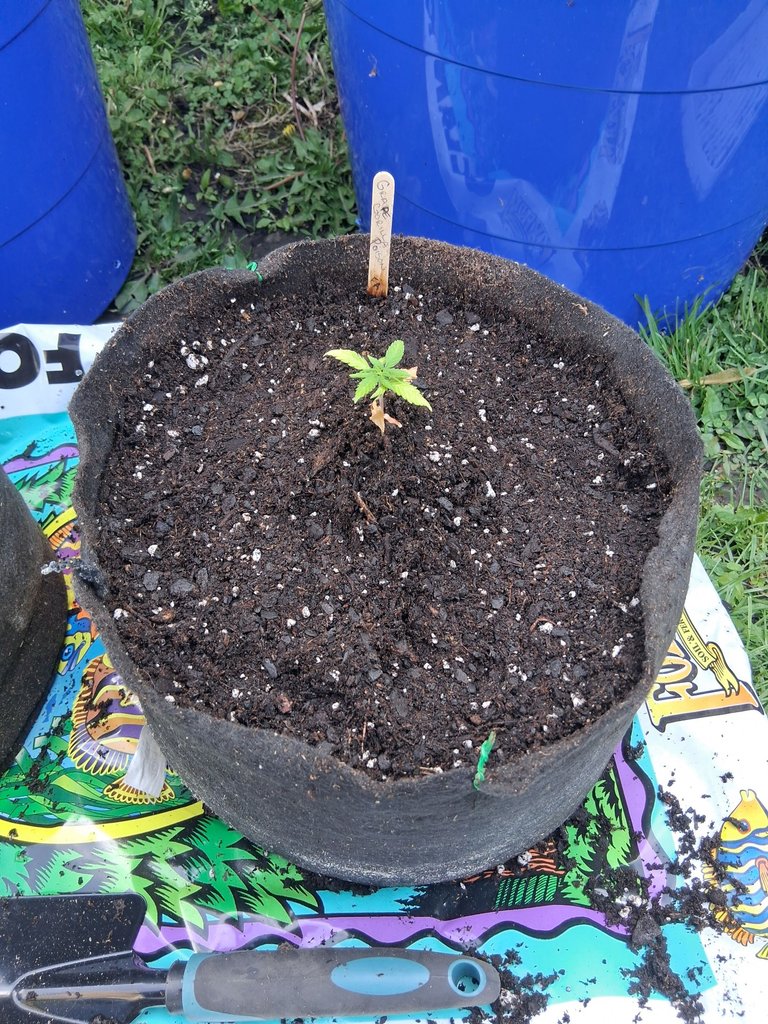
@davedickeyyall was the commenter on my post, and he suggested putting the autos in the smaller planters! So, I decided to head back outside and get the 2-gallon planters ready as well.
I used the same method for the 2-gallon fabric pots, but I didn't add mulch because the material itself should help keep the soil aerated on its own, but this also means that I'll most likely have to water them more to keep them from getting too dry. I haven't been able to grow these specific strains to completion yet, but the other Macronut autoflowering strains I have grown will put some water away, so I'll definitely have to keep an eye out for any signs of dehydration!
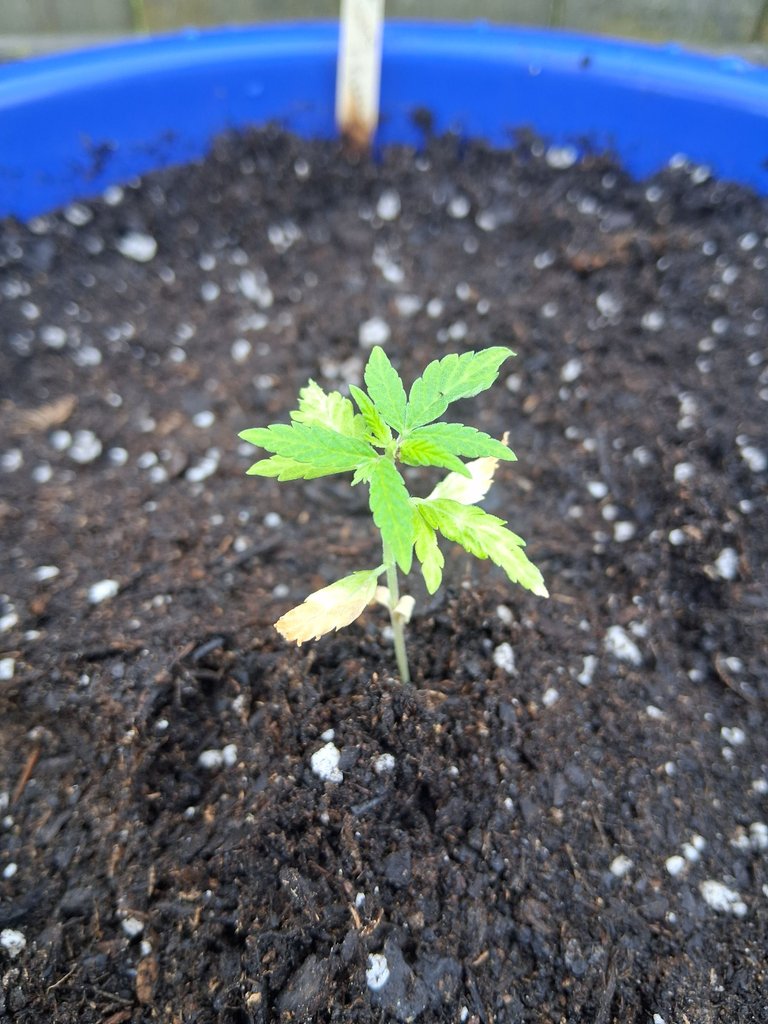
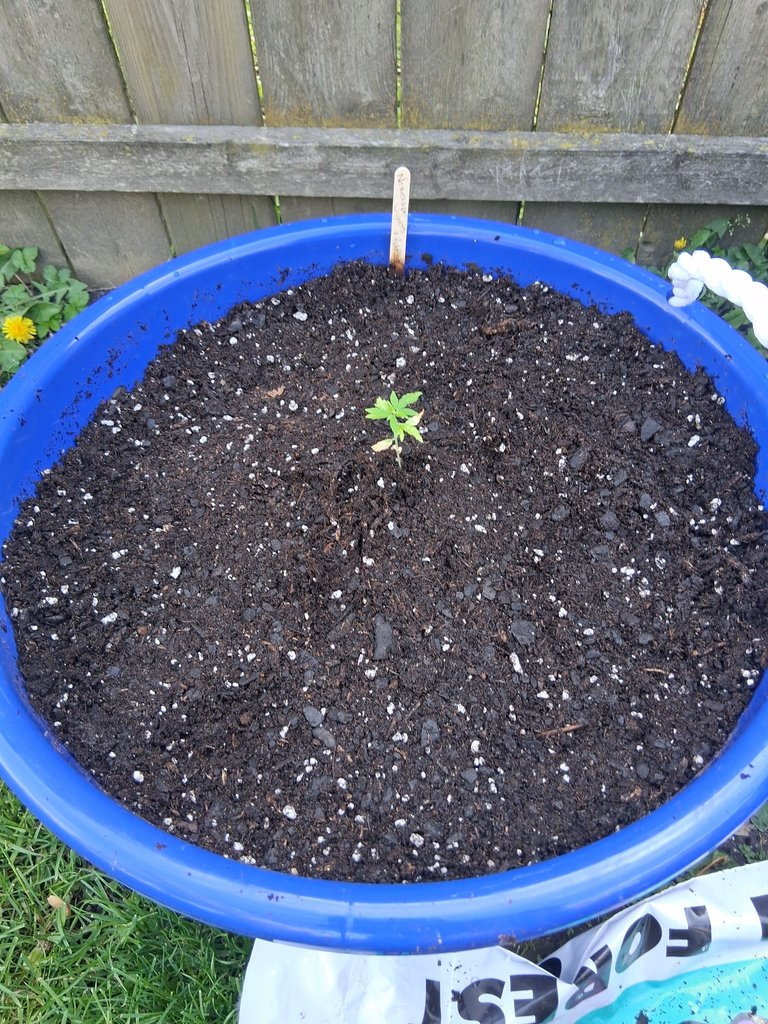
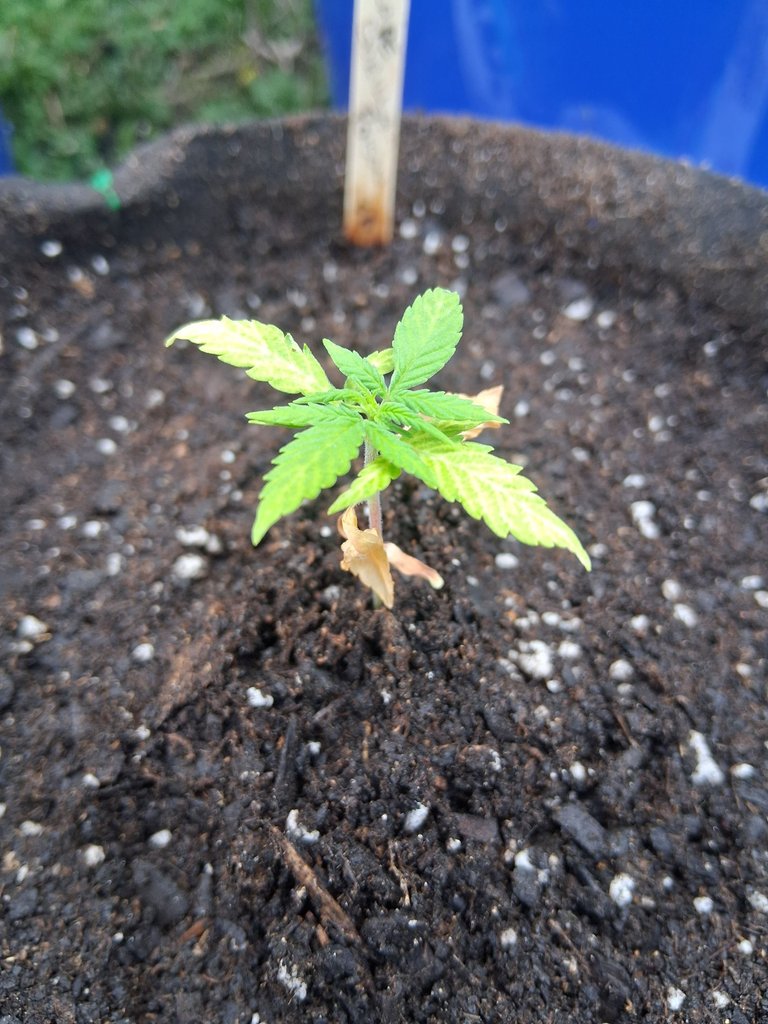
After letting the soil settle overnight, I finally got all of the girls planted after work on Wednesday, April 30th, allowing them their first taste of natural sunlight.
 |  |
|---|
 |  |
|---|
 |  |
|---|
 |  |
|---|
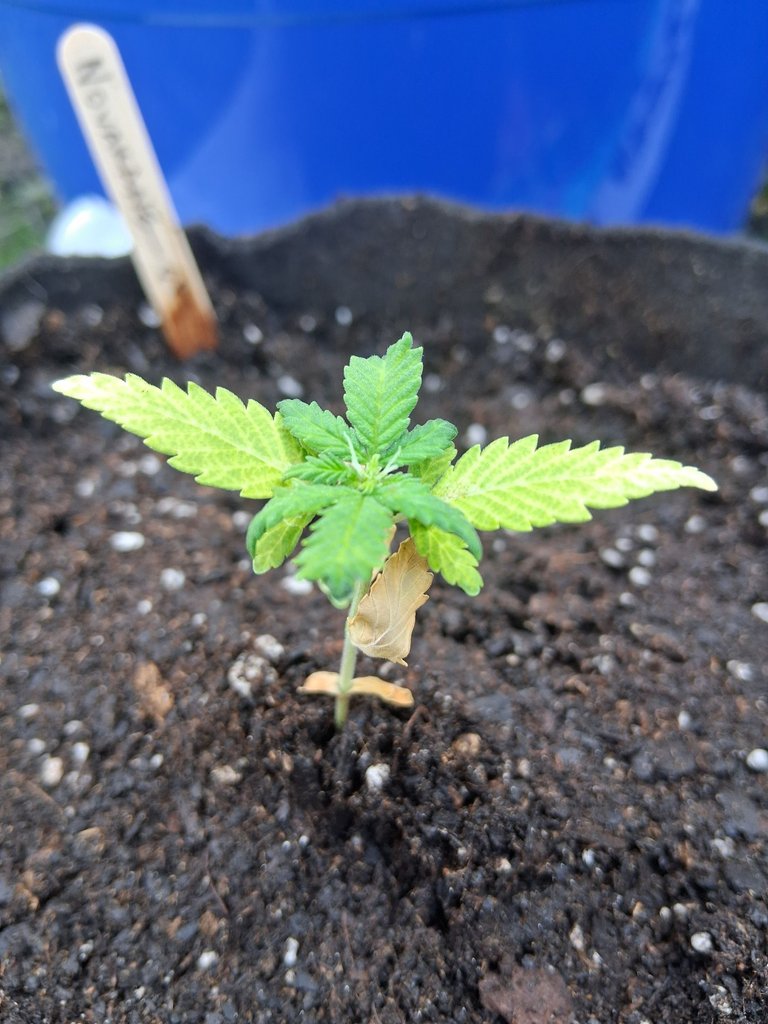
What I think is cool is that you can see the pistils forming on the Novakane in the pictures above! It's really amazing that these plants can grow so quickly!!
Unfortunately, that would be the only sunlight they would get to see for the next few days as it rained pretty steadily from Thursday until Monday. It wasn't heavy by any means, so I wasn't too worried about the seedlings, but I am curious about how well the big buckets are draining.
I did go out and move the buckets one morning after a dry spell just to check, and the ground underneath them was still pretty wet so I'll take that as a good sign for now!
Wednesday May 7th, 2025
As of today, these babies are now 39 days old, which is really only relevant for the auto's because they should only take around 90-95 days until they are ready to harvest depending on how the trichomes look, and that honestly just comes down to personal preference!
With all the rain going on, I haven't taken any new pictures since I planted them, but it seems like the rain has officially passed us for now, so I'll definitely be going out to take more pictures this week! I'm also going to be doing some research on making homemade organic fertilizers for both vegetation and flowering stages to help boost growth, so I hope to have some good information to share with you on that front during the next update!
Again, thank you for your suggestion @davedickeyyall, I really appreciate it brother! Now I just hope I can do these girls justice! ✌🏼💚
Interesting read.. I've got that same big tub im going to use for my photos.. it will be interesting to see how big they get..
Thank you brother.
That's awesome! Do you know what strain your growing yet? I'll be on the lookout for your updates haha!
But yea, I'm excited to see what they can do in that size tub for sure. Last time I only used 5 gallon buckets and didn't really know what I was doing, so this go around should be fun lol
I've got a nice selection but I don't trust the supplier.. these ones I'm growing now are supposed to be photos.. yet they're flowering under 16 hours of light
I'm not an expert, but that definitely seems like an autoflower to me! Lol. I wonder if they mixed up the bag? But again, a good reason not to trust the supplier if that's the case lol.