ASEAN Hive Community Challenge: Paper Pursuits, Paper with Purpose

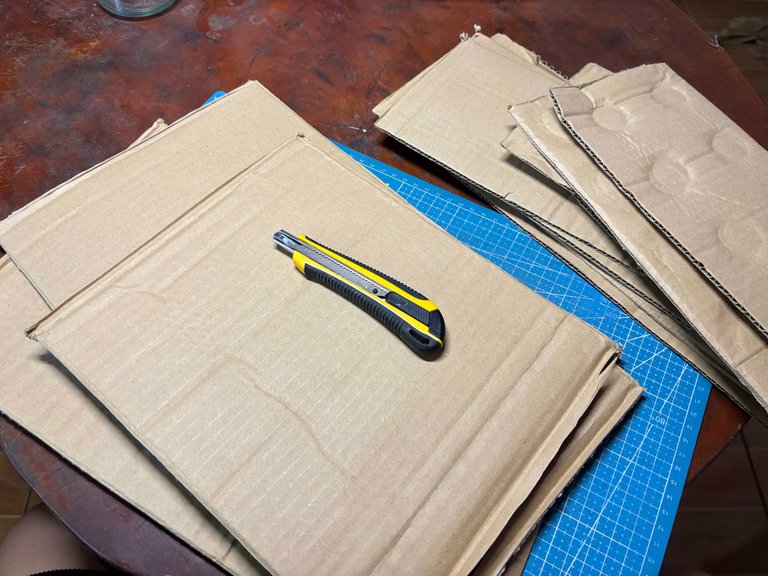
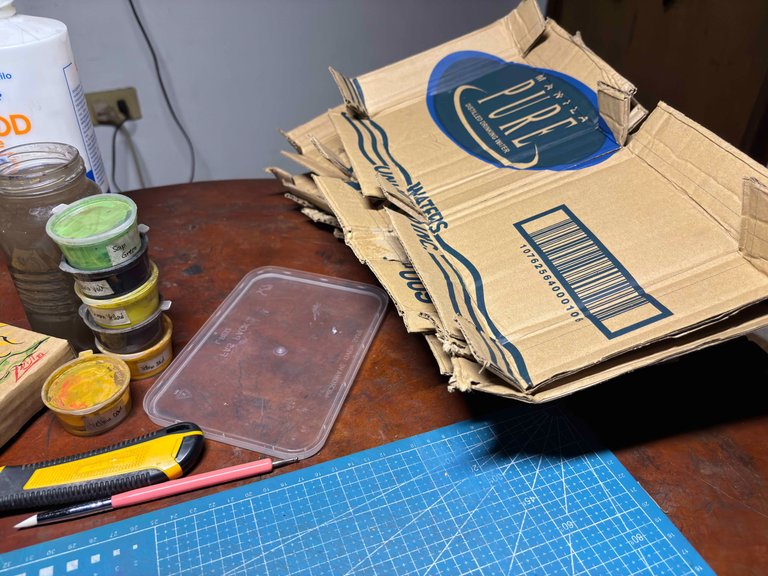
Hello, how are you? The time I saw the challenge of ASEAN this week, I must join. I love to repurpose anything I can see. For example, this cardboard from when we do our monthly grocery shopping, I don't know if my entry is going to be considered paper, but I guess it is LOL.
So when I was selling all the handmade things I made I needed to pack all of them in a secure and safe box and as I started selling I need to be resourceful about what I use so we have alot of cardboard box laying around the house so I decided to make it as packaging box and everytime I got other I am not going to worry if all the orders is going to be delivered safe and undamage.
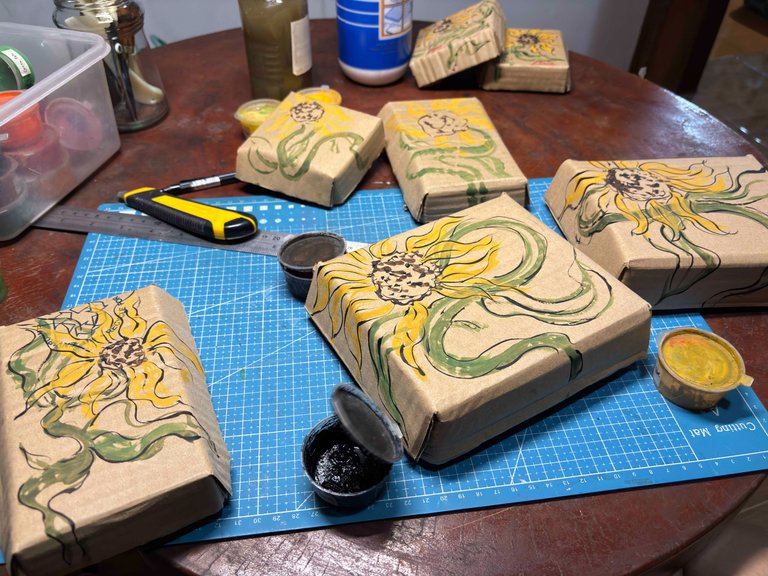
To make it more aesthetic I decide every box I made I painted them with sunflower my recently favorite flower and I think it look more presentable when I did that.
Materials I Used:
Materials I Used:
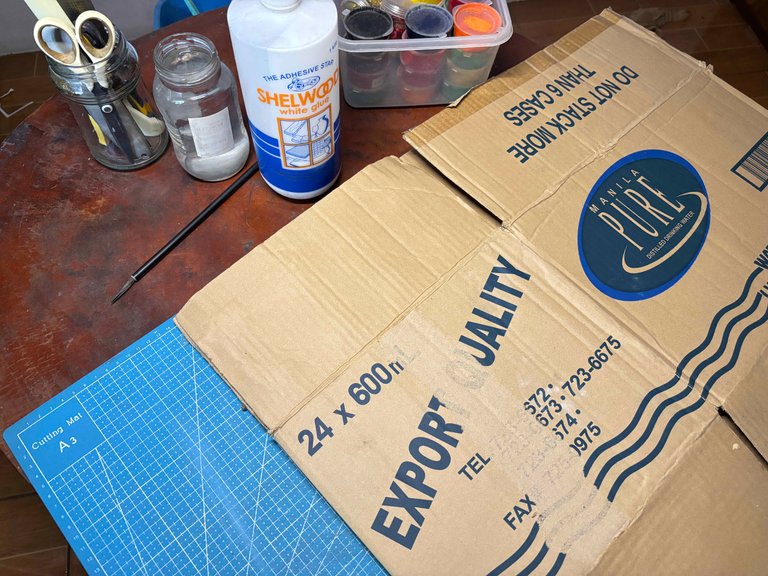
- Cardboard Box
- Cutter
- Pencil
- Jar with Water
- Cutting Mat
- Metal Ruler
- Glue
- Gouache Paint
- Paint Brush
Let's Make a Packaging Box:
Let's Make a Packaging Box:
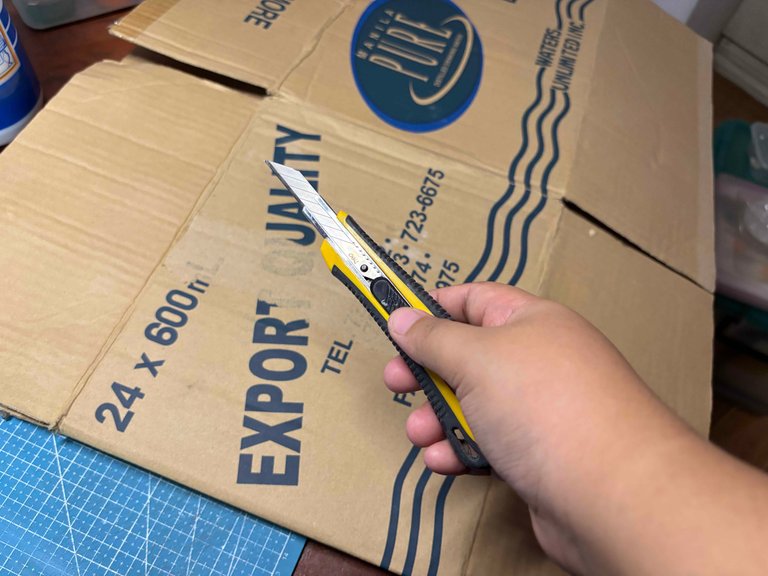
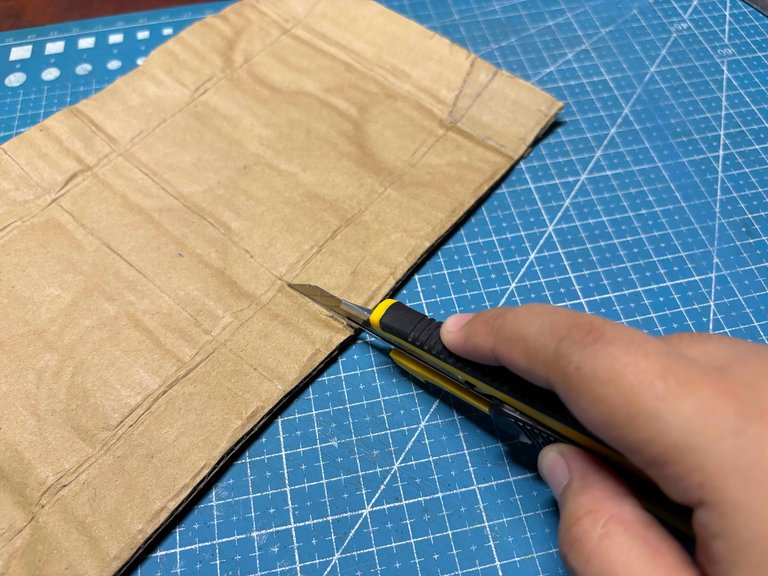
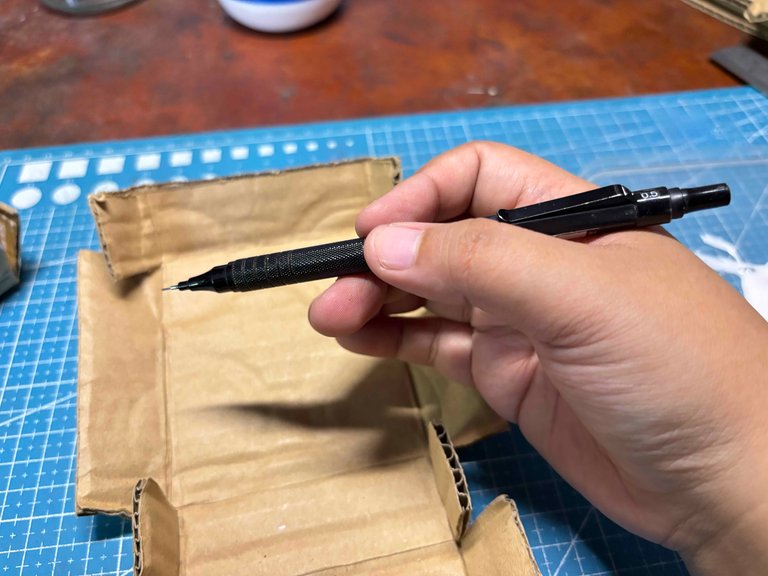
Before starting I make sure to lay down a cutting mat to prevent the cutter in damaging the table, and then I started cutting all the parts by pieces, I rely on the part where the paper is folded.
I am so use of cutting those folds, so If this is your first time I suggest you to use metal ruler and by the way do not use the plastic one those are going to get damage. Cut them off just like what I did.
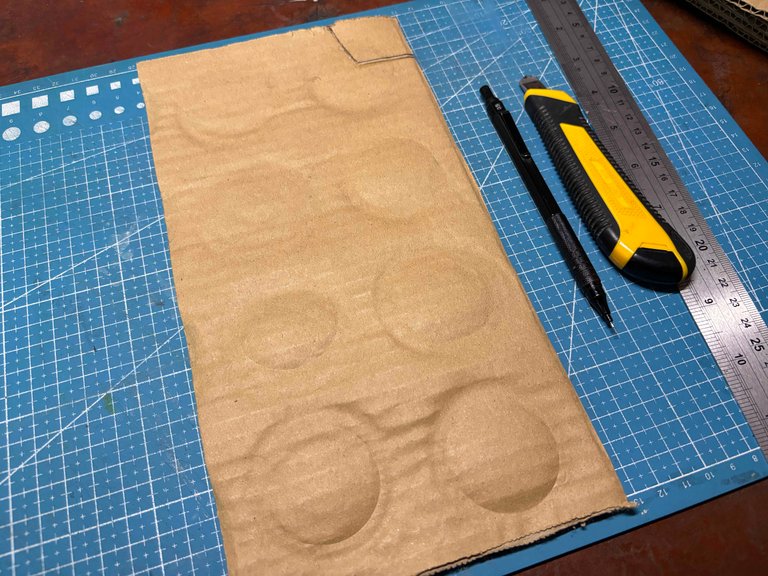
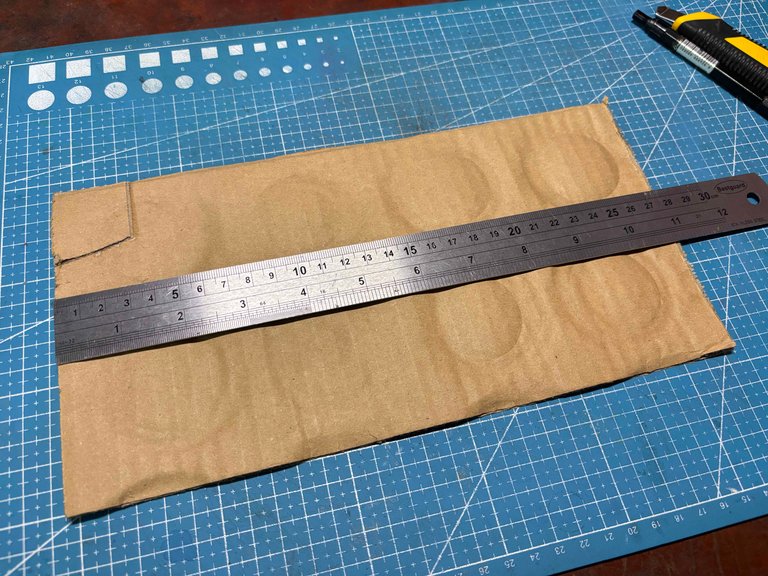
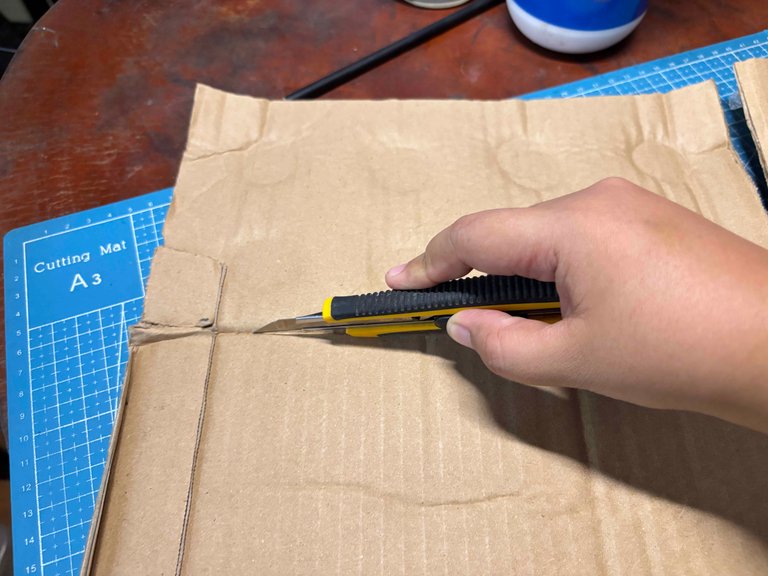
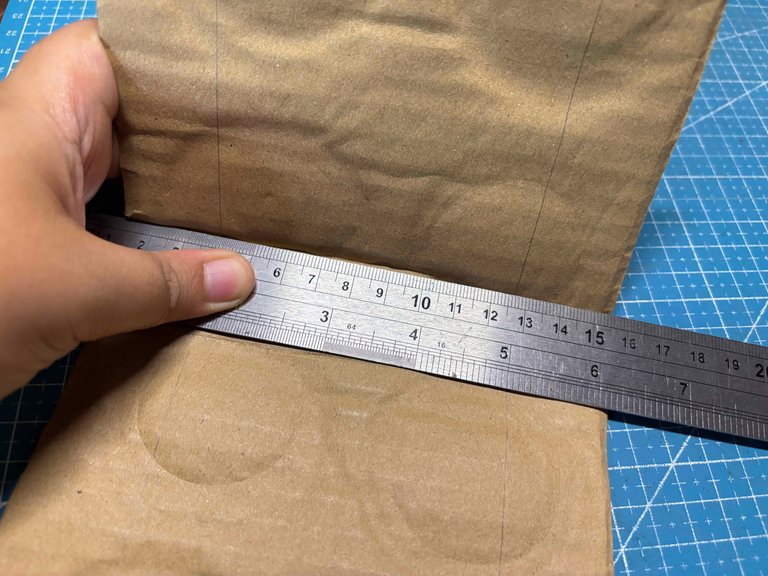
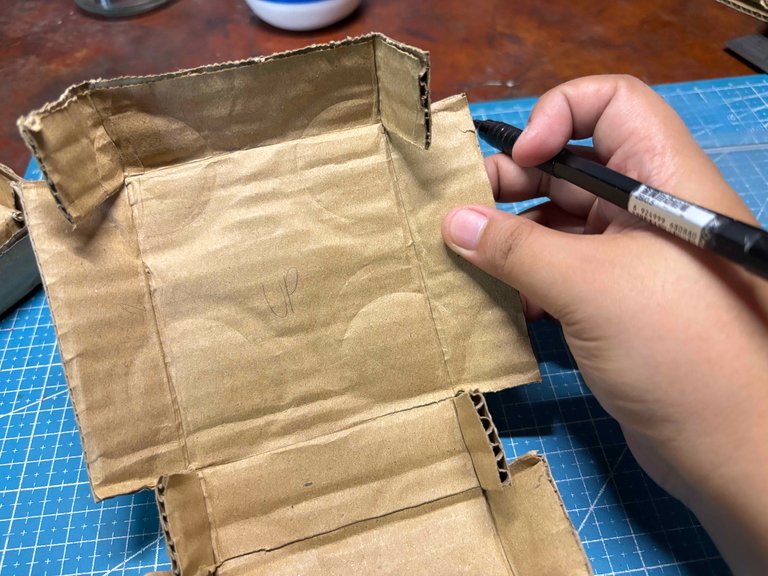
In this part of the process, I grab one cut cardboard and then I measure the length the with metal ruler
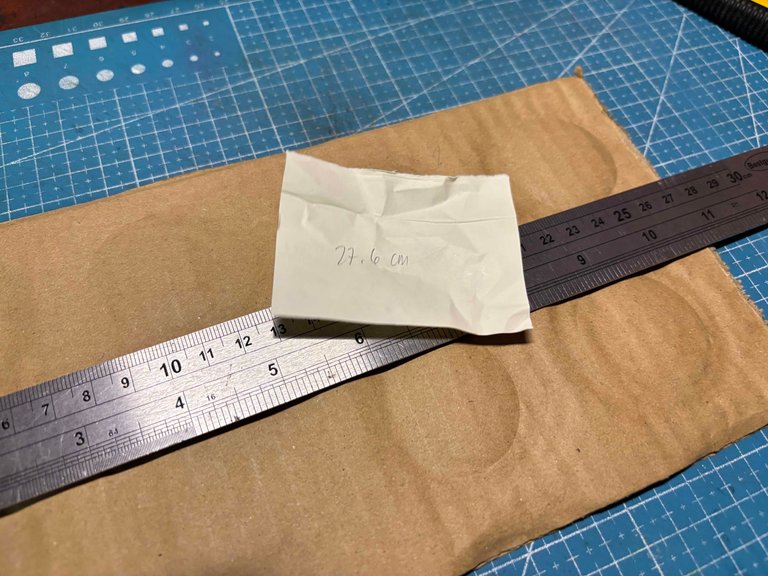
And I take down the measurements on the paper and that is the length of the cardboard.
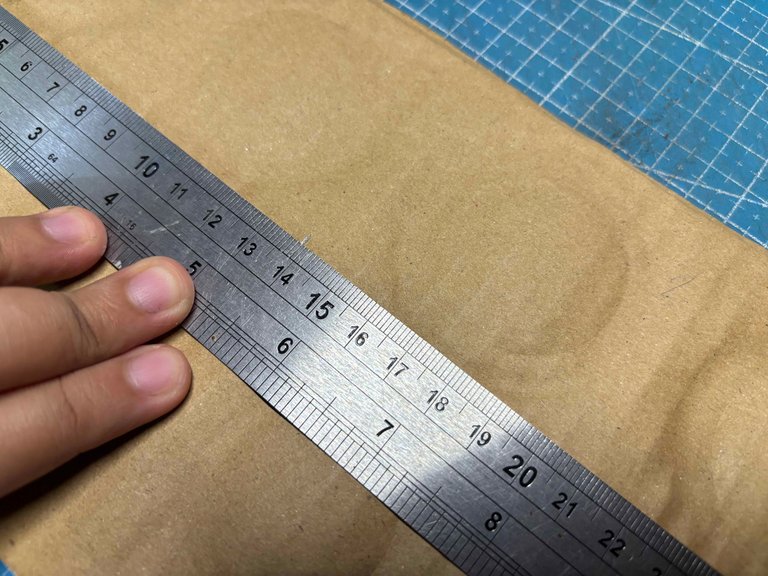
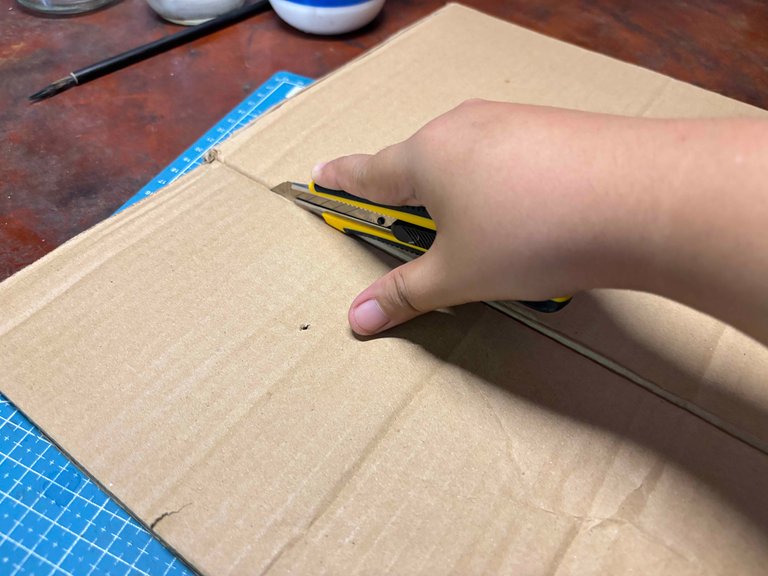
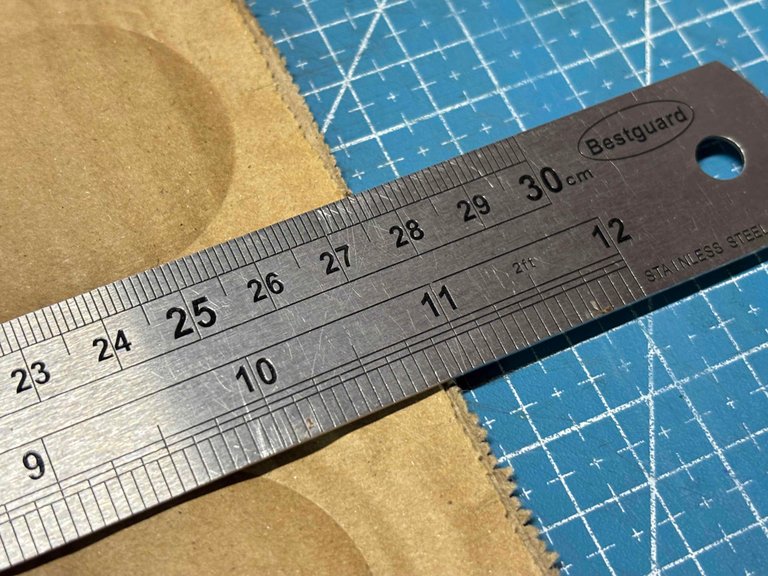
And then that measurement I got earlier I divided it by two and that equal of that is the where the middle of the cardboard and I marked that using pencil.
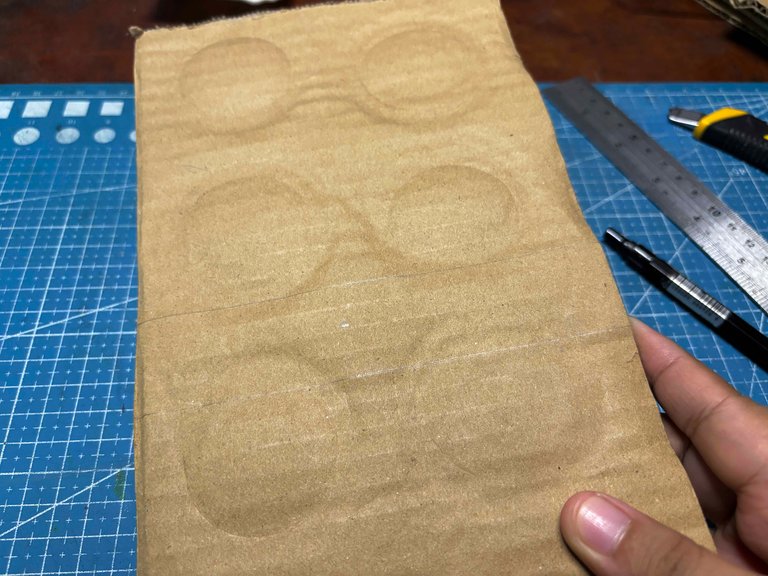
The middle part I marked earlier is the where the middle of how thick I wanted the packaging box I am going to make so to make life easier I just use the width of the ruler I am using that is enough for me to use. I do that to make the size of each side is equally proportion.

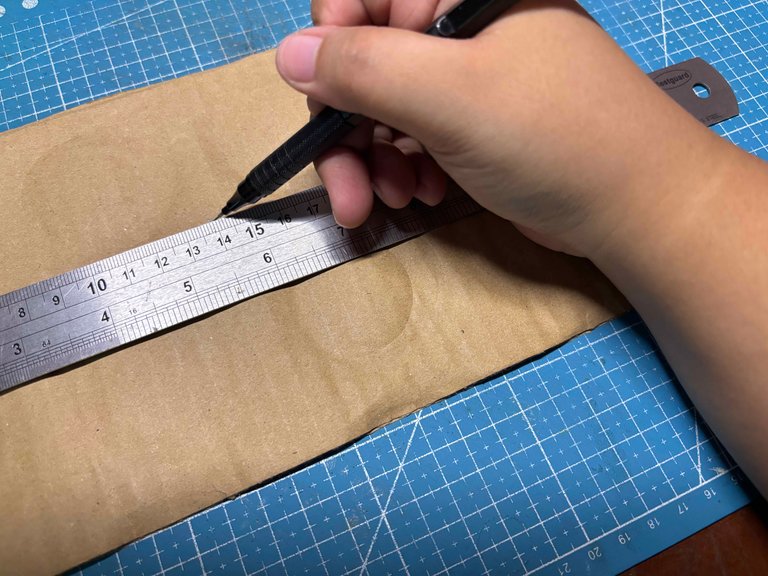
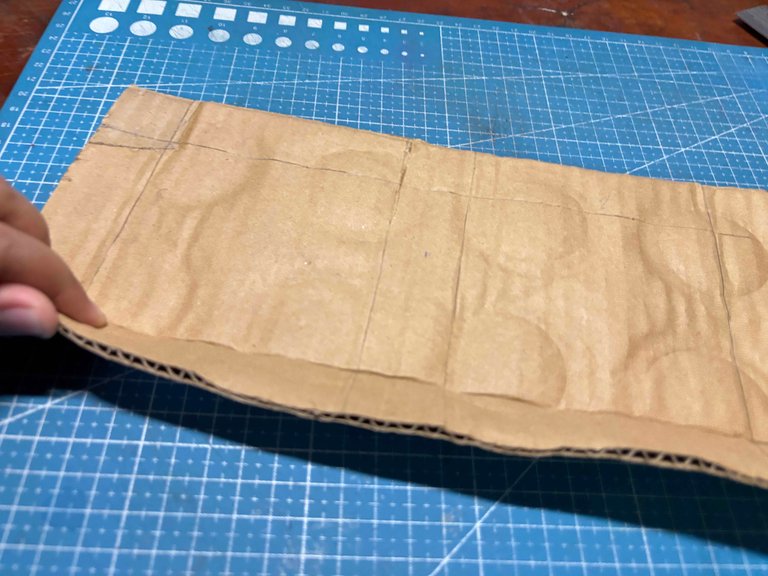
I marked the same thing on the other side of the paper and it should look like this.
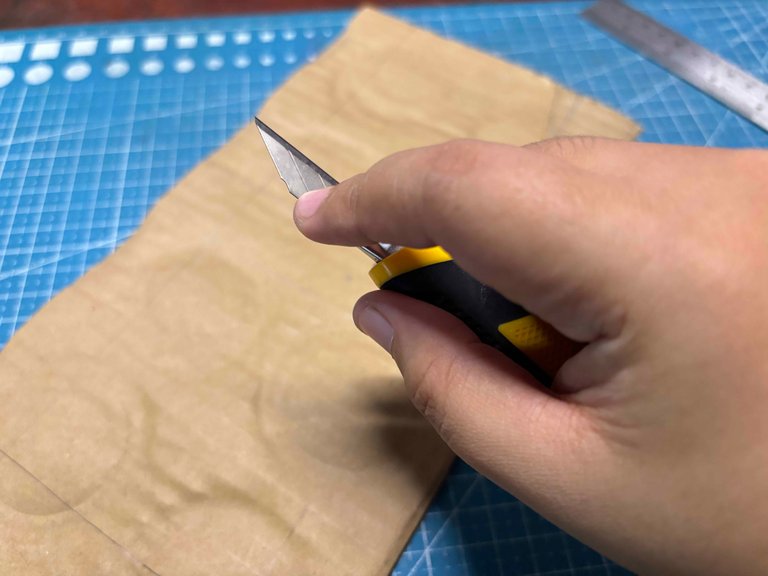
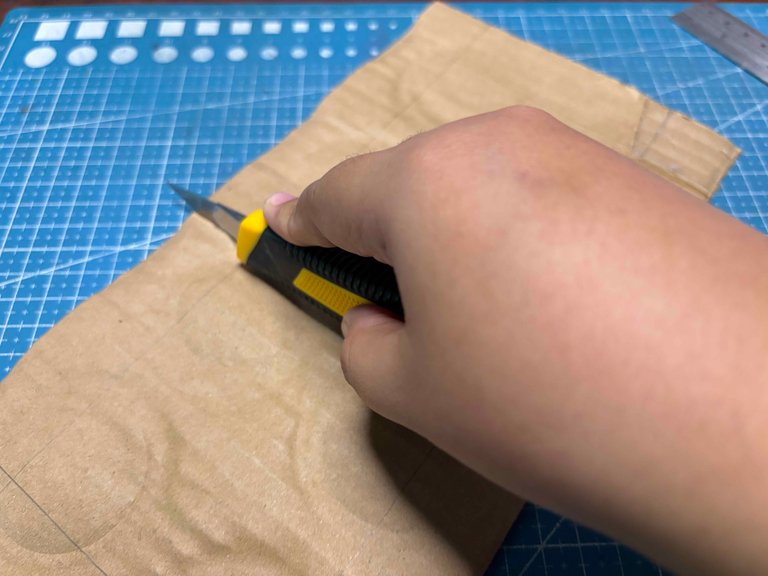
After that I use the back of the cutter to lightly cut not completely the parts I marked earlier. Doing that makes folding the paper easier.
Then using the metal ruler I folded that part I lightly cut earlier.
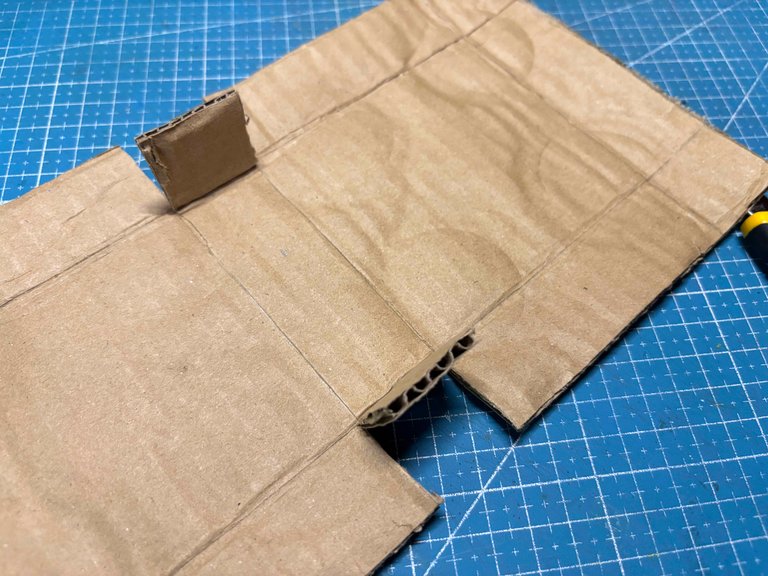
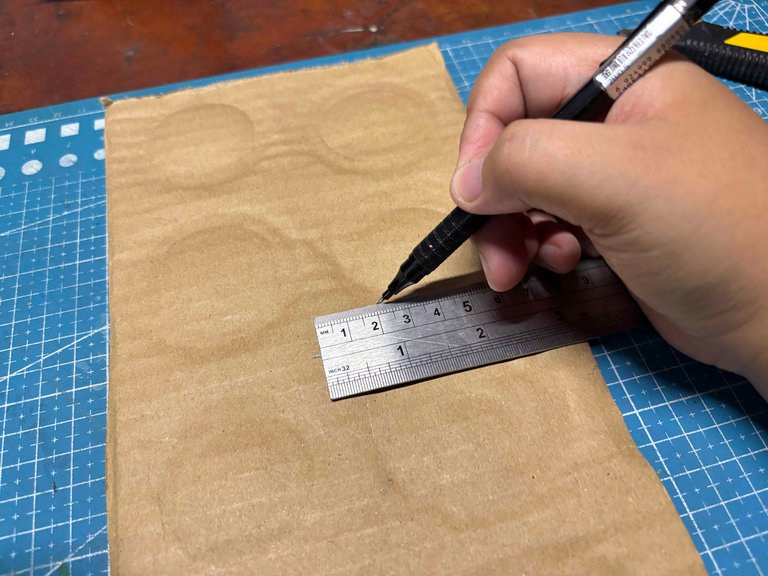
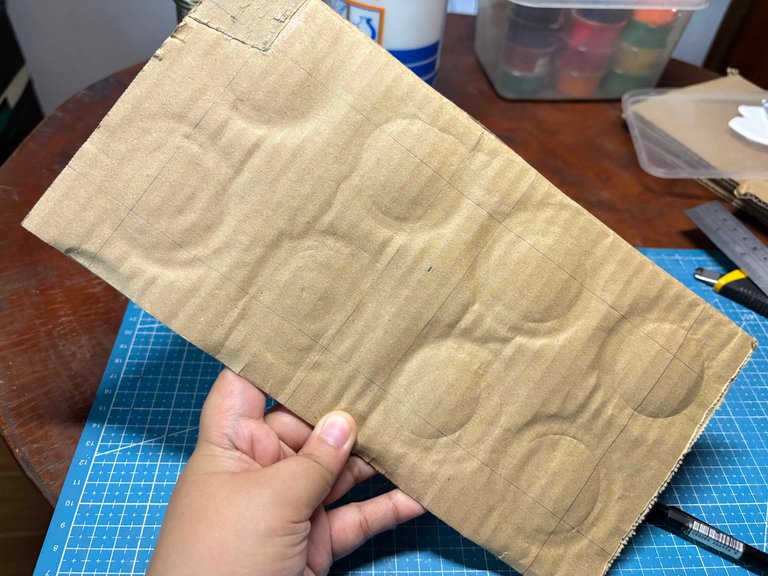
After that I cut the top and bottom of the middle part of the cardboard, just like I did on the photo.
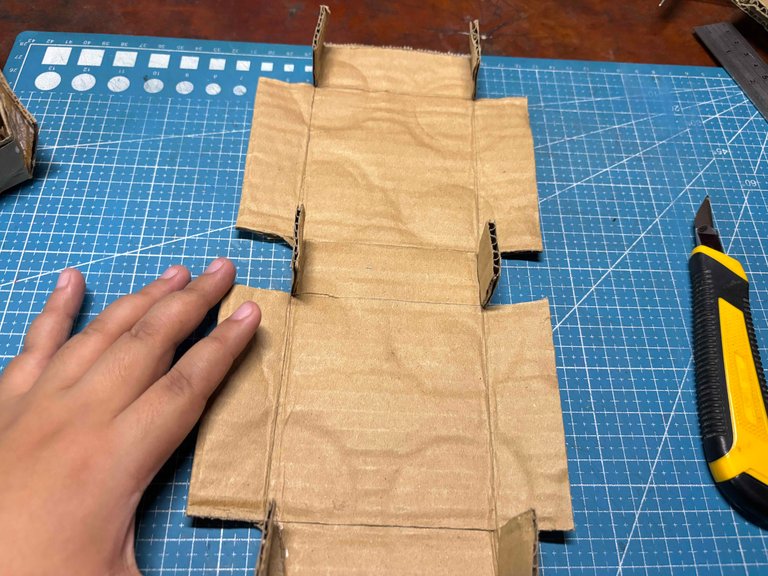
I do the same thing on the top and bottom part.
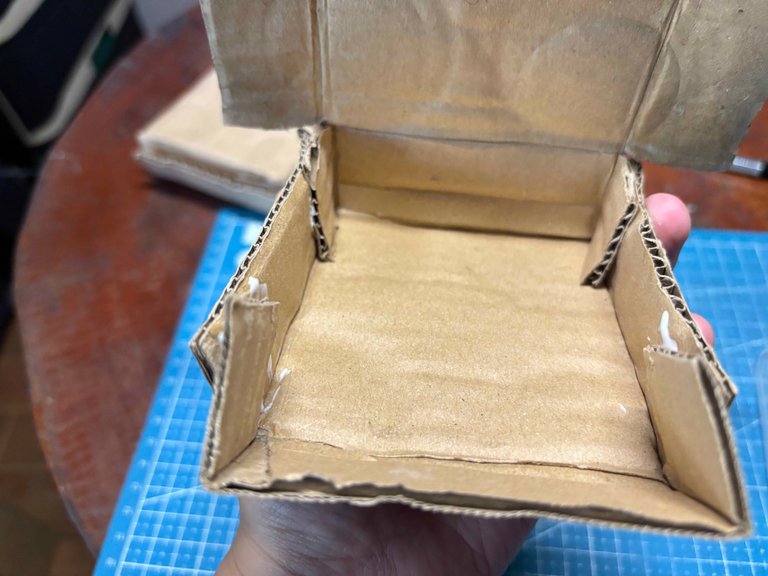
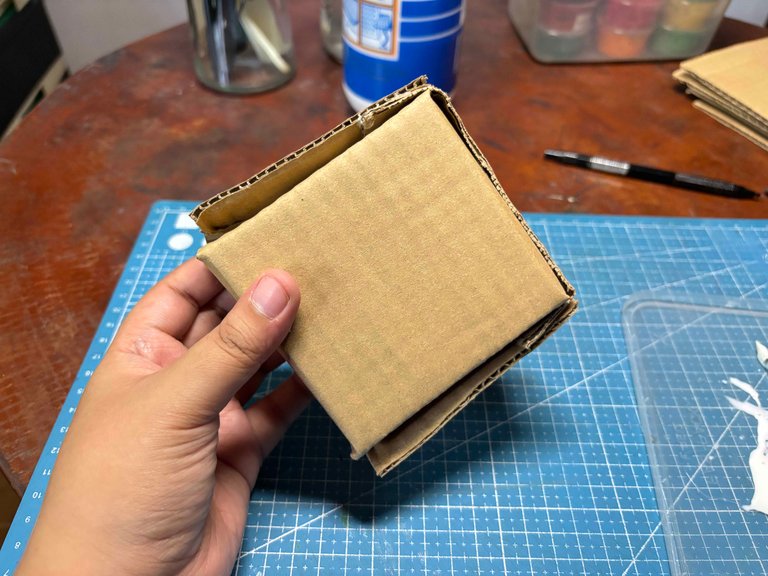
I tested to fold the cardboard to test if everything is good and fit perfectly with each other. What I do is I fold the top part to the middle just like what I did to the photo and then I do the same thing on the top and bottom part.
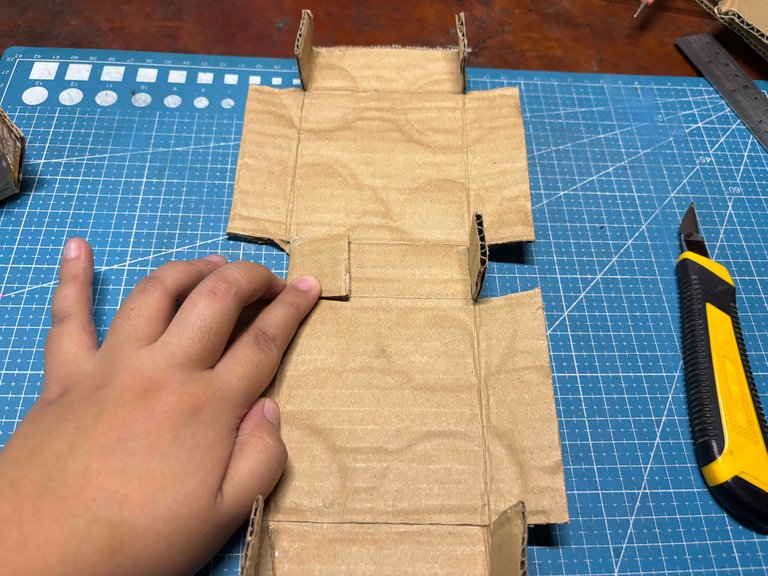
I like to mark the place where the cover part is to make it easier to know where is where to save time when making alot of batches.
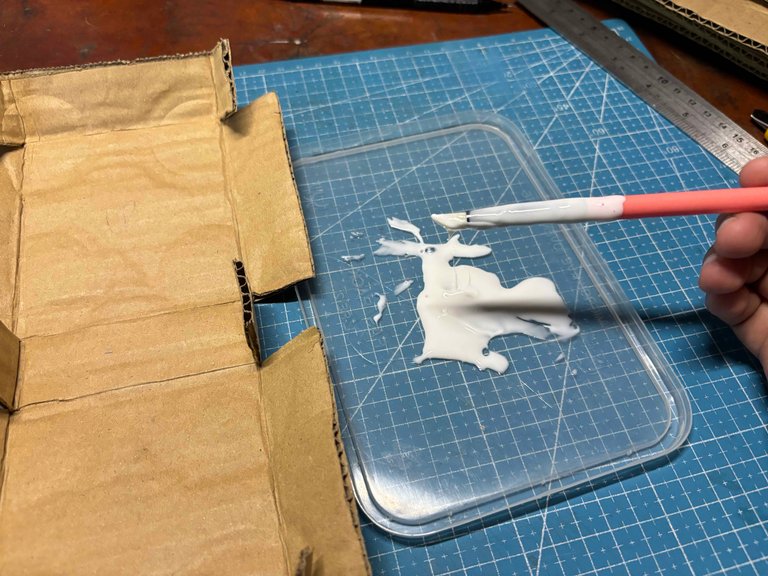
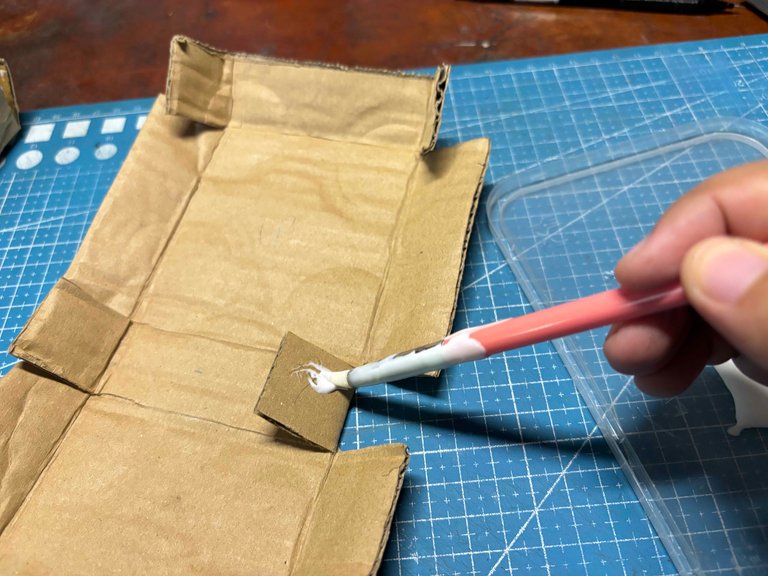
It is time to glue them together, what I do is I glue the outer part of the cut part do that on the middle,top, and bottom part.
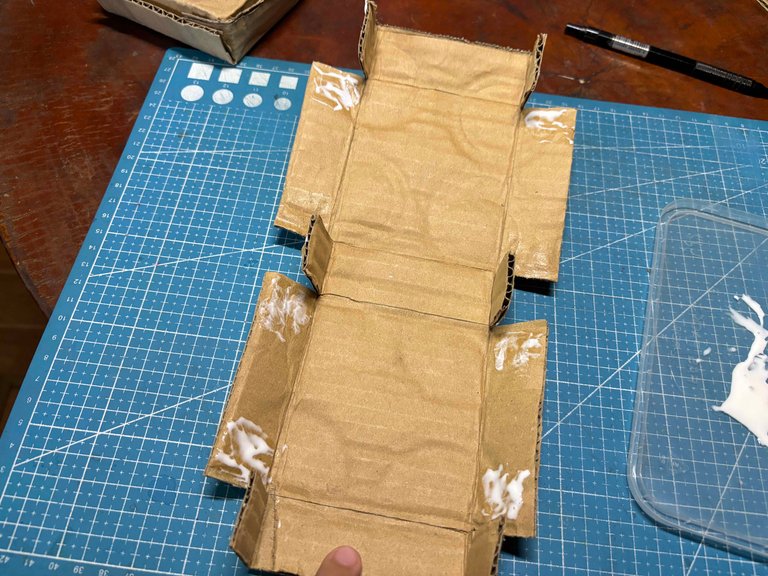
Then let that glue to thicken let it sit for about a minute, because pressing them together when the glue still wet tendency of it it will not stick enough.
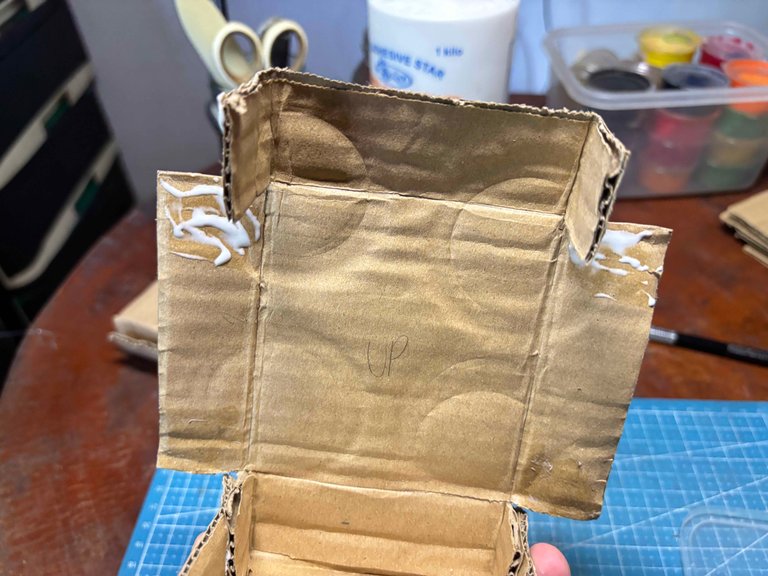
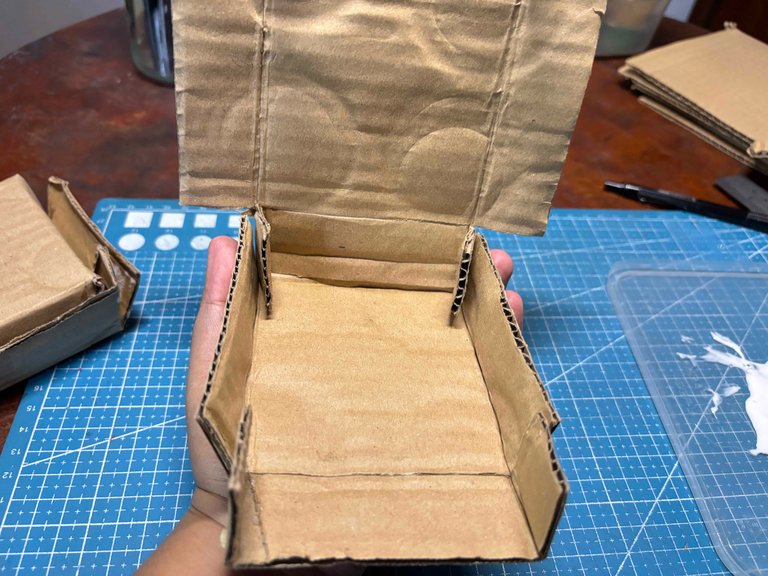
And then I do the same thing to the top and bottom parts. This is how it should look. It is normal that the glue doesn’t stick at the first try, but the more it dries, the it sticks, so that is why you need to let it sit for a moment after adding the glue.
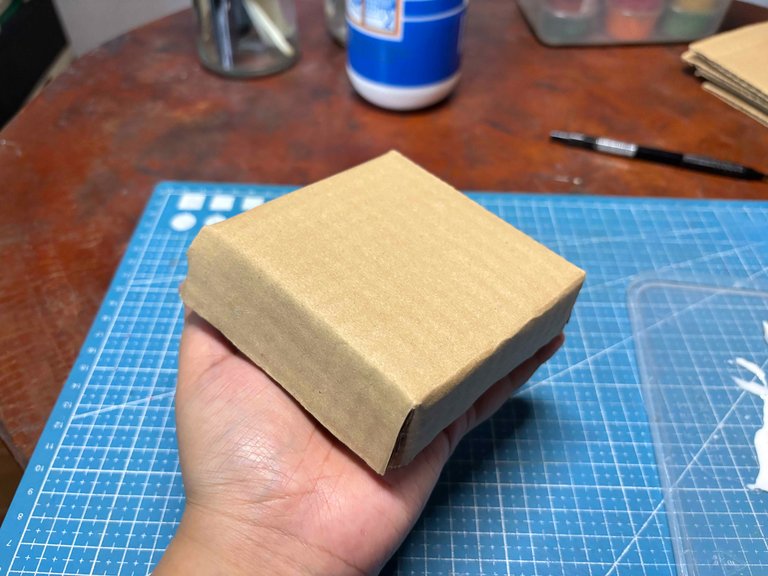
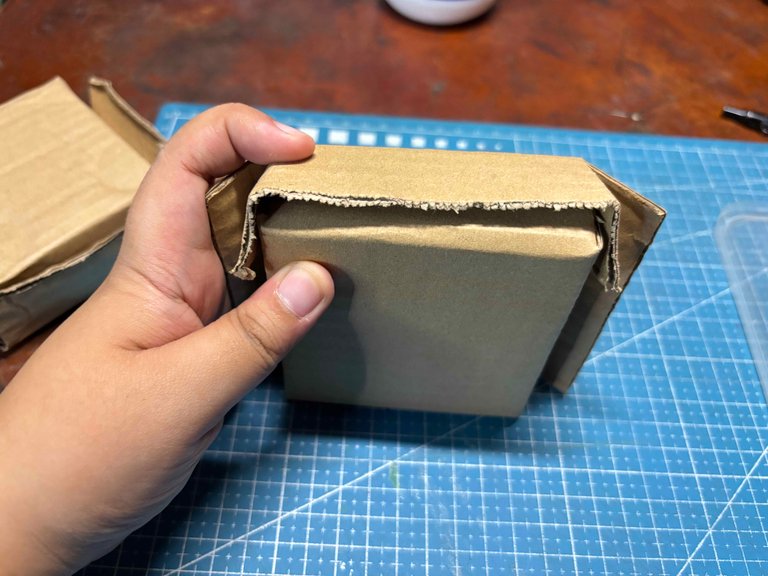
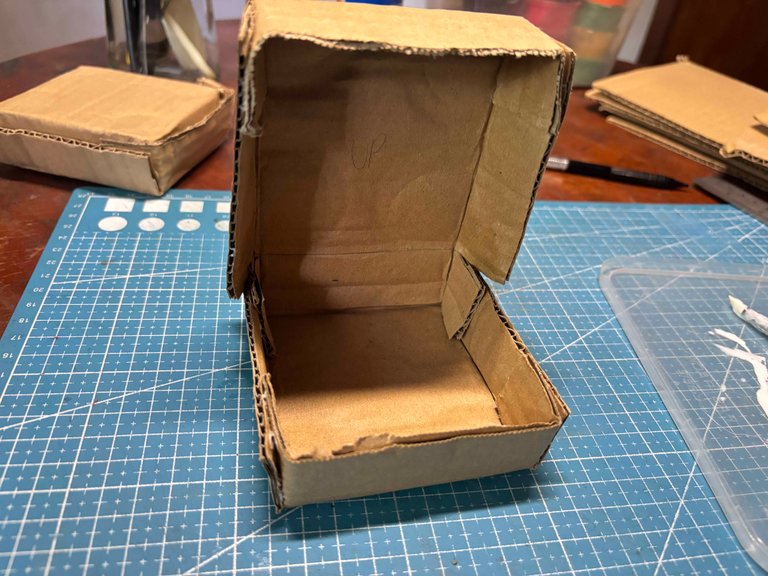
Let the glue dries completely before proceeding to the next part.
Painting The Packaging Box:
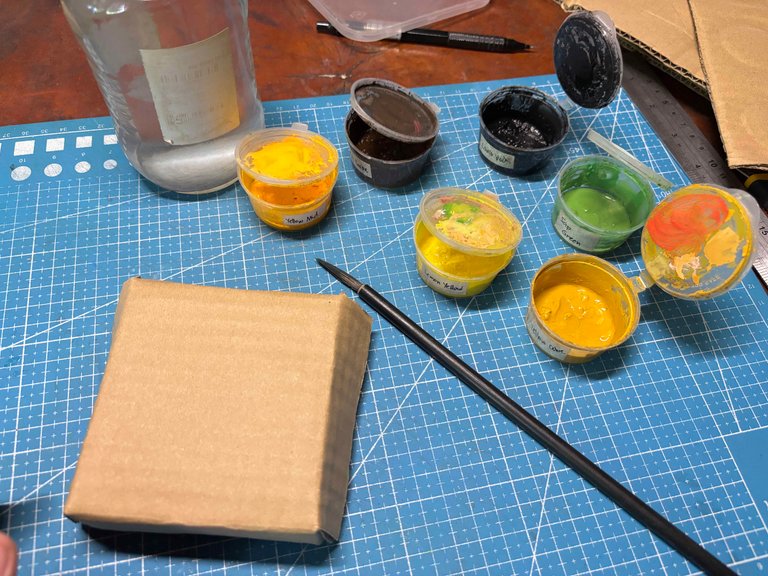
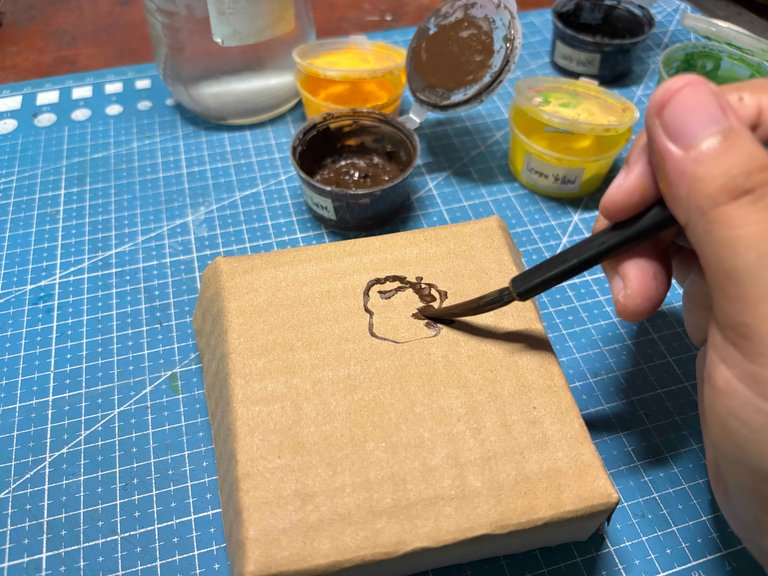
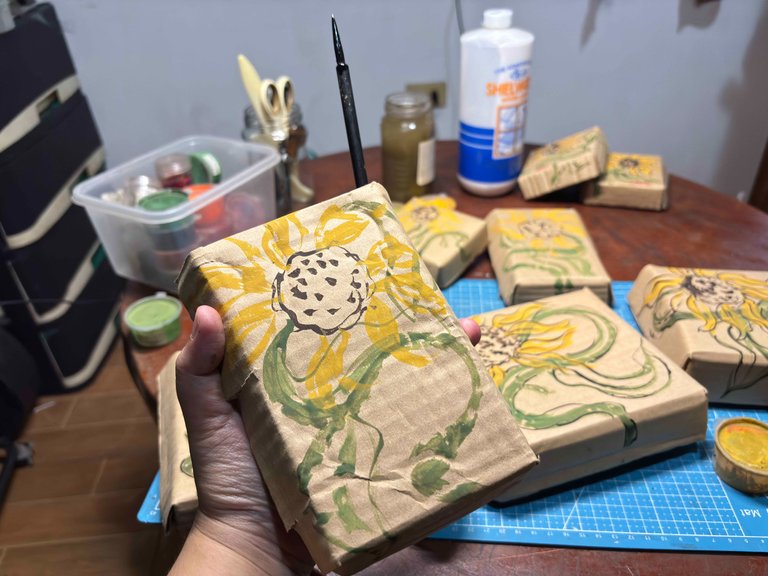
Now the packaging is completely dried I am going to paint it using gouache you can use any medium you like as long as it dries quickly, I am going to start to paint the box with sunflower to start that I draw the middle part of it.
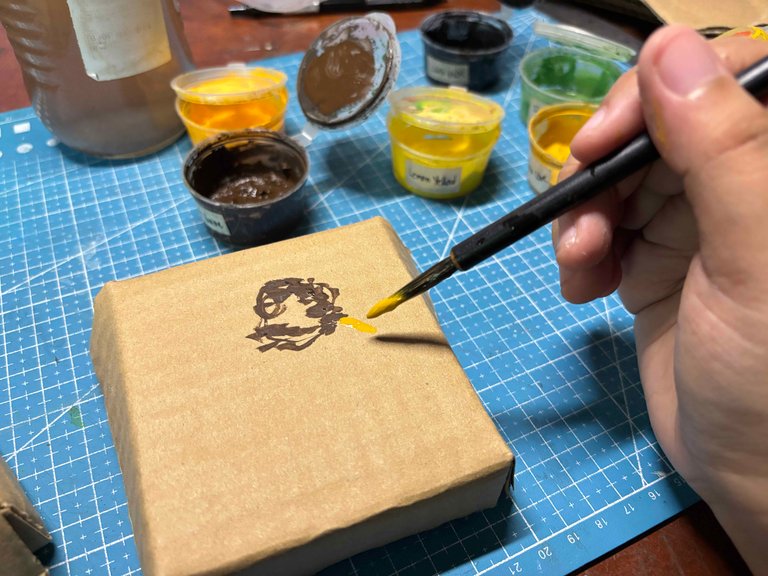

After that I painted the petals of the sunflower, gouache is easy to work with so I like using it for it.
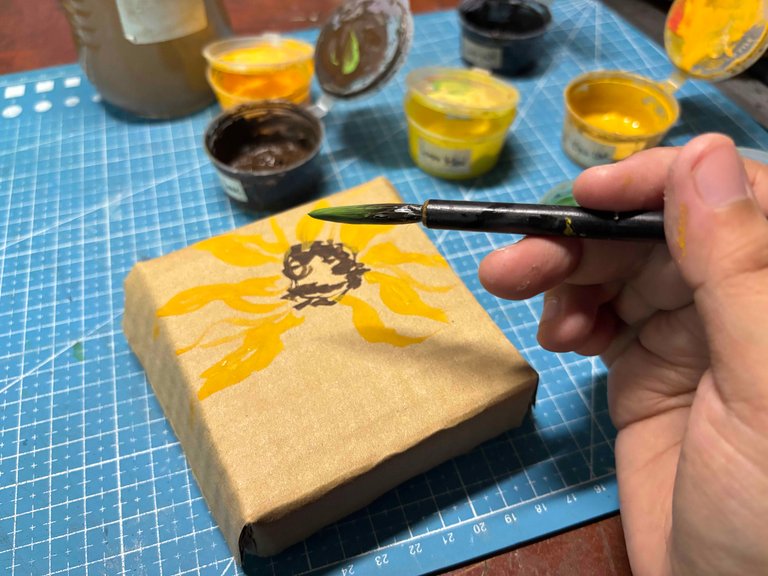
I just use whatever color I have so I just go with flow with it.
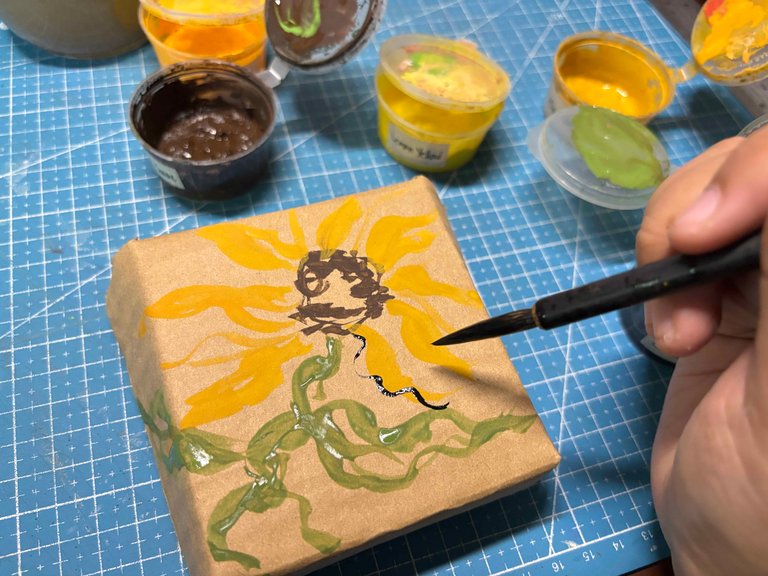
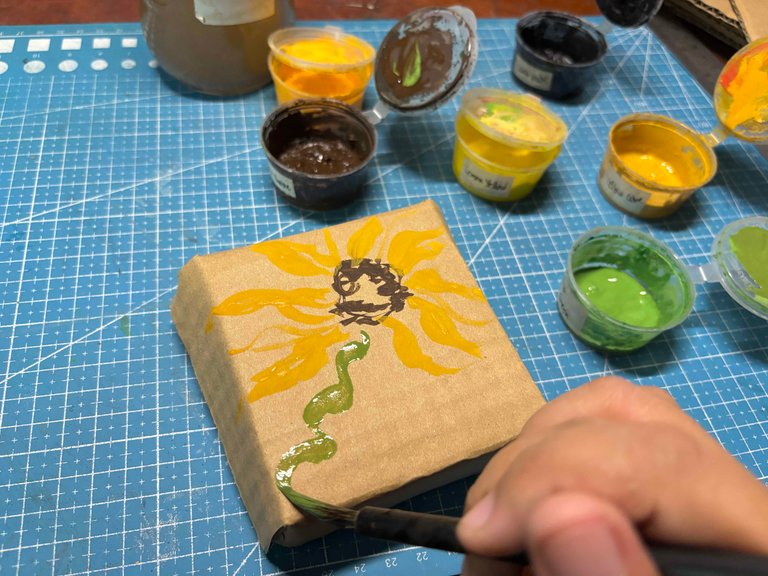
I finish it with black line art that make the painting pop out more.
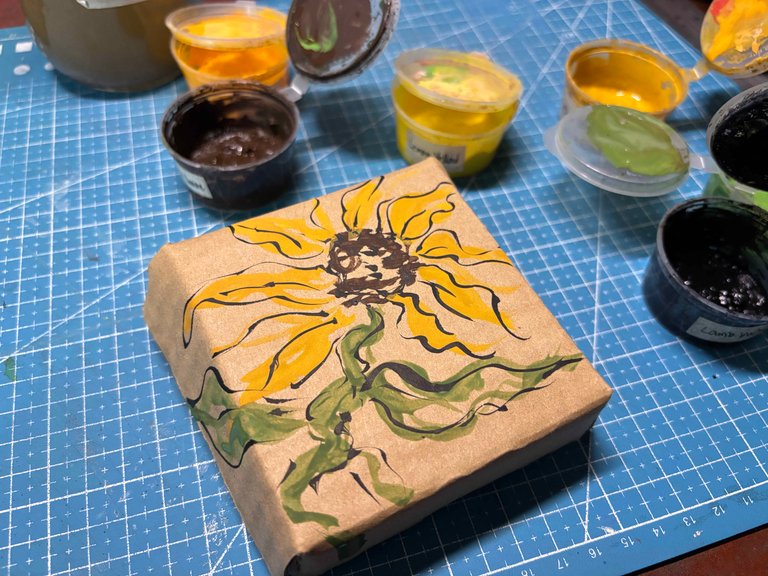
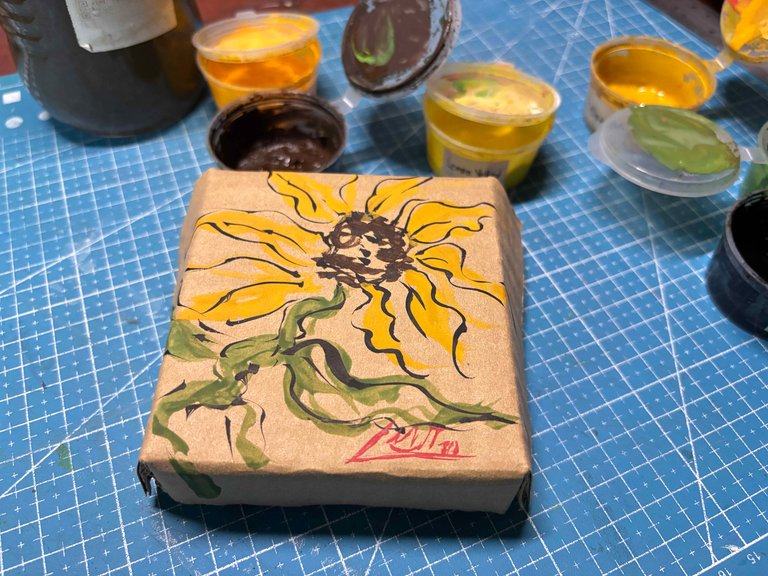
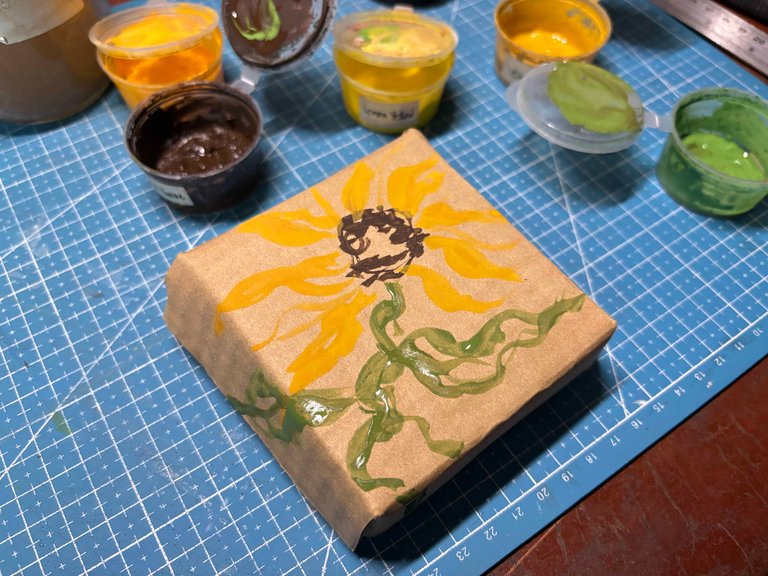
Let it dry and finish!
Making the Other Cardboard:
I did the same thing as the other cardboard cut them glue them and paited them.
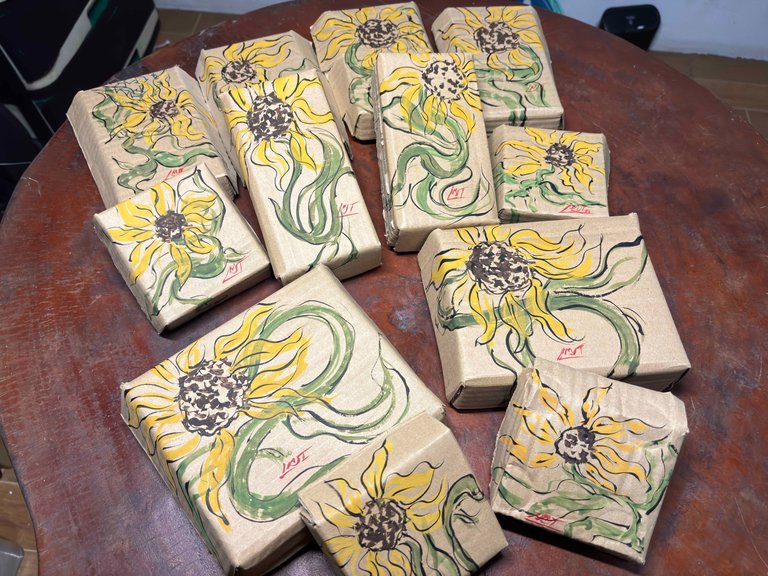
After that I arrage it by size.
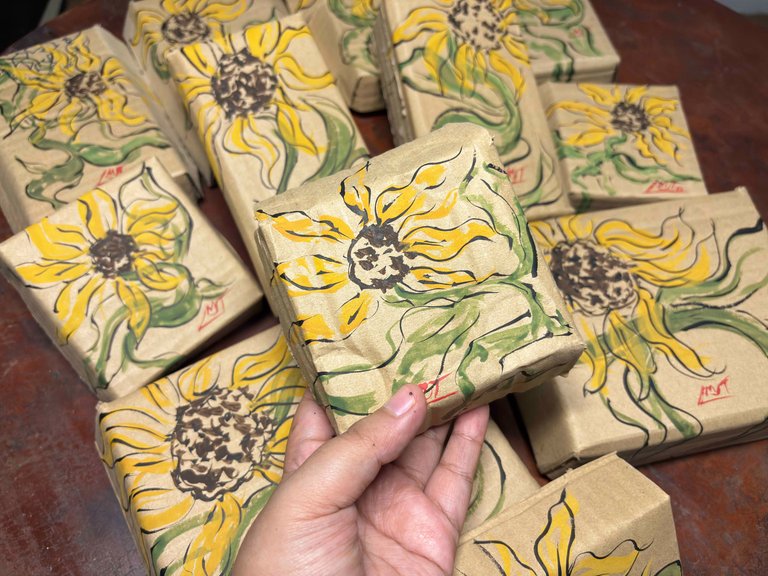
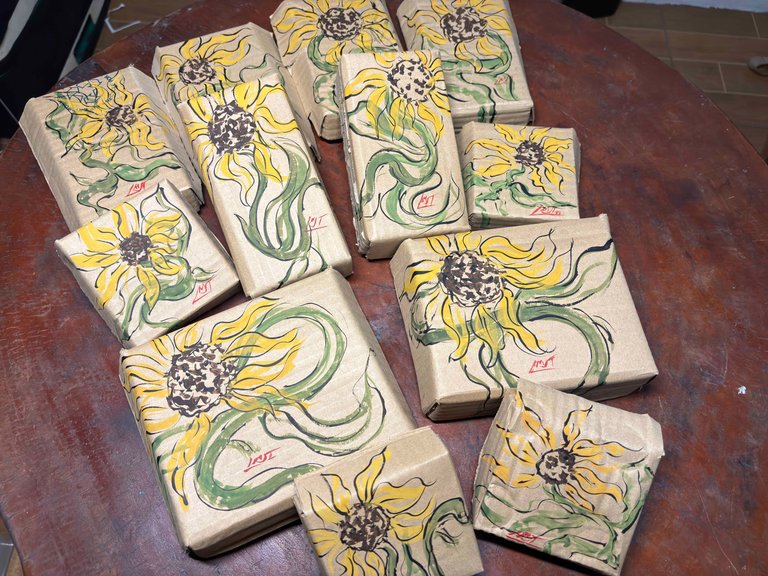
Did a little photoshoot. I saved alot of money because of it now I have alot of packaging to use for my future orders!
Thank you for visiting, see you on my next blog. :D
Please take care of your mental health as well.
I hope you are okay today :))
Please take care of your mental health as well.
I hope you are okay today :))

It takes creativity and patience to make this
That is true! 😁
So nice, artwork is always so enticing, I really wish I have the same level of patience as you, this is very lovely 💕
Thank you 😊
Gosh, this is so cool! And with the art in it you just made it extra special. Marami din kaming cardbox sa house kaso they end up as poop scooper. HAHAHA
Thank you! May kanya kanya talagang purpose ang cardboard base sa tao 🤣
Wow, the packaging boxes you created look great and add so much value. You explained the steps in detail and it's easy to follow. I have some cardboard boxes from online shopping.I should find some time to try making them like this. Thank you for sharing! 😃
⋆ ᴛʜᴇ ᴘʟᴀᴄᴇ ғᴏʀ sᴏᴜᴛʜᴇᴀsᴛ ᴀsɪᴀɴ ᴄᴏɴᴛᴇɴᴛ ᴏɴ ʜɪᴠᴇ
⋆ sᴜʙsᴄʀɪʙᴇ ᴛᴏ ᴛʜᴇ ᴀsᴇᴀɴ ʜɪᴠᴇ ᴄᴏᴍᴍᴜɴɪᴛʏ
⋆ ғᴏʟʟᴏᴡ ᴛʜᴇ ᴀsᴇᴀɴ ʜɪᴠᴇ ᴄᴏᴍᴍᴜɴɪᴛʏ ᴠᴏᴛɪɴɢ ᴛʀᴀɪʟ
⋆ ᴅᴇʟᴇɢᴀᴛɪᴏɴ ʟɪɴᴋs 25 ʜᴘ⇾50 ʜᴘ⇾100 ʜᴘ⇾500 ʜᴘ⇾1,000 ʜᴘ
Wow! very nice works of art, so creative, it can be used as a gift box great idea💡and a skillful painter 💛