How we Created New Growing Areas and few Wild Edible Plants for the Meal
Hello dear Hivers and Nature-loving Gardeners ! Today, for this second episode of our gardening sessions in the Ardèche, I wanted to share with you the simple but effective method we used to clear certain areas so that we could plant vegetables.
This time, we planted closer to home to save on travel time, as it's good to centralise things sometimes... Especially in a garden where you generally have to travel long distances !
In the second part, I'll tell you about some of the edible wild plants we enjoyed during my stay.
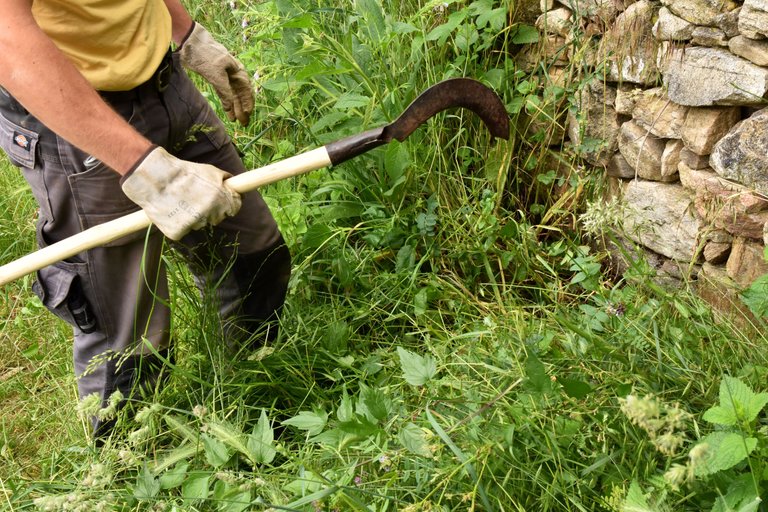
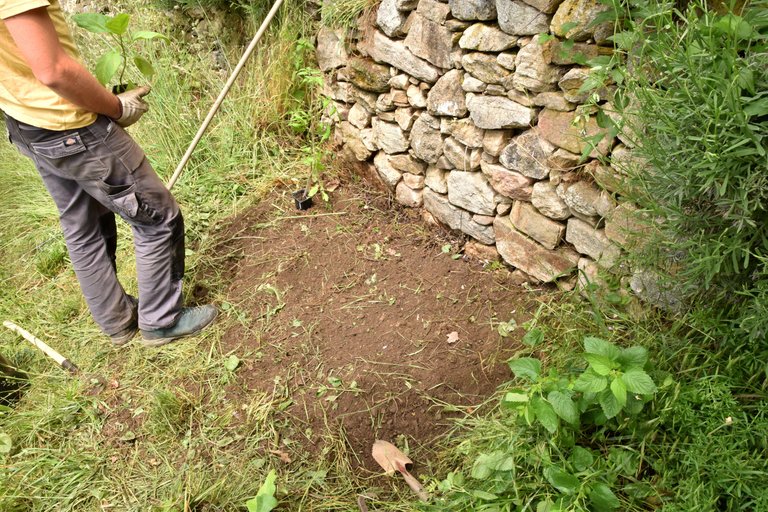
The first step is to clear away the grass and other plants so that you can see the soil more clearly. To do this, we used this sickle mounted on a homemade ash handle.
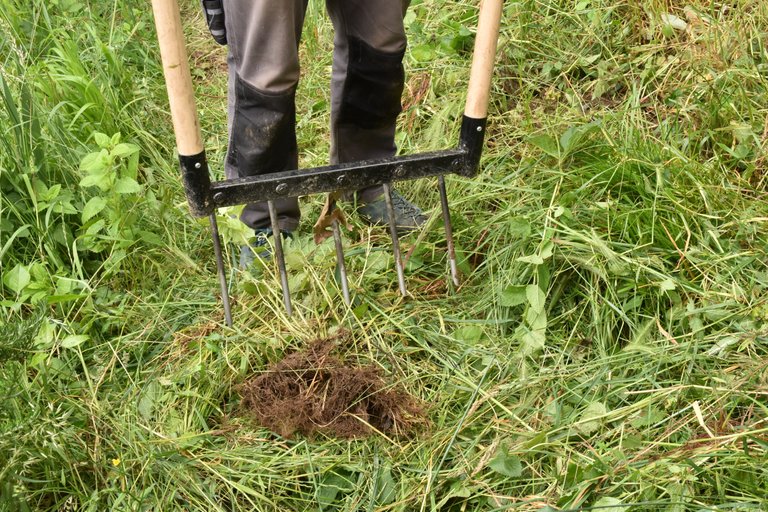
The fantastic tool we then used was this five-pronged fork, or in French "grelinette" ! It's the perfect tool for aerating and decompacting the soil without turning it over. The soil is made up of different layers, each containing micro-organisms that live only there. So it's a good idea not to mix everything up.
First the teeth are planted and then the handles are pulled up to bring the teeth to the surface.
Once this has been done - and many, many stones of various sizes have been removed ^^ - the soil is dusted off and the organic matter removed is carefully stored.
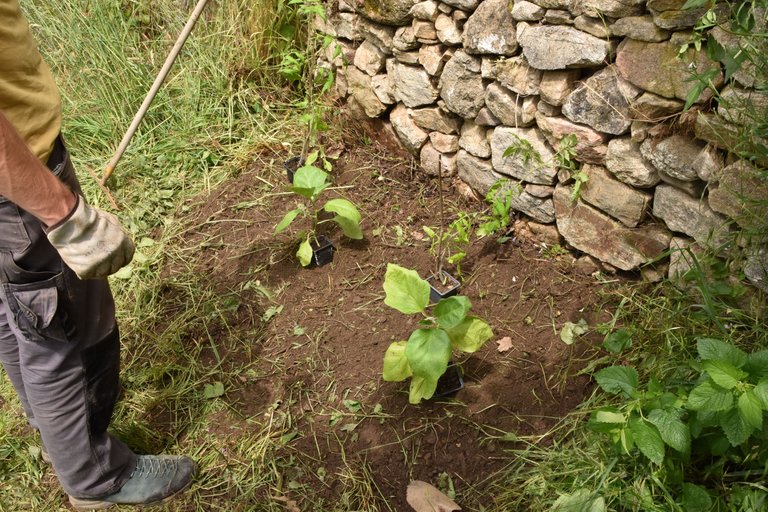
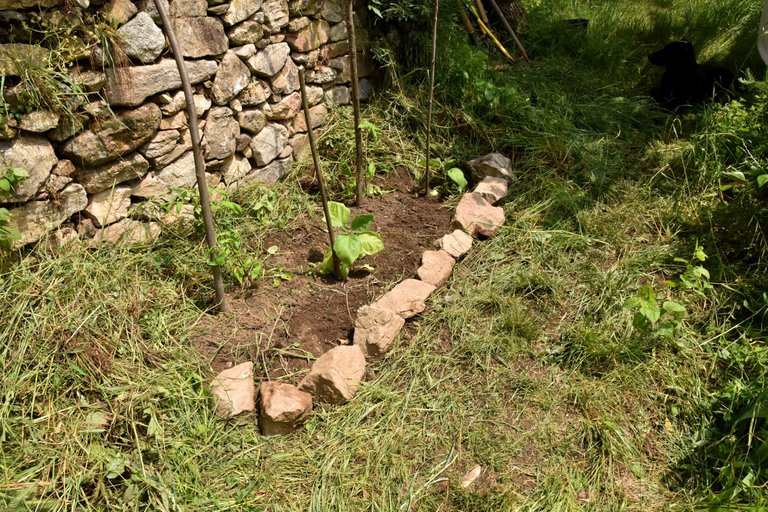
Then it's quite simple, you position the different plants, taking into account their growth so that each one has enough room. In this case we're talking about tomatoes and aubergines, both from the Solanaceae family.
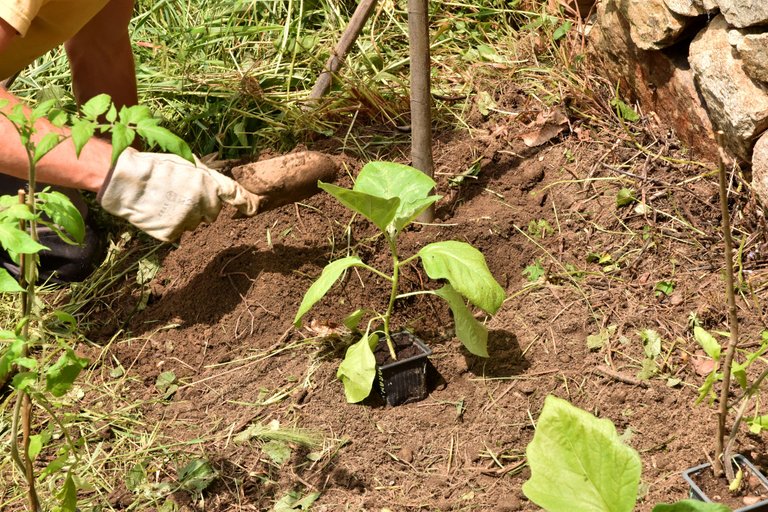
Then simply plant by adding a stake.
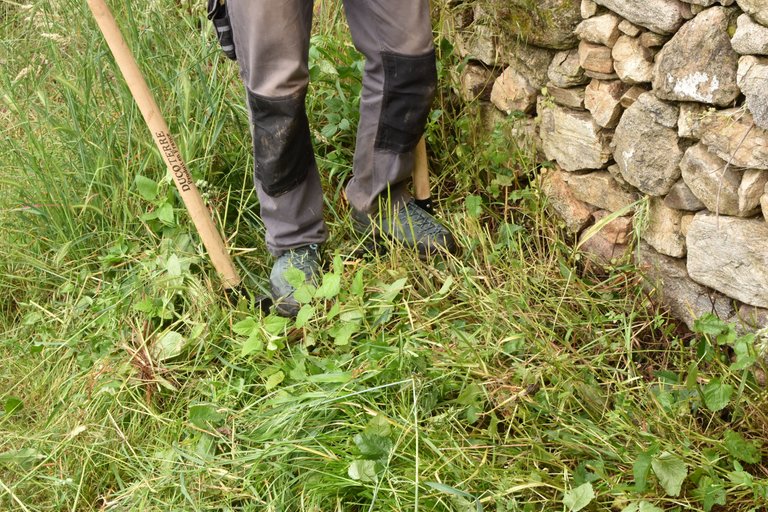
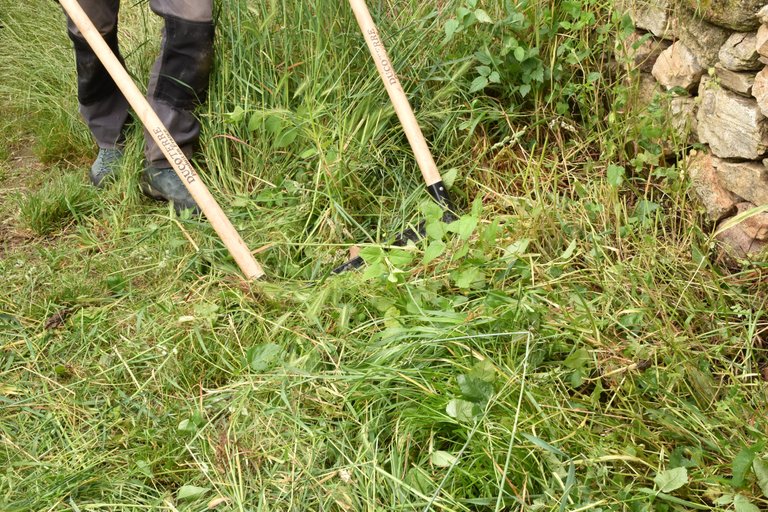
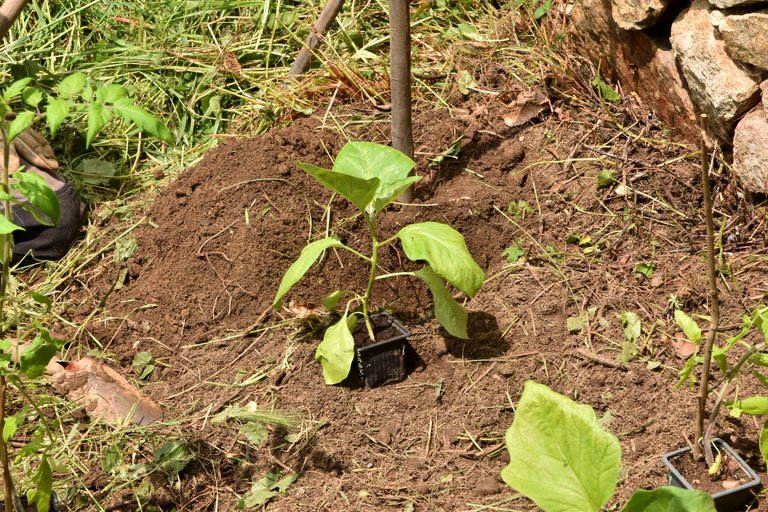
To finish, you put a good watering can on each plant so that the roots are in good contact with the soil and then the last and very important step is to put the organic matter, the grasses previously in place. One way of ensuring that they don't take root again is to put the roots upwards. That way, the soil is covered and doesn't dry out. You can keep it cool and reduce watering to once a week.
That's it for this first simple part, and I'd be interested to know how you do it, at least as far as preparation and planting in the ground are concerned.
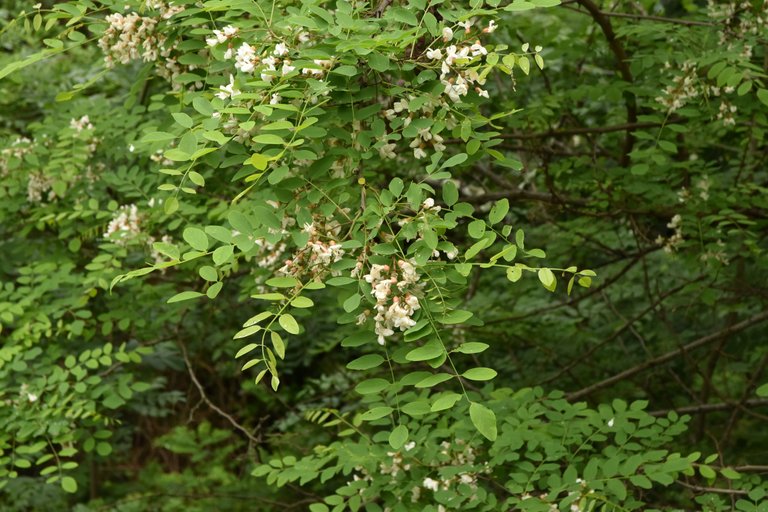
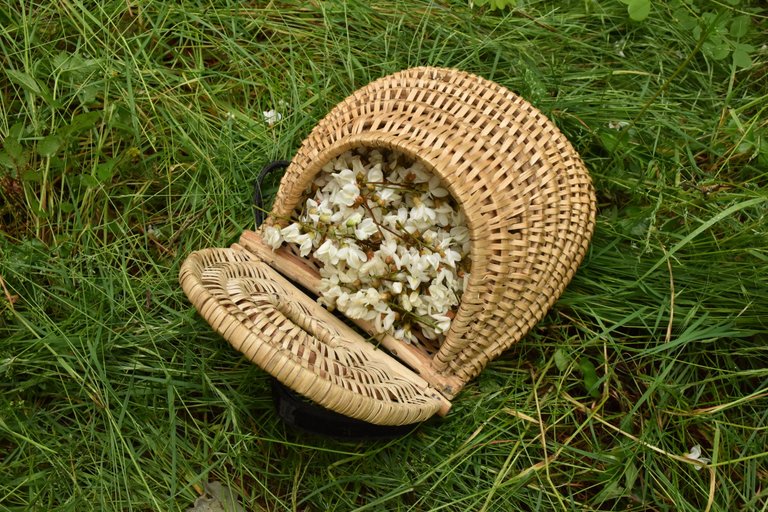
One of the plants we harvested in abundance, but not too much to leave for pollinating insects, was acacia flowers. We made some delicious fritters with them, which I'll tell you about soon.
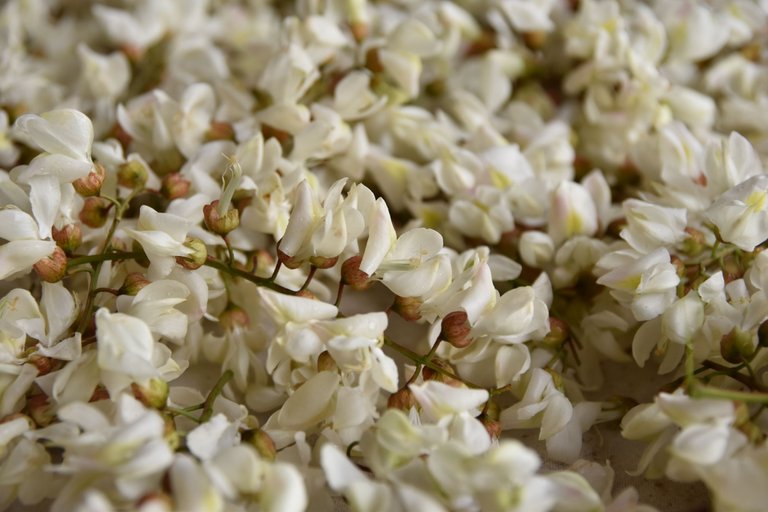
Here's a closer look at the flowers, after we've sorted out those that were a little wilted...
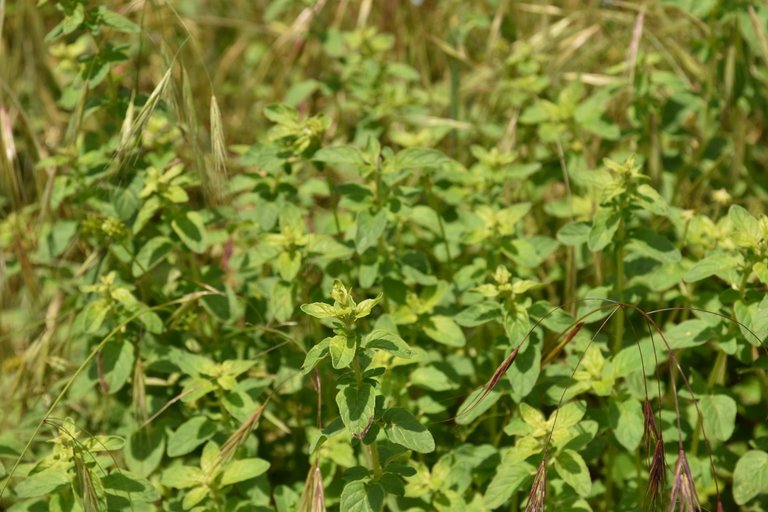
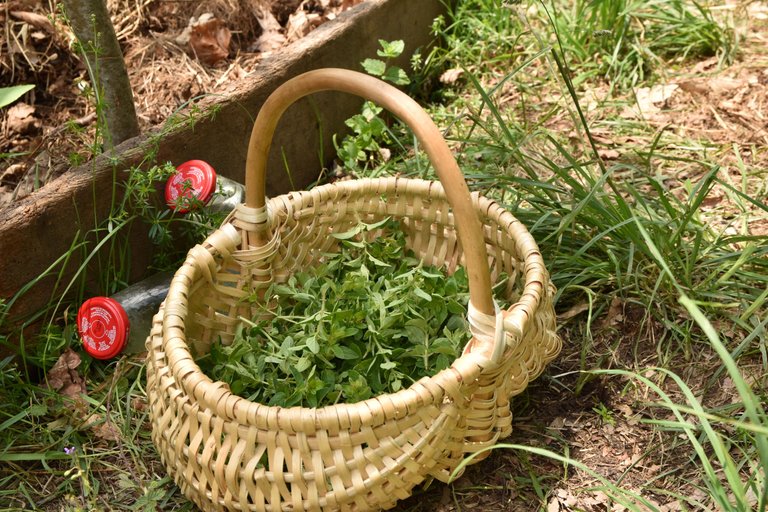
The second plant is wild oregano, which can be found just about anywhere in the field at this time of year. To make the pesto we wanted, it's best to start before the plant flowers and then seeds. Here too, I'll give you the steps we followed in preparing the pesto next time :)
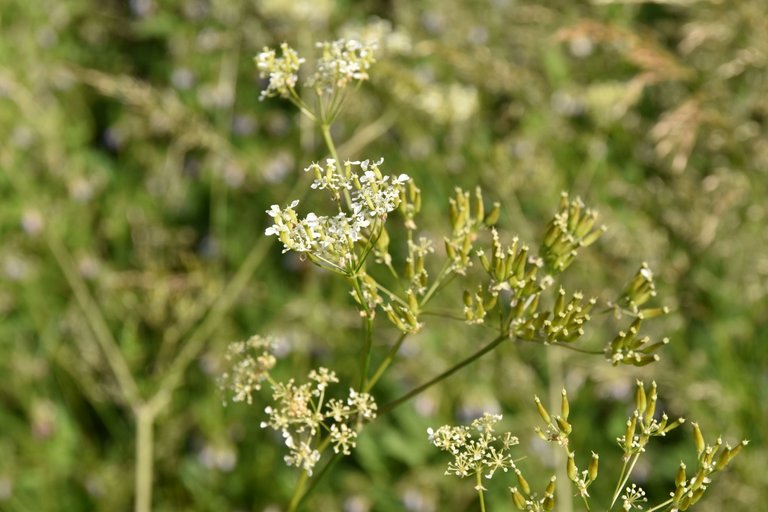
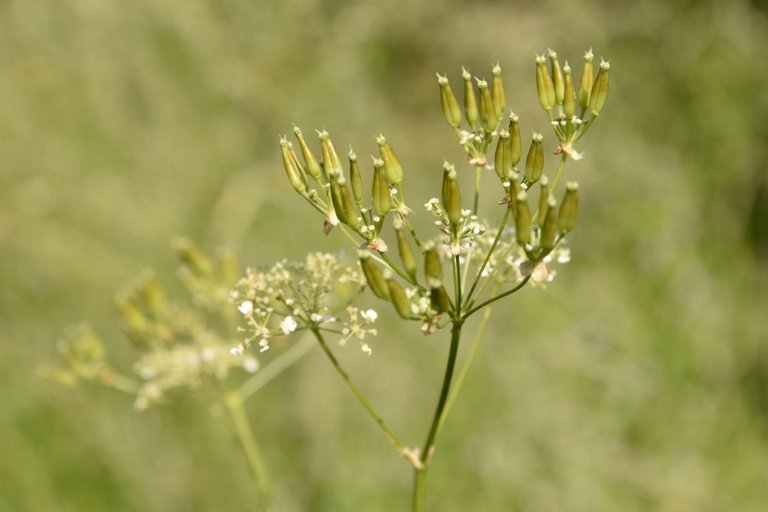
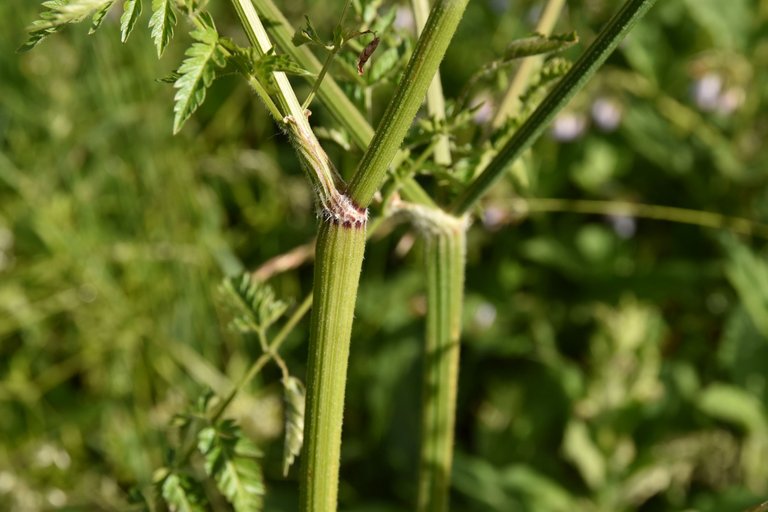
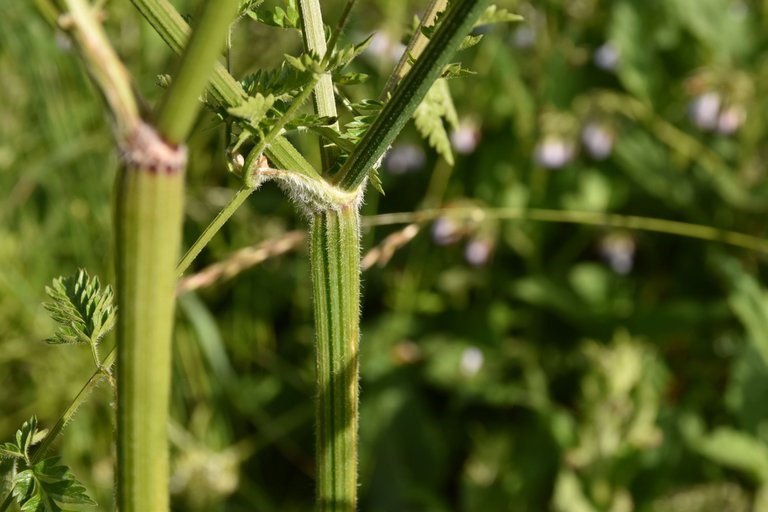
The last plant - I already mentioned my favorite last time, the nettle - is chervil. It's perfect for salads and even steamed or boiled. I find it reminiscent of fennel, with a hint of aniseed.
But be careful not to confuse it with the hemlock, which is another variety in the Umbelliferae family. One of the first signs is that the seeds are split in two. The hemlock does not.
The second determining factor is the hairs at the start of the branch, a characteristic feature of chervil. However, do your own research and don't just rely on what I say here. I'm an amateur botanist, so I'm far from a total scientist !
Voilà, that's all for today !
I hope you've enjoyed and found this article interesting, and as I've already mentioned several times, don't hesitate to share your knowledge and methods in the comments :)
Have a great week, see you soon,
<3
All the images are mine and were taken by me.
Bonjour chers Hivers et Jardiniers amoureux de la Nature ! Aujourd'hui pour ce second épisode de nos sessions de jardinage en Ardèche, je voulais partager avec vous la méthode simple, mais efficace, que nous avons utilisée pour défricher certains endroits pour pouvoir planter des légumes.
Cette fois-ci, plus près de la maison afin de s'économiser du temps de trajet comme c'est bien de centraliser parfois un peu les choses... Surtout pour un jardin où l'on parcours déjà généralement de longues distances !
Dans la seconde partie, je vous parlerai de ces quelques plantes sauvages comestibles dont nous nous sommes régalés durant mon séjour.
La première étape c'est de dégager un peu les graminées et les autres plantes pour voir le sol de façon plus claire. Pour cela, nous avons utilisé cette faucille montée sur un manche en frêne fait maison.
Le merveilleux outil que nous avons ensuite utilisé, c'est cette fourche à cinq dents, ou en français "grelinette" ! C'est l'instrument parfait pour aérer et décompacter la terre sans la retourner. En effet, la terre est composée de strates différentes et chacune contient des micro-organismes qui ne vivent que là. C'est bien donc de ne pas tout mélanger.
D'abord on plante les dents et puis dans un second temps, on tire sur les manches pour remonter les dents vers la surface.
Après avoir fait cela - et retiré de très nombreuses pierres de différentes tailles ^^ - on époussette la terre et on garde bien précieusement la matière organique que l'on a retirée.
Ensuite c'est plutôt simple, on positionne les différentes plantes en prenant en compte leur croissance pour que chacune ai assez de place. En l'occurence il s'agit ici de tomates et d'aubergines, toutes deux de la famille de Solanacées.
Ensuite on plante simplement en ajoutant un tuteur.
Pour finir, on met un bon arrosoir à chaque plante pour que les racines soient bien en contact avec la terre et puis la dernière et très importante étape, c'est de remettre la matière organique, les graminées précédemment sur place. Une des idées pour qu'elles ne s'enracinent à nouveau, c'est de justement de mettre les racines vers le haut. Ainsi, la terre est couverte et ne sèche pas. On la garde au frais et puis on peu environ réduire les arrosages à un par semaine.
Voilà pour cette première partie simple et je serai curieux de savoir un peu comment vous faites de votre côté, en tout cas pour la préparation et la plantation en pleine terre.
Une des plantes que nous avons abondamment récoltée, mais pas trop quand même pour en laisser aux insectes pollinisateurs, c'est les fleurs d'acacia. Avec on a fait de délicieux beignets dont je vous parlerai prochainement.
Voilà les fleurs de plus près et après que nous ayons trié celles qui étaient un peu flétries...
La seconde plante, c'est l'origan sauvage que l'on trouve un peu partout sur le terrain et à cette période de l'année. Pour faire le pesto que nous voulions, c'est mieux de s'y prendre avant que la plante ne monte en fleur et puis en graine. Là aussi, je vous donnerai une fois prochaine les étapes que nous avons suivies pour la préparation :)
La dernière plante - j'avais déjà parlé de ma favorite la fois précédente, l'ortie - c'est le cerfeuil. C'est parfait pour les salade et même cuit à la vapeur ou a l'eau. Je trouve que cela rappelle le fenouil avec un petit goût anisé.
Mais il faut bien prendre gare de ne pas le confondre avec la cigüe qui est une autre variété de la famille des Ombélifères. Un des premier signe, c'est les graines qui sont fendues en deux. La cigüe n'a pas cela.
Le deuxième élément déterminant, c'est les poils au niveau des départ de branche, c'est un signe caractéristique du cerfeuil. Pour autant, faites vos propres recherches et ne vous fiez pas seulement à ce que je dis ici. Je suis un botaniste amateur alors je suis loin d'avoir la science totale !
Voilà, c'est tout pour aujourd'hui !
J'espère que cet article vous aura plût et intéressé et comme indiqué plusieurs fois dans celui-ci, n'hésitez pas à amener vos connaissances et méthodes dans les commentaires :)
Je vous souhaite une très bonne semaine, à très bientôt,
<3
Toutes les images sont les miennes et ont été prises par mes soins.
!PGM
!PIZZA
$PIZZA slices delivered:
@itharagaian(2/5) tipped @anttn
for the flowers it's like jasmine flowers
True that 😉 !
Cher @anttn, votre contenu a été sélectionné manuellement par les curateurs @itharagaian,@memess pour recevoir une curation de la communauté Francophone Hive-FR
Merci à vous !
Nice work you did there!
Looking forward to see your progress with these new seedlings!
And wild edibles are awesome. Most intense taste you can get. 🥰
Yeah, for many of edible plants I tend to prefer the wild version, and so I can't wait to be more myself in the wild away from big cities !
Have a good weekend dear @aaskablackwolf 🌻
I can imagine and I wish you all the best and success with your garden there!
I'm looking forward to see more of it in your posts too. 🤩
Have a lovely weekend @anttn 🌞
Thank you 😇 !
It was great and how was yours ?
I just came back from the countryside and forest :)
Quite nice and relaxed on my side thanks! 😀
Seems we're one the same vibes hehe 😊
Probably... Could be worse, couldn't it? 😆
That's for sure haha 😂
No money (expect Hive), but plenty of time !
Maybe I will launch myself in a new novel 🤔
If you were talking about you actually writing a novel, I'd be happy to read it. (maybe a bit dependent on the setting though 😉 If it was some fantasy story I'm in for sure! )
It's not published yet, but I hope it will be eventually one day !
It's not in the fantasy type, but there's some magic in it for sure, the magic of everyday life ^^
Have a good Friday dear @aaskablackwolf 😇