Adiós al estrés: Decoración de cumpleaños fácil y hermosa en 3 pasos 🎈✨ | El tutorial de decoración de cumpleaños que te hará ahorrar dinero y tiempo 💙☄️ [ESP-ENG]
Hello good afternoon to all my Hive Diy creative family! How are you all doing here? I hope you are all excellent, filled with lots of health, love, happiness, productivity and above all creativity to continue creating art and sharing in this great family, I'm glad to be back to my creative corner.♡
¡Bendecido día viernes a todos! En esta ocasión quiero compartirles un tutorial de una decoración de globos fácil, sencilla y rápida. Es una excelente opción que nos saca de apuros, además de ser económica, y en realidad no tiene gran grado de dificultad, cualquier persona podría hacerla de la forma más fácil, y ambientar cualquier celebración en casa, sin necesidad de ser experto, es una idea muy buena para empezar o hacer en poco tiempo.
Blessed Friday to all of you! This time I want to share with you a tutorial of an easy, simple and quick balloon decoration. It is an excellent option that gets us out of trouble, besides being economical, and actually has no great degree of difficulty, anyone could do it in the easiest way, and set any celebration at home, without having to be an expert, it is a very good idea to start or do in a short time.
Está fue una decoración que hice de forma improvisada para el cumpleaños de mi pequeña primita Elaina, quien estaba cumpliendo sus 2 añitos, y decidimos hacerle una torta de obsequio y ambientar el lugar para poder tomar un par de fotos y sobre todo que a ella le encantará, fue una decoración sencilla, pero llena de amor y hecha en contra reloj, ya que habíamos pasado el día haciendo la torta y decorandola.
This was an improvised decoration I made for the birthday of my little cousin Elaina, who was turning 2 years old, and we decided to make her a cake as a gift and set the place to take a couple of pictures and above all that she would love it, it was a simple decoration, but full of love and made against the clock, because we had spent the day making the cake and decorating it.
Ahora, vamos manos a la obra, para enseñarles está idea creativa, que pueden hacer para esas reuniones en casa.⤵️✨
Now, let's get down to work, to show you this creative idea, which you can do for those gatherings at home.⤵️✨
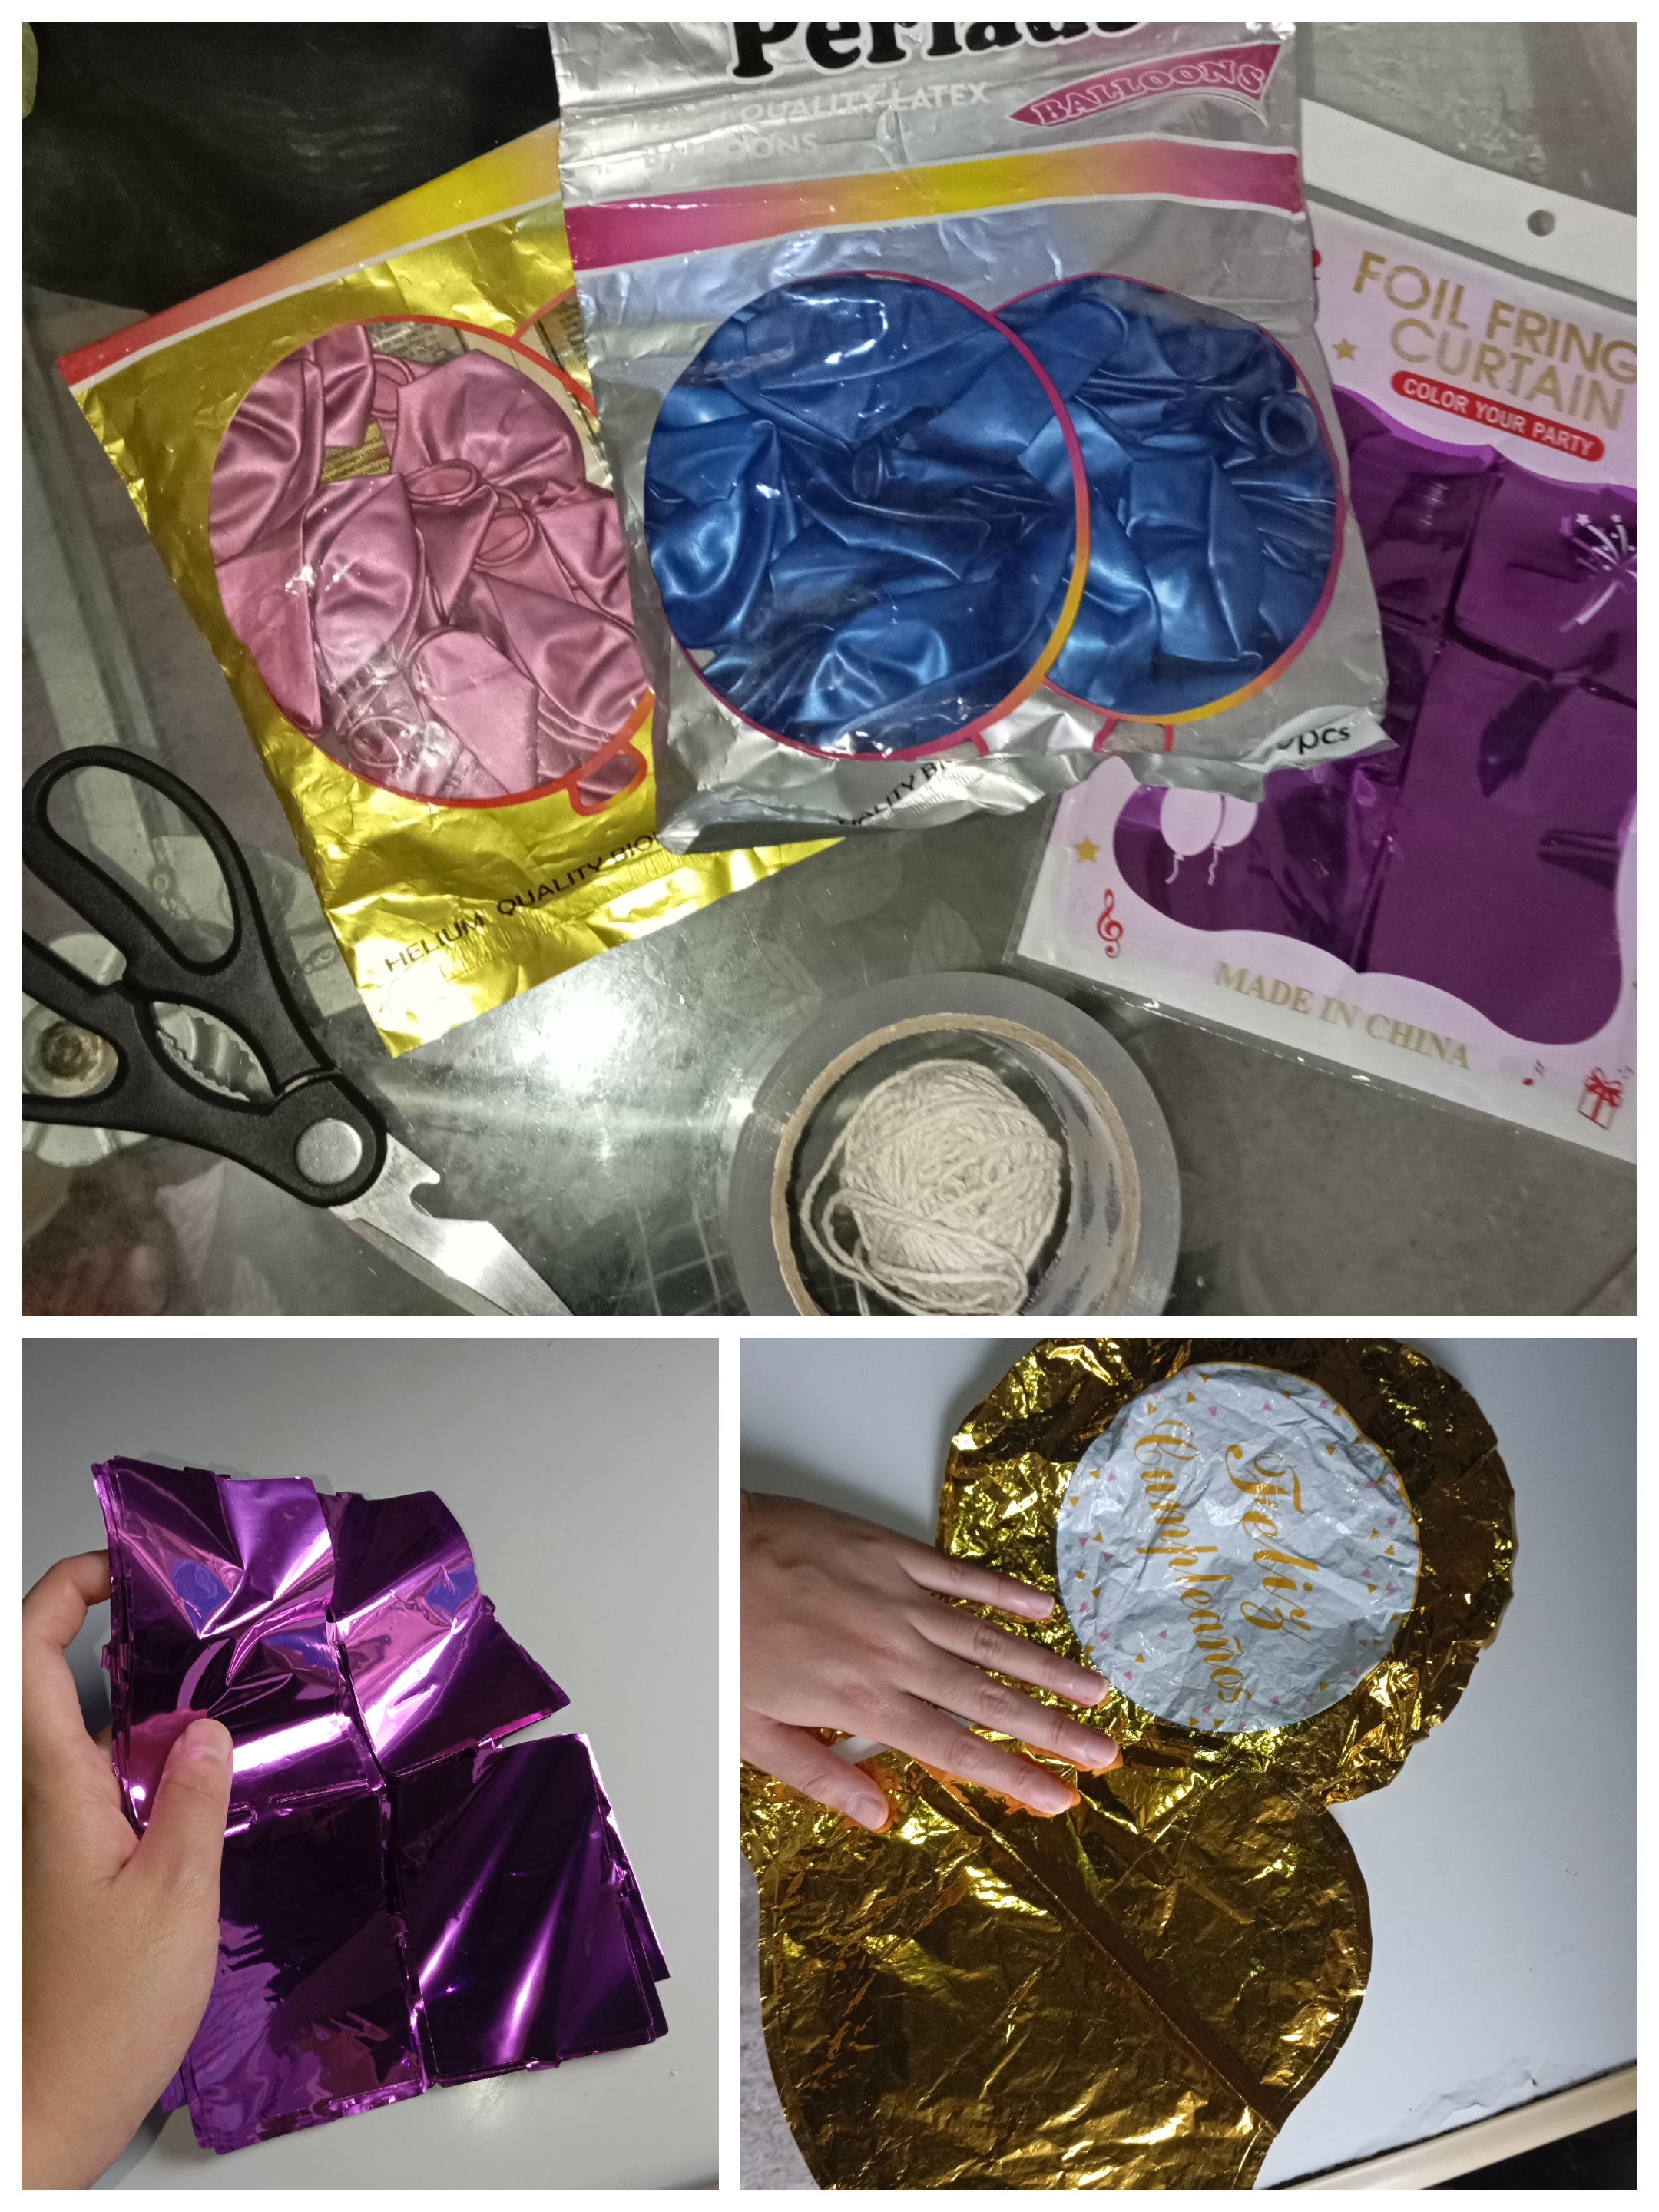
♡🩵✨ Materials✨🩵♡
- Globos
- Globos metalizados
- Cortina metalizada
- Cinta adhesiva transparente
- Bomba de globos
- Balloons
- Metallic Balloons
- Metallic curtain
- Transparent adhesive tape
- Balloon pump
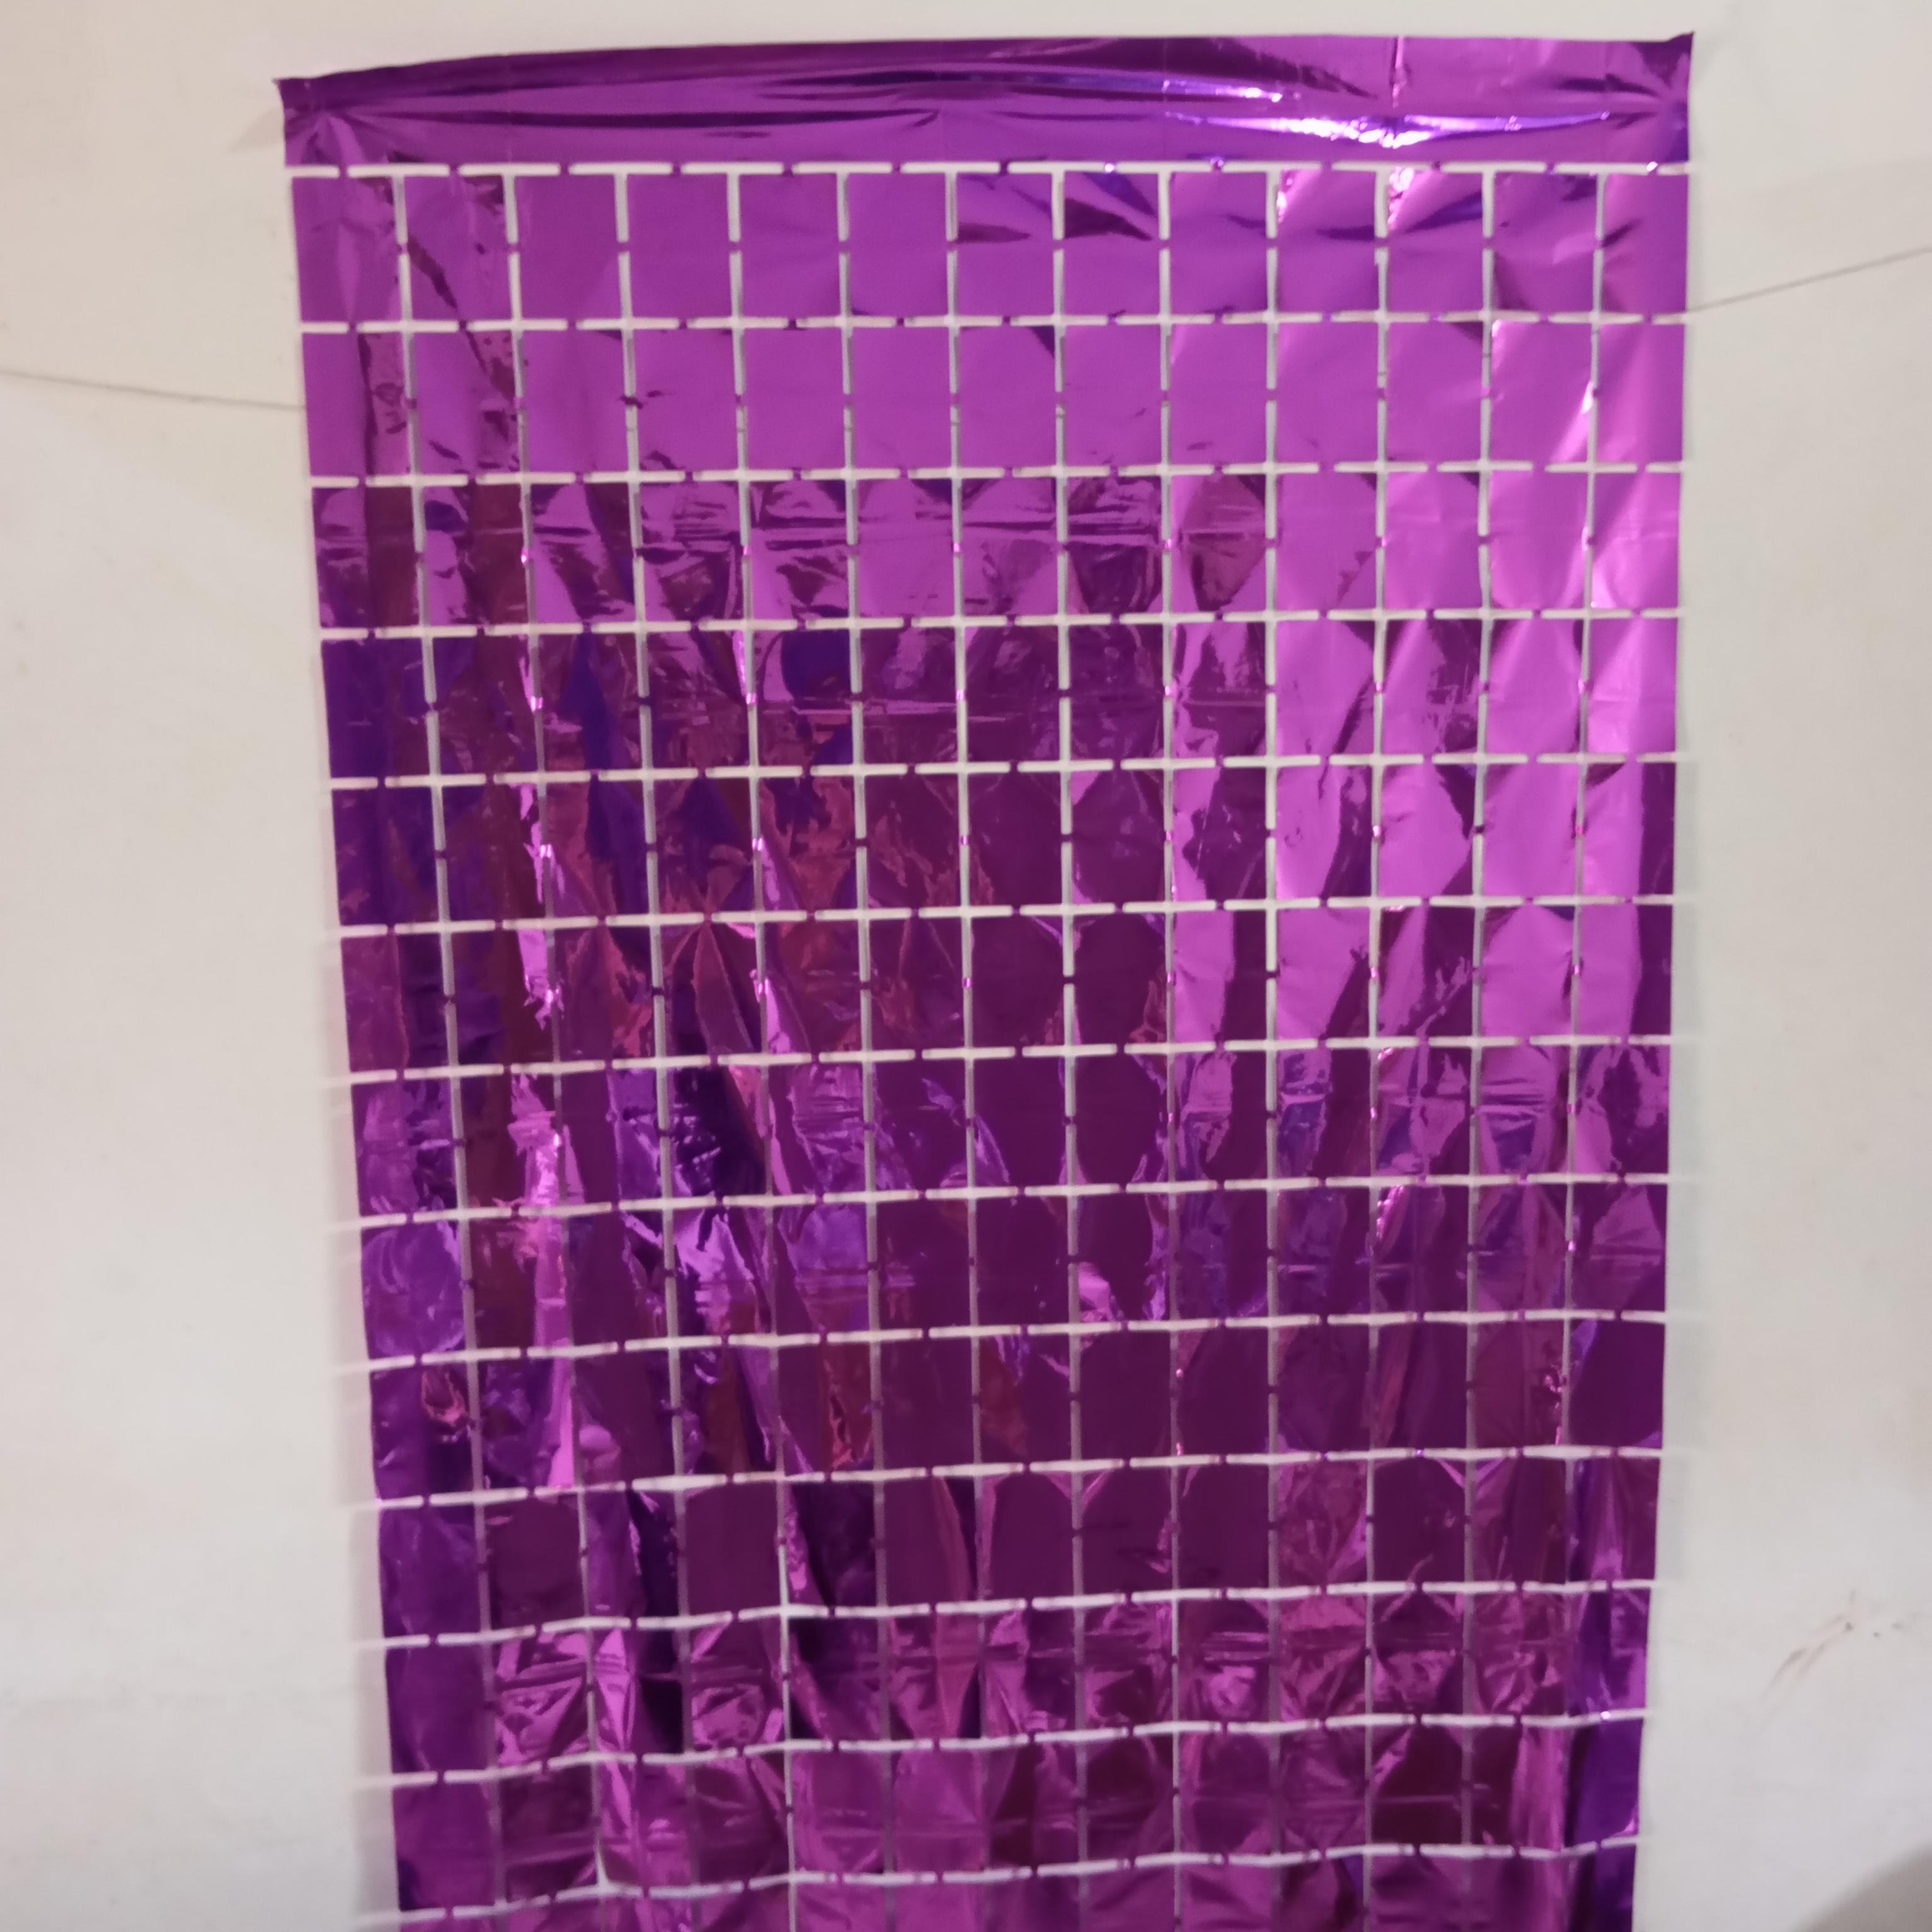
Paso 1:
Step 1:
Para empezar elegiremos el espacio que vamos a decorar, según nuestras preferencias, así yo decidí hacerlo en esta pared que ven por aquí, tomé la cortina metálica y poco a poco fui sacándola de su envoltorio protector. Luego le pedí ayuda a mi hermana para calcular dónde pagaría la cortina, colocándola encima y viendo que estuviera centrada, al decidir posicionando dónde la quería fui quitando la cinta que cubre al adhesivo que trae y mientras la iba quitando, iba pegando, poco a poco, para que quedara derecha y bien pegada.
To start we will choose the space we are going to decorate, according to our preferences, so I decided to do it on this wall that you see here, I took the metal curtain and little by little I was taking it out of its protective wrapping. Then I asked my sister for help to calculate where I would pay the curtain, placing it on top and seeing that it was centered, when I decided to position it where I wanted it, I removed the tape that covers the adhesive that comes with it and while I was removing it, I was gluing, little by little, so that it would be straight and well glued.

Paso 2:
Step 2:
Continuando tome varios globos en dos colores diferentes, de acuerdo a la temática por supuesto, en este caso utilice globos fucsias y azul eléctrico, colores muy lindos y brillantes. Así, comenzaremos a llenarlos y amarrando uno a uno, puede ser con la bomba para inflar globos eléctrica, a mano o simplemente a puro pulmón JSKSJAJ, pero es preferible con alguna bomba, así haremos hasta llenas y amarrar todos.
Continuing, take several balloons in two different colors, according to the theme of course, in this case I used fuchsia and electric blue balloons, very nice and bright colors. So, we will begin to fill them and tying them one by one, it can be with the electric balloon pump, by hand or simply by pure lung JSKSJAJ, but it is preferable with some pump, so we will do until full and tie them all.
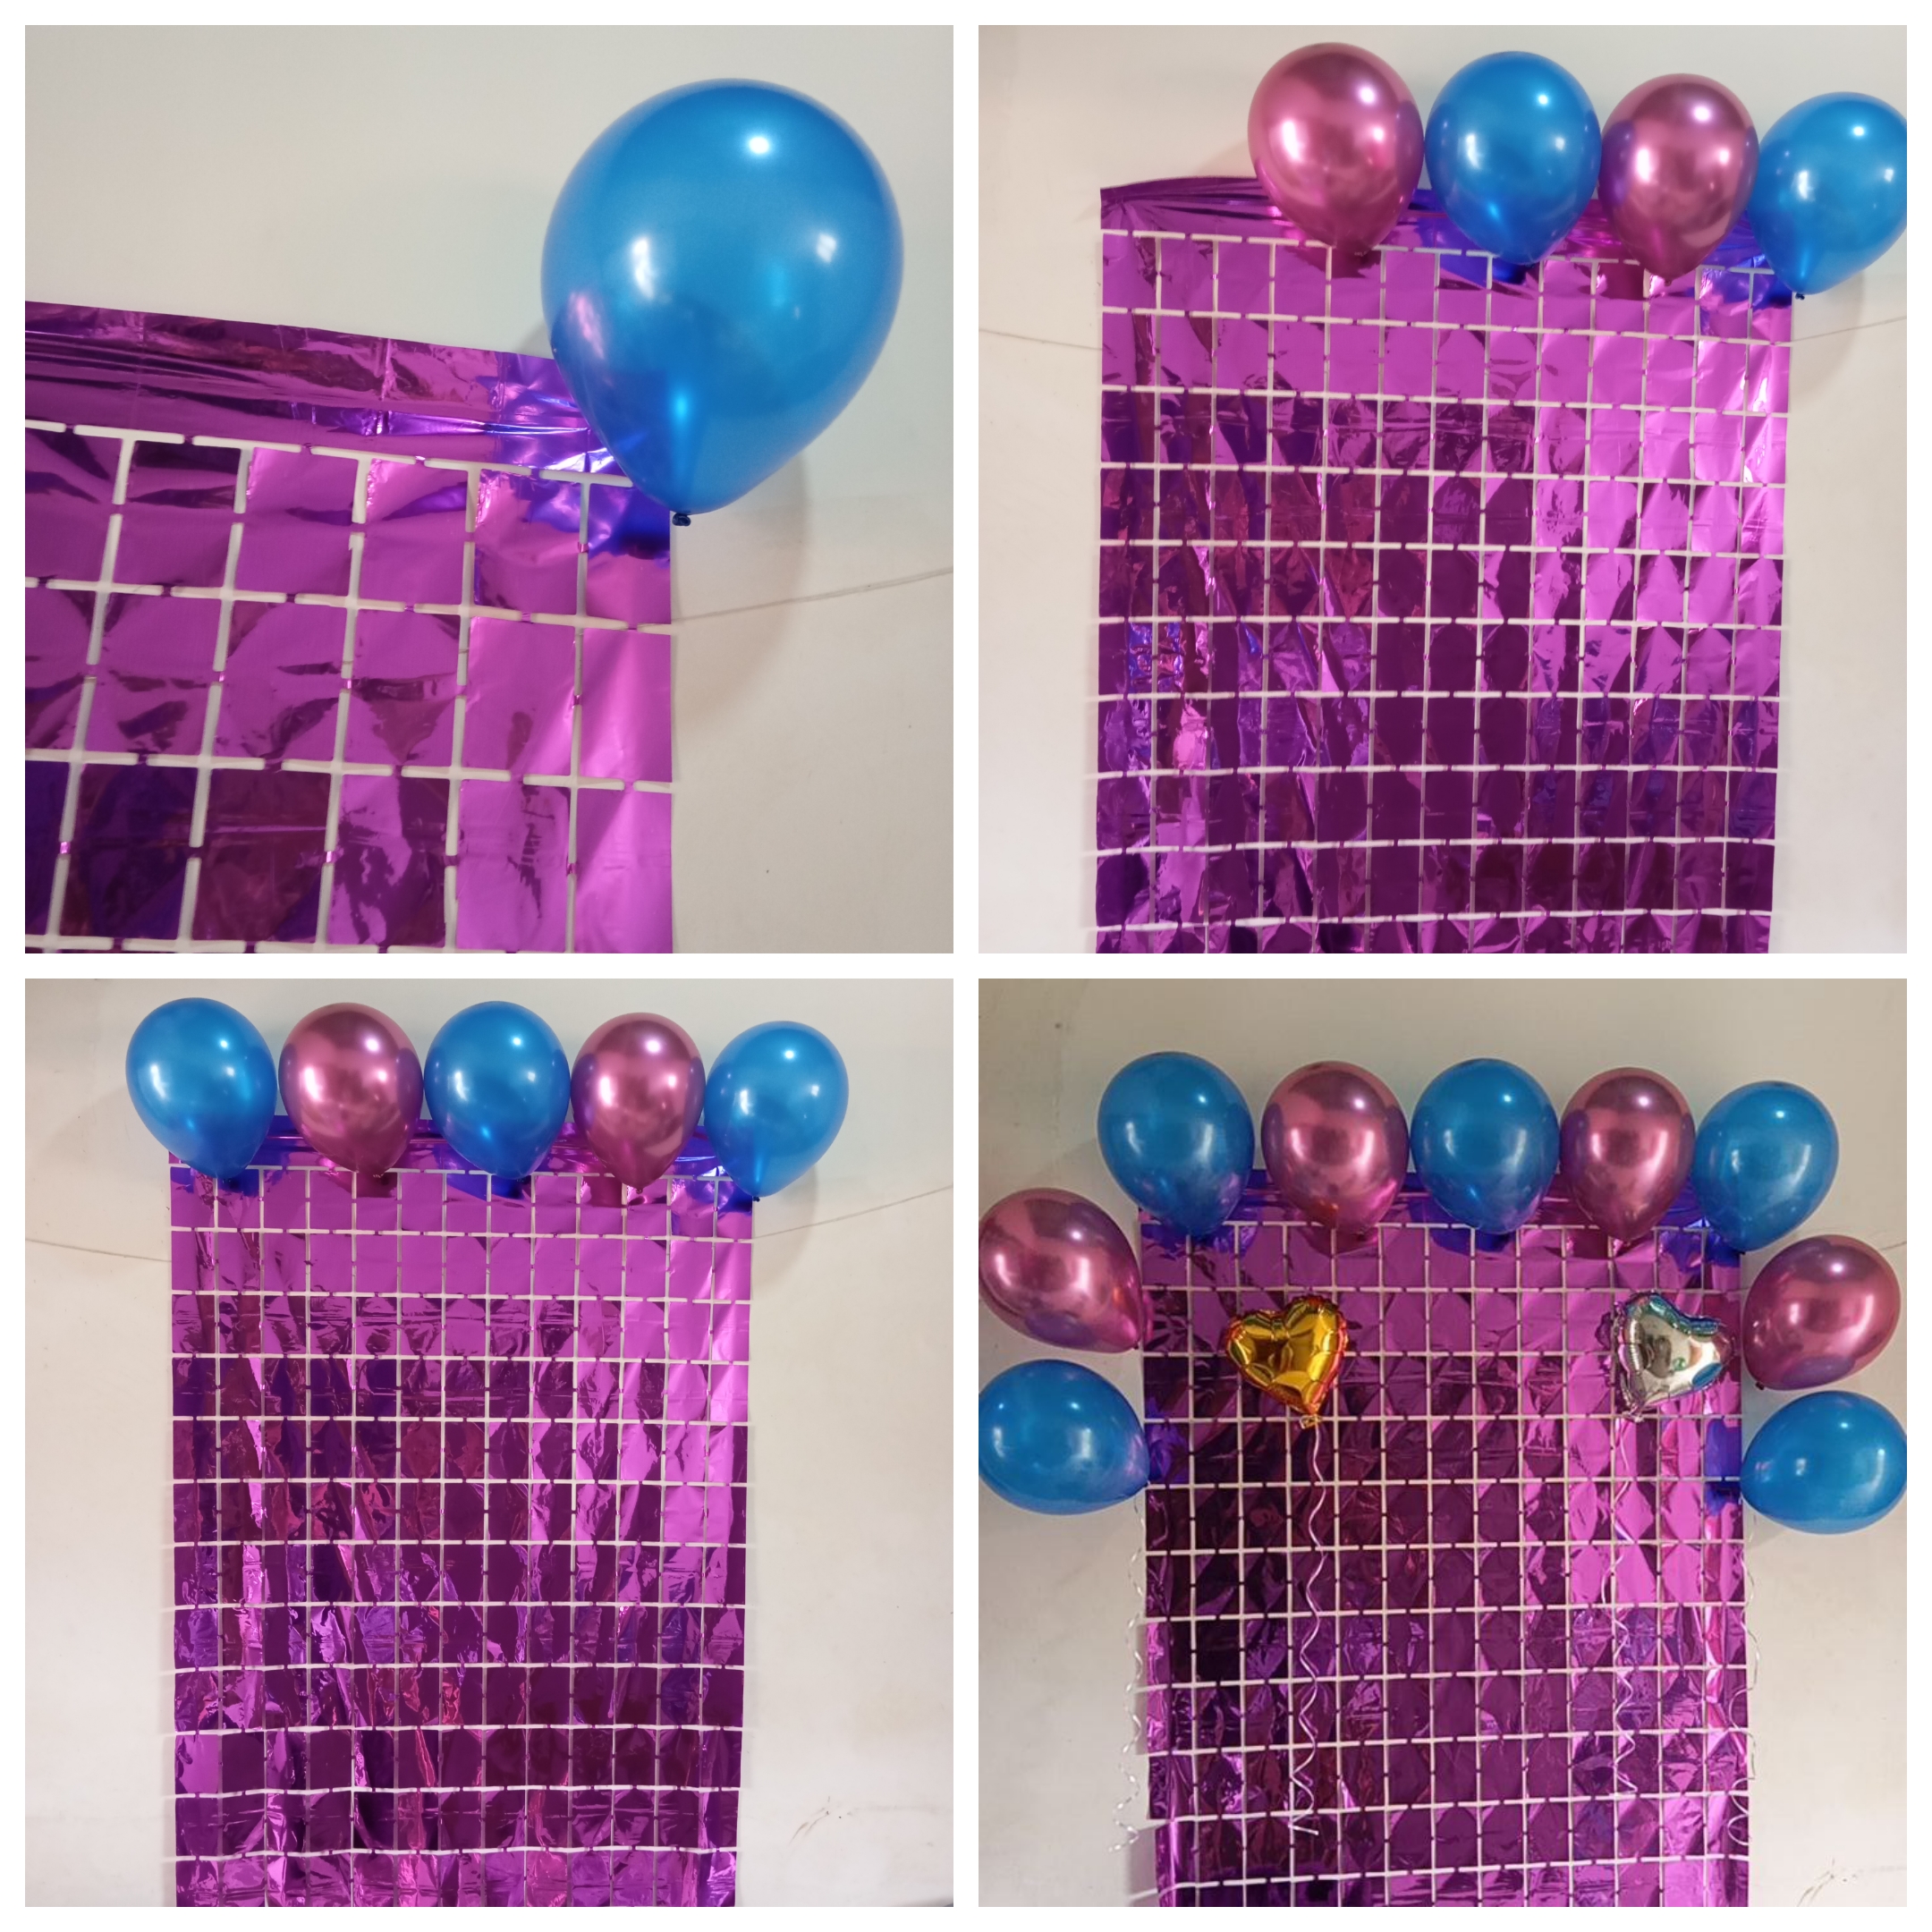
Paso 3:
Step 3:
Con todos los globos listos, solo queda recortar algunos trozos de cinta adhesiva transparente o incluso doble cara de preferencia (para mayor adherencia), y pegarlos en la parte de atrás de los globos, si es cinta transparente debemos doblarla de forma de que quede pega en ambos lados. Después iremos acomodando los globos uno por uno e intercalando los colores, así hasta llegar al final de la cortina e incluso unos espacios más abajo para formar una especie de marco.
With all the balloons ready, we just need to cut some pieces of transparent tape or even double-sided tape preferably (for better adhesion), and stick them on the back of the balloons, if it is transparent tape we must fold it so that it sticks on both sides. Then we will arrange the balloons one by one and intercalating the colors, so until we reach the end of the curtain and even a few spaces below to form a kind of frame.
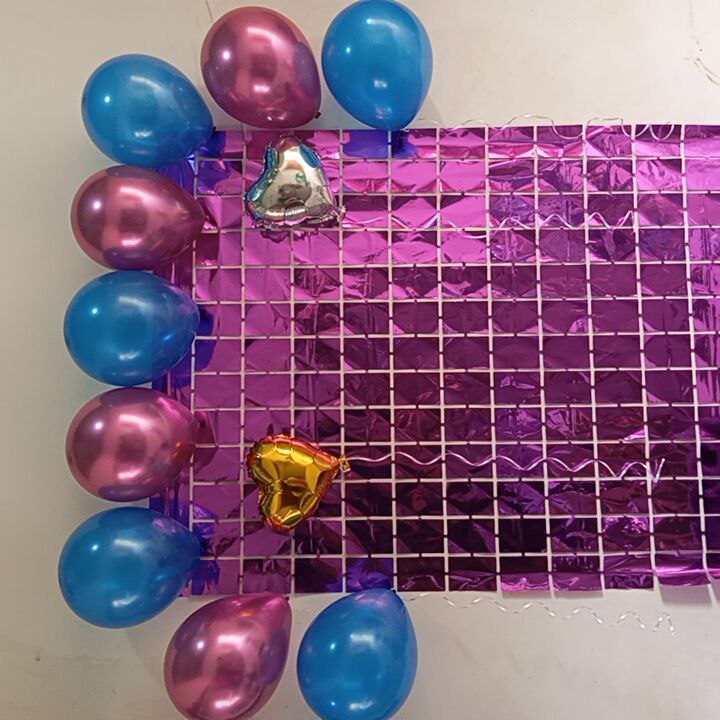
Por último, simplemente agregué los globos metálicos de formas sobre la cortina, de lado a lado y les coloque un poco de cinta para globos colgando de ellos, está un poco enrollada. Y así es como nos quedaría nuestra hermosa y sencilla decoración hecha en casa con mucho amor, en tiempo récord y lo mejor, hecha por nosotros mismos.
Finally, I simply added the metallic balloon shapes over the curtain, from side to side and put some balloon ribbon hanging from them, it's a little bit rolled up. And this is how our beautiful and simple decoration would look like, homemade with lots of love, in record time and the best part, made by ourselves.

Está decoración se puede mejorar mucho más, tal vez con unos globos de números, o incluso alguna imágen grande de la temática en el centro, es una decoración sencilla, pero con más creatividad y un poco más de tiempo puede quedar mucho mejor, les dejó está idea con la intención de que la aprovechen y dejen volar su imaginación.🙌🏻✨
This decoration can be improved much more, maybe with some balloons of numbers, or even a large image of the theme in the center, it is a simple decoration, but with more creativity and a little more time it can be much better, I leave this idea with the intention that you take advantage of it and let your imagination fly.🙌🏻✨
Espere les haya gustado tanto como a mí la decoración y que les sea de utilidad en algún momento este tutorial que preparé para ustedes con mucho cariño y entusiasmo. Les deseo un bonito día y que su creatividad siga volando, un abrazo enorme familia, estaré leyendo sus comentarios.🙈✨🩵
I hope you liked as much as I did the decoration and that this tutorial that I prepared for you with love and enthusiasm will be useful at some point. I wish you a nice day and that your creativity keeps flying, a huge hug family, I'll be reading your comments.🙈✨🩵
🩵✨¡Gracias por leer! Hasta pronto ✨🩵
🩵✨Thanks for reading! See you soon✨🩵
Photos of my authorship taken from my Xiaomi Redmi 13C phone, edited in the free version of Canva
Balloons add a nice perspective to any decorations. Your birthday decoration project looks so attractive. Great work you've done
selected by @stevenson7
Siii, the balloons are the special touch, thanks and greetings 🩵.
¿ᴺᵉᶜᵉˢᶦᵗᵃˢ ᴴᴮᴰ? ᵀᵉ ˡᵒ ᵖʳᵉˢᵗᵃᵐᵒˢ ᶜᵒⁿ @ruta.loans
Thank you for your support✨🙌🏻
Gracias por compartir este tutorial tan útil, me hubiera encantado verlo cuando le hacia las fiestas a mis hijas, ahora será aprovechar esta info para los nietos cuando lleguen.
Thank you for sharing this useful tutorial. I would have loved to see it when I was throwing parties for my daughters. Now I will use this information for my grandchildren when they arrive.
Bueno espero sea una herramienta que pueda usar en un futuro, gracias por comentar, un abrazo.🤗✨🩵