Handmade Clay Keychain Fried "Calamares" Squid Rings Filipino Street Food
Hello, how are you? I've been enjoying doing clay crafts lately, and I guess it is my wake-up call to sell clay keychains again. I have been on hiatus for a while, and I am feeling good about it. I got inspired again because of one artist I watch doing her vlog about her small business, and yeah, I used to love doing crafts and arts.
It's time for me to come out of my shell again and do what I love. It is good to remember the first time I opened my shop, and I was like, "There is nothing wrong with trying." No one can help you but yourself.
I remember that time I just impromptu decided to do it, and yeah, experience did help me a lot. Sometimes life has a rough and easy time, so, as they say, you're gonna die, just do it! LOL. So my purpose in life is to do this street food keychain today! LOL.
For today's keychain street food, I am going to make "Calamares," or squid rings, which are famous vendors sell.
Materials I Used:

- White Polymer Clay
- Portable Weighing Scale
- Soft Pastels
- X-Acto Knife
- Toothpick
- Dotting Tool and Clay Tools
- Alcohol
- Qtip
- Makeup Brush
- Eyepin
- Gum Container
- Oven
- Silicone Mat
- Uv Resin
- Face Shield/Facemask
- Disposable Gloves
- Uv Lamp
- Pliers
- Keychain
Craft Time!
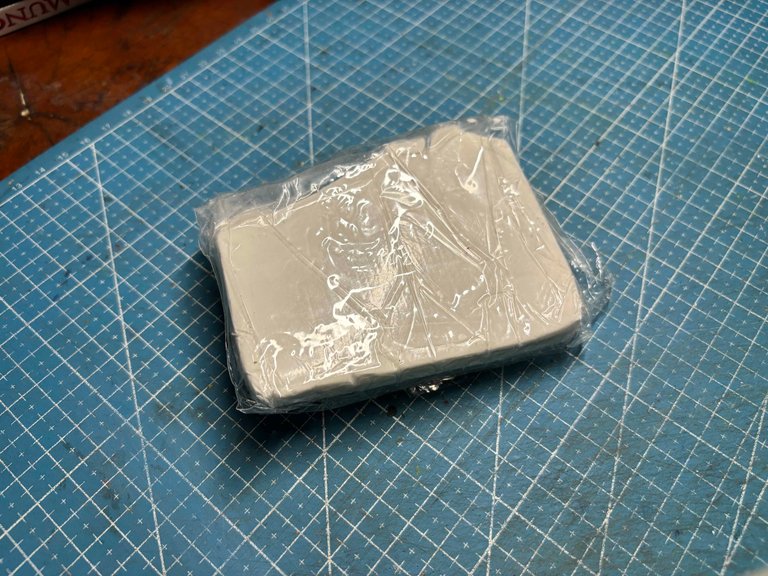
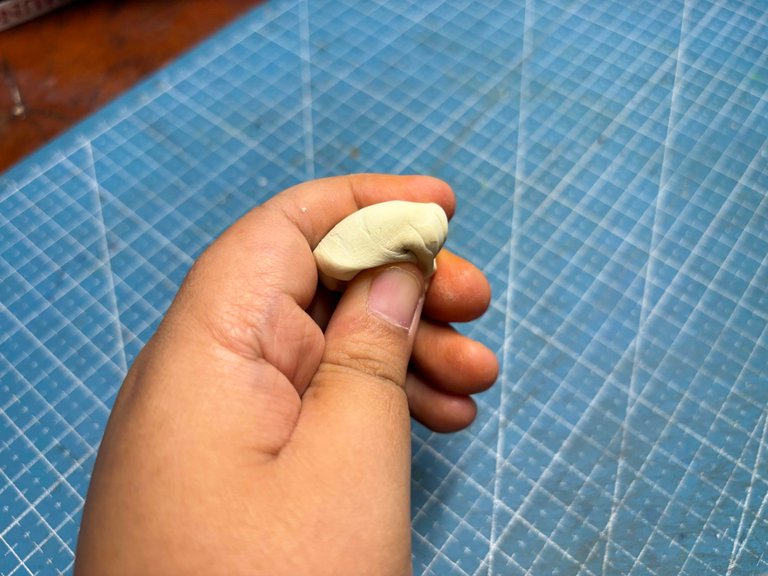
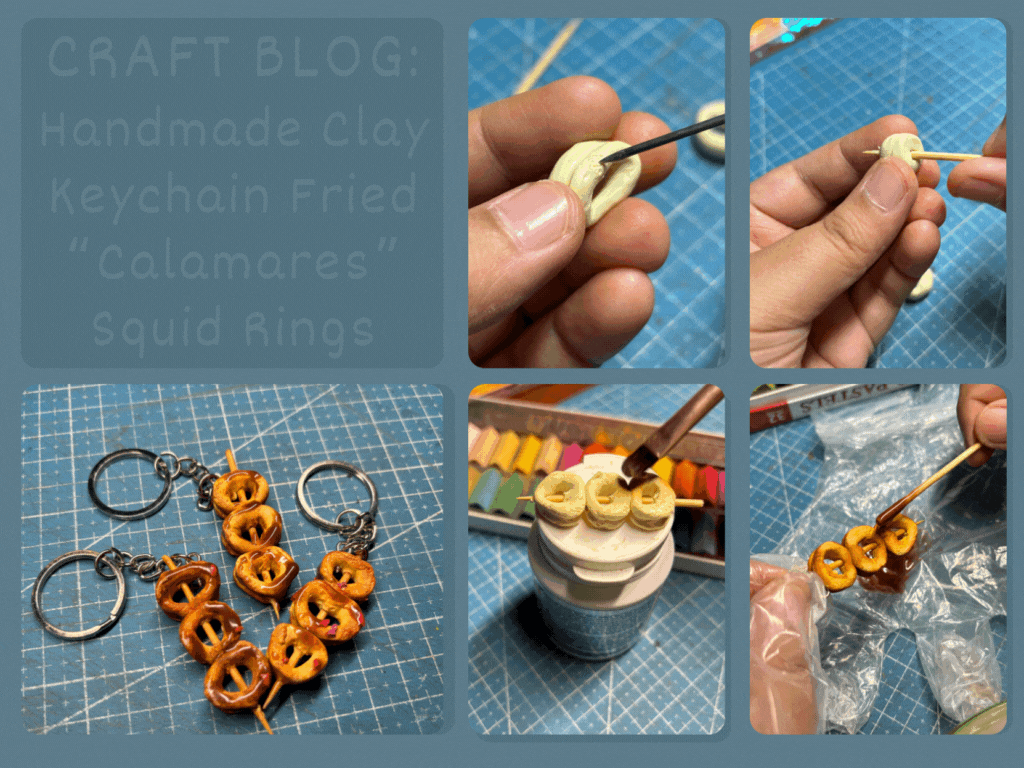
First things first, I am going to condition the polymer clay using my hands, just knead it until the clay well well-conditioned.
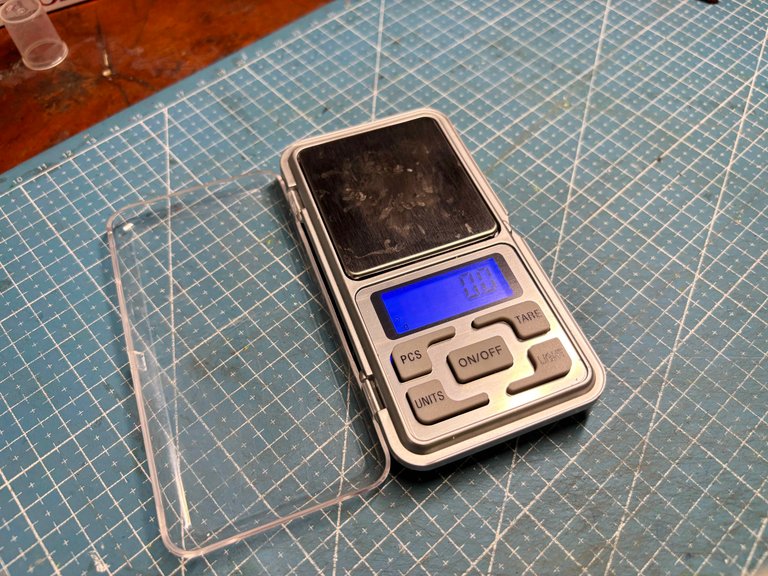
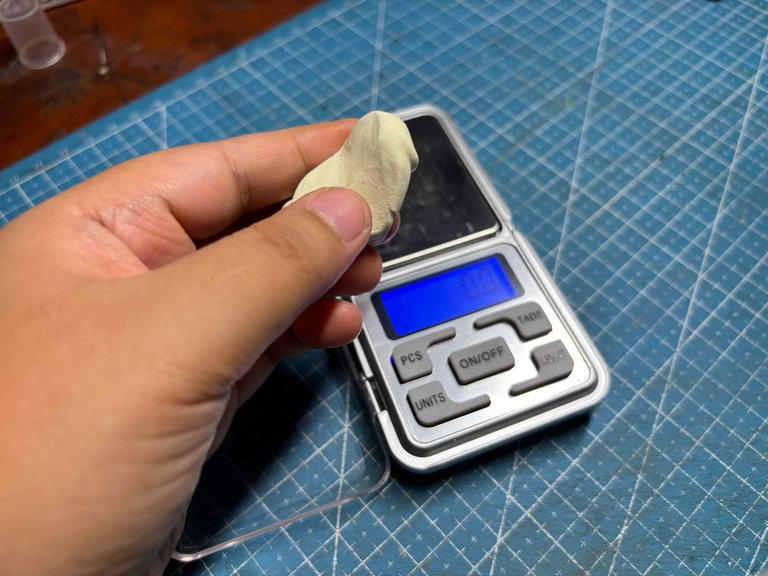
Then I am going to weigh the clay using this portable weighing scale.
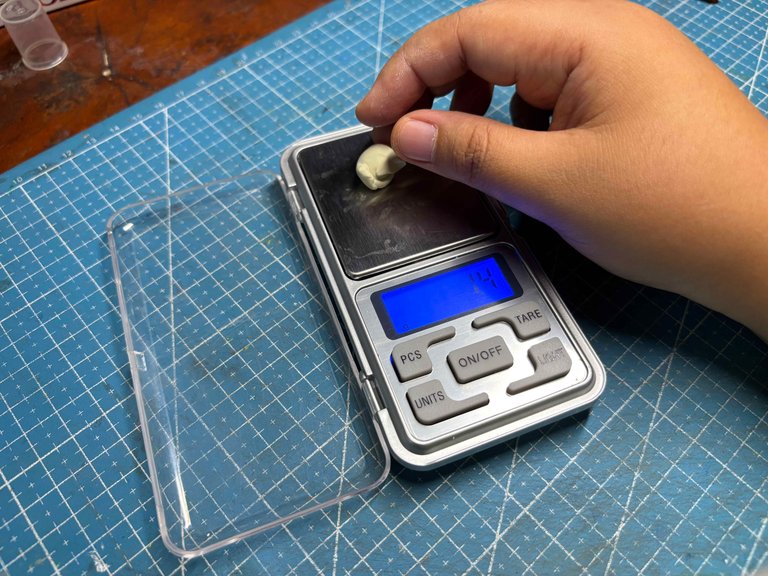
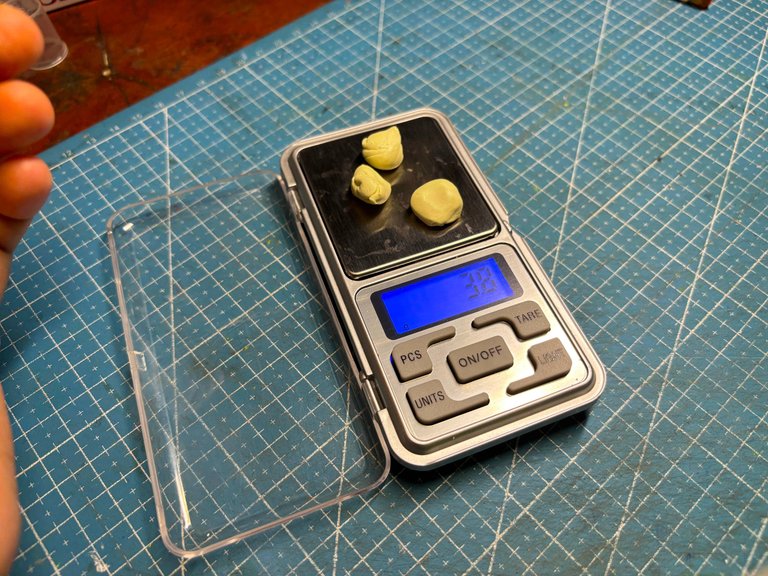
Weighing the clay equally with each other.
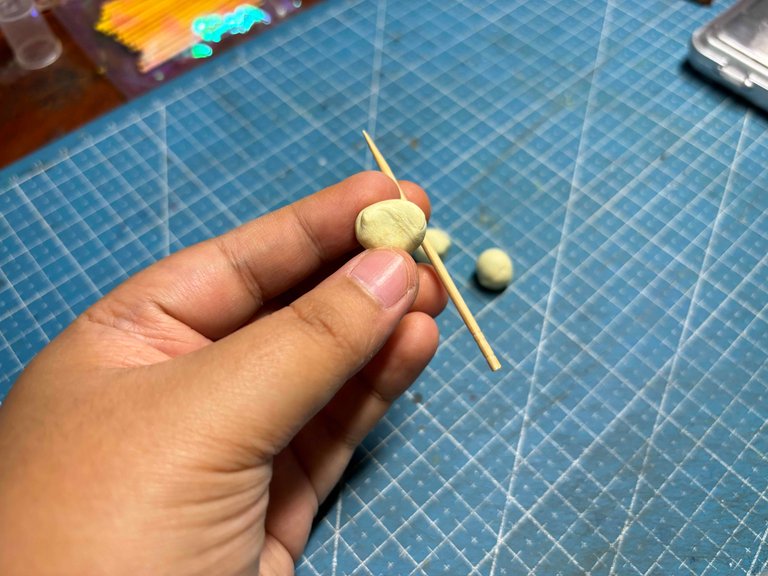
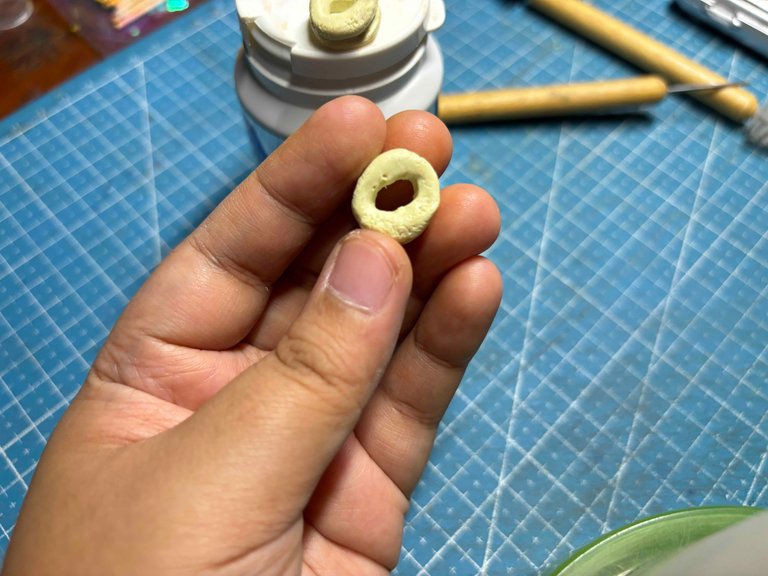
Using a toothpick, I am going to use it to sculpt the clay.
Poke a hole in the middle and sculpt it into a shape of donut shape. It is okay if it's not perfect to make it more realistic.
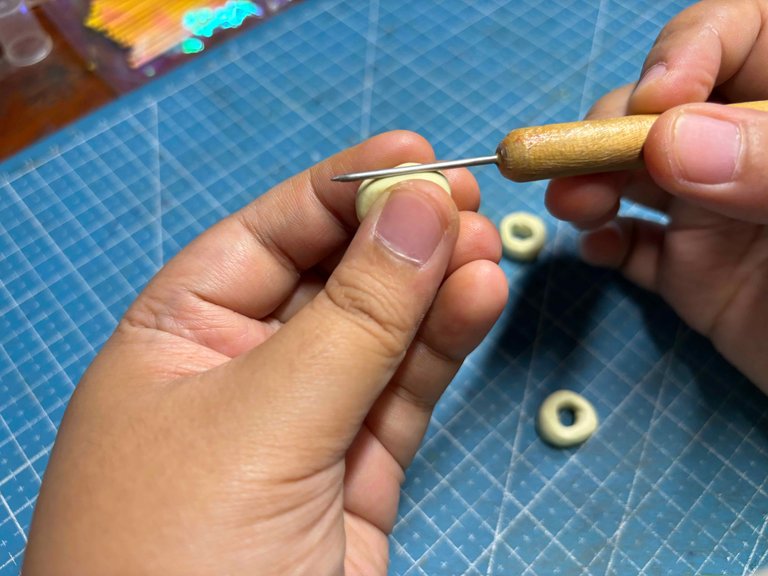
After that I stretched the clay a little bit and then, using this dotting tool, I then I added a dent on the side of it.
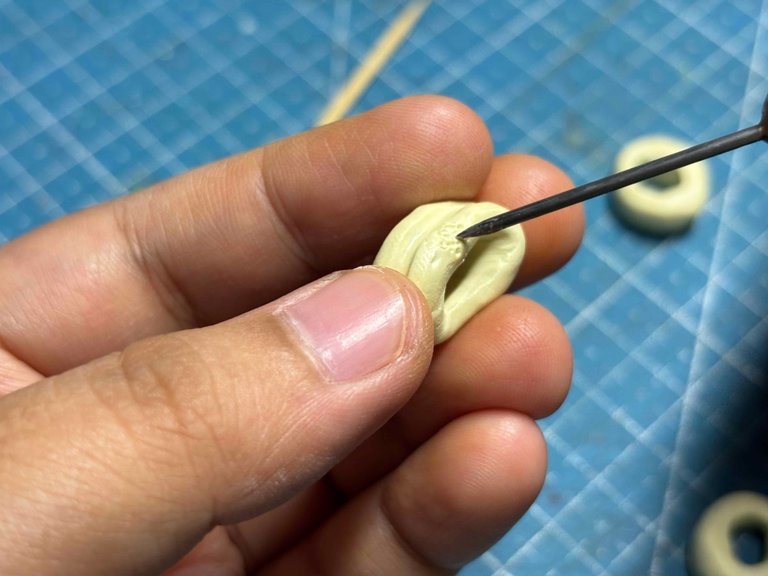
Using the dotting tool again, I added texture to the side of the clay, just like the flour-fried squid texture.
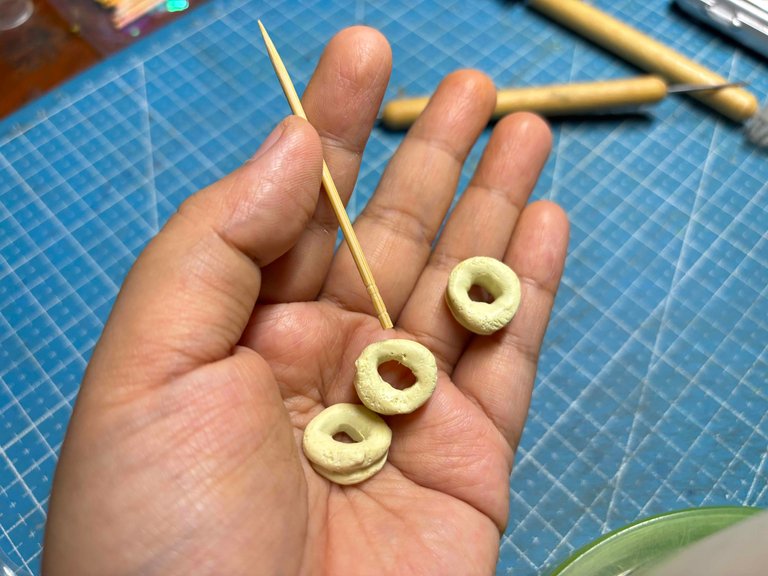
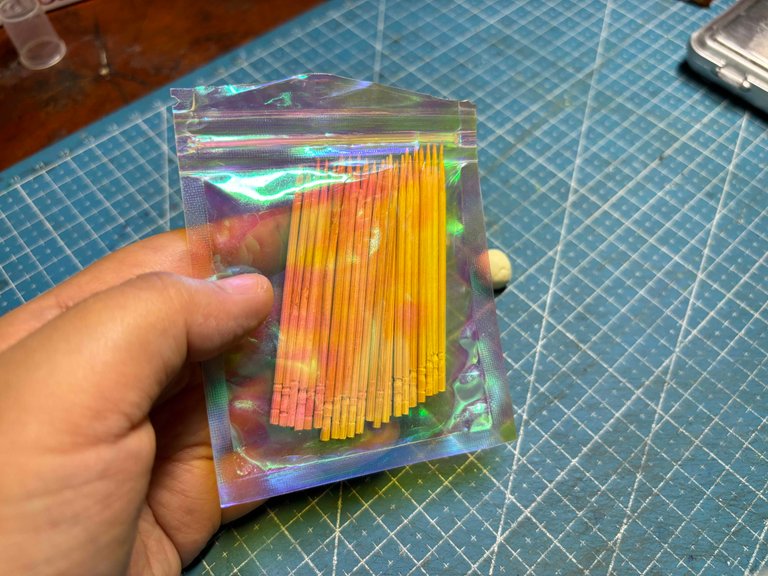
And the clay is ready to be added to the toothpick.
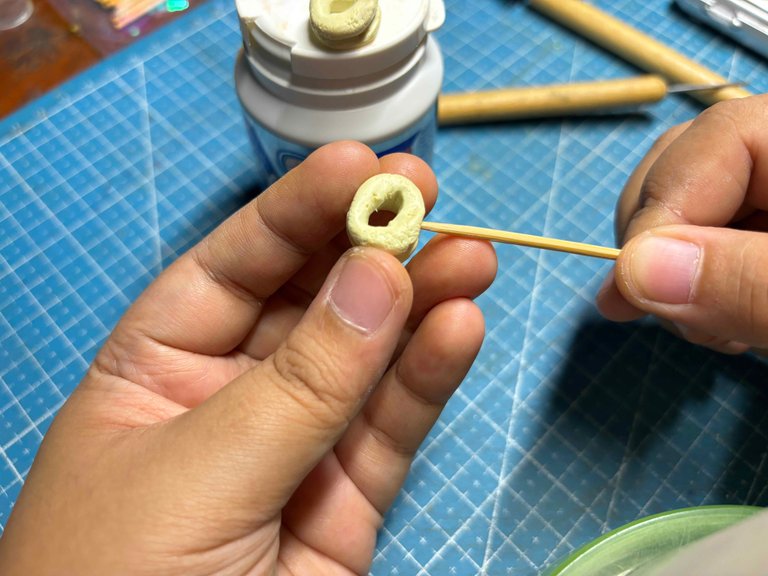
I carefully stick the clay into the toothpick one by one.
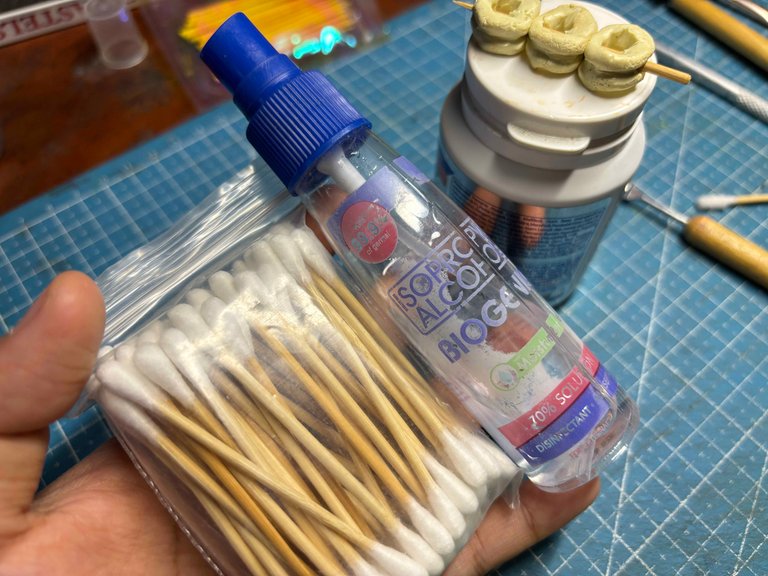
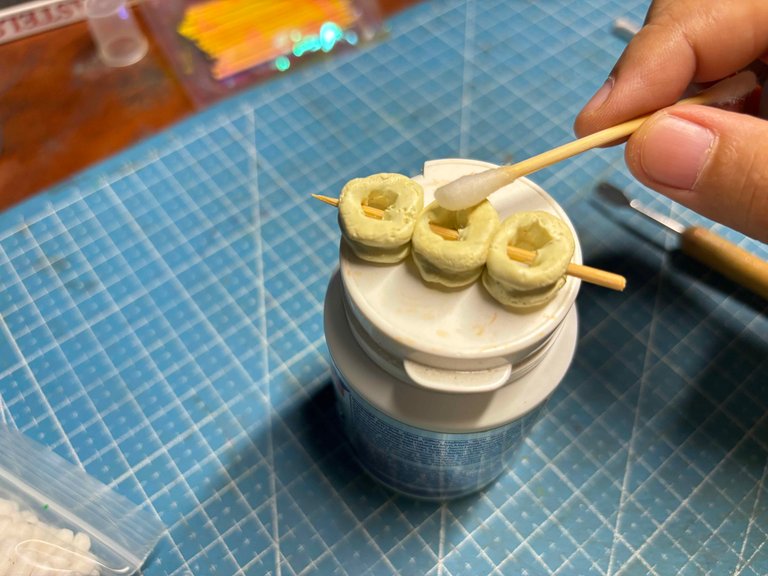
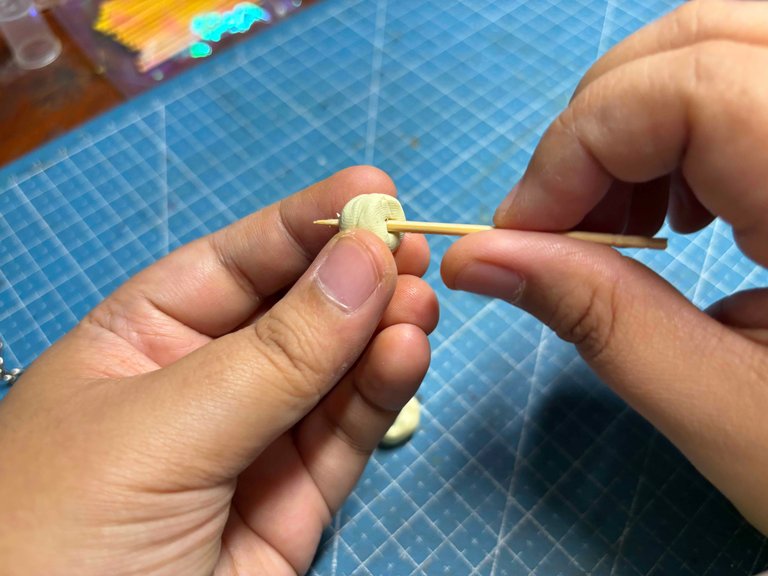
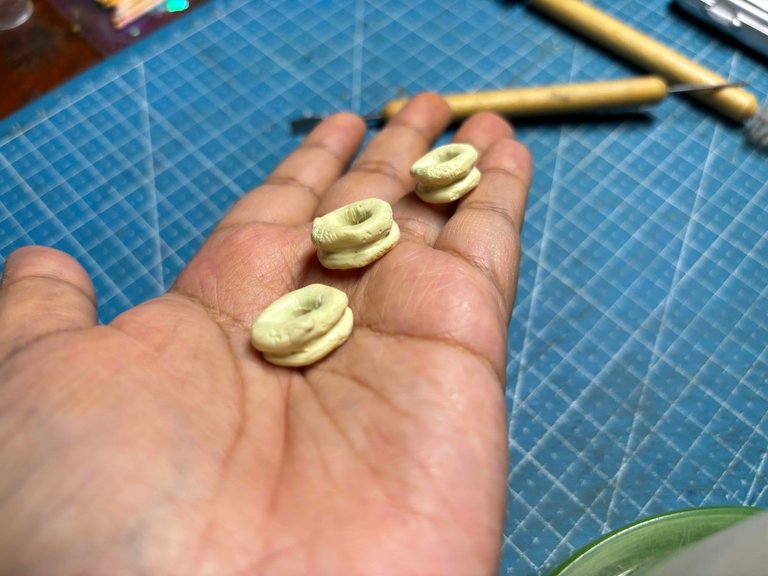
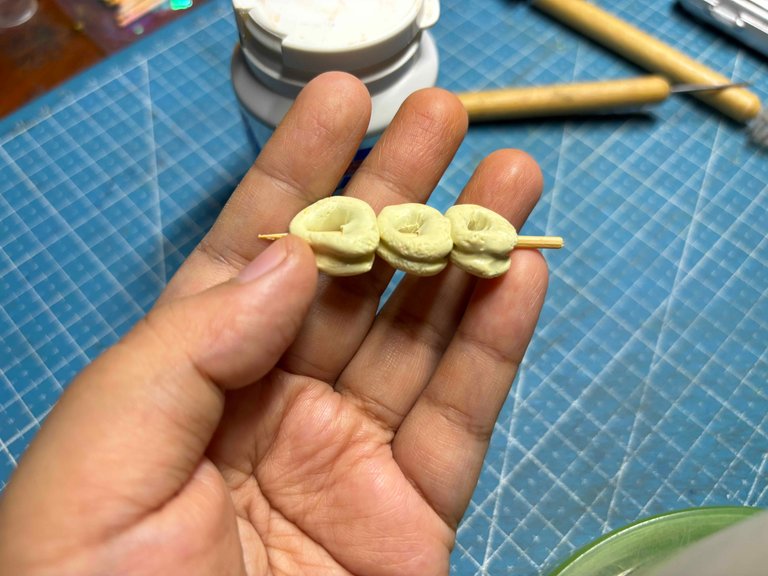
It is time to clean the clay using a Q-tip and alcohol. I carefully remove the dust so I will not ruin the texture of the clay.
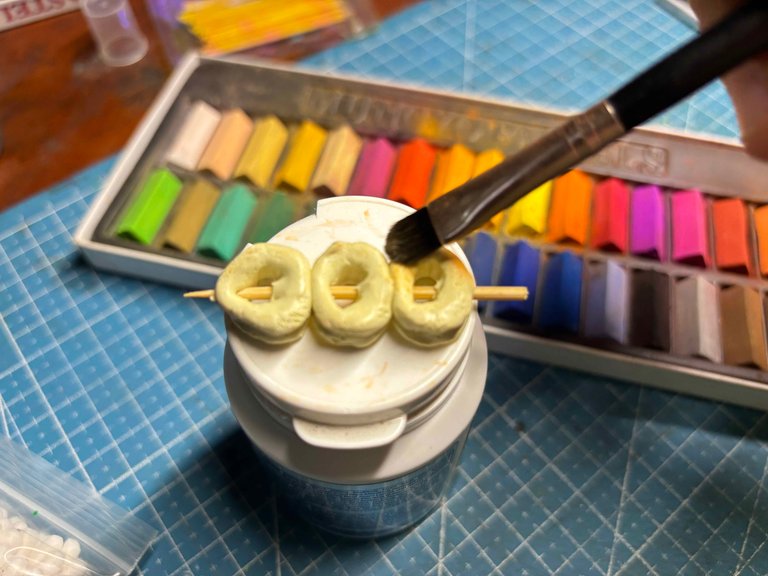
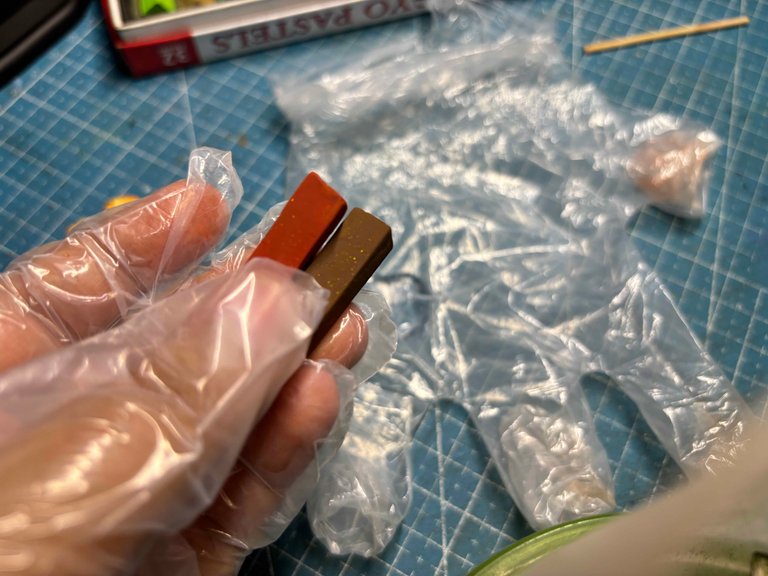
After that, it is ready to be colored. I used soft pastel and makeup brush, and then I started layering colors until it turned into the shades I wanted, and using soft pastel makes the clay look realistic.
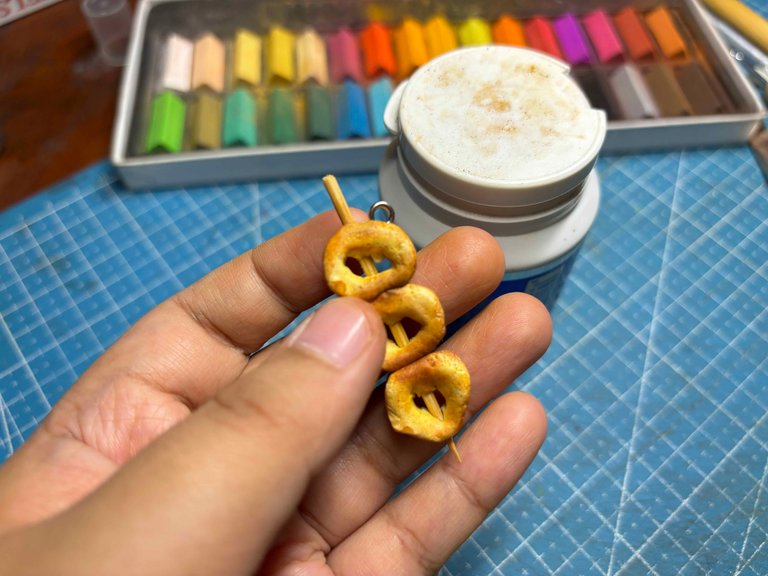
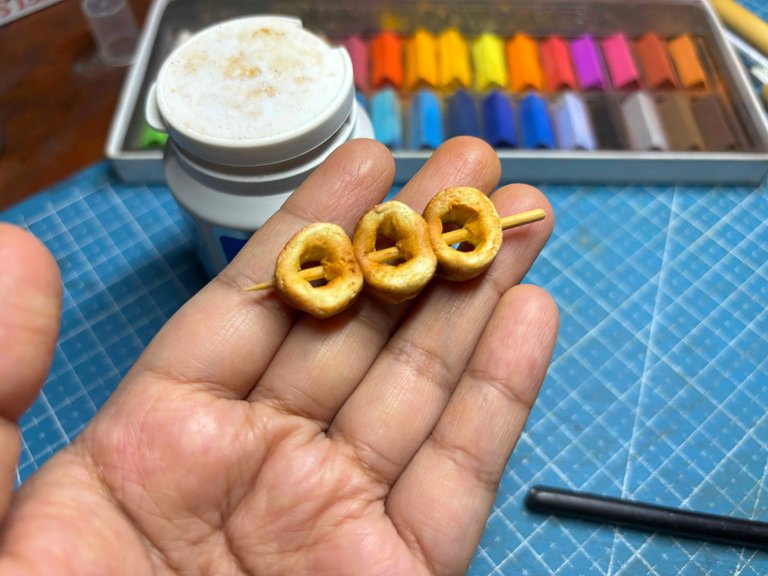
After that, I used this eye pin and I added it into the clay to secure it when baking. I don't have to glue it, so it saves me from using glue.
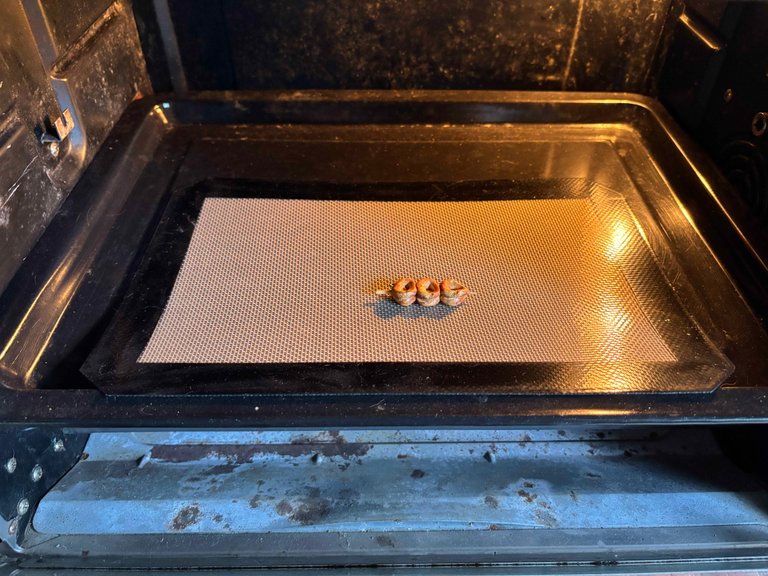
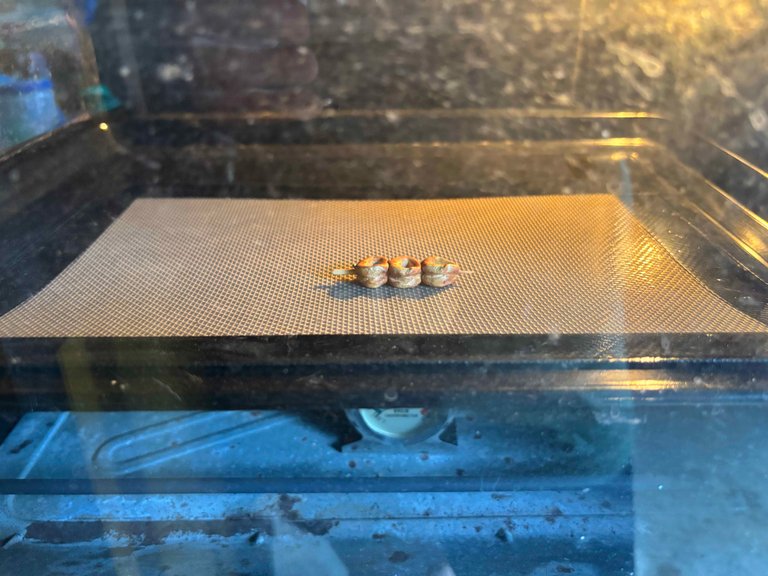
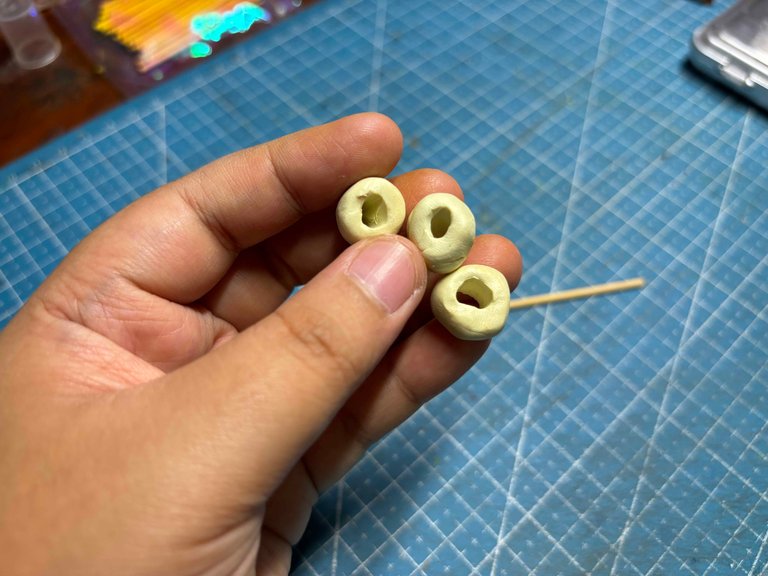
Now the clay is ready to be baked, and I used the silicone mat I bought as a topper of the clay, and then I made sure to preheat the oven first according to what instructions said and then bake it.
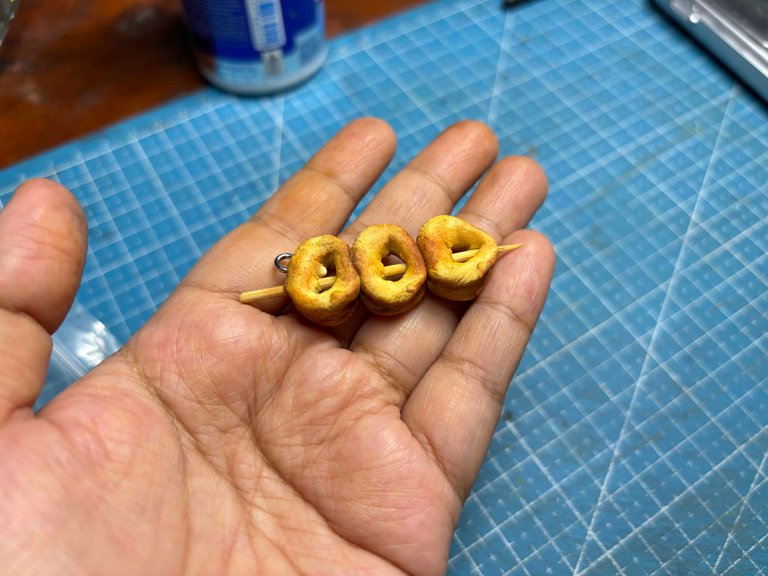

The clay turns into a matte texture when fully baked, and I let it cool down before proceeding to the next step.
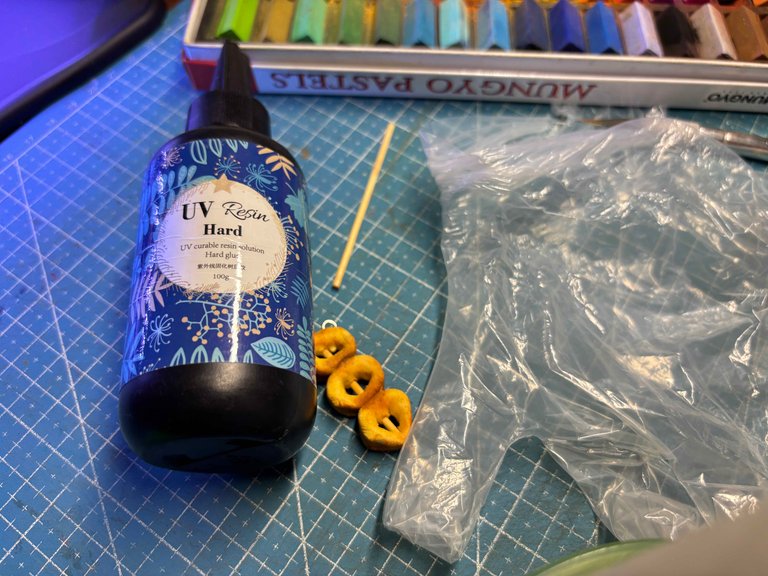
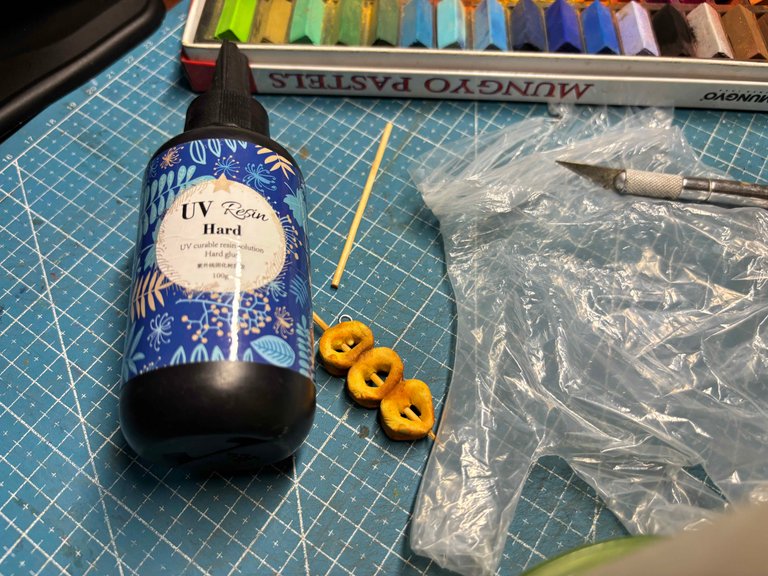
Then, while the clay is still cooling down, I prepare the materials I am going to use, such as UV Resin, UV Lamp, Stick, Disposable Gloves, Soft Pastels, Mask, and Face shield.
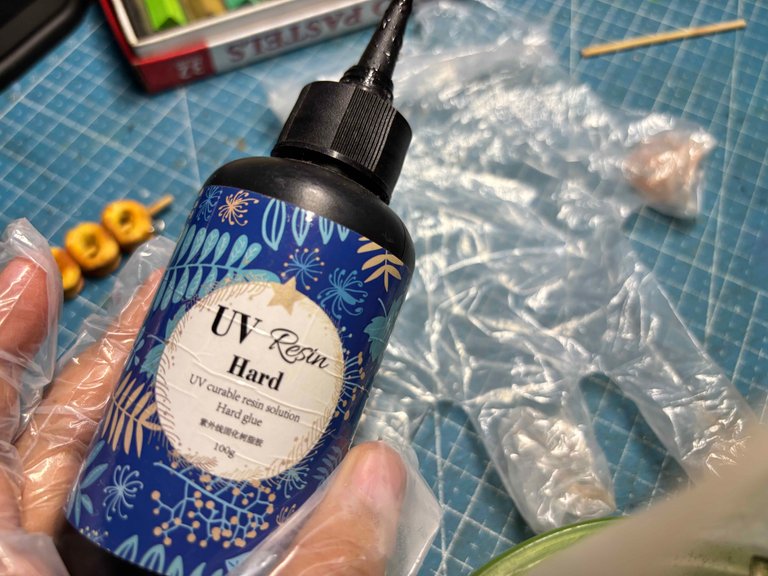
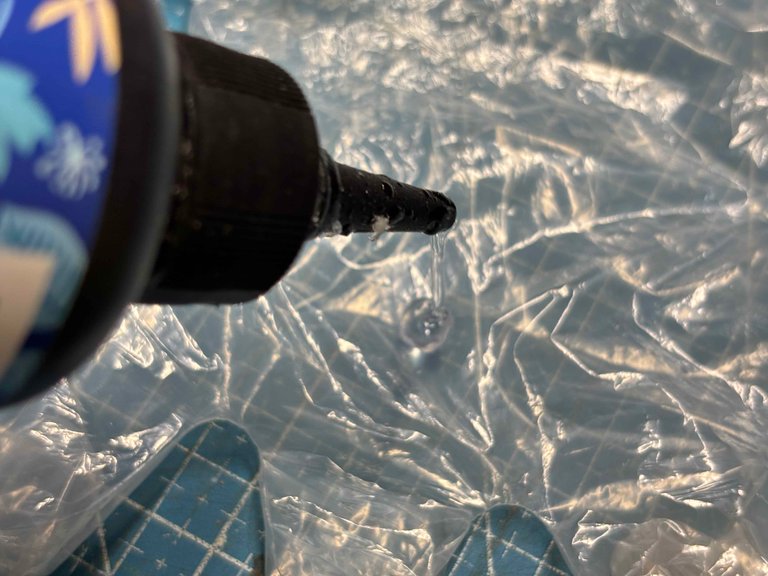
I lay disposable gloves and then squeeze out UV resin into them.
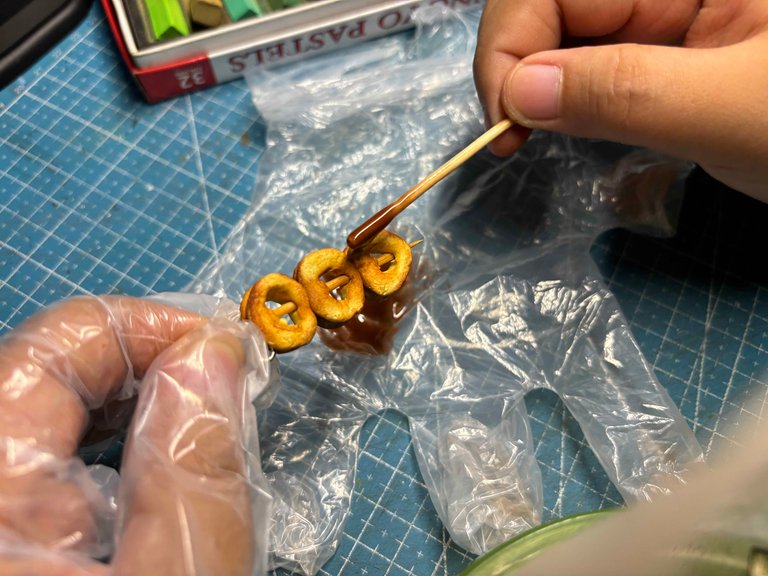
And then scrape out soft pastels that are needed, oh, by the way, I am going to make like the sauce of the squid rings and then mix it using the stick and then apply it to the clay, imitating how sauce sticks to the food.
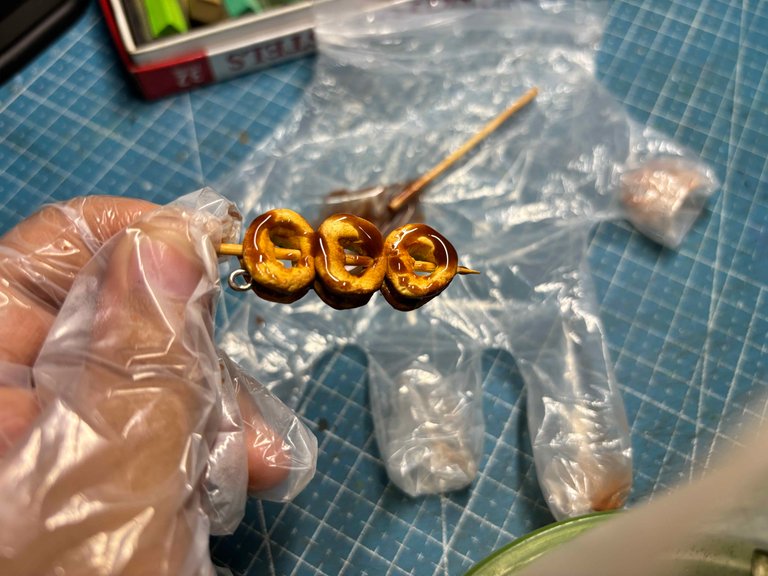
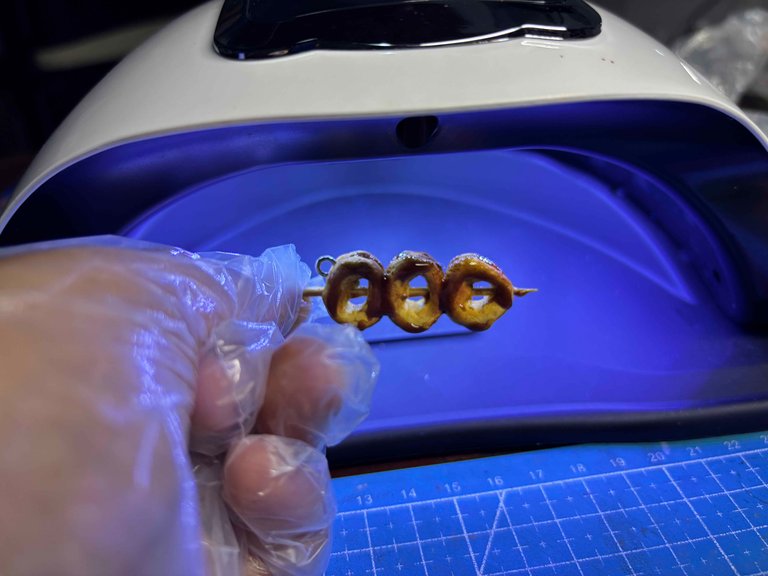
This is how it looks, and then I will cure it to the UV Lamp several times until the resin is no longer sticky anymore.
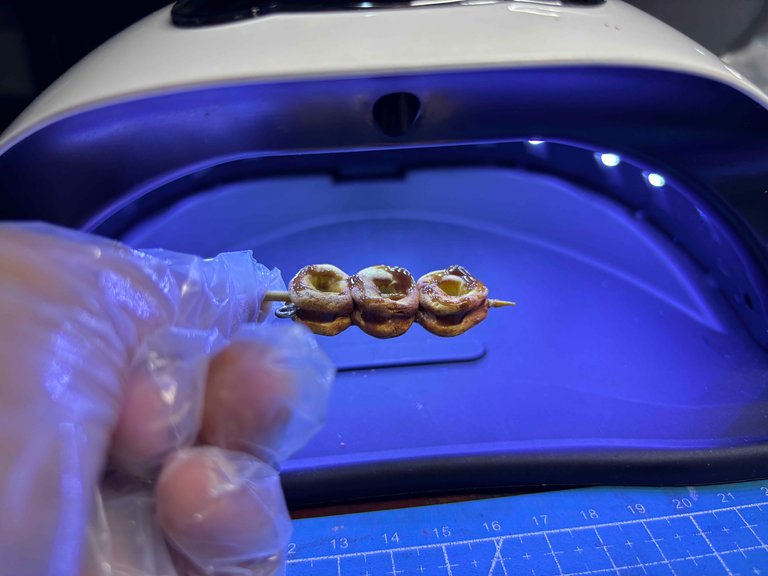
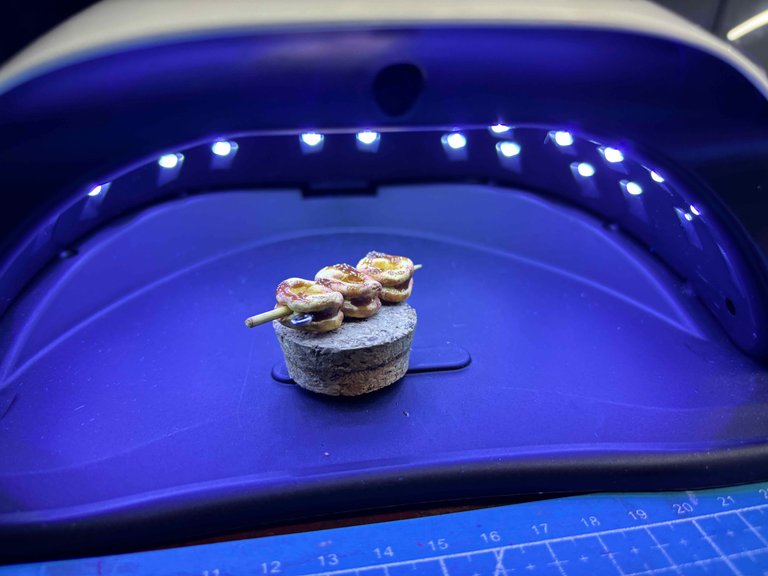
To cure it evenly, I just rotate the clay until it is cured enough and then I lay it into a cork and cure for several times.
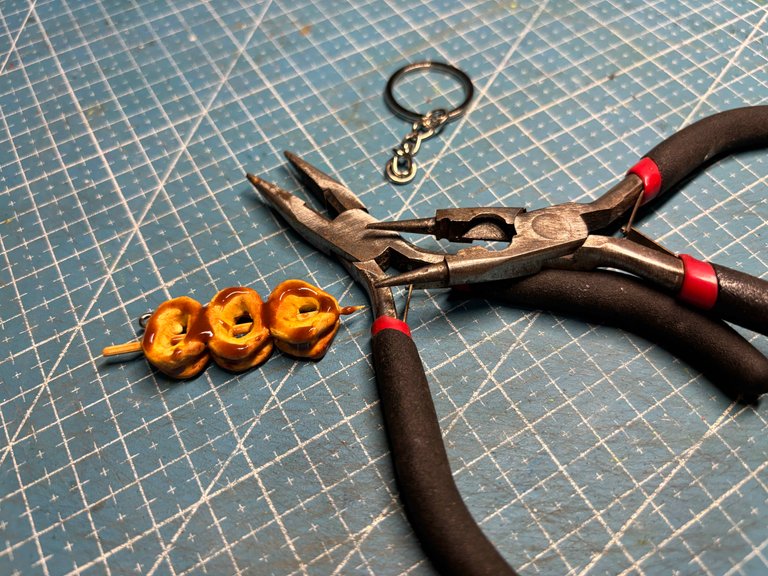
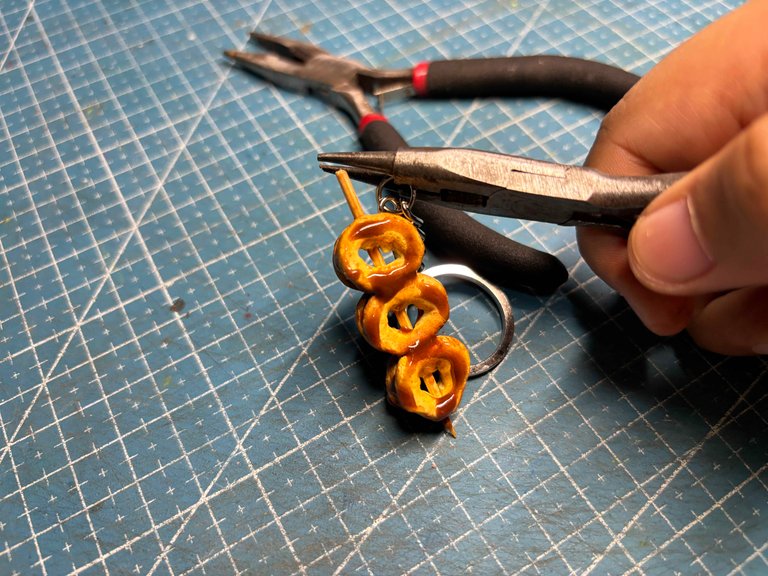
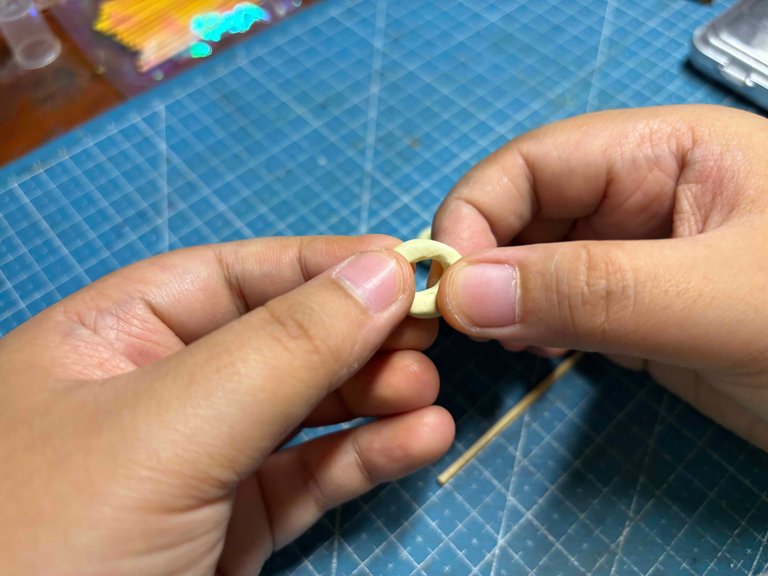
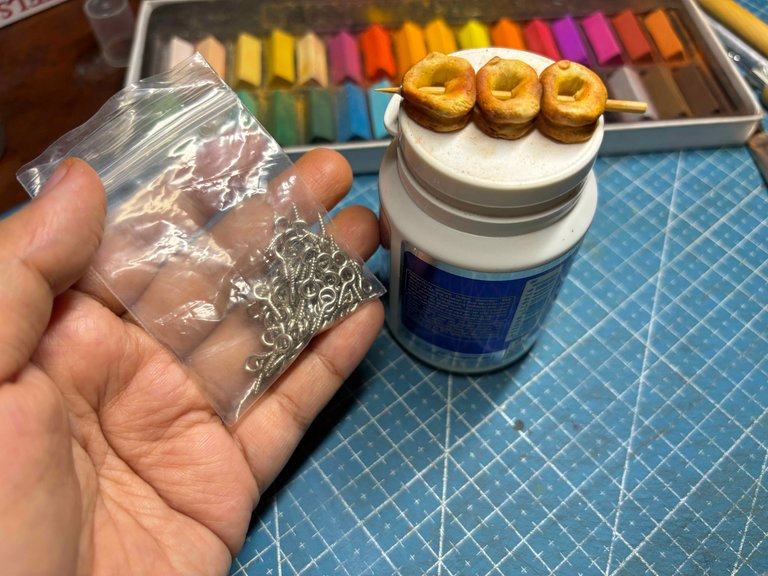
For this part, I am going to add the keychain. What I need is a pair of pliers and a keychain. What I do is I hoop the jump ring to the eyepin and then I lock it using the two pliers.
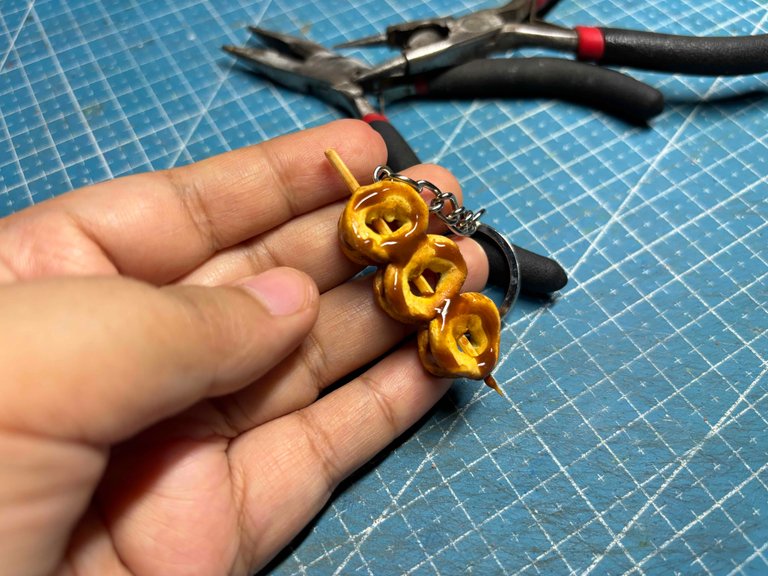
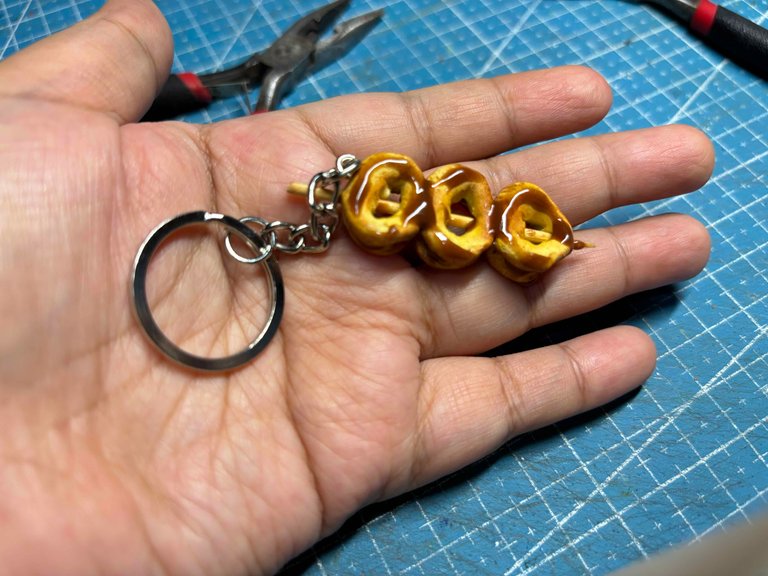
This is how it looks finished.
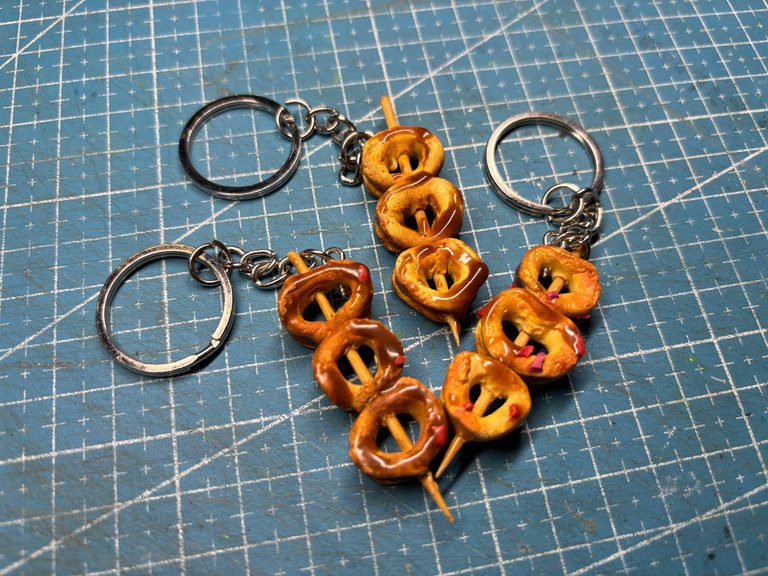
I feel something is missing, so I added chili flakes to the squid rings to make it look interesting. I like my sauce spicy, so LOL.
Thank you for visiting, see you on my next blog. :D
Please take care of your mental health as well.
I hope you are okay today :))
Please take care of your mental health as well.
I hope you are okay today :))

This is the first time I have seen a post on any type of clay crafts. Thanks for sharing your process in making food Keychain.
!PIMP
thank you :D
thank you :D
Neat idea for a crafty mind!
thank you :D
This is wonderful
Clay?
Thank you :D Yes clay.
This was a lot of work but was worth it. You made a realistic clay keychain, bravo! Keep up the good work friend, we love it.
selected by @ibbtammy
Thank you so much for the support 😁
Omg, that's really cute! Haha. If you make a while collection of street foods as a collection then replace your keychain on your everyday bag, that would be cute. Like ang cute lang ng idea ba.
Thank you 😁 that it true I do that sometime hehehe. Salamat 😄
Those clay keychains are so creative and cute! Such a fun tribute to Filipino street food—love the fried calamares design! 🦑🎨
It is a fun and creative activity of yours, making keychains like Calamares. So cute!
Luto na rin ang calamares. 😆 yes, benta na yan. Post mo sa fb page. ✨️
You really have the hand of an artist..It is my first time seeing someone craft keychain using clay. And it is my favorite calamares🥺 A really good dish sold here in our town. Keychain + street foods? It is so Filipino signatured.I am so proud. Continue crafting morreee❤️❤️