Home Renovation: Saving Hardwood Floors
Continuing on with our home renovation project I'm here to say that the demolition stage has started! Part of the overall plan is to replace the hardwood floors in the kitchen, pantry and breakfast nook with tiles, but the hardwood in those areas is actually quite new and in really good shape. We probably would have kept it if we weren't removing walls and needing new plumbing, electrical and duct work lines re-routed. It feels wrong to toss the floors in the trash and let them go to waste so I've decided to salvage as much of them as I can.
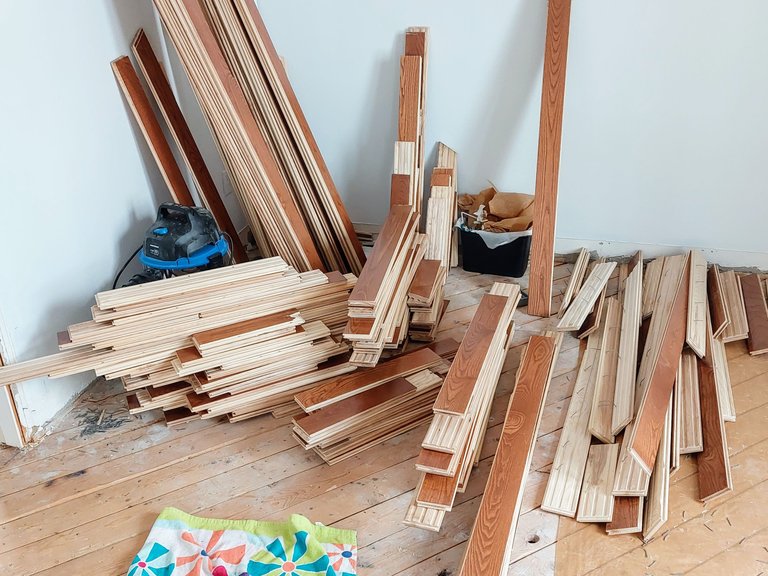
I'm hoping that there is enough boards to finish our floor in our bedroom. That space currently has carpet but the carpet is old and my allergies are pretty bad in that room so the hardwood would be a good replacement I think.
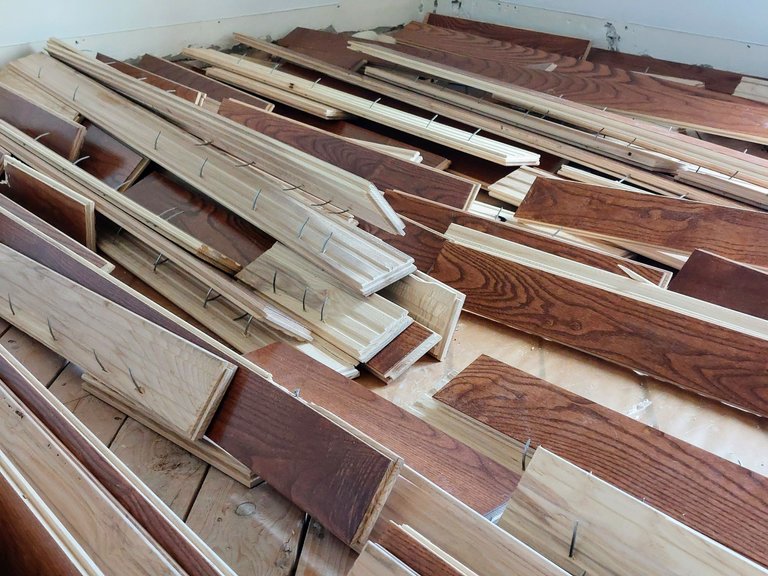
I really would have liked the demo crew to do the work and save the boards but they were going to charge us extra on the job and we didn't want to pay for it so I decided to do it myself for free.
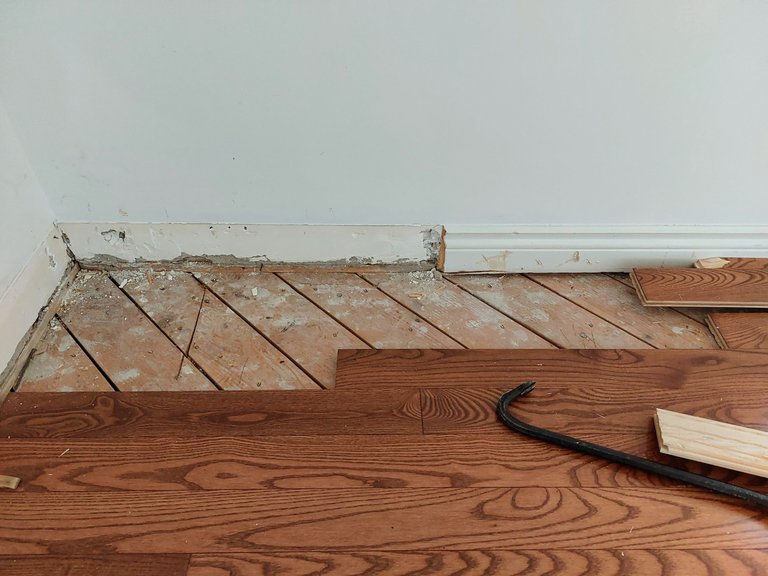
I used simple tools to pull up the boards, just a hammer and a few crow bars to pry up the nails.
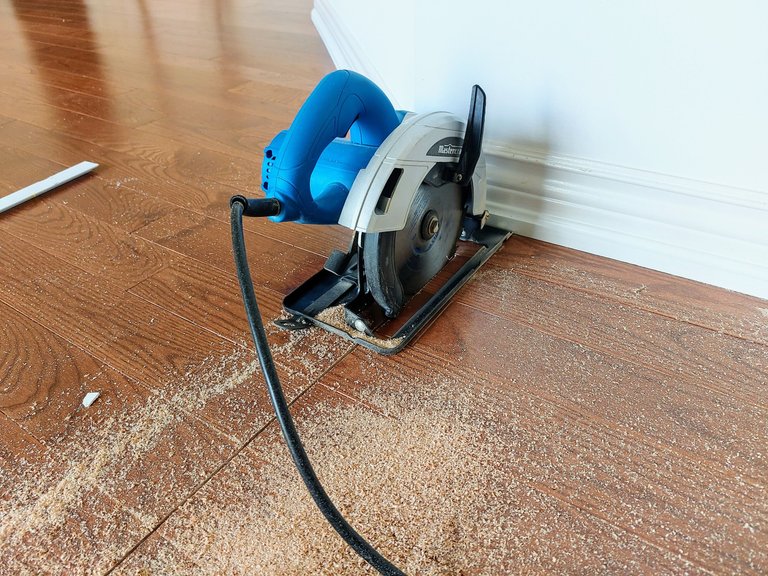
I also used a skill saw to cut the boards at the end near where the new floor would start. I didn't need it to be perfect because the professionals would have to cut it again in the correct spot so its okay that my cut is a little wonky. I adjusted the blade to be just past the depth of the hardwood so as not to cut the floor below as well.
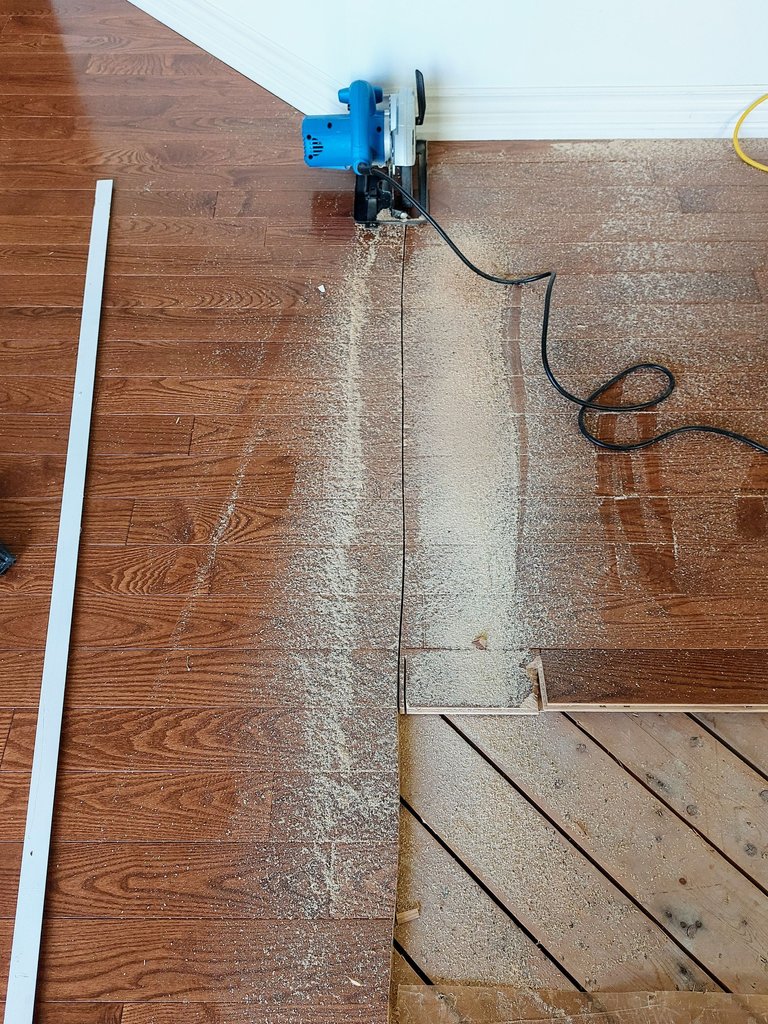
I started pulling up boards on one end and worked my way back towards the other.
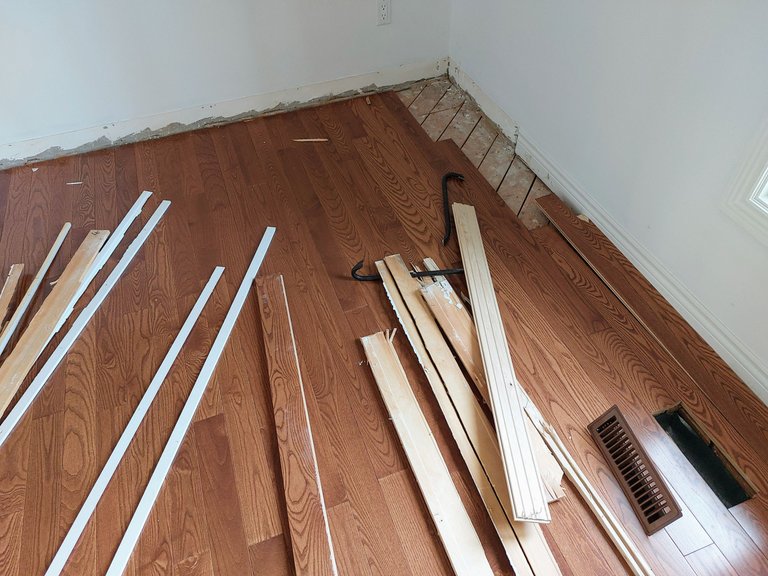
The first few boards didn't come out easily and the tongue broke off several when I pulled them up. On many of the other boards the tongue cracked pretty bad but didn't come off completely, so my wife helped me glue those ones back together. They came up quite a bit easier as I moved away from the wall though and I was actually able to save a lot in near perfect condition.
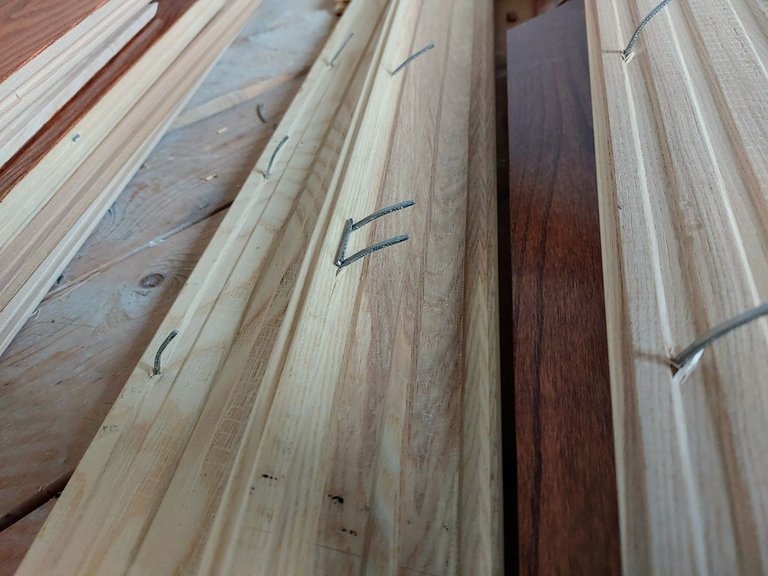
At the end of it I had to cut off the nails and hammer them in flat so that they sit flush on the floor for next time.
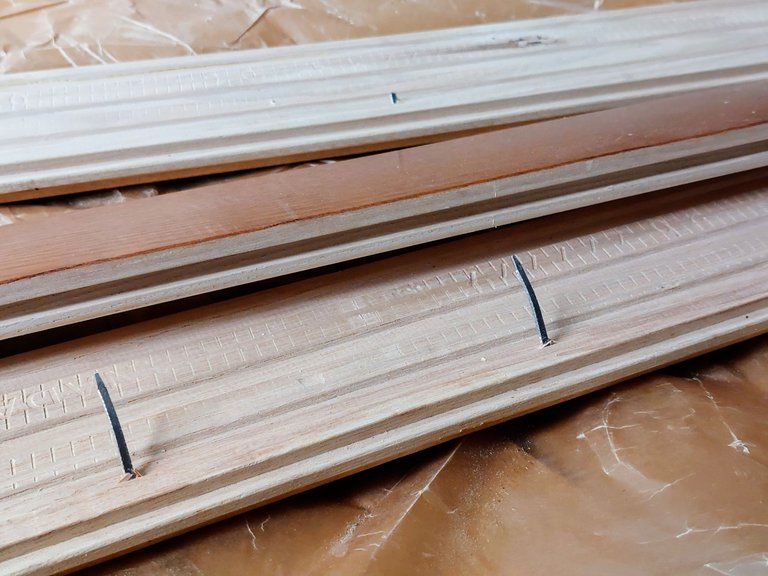
My wife helped a lot with that part which made the work go a lot faster. She was a hammering machine!
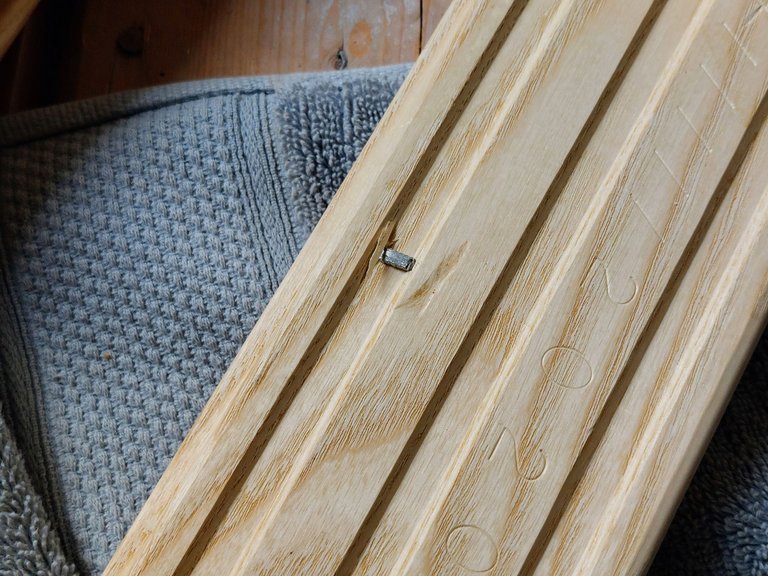
It became a bit of an assembly line with me cutting the excess nail and my wife hammering it flat. We listened to a podcast to break up the monotony of the work.
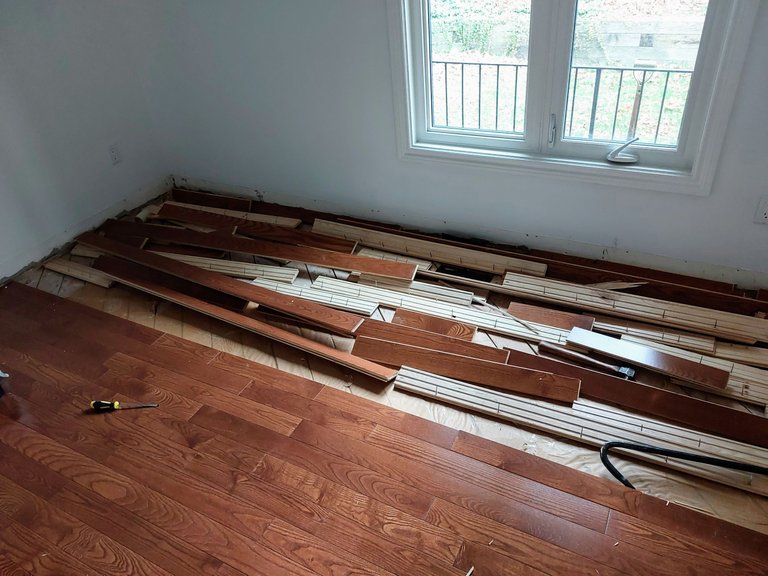
The whole thing took us several days to complete.
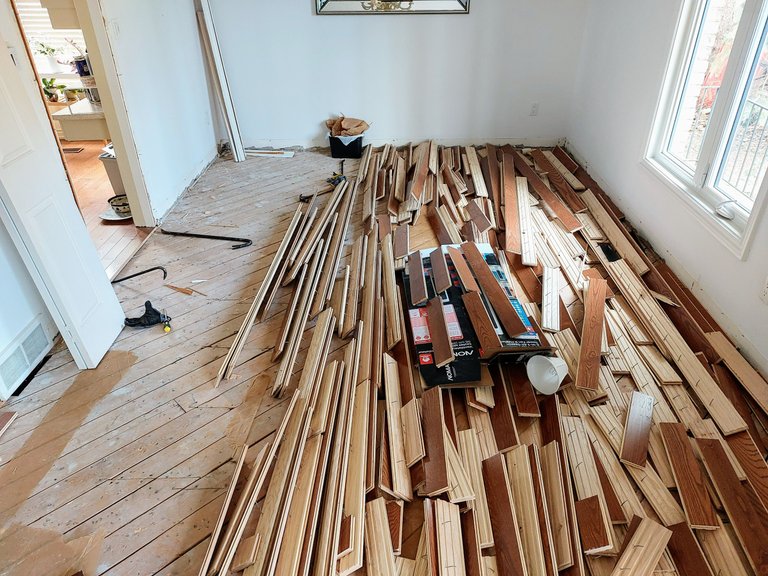
Here's me near the beginning of the project when I was still in a good mood and feeling fresh. Later I was quite sore from being hunched over for hours, prying boards on my knees on the hard floor.

Congratulations @leaky20! You received a personal badge!
Wait until the end of Power Up Day to find out the size of your Power-Bee.
May the Hive Power be with you!
You can view your badges on your board and compare yourself to others in the Ranking
Check out our last posts:
big job but rewarding, lucky you have the skills and time to do it
Yeah, in this case it was actually pretty easy. That was a plus
Lol. You do look quite happy and refreshed there. Should have done an after pix. Quite a job and will look awesome when done I'm sure!
Yeah the after shot would have me looking ragged. Sore knees and back, blister and cuts on my hands lol
Lol, some things are best left unseen!
Saludos amigo que bueno que puedas hacer la reparación del piso tu mismo así te puedes ahorrar bastante dinero que lo puedes usar para seguir con la reconstrucción de tu hoy
Yes, that very true. Thanks 😁
The floor boards really look so nice and new, such a pity you had to rip it out coz of all the changes. Repurposing them in your bedroom is a great idea, saving you a few pennies and not let them go to waste.
Yeah, I hate wasting good material. It was the same with our existing kitchen cabinets. I wanted to repurpose them in the laundry room, but n that case I couldn't get the cabinets out in one piece so they ended up being scrapped.
I hope that there are enough hardwood boards to do the entire room. It will be close. Worst case scenario I should only need to buy one more box to finish the bedroom. So that is a small win.
Just what I was thinking.
You guys did such a neat job and I love how intact the woods came out 😍.
In the photo, you looked like a fresher who just got into Uni before Lecturers stress and school work 😂
Haha that's a good comparison... Maybe if I was 18 years younger 😂
Yeah Maybe 😂
Glad that you are able to achieve that which you want to achieve
Thanks 😁
You did a lot of work today. I’m glad you were careful enough so that you won’t be injured by the nail
Happy new month!
Just a few minor Knicks on the hands but nothing serious
Congratulations @leaky20! You received a personal badge!
Participate in the next Power Up Day and try to power-up more HIVE to get a bigger Power-Bee.
May the Hive Power be with you!
You can view your badges on your board and compare yourself to others in the Ranking
Check out our last posts:
https://twitter.com/hivediy47901/status/1775028101531234739
Well done to you both, awesome teamwork! Looking forward to the developments of your project.
Thanks. I already have some more demo pictures so I just need a moment to write a post about it.
I really appreciate it when I see older materials that would have otherwise ended up in the trash being reused in home renovations.
Yes, I'm not a fan of using carpets in the house, the first reason would be the allergies I suffer from and the second reason would be the rather difficult cleaning.
I admire you for your courage to do the work yourself (you not being a specialist in this).
In the end, your satisfaction must be great, because you have succeeded in bringing your project to fruition.
Yeah I have the same issue with allergies so I prefer other materials over carpet. In the winter in Canada the carpet is much warmer though so there are pros and cons to it, I suppose.
I agree, it much more satisfying doing the work yourself. 😁