[Esp-Eng] Decoración para pastel de Stitch // Stitch Cake Decoration

Español
Como ya sabrán, si han visto y leído mis publicaciones anteriores, adoro crear manualidades para cumpleaños.
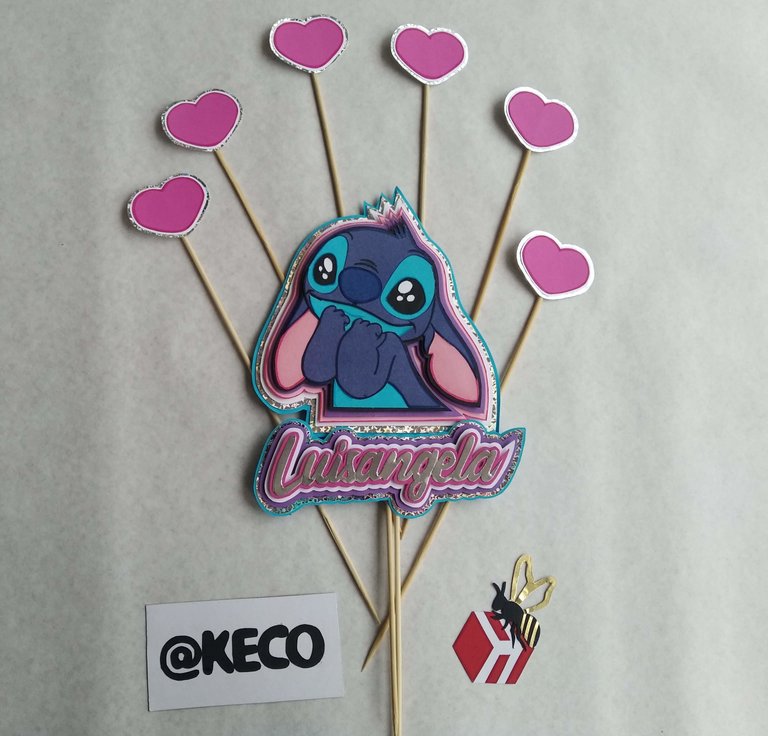
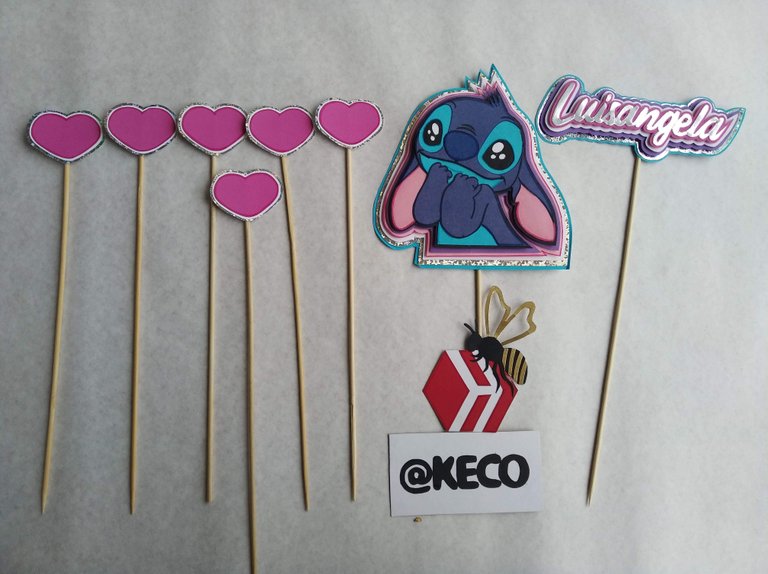
El trabajo que hoy les comparto es un topper, una decoración para un pastel de cumpleaños, el personaje realizado fue Stitch, un personaje animado muy travieso y hermoso a la vez
Esta manualidad está realizada todo a mano, las piezas fueron creadas en cartulina y a capas. Sin más les dejo el proceso e imágenes del mismo.
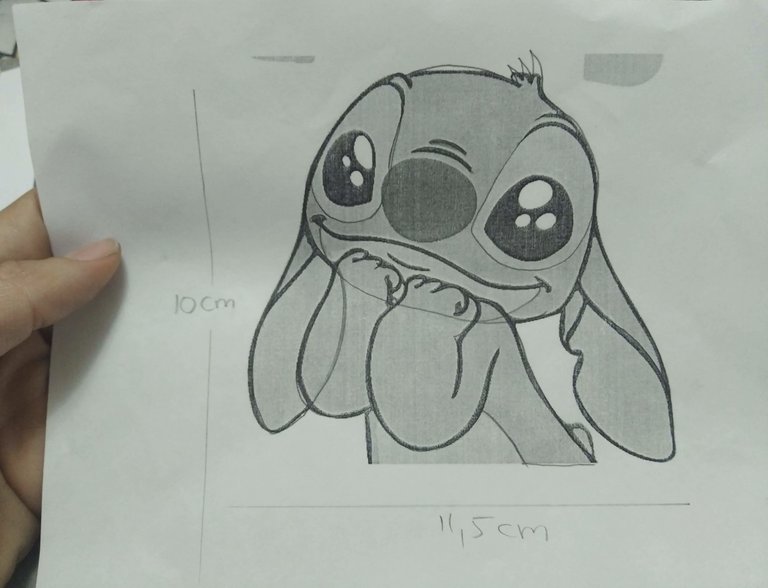
- Impresión del personaje que servirá de plantilla para armar las piezas.
- Cartulinas de colores (de acuerdo al personaje)
- Cartulina Plateada holográfica
- Cartulina Plateada tipo espejo
- Foami base (colores semejantes a las cartulinas)
- Marcadores de colores
- Tijera y Cutter
- Palitos de altura (de madera)
- Papel Carbón
- Silicón frío
- Silicón Caliente
English
As you already know, if you have seen and read my previous posts, I love to create crafts for birthdays.
The work I share with you today is a topper, a decoration for a birthday cake, the character made was Stitch, a very mischievous and beautiful animated character at the same time.
This craft is all handmade, the pieces were created in cardboard and layers. Without further ado I leave you the process and images of it.
- Printing of the character that will serve as a template to assemble the pieces.
- Colored cardboard (according to the character).
- Holographic silver cardboard.
- Silver mirror cardboard
- Foami base (colors similar to those of the cardboard)
- Color markers
- Scissors and cutter
- Sticks of height (wood)
- Carbon Paper
- Cold Silicone
- Hot Silicone
1.- Imprimir o dibujar el personaje a crear. El tamaño (ancho y alto) dependerá del tamaño del pastel. Para este trabajo el tamaño aproximado fue 11 cm ancho por 10 cm de alto.
1.- Print or draw the character to be created. The size (width and height) will depend on the size of the cake. For this work the approximate size was 11 cm wide by 10 cm high.
 |
|---|
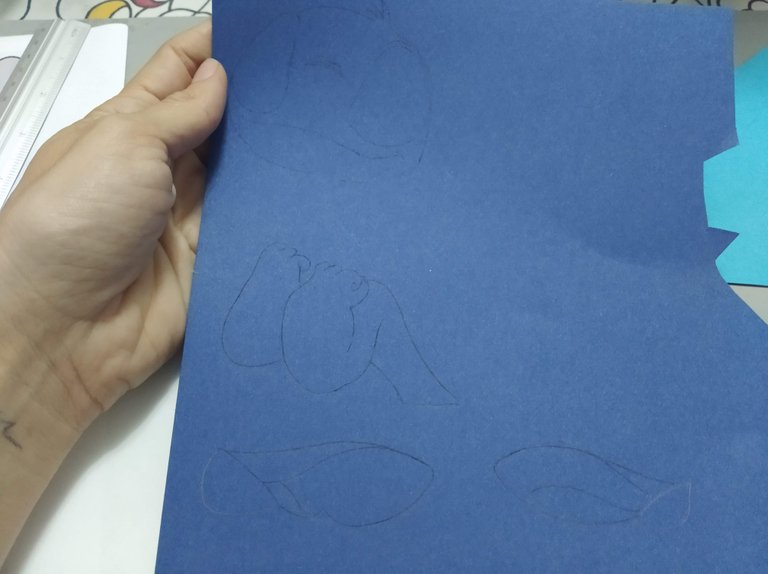
2.- Usando el diseño (impreso o dibujado) como plantilla, marcar las partes del mismo en las cartulinas correspondientes haciendo uso del papel carbón para la transferencia.
2.- Using the design (printed or drawn) as a template, mark the parts of the design on the corresponding cards using carbon paper for the transfer.
 |
|---|
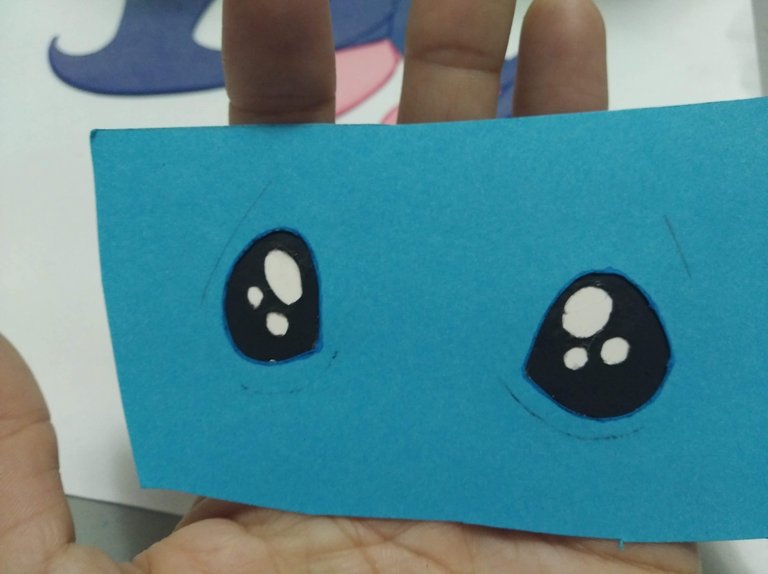
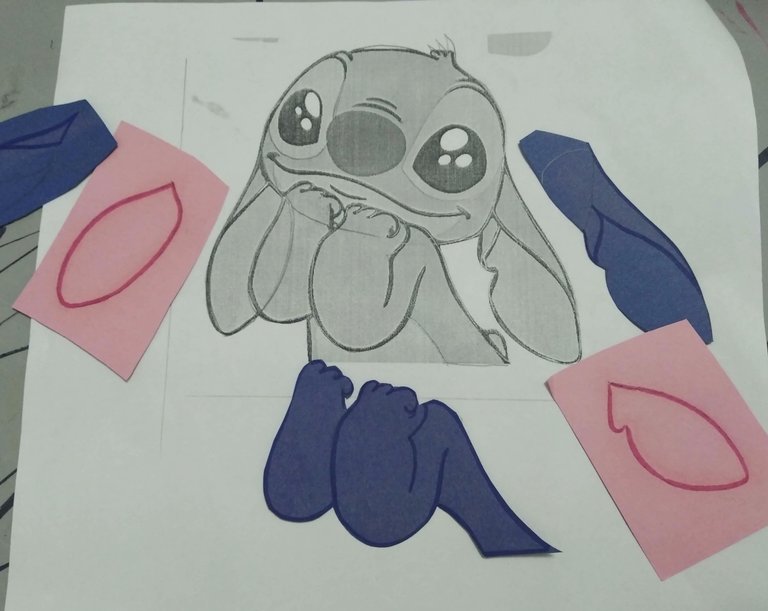
3.- A cada parte marcada en la cartulina, resaltar haciendo uso de los marcadores de colores por todos los bordes, luego recortar siguiendo el patrón de la plantilla y dejando pequeñas pestañas para luego poder unir las piezas.
3.- To each part marked on the cardboard, highlight using the colored markers all around the edges, then cut out following the pattern of the template and leaving small tabs so that the pieces can be joined together.
 |  |
|---|
 |  |
|---|
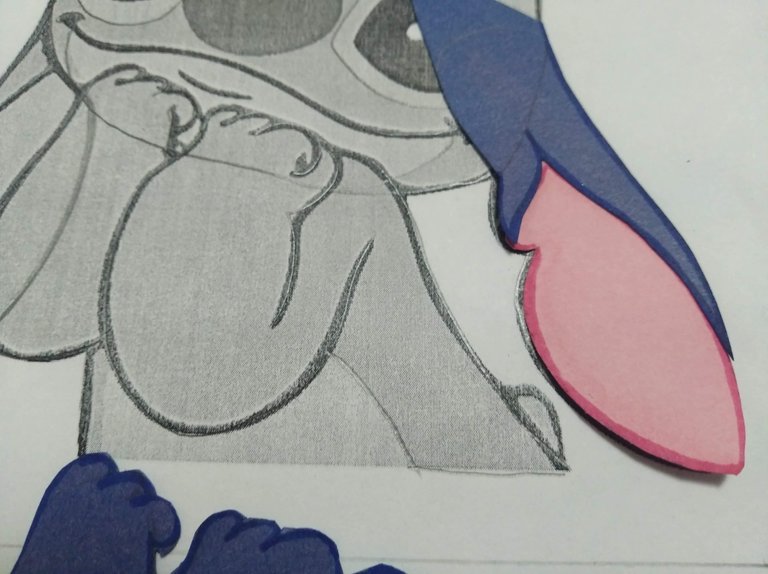
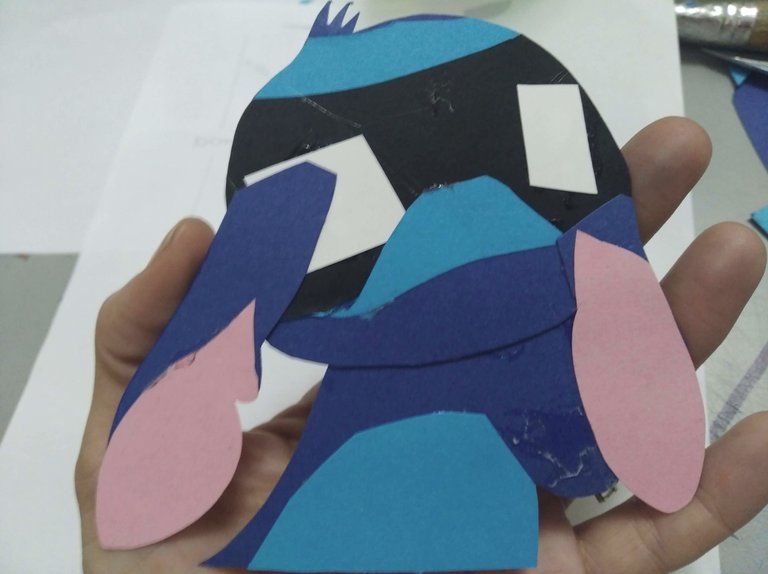
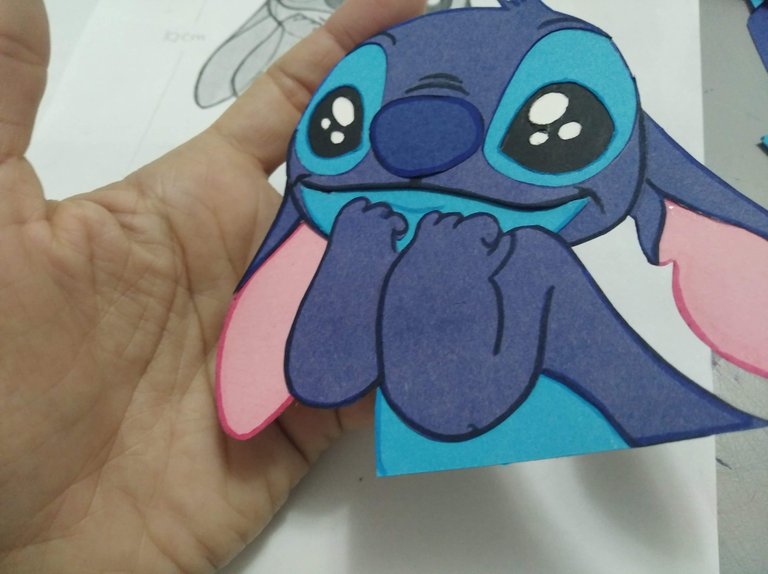
4.- Con todas las partes listas, ensamblar las mismas siguiendo el patrón del personaje.
4.- With all the parts ready, assemble them following the pattern of the character.
 |  |
|---|
 |  |
|---|
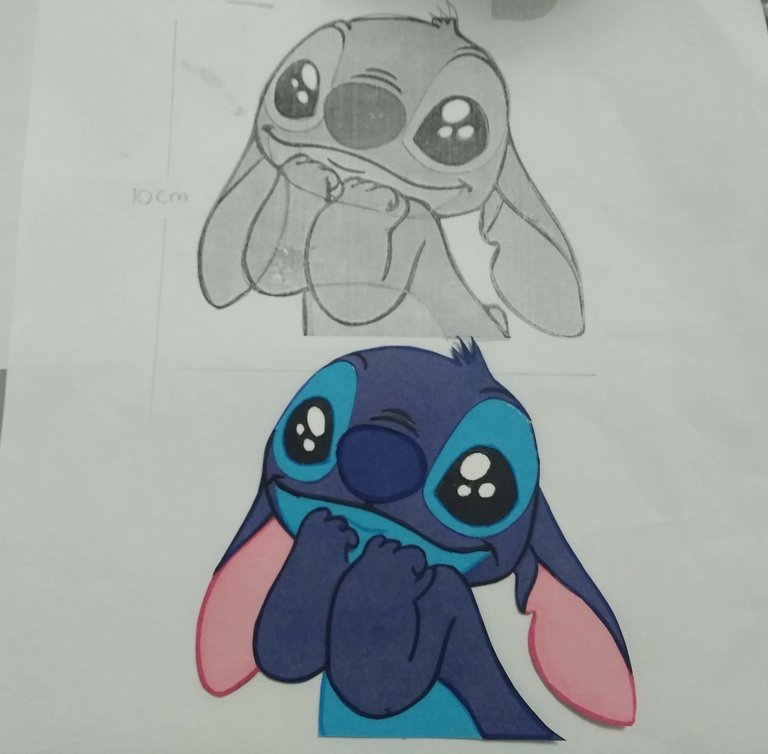
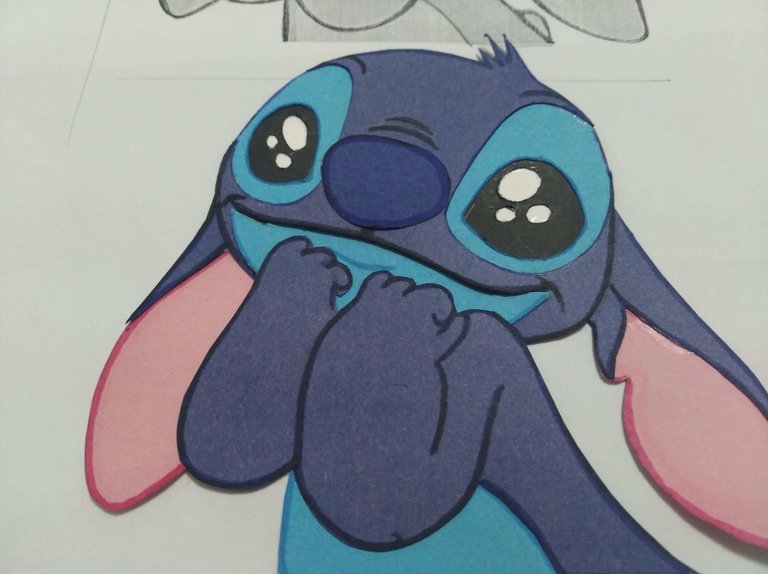
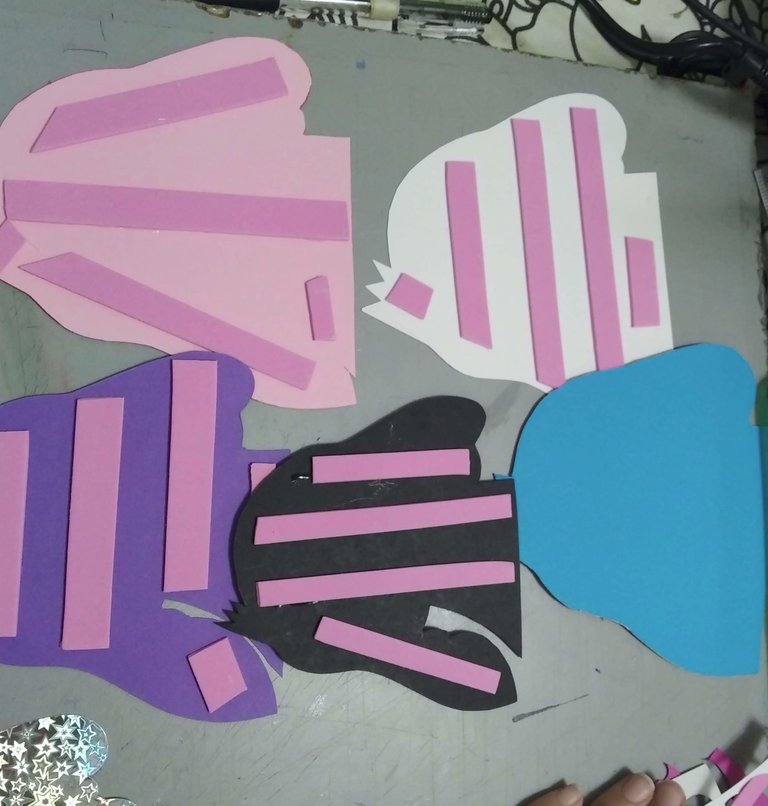
5.- Con el personaje ensamblado, marcar las distintas capas del personaje. Los colores de las capas dependerán del gusto personal de quien lo realiza, en este caso, opté por colocar morado, rosado, blanco y holográfico para darle colores tiernos al mismo.
5.- With the character assembled, mark the different layers of the character. The colors of the layers will depend on the personal taste of the person who makes it, in this case, I chose to place purple, pink, white and holographic to give tender colors to the character.
 |  |
|---|
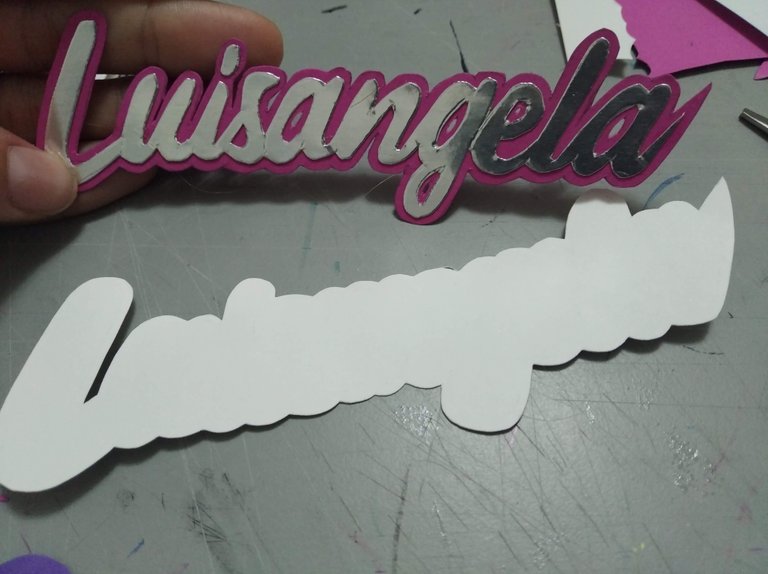
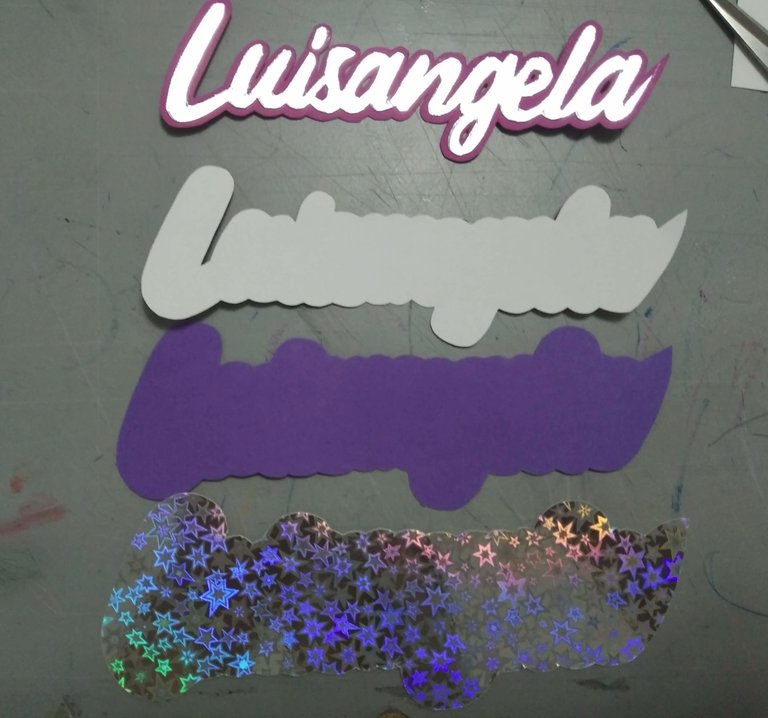
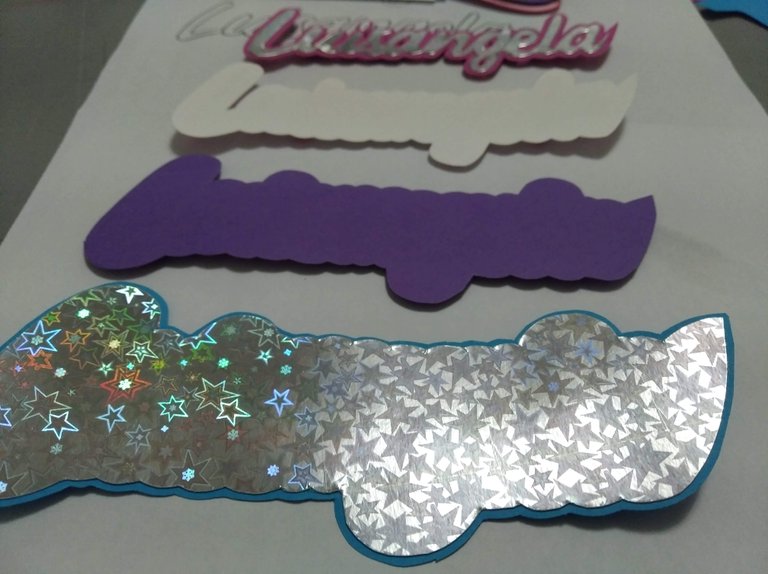
6.- El mismo proceso anterior para crear el personaje, fue implementado para crear el nombre de la cumpleañera. La diferencia está en invertí los colores de las cartulinas en las capas del mismo.
6.- The same process as above to create the character was implemented to create the birthday girl's name. The difference is that I reversed the colors of the cardstock in the layers of the character.
 |  |
|---|
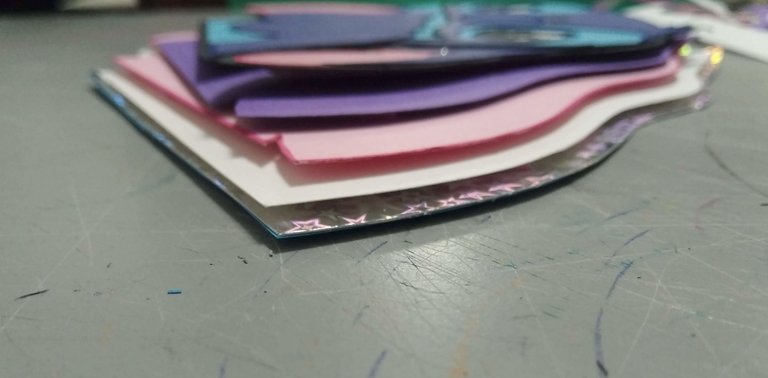
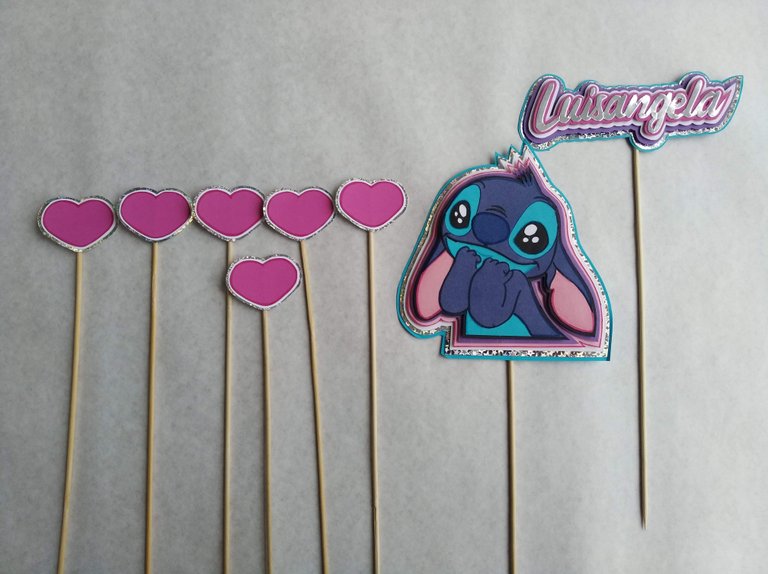
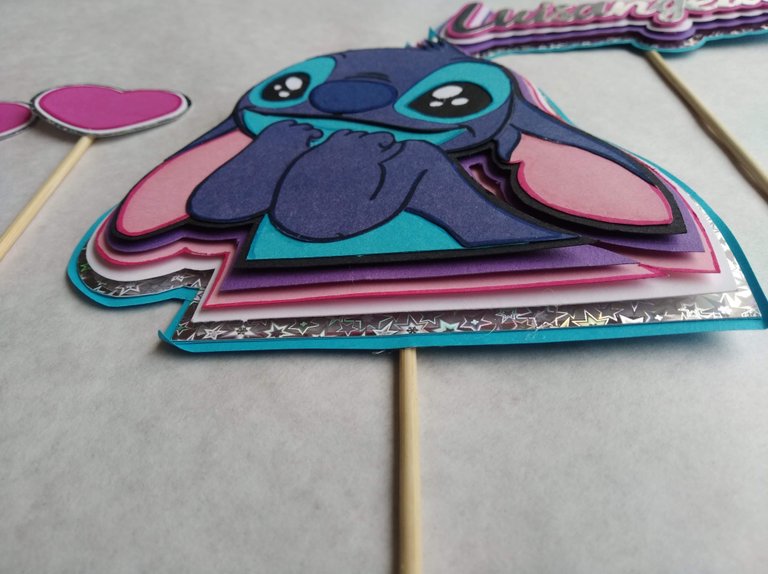
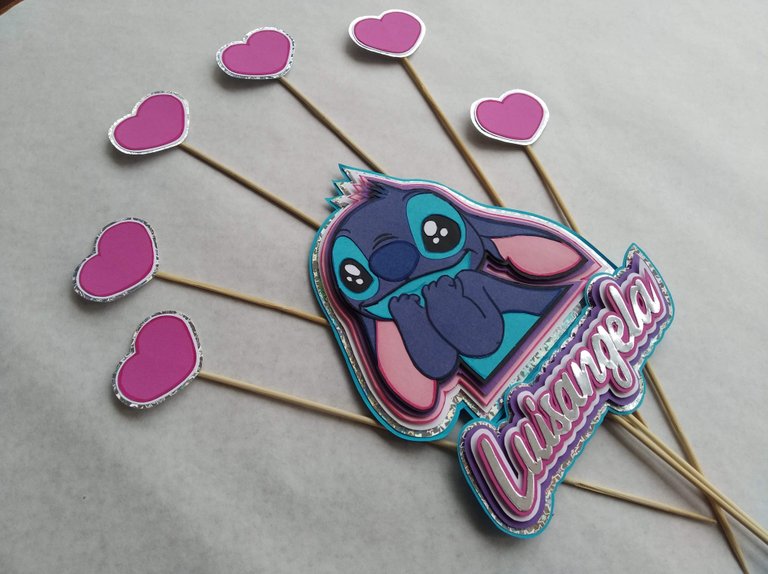
7.- Se unen todas las piezas, pegando primero tiras de foami plano en el reverso de las capas (para darle el volumen deseado) y luego se pegan entre si, y para finalizar se les pega el palito de madera que permitirá ubicar la pieza en el pastel.
7.- All the pieces are joined together, first gluing strips of flat foami on the back of the layers (to give them the desired volume) and then gluing them together, and finally gluing the wooden stick that will allow the piece to be placed on the cake.
 |  |
|---|
 |  |
|---|
 |
|---|
 |
|---|
|
|---|
Espero les haya gustado y sobre todo se entusiasmen a crear algo parecido para sorprender a familiares y amigos.
I hope you liked it and, above all, I hope you get excited to create something similar to surprise your family and friends.

Fuente
SALUDOS / REGARDS

Todas las Fotos fueron tomadas con mi teléfono
Contenido original de @keco (fotos y texto) - Todos los derechos reservados para ser Publicado en HIVE así como en mis distintas redes: Instagram y X
All photos were taken with my phone
Original content by @keco (photos and text) - All rights reserved to be posted on HIVE as well as on my various networks: Instagram and X
beautiful, her expression is very cute.
It's so beautiful and cute, the final result is amazing and very much explained well. The design and colours are perfect and well done. Bravo and keep it up
Congratulations @keco! You have completed the following achievement on the Hive blockchain And have been rewarded with New badge(s)
Your next target is to reach 30000 upvotes.
You can view your badges on your board and compare yourself to others in the Ranking
If you no longer want to receive notifications, reply to this comment with the word
STOP