Tutorial: haz un lindo pajarito con hilos pero sin tejer 🧶🐦 / Tutorial: Make a cute little bird with threads but without knitting 🧶🐦
Hello hivers. Today I'm sharing with you a very simple and fun technique for making birds using only thread and a few extra materials. I was supposed to participate in a #featheredfriends contest with this little bird, but unfortunately I couldn't finish it in time 😬🥴🤷🏻♀️. The process is quite quick, and the result is truly charming. Well, let's go over the materials and step-by-step instructions.
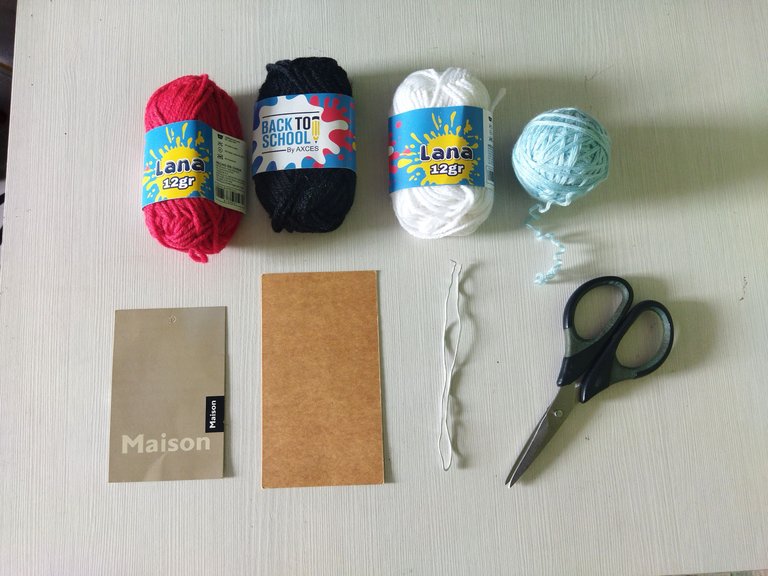
El ave que elegí para hacer esta manualidad es una Candelita aliblanca (Myioborus pictus), sus colores son negro, rojo, blanco y gris, yo no tenía gris así que lo sustituí por azul celeste. Los materiales que utilicé fueron:
🐦 Dos cartones de 10 y 8 cms de ancho
🐦 Hilos de colores negro, rojo, blanco y azul celeste
🐦 Tijeras
🐦 Alambre moldeable en dos grosores
🐦 Dos lentejuelas blancas
🐦 Dos mostacillas negras
🐦 Un pedazo pequeño de cartón negro
🐦 Pega blanca
🐦 Un poquito de relleno
The bird I chose to make this craft is a White-winged Nightjar (Myioborus pictus). Its colors are black, red, white, and gray. I didn't have any gray, so I substituted sky blue. The materials I used were:
🐦 Two cardboard pieces, 10 and 8 cm wide
🐦 Threads in black, red, white, and sky blue
🐦 Scissors
🐦 Bendable wire in two thicknesses
🐦 Two white sequins
🐦 Two black beads
🐦 A small piece of black cardboard
🐦 White glue
🐦 A little bit of filler
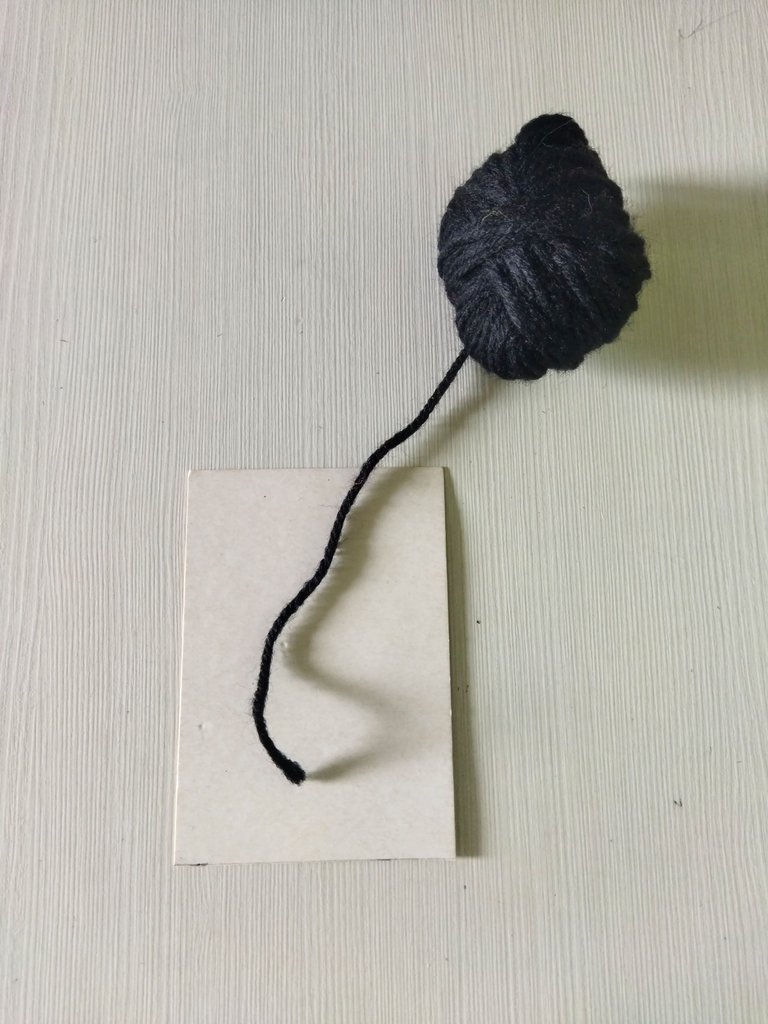
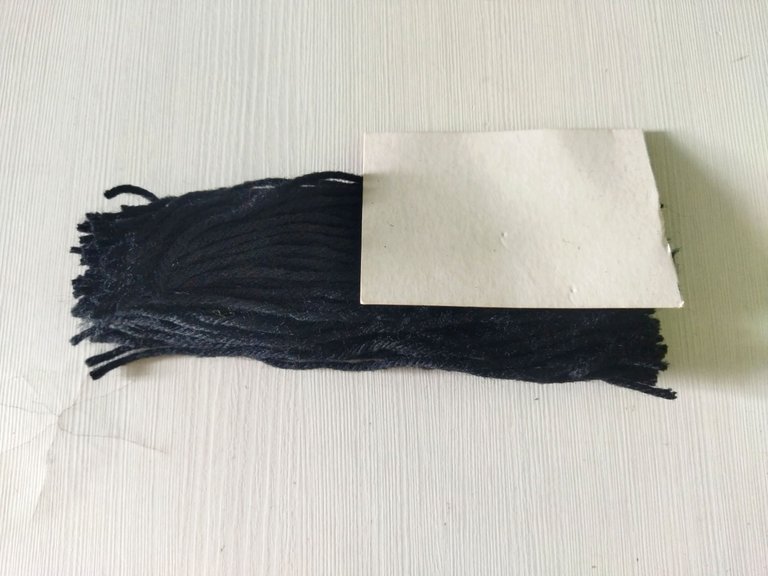
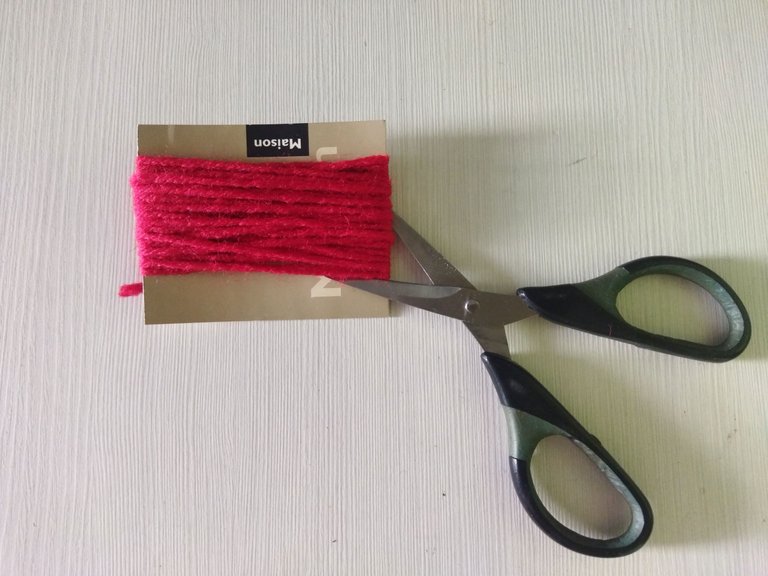
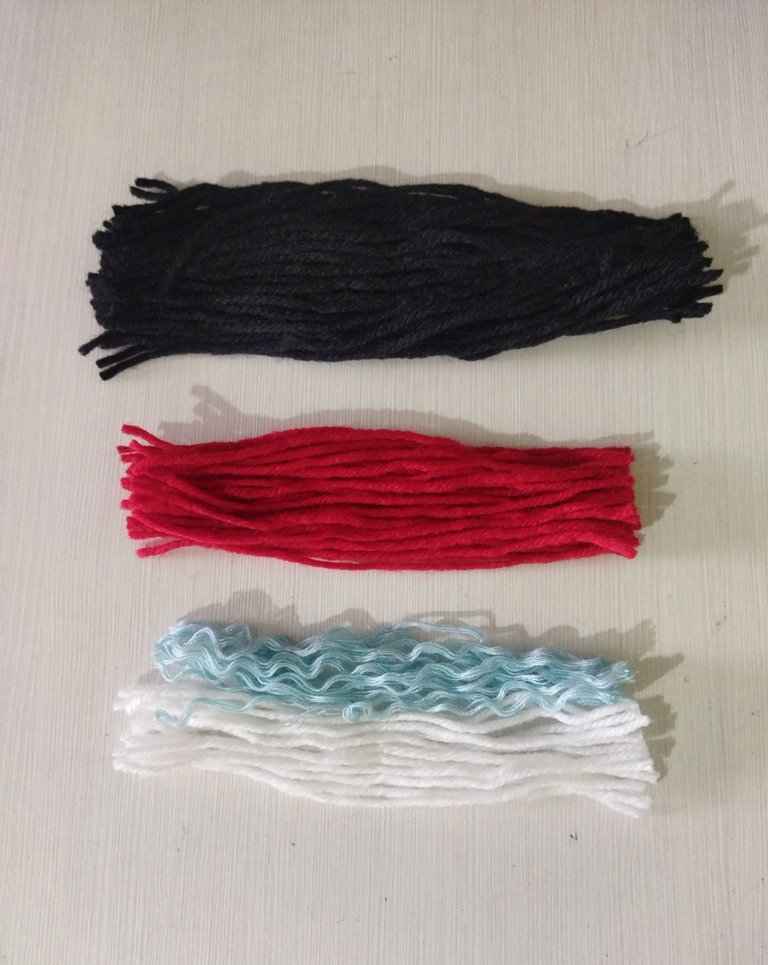
🐦 Paso 1: Lo primero que haremos es recortar el hilo que vamos a usar, para ello, tomamos el cartón de 10 cms y con el hilo negro le vamos a dar 60 vueltas. Lo mismo haremos con el hilo rojo, pero usando el cartón de 8 cms de ancho y dándole 50 vueltas.
🐦 Step 1: The first thing we'll do is cut the thread we're going to use. To do this, take the 10 cm cardboard and use the black thread to make 60 turns. We'll do the same with the red thread, but using the 8 cm wide cardboard and making 50 turns.

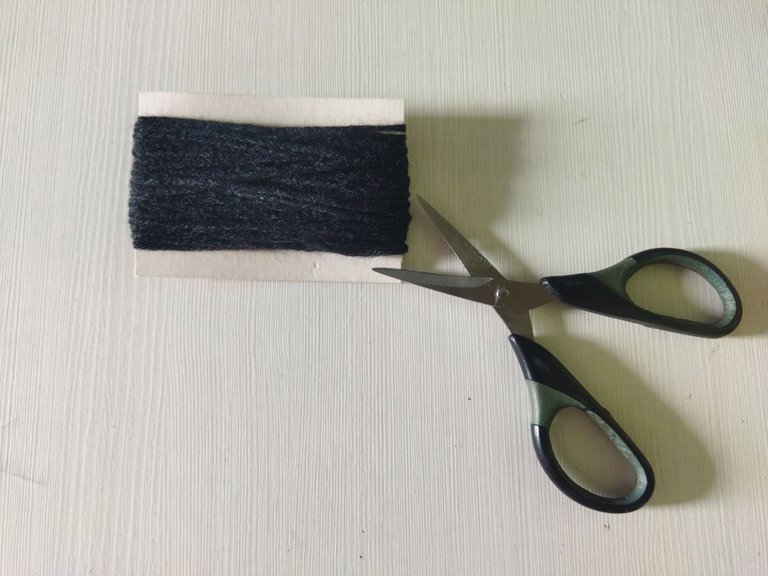
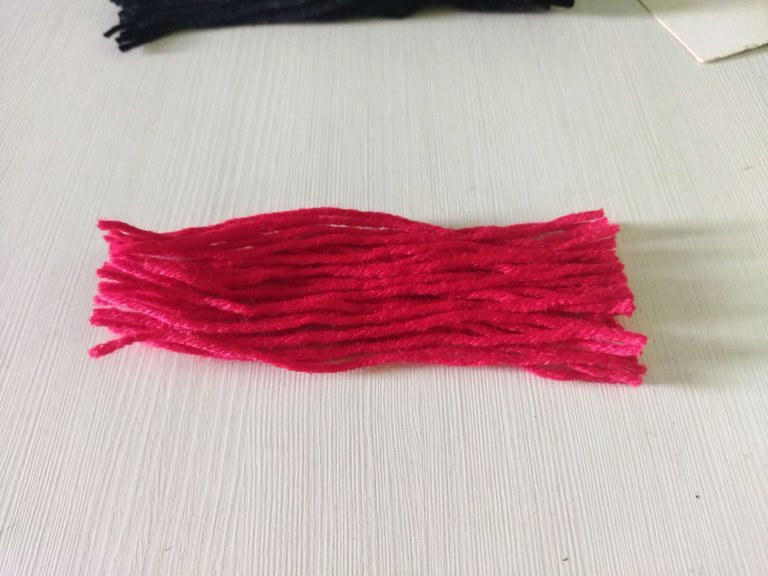
🐦 Paso 2: en este paso vamos a recortar por un lado el hilo recogido y lo dejamos extendido.
🐦 Step 2: In this step we're going to cut the collected thread on one side and leave it extended.

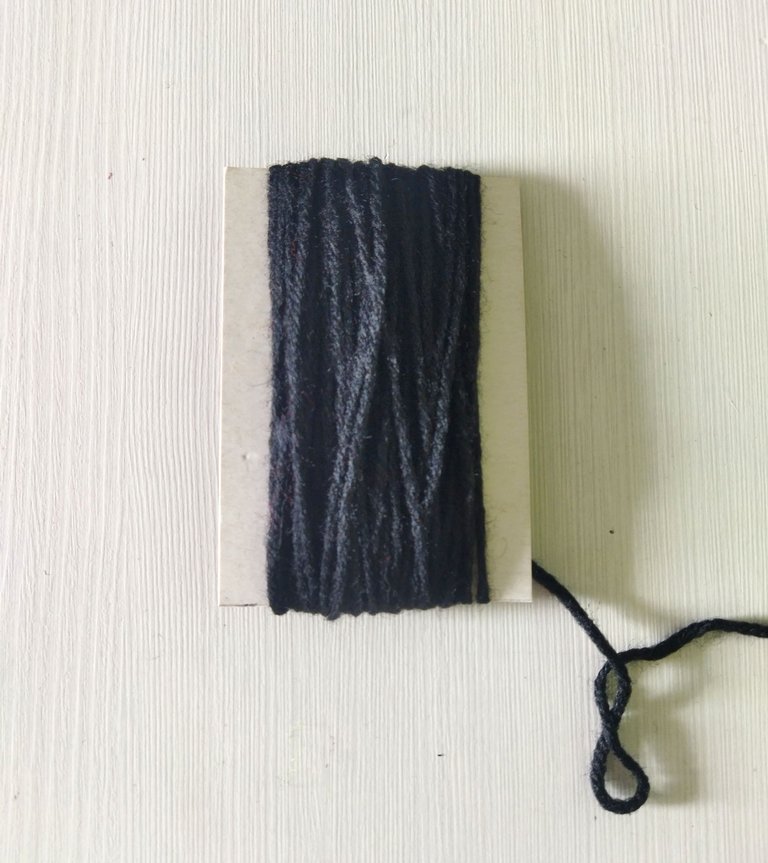
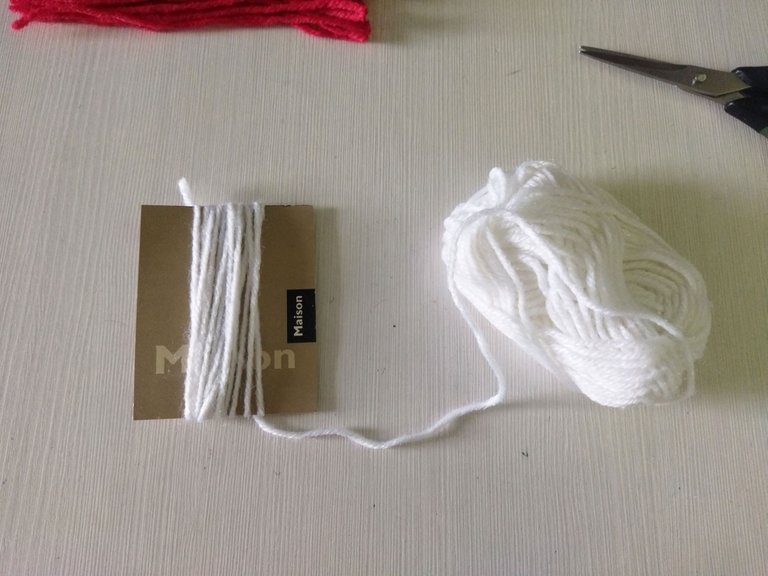
🐦 Paso 3: con el hilo blanco y el azul celeste vamos a darle 30 vueltas al cartón de 8 cms, 15 vueltas cada color.
🐦 Step 3: With the white and light blue thread, we're going to wrap the 8 cm cardboard 30 times, 15 times each color.


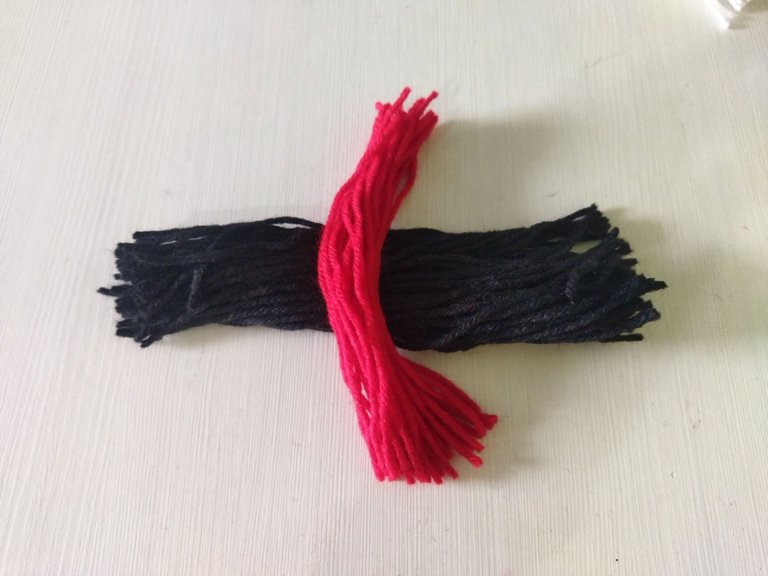
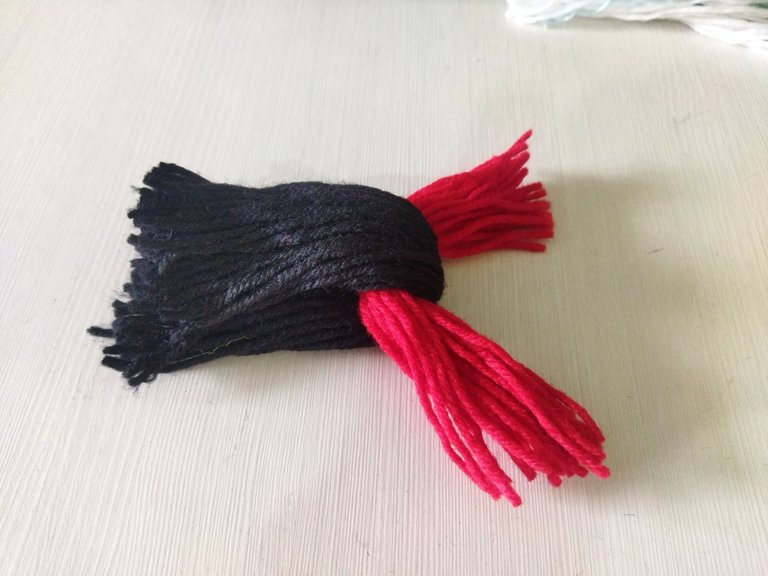
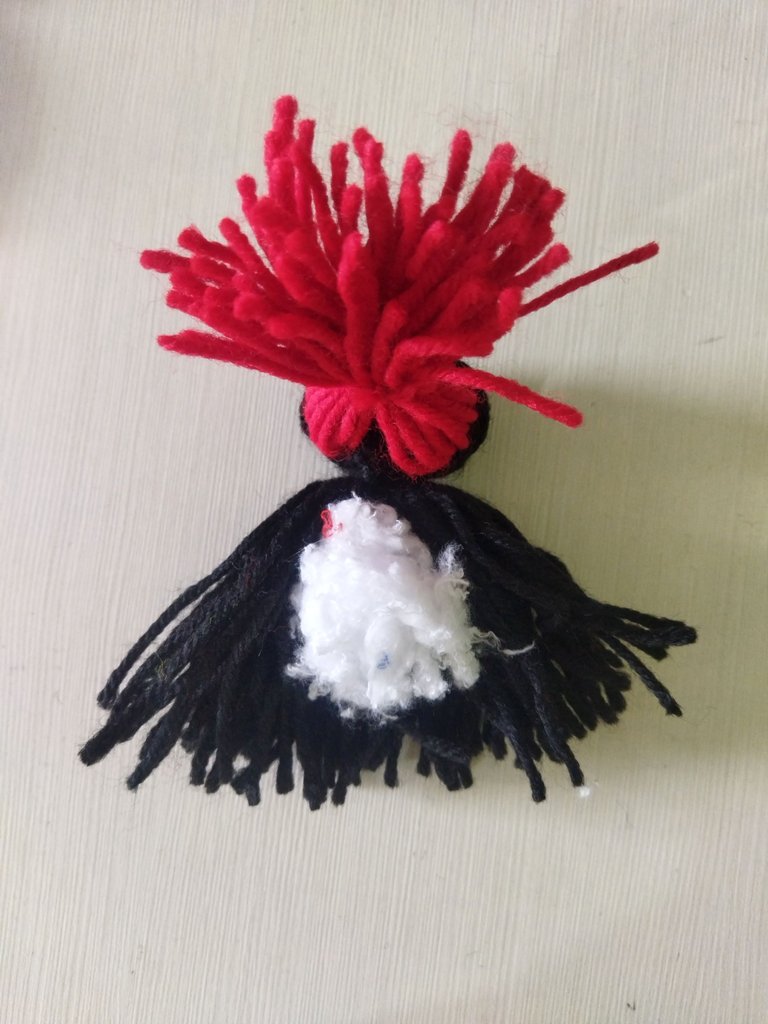
🐦 Paso 4: llegó el momento de armar nuestro pajarito 😃. Extendemos el hilo negro y sobre él ponemos en cruz el rojo, doblamos el paquete negro y amarramos con fuerza para que quede bien apretado. Hacemos lo mismo con el color rojo y amarramos.
🐦 Step 4: It's time to assemble our little bird 😃. We extend the black thread and cross the red thread over it. We fold the black pack and tie it tightly. We do the same with the red thread and tie it.


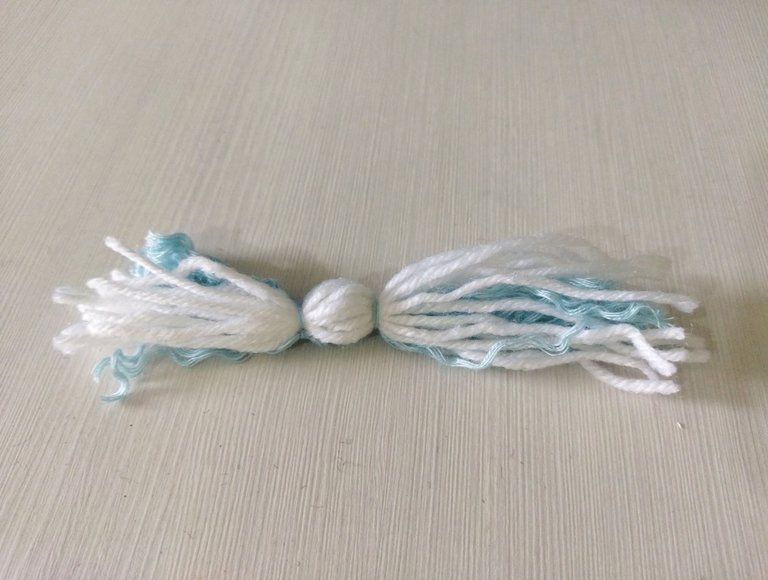
🐦 Paso 5: a continuación tomamos los otros dos paquetes, el blanco y el azul celeste y les hacemso dos amarres dejando una pequeña bolita en el centro.
🐦 Step 5: Next, we take the other two packages, the white one and the sky blue one, and we tie them twice, leaving a small ball in the center.

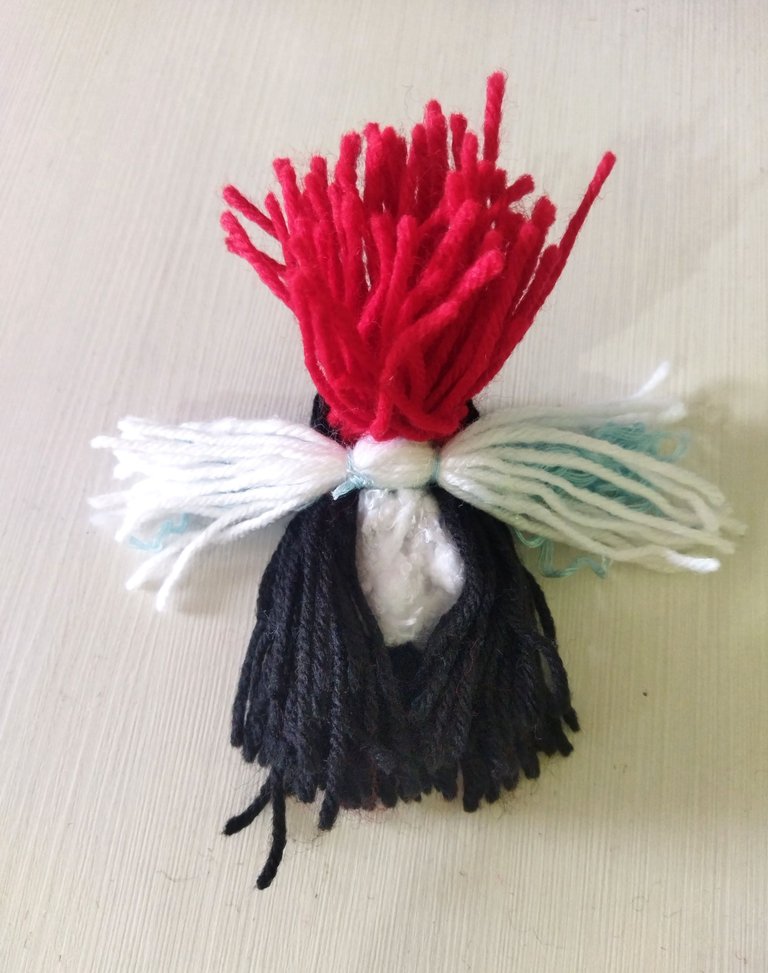
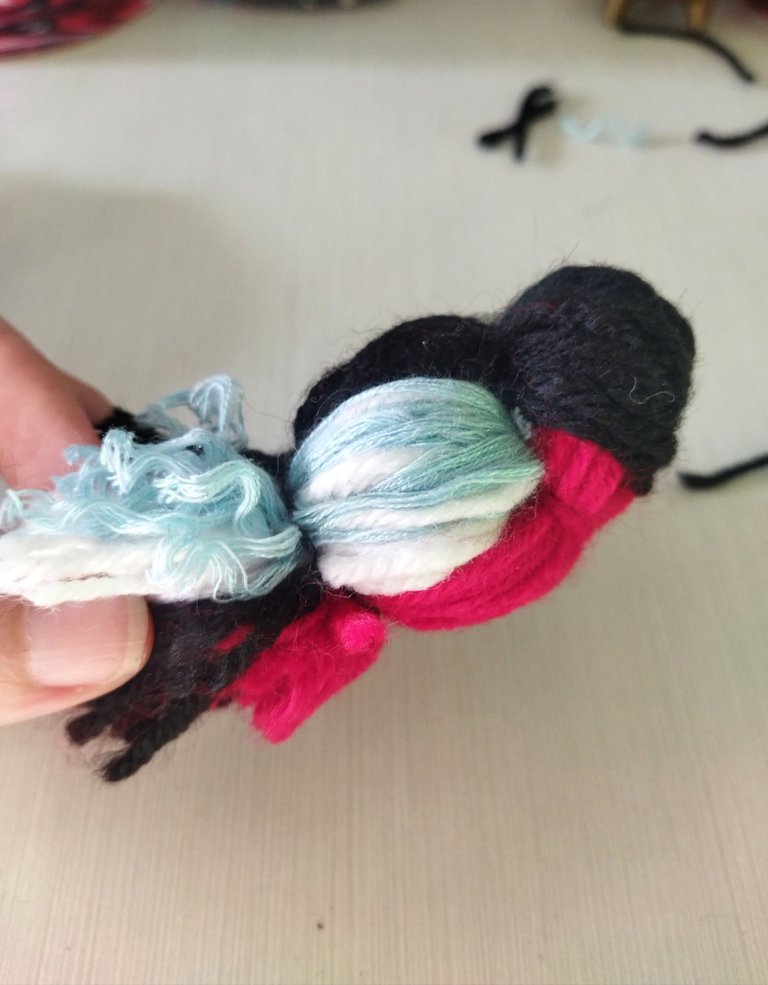
🐦 Paso 6: ahora vamos a darle forma a nuestro pajarito con un poquito de relleno, lo hacemos con cuidado para que quede bien cubierto con los hilos, después, tomamos el paquete blanco y celeste y lo ponemos entre ambos colores de manera que la bolita quede justo en el centro.
🐦 Step 6: Now we're going to shape our little bird with a little bit of stuffing, we do it carefully so that it is well covered with the threads, then, we take the white and light blue package and put it between both colors so that the ball is right in the center.

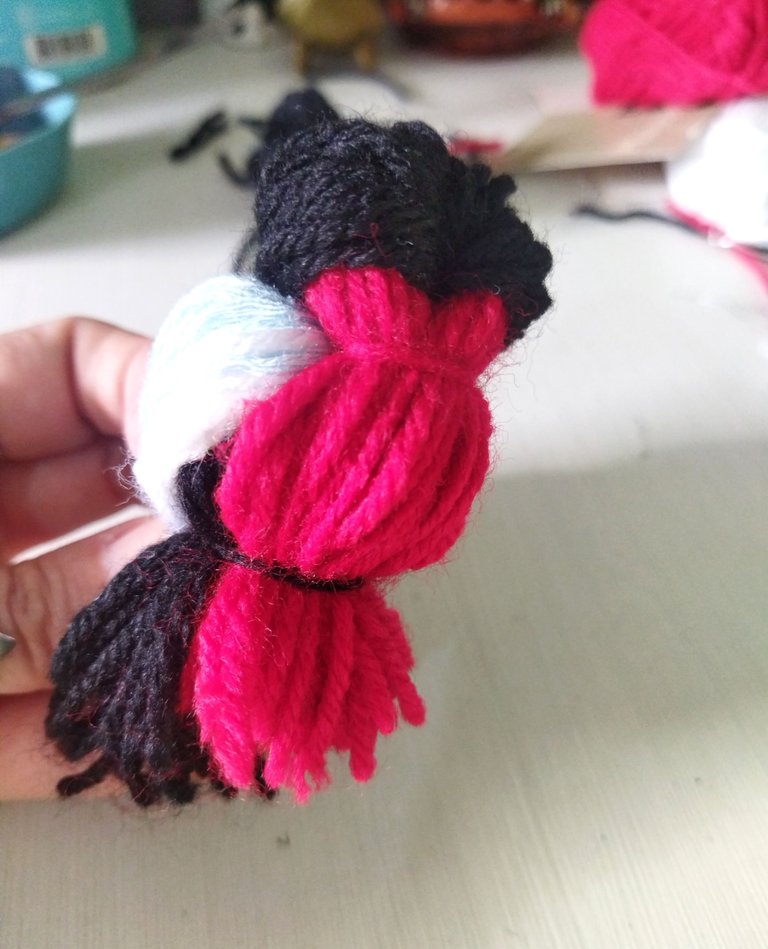
🐦 Paso 7: una vez que esté bien acomodado tomamos hilo negro y amarramos para que quede ajustado.
🐦 Step 7: Once it is well accommodated, we take black thread and tie it so that it's tight.

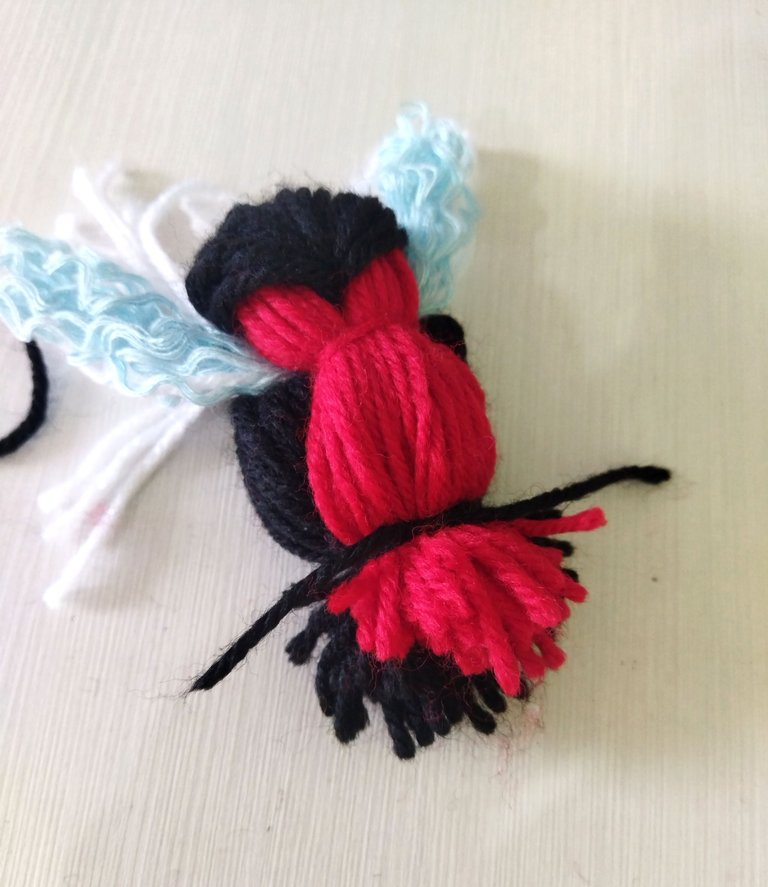
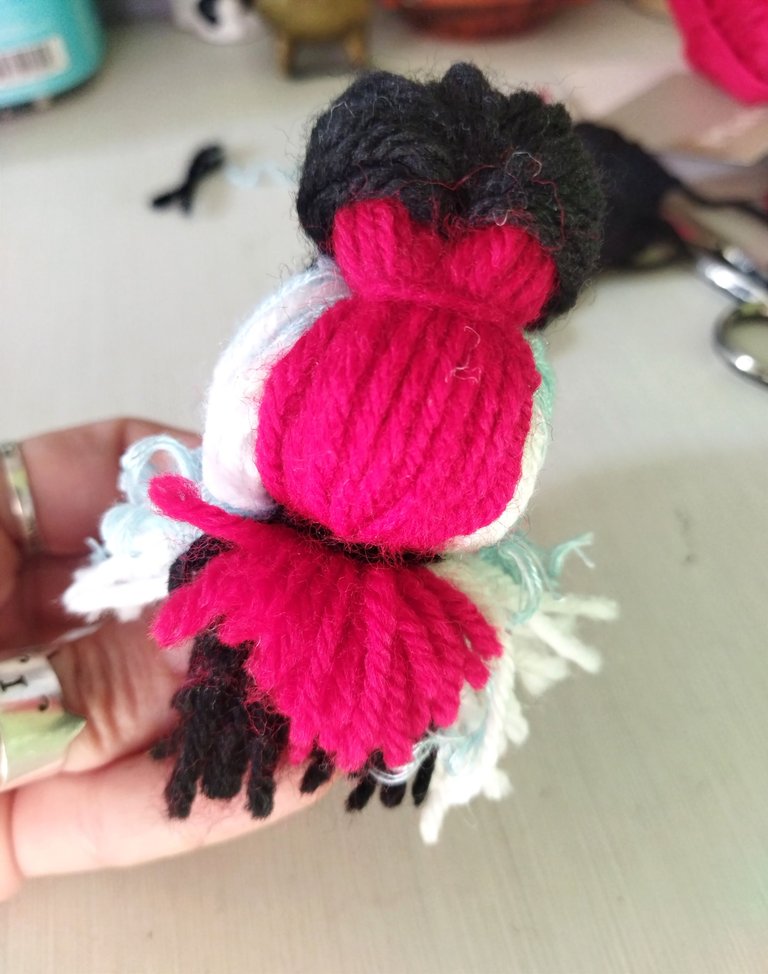
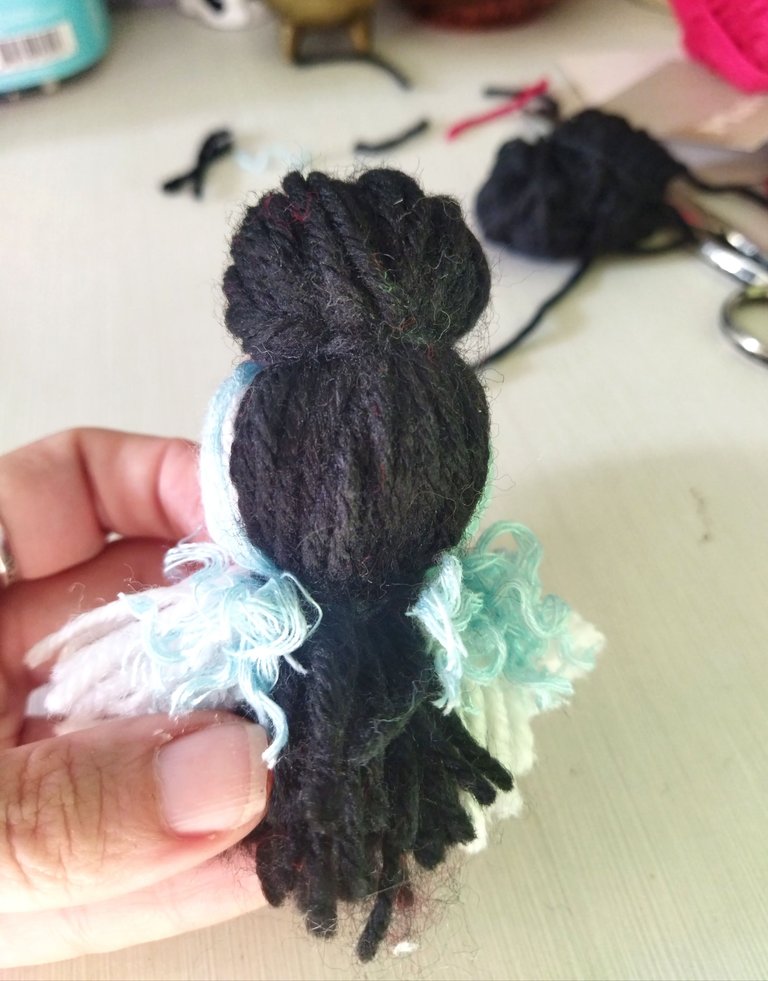
🐦 Paso 8: ahora vamos a hacer lo mismo pero del otro lado para amarrar el blanco y el azul celeste. Lo hacemos con hilo negro. Ya tenemos listo el cuerpo de nuestro pajarito. Para darle forma y un aspecto más natural tenemos que ir recortando la cola y las alas para hacerlas simétricas y lo más semejante al ave que hayamos elegido.
🐦 Step 8: Now we're going to do the same thing on the other side to tie the white and sky blue strands. We'll do this with black thread. Our bird's body is now ready. To give it shape and a more natural look, we'll need to trim the tail and wings to make them symmetrical and as similar as possible to the bird we've chosen.

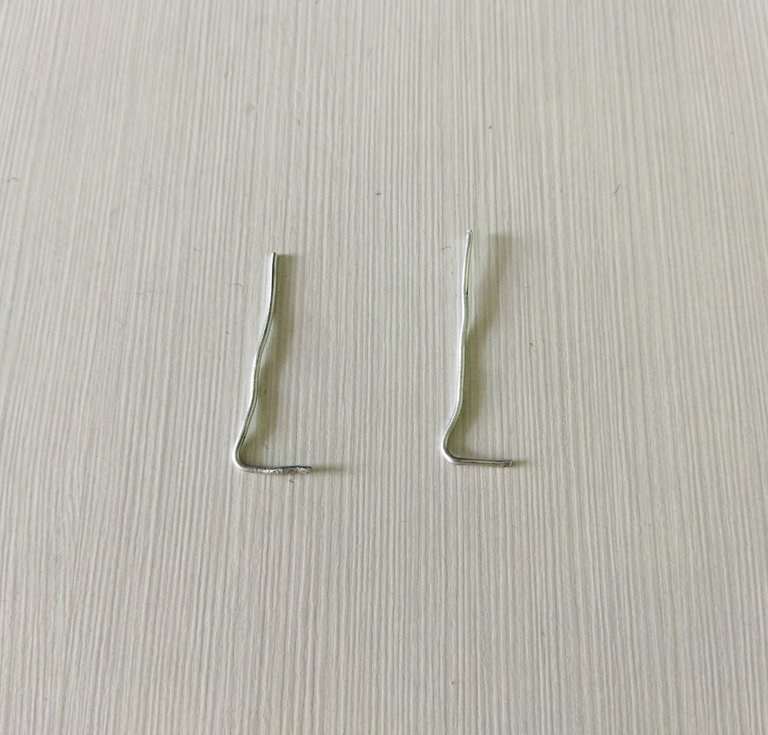
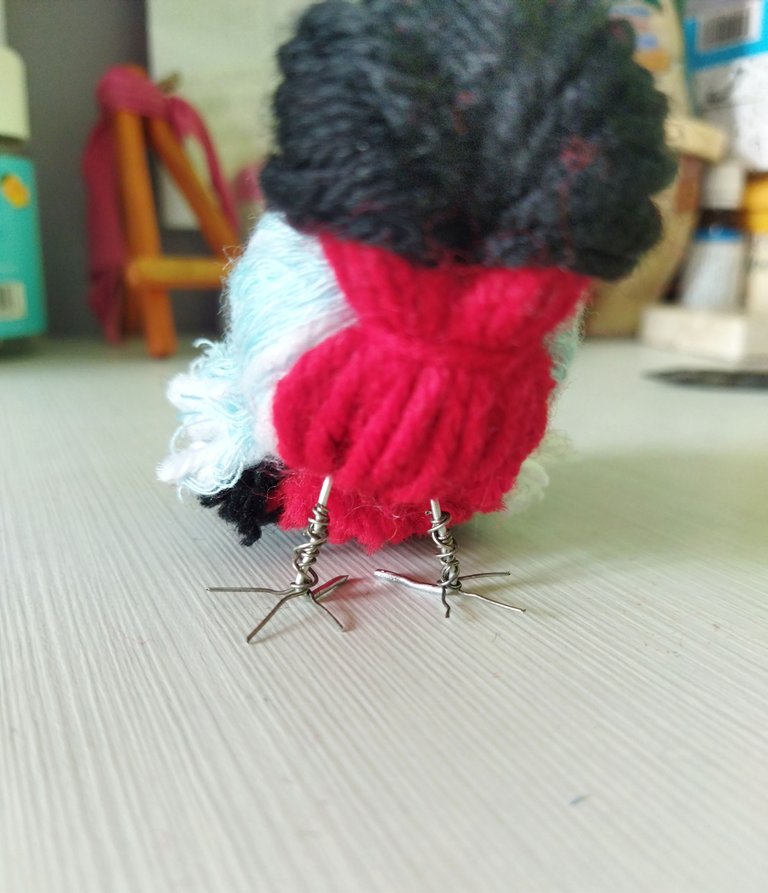
🐦 Paso 9: a continuación hacemos las patas. Yo usé dos tipos de alambre, uno grueso para la base de las patas y el dedo pulgar, el que va atrás, y alambre más delgado para los tres dedos restantes.
🐦 Step 9: Next, we make the legs. I used two types of wire, a thick one for the base of the legs and the thumb, which goes in the back, and thinner wire for the remaining three toes.
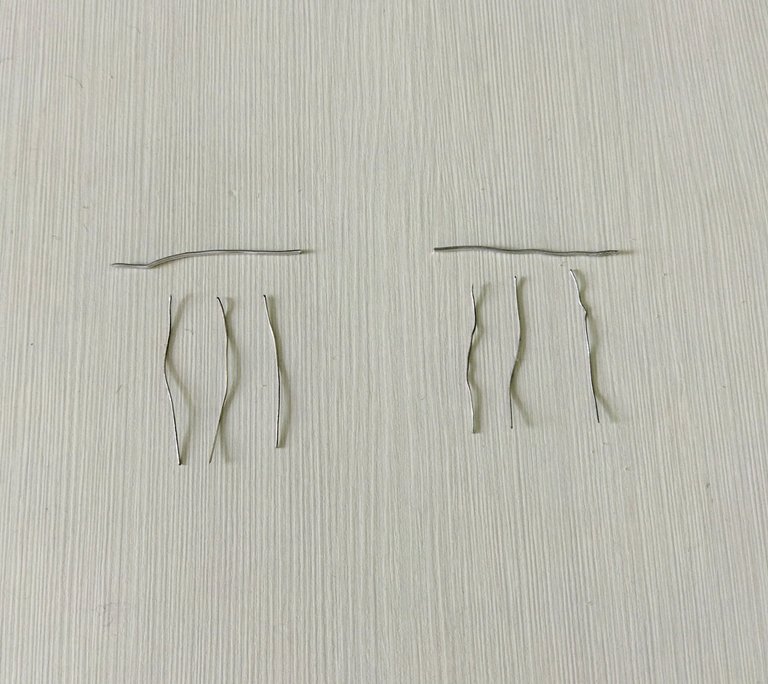
Lo primero que haremos es medir un centímetro y doblar el alambre grueso, ese será el dedo pulgar del ave.
The first thing we will do is measure one centimeter and bend the thick wire, that will be the bird's thumb.
Seguidamente tomamos uno de los tres alambres delgados, medimos un centímetro y el resto lo vamos enrollando en la base de la pata, ese será el segundo dedo.
Next, we take one of the three thin wires, measure one centimeter, and wrap the rest around the base of the leg, this will be the second finger.
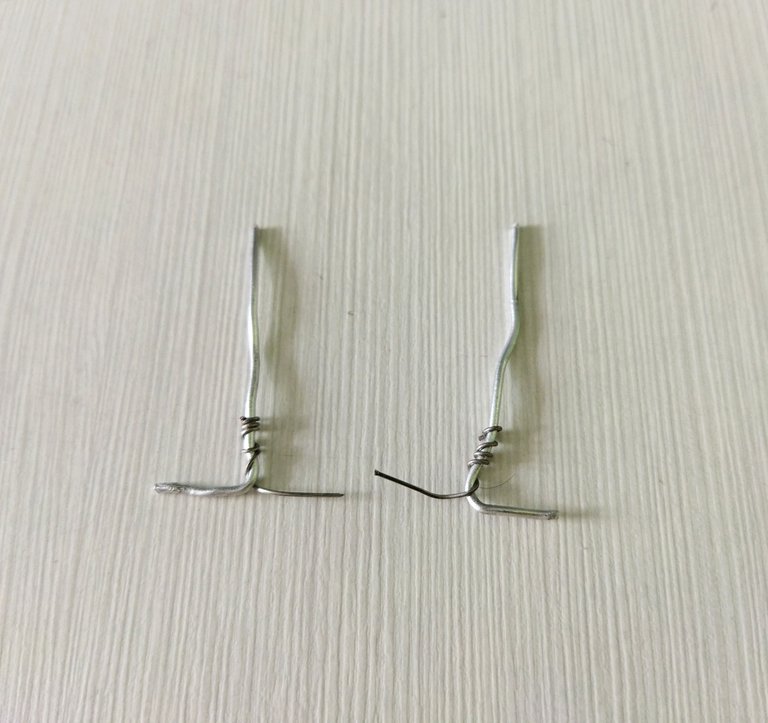
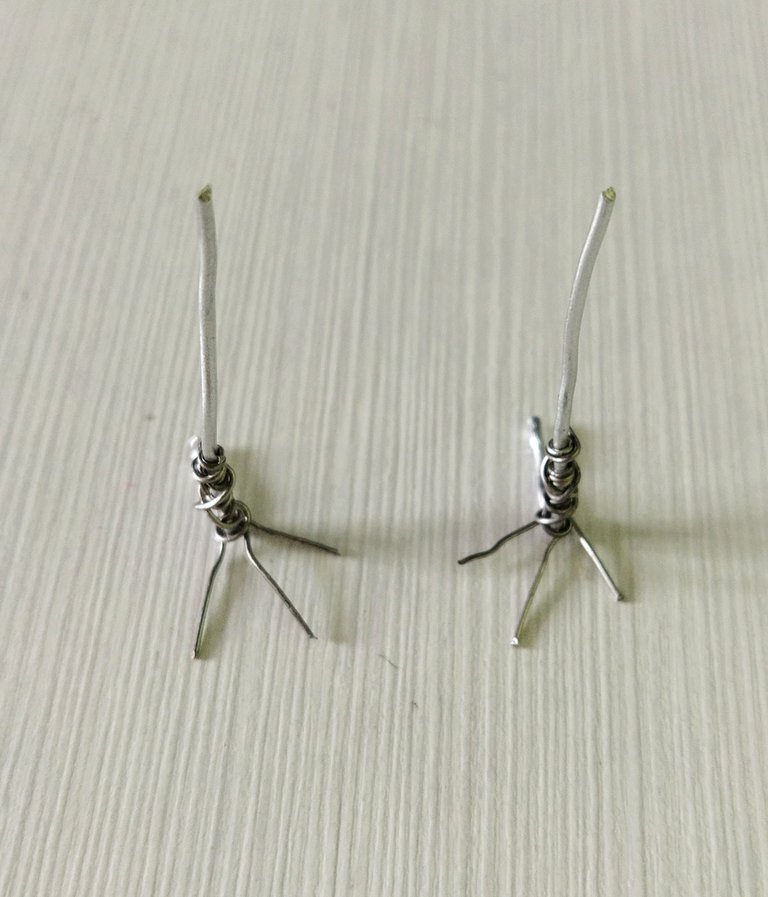
Repetimos el mismo procedimiento con el resto de los dedos y en la otra pata.
We repeat the same procedure with the rest of the fingers and on the other leg.

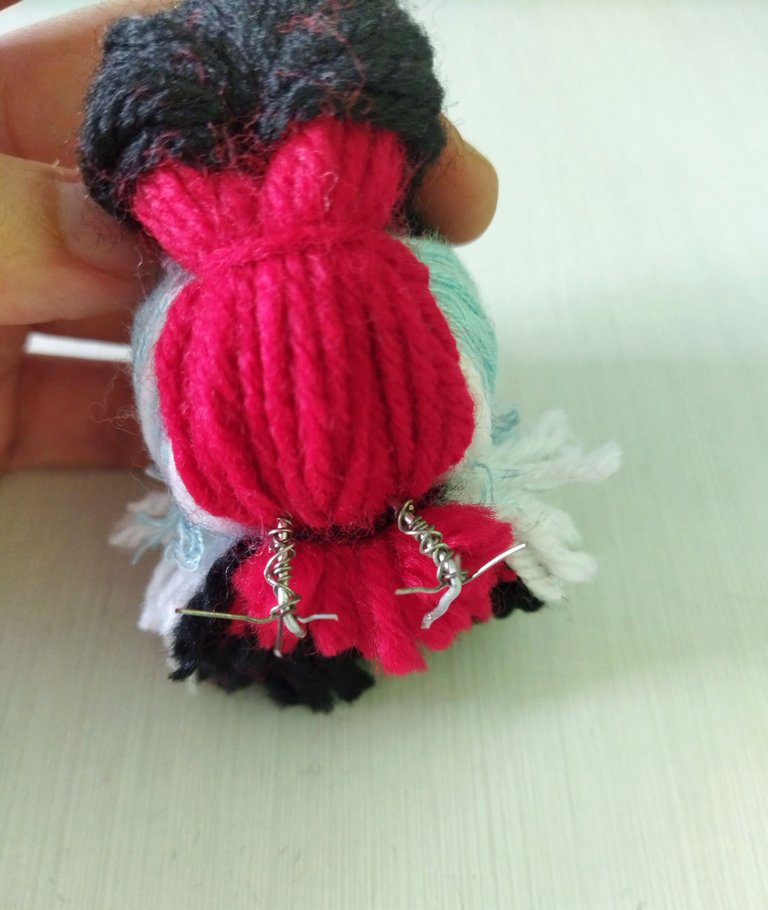
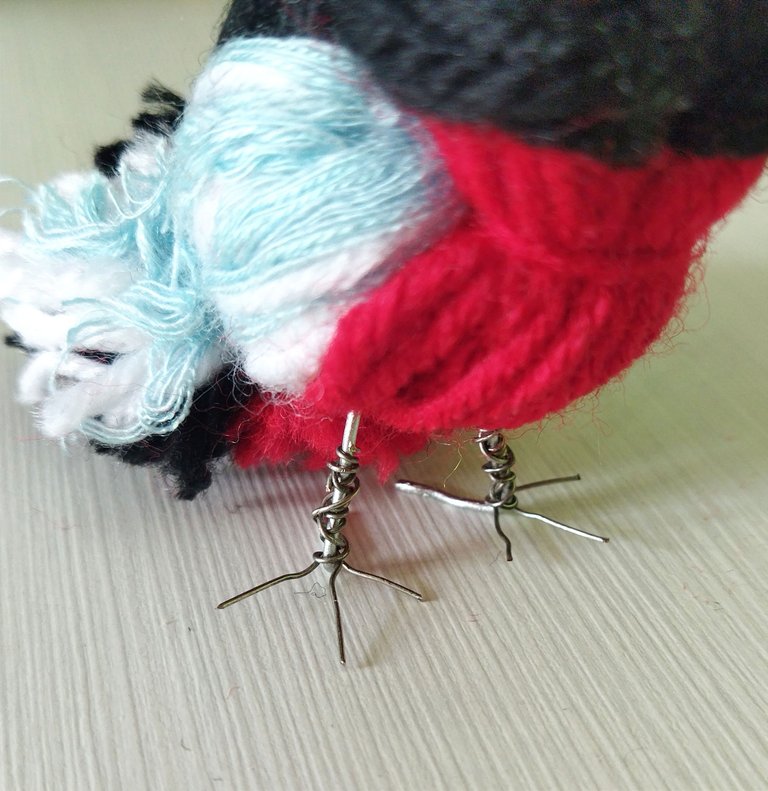
Una vez que tenemos las patas listas lo que sigue es unirlas al cuerpo del pajarito, lo que hice fue doblar un poquito la punta para darle forma de garfio, le puse una gota de silicón caliente y la pegué metiéndola en la parte interna donde está el relleno, hay que hacerlo con cuidado abriendo con los dedos la panza del ave para que no se llene todo de silicón 🥴.
Once we have the legs ready, the next step is to join them to the bird's body. What I did was bend the tip a little to give it a hook shape. I put a drop of hot silicone on it and glued it, putting it in the inner part where the stuffing is. You have to do this carefully, opening the bird's belly with your fingers so that the silicone doesn't get everything dirty 🥴.

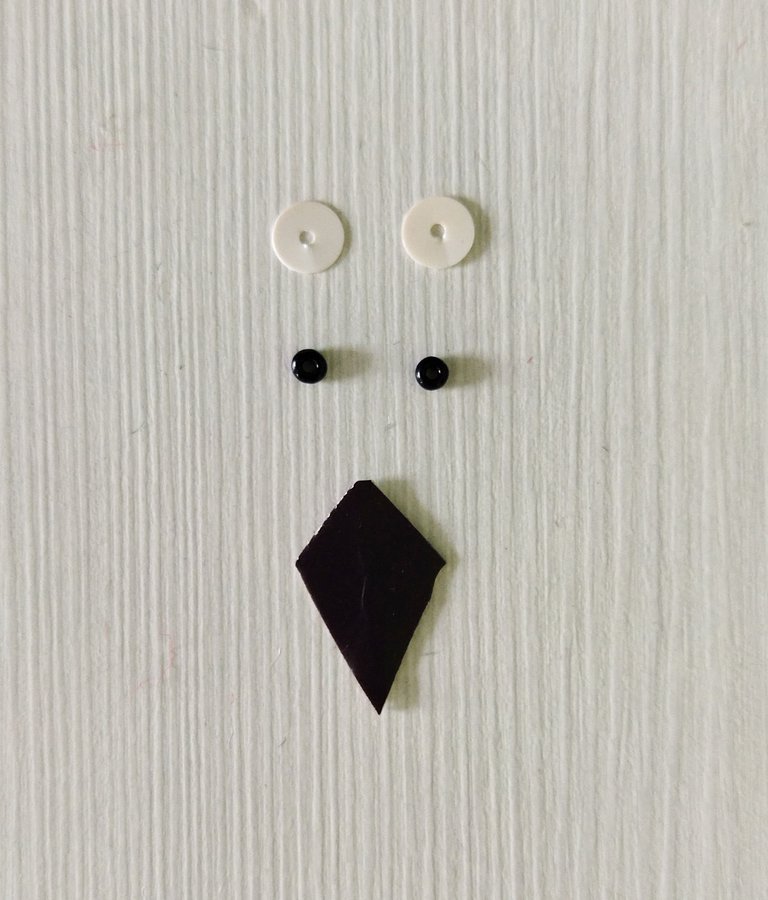
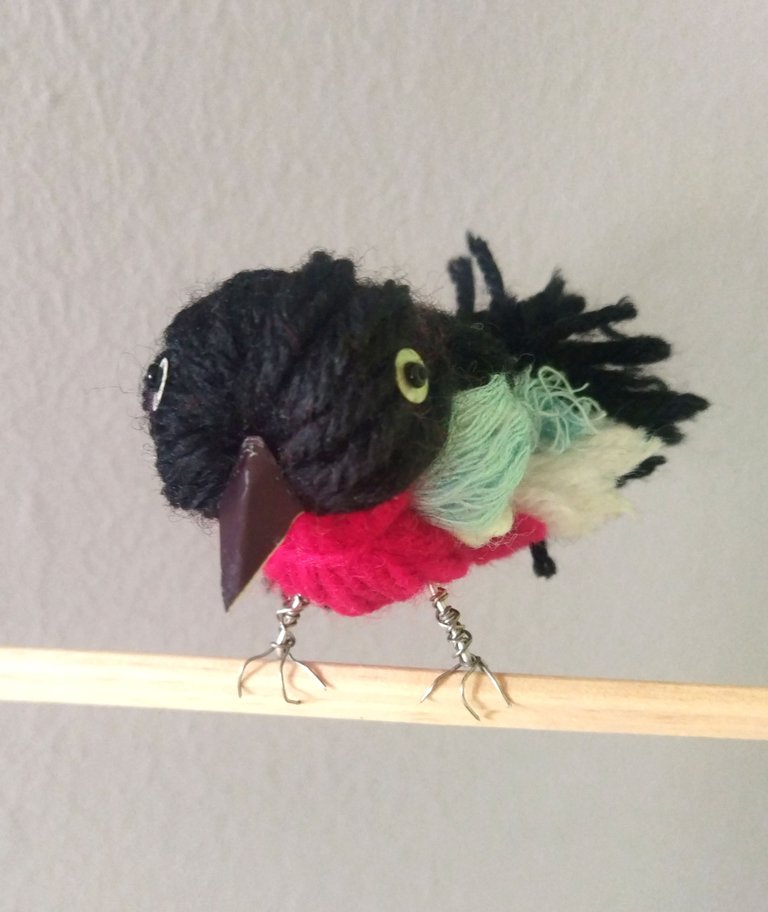
🐦 Paso 10: para hacer la cara del ave usé lentejuelas y mostacillas para los ojos, y cartón grueso para el pico, ustedes pueden usar lo que más les guste.
🐦 Step 10: To make the bird's face, I used sequins and beads for the eyes, and thick cardboard for the beak. You can use whatever you like best.
Yo usé hilo negro y aguja para coser los ojos pero también pueden pegarlos si así lo prefieren.
I used black thread and a needle to sew the eyes, but you can also glue them on if you prefer.

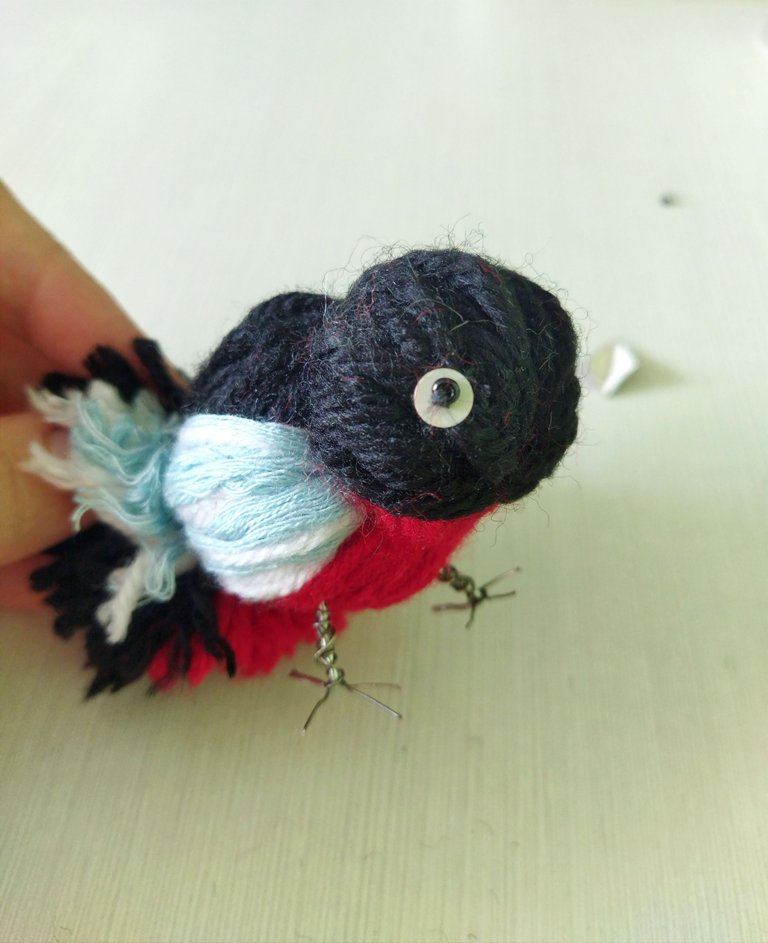
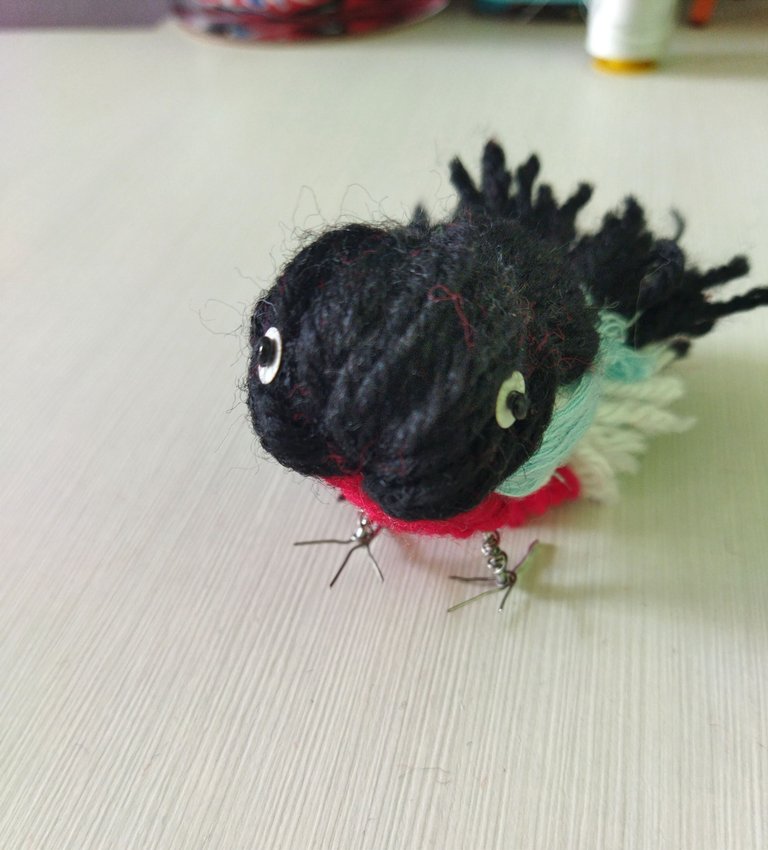

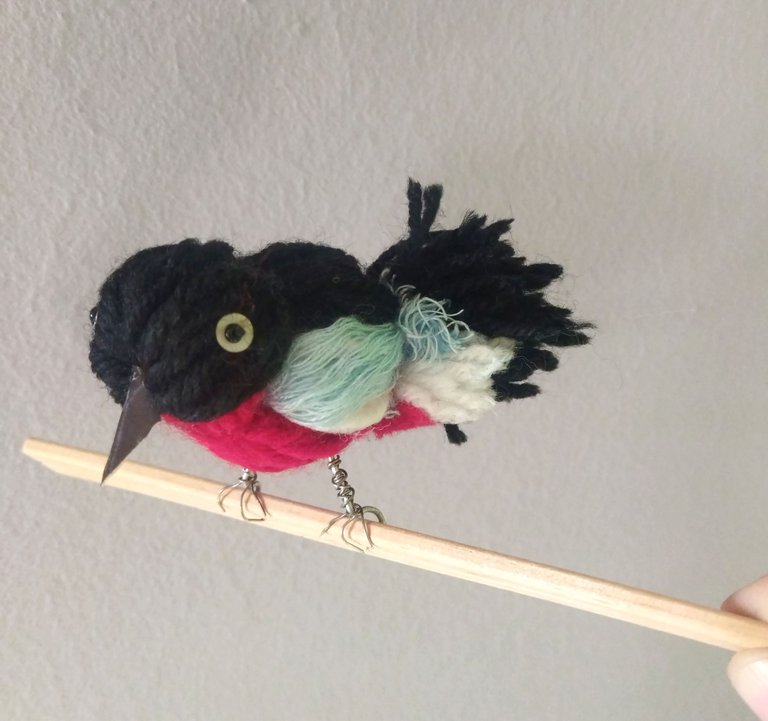
El pico lo pegué con pega blanca, todo dependerá del material que ustedes elijan para hacerlo. Bueno, ya está todo en su lugar, nuestro pequeño Candelita aliblanca está listo 😃.
I glued the beak with white glue; it all depends on the material you choose. Well, everything's in place, and our little White-winged Nightjar is ready 😃.


Me he divertido mucho haciendo este pajarito, y lo mejor de todo es que se necesitan muy pocos materiales, yo usé estambres de algodón pero también lo pueden hacer con hilos más delgados, el resultado será aún más bonito y delicado 👌🏻. Una recomendación, si van a trabajar con hilo grueso usen una medida más grande con los cartones, puede ser 12 y 10 cms, o aún más grande, porque después se les hará difícil amarrarlo y darle forma.
I had a lot of fun making this little bird, and the best part is that you only need a few materials. I used cotton yarn, but you can also use thinner threads; the result will be even more beautiful and delicate 👌🏻. A recommendation, if you're working with thick thread, use a larger size for the cardboard; it could be 12 and 10 cm, or even larger, because it will be difficult to tie and shape it later.
Bueno amigos, espero que les haya gustado y que se motiven a hacer uno. Las manualidades son una excelente opción para distraerse, divertirse y aprovechar el tiempo libre. Muchas gracias por su tiempo. Salud y felicidad infinitas para todos 🌞🍀.
Well, friends, I hope you enjoyed it and that you're motivated to make one. Crafts are a great way to unwind, have fun, and make the most of your free time. Thank you so much for your time. Infinite health and happiness to all 🌞🍀.

Gracias por leer, compartir, apoyar, votar y comentar.
Hasta la próxima.
¡Miau!
Thanks for read, share, vote and comment.
Until next post.
Meow!
La curación manual del testigo de @hispapro valorando tu contenido @viviana.fitness
Jejeje, muchísimas gracias por tus comentarios, es un placer que te haya gustado ☺️. Es una técnica sencilla e ideal para los que no saben tejer, y además es muy fácil de hacer. Agradecida por el apoyo 🙏🏻.
Feliz semana, éxitos ✨.
Saludos 😺🤘🏻🤗.
Bien interesante este pajarito realizado con hilos. Me gusto bastante la técnica sin tener que tejer, pero me encantó más el modelo gatuno jajaja.
Buen trabajo.
!discovery 30
😂😂😂, Ze Pequeña, la gata supervisora 😬🤣🤷🏻♀️. Se quería comer al pajarito 🤦🏻♀️ jajaja.
Esta técnica es ideal para los que como yo no sabemos tejer a crochet y por lo tanto no podemos hacer amigurumis 🤷🏻♀️. La verdad es que quedan encantadores los pajaritos con esta técnica 🐦😁.
Me alegra que te hayan gustado los dos modelos jajaja, muchas gracias por dejarme tus impresiones y apoyar mi publicación.
Que tengas una excelente semana 🌻, saludos 😸🤘🏻🤗.
This post was shared and voted inside the discord by the curators team of discovery-it
Join our Community and follow our Curation Trail
Discovery-it is also a Witness, vote for us here
Delegate to us for passive income. Check our 80% fee-back Program
Thank you 😃🌻😸.
This little bird made with thread is beautiful, original, and very creative. A very interesting technique. You got a beautiful end result.
selected by @dayadam
😃 Nice you liked it, thanks for your appreciation and support 🌻.
Have a fantastic week 🍀🚀🤗😸.
Thanks a lot for your appreciation friend 😸🤘🏻🤗.
🤣🔟👍
Buenísimo el post y esta foto ¡un poema!....
!discovery 33
!PIZZA
😂😂😂😂 esa es mi supervisora 😬🥴 jajaja, quedó decepcionada porque no se lo podía comer pero ganas no le faltaban jajaja.
Muchas gracias por tu apoyo amigo @jlinaresp, me contenta que te haya gustado 🤪.
Te deseo una excelente y muy productiva semana 😸🍀💰.
$PIZZA slices delivered:
@jlinaresp(9/15) tipped @gatubela
Come get MOONed!
¡Quedó muy lindo ese chiquitico!
Jajaja, muchas gracias @sofathana 🐦😘.
Your white wings nightjar 🌚 looks really nice😘 and it's my favorite color 🎨 well done
Thanks a lot @elyperly ☺️, I'm glad you liked my little bird 🐦😁.
Have a nice weekend 😸🤘🏻🤗