DIY: Military belt / Correa militar (Esp/Eng)
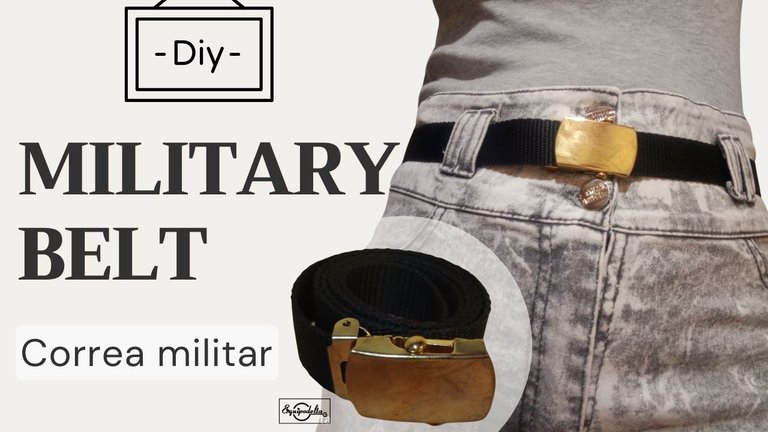


[Esp]
Mis correas de cuero ya dieron su vida útil, tienen más de 17 años, ya no puedo seguir pintándolas o reparándolas, sencillamente ya dieron lo que tenían que dar, considero que me duraron mucho para lo que sufrieron con humedad, polvo y uso, compre una el año pasado, me estafaron, parecía de cuero pero al final no lo era, al mes ya comenzó a romperse y escamarse, allí me di cuenta que es como un cartón o algo parecido. Me molesté porque me vendieron esa correa por el precio de una de cuero colombiano que es bastante costoso.
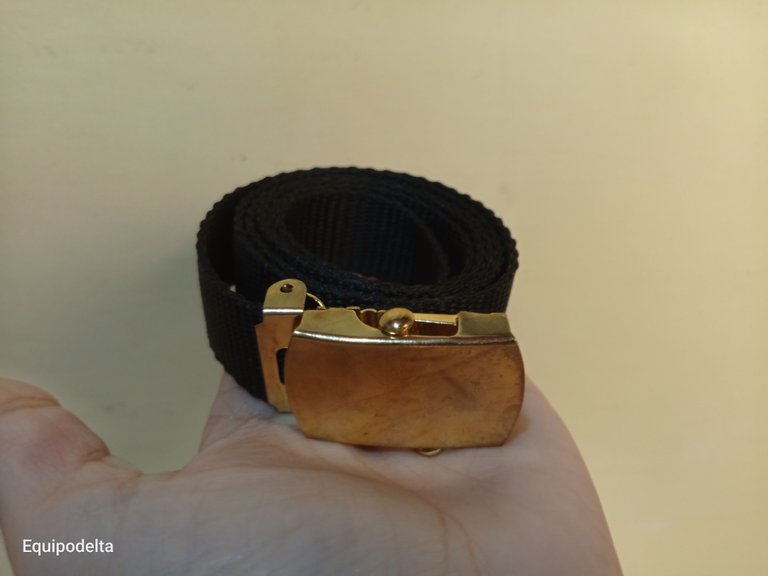
Seguía necesitando correas, una delgada como esta y otra más ancha, mis presupuestos son muy bajos, fui a varias tiendas a preguntar el costo por una de estas, que pueden ser muy estilo militar pero me gustan, no son muy femeninas pero se ven igual de bien. Me parece un costo exagerado por estas correas que no tienen ciencia de hacerlas, el costo está entre 5 a 10$.
Lo que gasté en materiales fueron a penas 1.8$
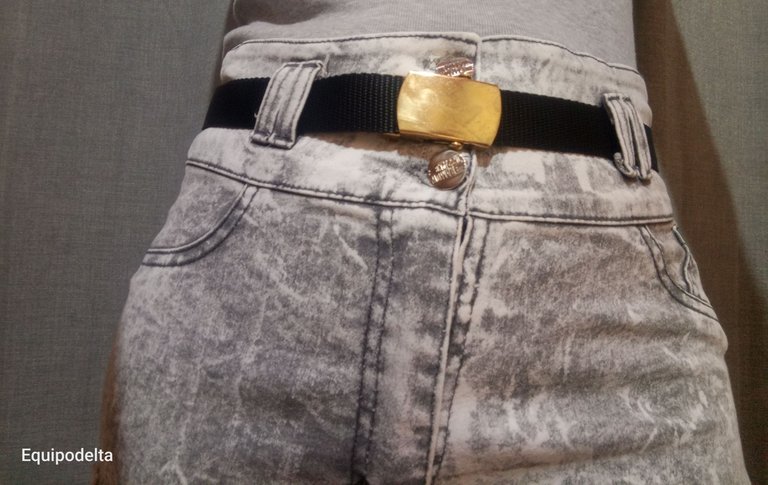
Hoy quiero dejarte boquiabierto lo fácil que es hacerlas y de paso no gastarás mucho en los materiales. Esta correa es ideal para los chicos que están en la escuela, nuestros hijos y es ajustable, además la puedes personalizar como tú quieras, hoy te enseño una muy básica, luego como siempre, iremos subiendo el nivel.
! [English version]
My leather straps have already given their useful life, they have more than 17 years, I can no longer continue painting or repairing them, they simply gave what they had to give, I consider that they lasted a lot for what they suffered with humidity, dust and use, I bought one last year, they swindled me, it looked like leather but in the end it was not, after a month it began to break and flake, there I realized that it is like a cardboard or something like that. I was upset because they sold me that strap for the price of a Colombian leather strap which is quite expensive.
I still needed straps, a thin one like this one and a wider one, my budgets are very low, I went to several stores to ask the cost for one of these, they may be very military style but I like them, they are not very feminine but they look just as good. It seems to me an exaggerated cost for these straps that have no science to make them, the cost is between 5 to 10$.
What I spent on materials was a mere $1.8.
Today I want to blow your mind how easy it is to make them and by the way you won't spend much on the materials. This strap is ideal for kids who are in school, our children and is adjustable, plus you can customize it as you want, today I show you a very basic one, then as always, we will go up the level.

Materiales / Materials

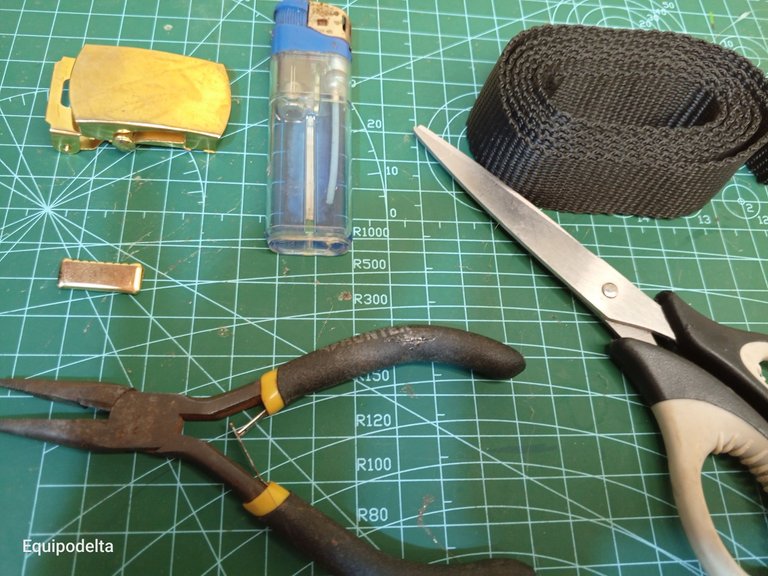
| Spanish | English | |
| Cinta Poly O Baggy 20mm | Poly O Baggy Tape 20mm | |
| Hebilla 20mm | Buckle 20mm | |
| Terminal caimán para correa | alligator terminal for belt | |
| Yesquero | GTinder | |
| Pinza | Clamp | |
| Tijera | Scissors |


Paso a paso / Step by Step


Step 1️⃣/ Paso 1️⃣
 |  |
[Esp]
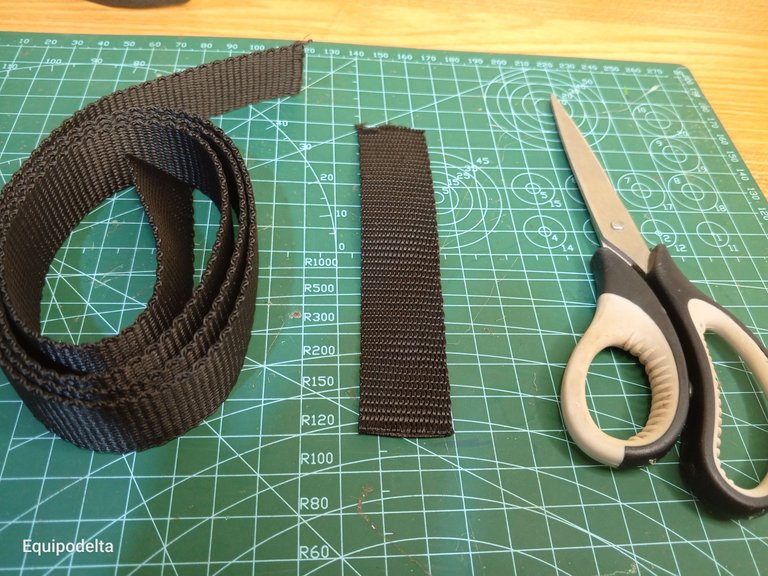
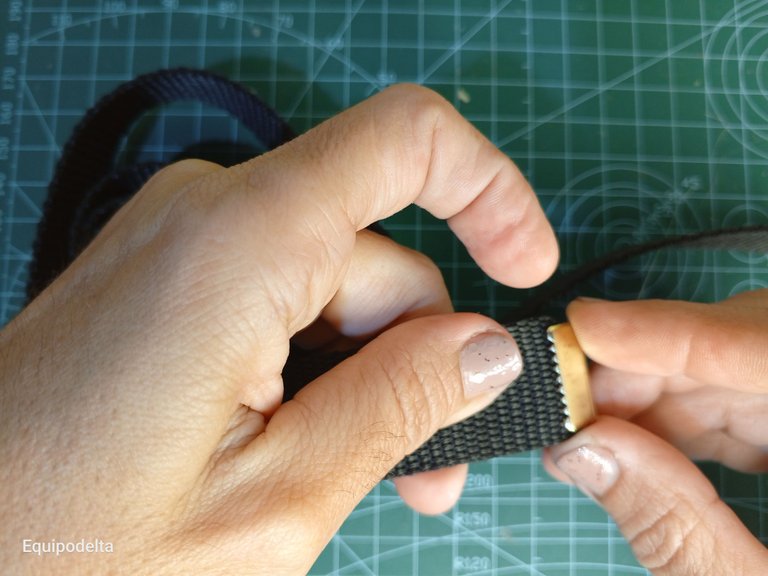
Compré 1 metro de cinta Poly, es mejor que sobre a que falte.
Toma la cinta y colócala en tu cintura para que tomes la medida, corta si es necesario, en mi caso, solo corté 20 Centímetros que sobraba, era muy larga.
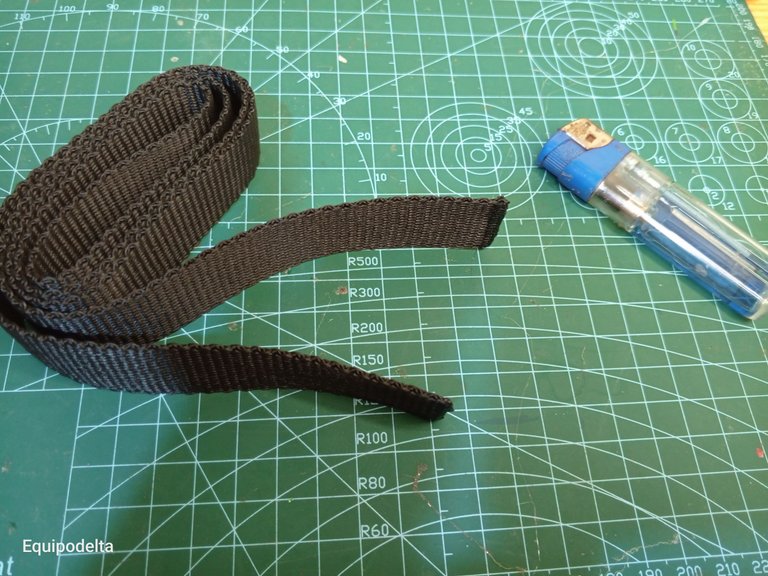
Con ayuda del yesquero quema las puntas, esto evitará que se deshilache.
Toma el gancho caimán terminal y colócalo en una de las puntas.
! [English version]
I bought 1 meter of Poly tape, it is better to have too much than too little.
Take the ribbon and place it on your waist to take the measurement, cut if necessary, in my case, I only cut 20 centimeters left over, it was too long.
With the help of the tinder burn the ends, this will prevent it from fraying.
Take the end alligator hook and place it on one of the ends.

Step 2️⃣/ paso 2️⃣

 |  |
[Esp]
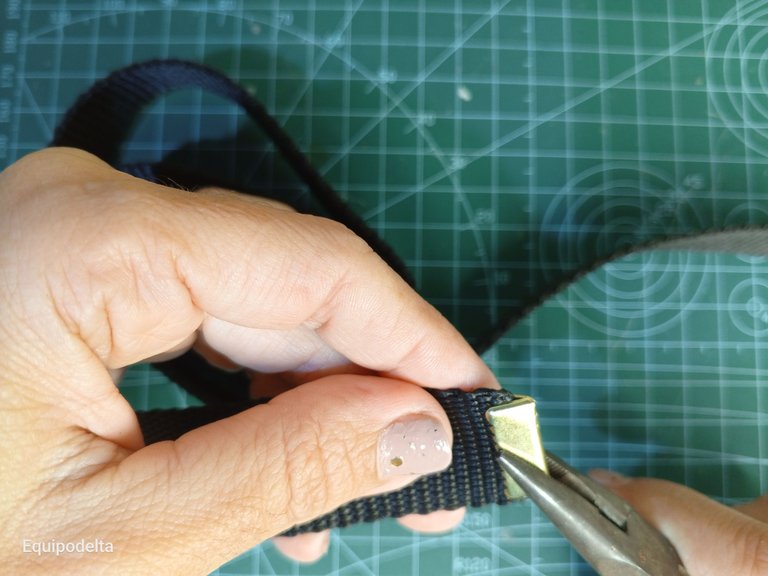
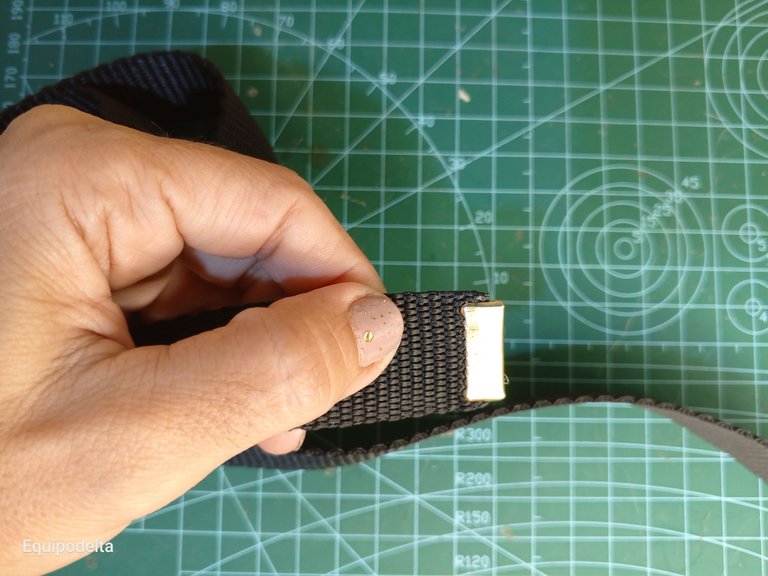
Con ayuda de la pinza aprieta para fijar la cinta Poly con el cancho.
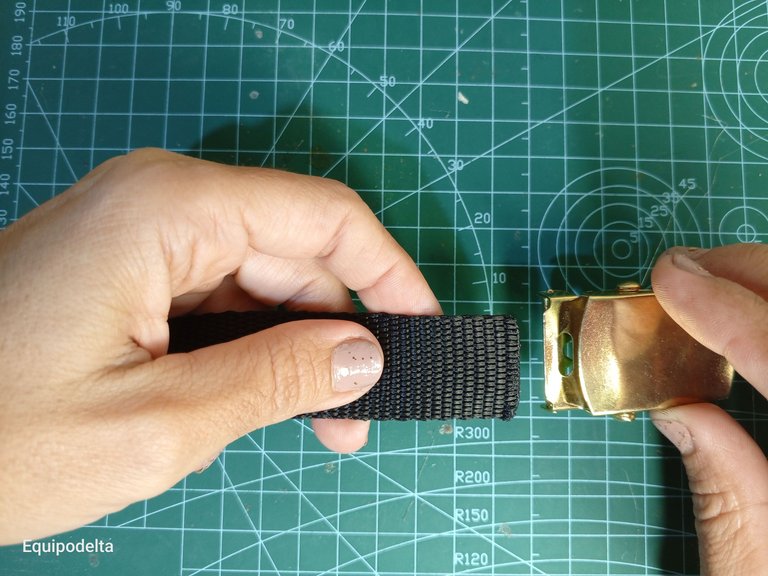
Toma la hebilla revisa que la correa no esté doblada, toma el otro extremo de la correa y colócala en posición para que entre por la parte de la hebilla donde tiene unos dientes caimán.
! [English version]
With the help of the clamp, tighten to fix the Poly strap with the hook.
Take the buckle, check that the strap is not bent, take the other end of the strap and place it in position so that it enters through the part of the buckle where it has alligator teeth.

Step 3️⃣/ paso 3️⃣

 |  |
[Esp]
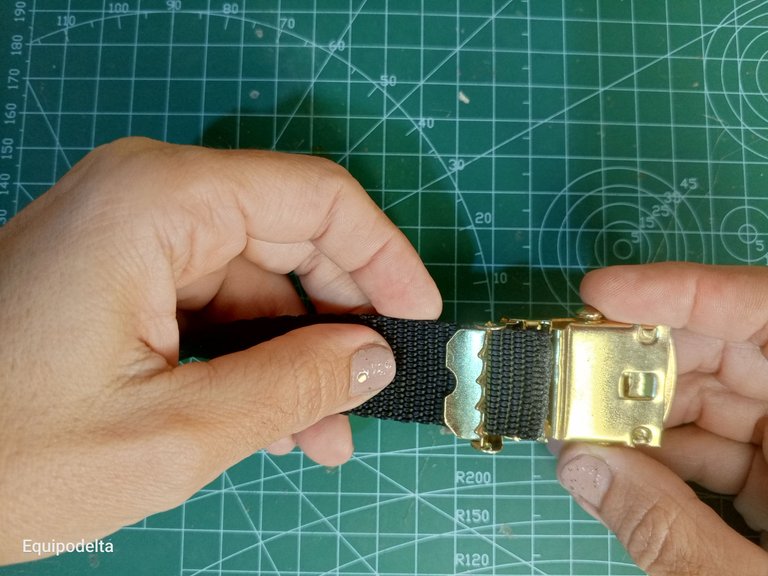
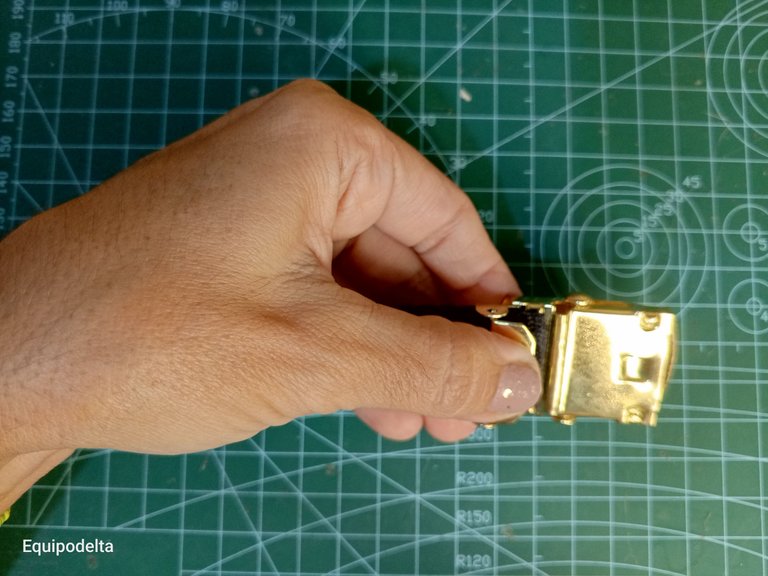
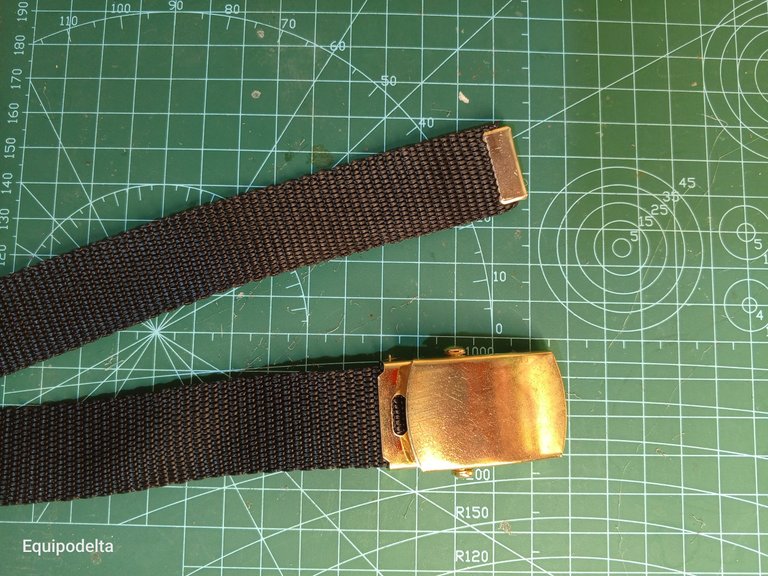
Introduce la cinta Poly y aprieta el gancho de la hebilla, con esto hemos terminado.
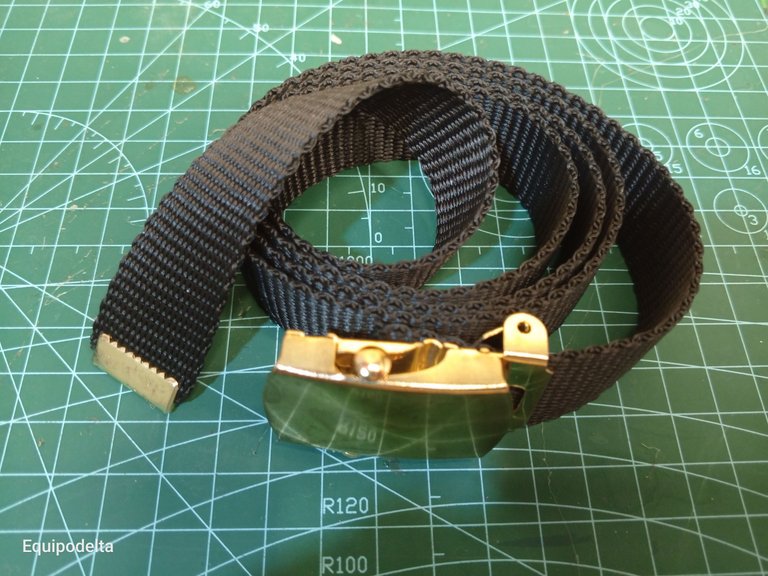
En pocos pasos nos ahorramos más de 8$ Estos son trucos para ser ahorrativo, siempre podrás hacerlo tú mismo, es fácil y sencillo.
Las hebillas las puedes conseguir en varios colores y materiales, desde estas que son de metal hasta plásticas. Los terminales también se pueden reemplazar por otras cosas, inclusive coserles algún trozo de tela.
¿Qué te parece?
Excelente idea de emprendimiento.
! [English version]
Insert the Poly Tape and tighten the buckle hook, with this we are done.
In a few steps we save more than 8$ These are tricks to be thrifty, you can always do it yourself, it is easy and simple.
The buckles you can get them in various colors and materials, from these that are metal to plastic. The terminals can also be replaced by other things, even sewing a piece of fabric to them.
What do you think?
Excellent idea of entrepreneurship.


Créditos / Credits




💜💜💜


![]() 👉
👉  👉
👉  👉
👉  👉
👉 
Here / Bríndame un café

I have this kind of belt before and I always find it difficult to remove. Anyway, it looks easy on how did you fix the belt and saved some money from buying a new one. What a great life hack!
With the price of one I can make about 3 more belts.
S An artistic creation of very fine handicrafts.
Thanks you so much
Wow 17 years sure has workes its days, the one you did yourself will last better than the one being bought though.
Yes, it lasted me longer than the average lifespan of a real leather strap, I take good care of my stuff. I'm glad my post was helpful.
Muy fácil de hacer y el material no es caro, necesito hacerle correa a mis hijas, voy a comprar los materiales y voy hacerla,gracias por las ideas.
Te ahorrarás mucho dinero, ya lo verás.
Bueno eso sí, son duda es una excelente idea, hacerlo tú mismo, a veces resulta más económico 😁
Necesito otros colores <3
A great idea to reuse the buckles we have from our previous straps and still at a low cost. Thank you for letting us have this creative process that would be very useful for everyone.
I am glad my post is useful, thank you for your community support.
Woah had no idea it's called a military belt, I have a pair I use also.
Btw great diy ✌️.
You can find them with other names, in my town they are known as military belts.