Cottage/tiered skirt
Hi everyone, it’s been a while here in the needlework community. Today I’ll be sharing how I came across this cottage (tiered) skirt and how I made it for a client.
I had been seeing this skirt design on social media for some time, and I really admired it. But it never crossed my mind to actually make one, until a friend asked me to sew it for her. When I finished and she wore it, it looked so beautiful. At that point I thought, why not make one for myself too, since I already love the style?
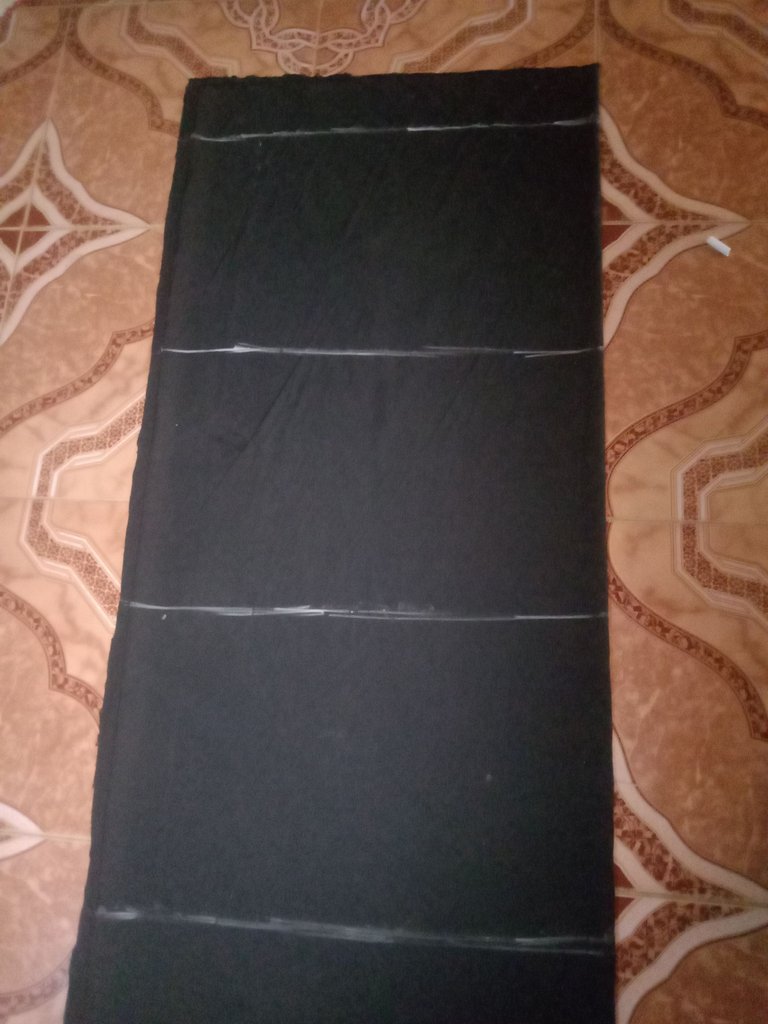
For mine, I got a very light crepe fabric. I folded the crepe into four, because I wanted the skirt in three steps (tiers). I measured my full length and divided it into three equal parts. To avoid mistakes, I added 2 inches allowance for the gathers, and another 2 inches for the waistband, making a total of 44 inches for the full length. Before inserting my length measurement plus allowance, I subtracted the 2 inches for the waistband above the waistline.
While sewing my friend’s skirt earlier, I didn’t add allowance for the gathers, I only added the waistband allowance. By the time I finished, the gathers had consumed part of the skirt’s length, making it shorter than expected. I had to cut an extra 2-inch strip for the band and attach it. It worked, but it wasn’t part of the original plan and stressed me out.
So, when making mine, I avoided that mistake. I included the sewing allowance in the length right from the start, together with the hemming allowance, so I wouldn’t need to cut an extra waistband later.
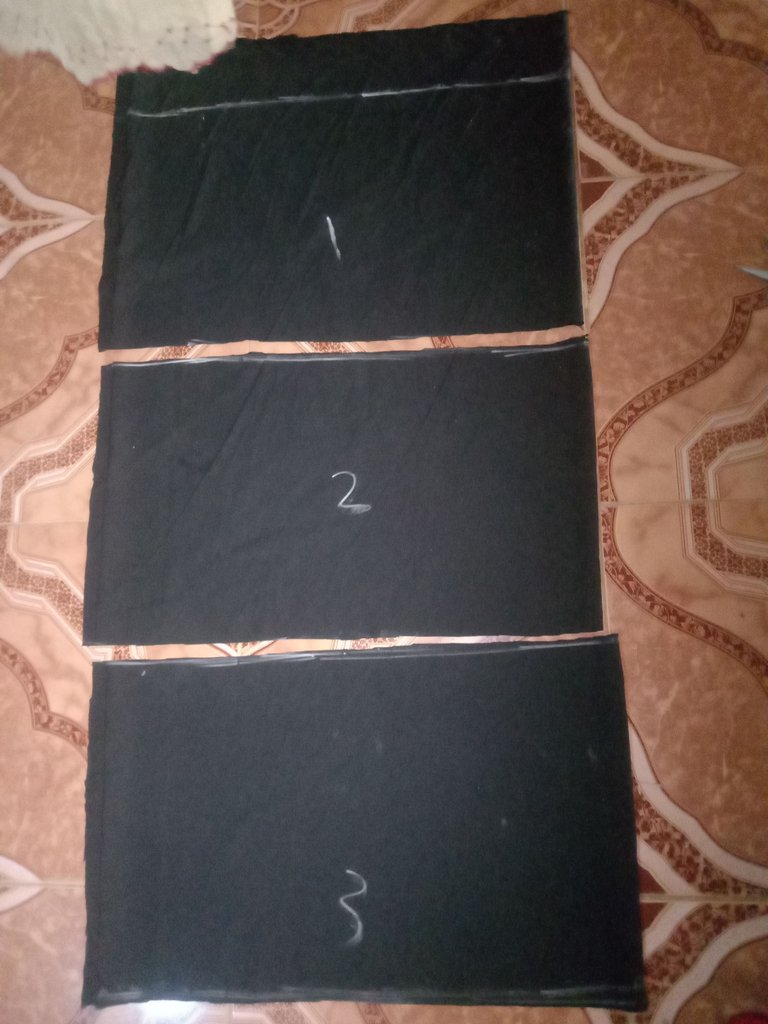
After dividing the skirt into three parts according to my measurements, I cut each piece straight. To stay organized, I used a pen to mark the 1, 2 and 3 parts, so I wouldn’t mistakenly join the wrong pieces together. I then started sewing the gathers one by one and joined all three sections.
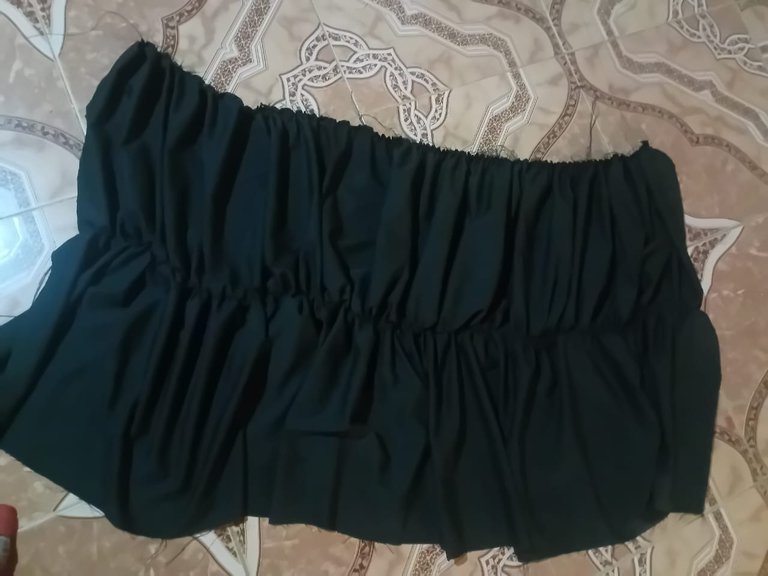
When it was time to fix the band, I took my waist measurement 27 inches round and reduced it by 5 inches, cutting my band to about 20–22 inches wide. I sewed the band in between the 2 inch space I had earlier left for it.
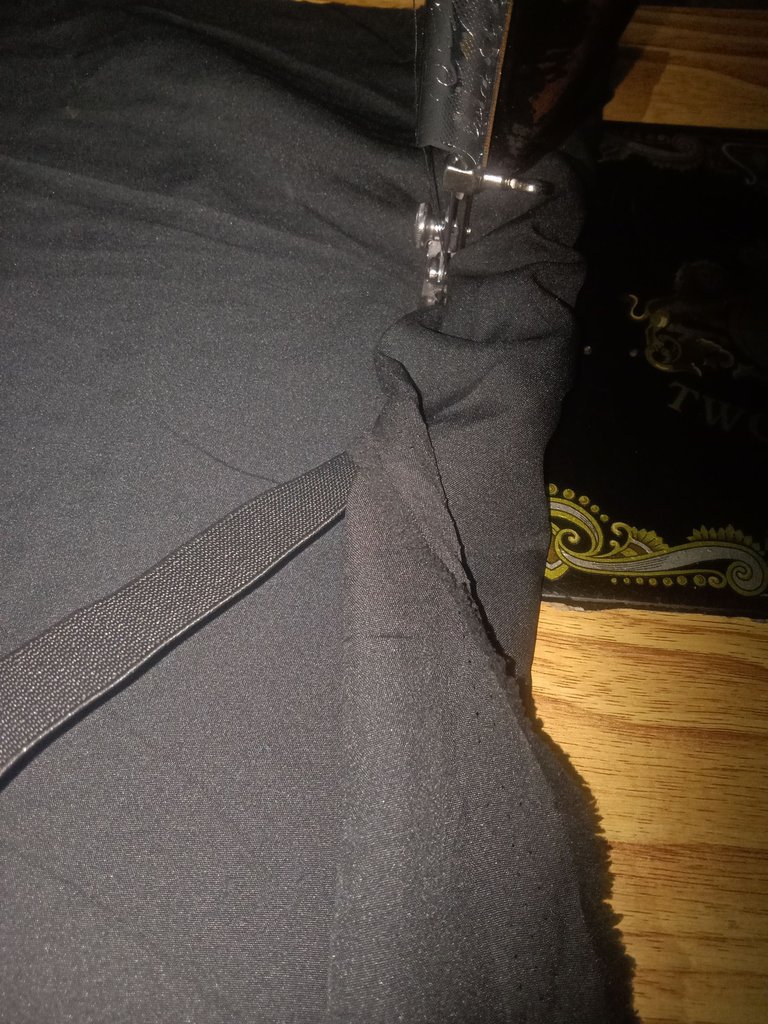
After attaching the waistband, I joined the sides of the skirt with about half an inch seam allowance, turning it into a full skirt. I then hemmed the bottom with about half an inch and pressed it neatly with an iron.
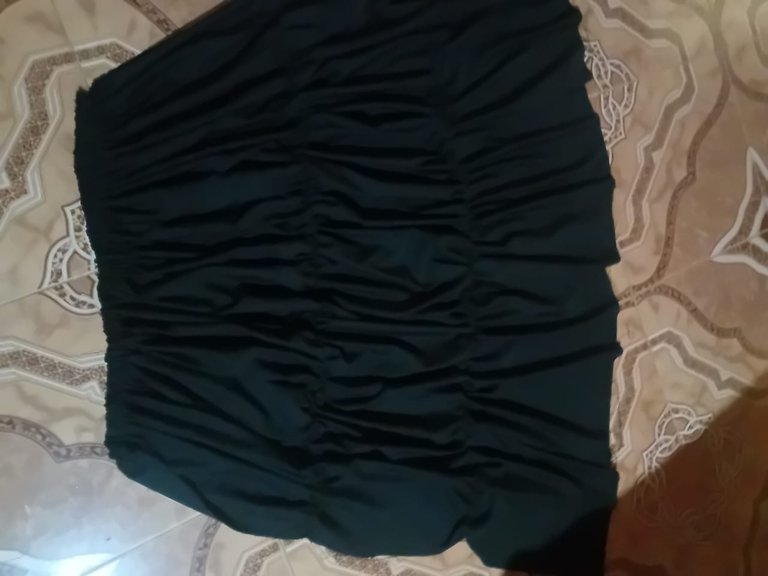
(The skirt after attaching my band)
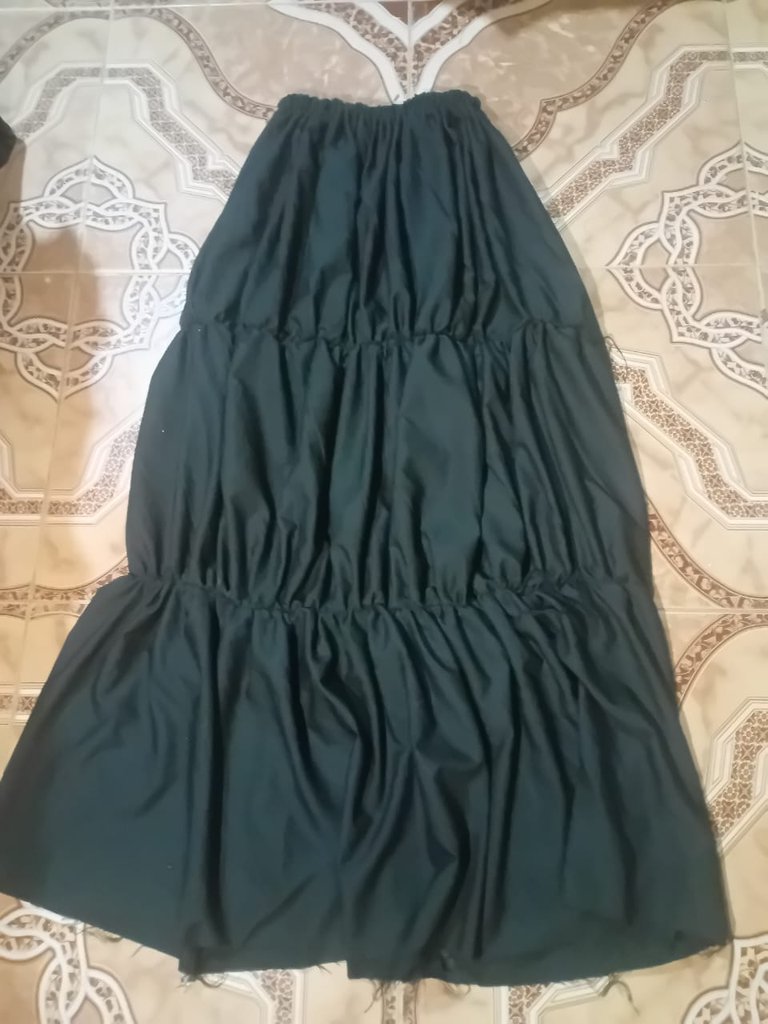
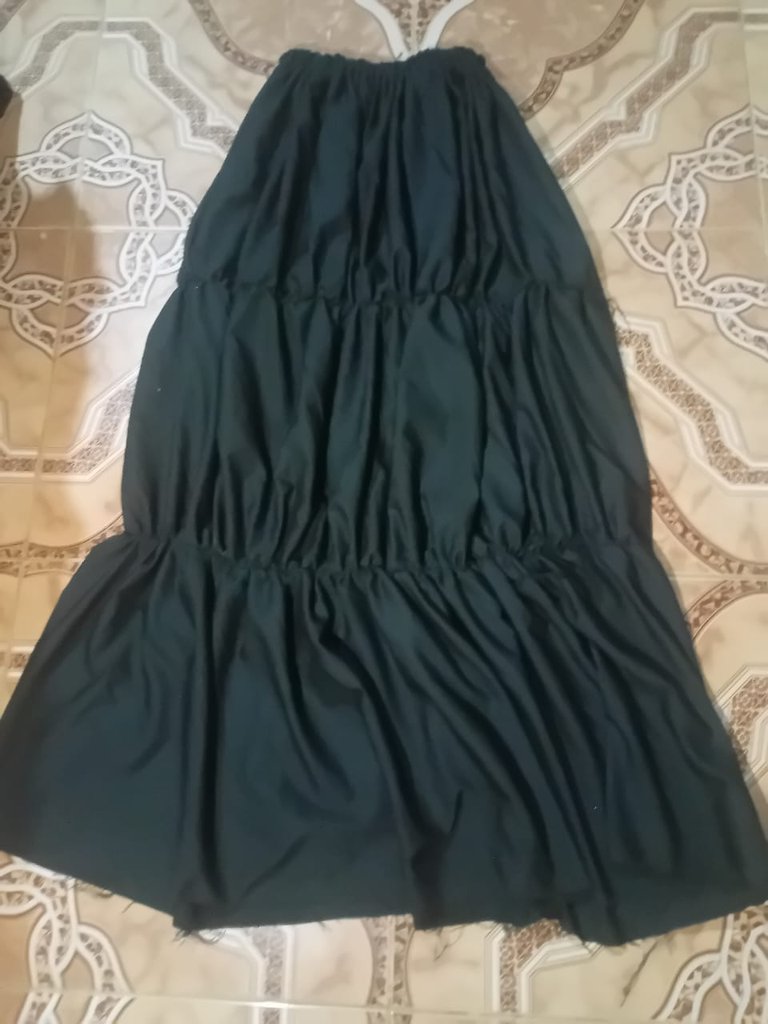
And here is my cottage (tiered) skirt, It came out exactly the way I wanted it,
Owning a cottage skirt is one of the things on my list of things to achieve. Lol. I want it in three different colors because each time I come across a picture of it on Pinterest, rocked with a basic top, I’m always in awe. Cottage skirts are so cool. Can’t wait to get mine.
Yeah, having them in different colors will make you flex the skirt more,
Thank you for reading through 😊
This came out nicely. Well done.
Thank you so much 😊
Hello @iamgracia2. Thanks for sharing this beautiful piece with us. Experience is very important to the growth of a fashion deisgner. The experience you had with your client's skirt didn't repeat itself when you were making yours because you have learnt from the experience. Well done.
Do have a great day.
Thank you ma'am 😊
Have a great day too🤗
The final result is great. It looks awesome. Good to how you made this step by step. It shows your skills. Well done!
selected by @rezoanulvibes
Thank you for stopping by 😊
I have equally admired this sorts of skirt online and have been desiring to make something similar. You did a beautiful one here.
Well done dear.
Making one for yourself won't be a bad idea...
Thank you for reading through 😊