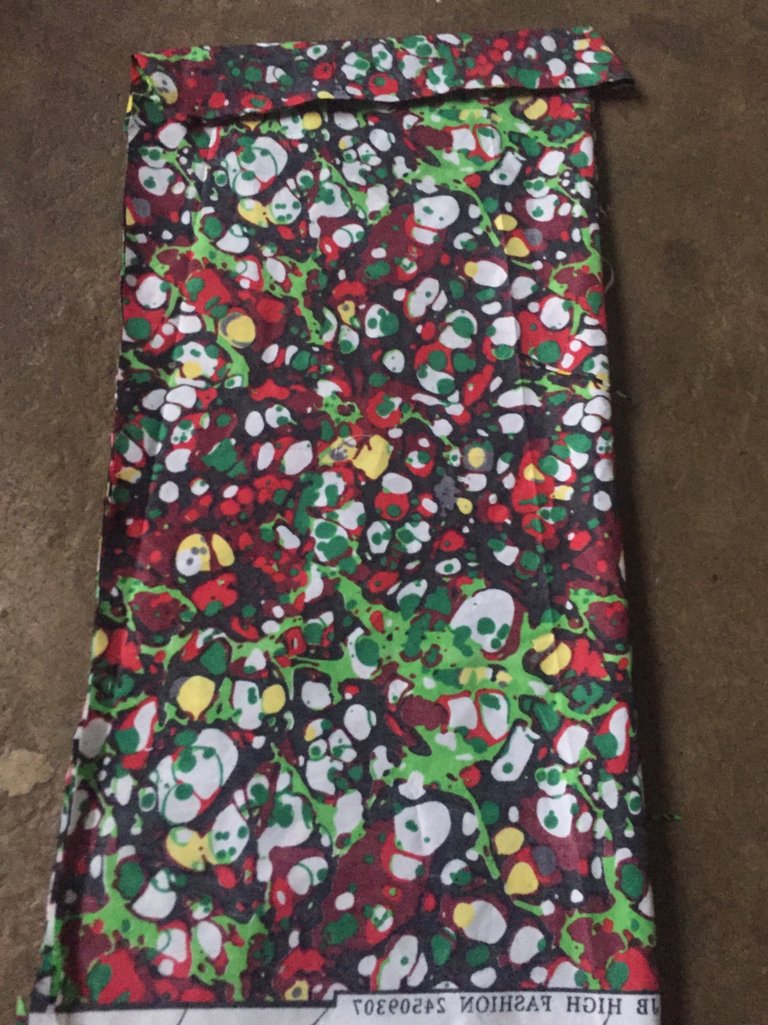
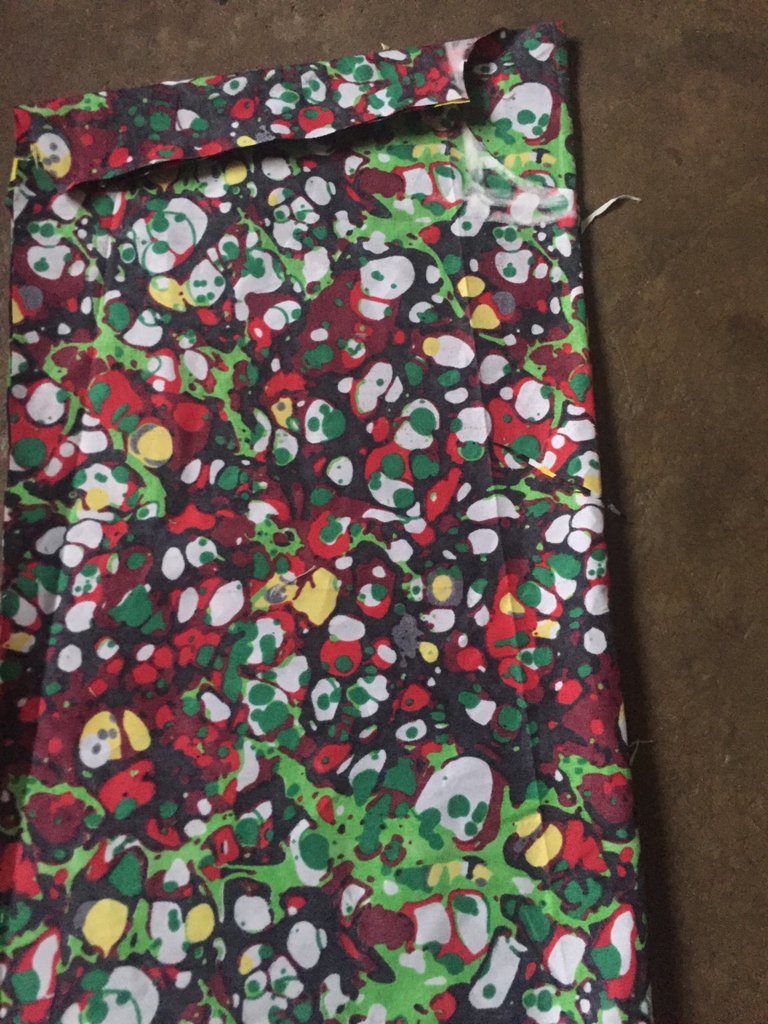
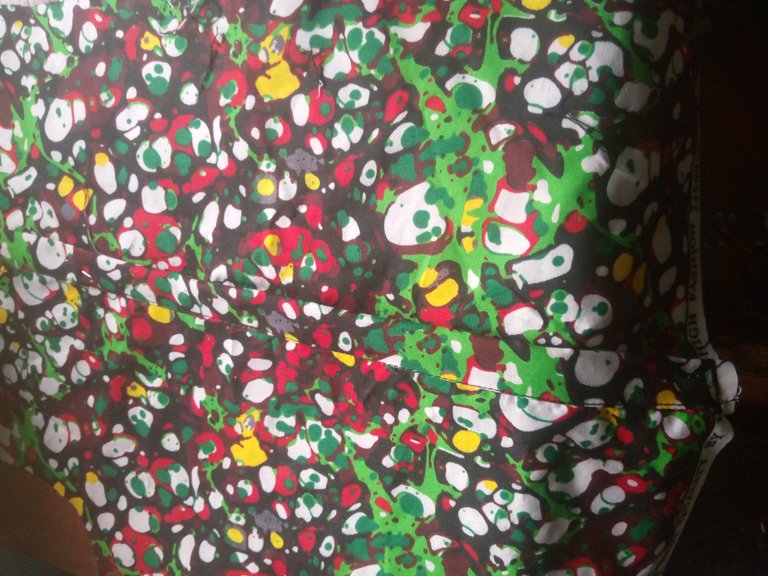
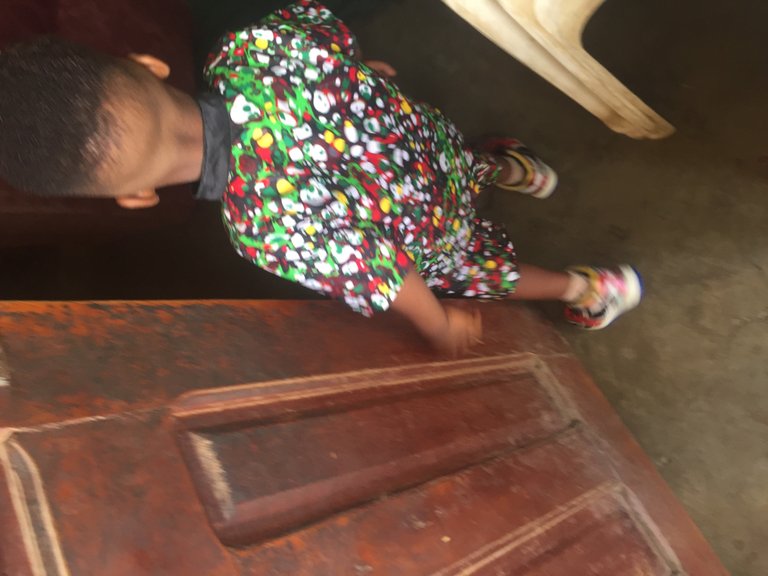
DIY// making of shirt and short for my sister son for children anniversary in their church
Hello everyone.

pleasant new week to the beautiful family here
hope you had great weekend, begin this glorious new week with new spirit and good intention of having better results at the end of it.

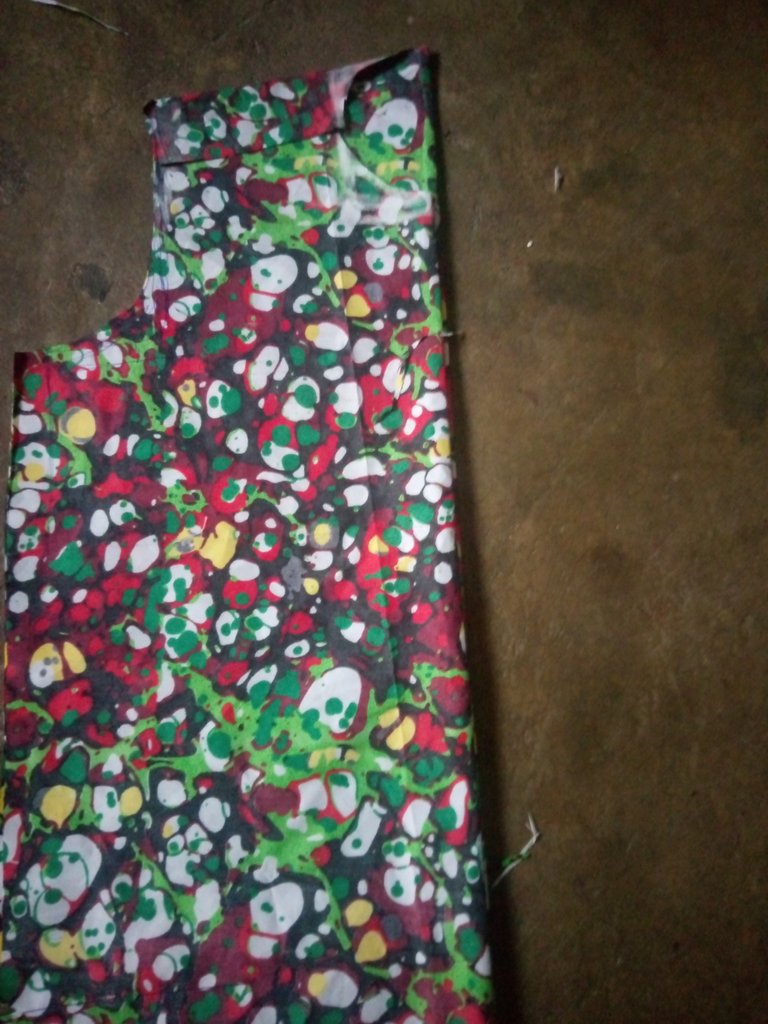
first thing is to get my starting point and from that starting line is to get the length of the front so am starting with the front block, the length am working with is 18inches plus 1inches for heming allowance the next thing I do is to get width 28 divided by 4 puls 1.5inches allowance and 3 extra inches for button facing and 1inches for overlap for the button next is to join the points and cut it off then I proceed to back block.
front panel is not is on fold will have two pieces but the back panel is on fold to the back, for the back measurement I make use of the chest line 28 by 4 plus 1.5inches for sewing allowance and added 4inches for the length of the black 3inches for lapping over the shoulder and the other 1inches for hemming the down part.
In other word the back is longer than the front then cut so I make sure the front and the back edges are equal and go down by 2inches for shoulder slant connect to neck part and cut after cutting out the shoulder slant I draw down the back panel to meet the front the remaining one I lap it on the front panel by half inches next to get the shoulder measure 12 divided by 2 puls half inches for sleeves joining and come down 6.5 for chest line for the armhole curve find the mean point and go in by half inches at the front side connect it. for the neck from the shoulder lap I mark 4inches depth and 2.5 for the width then draw a square this is going to guide me to get a perfect round shape firstly cut out the front neck before the back. for the sleeve I make use of the armhole and the round sleeve of 10 sleeve length 7 and hemming allowance

** short**
from the waist line measure the crotch line and minus 1.5 for band and mark the short length plus seam allowance. mark the quarter of the hip circumstances on crotch and the waist because of the elastic at band area and extens the crotch by 1.5 then mark the kneel measurement connect the point together and cut. to cut back block for short place it on another folded Ankara fabric and I added allowance to waist side down to the length.

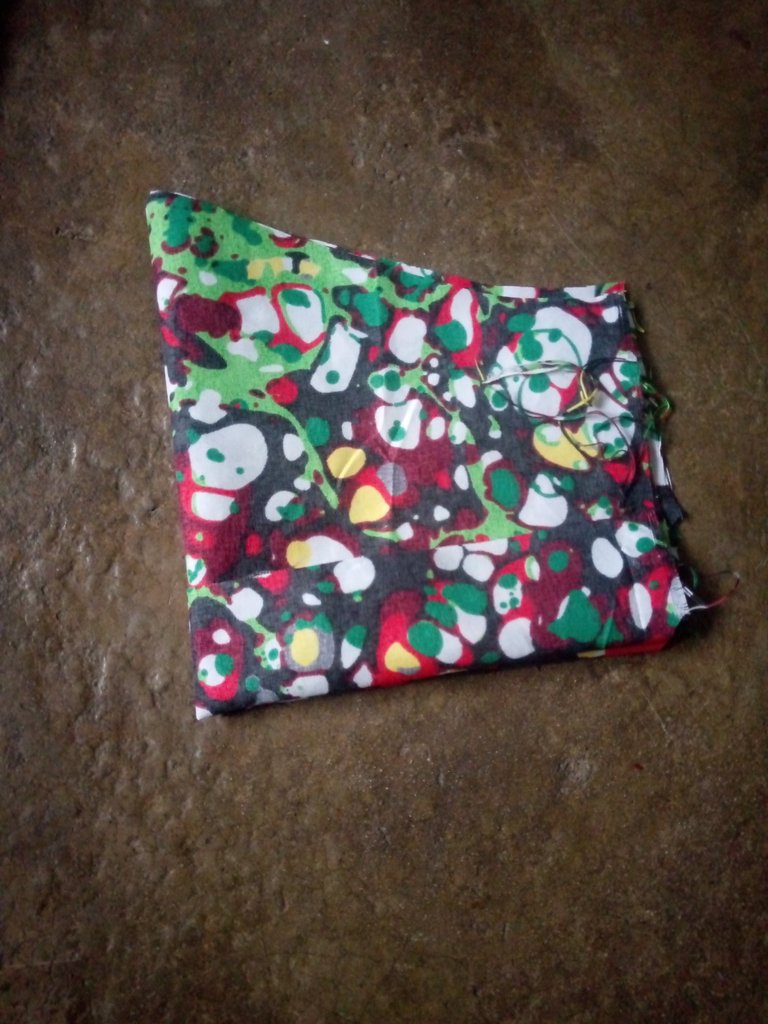
**Stitches processing

for the short start with fixing the pocket to the front side then pick one of the back panel and run a straight stitches down and also do the same to the other part one and join the crotches together. I cutout 4inches unfold for the band then sewn it the main body and insert the elastic on the waist area.
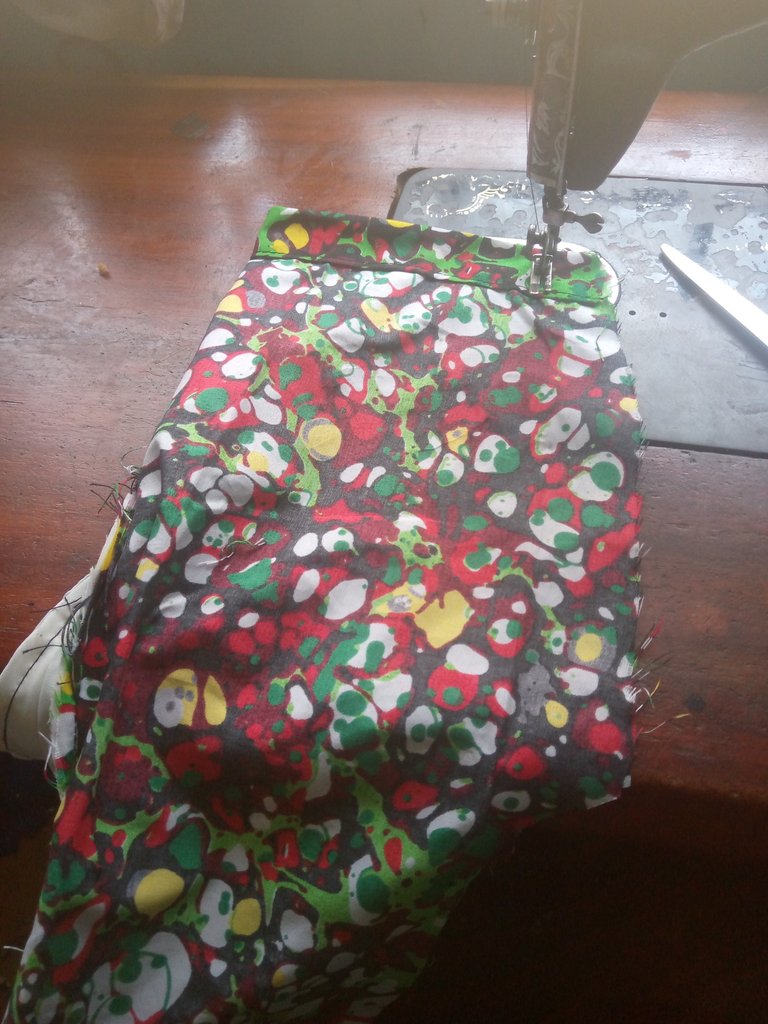

for the shirt I sewn the shoulder together then fold the button part, one side of the button I added plain fabric after that I attached the sleeve and bishop collar to shirt.

*** Hope this is helpful a enough **.
He is so cute and it looks great on him. Love their designs. You did a great job! Thank you for sharing this.
selected by @rezoanulvibes
Thank You for stopping by on my post
The outfit—carefully and creatively handmade for a special occasion—speaks volumes about love, dedication, and cultural pride. The vibrant fabric, adorned with playful and colorful prints, is not only eye-catching but also perfectly suited for a joyful celebration like a children’s anniversary in church. It reflects a beautiful blend of tradition really apreciative such a nice and hardworking work you have done.
Thank You for loving it do have a good day
That is a nice outfit, the print of the fabric is so colorful. Thanks for sharing with us.
Yes ma
I did learn a thing from this tutorial. The cutting abd sewing is really neat. Thanks for sharing.
Am so glad to hear it was helpful.
I love the combination of fabrics, he looks very handsome.