APRIL FOOL'S EDITION || HOW I MADE A FREE-FLOWING STRAIGHT GOWN WITH PATTERNED CREPE FABRIC
Hey lovelies ❤️
It's your favorite girl @debbie-ese 😍
Welcome to my blog 🤗
Today marks the beginning of a new month, April and I'd like to wish all my dear readers a great month ahead. April 1st also doubles as April Fool's Day where you can prank your friends and families, then take them out of the mystery by screaming 'April Fooool'. Well, y'all should relax I don't have any tricks up my sleeves. This post is mainly to share with you about a gown I made, so relax and let me walk you through the backstory and the process of making this gown.
The dress I'd be sharing with you is a Straight Gown that I made with a patterned Crepe fabric. The gown is quite easy to make and didnt require too much time to complete. If I calculate the time I used to make the gown including the cutting, weaving and sewing it would be approximately less than 60 minutes.
The customer that brought the fabrics is a returning customer and her specification was that she needed a free dress that she can wear to almost anywhere without feeling uncomfortable. She doesn't want a dress that will be too fitted that will make her sweat excessively because of the heat. After she checked the styles that fits her specifications so we settled for this.
The materials needed
- 3 yards of Patterned crepe fabric
- Hemming gum
- Measuring tape
- Tailoring chalk
Step by Step
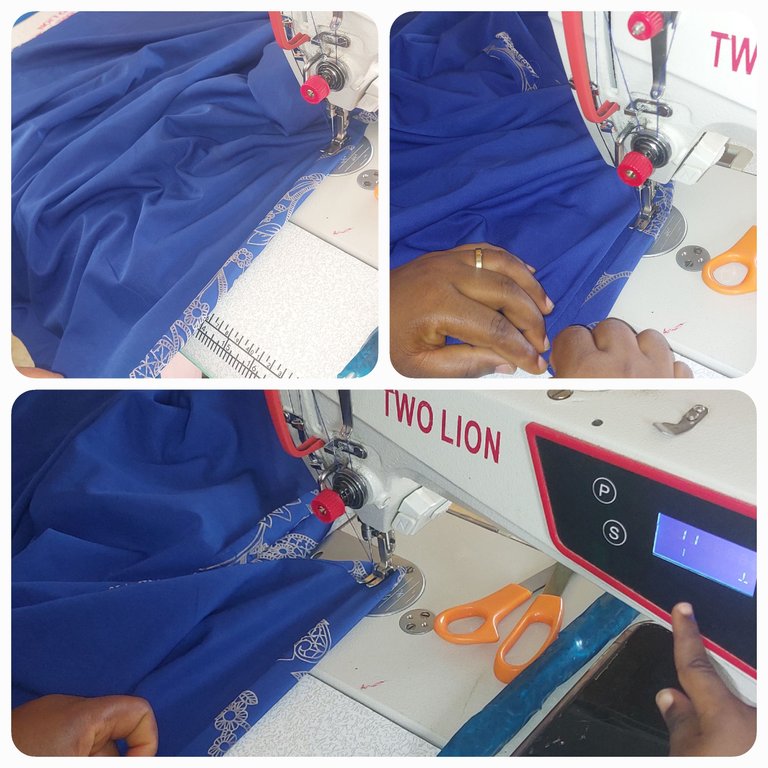
Like I pointed out earlier it is an easy style to make so you start by using the body the measurements of the client to draw a gown pattern on the dress. You may decide to draw the pattern on a paper first if you are not quite sure of the results. Bear in mind to add 1 inch for seam allowances.
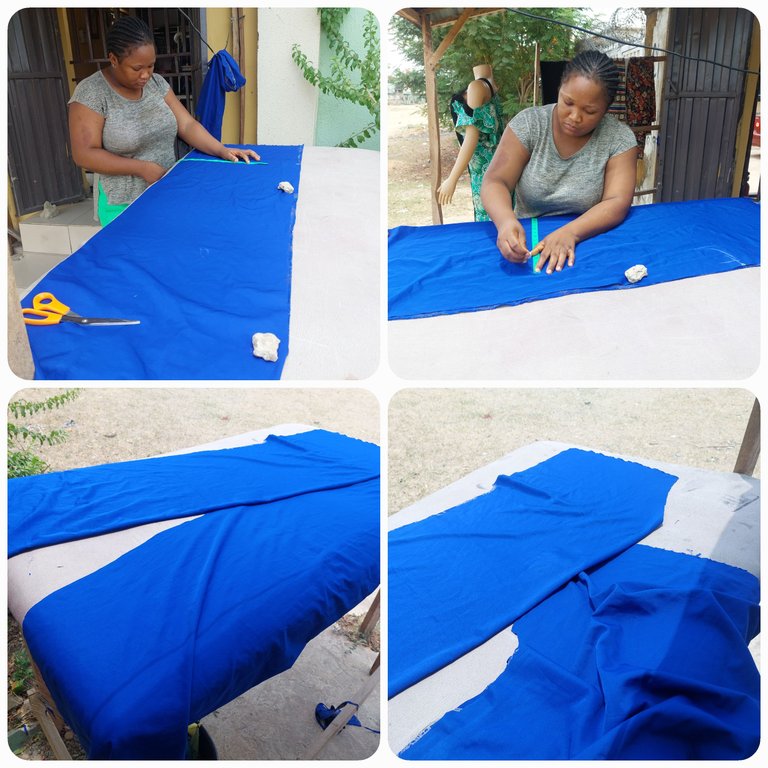
On your cutting table, fold the fabric into half and carefully cut out the pattern you have created. And if you maxe the pattern on a paper, pin it on the fabric and cut out.
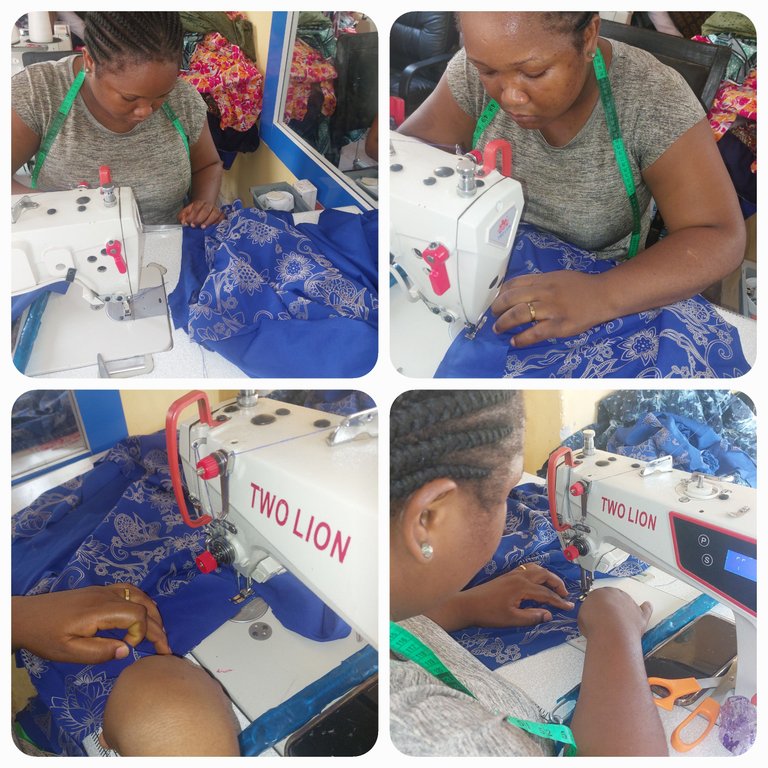
Next, sew the pieces together considering the amount of space you want in your armholes. Remember that we want a gown that is easy to wear. So you should create enough space for the armholes.
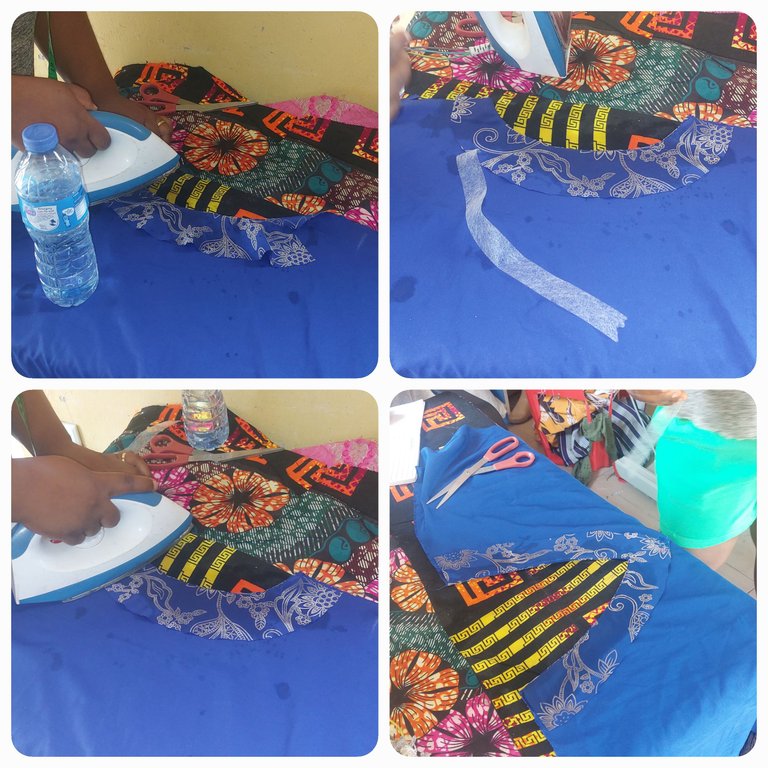
For the neckline you'd use an hemming gum to join it. Cut the desired amount of hemming gum, place it on the neck and use your pressing iron to gum it. I created a v-neck for the gown and i was able to fold the v-shape and gum with the hemming gum.
Also, fold the bottom edge of the gown inwards by let's say ½ an inch and sew it. You may also decide to use some hemming gum.
Remember to iron the stitches well so that your work will be neat. You can also press the dress if its too wrinkled.
Sadly, I was unable to take a photograph of the finished work. I got preoccupied by some other activities when the gown was ready, so it escaped my mind. However, I will ensure that I post it once the customer wears the dress and sends a picture. I sincerely apologise for the oversight.
View or trade
LOHtokens.@debbie-ese, You have received 1.0000 LOH for posting to Ladies of Hive.
We believe that you should be rewarded for the time and effort spent in creating articles. The goal is to encourage token holders to accumulate and hodl LOH tokens over a long period of time.
Hello Debora. Happy beginning of April to you. The dress looks great in your process, I was looking forward to seeing it at the end. I hope you will share it soon.
Cheers!
Hey @lauramica. Happy beginning of April to you too. Thanks for the compliment. I will post an update when I get pictures from my customer. Do enjoy your day to the fullest.
Best regards!
excellent work I know it will be beautiful
Hey dear friend @lrscarmen, thank you so much.
Keep up with the good work
Hey @sommylove. Thank you. Do have a great month ahead.
Welcome 🤗
Amen 🙏
You too 🙏
Hi, Debbie! I like the color of the cloth. My favorite! You are a meticulous sewer. I wanna see the finished product soon when your client gives you a picture of it. Happy April Fools!🥰
Hey @diosarich. Thanks for the sweet words. These are the things that motivate me to do better with my craft. I'd definitely share once I get a picture from from my client. I just followed you. Much love
@tipu curate