DIY: Constructing a Picture Shelf at Home // Construir una estantería para cuadros en casa (ENG // ESP )

ENG
A few months ago, I noticed that there were a lot of picture frames and almanacs at home that needed to be placed on the walls in the parlor. However, the more we used a hammer to punch nails into the wall to hang the pictures, the more the wall kept cracking and the paint got damaged. It was no longer making sense to keep hitting the wall just to hang pictures.
There was also not enough cash to call a carpenter to design something for us, so I needed to think and come up with a creative solution. Boom! An idea came to me. I had some leftover strong planks and plywood at home. I said to myself, these woods will be put to good use. That was how the process began.
Tools Needed:
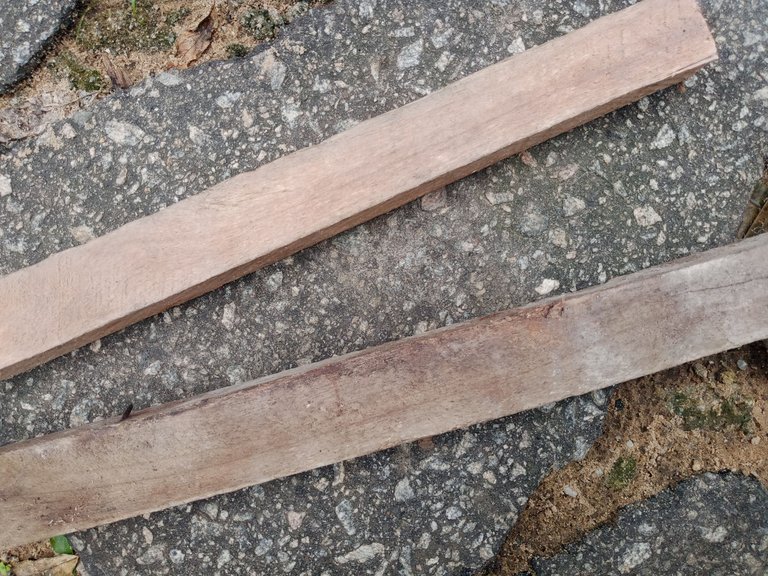
2 by 2 plank
Hard plywood
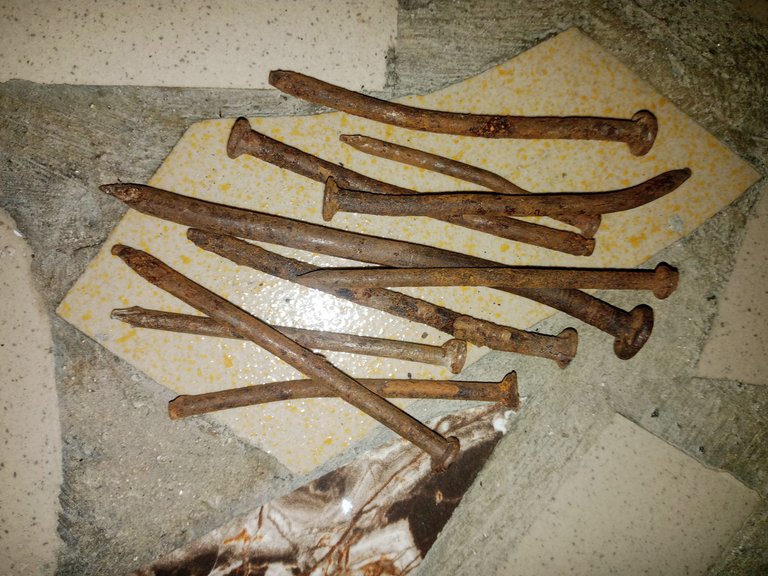
Nails
Hammer
Pliers (optional)
Spraying gun
Oil paint (any color of your choice)
Measuring tape
Sandpaper
What I Did:
First, I used the measuring tape to measure the part of the wall where I wanted the shelf to be placed. I then cut the plywood into a fine and desirable shape (a long rectangle). After cutting, I used sandpaper to smoothen the surface of the plywood.
Next, I filled the spraying gun with oil paint and sprayed the plywood. After a few hours, they were all dried and looking good.
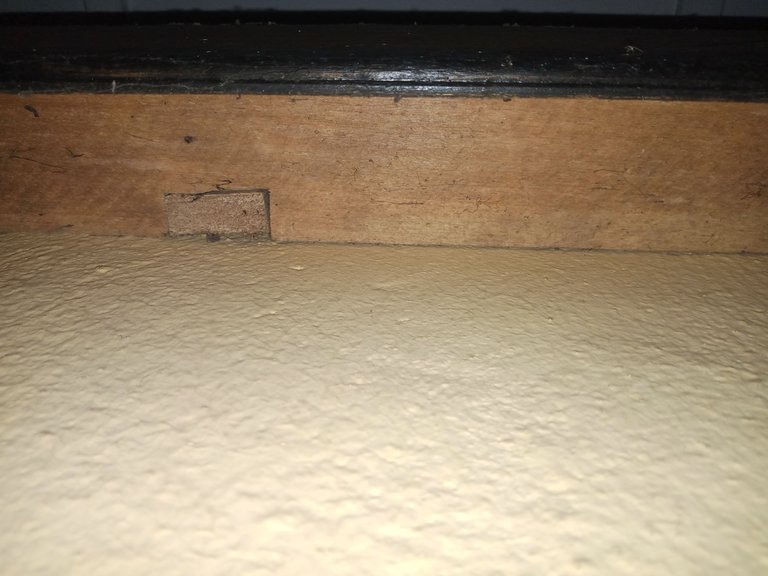
While they were drying, I nailed the 2 by 2 plank into the wall. This served as the base on which I would fix the plywood. Once the plywood was dry, I placed it on the 2 by 2 plank and nailed it there, leaving about a 2-inch space above the plywood. That space was where the pictures would be placed.
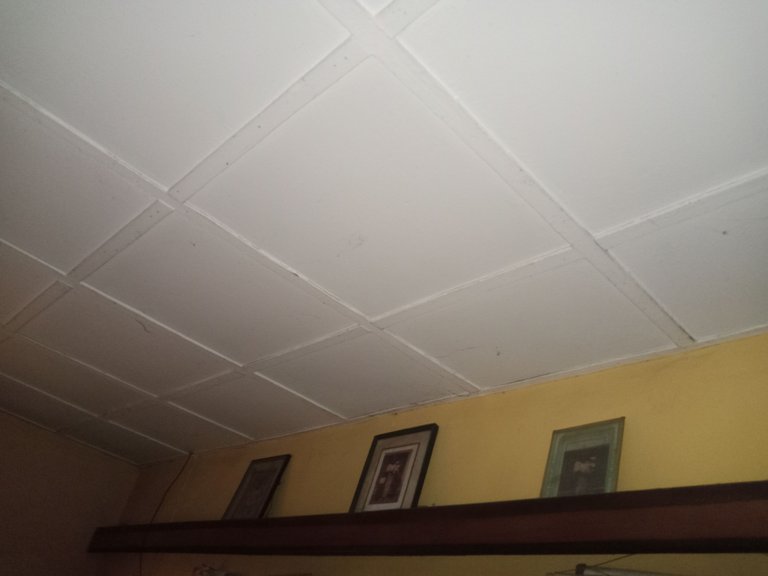
I repeated the same process in all the parts of the wall that I wanted shelves. Finally, I arranged all the pictures neatly on the shelves. It looked really nice, as seen in the image below.

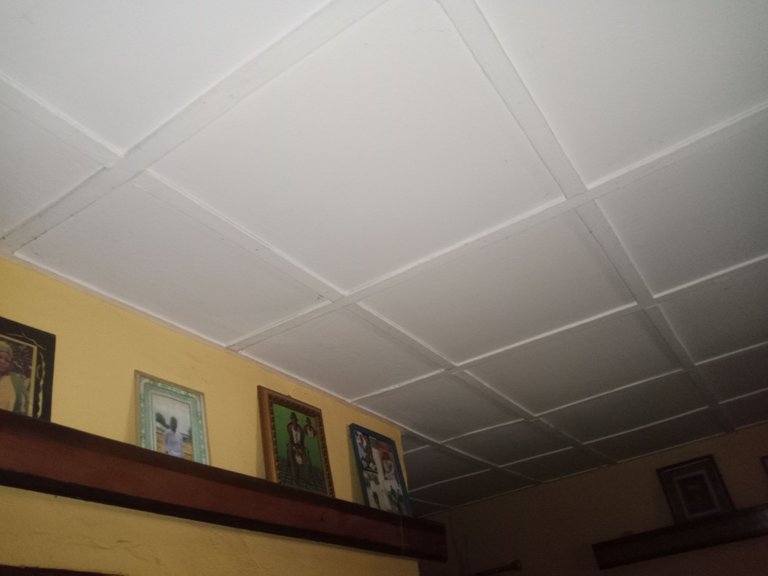
Simple, right? That is how I was able to make a picture shelf at home by myself and put an end to constant nailing on the wall. It turned out beautifully!
Thanks for reading, I am @nsigo1. Follow me for more insightful and educative prompts.

ESP
Hace unos meses, me di cuenta de que había muchos marcos de cuadros y almanaques en casa que había que colocar en las paredes del salón. Sin embargo, cuanto más utilizábamos un martillo para clavar clavos en la pared para colgar los cuadros, más se resquebrajaba la pared y más se estropeaba la pintura. Ya no tenía sentido seguir golpeando la pared sólo para colgar cuadros.
Tampoco había suficiente dinero para llamar a un carpintero y que nos diseñara algo, así que tuve que pensar e idear una solución creativa. ¡Pum! Se me ocurrió una idea. Tenía en casa algunos restos de tablones fuertes y contrachapado. Me dije: a estas maderas les daré un buen uso. Así empezó el proceso.
**Herramientas necesarias
Tablón de 2 por 2
Contrachapado duro
Clavos
Martillo
Alicates (opcional)
Pistola pulverizadora
Pintura al óleo (del color que prefiera)
Cinta métrica
Papel de lija
**Lo que hice
En primer lugar, utilicé la cinta métrica para medir la parte de la pared donde quería colocar la estantería. A continuación, corté el contrachapado para darle una forma fina y deseada (un rectángulo alargado). Una vez cortado, utilicé papel de lija para alisar la superficie del contrachapado.
A continuación, llené la pistola de pintura al óleo y rocié el contrachapado. Al cabo de unas horas, ya estaban secas y tenían buen aspecto.
Mientras se secaban, clavé el tablón de 2 por 2 en la pared. Esto sirvió como base sobre la que fijaría el contrachapado. Una vez seco el contrachapado, lo coloqué sobre la tabla de 2 por 2 y lo clavé allí, dejando un espacio de unos 5 cm por encima del contrachapado. Ese espacio era donde se colocarían los cuadros.
Repetí el mismo proceso en todas las partes de la pared en las que quería estanterías. Por último, coloqué todos los cuadros ordenadamente en las estanterías. Quedó muy bien, como se ve en la imagen de abajo.
Sencillo, ¿verdad? Así es como pude hacer yo sola una estantería para cuadros en casa y poner fin a los constantes clavados en la pared. ¡Quedó estupendamente!
Gracias por leerme, soy @nsigo1. Sígueme para más prompts perspicaces y educativos.
!discovery 10
Thanks
This post was shared and voted inside the discord by the curators team of discovery-it
Join our Community and follow our Curation Trail
Discovery-it is also a Witness, vote for us here
Delegate to us for passive income. Check our 80% fee-back Program
Esta es una excelente forma, quiero una así para los juguetes de mi hijo. Gracias por compartir
Gracias
Excelente idea, me gusta que al ser aéreos prácticamente no ocupa espacio y son muy decorativas.
Gracias por compartir esta idea tan genial
Gracias
Gracias