Steel and Fury: Skyspire Yak’s Equal Opportunity Advantage

Good day, everyone, and Splinterlands community, Today I'll be sharing a fun and interesting battle I recently had where I built a team combo utilizing Skyspire Yak in a low mana cap match. At first peek, this card might seem pretty just ordinary, but when you combo it with the right rule sets and supporting abilities, it can really make it a unique and powerful unit in your team. In this battle strategy, I’ll walk you through how I used the Skyspire Yak, why I placed my lineup the way I did, and how the synergy between abilities and rule sets gave me the upper hand.
What could’ve been a tough matchup ended up playing out smoothly, and it showed me that even a common card can feel like a core (Main Damage Dealer of your Team) when used in the right situation.

Skyspire Yak is a Common Rebellion card from the Mundane Beast race. At the stats level, it may look pretty average in stats, but it's Armored Strike and Heal abilities make it surprisingly strong when paired with the right support abilities (like Protect, Ambush, Blast, or Deathblow) and rule sets (like Equal Opportunity, Melee Mayhem, Fog of War, or Explosive Weaponry). With 2 melee damage, 2 armor, 4 speed, and 8 health, it’s tough enough to stand at the front and has decent damage stats. Armored Strike will be able to attack based on its armor value, and if you combine that with Protect, it can hit much stronger than expected. Add the healing ability on top of that, and you’ve got a frontliner that can survive several rounds while keeping the pressure on the enemy team.
This combination of durability and attack damage makes Skyspire Yak shine in rules like Equal Opportunity, where damage gets attack target to lower health opponents and every extra strike matters. To show how this played out in Modern Format, let’s go into the battle.

Into the battle: https://splinterlands.com/battle/sl_5bff41adf8ee2fee9e4d57a3cc5e2d87

The rules this time were Equal Opportunity, Taking Sides, and What Doesn’t Kill You, with a 19 mana cap. Fire and Earth were disabled, so I had to choose between Life, Death, Dragon, and Water.
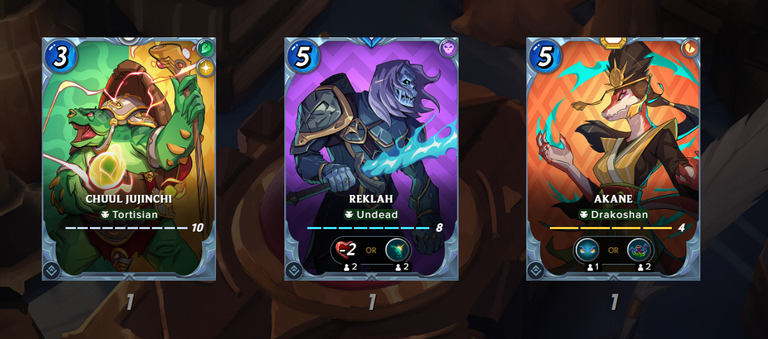
I can only utilise Life, Earth, Death, and Dragon elements with my three summoners or Archons since those are the elements Summoner I got. I went with Akane as my summoner for its flexibility (Dragon Element with Ambush), which gave me the chance to use Skyspire Yak together with Nimbledook Explorer for a strong Life combo.
- Skyspire Yak at the front as my main tank and melee attacker.
- Nimbledook Explorer in second place, ready to act as a backup tank while also boosting Yak’s damage with Protect and its own Armored Strike.
- Auroral Elemental in the third slot, adding another layer of Protect to ramp up my team’s armor-based attack damage.
- Frigid Wolf at the back, serving as bait because of its lower health, but still shielded by the Protect buffs.
This is the lineup I settled on:
I also gave Ambush to both Skyspire Yak and Nimbledook Explorer through Akane, letting them hit hard right from the opening.
I'm quite confident that my lineup strategy was optimal and suited perfectly for this match's rules and abilities. With a low mana cap of 19, I find comfort in this type of battle because I have useful cards that I anticipated using in several of my matches.

While my opponent chose Kavor Skarn and deploy along Albahoo Forester, Skyspire Leopard, Nimbledook Explorer, and Dragon Egg Forager. Their strategy leaned heavily on melee damage as well, with Dragon and Life synergy. Placing Skyspire Leopard in the second slot was a smart move, especially with Triage, since it could heal and act as a bait tank to drag out the fight.
Given the opponent's level, mine is higher; however, the lineup strategy might be effective. Positioning Skyspire Leopard in the second slot serves as a bait strategy because of its health advantage, and with Triage, it will provide consistent healing each round, creating a solid tank.

When the Ambush round phase kicked in, my Skyspire Yak and Nimbledook Explorer wasted no time pressuring the opposing frontline since my Skyspire Yak was able to attack and deal damage that lost some health of Albahoo Forester, making my Nimbledook Explorer the last to finish the attack and execute it. Albahoo Forester went down quickly, and the Equal Opportunity rule set ensured my team’s boosted Armored Strike damage, dealing damage effectively.

By Round 4, the battle was wrapped up. My Frigid Wolf, which I expected to be an easy target, ended up surviving much longer thanks to the double Protect buffs. Even if my opponent had stronger-level cards, I think this lineup would have still carried me through. The combination of Armored Strike, Heal, Protect, and Equal Opportunity created a synergy that turned what seemed like a simple setup into a very strong and reliable team.


A Big Thanks! For supporting me, being here, and coming this far. I hope this strategy assists you with some of your battles with these rule sets in modern format conclave and rebellion sets.
Use my referral link: Click Here
Credits:
Thumbnail Edited the Design photo Splinterlands Modern League using PicsArt
Screenshot In-game splinterlands
@tipu curate 2
Delegate Tokens and HP to Fallen Angels to earn weekly rewards!
Delegate | Join to the guild
Thanks for sharing! - @yonilkar
