Why buy it when you can make it (gift card)
Greetings everyone and happy Valentine in advance.
As you all know, We are in the season of love and words alone are not enough to express how much we love and appreciate something but good gifts can do the talking for us .
BUT there is a problem "what if we don't have money for expensive gifts?",
That's where gift cards comes in.
Gift cards
Gift cards are used to express love and appreciation to people you love and value,
It doesn't cost much but it represents love and appreciation.
I didn't just want to show the step by step of how I made this gift card but I also want to use this medium to appreciate all hivians who love and appreciate my work on hive, everyone put together has made my hive journey easy.
Thank you all , I love you all
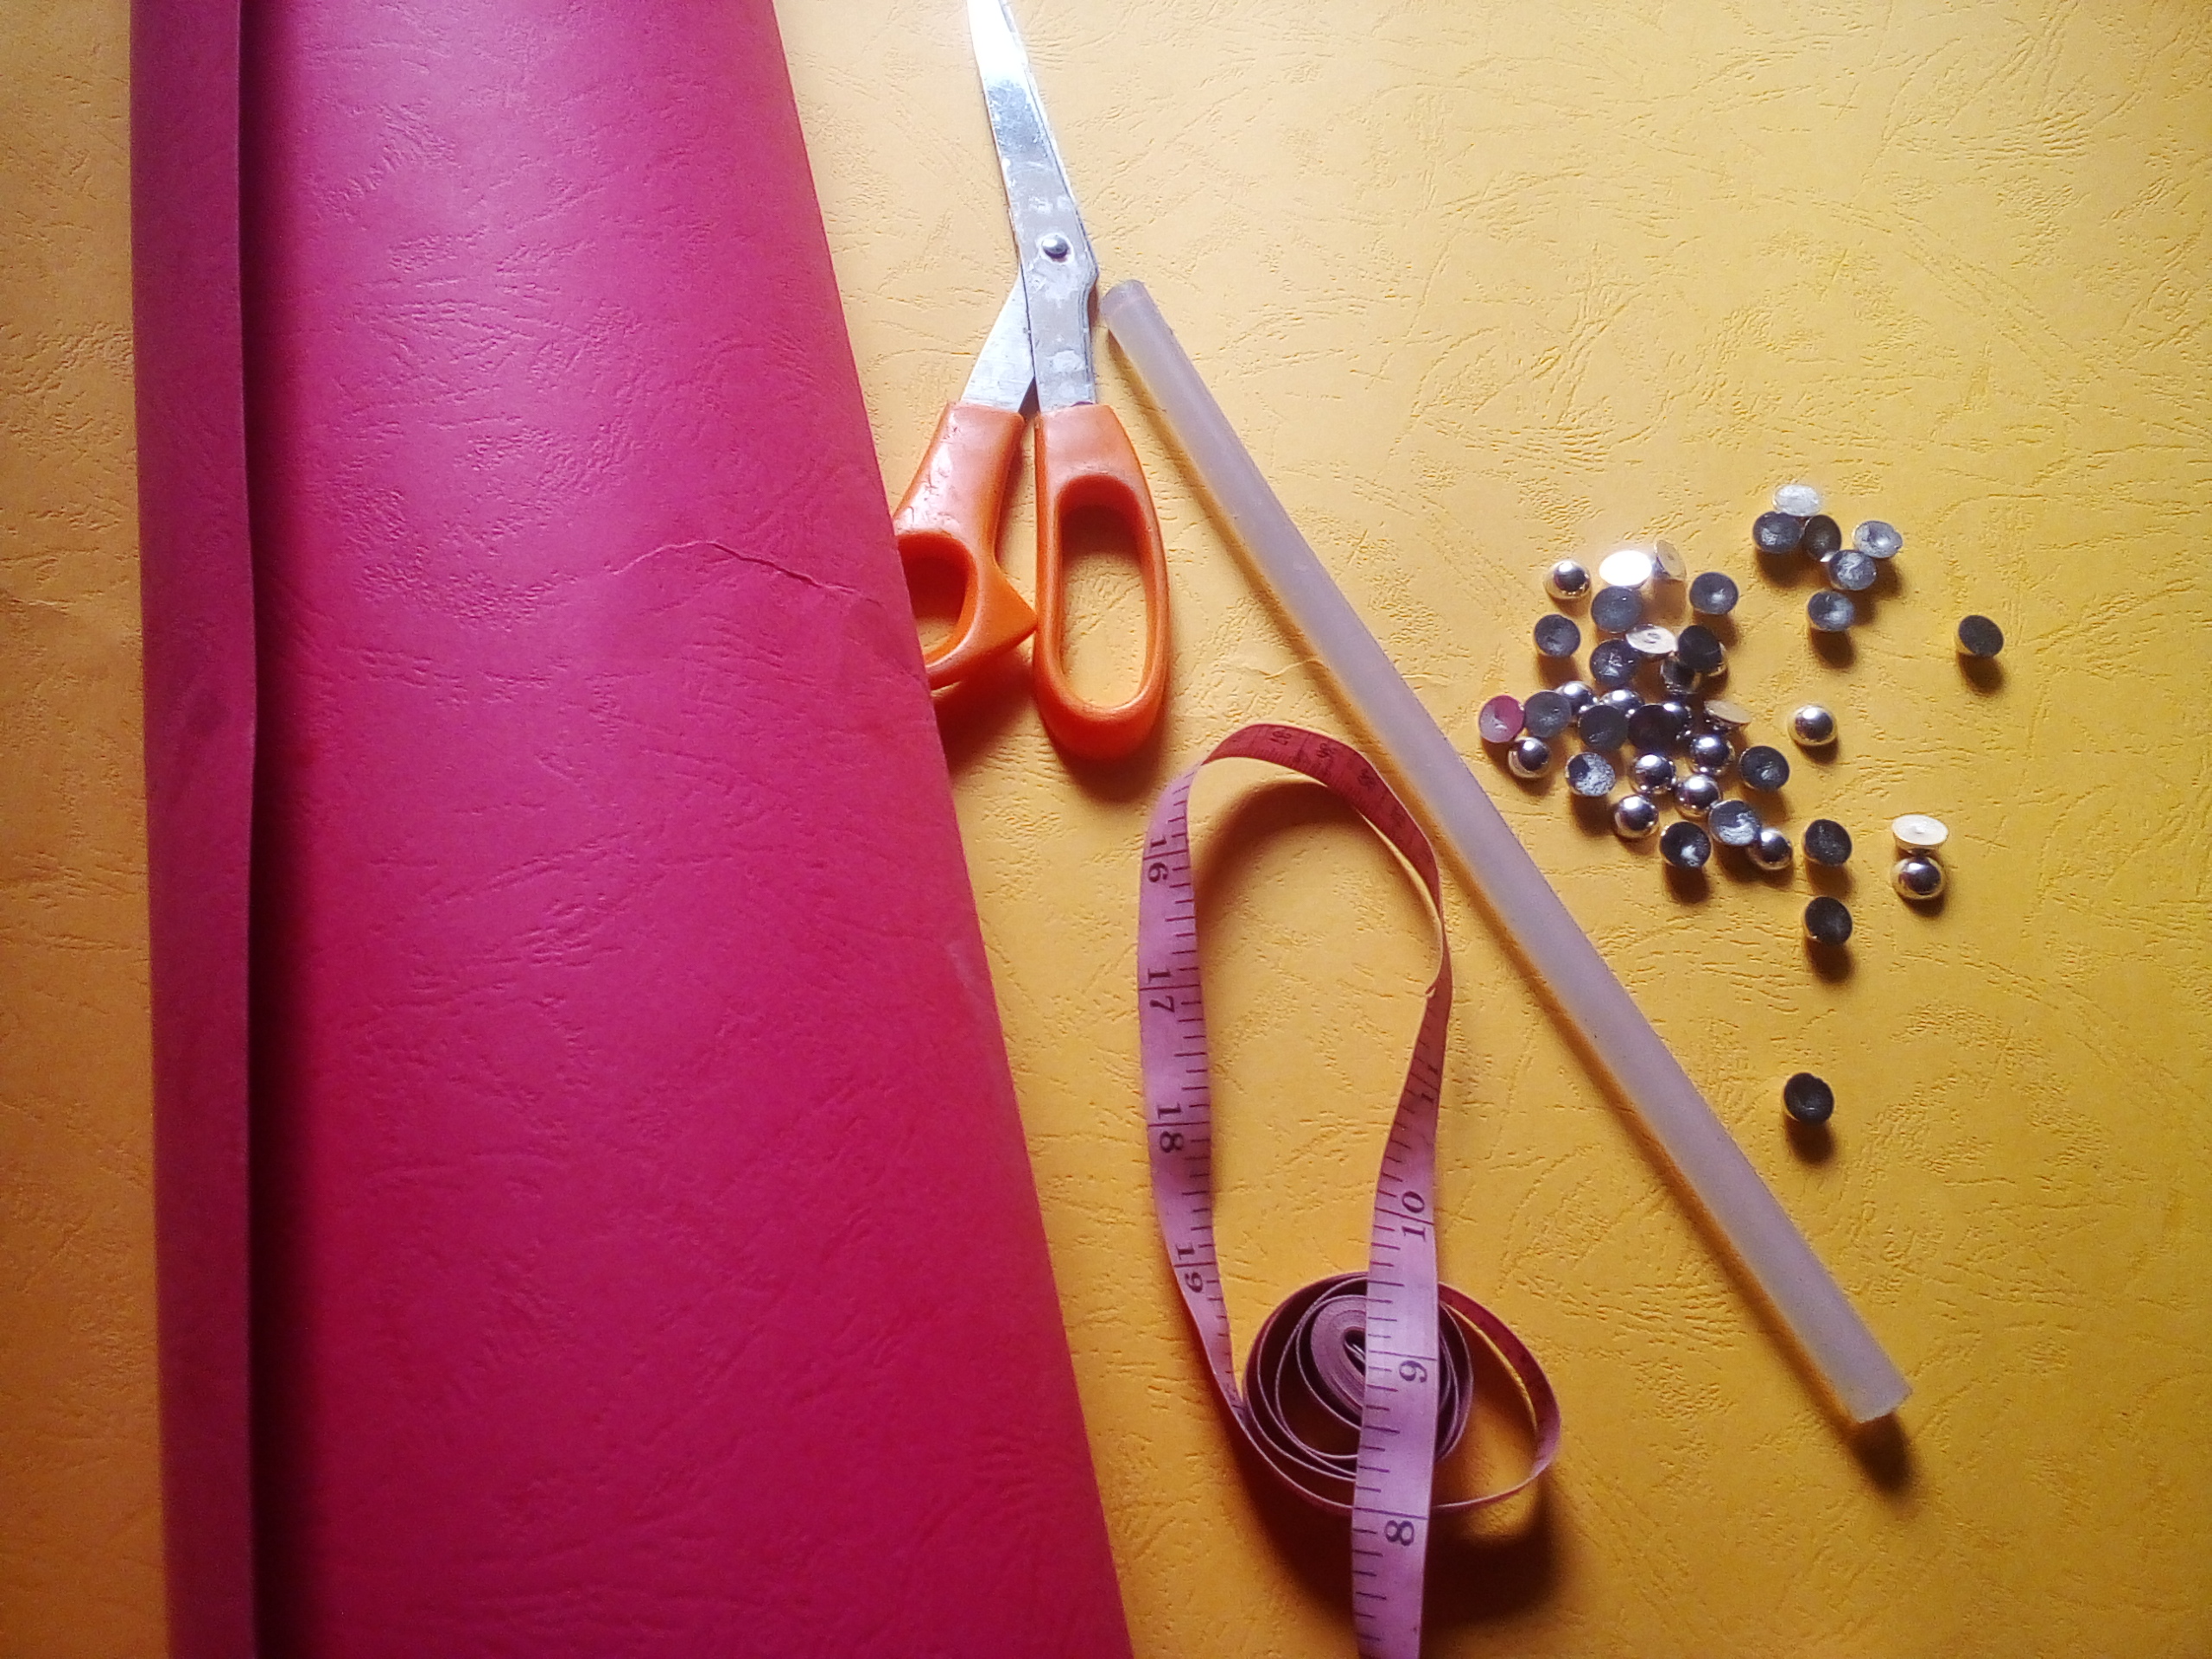
Now let's move down to the step by step procedures of how I made it beautiful gift card but first let me list the materials involved
 |  |
|---|
Inbox paper(different from cardboard paper)
Gum (your preferred choice)
Scissors
Pencil and pen
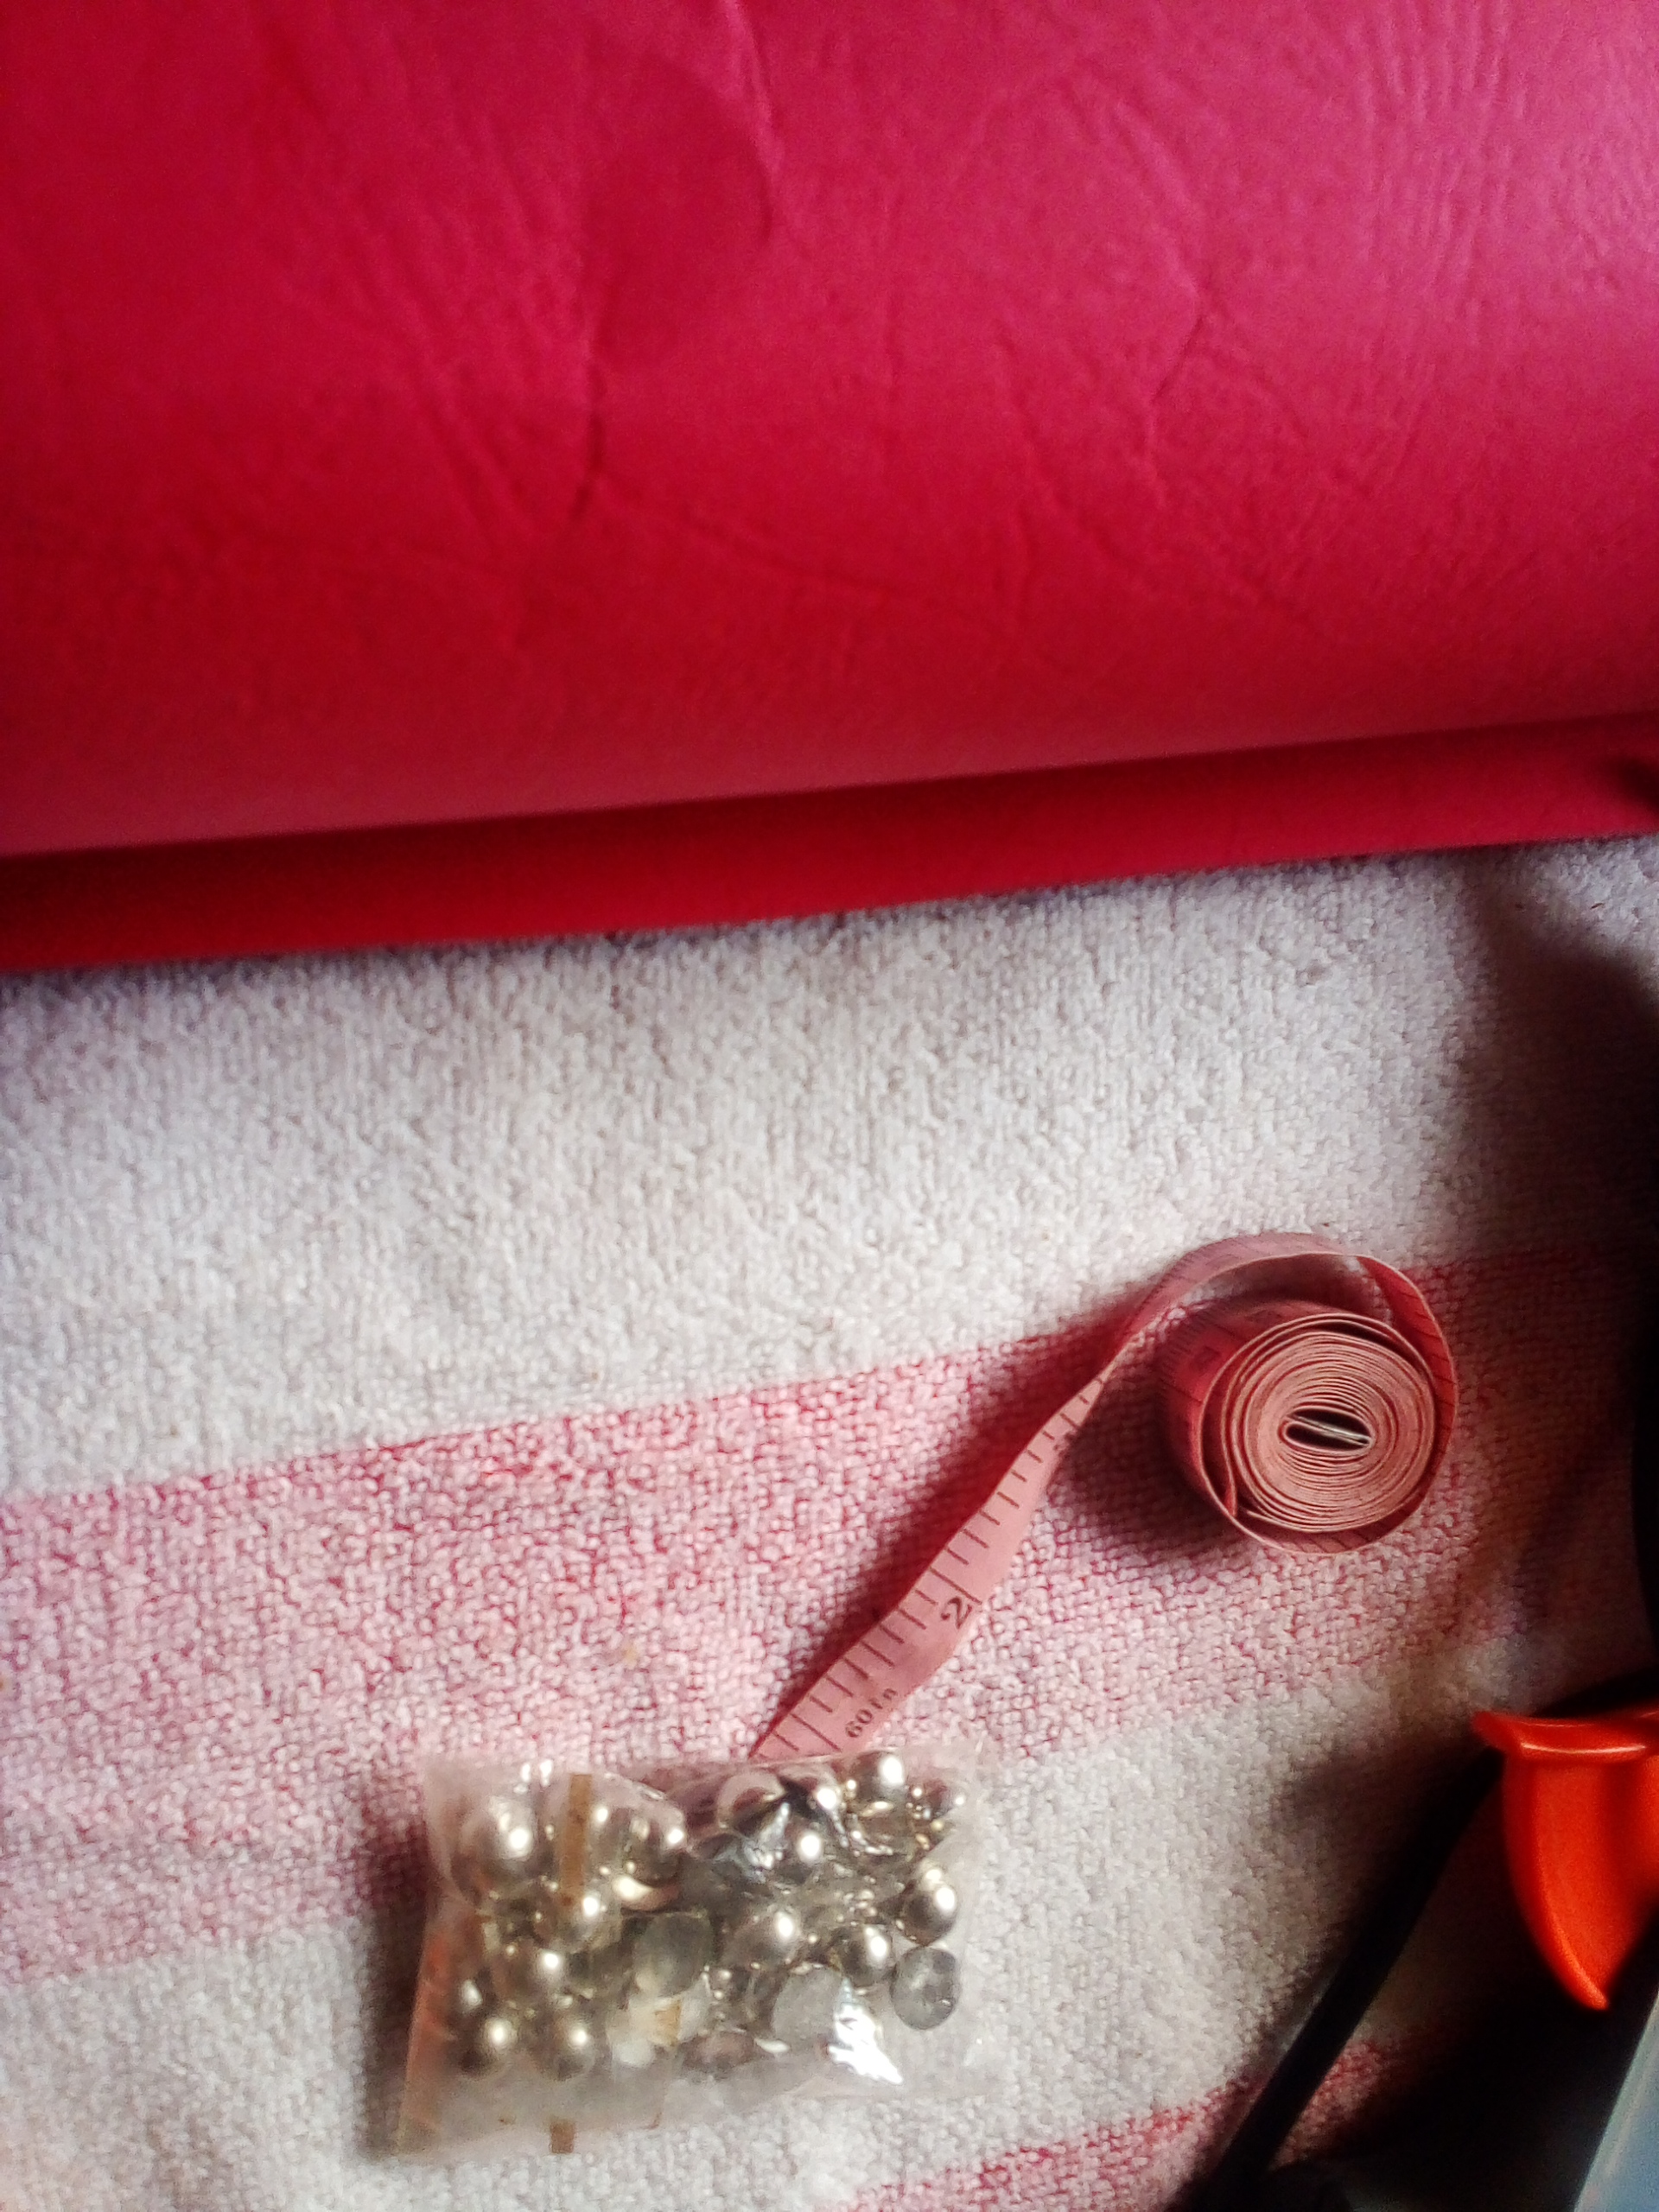
Pearls
Ruler or measuring tape
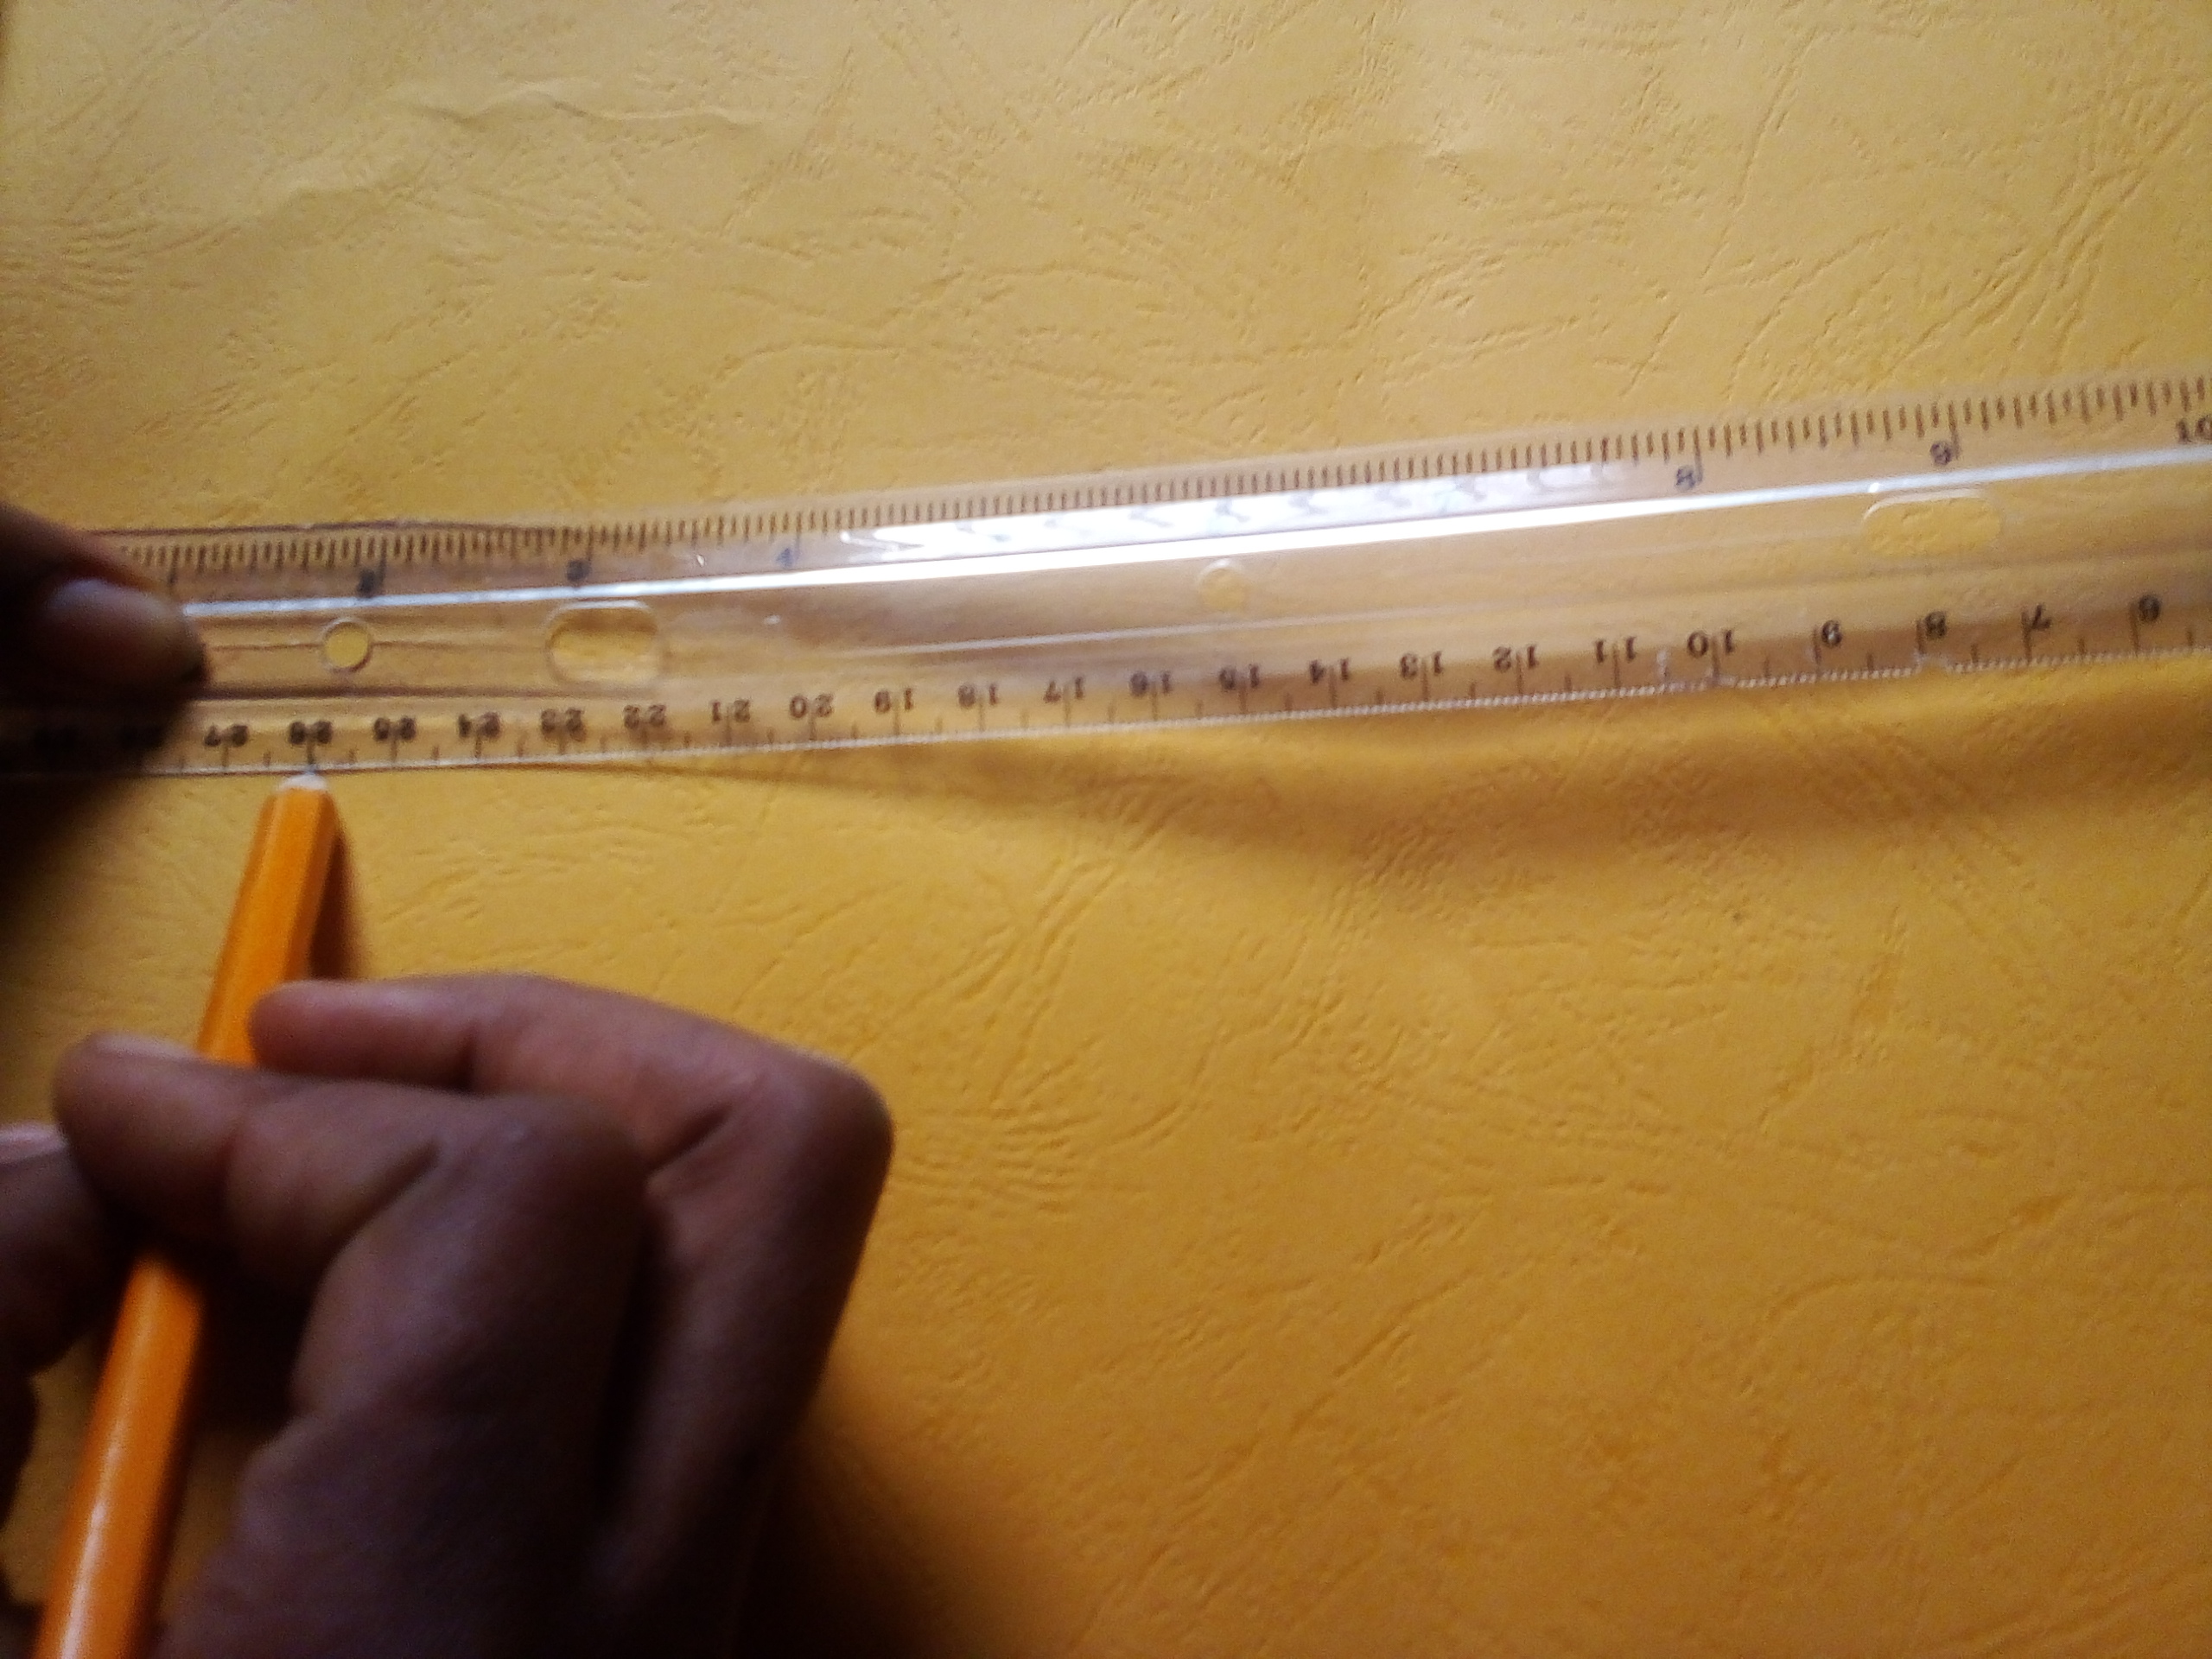
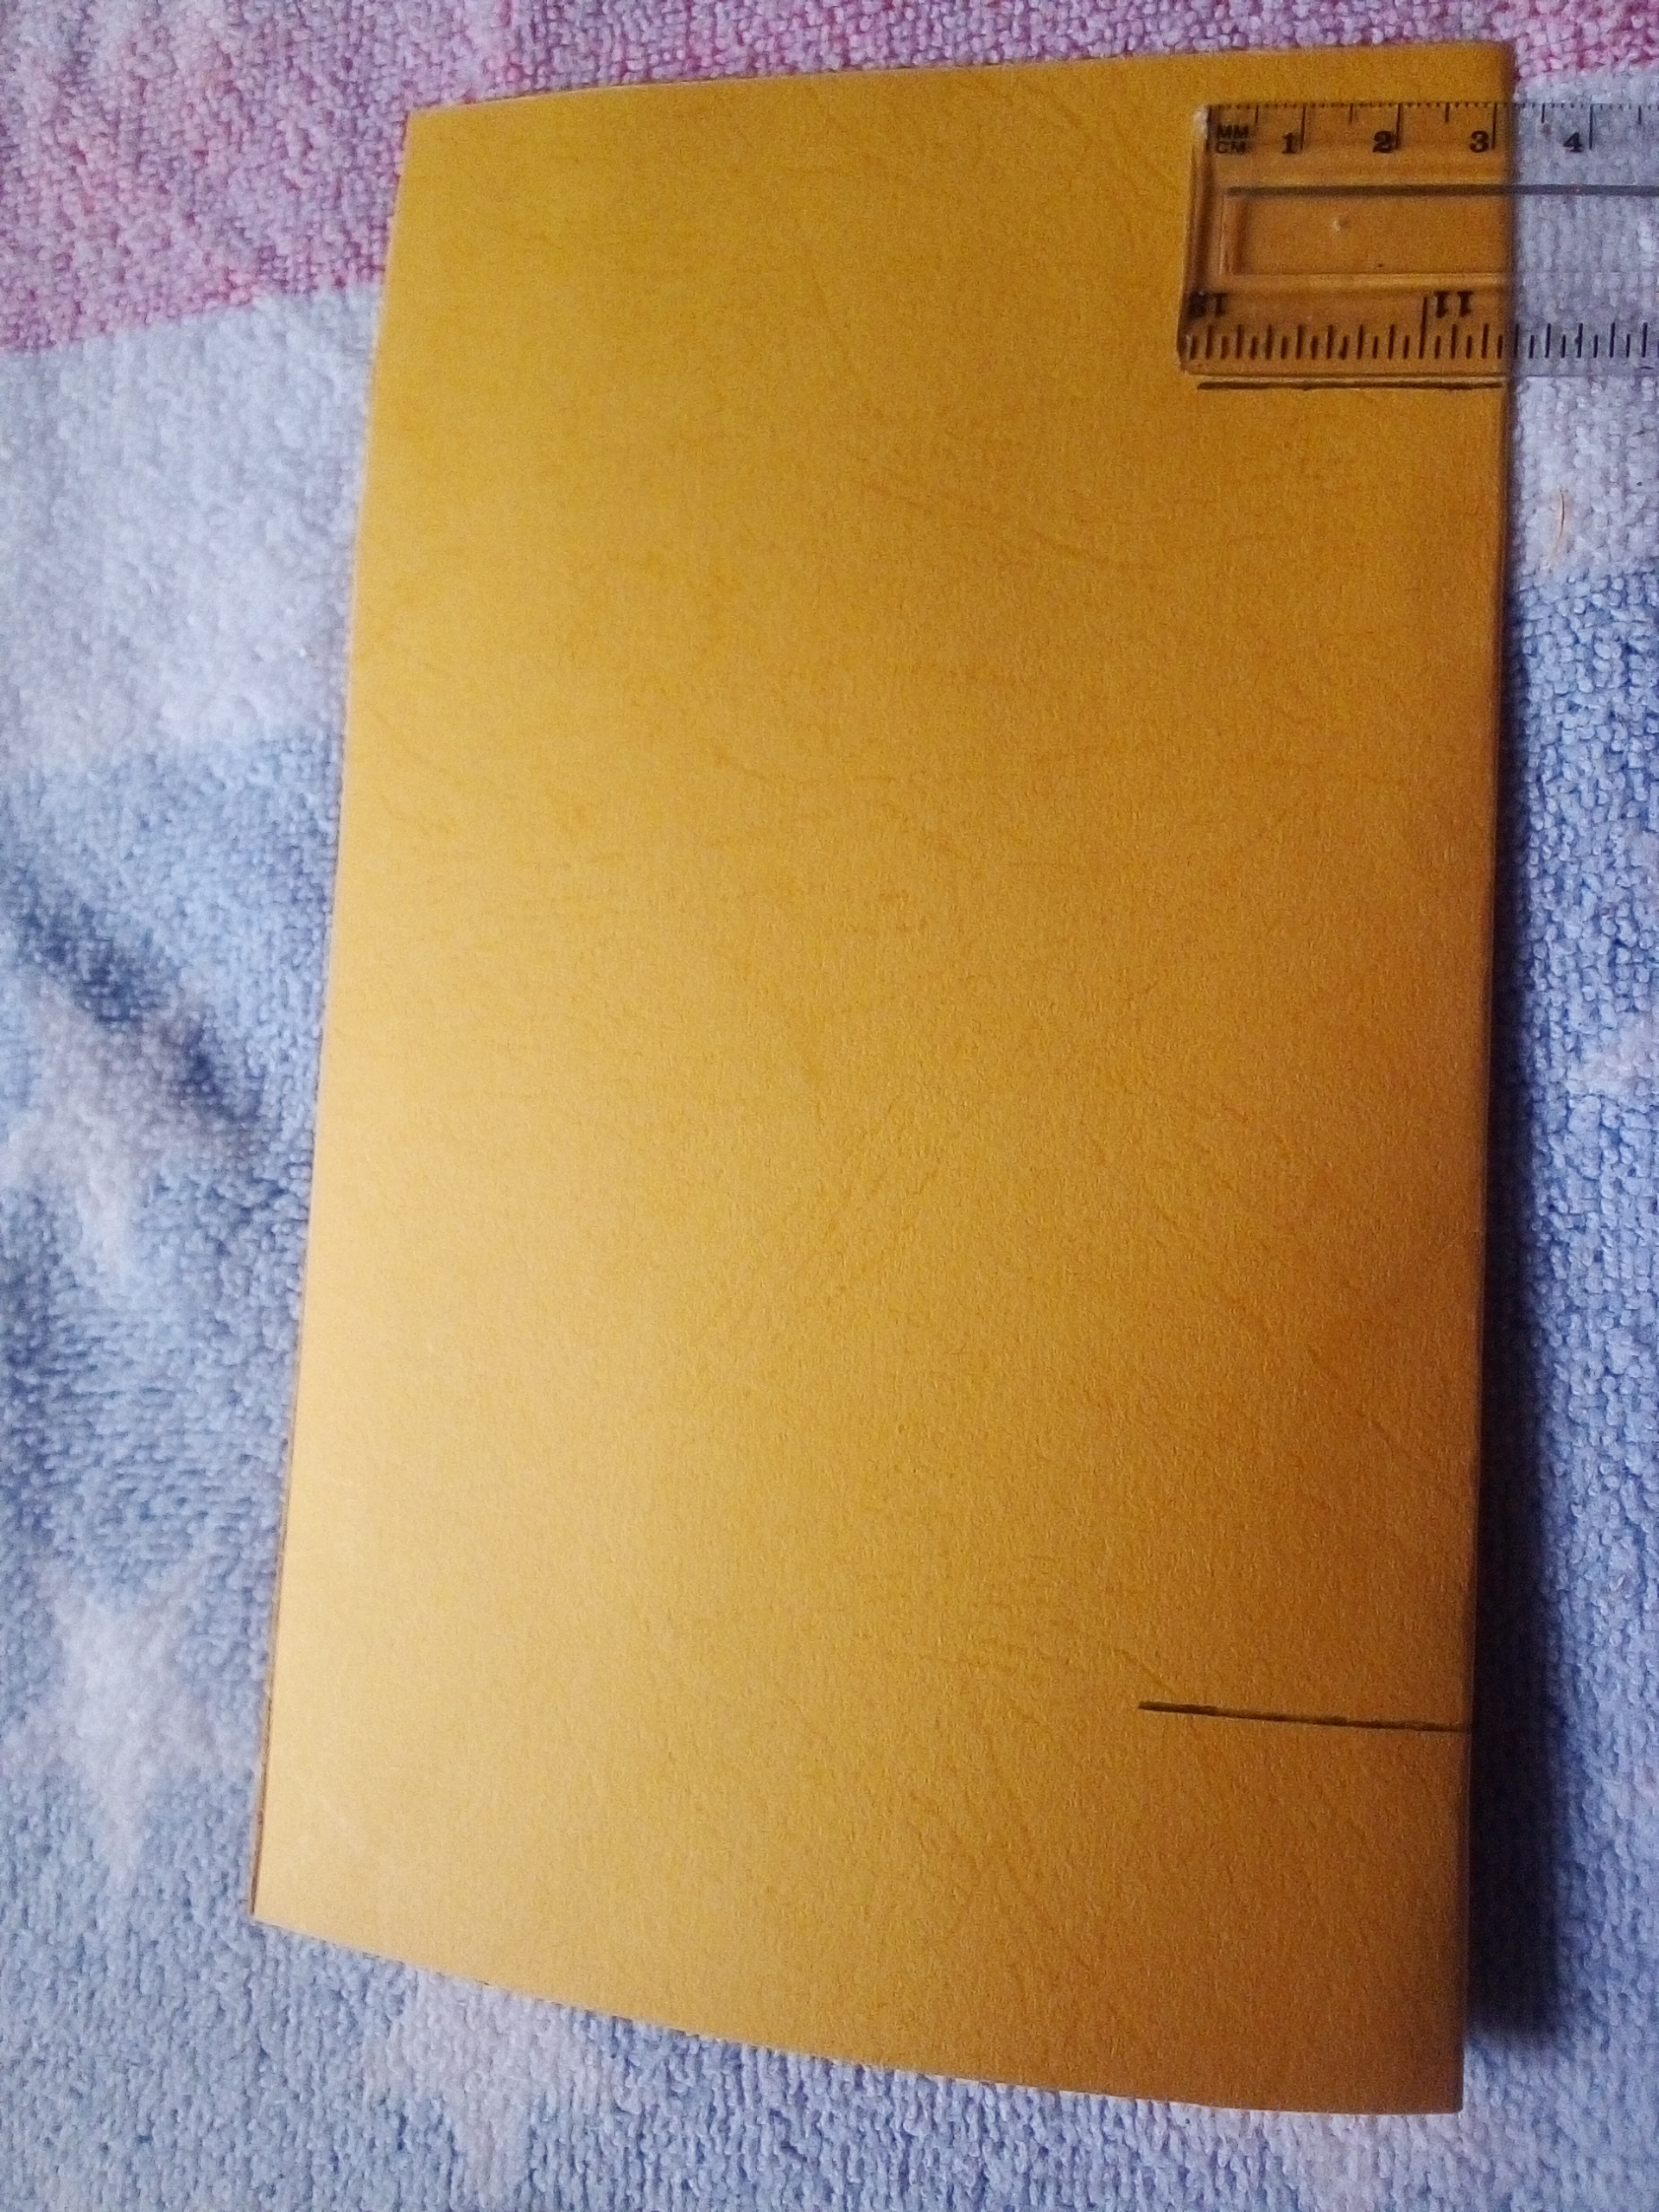
First all of you have to cut the gift card according to your desired size but i used 8.5cmheight x 10.5cm width and then fold it into two to get the exact shape of a gift card
 |  |
|---|
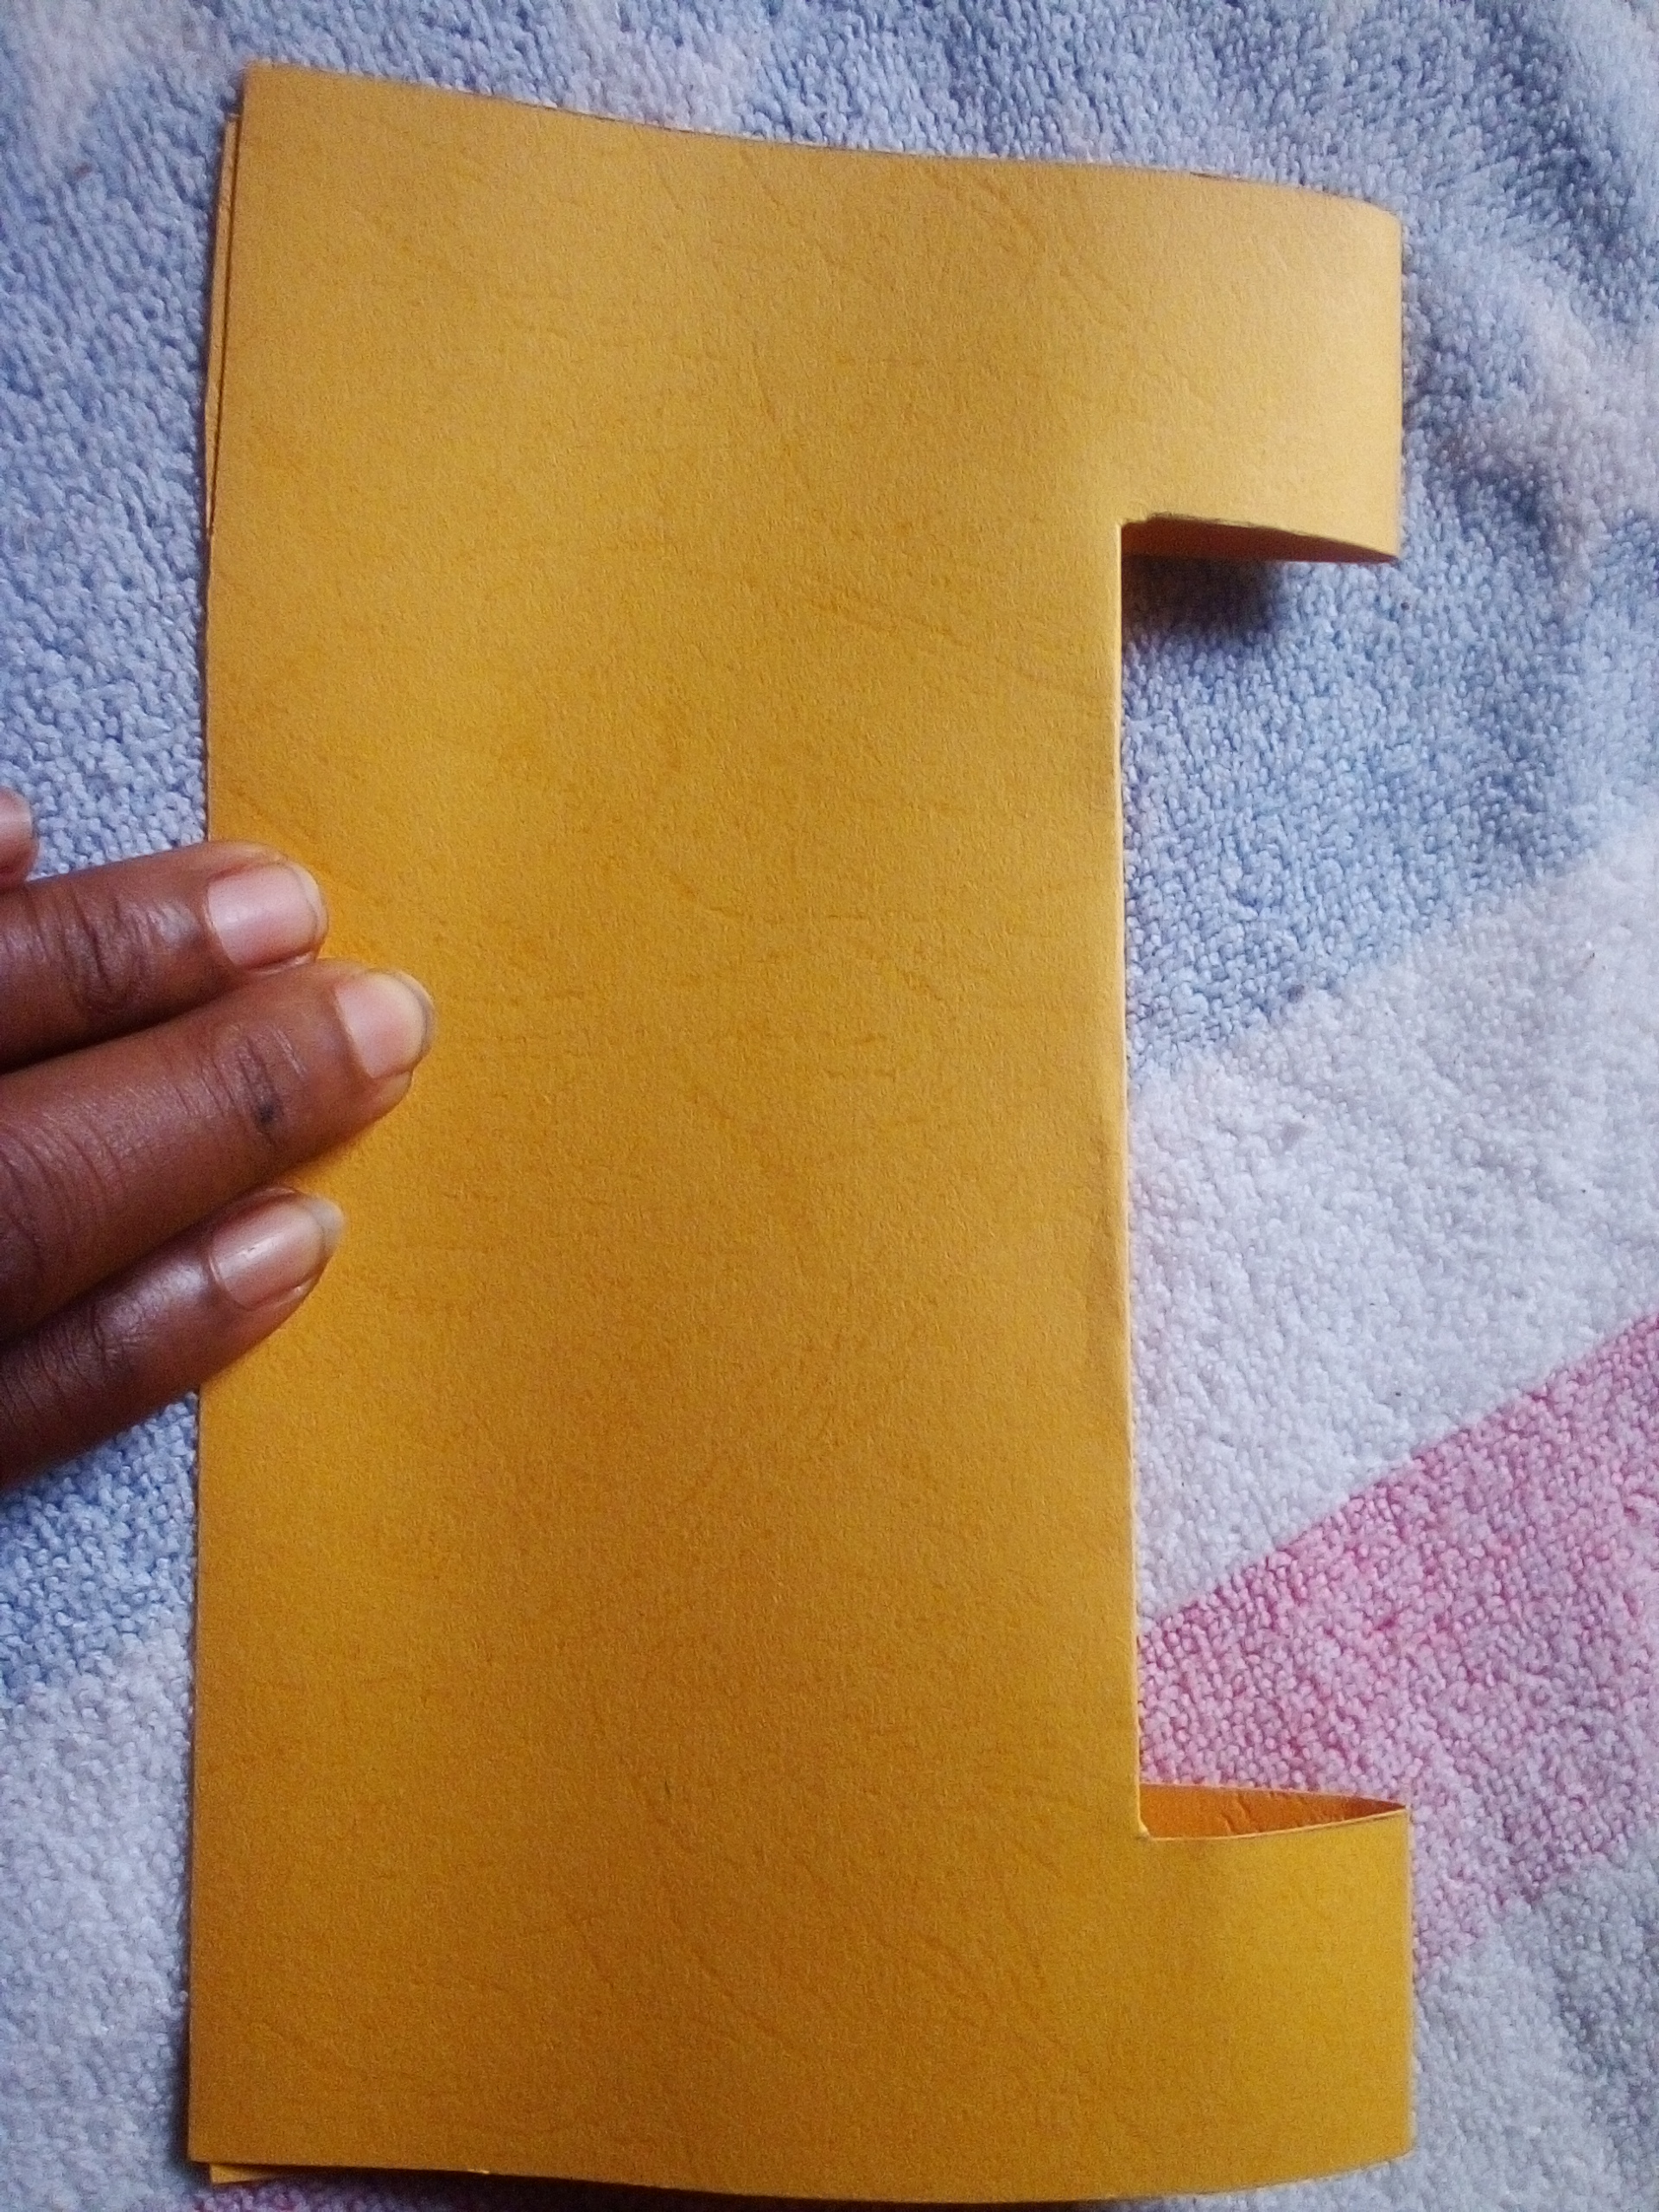
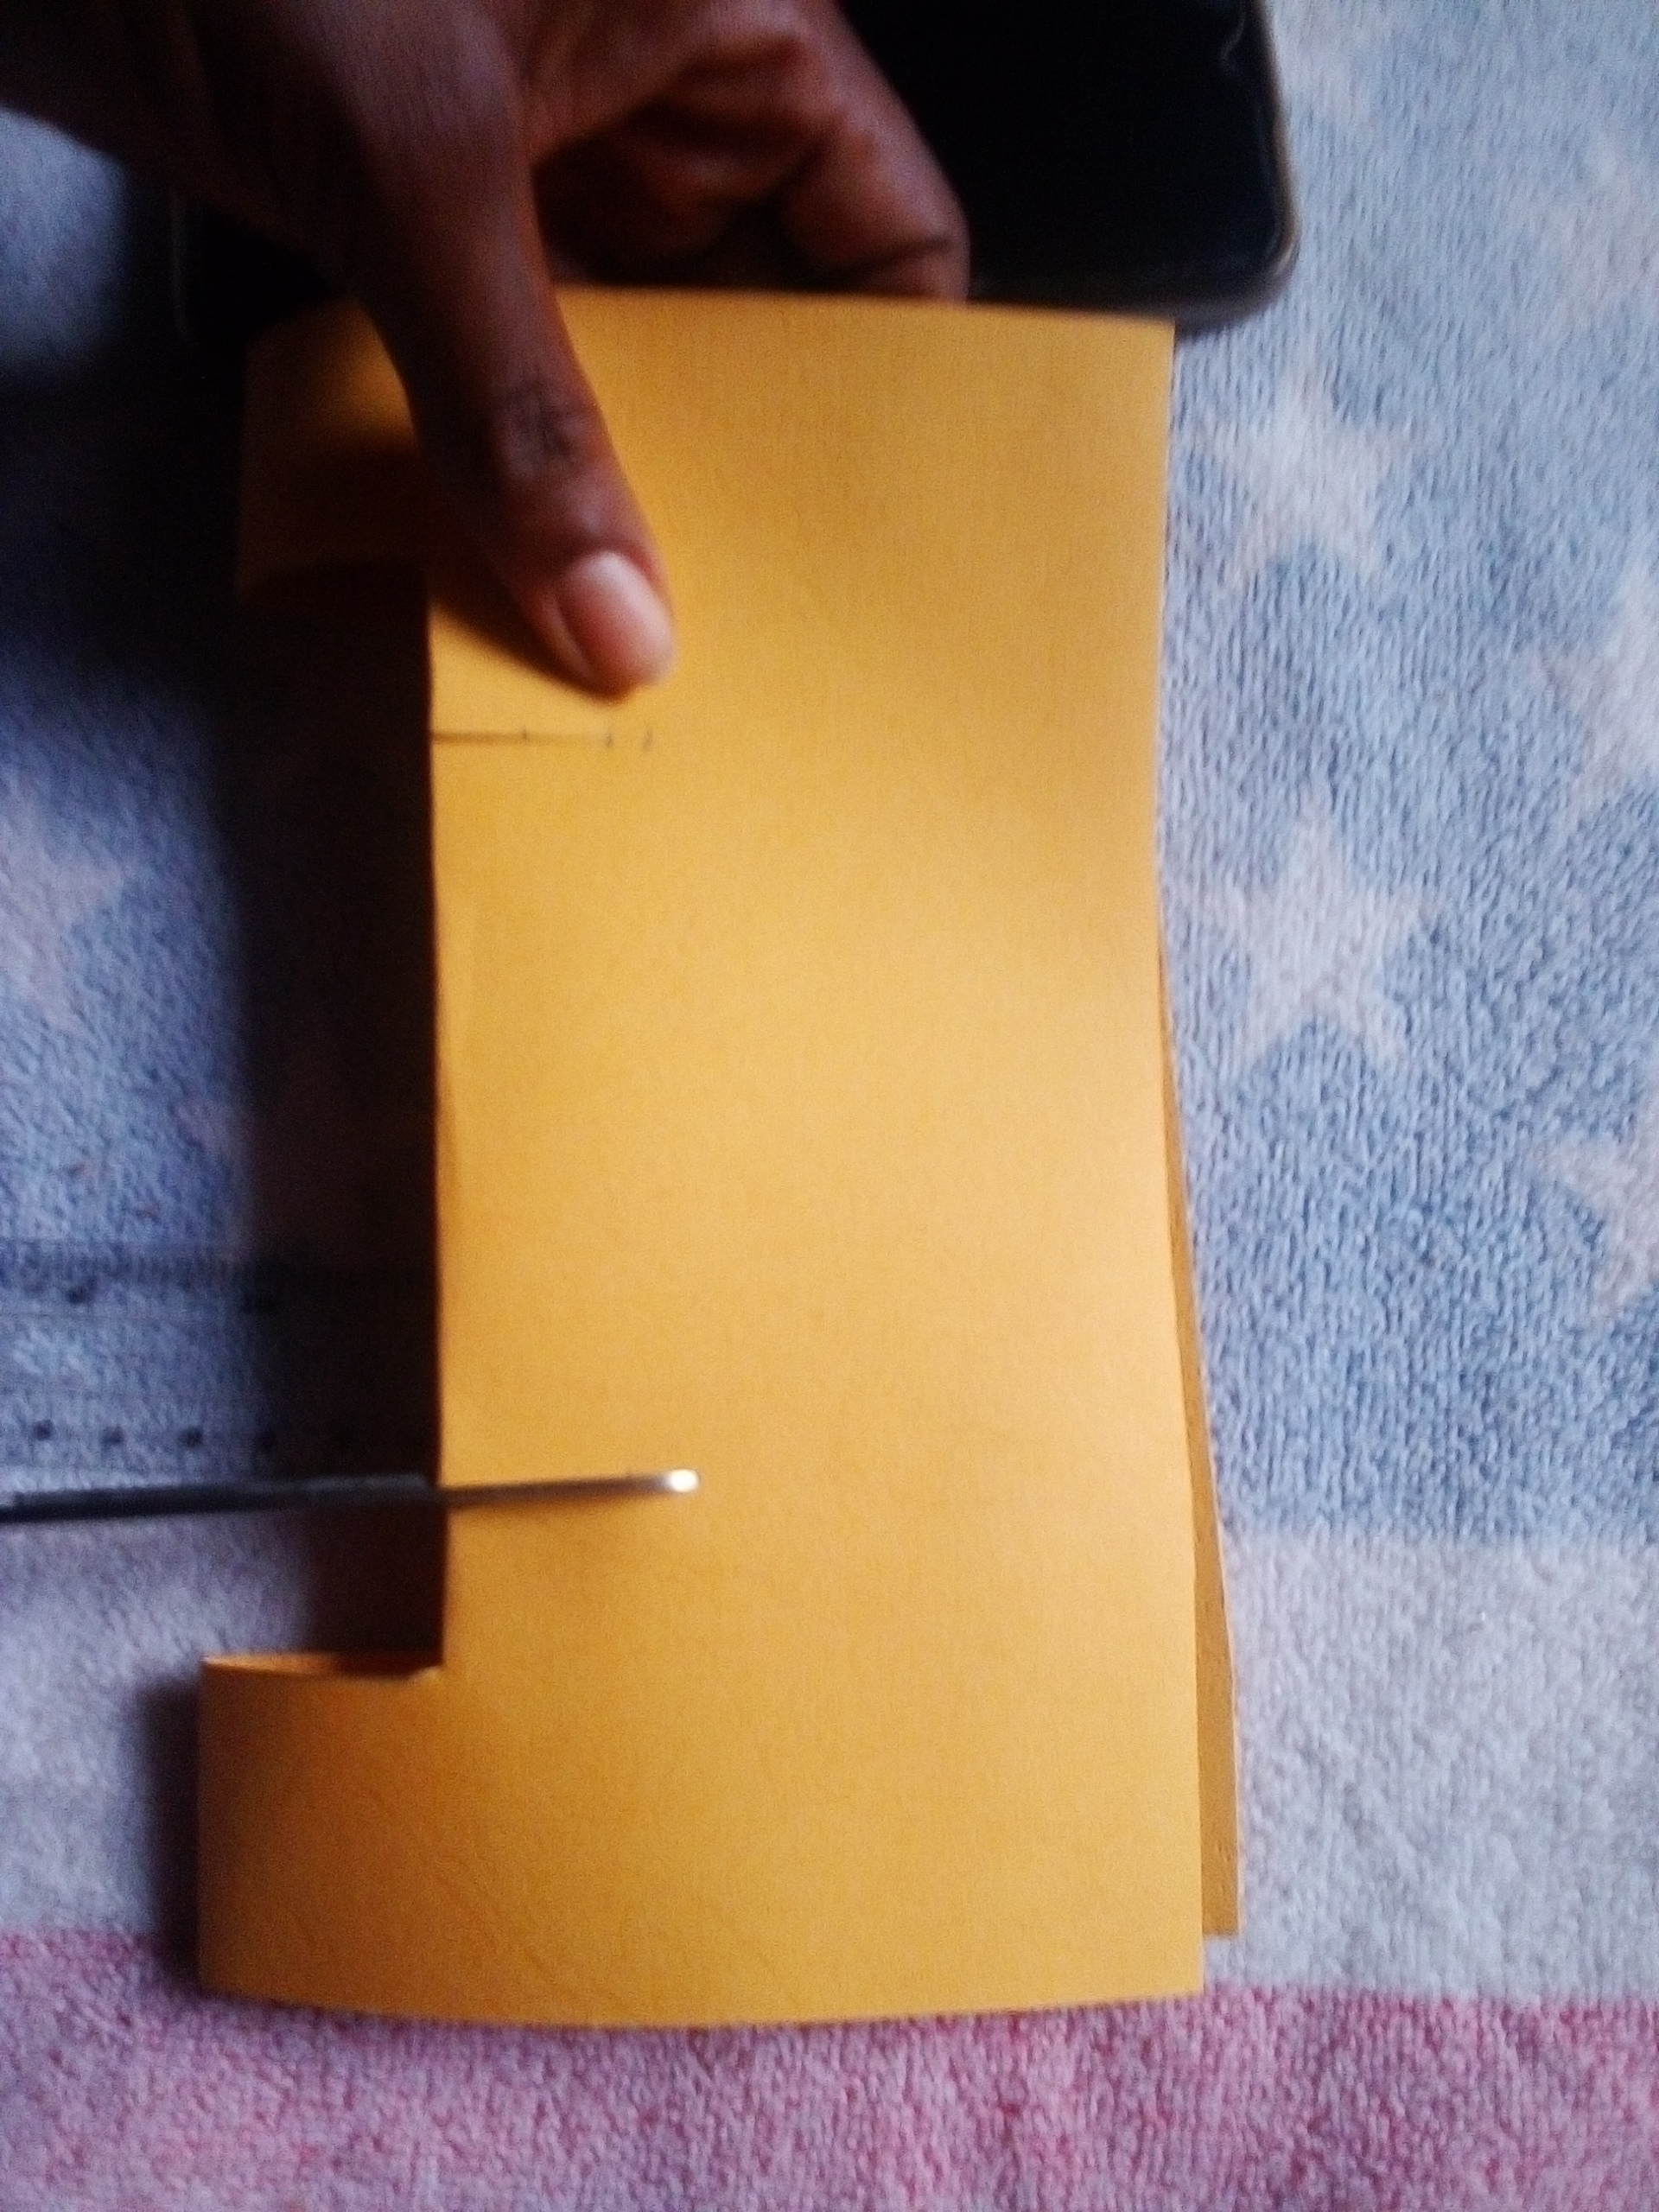
From the folded side, mark out 3cm width and 3cmheight and the cut and push it inside like the below image
 |  |
|---|
Still on the folded side ,mark out 2cm width and 2cm height but this time do it on the upper side and not the folded side
 | |
|---|
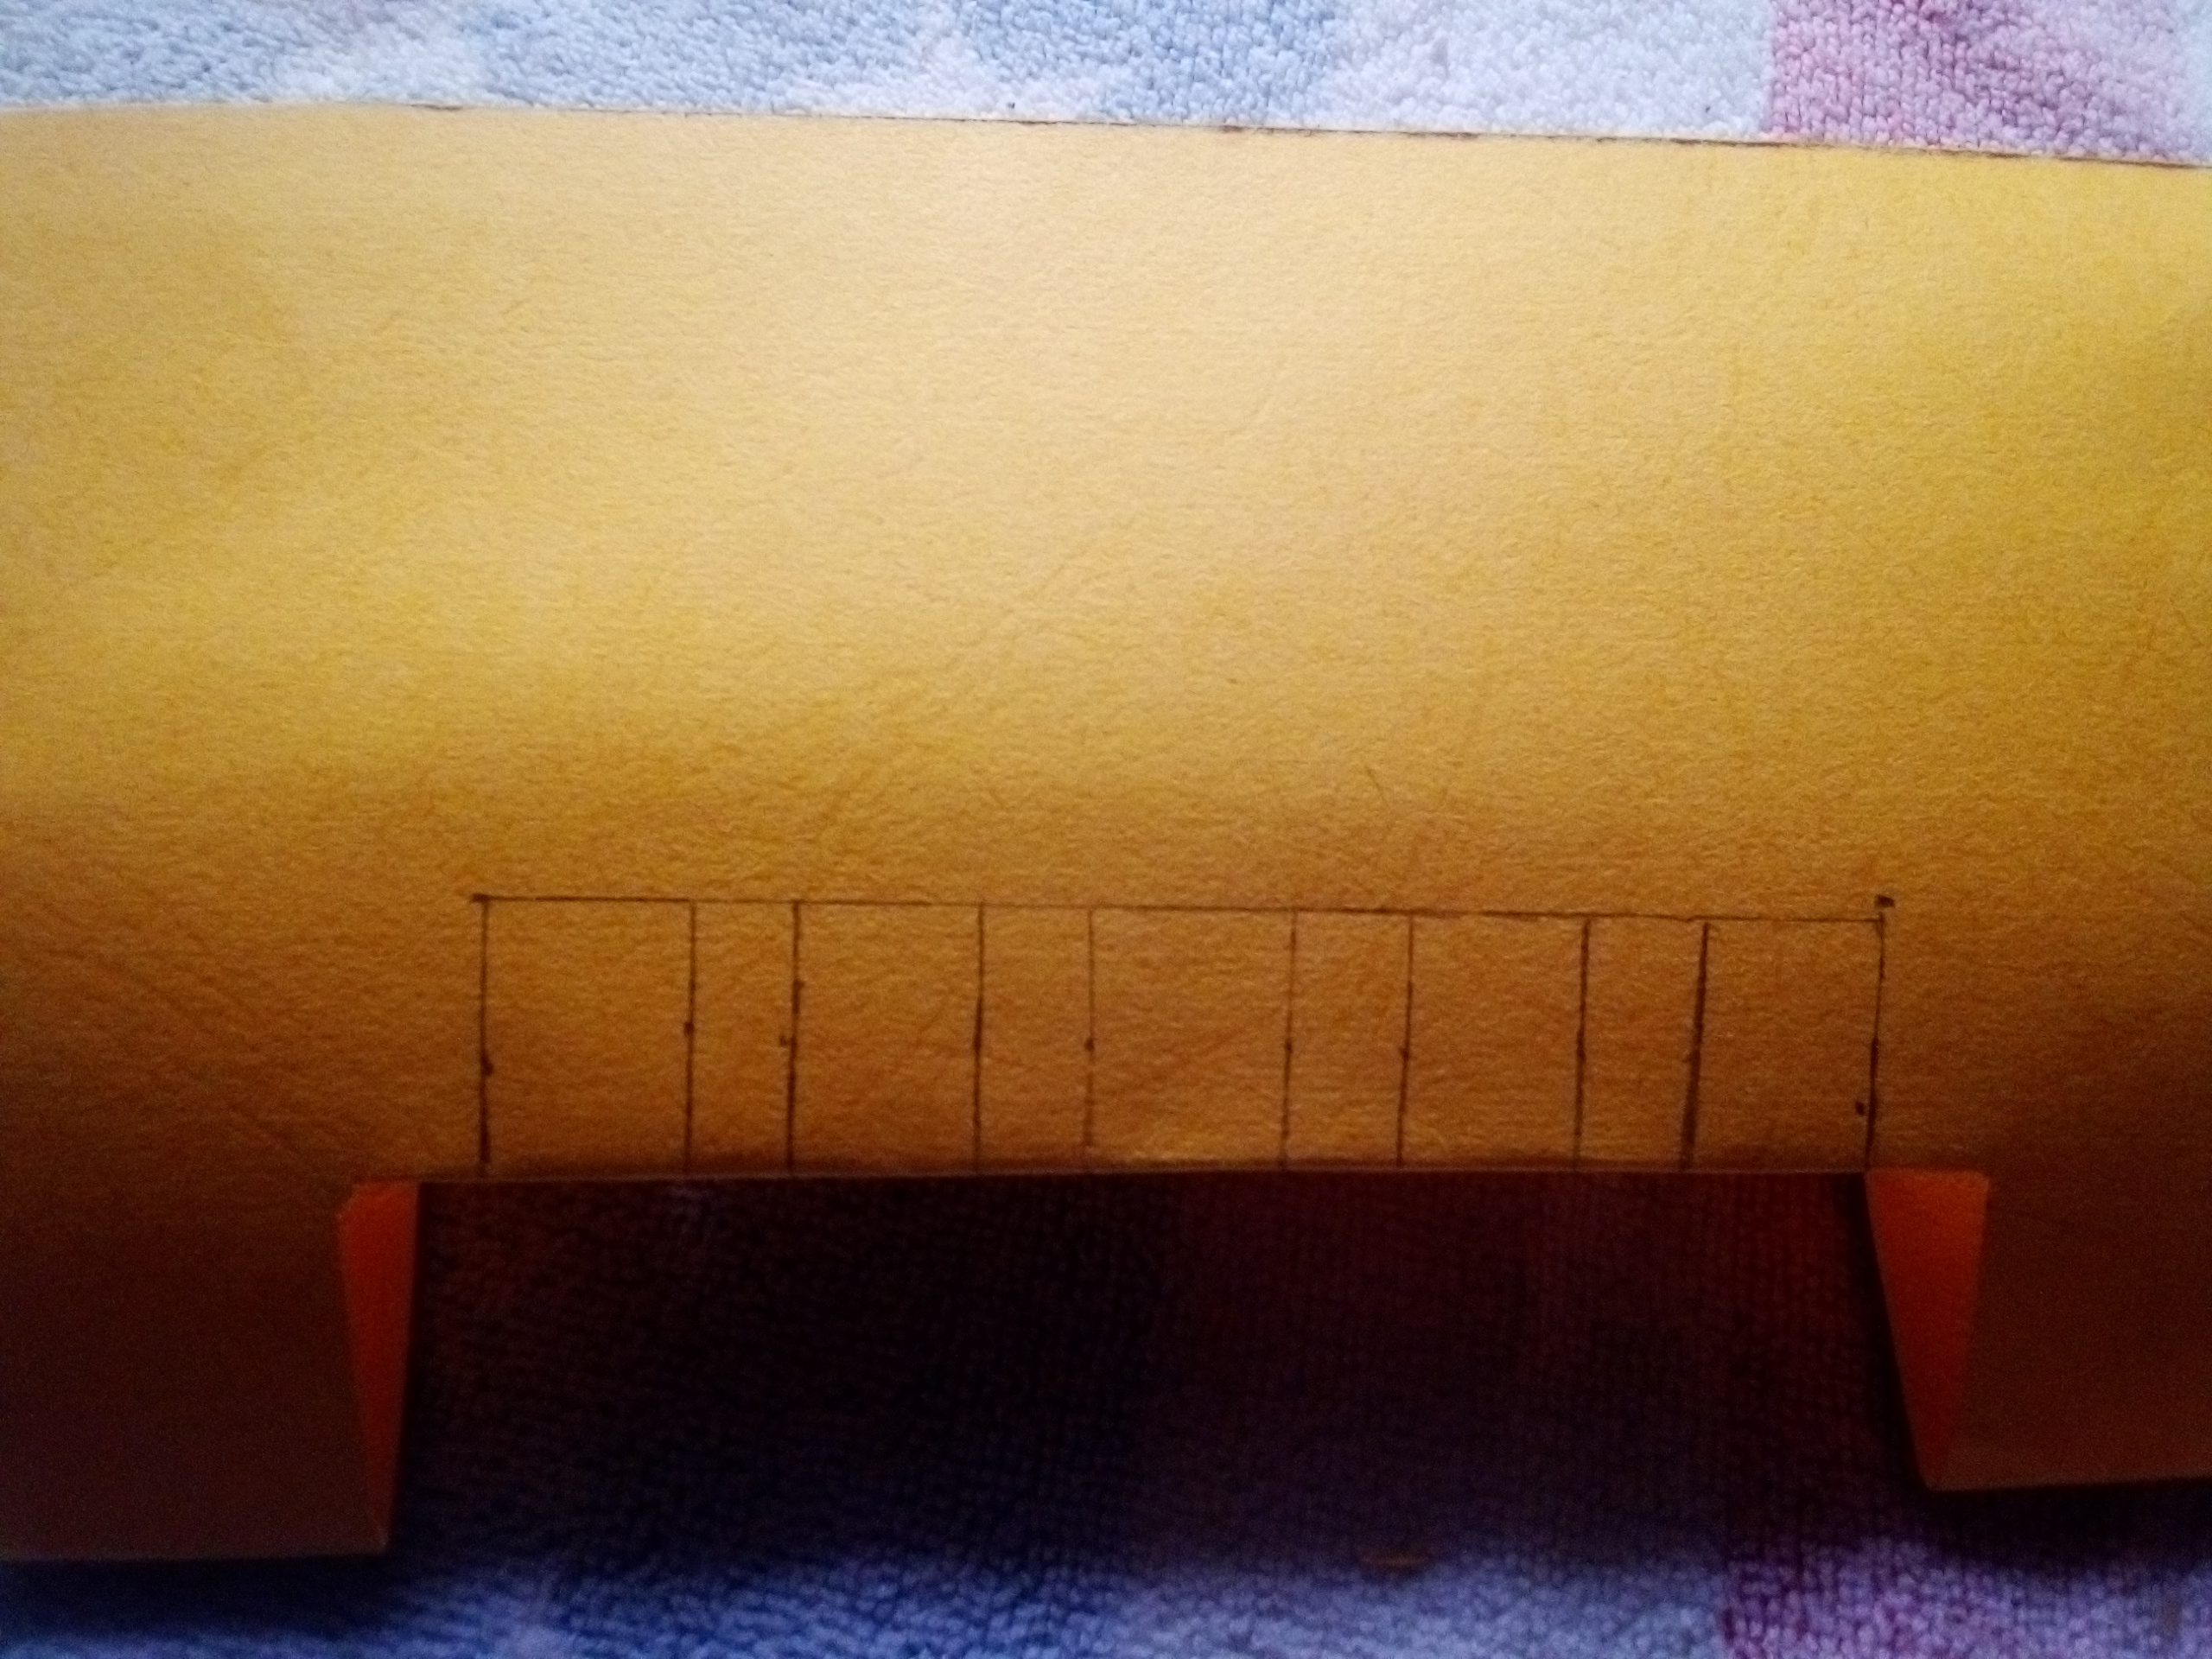
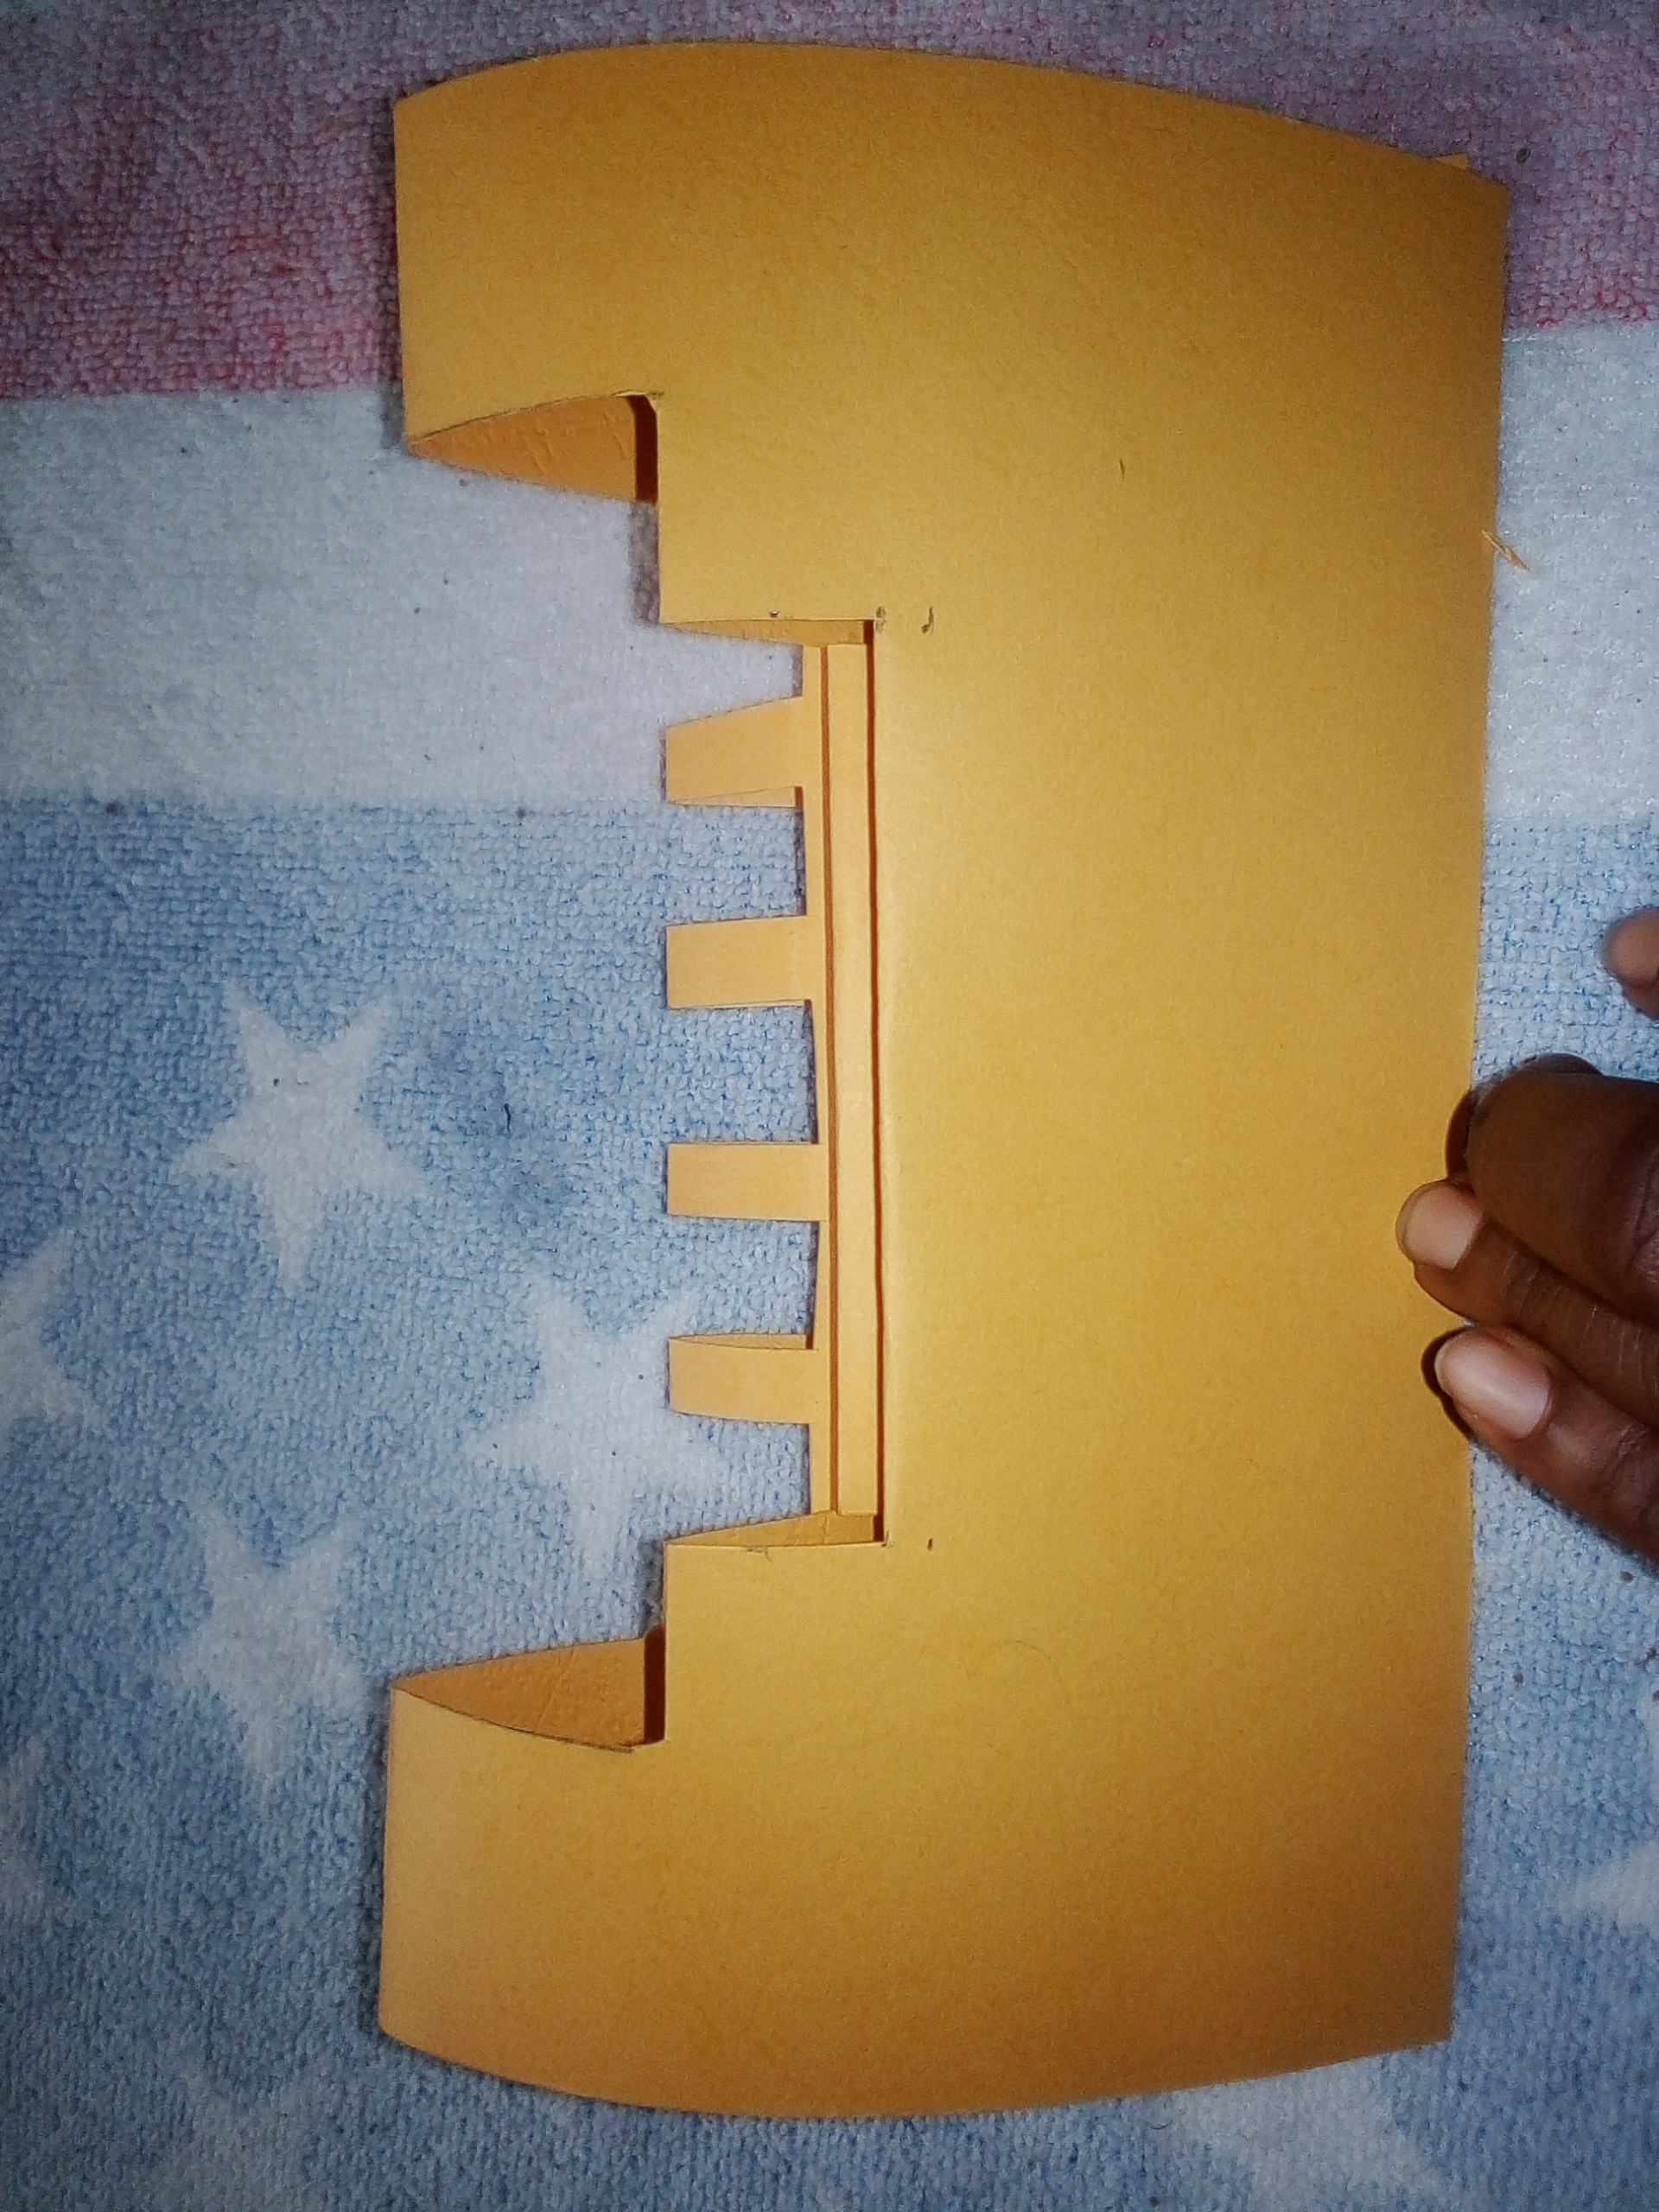
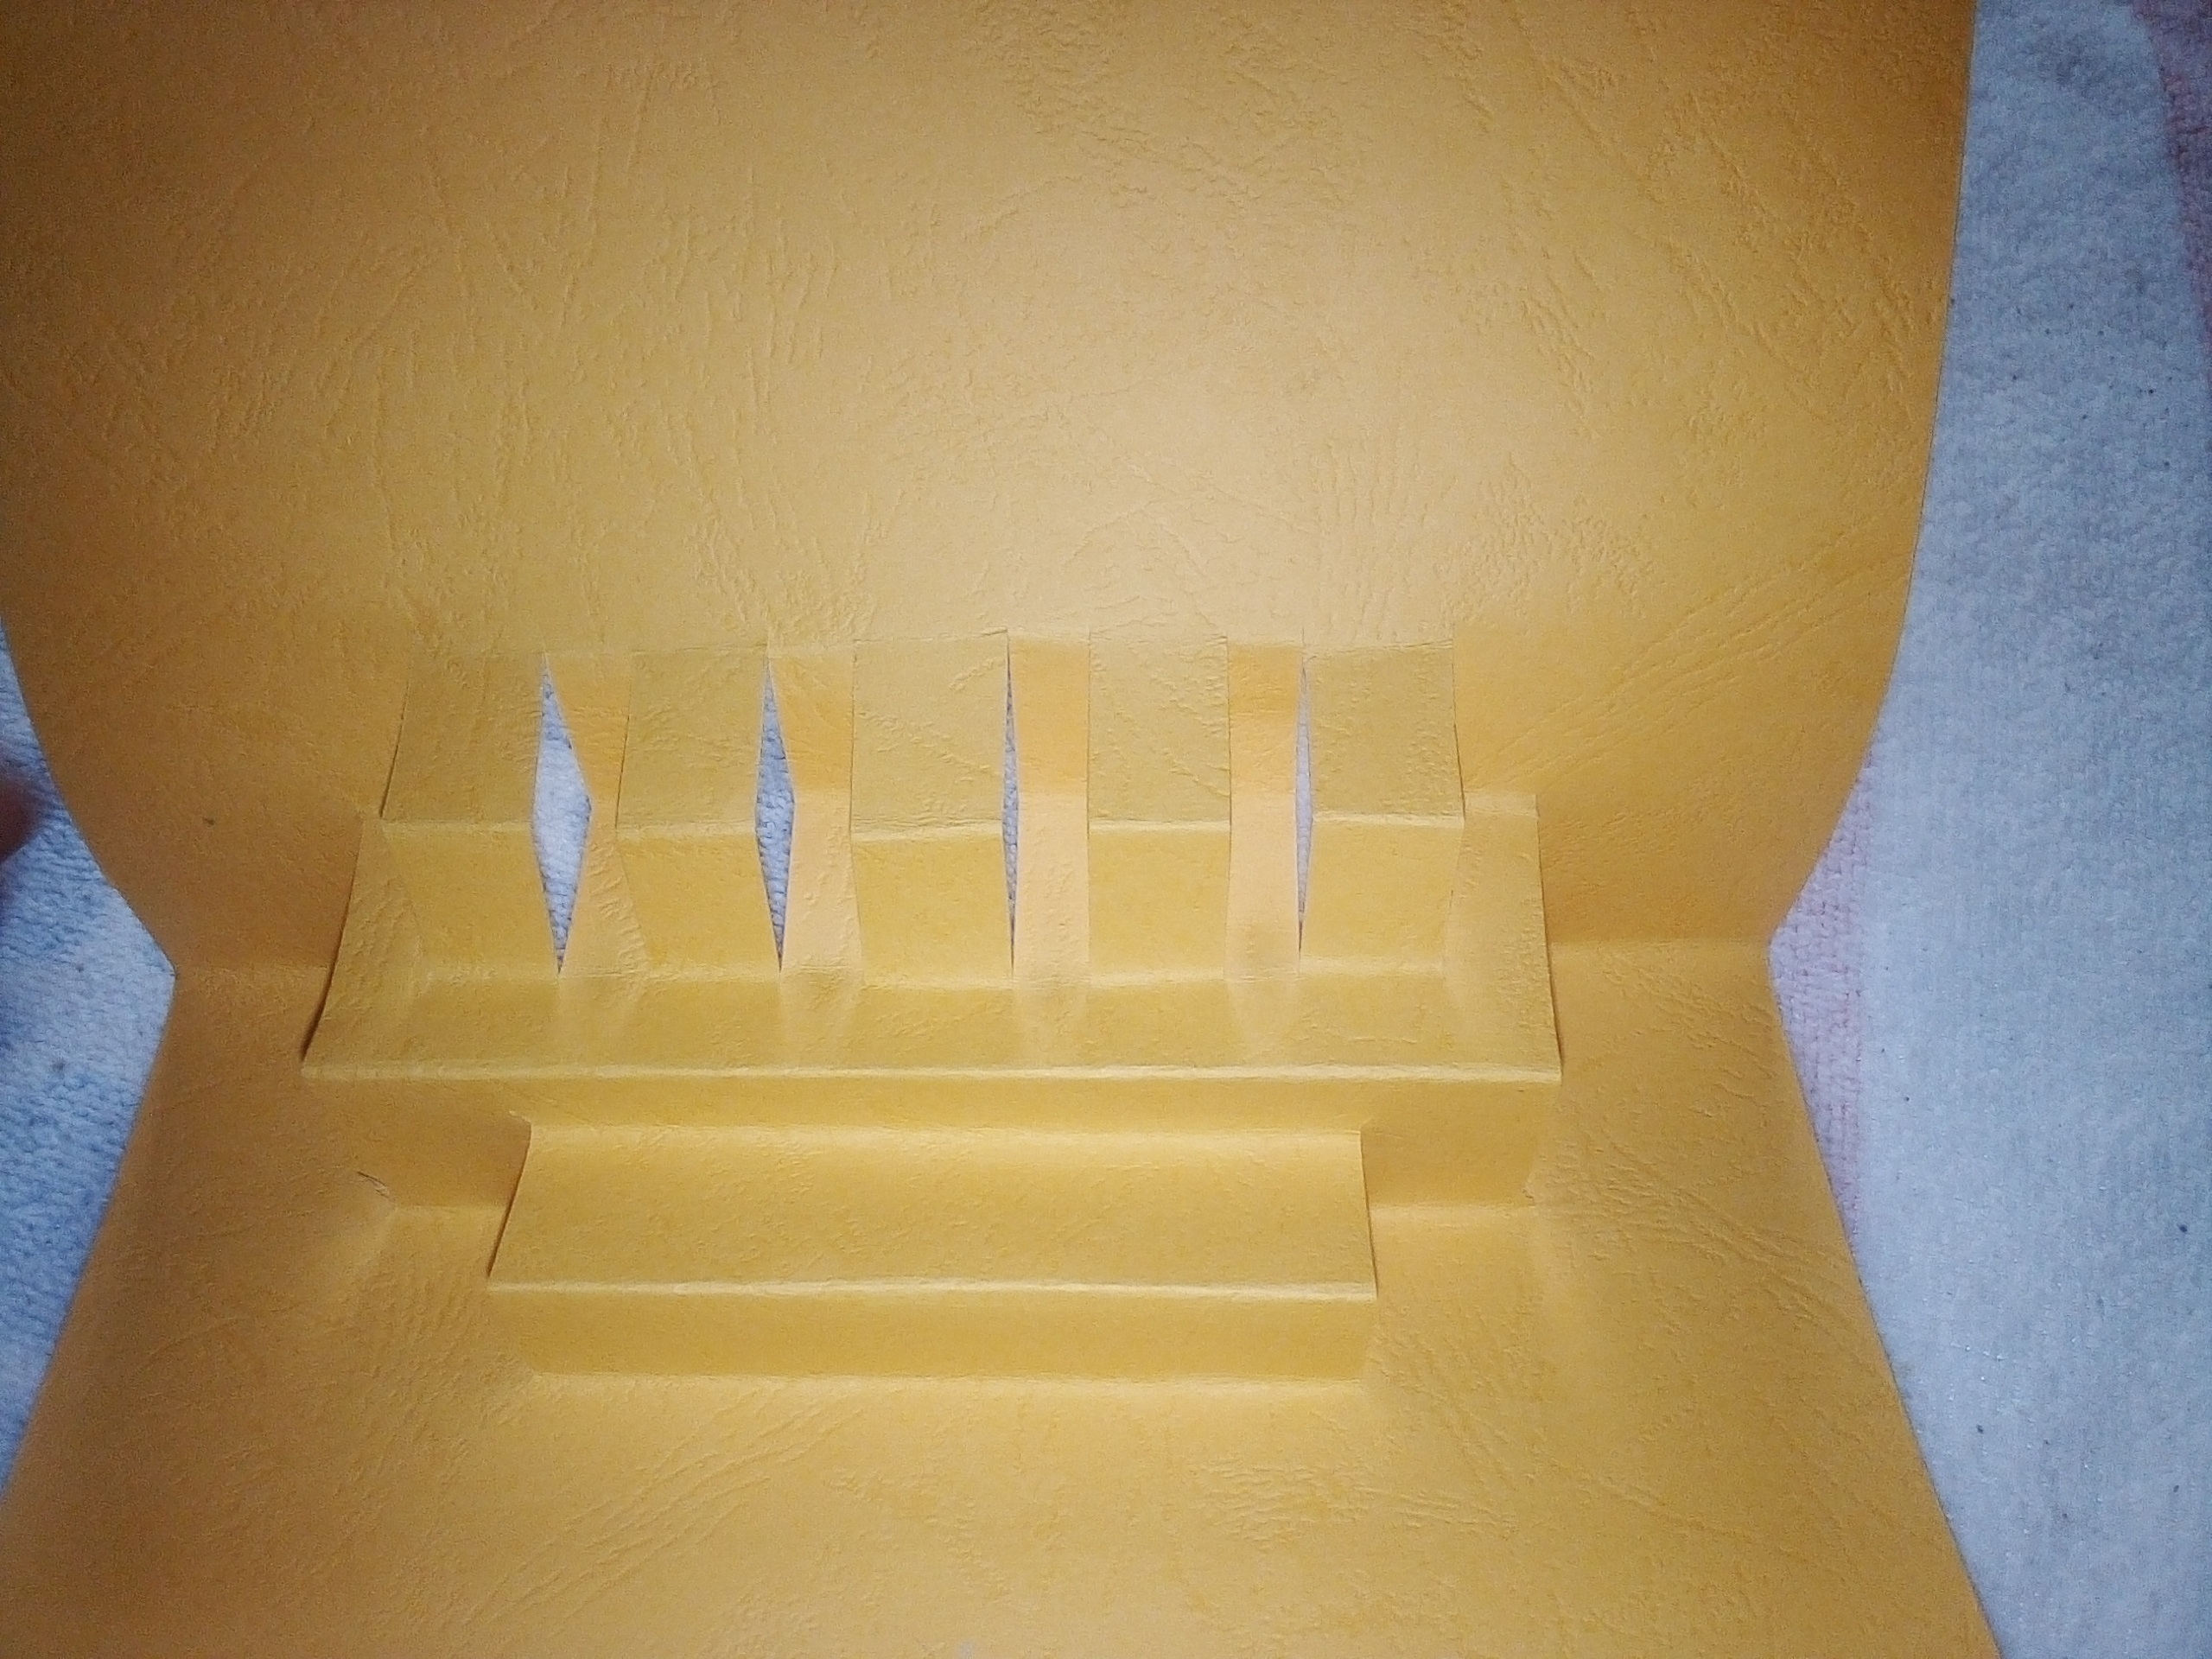
On the other side of the folded paper or should I say the down side of the folded paper, mark out five box of 2cm height and 2cm width and the cut .
Push them inside to give you what looks like the image below
 |  |  |
|---|
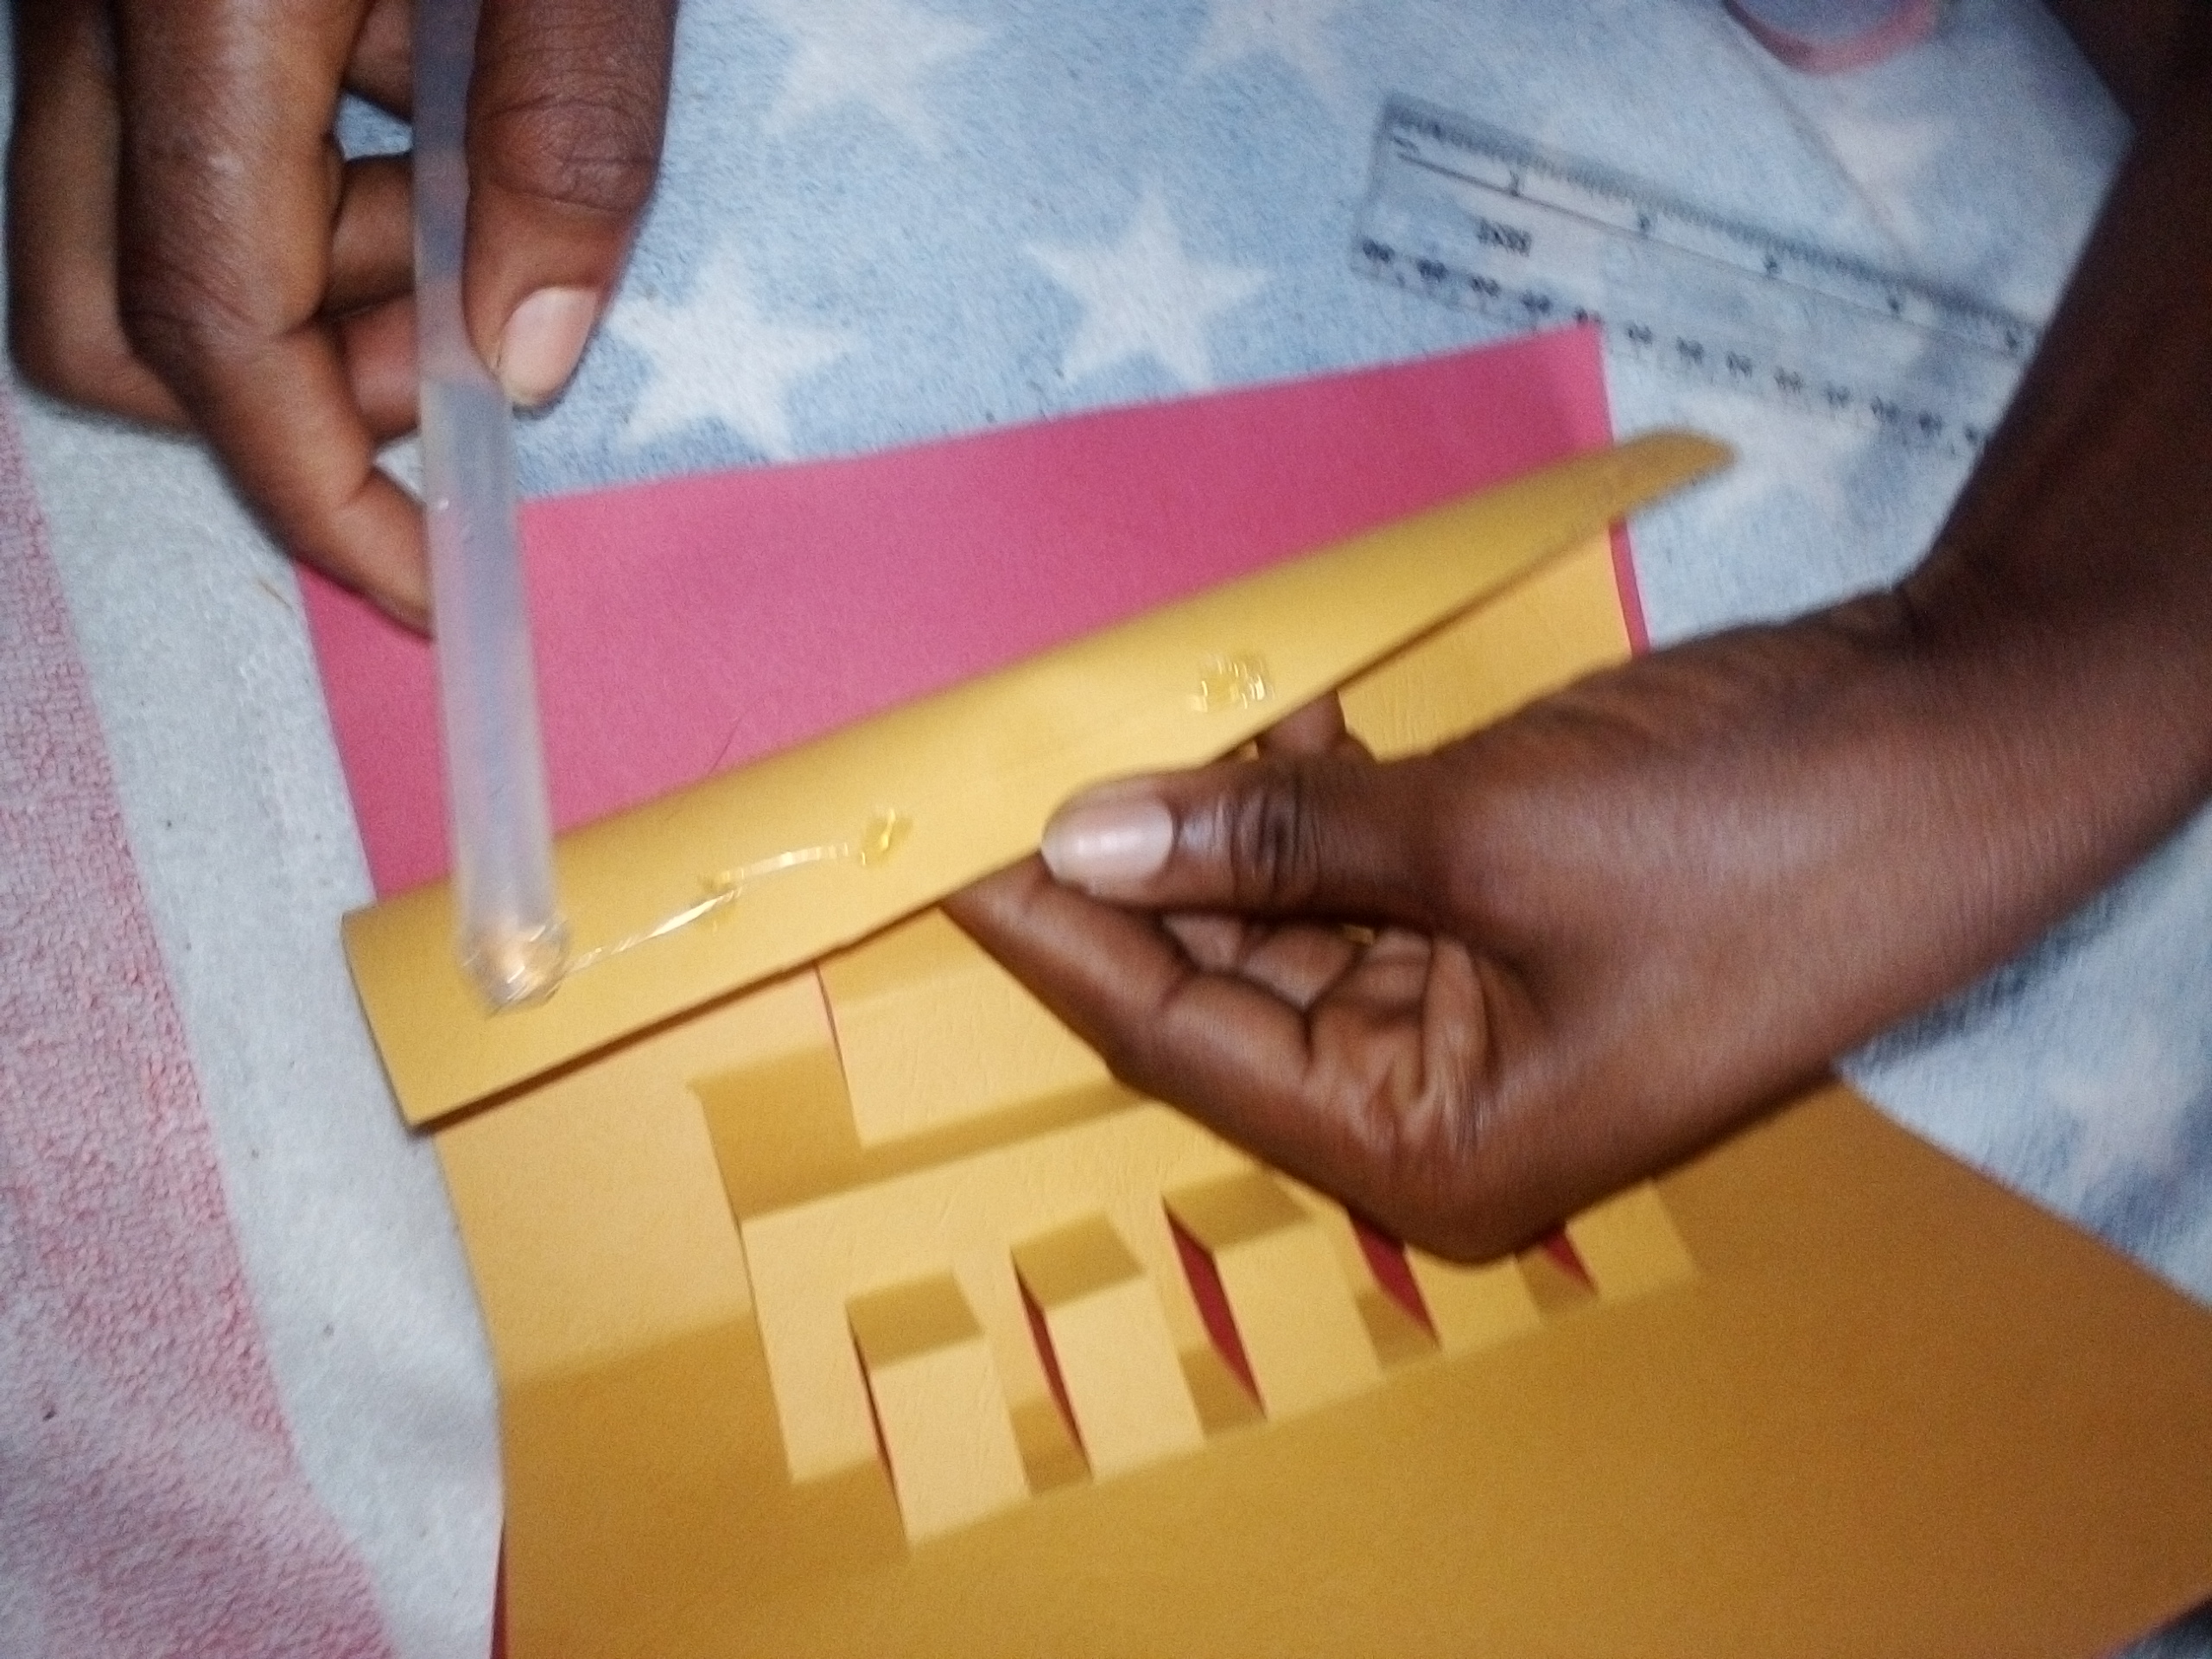
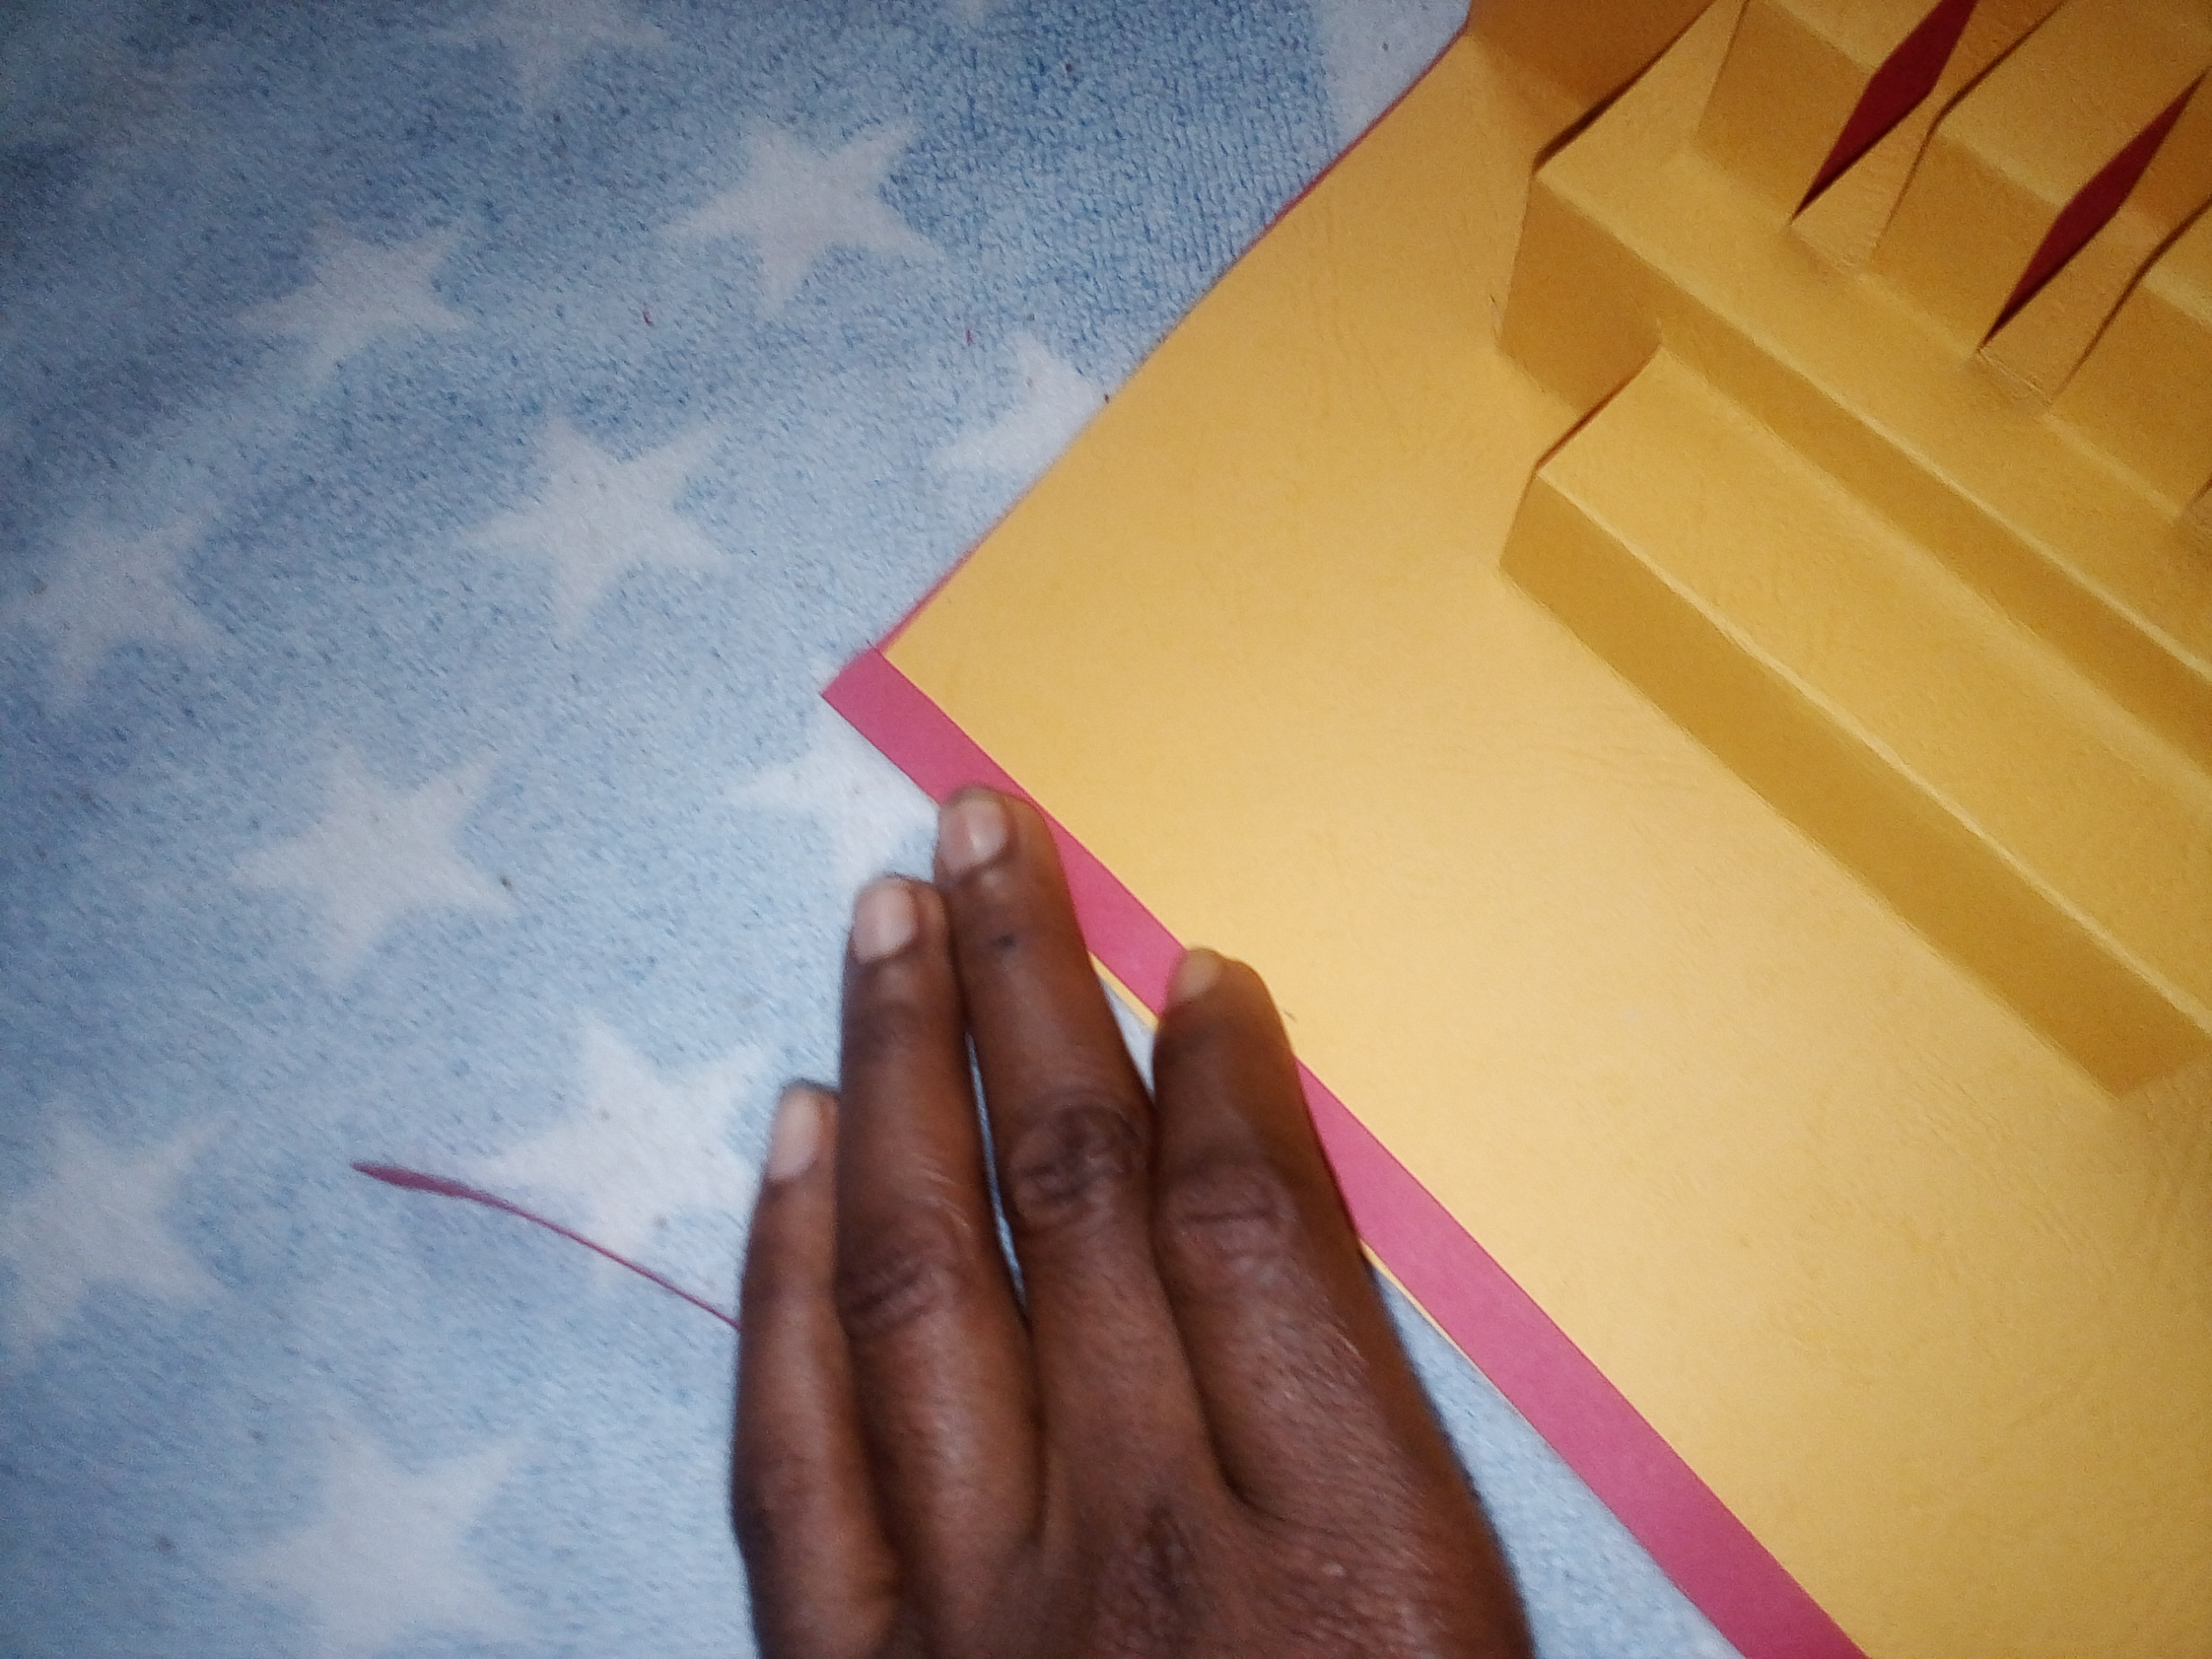
Now let's move over to the red inbox paper,
Cut and mark out the exact size of the yellow paper,
The red inbox paper will be used as the cover of the gift card .
Apply your desired gum to the edges of the red paper to attach it to the yellow paper,
 |  |
|---|
cut out a little red to cover the rough edges,if any.
Now is time for the design.
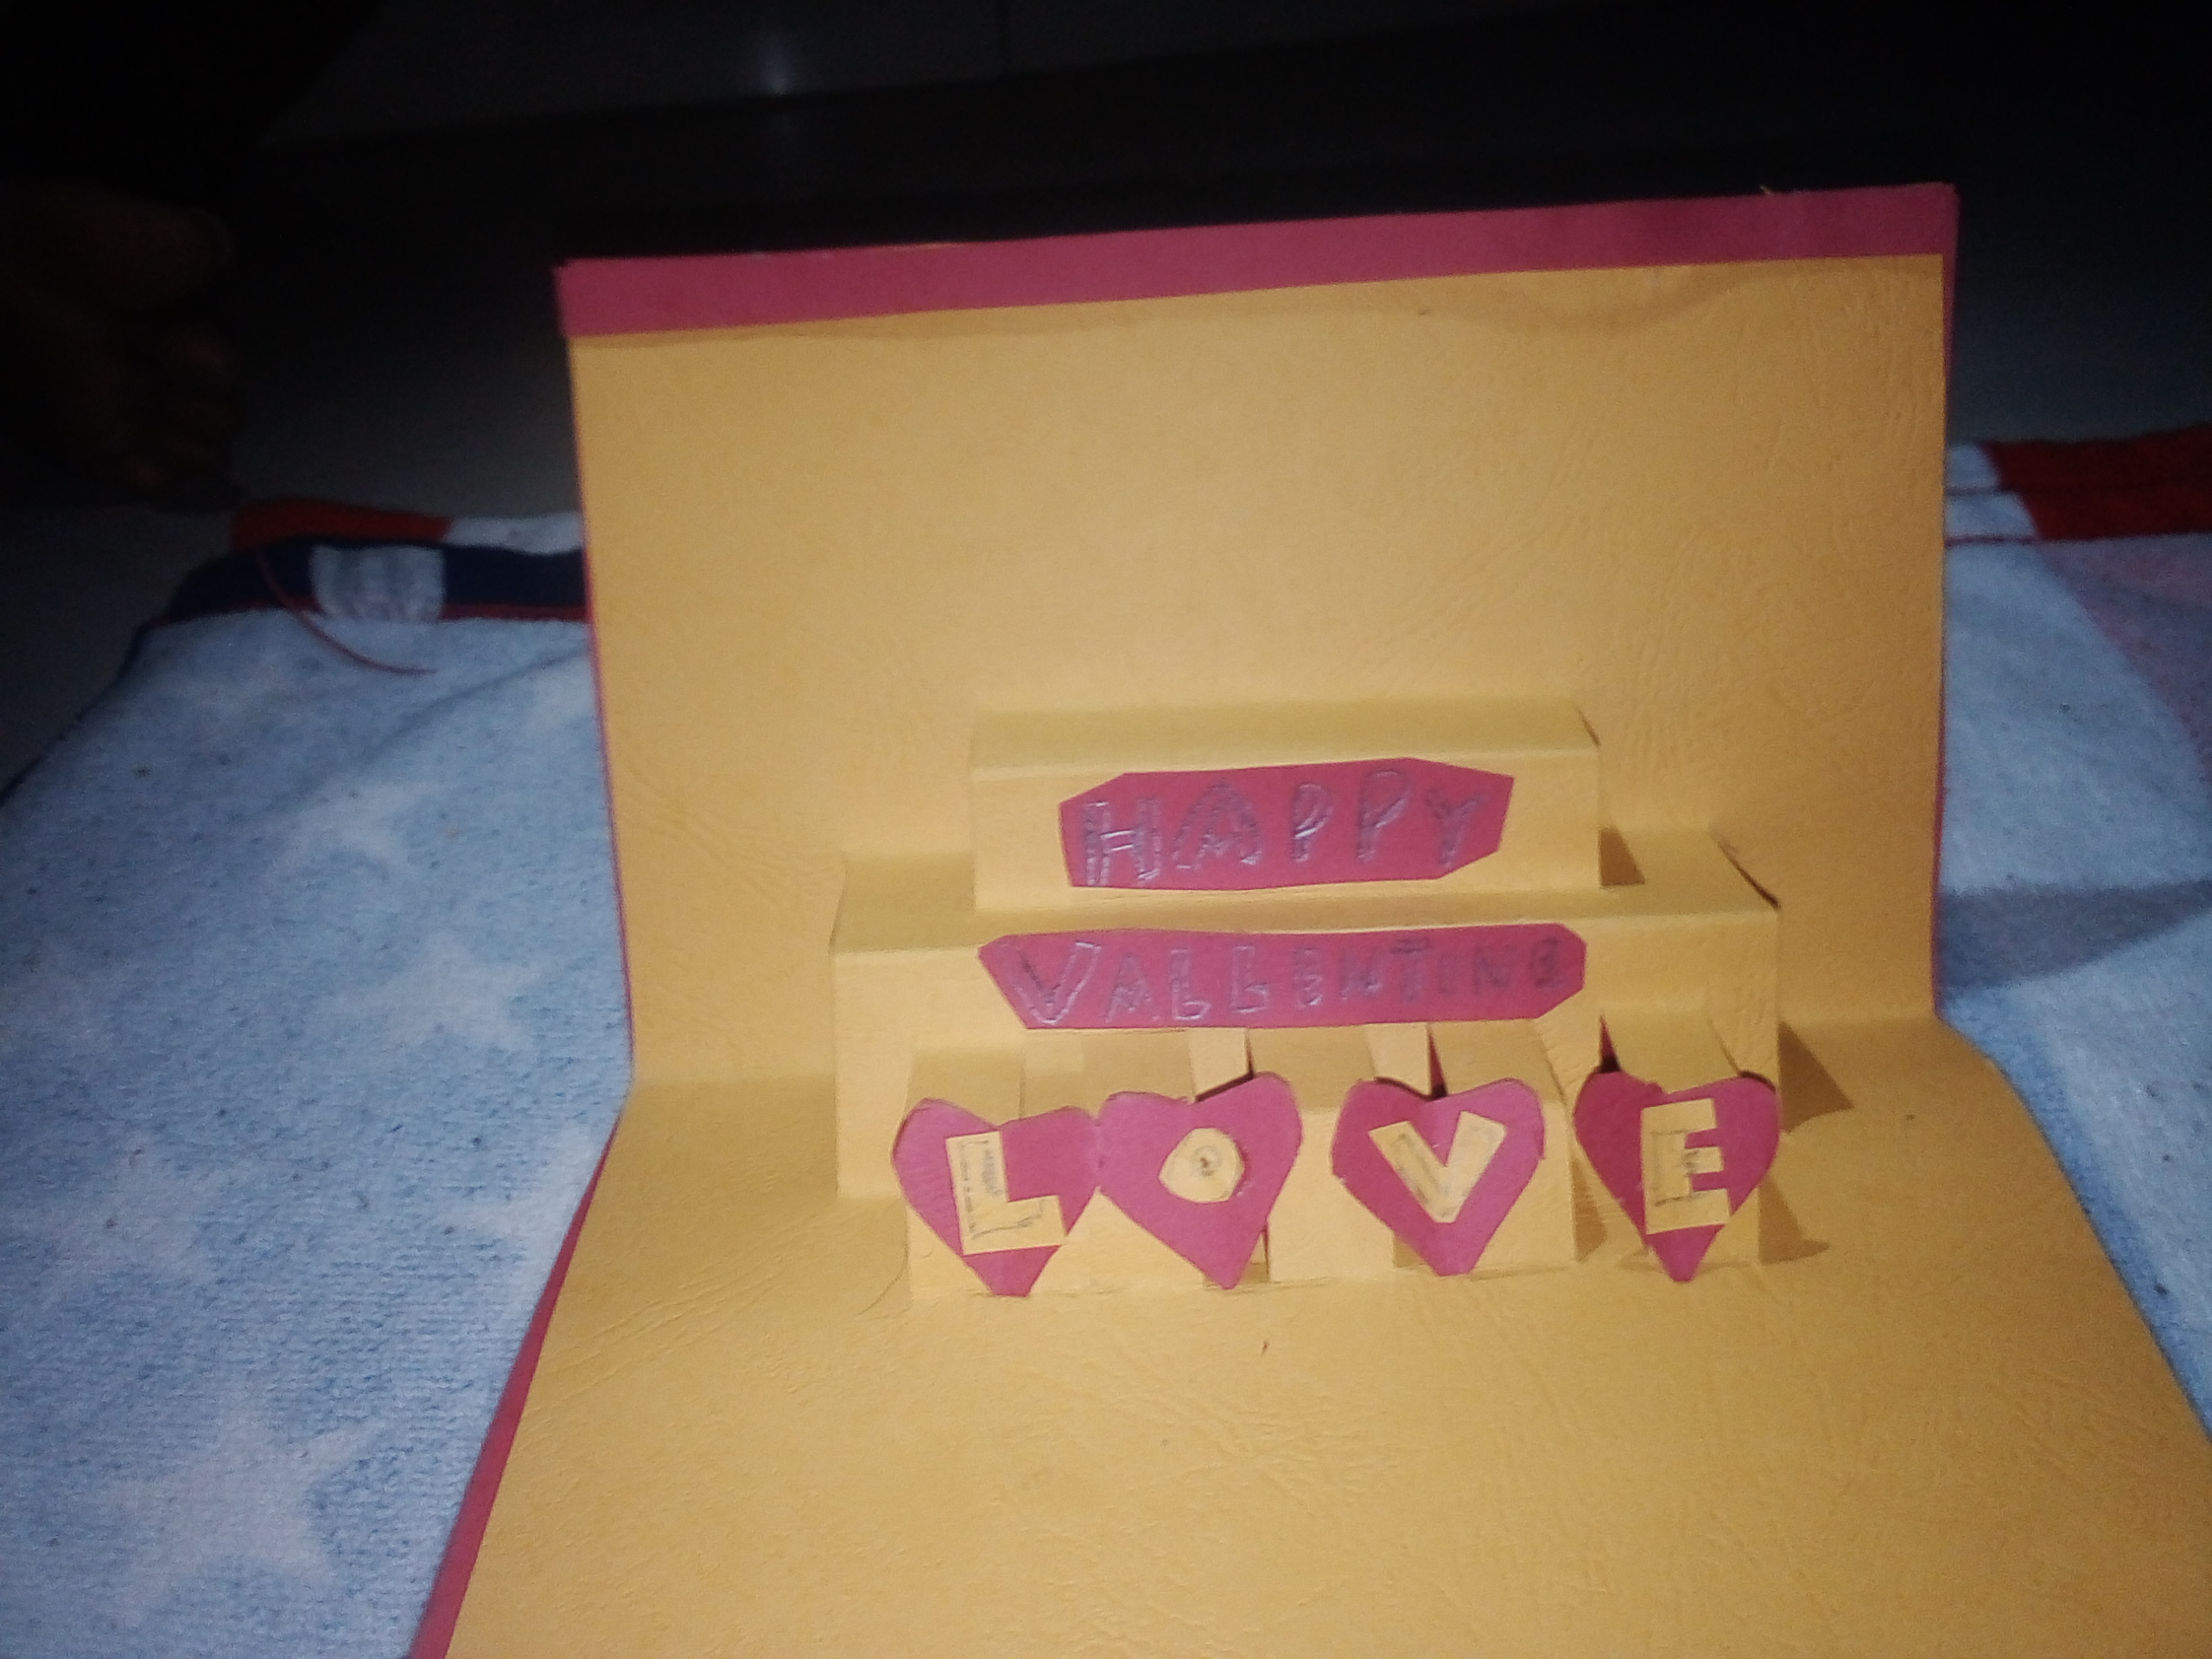
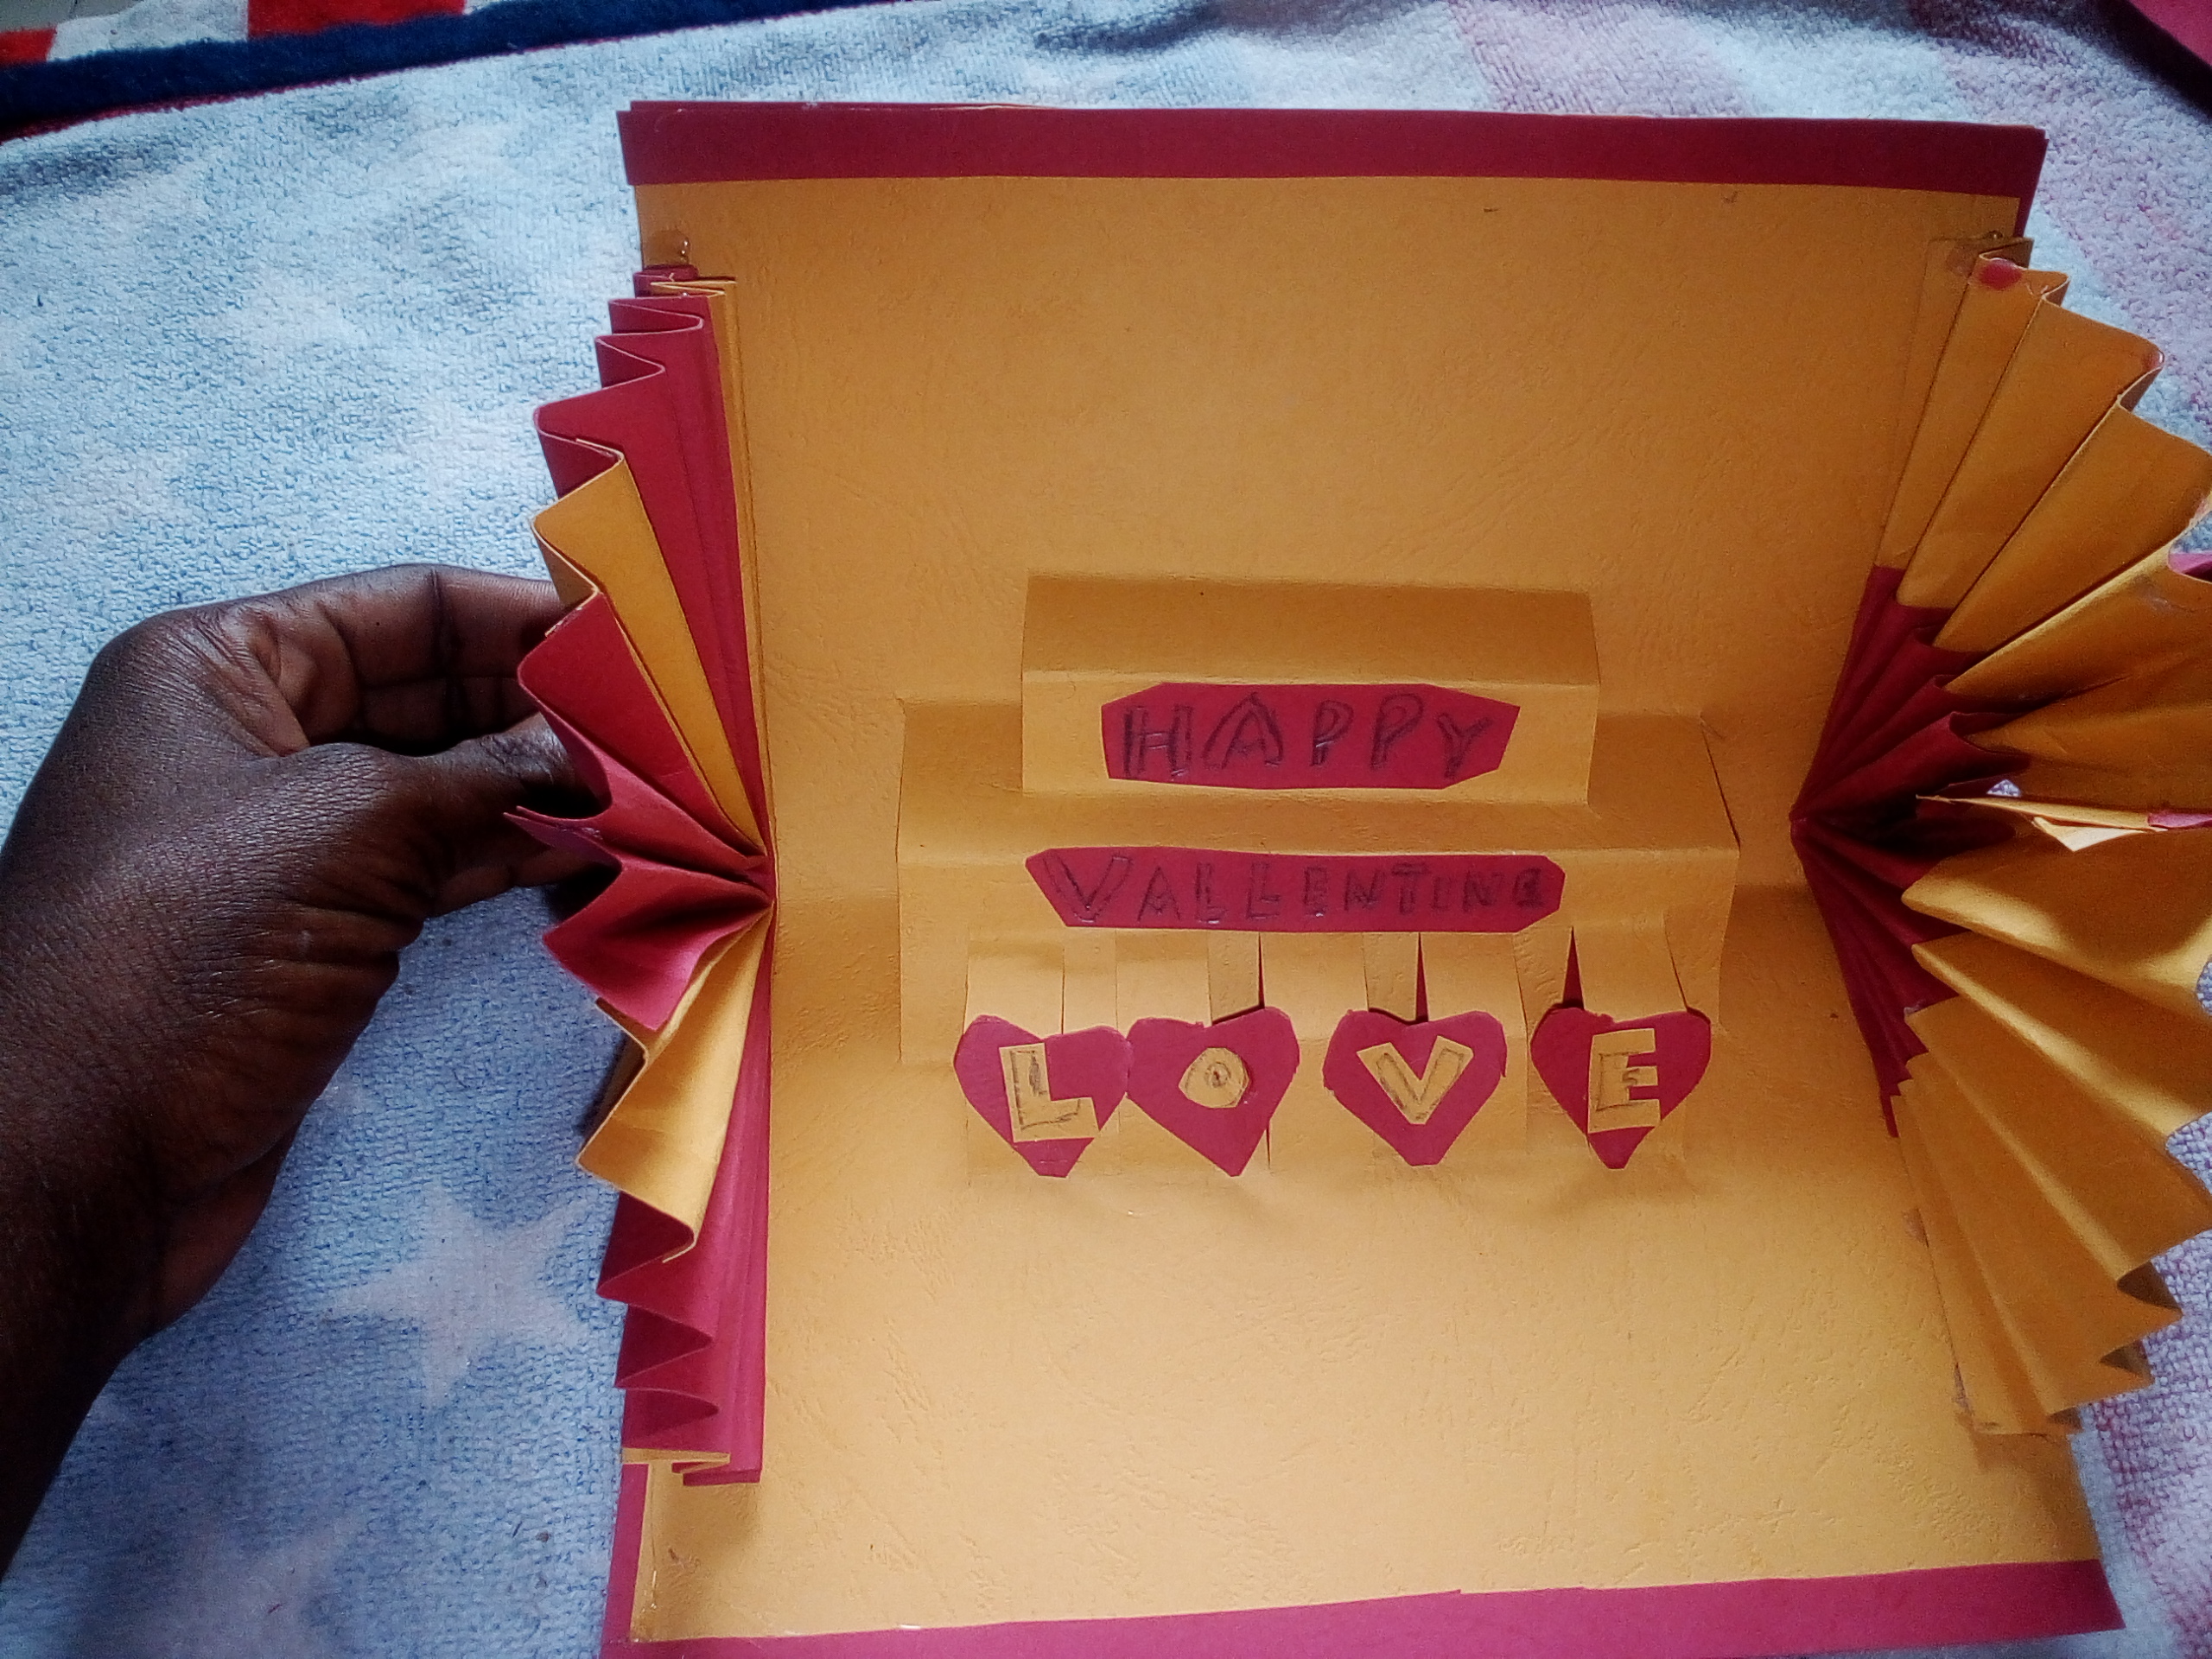
Cut out a piece of paper and write happy Valentine on it.
Paste the happy on the upper side of the box inside and valentine on the Lower side
 |  |
|---|
Everyone has A separate and different way For designing the gift card but I choose these beautiful style and I hope you like it as much as I do,
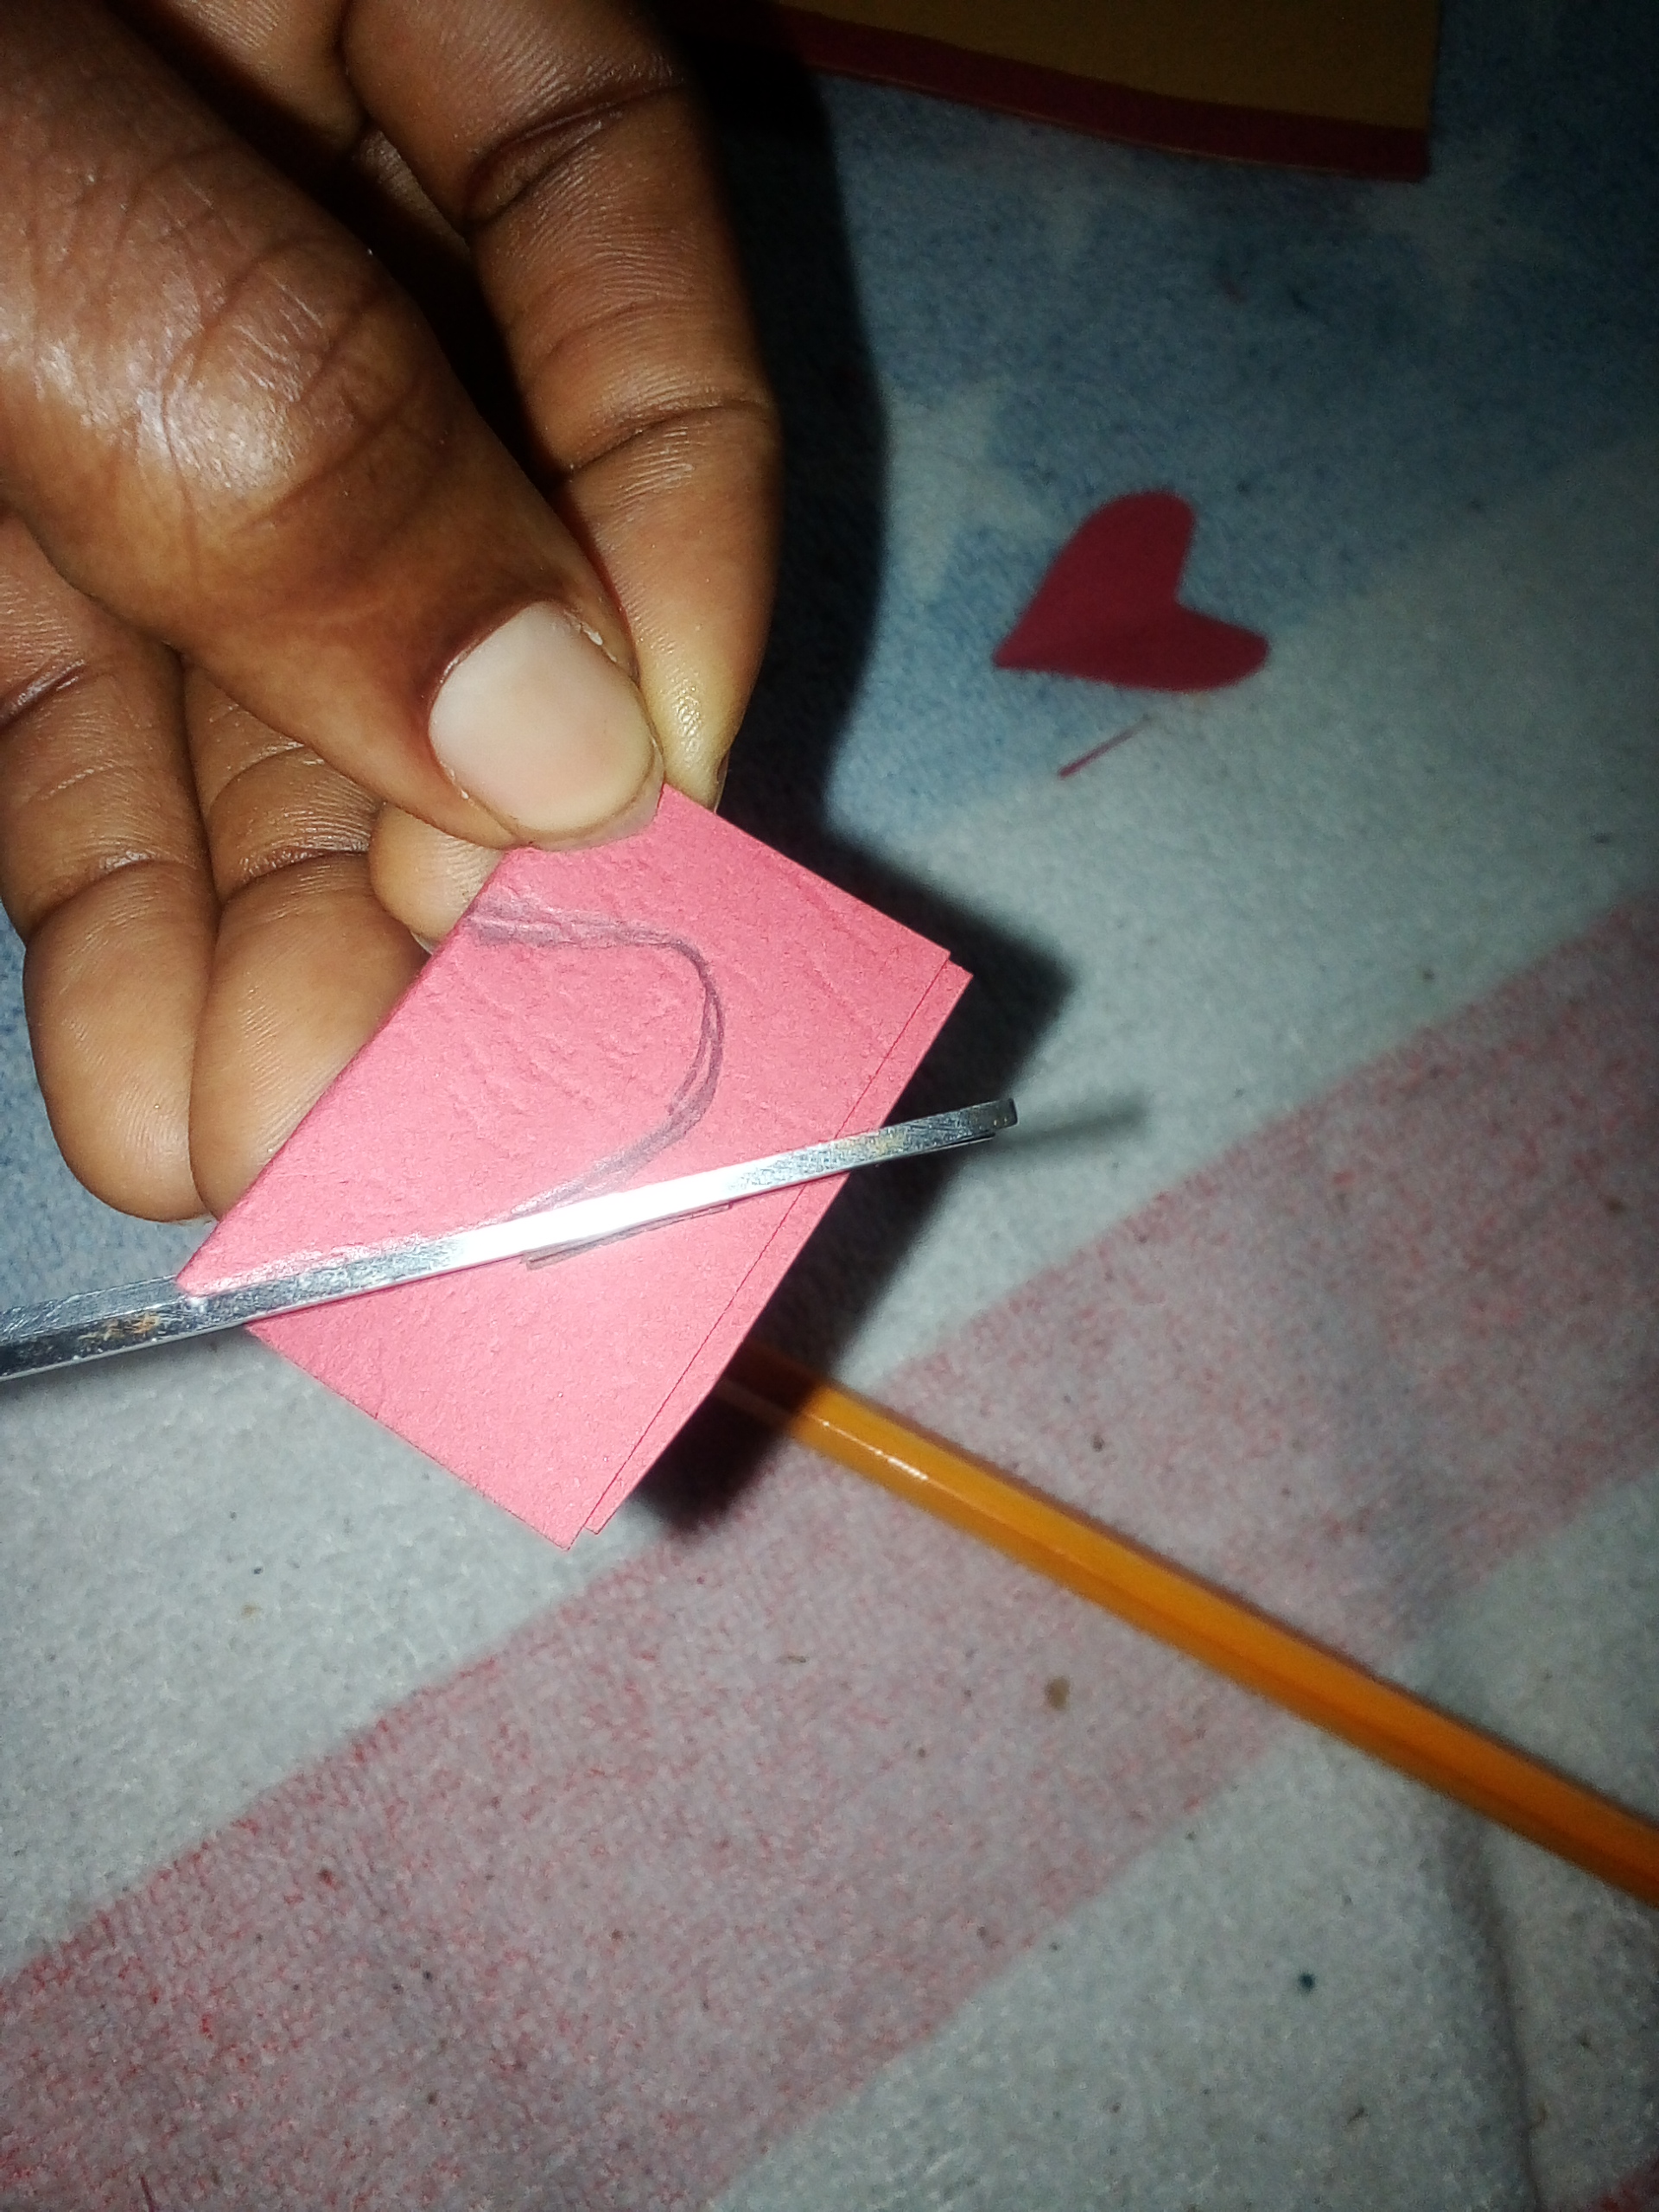
Cut some love shape by folding a little paper into two and drawing want looks like half an apple shape on it and then cut it out.
Write the Letter Love on the paper and cut IT out , Paste the Letters on the love shape and paste it to the gift card as seen below
 |  |
|---|
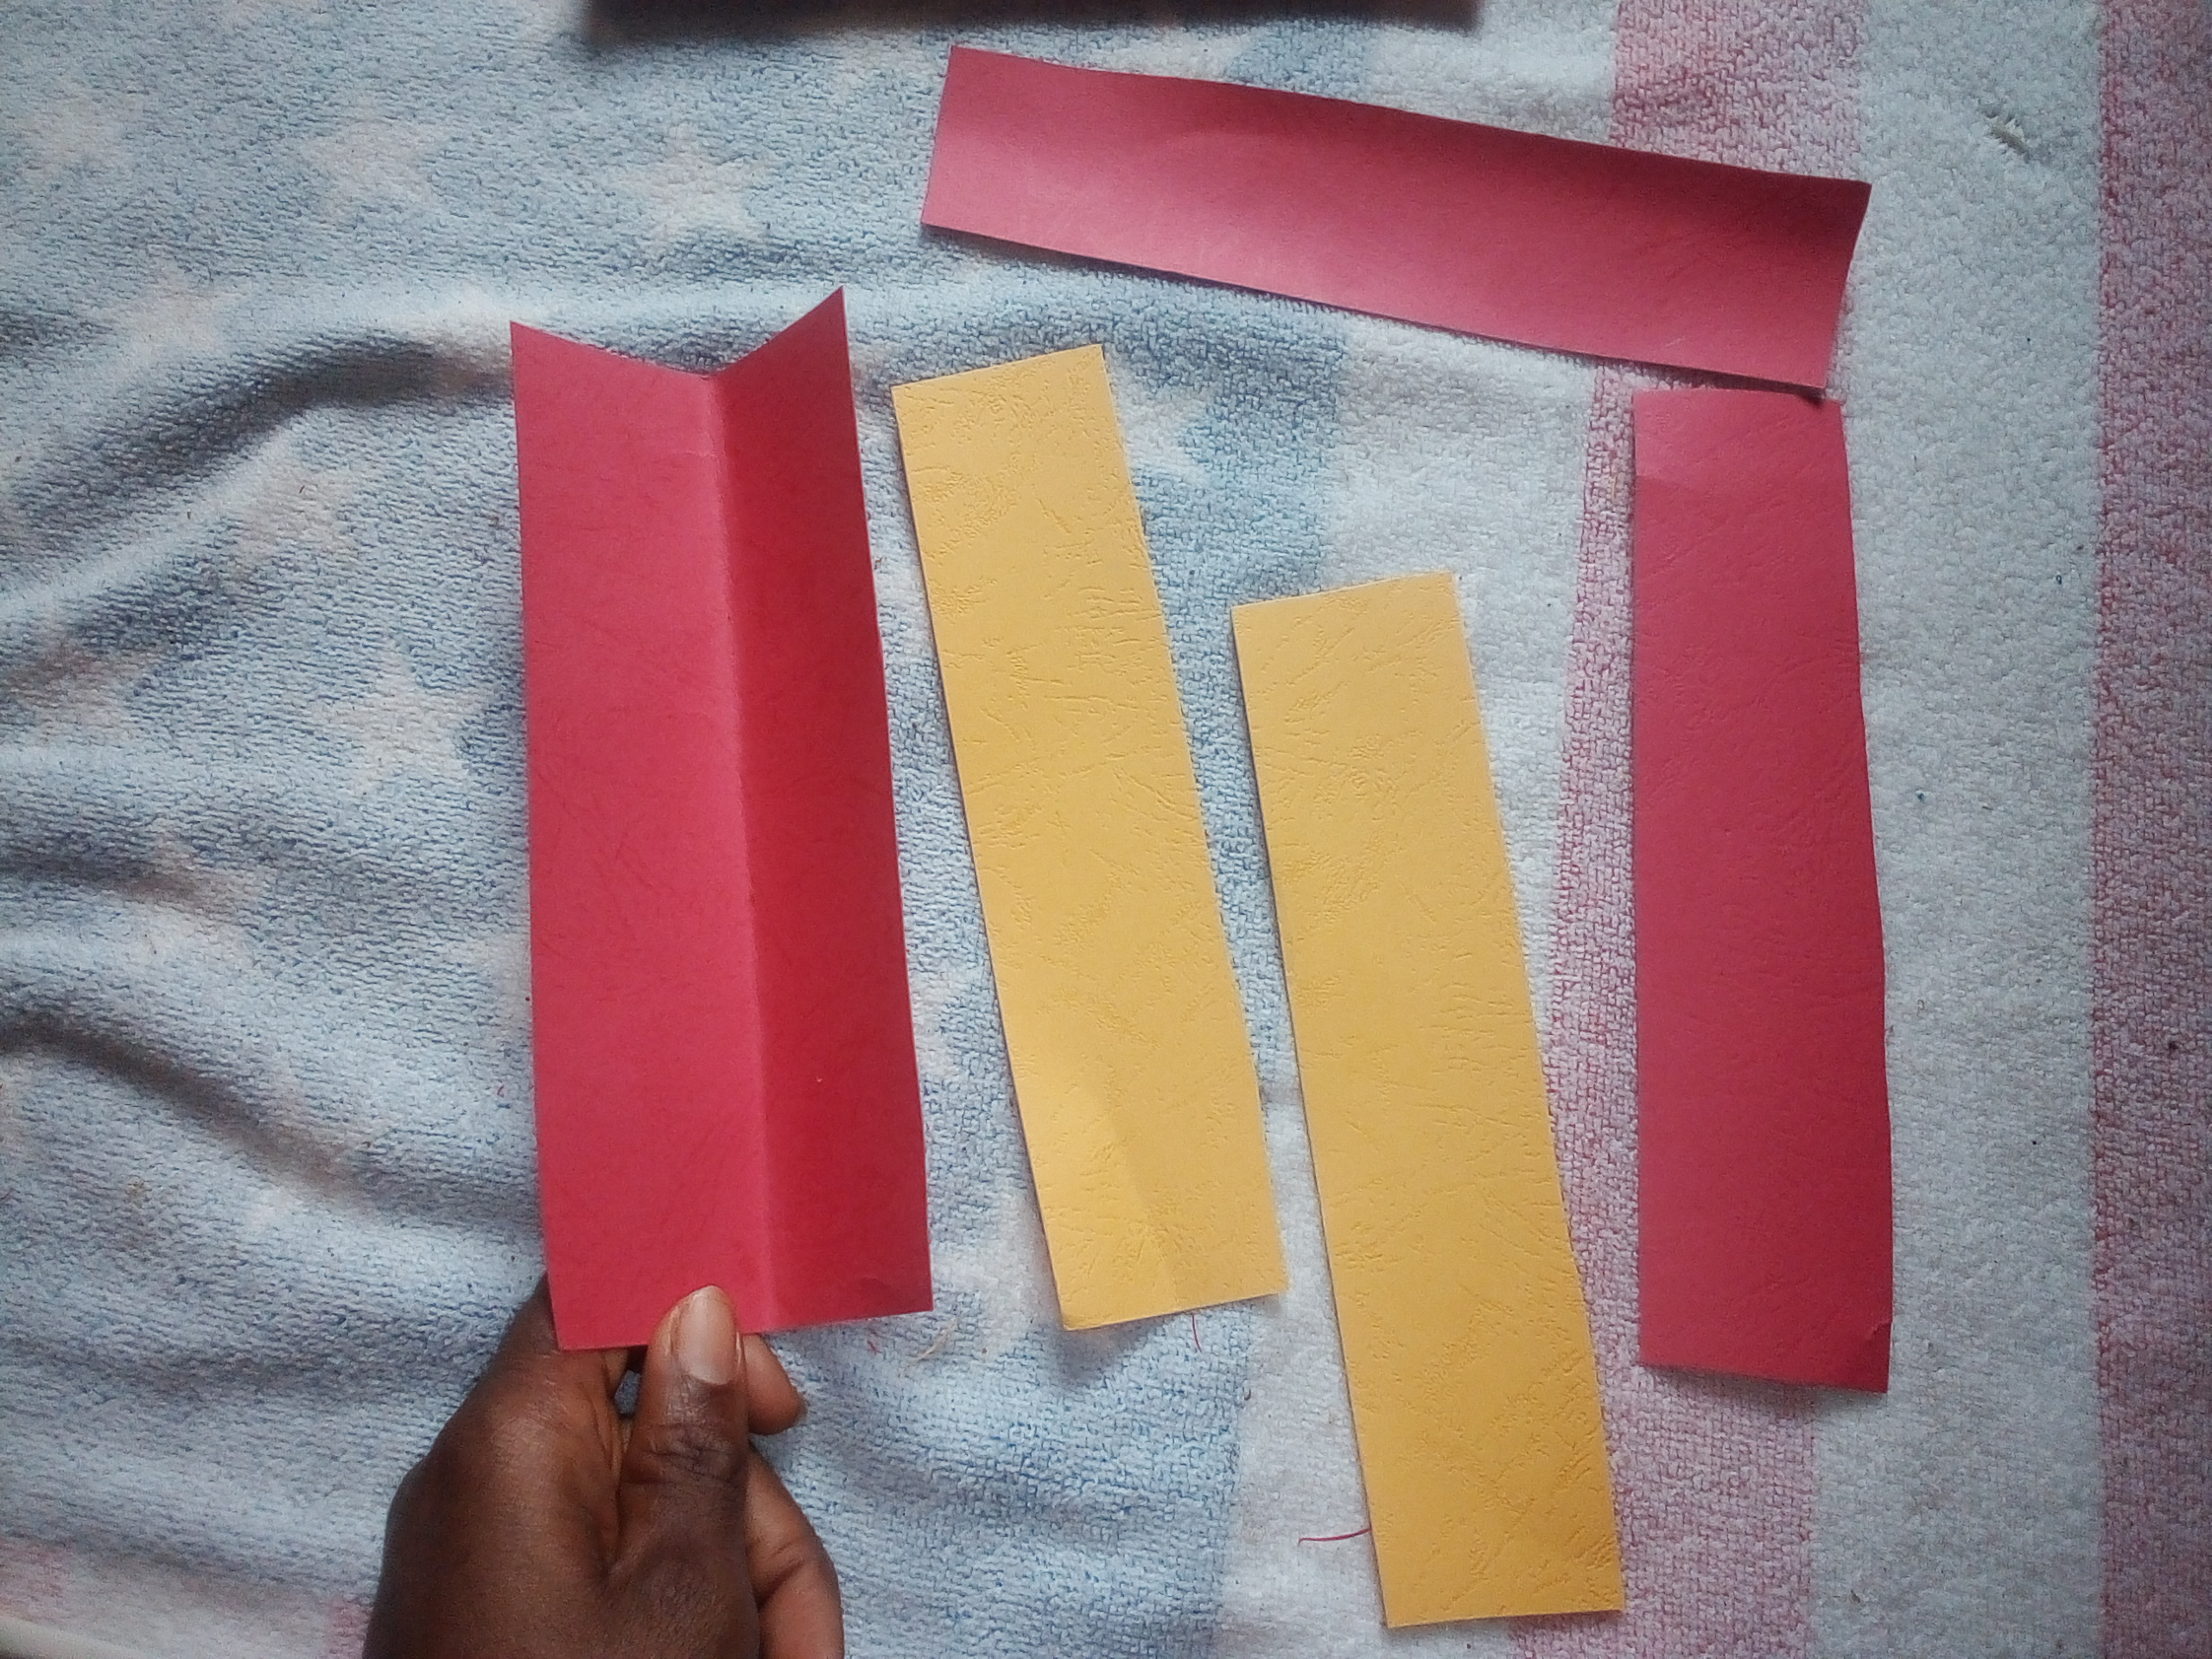
now let's make the wings, actually this is not compulsory but I just it to add beauty to the gift card,
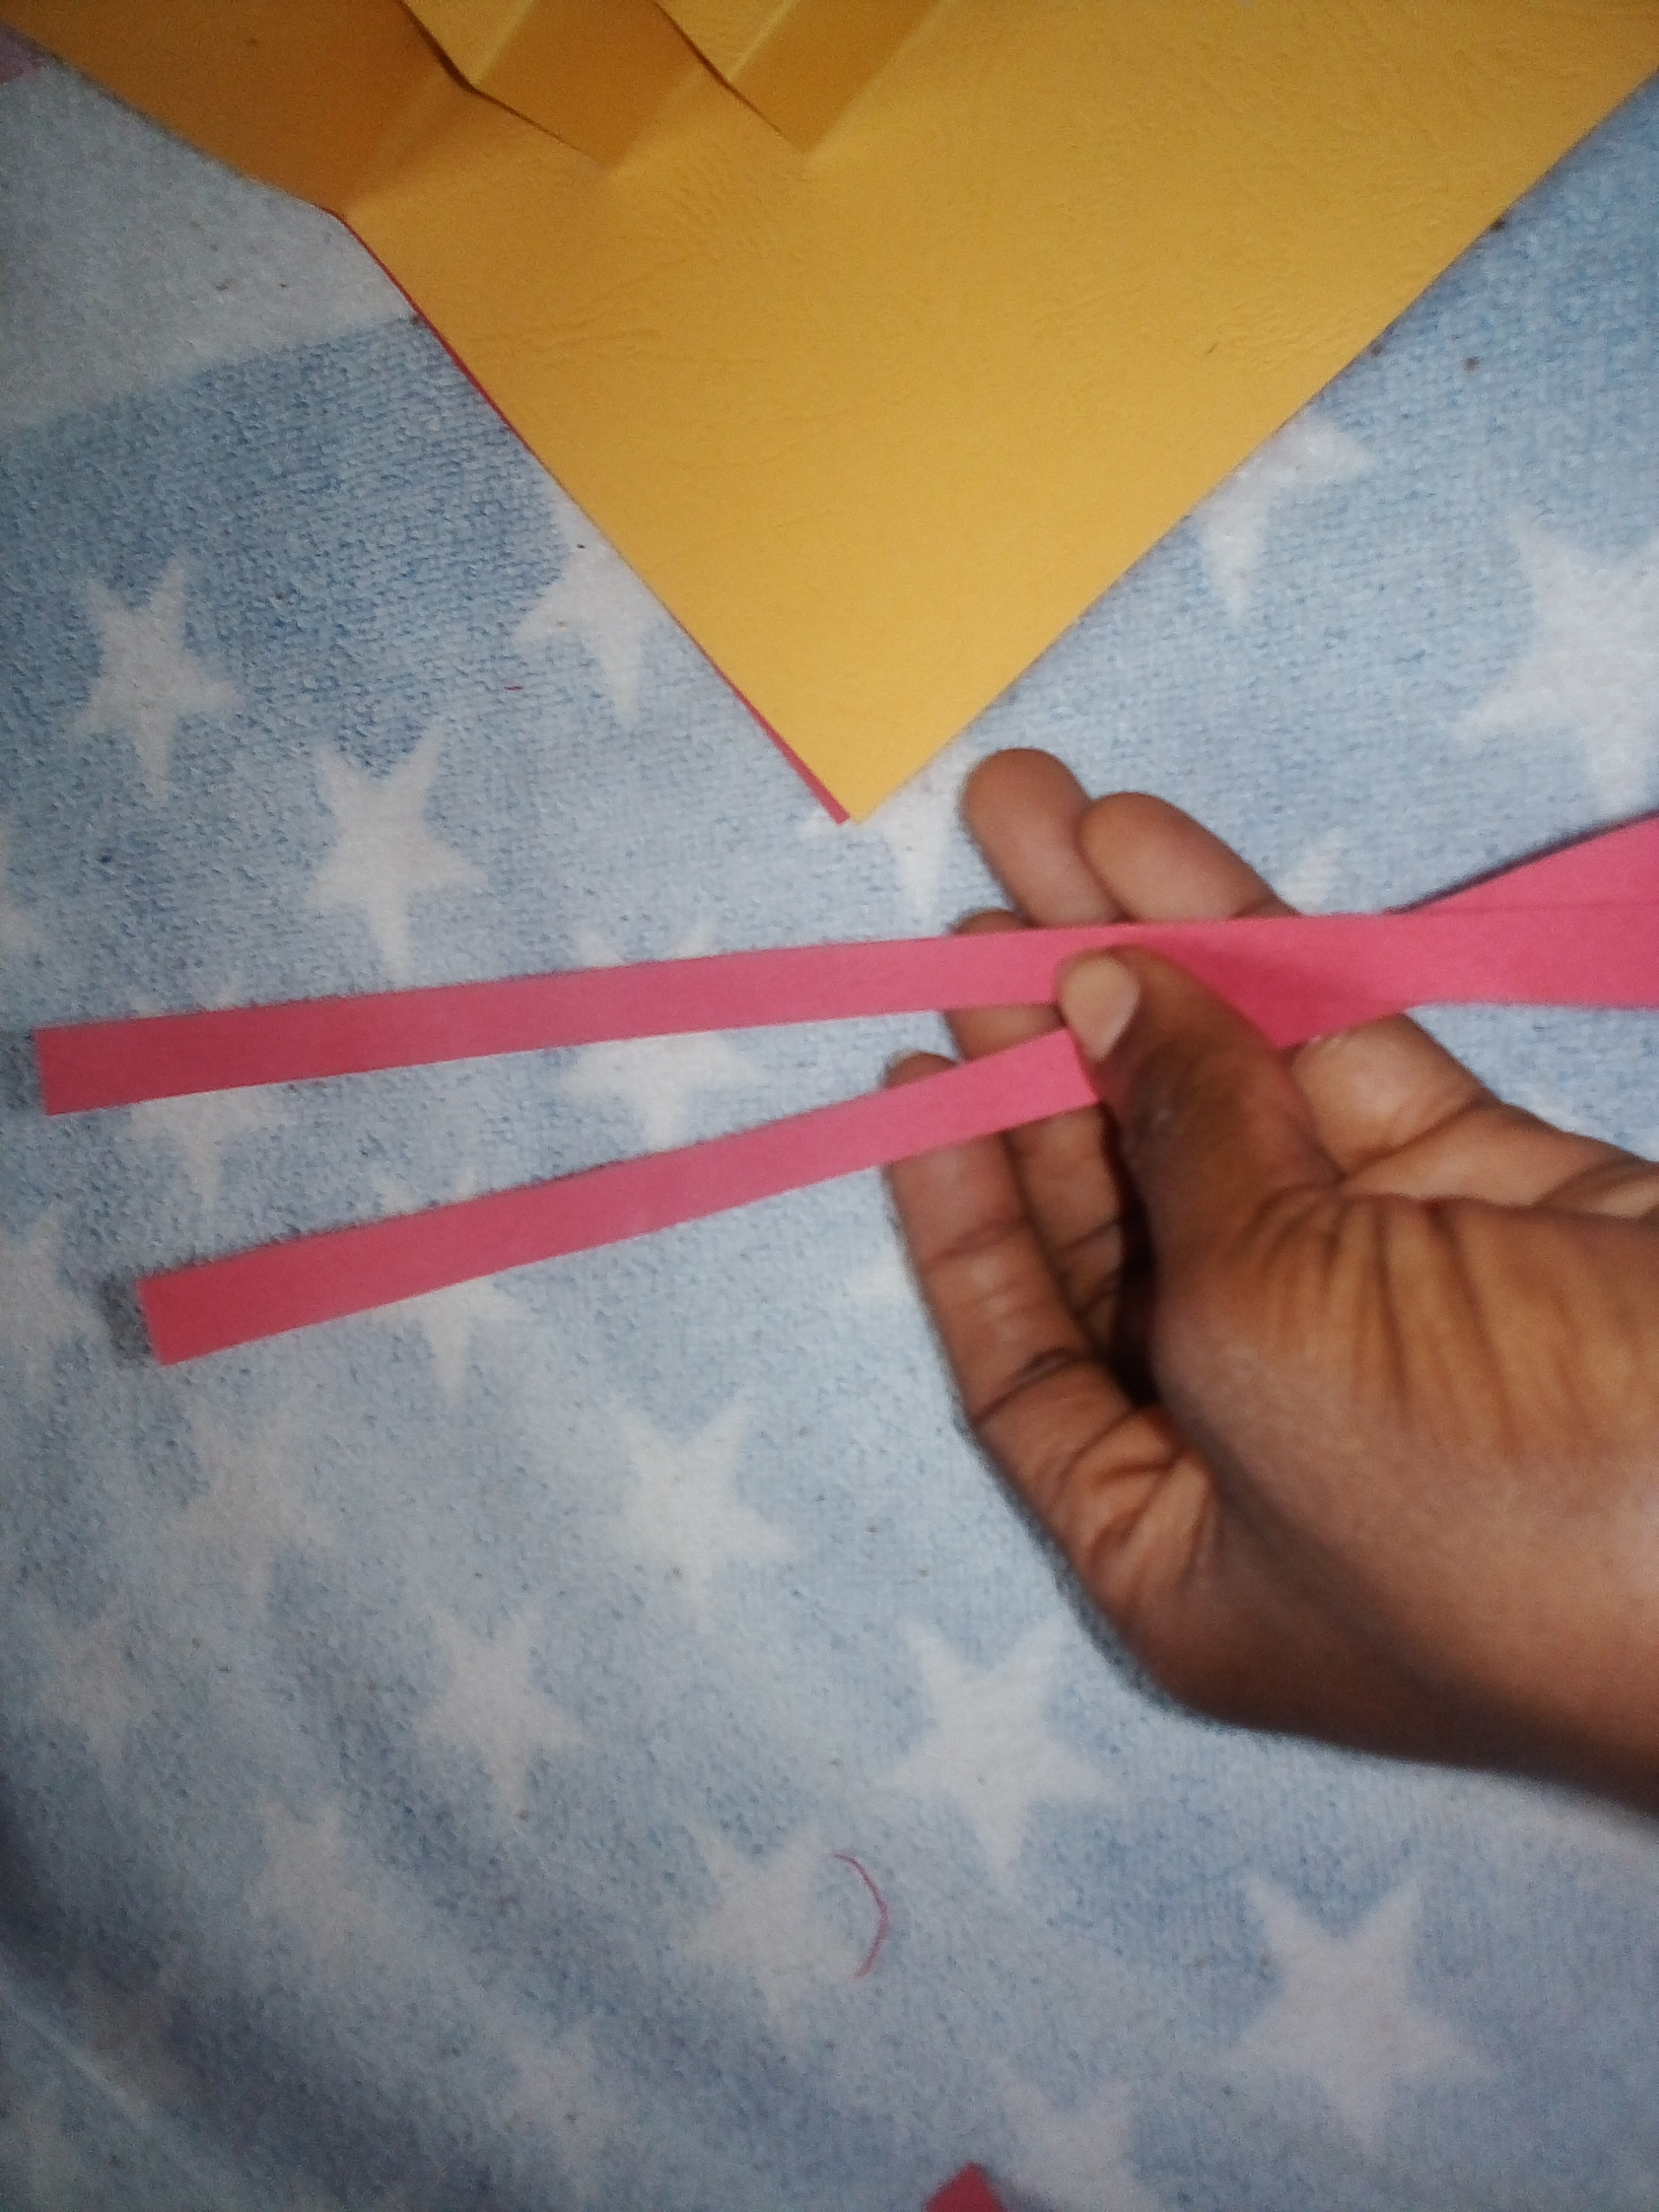
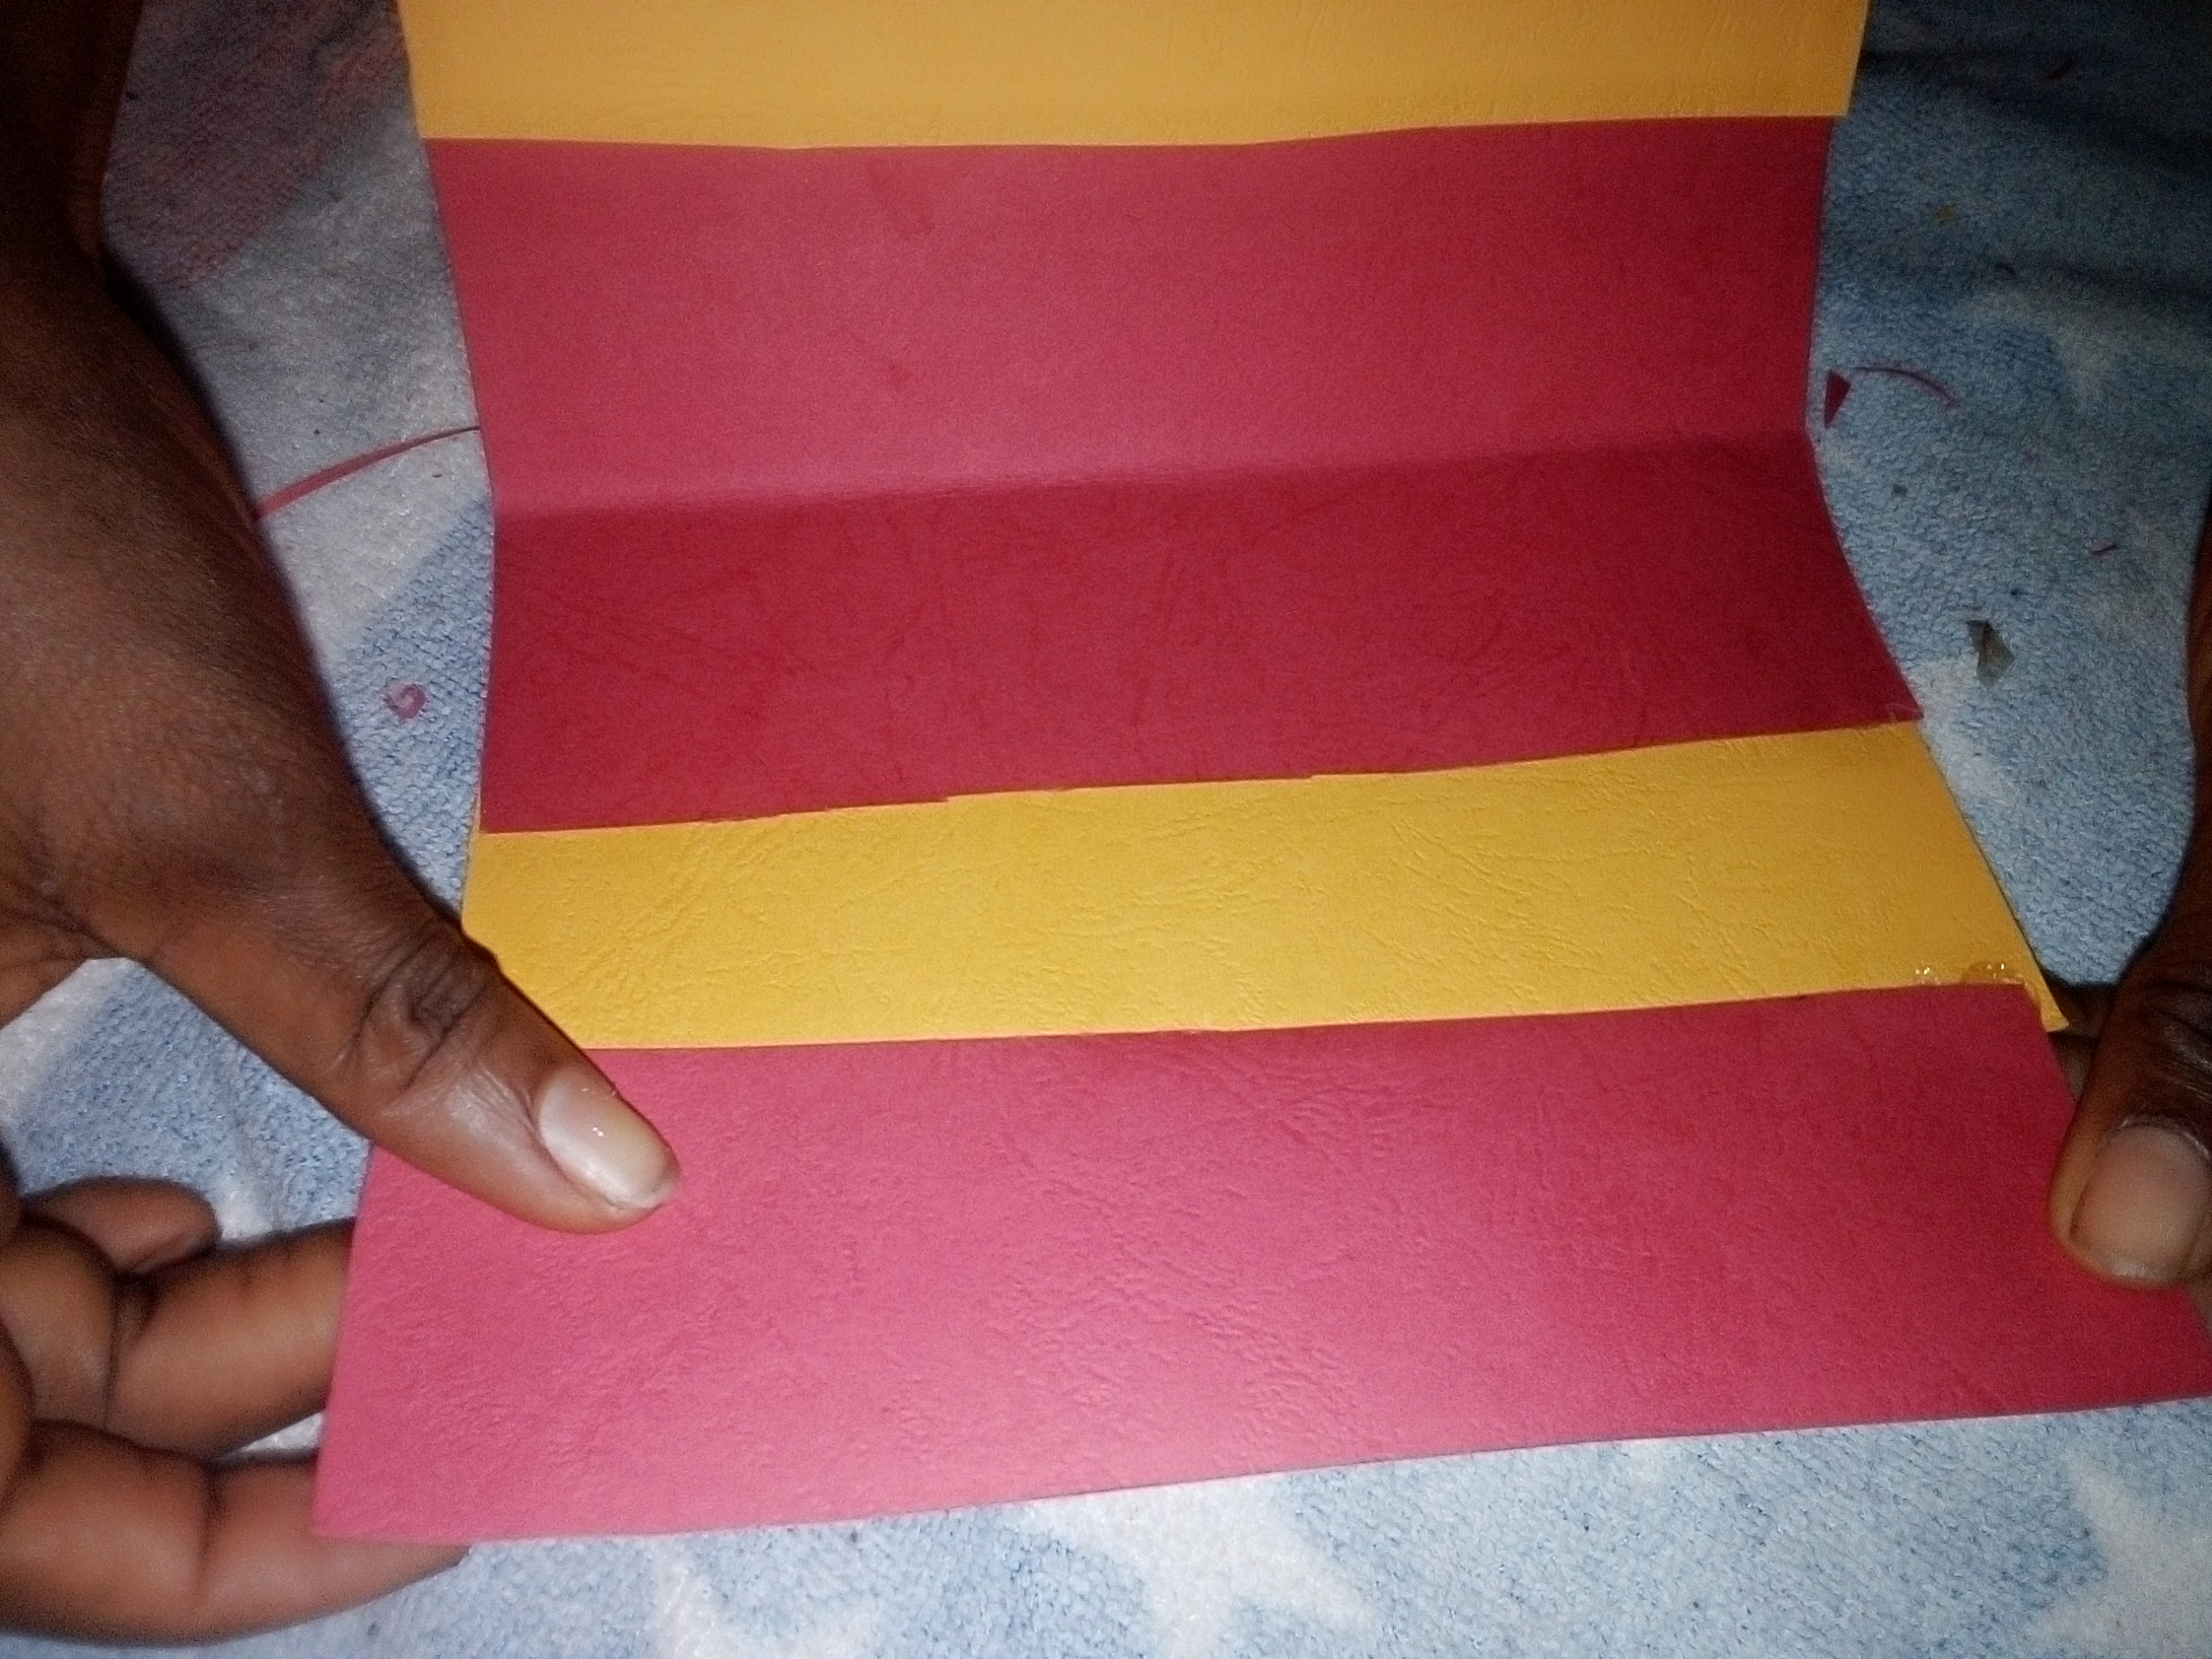
I marked and cut a shape of 8cm height and 4cm width and another 8cm height but this time a 2cm width into four and clued them together as seen on the image below
 |  |
|---|
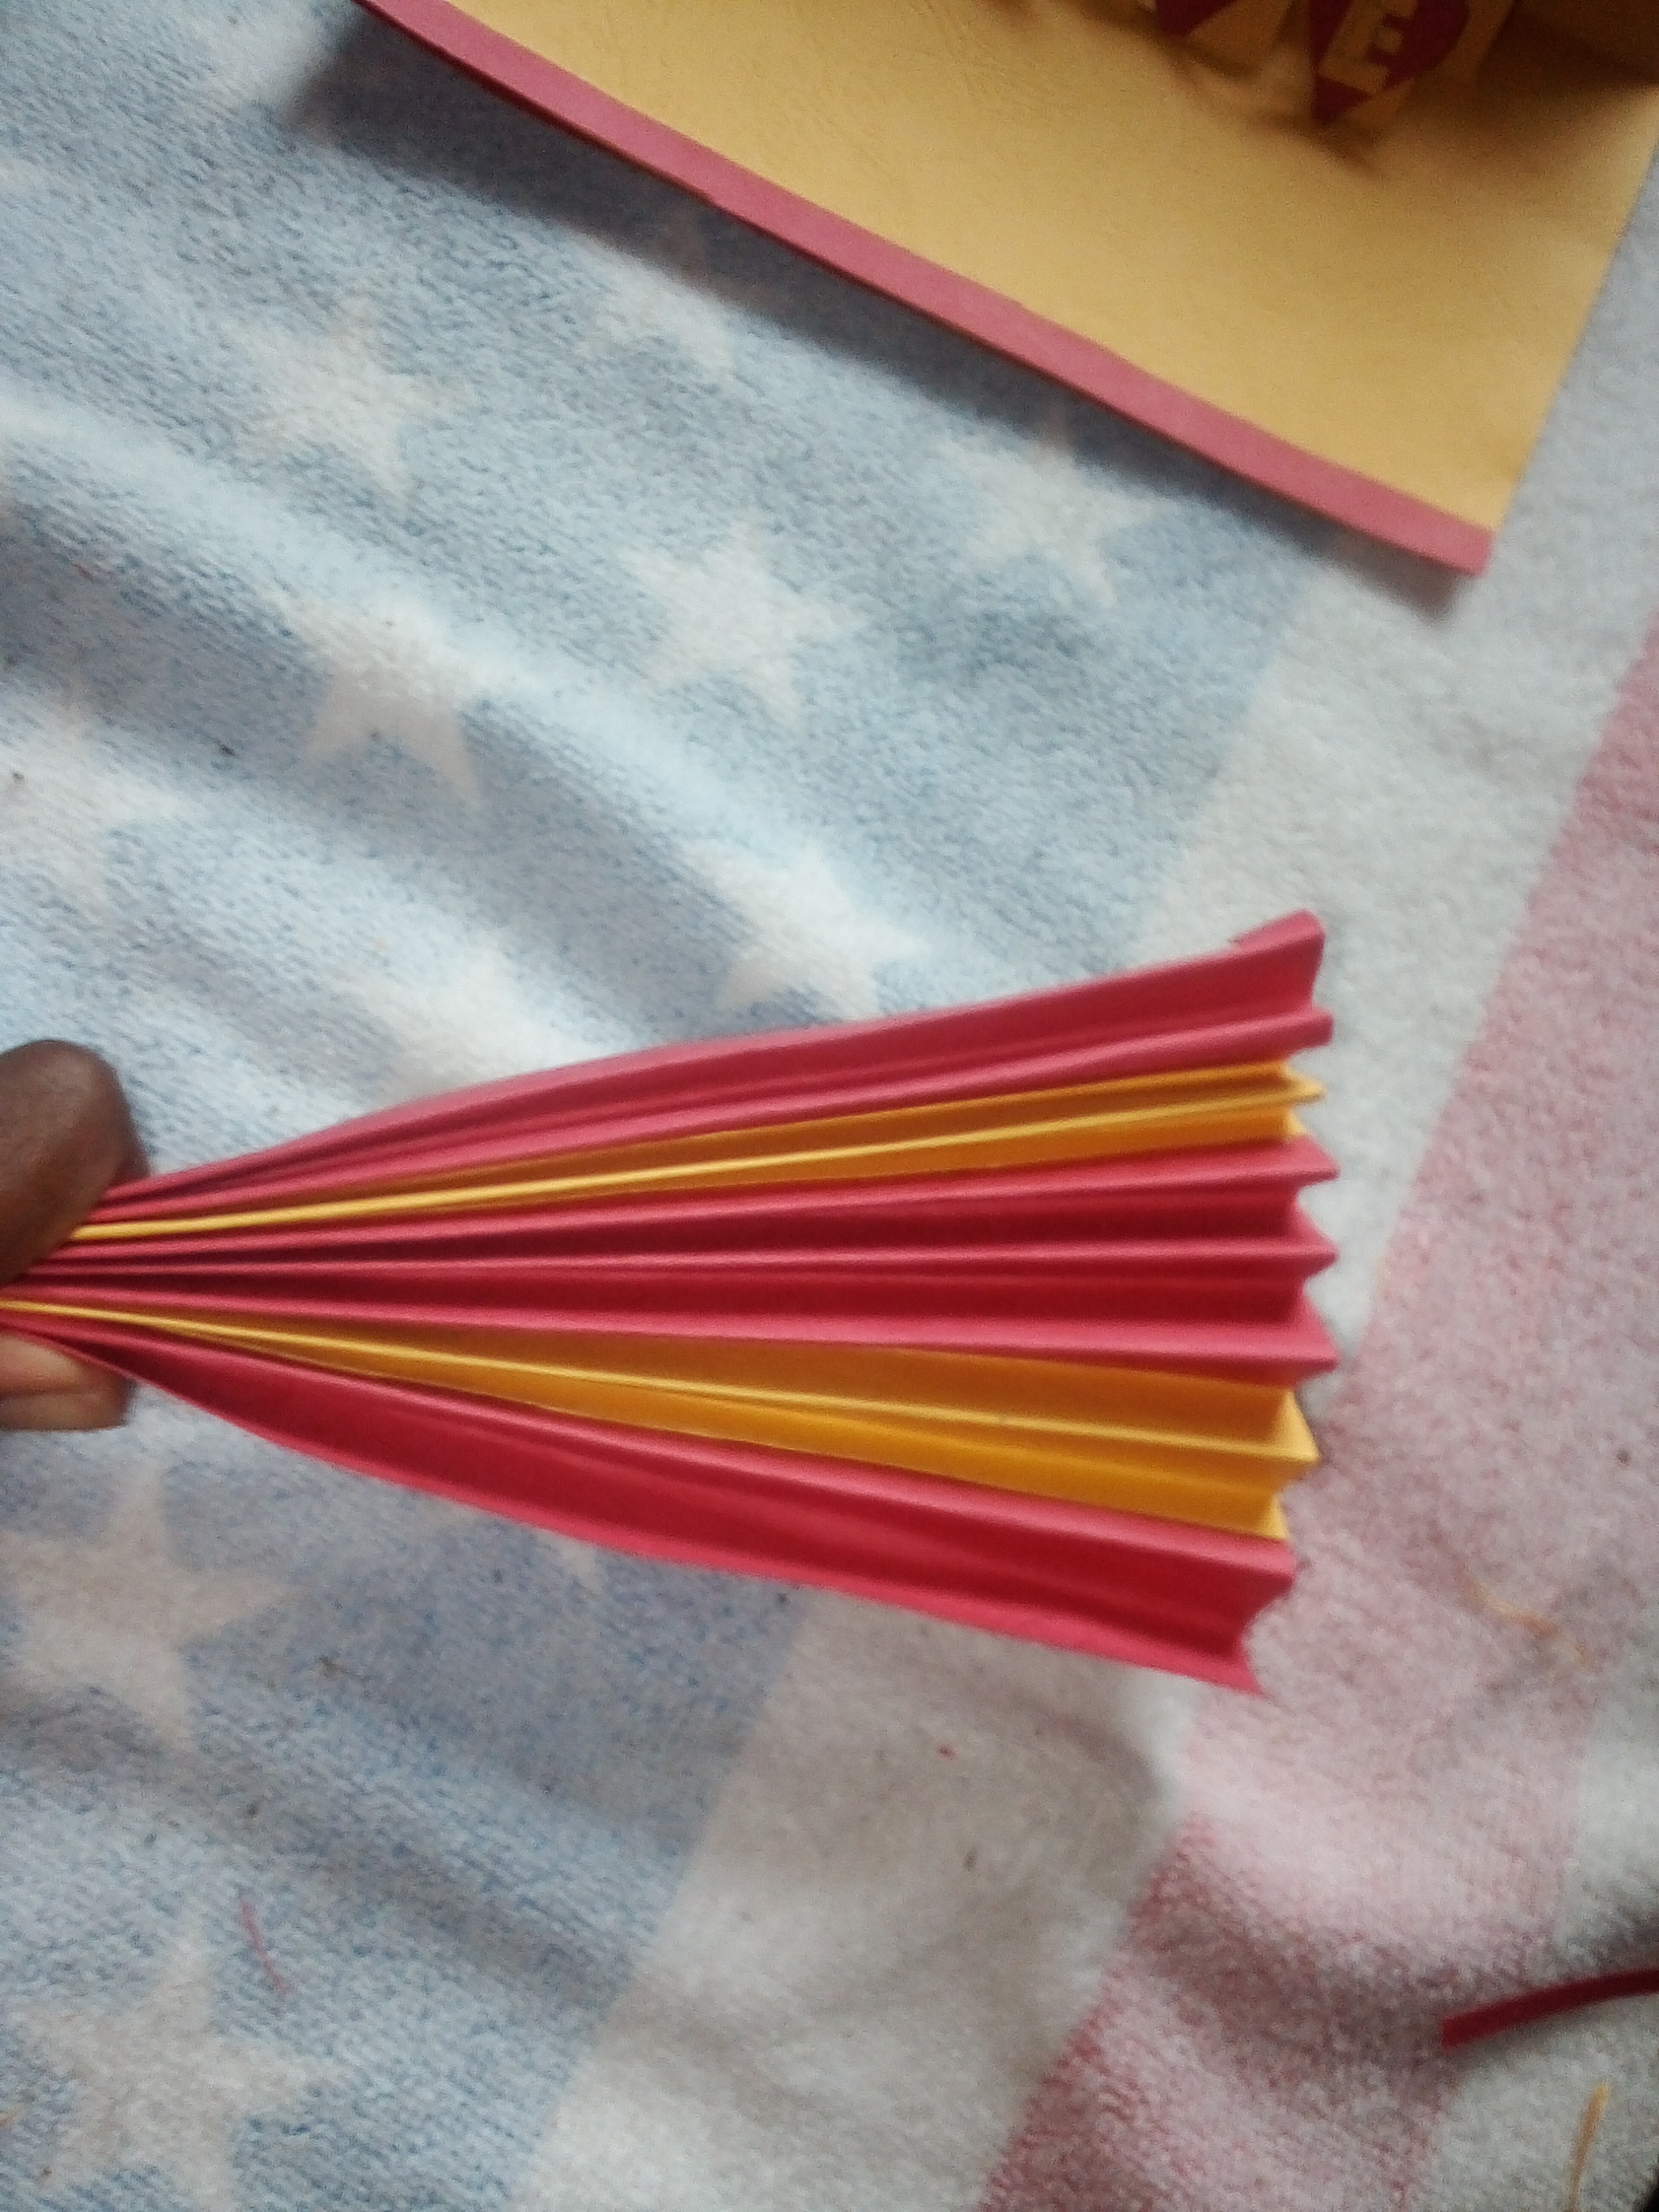
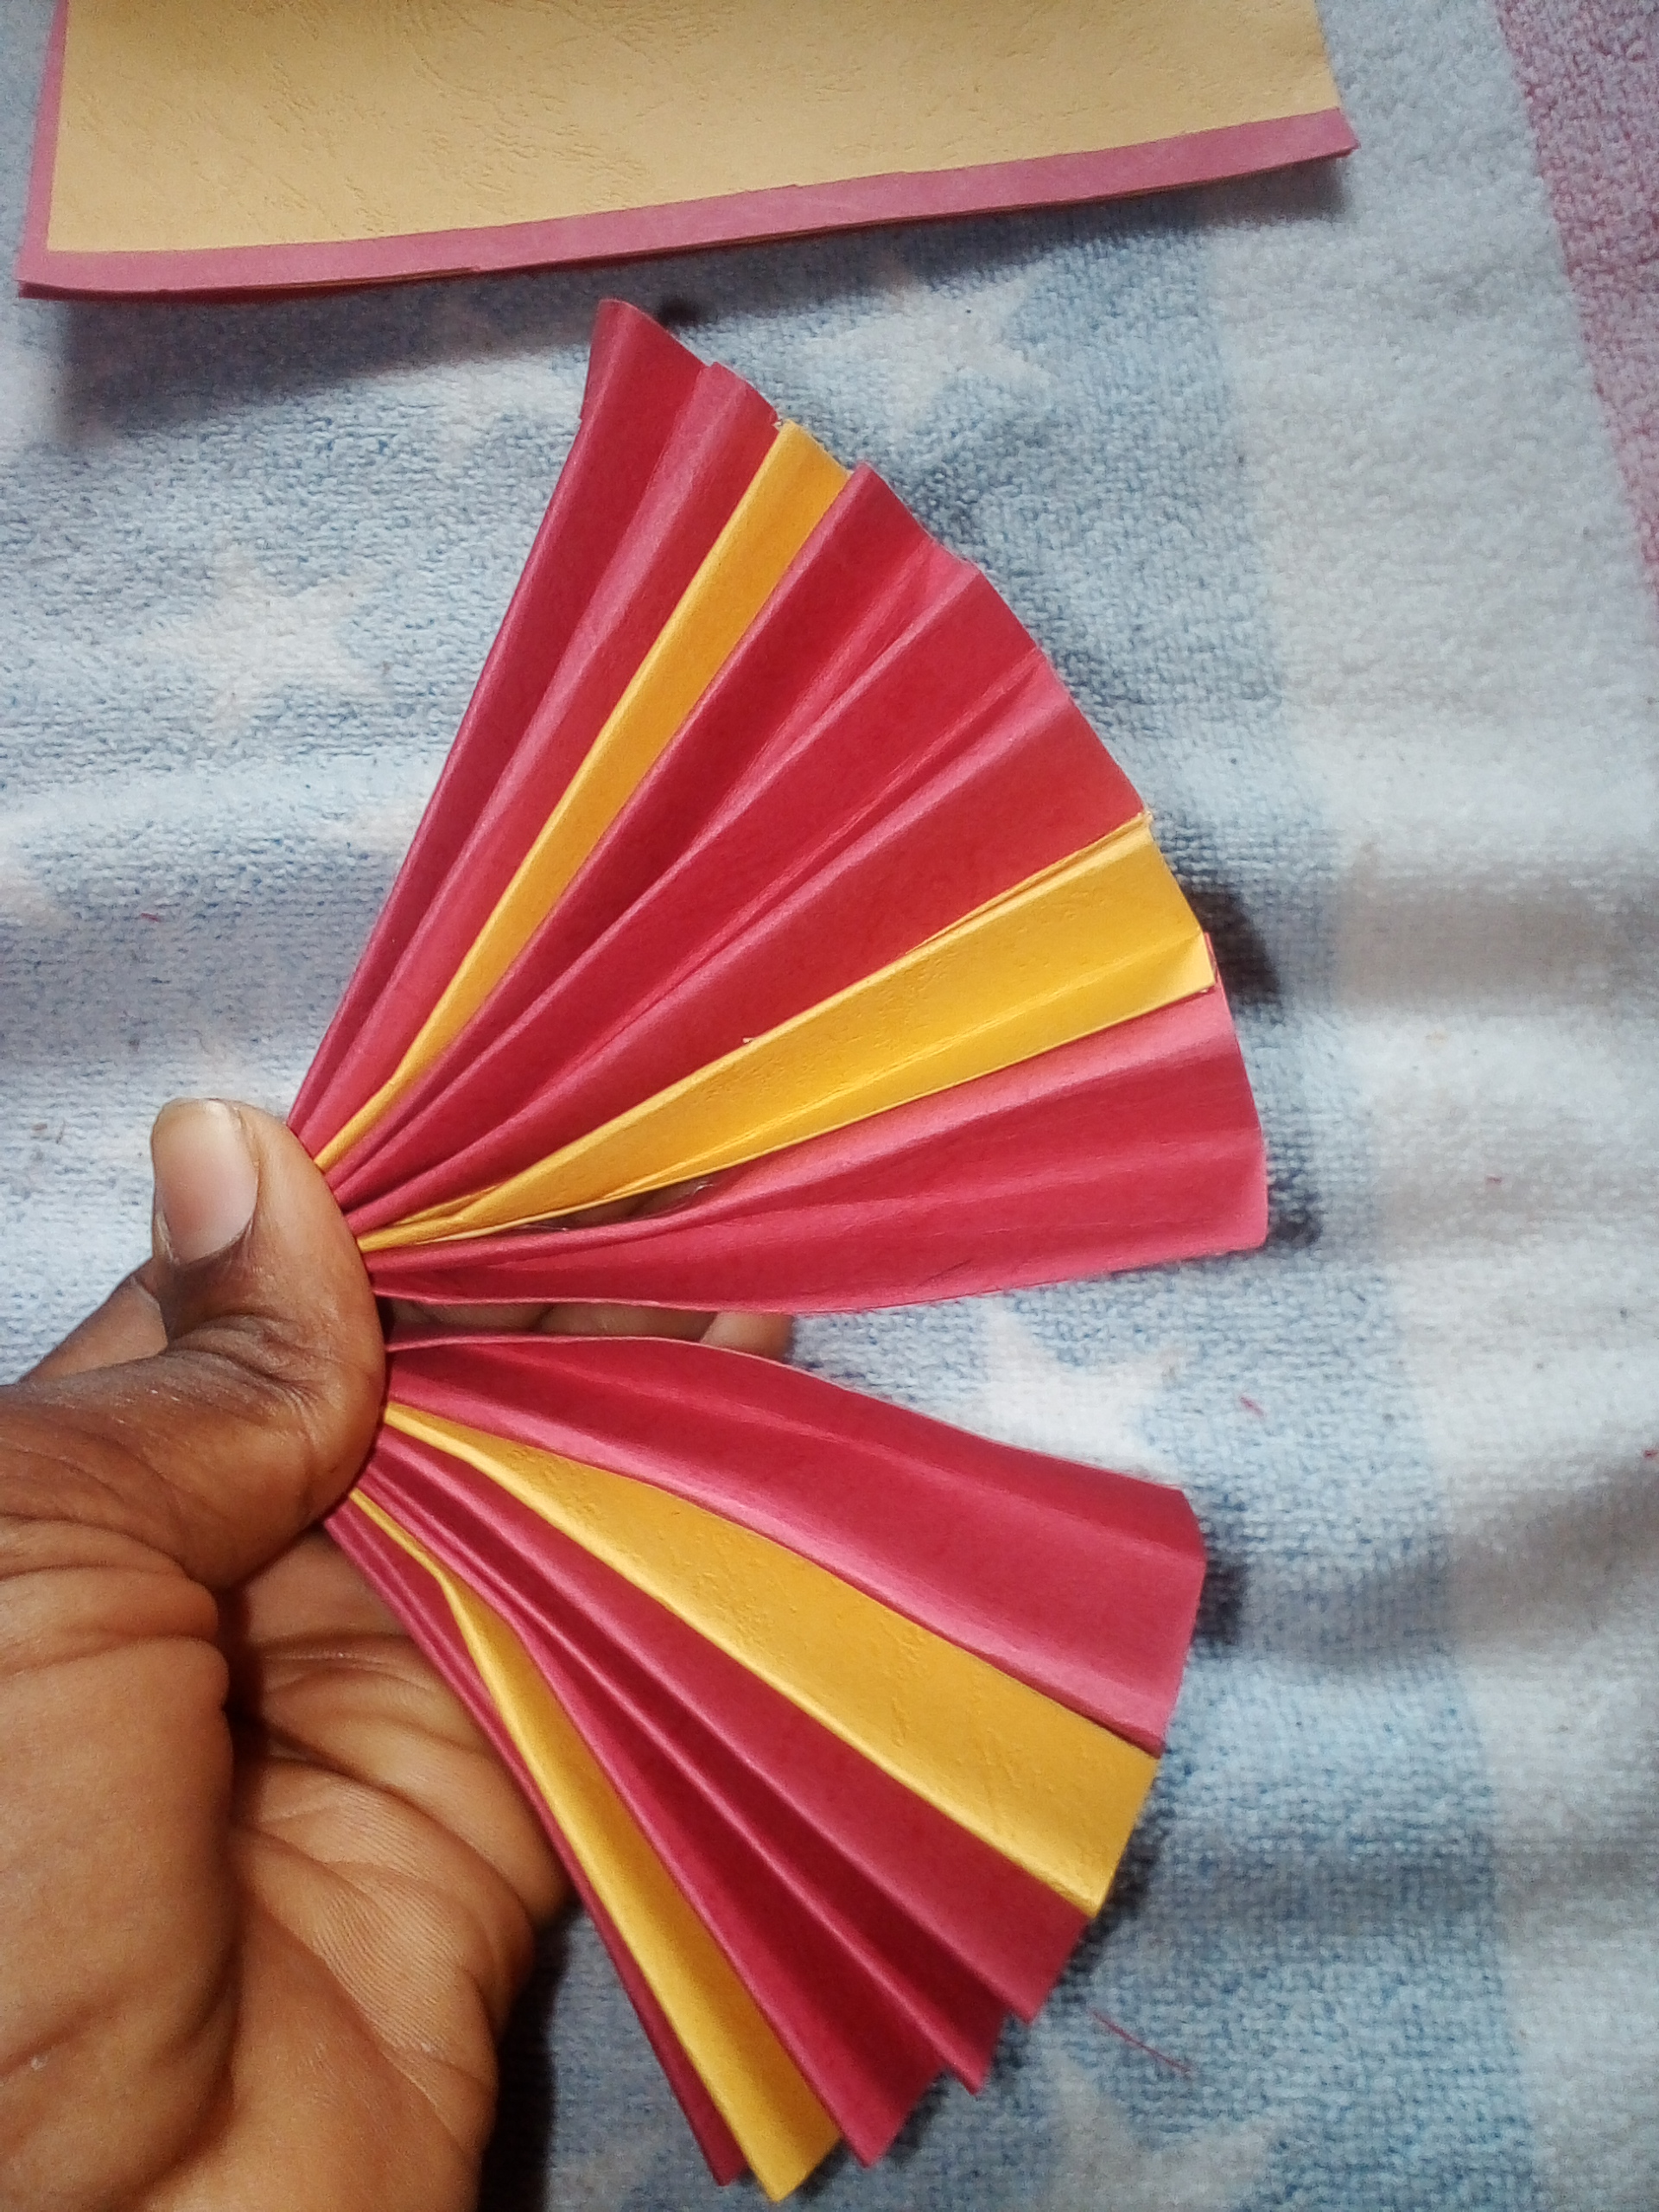
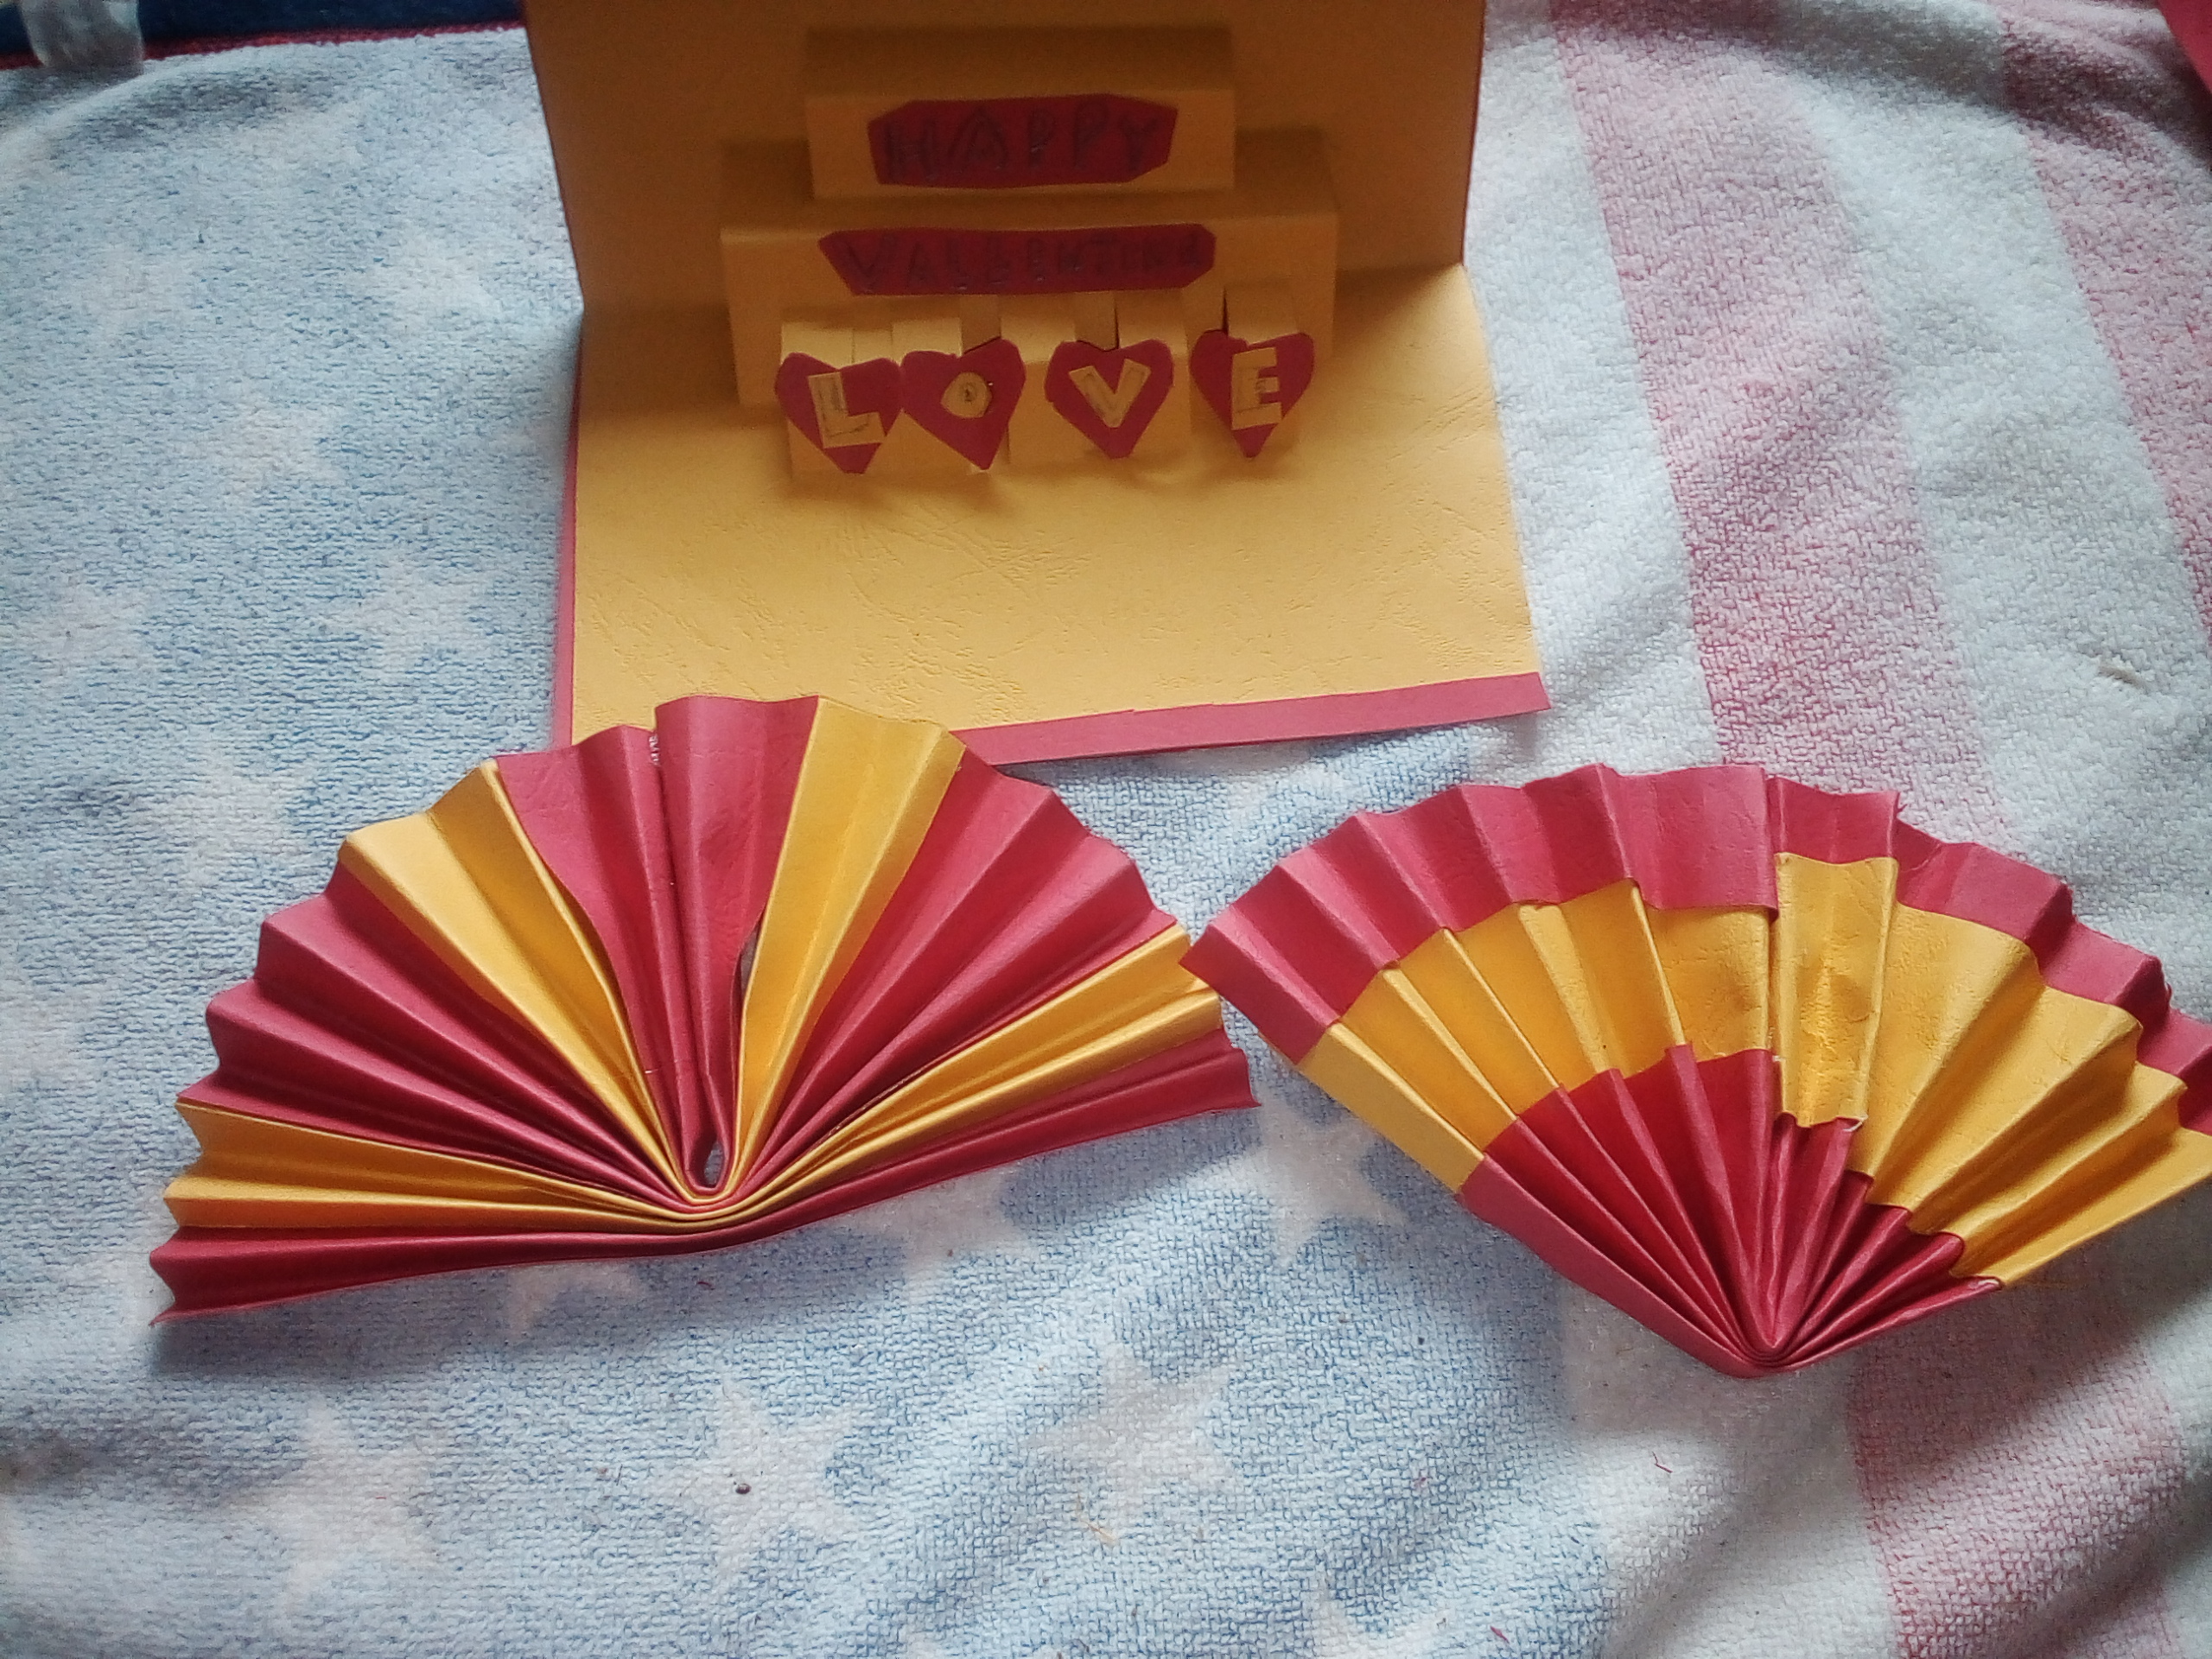
Fold it front and back until you get to the extreme and the fold it into two to form what look like a hand fan
 |  |
|---|
Apply gum to the middle so it can stick together,
Apply gum to the edges of the gift card and stick the two wings to it (this is just for beauty, it can be removed)
 |  |
|---|
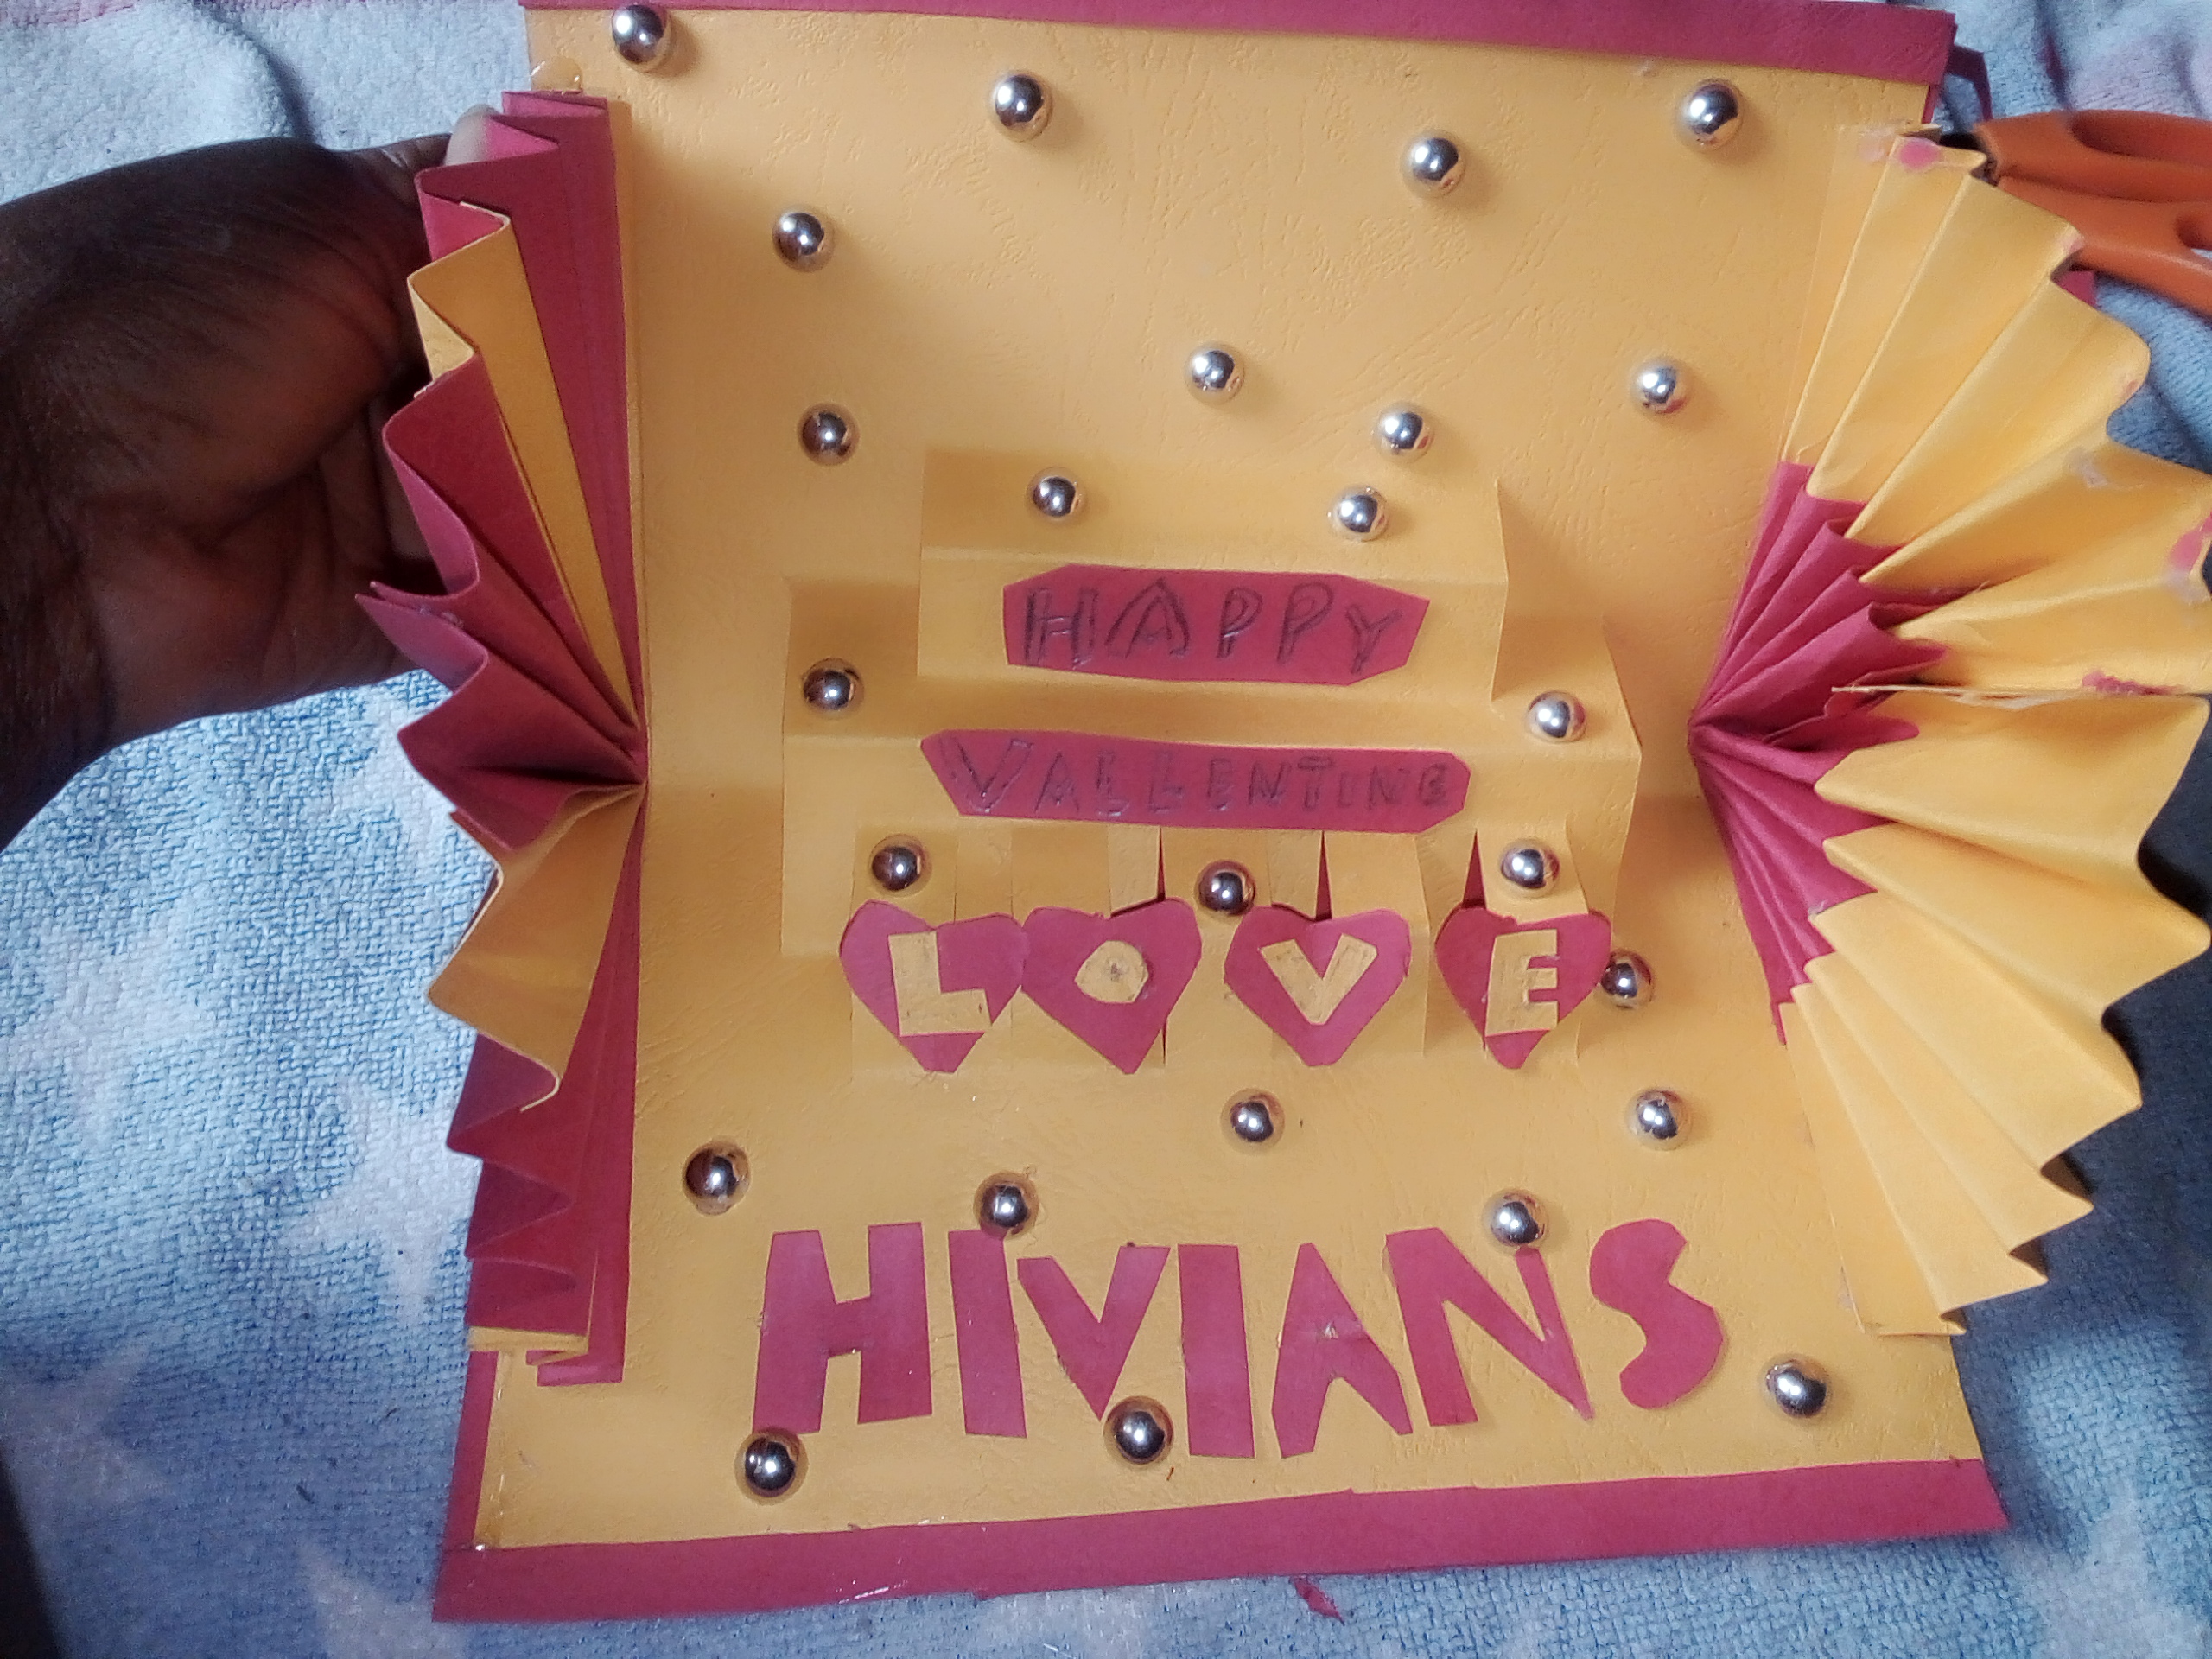
Use the pearls to decorate the card ,put as much as you want
--|---
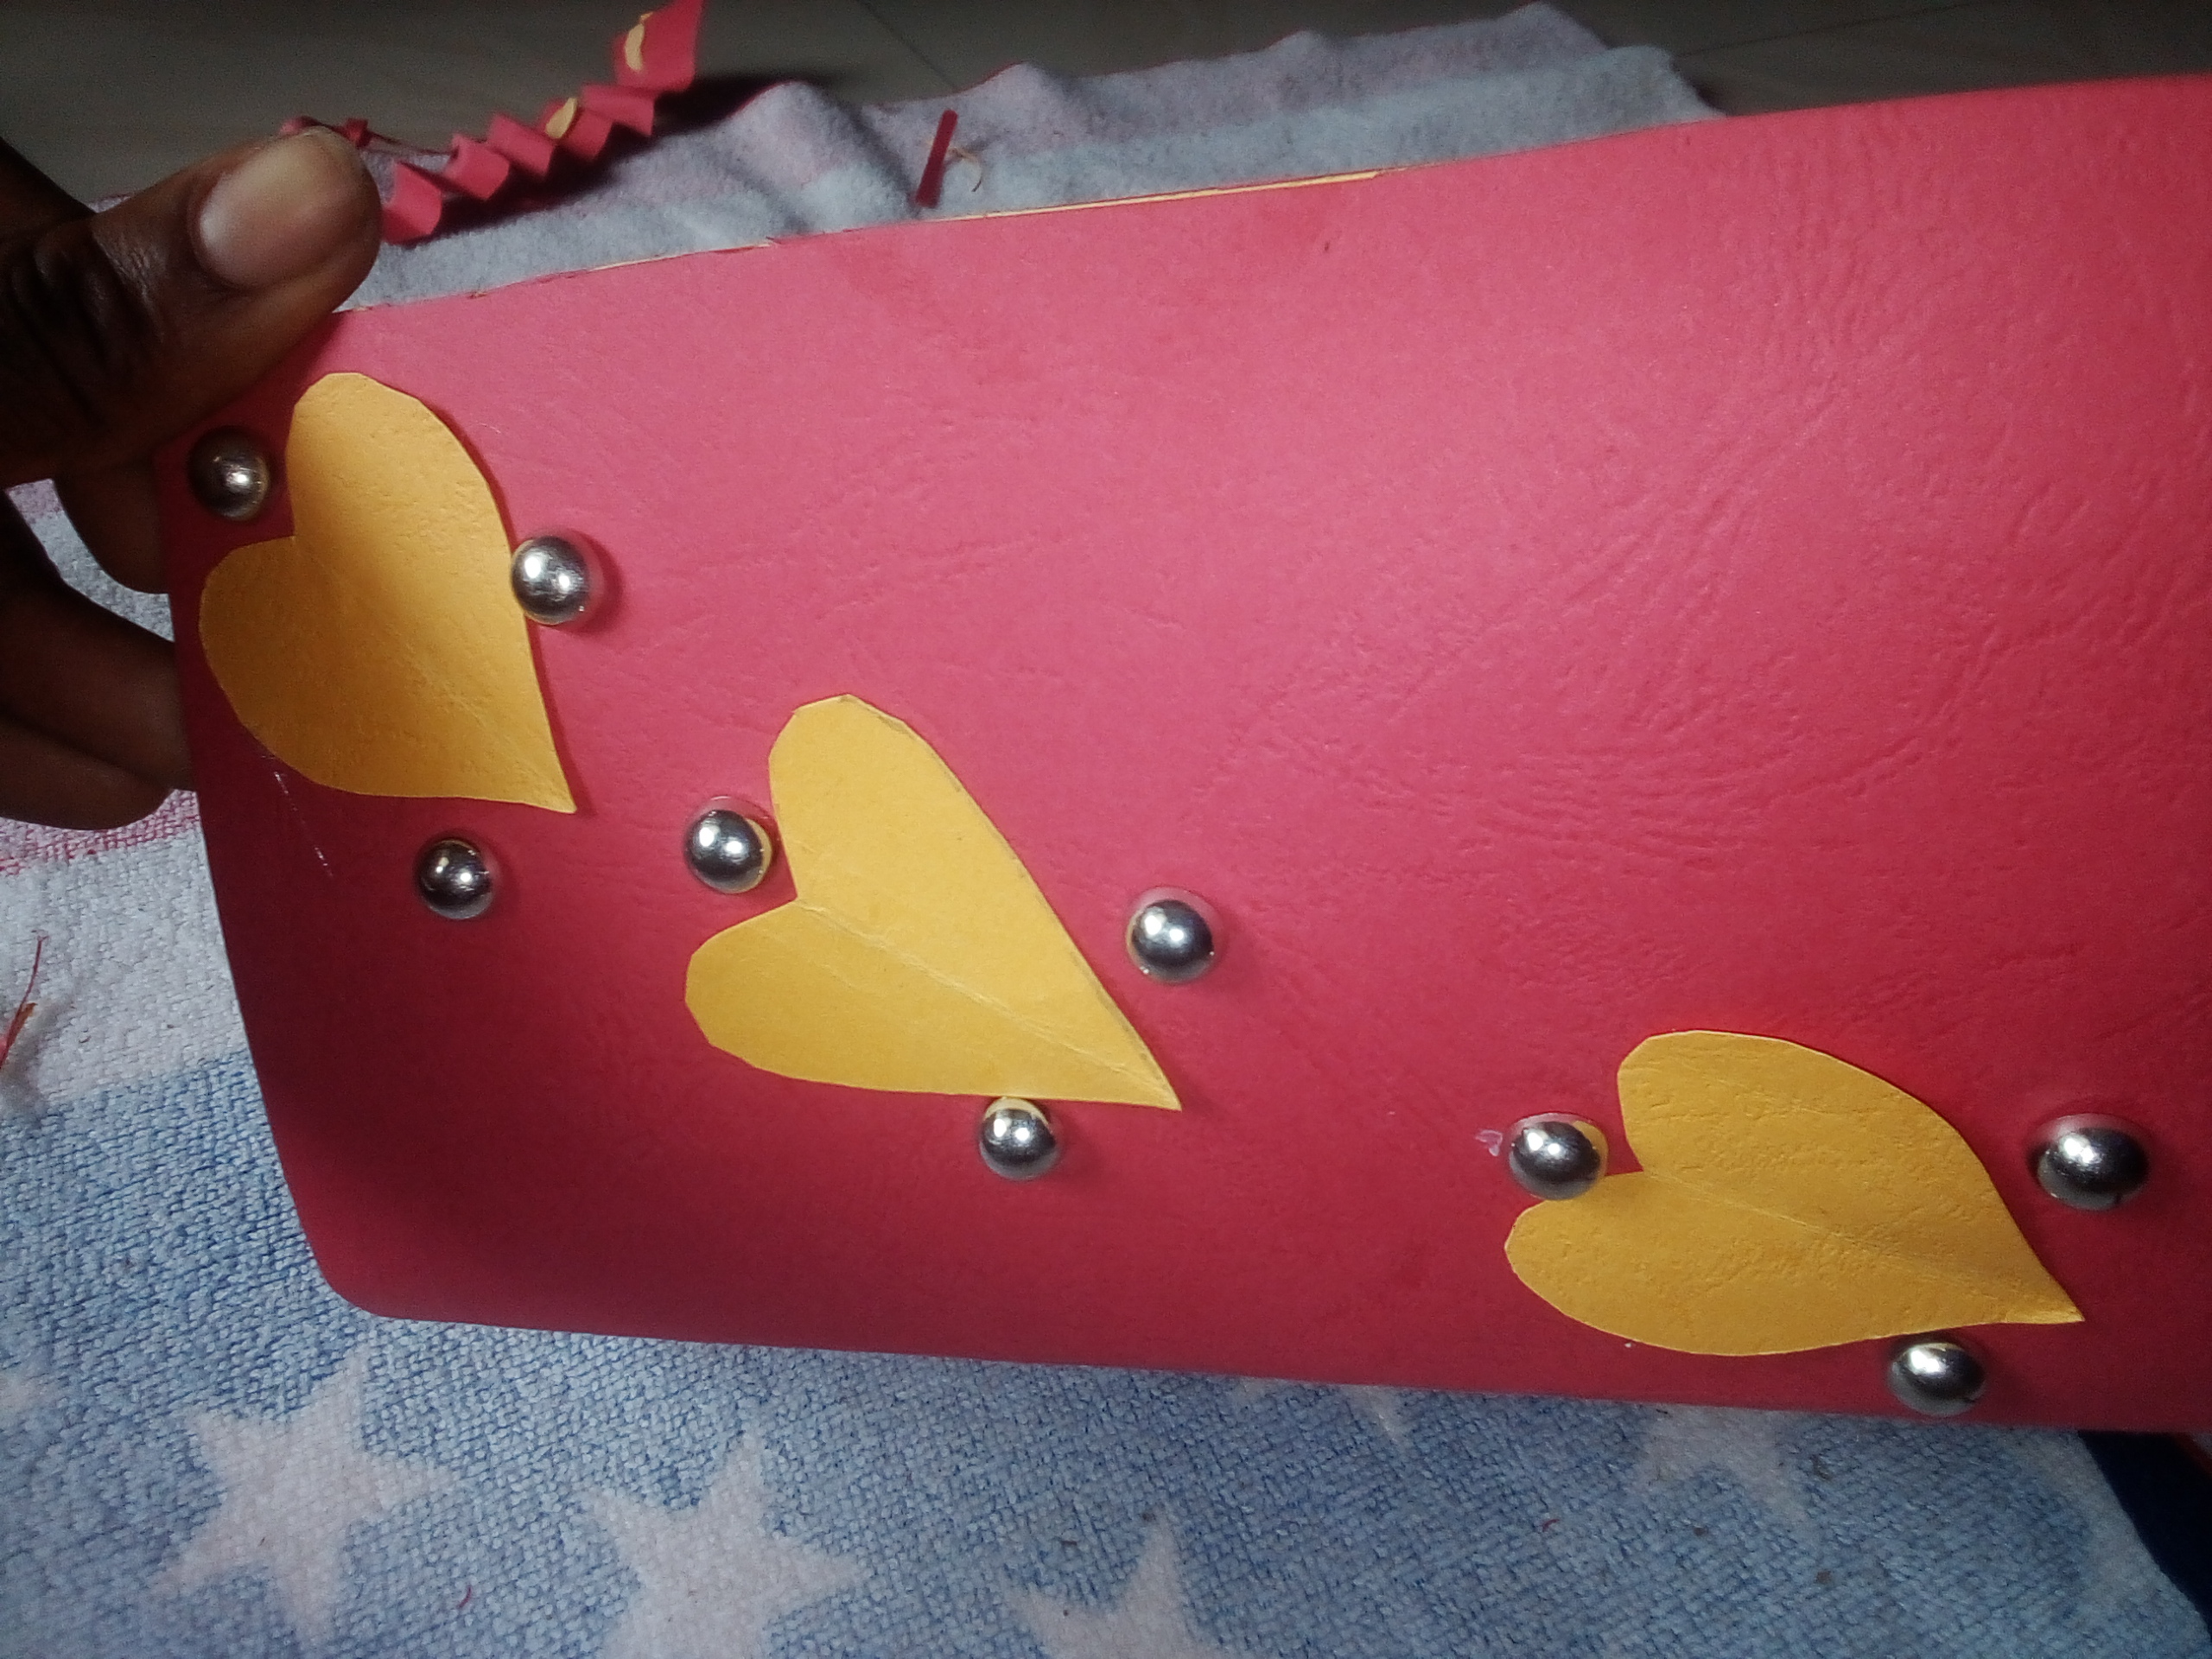
Now let's beautify the back,
Always remember that any design can do the magic but in my case I made three love shape and glued it to the cover and then used my pearls to give it an amazing beautiful touches
 |  |
|---|
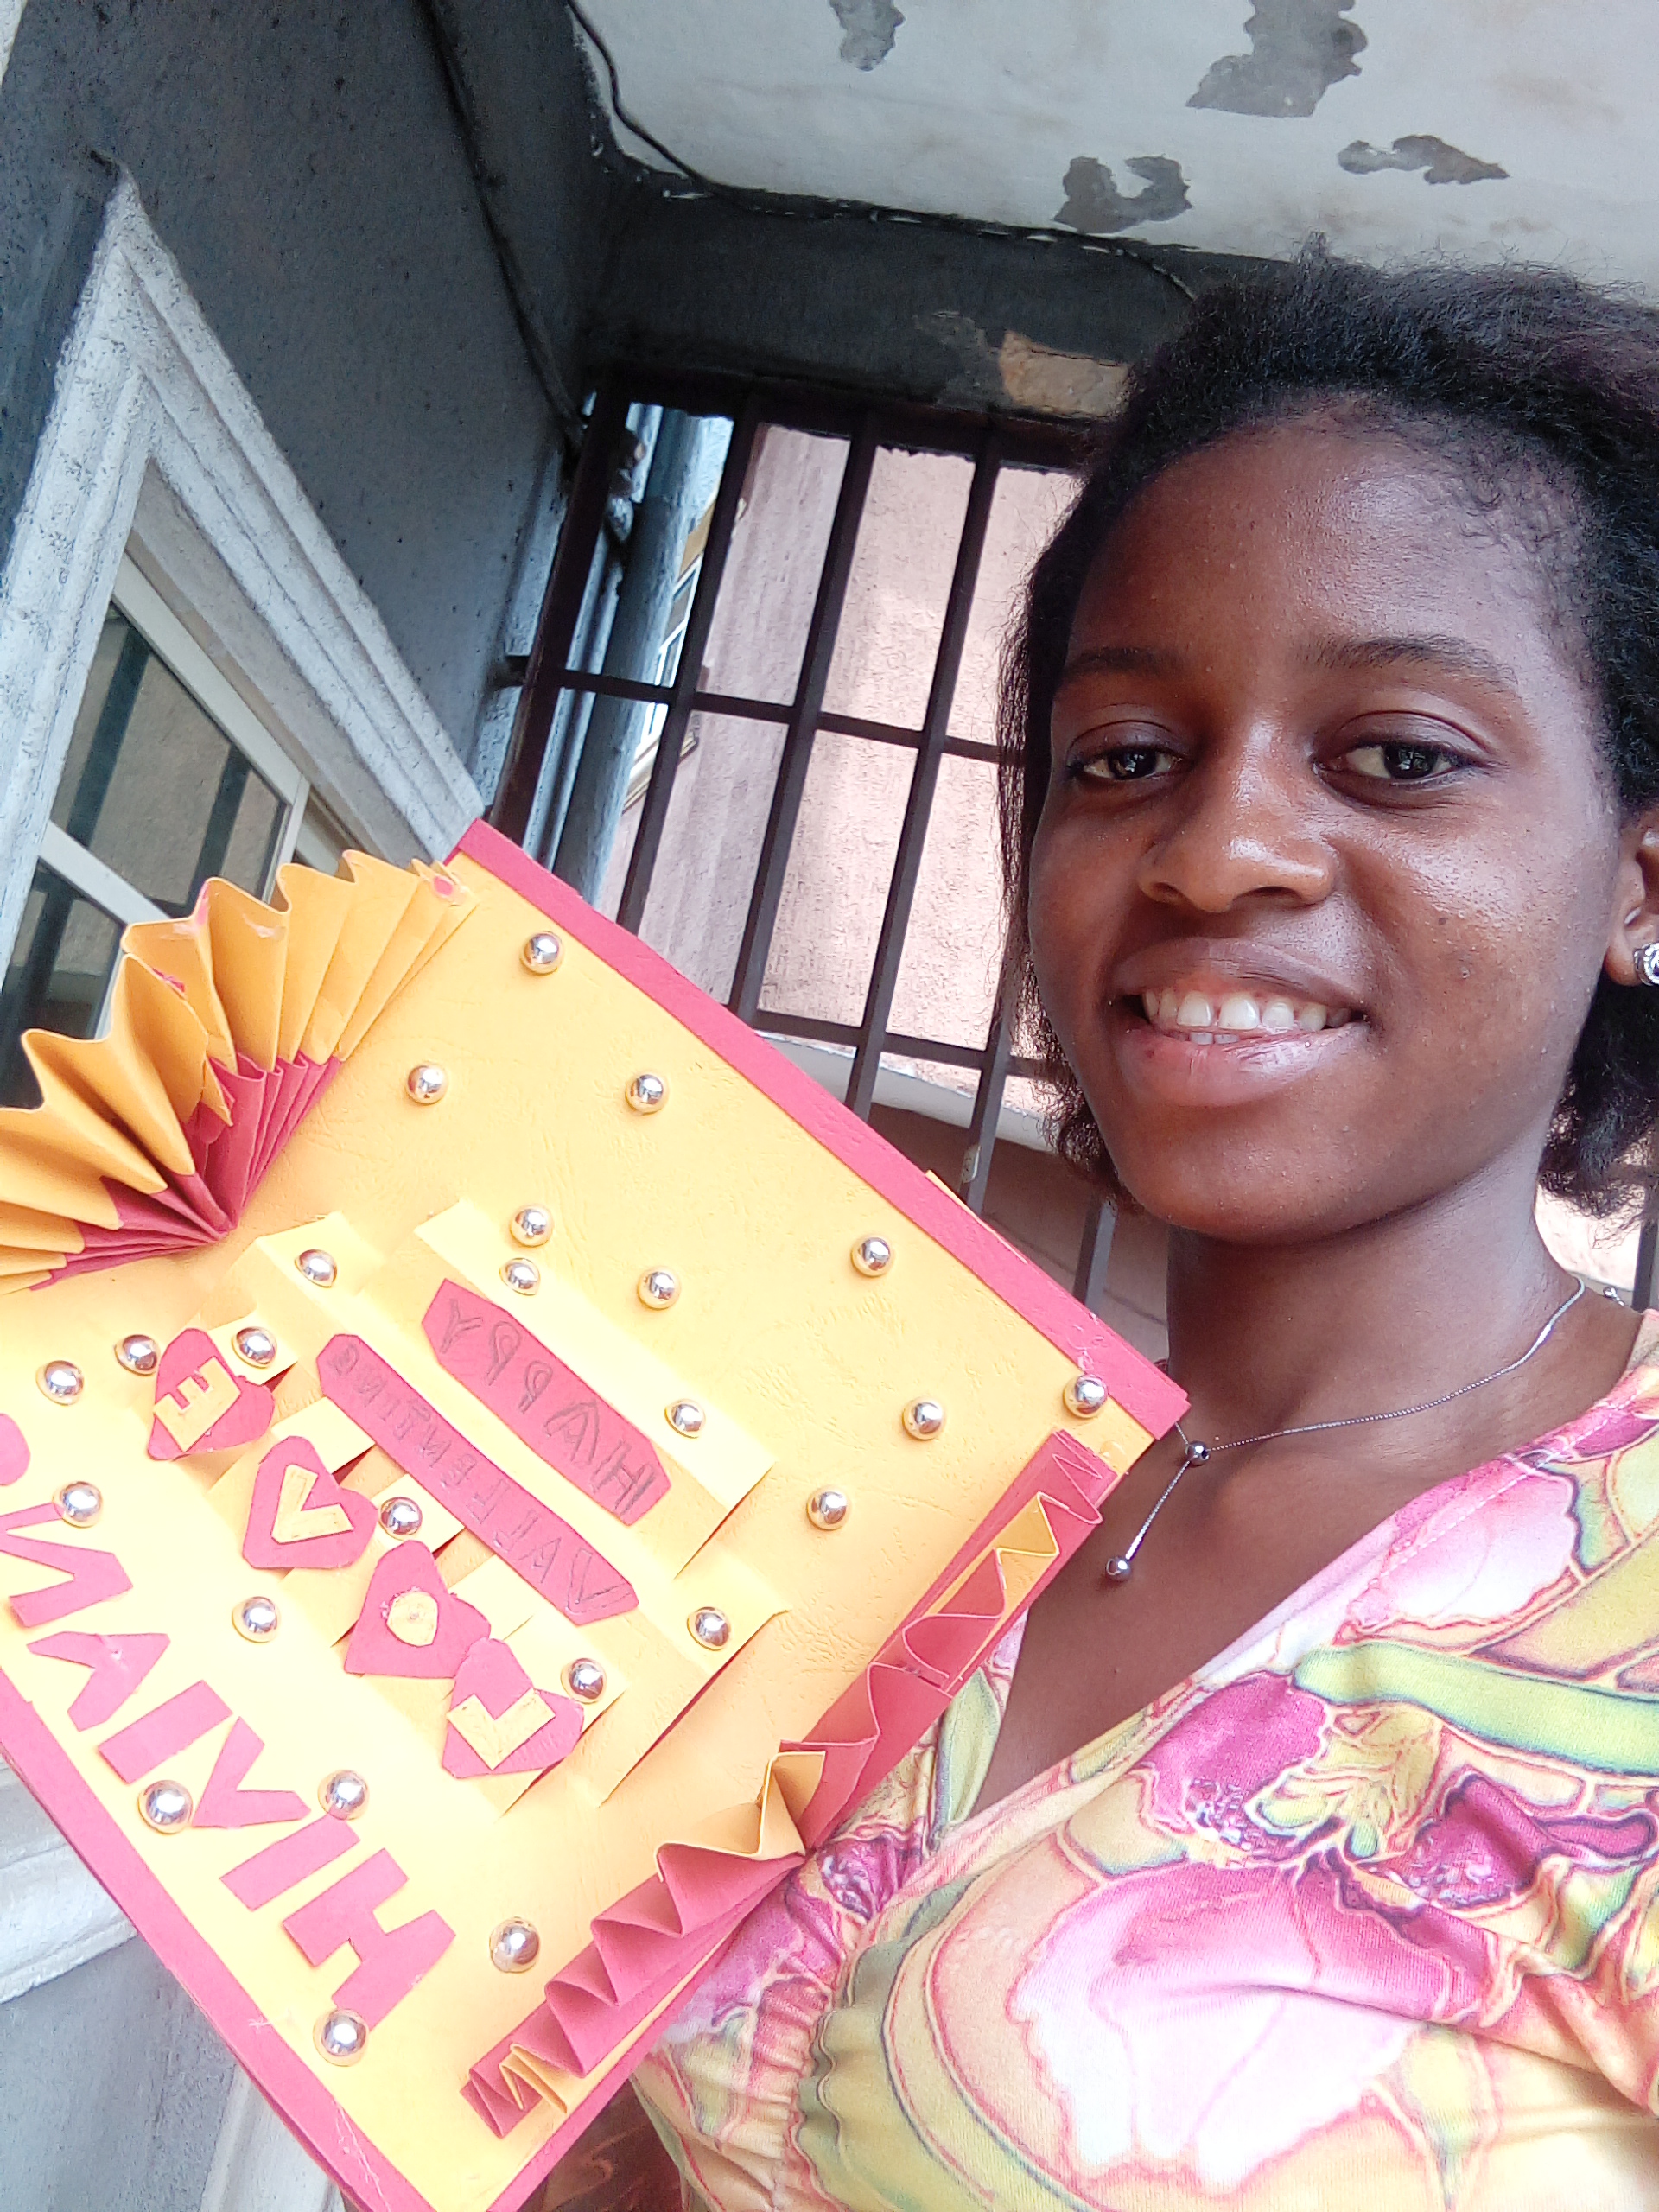
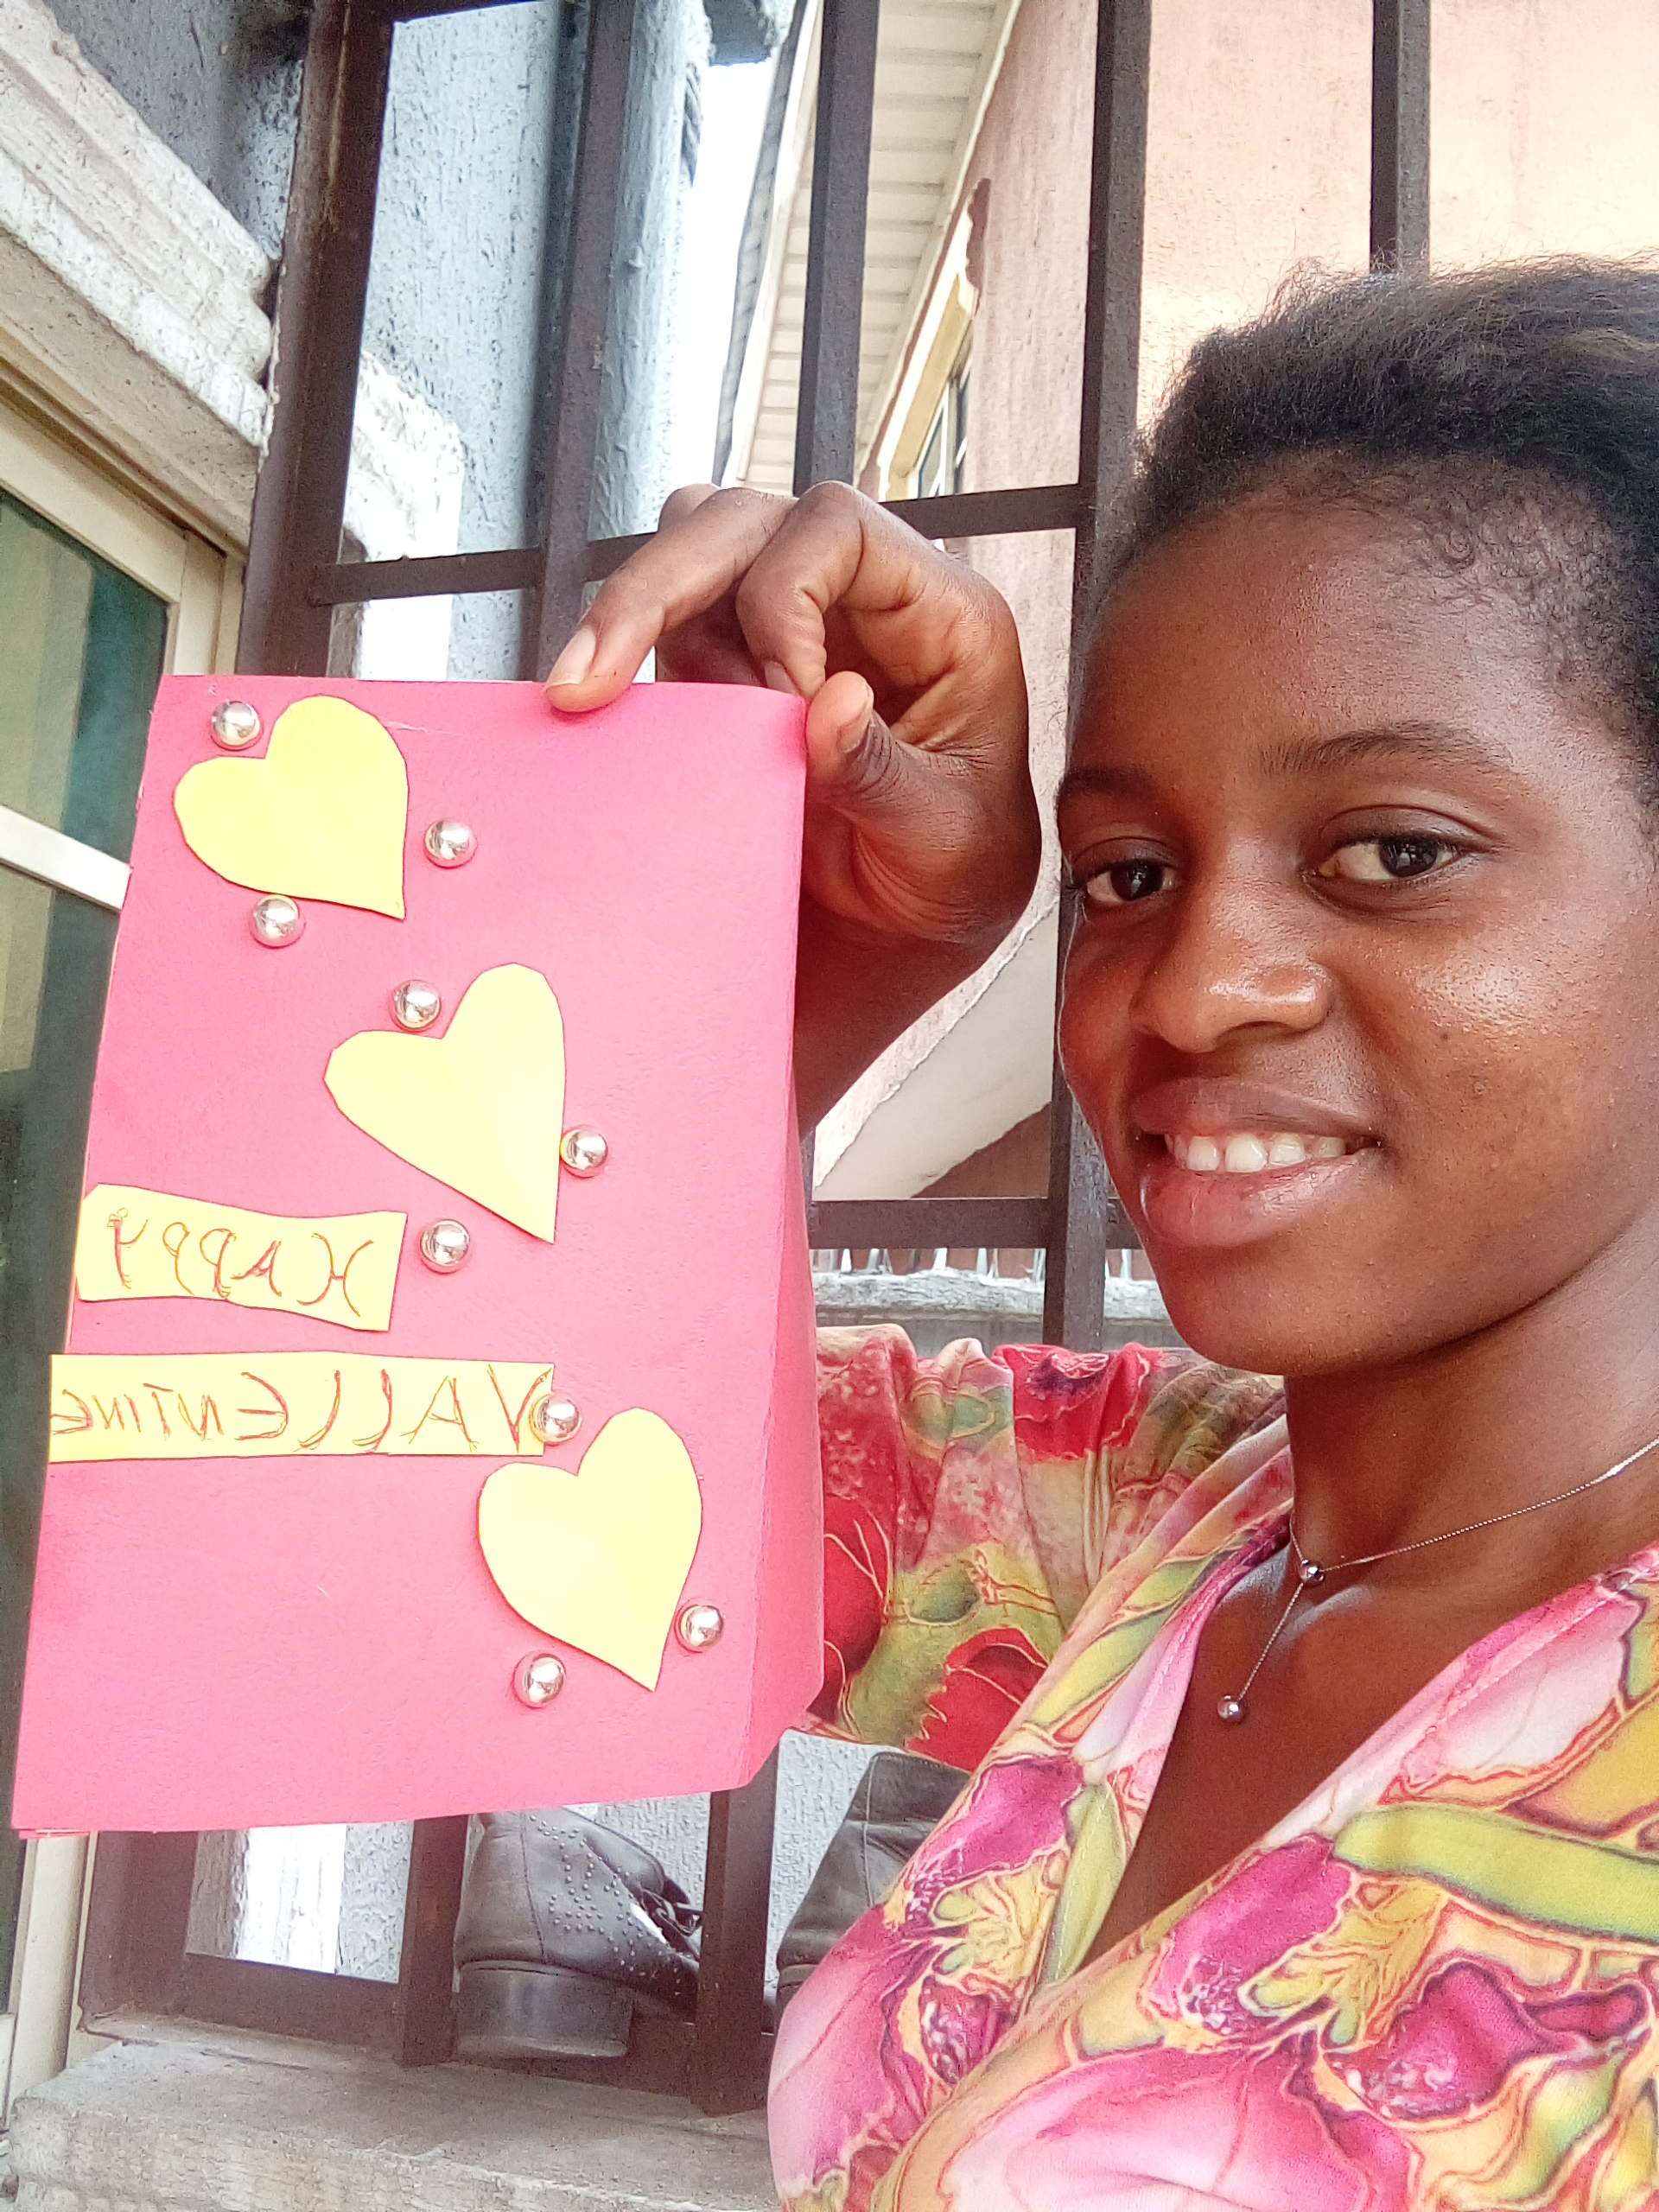
And your awesome gift card it ready,
Please I want to know what you think about it, tell me everything you think about my gift card so I can improve in any way possible.
Thank you all and I sincerely hope you like my work
See you next time
A gift card is really needed at this easy and it will be full of love if we can make one by ourselves rather than purchase from store , thank you for the tutorial.
Thank you too dear
This gift card looks great. Good to see how you made this and thank you for sharing each step. Nice work!
I was wowed from the beginning and more impressed after seeing the pearls
Indeed,this is beautiful
I like this, if you can’t buy it you can just make it.
Am glad you like it, thank for stopping by with those heartwarming words,
I truly appreciate