DIY: make a cupboard
Hello
How are you
Creating creativity that is very useful for everyday life, a few days ago I started making a cupboard for storing cooking utensils in the dormitory. Last month I enrolled my daughter in an Islamic boarding school to study religion and also study there. She lives there because the boarding school provides a dormitory. I bought all the equipment, including a wardrobe, from the store. However, I tried to make this one myself: a cupboard for storing cooking utensils in the communal kitchen.
Actually, I've been working on this project for a long time, but because I didn't have enough time, I only finished it last Friday. There were a lot of preparations and steps involved in making this cupboard. Luckily, all the materials for making this cupboard were already at home, all of them were leftover materials from my home renovation, such as wood and plywood. This discussion may be too long, but I'll try to keep it as brief as possible.
First Stage
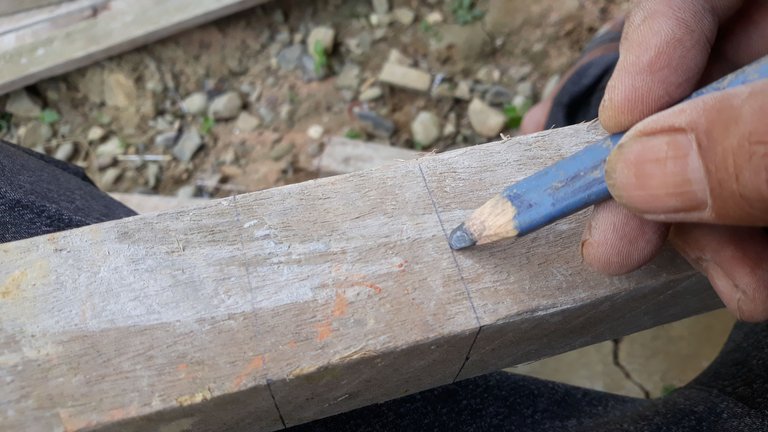
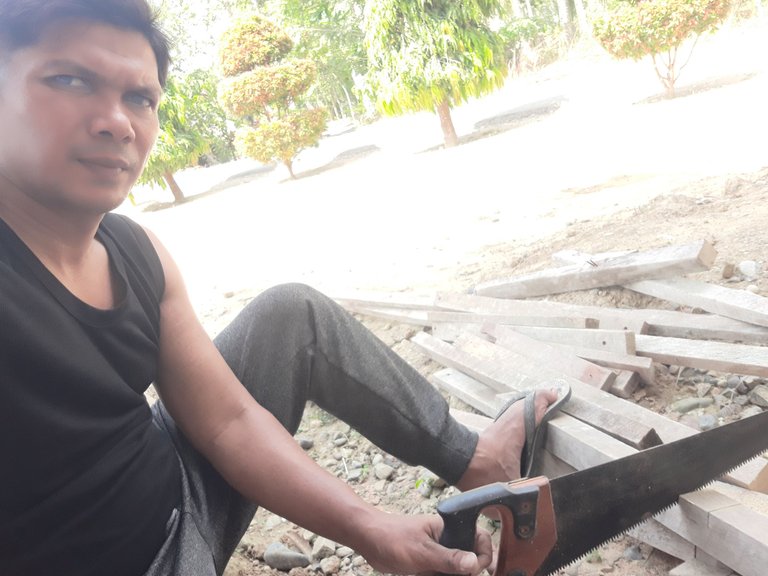
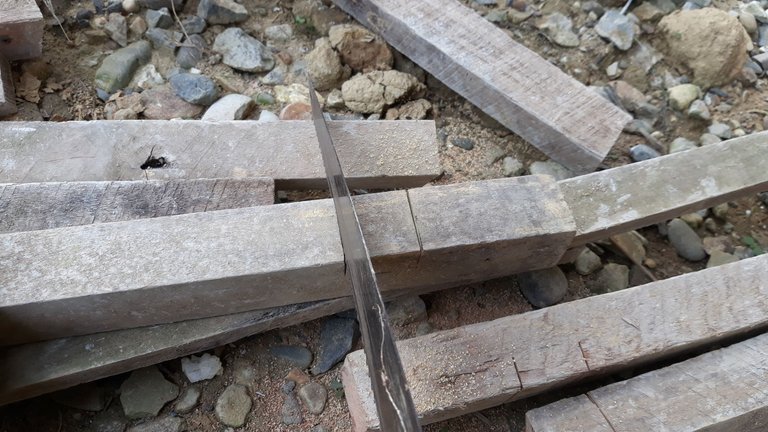
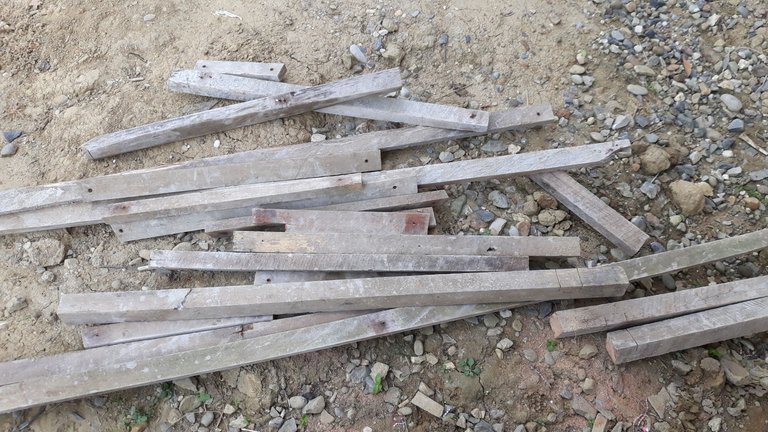
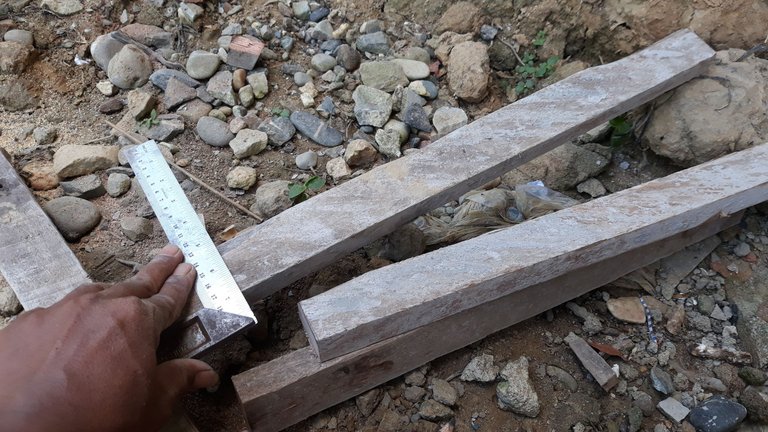
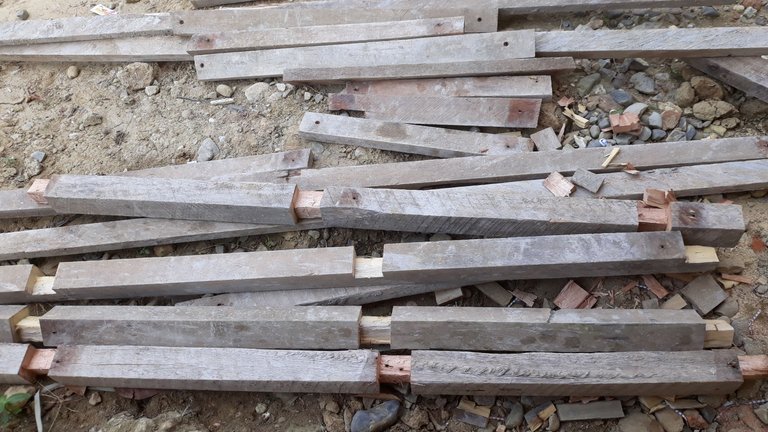
I chose several wooden blocks, the size of which I don't know. I chose straight ones, then I cut them to the size of the cupboard I was going to make.
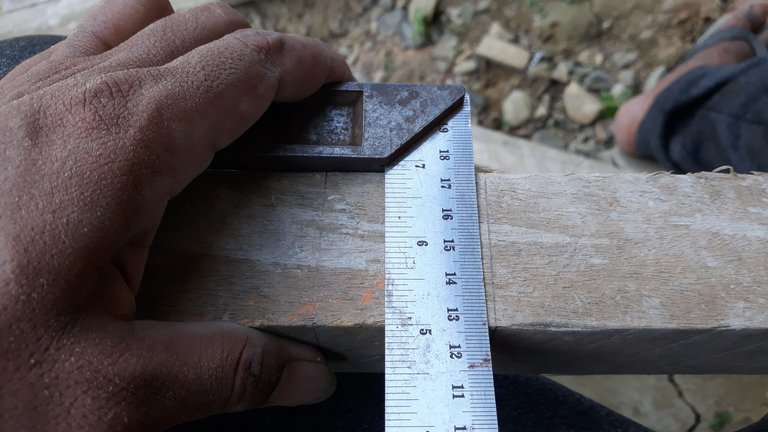
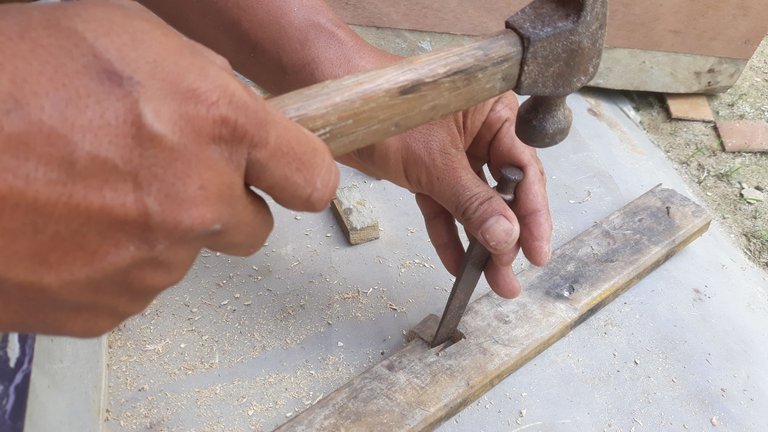
Stage two
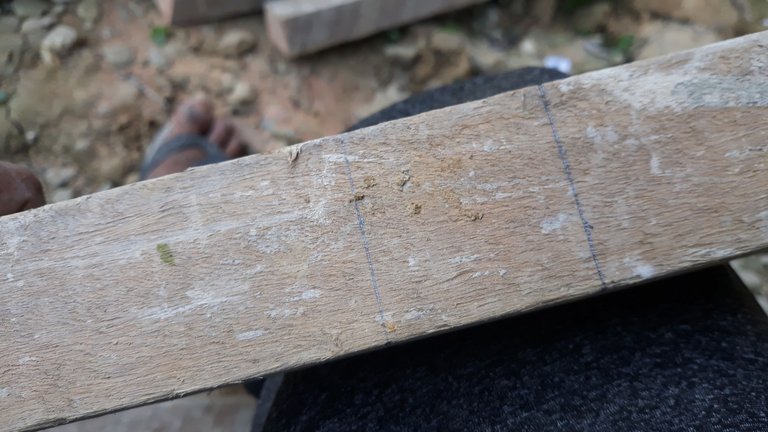
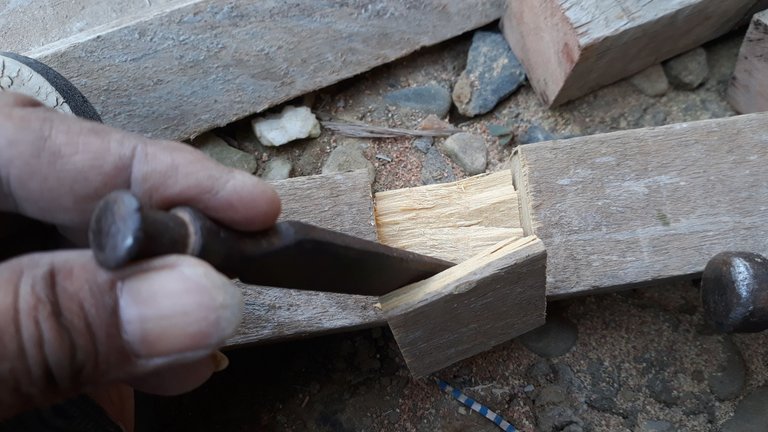
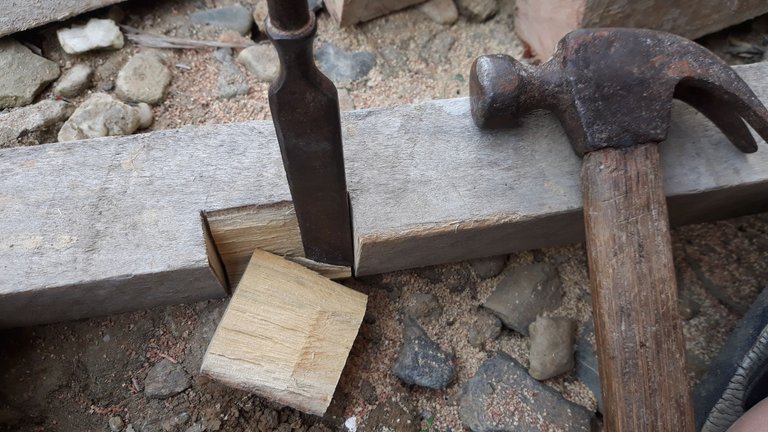
After I cut all the materials, I chiseled the joints to make them look neat.

Perhaps I've finished my first day of work here because I had to go to work, so I postponed making the cabinet. Today, I only finished preparing the materials.
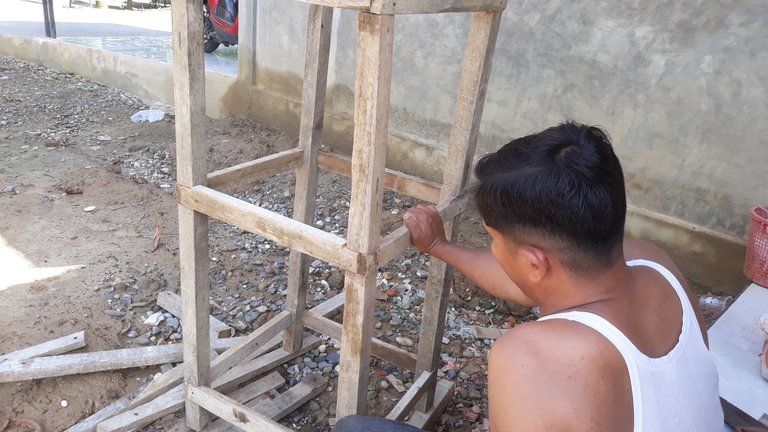
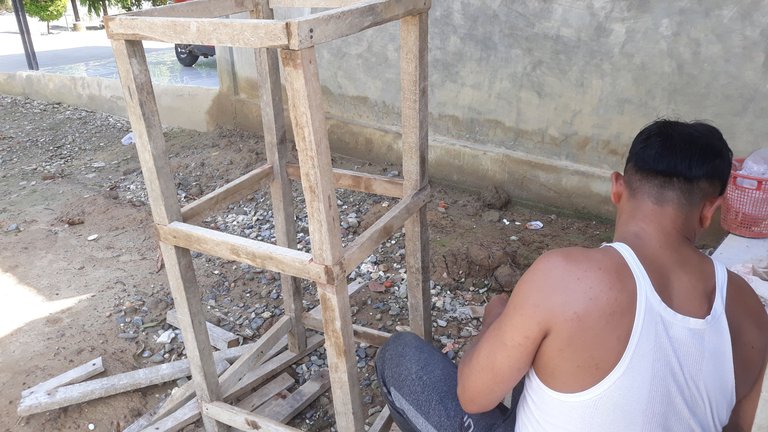
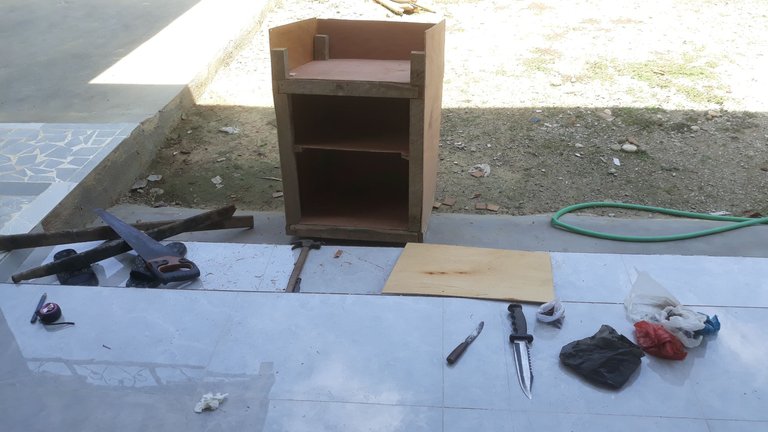
Stage three
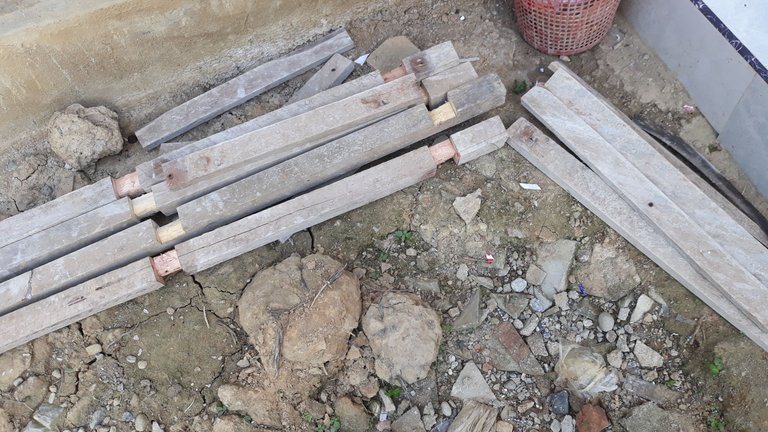
I continued this stage on a different day after a few days off. In this stage, I assembled the frame, joining all the sides together, so it looked like a two-door cabinet frame.
Then my wife said the size of this cabinet was too long because they only needed a small cabinet.
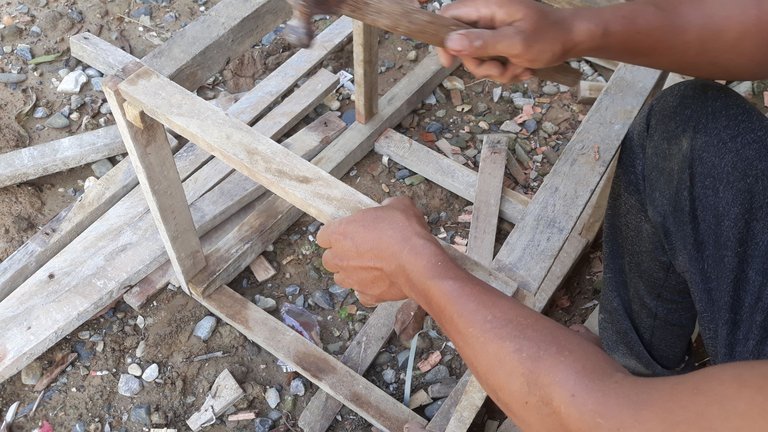
Stage four
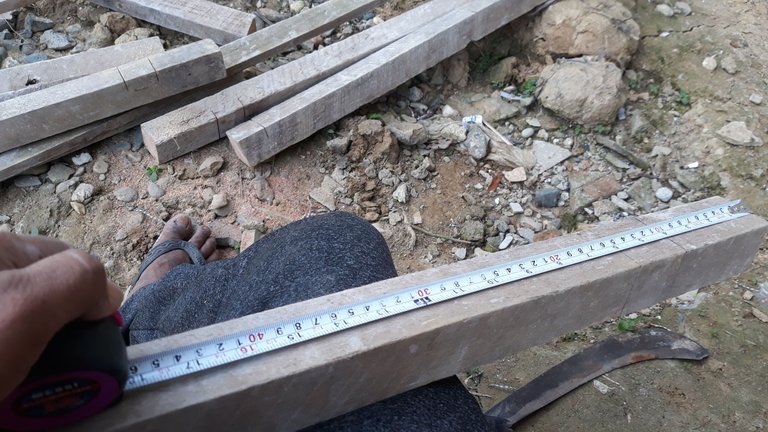
Because it was too long, I cut it in half, leaving only 50 cm.
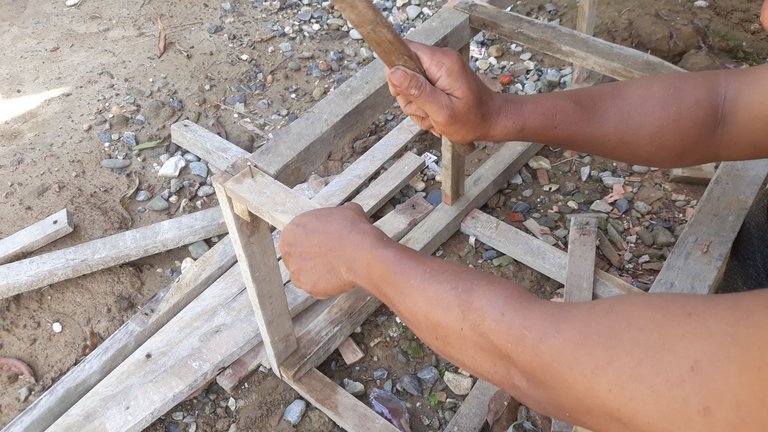
Today, I finished assembling the frame, but I couldn't continue because I had other things to do. I'll continue another day when I have time.
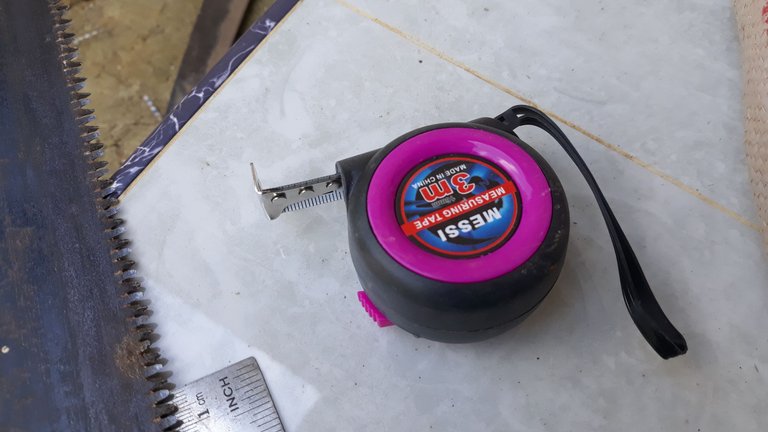
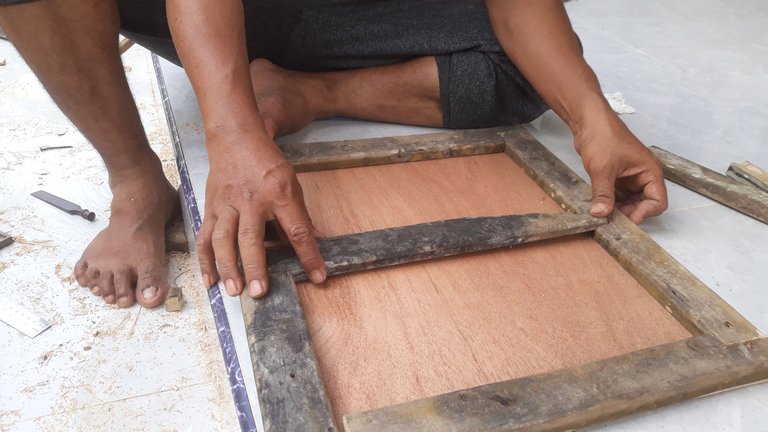
Stage five
In this stage, I made the walls. The material I used was plywood as usual before cutting. I measured the plywood first.
Step Six
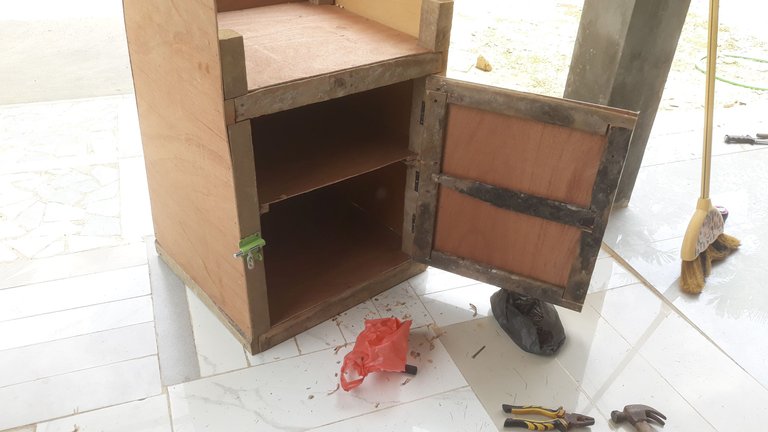
In this step, I made the cabinet door.
Step Seven
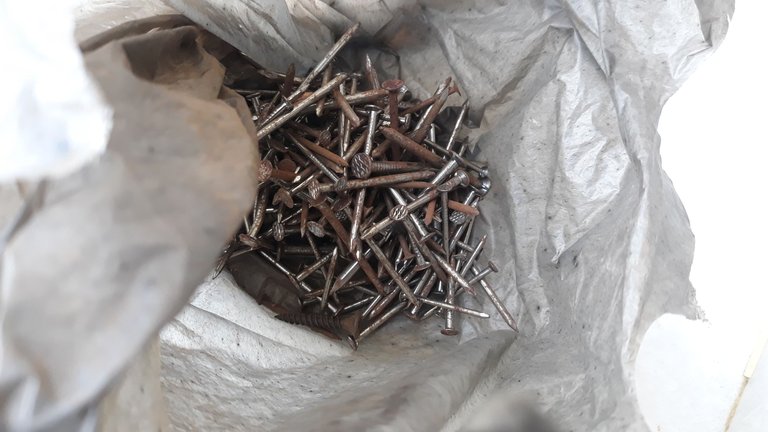
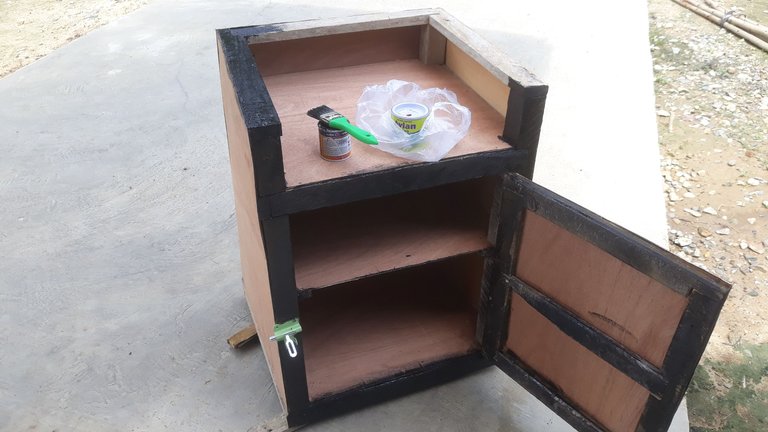
In this step, I attached the door using hinges. I also attached the lock holder.
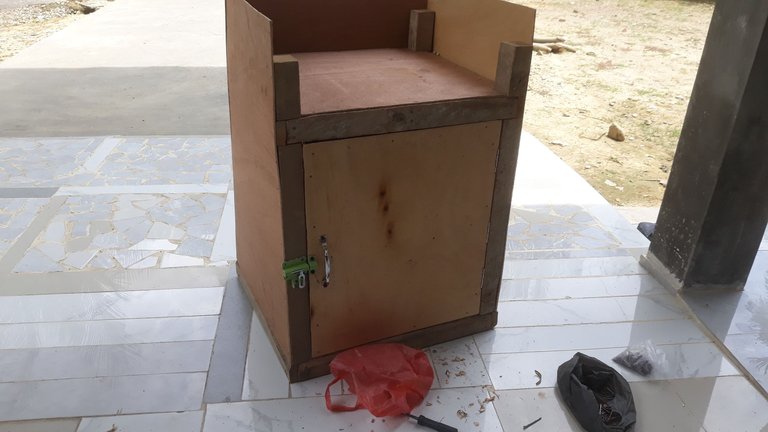
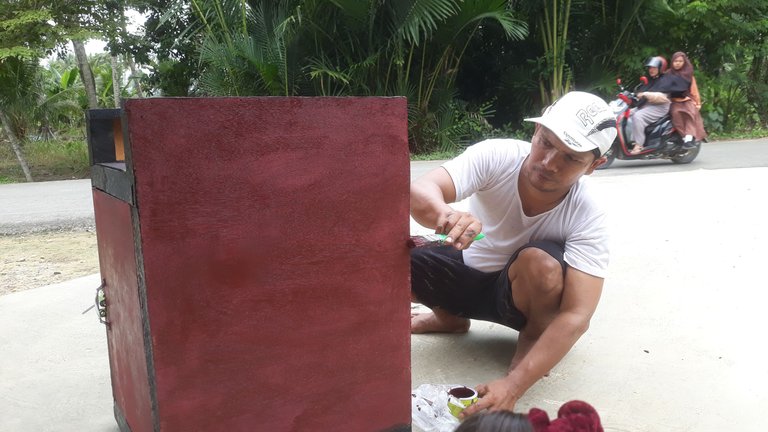
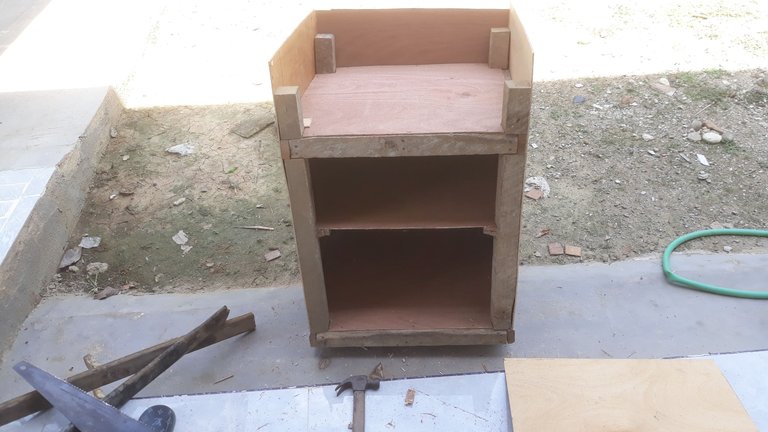
Now the cabinet is finished, but it still needs to be painted to make it look nice. I'll do that the next day.
Step Eight
This is the finishing stage. I just need to paint it.
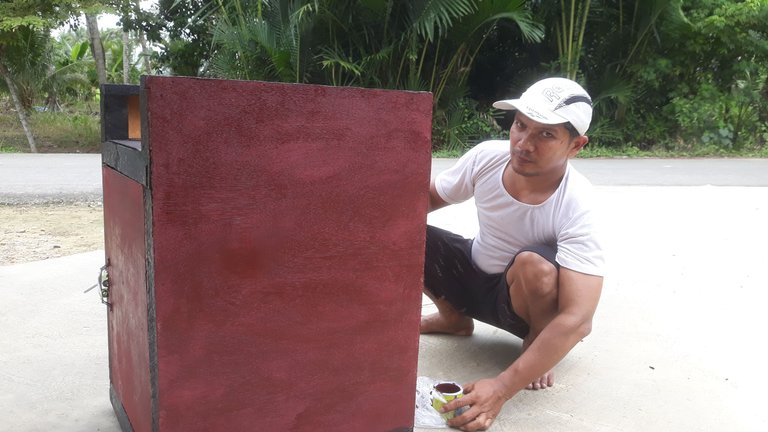
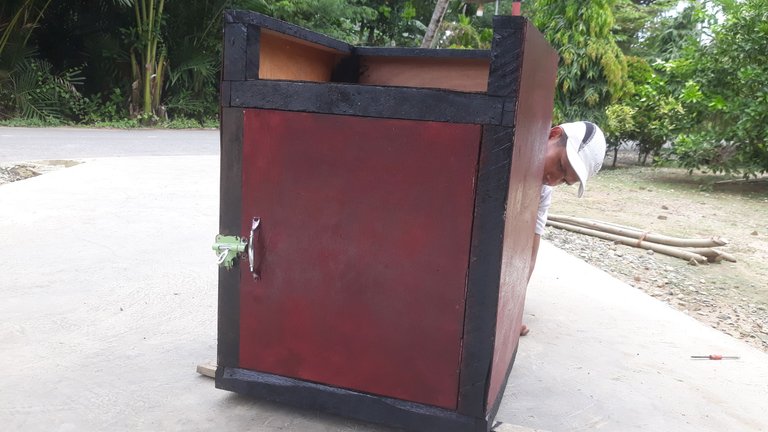
Perhaps I worked on this piece of creativity for too long. This is all because I'm a super busy person, so I have to be smart about managing my time. After painting, I need to hang it out to dry in the sun, after which I'll deliver it to the Islamic boarding school.
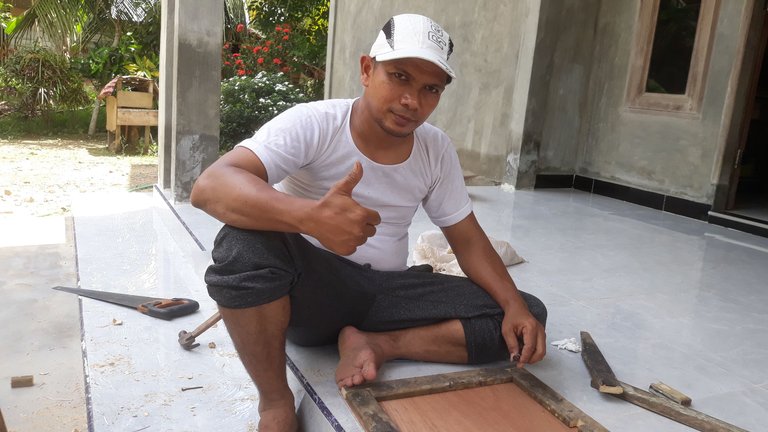
Thank you for watching my creativity until the end. I hope you like it.
See how detailed the whole procedure is, it really shows how good at it you are.
This is incredible you are really good with handy work
Kudos man
I'm not an expert, but I like to make my own at home with simple tools, it took me a long time to finish this job
I can see it's not easy feat good one
Nice one
👌