Creative-sunday: making traditional mats (bleut)
HELLO CREATIVE FRIENDS
How are you all
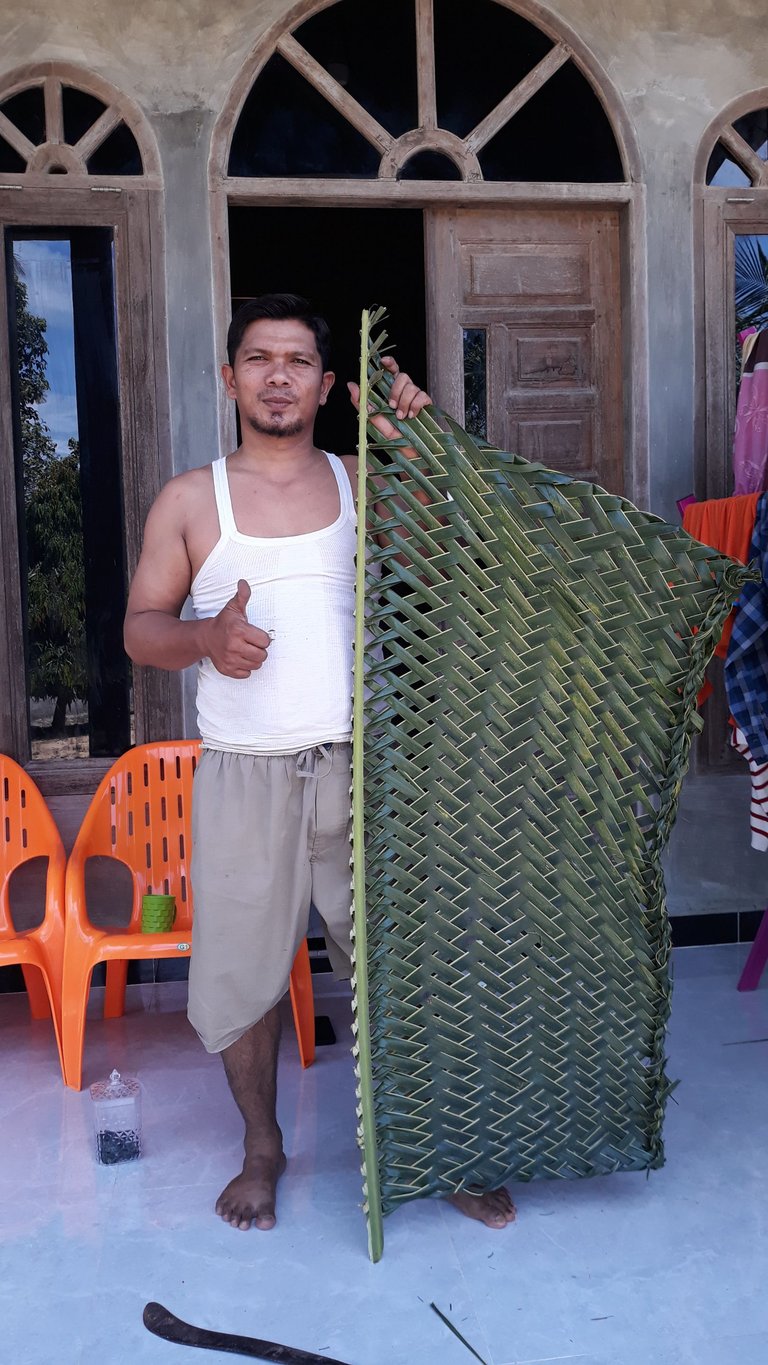
Today I will make a creativity in the form of a traditional mat from coconut leaves, this mat has a name in our area bleut this mat is very popular in rural areas, when I was little we often camped in the forest and also on rice field embankments so this mat is the right solution as a base for us to sit and also lie down, this mat is also often used as a base when drying food ingredients
Nowadays, traditional mats have been widely forgotten, even today's children no longer know about this mat, inspired by when I watched content from YouTube, I want to introduce more about this bleut so that it can be inherited to the next generation, not wanting to go back to ancient times but remembering all the history and also traditional tools are necessary, okay now I will invite you all to enjoy every process of making this mat
Materials needed to make bleut:
- machete
- coconut leaves

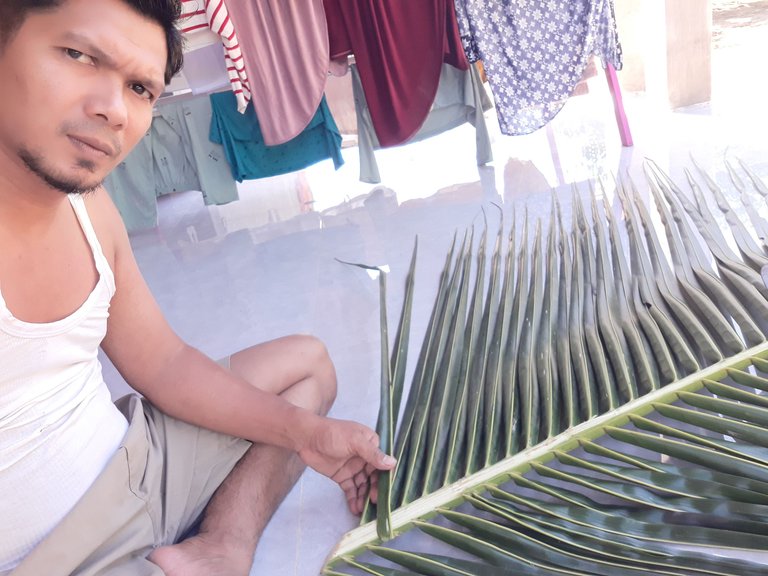
Moreover I used to look for coconut leaves, coincidentally behind my house there was a coconut that was still short so it was very easy to cut the leaves, now we will enter the stage of how to make it
stage 1
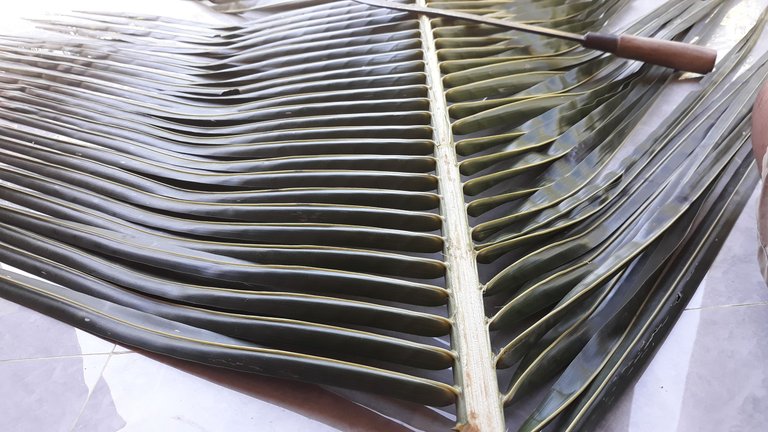
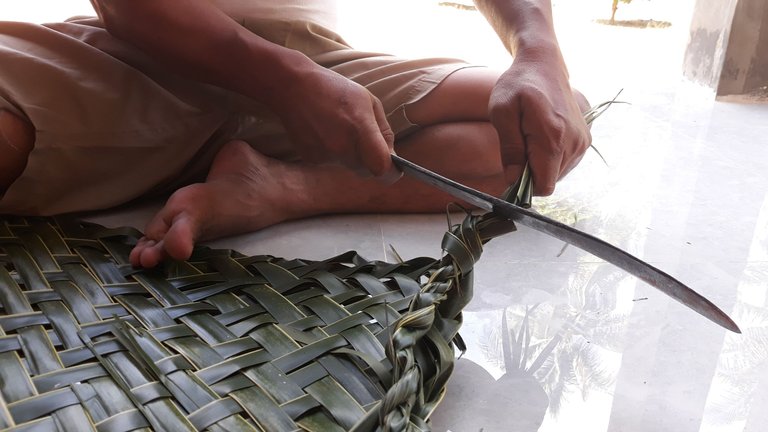
First of all we have to remove the upper part of the leaf stalk by cutting and also cutting the base and tip of the leaf

stage 2
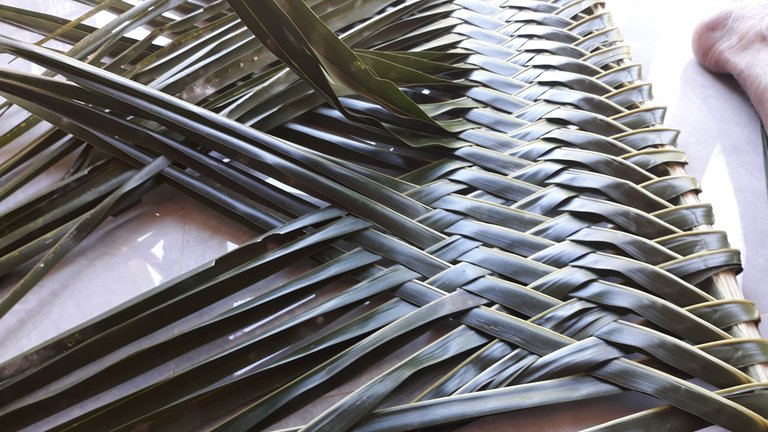
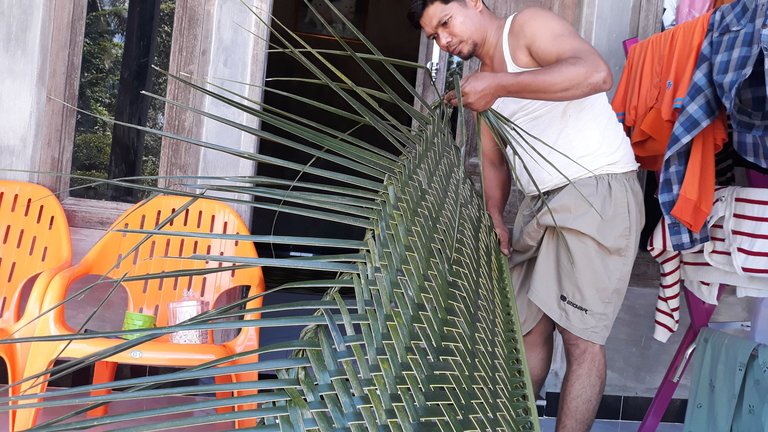
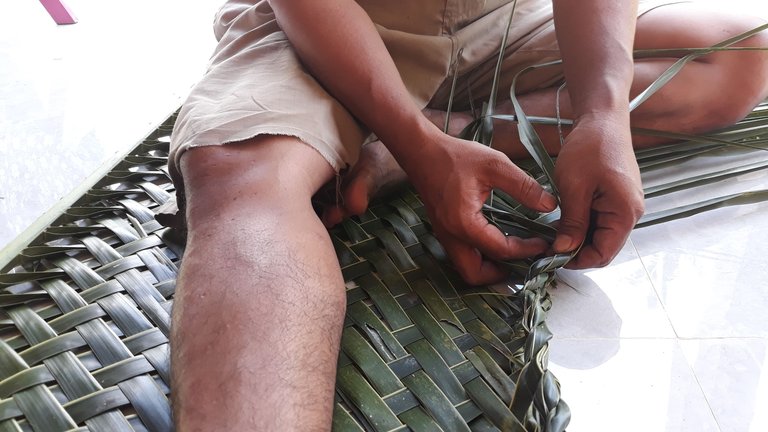
At this stage we will start weaving it, we must first determine the beginning of the weaving by bending the leaf next to it and pulling it to the other side
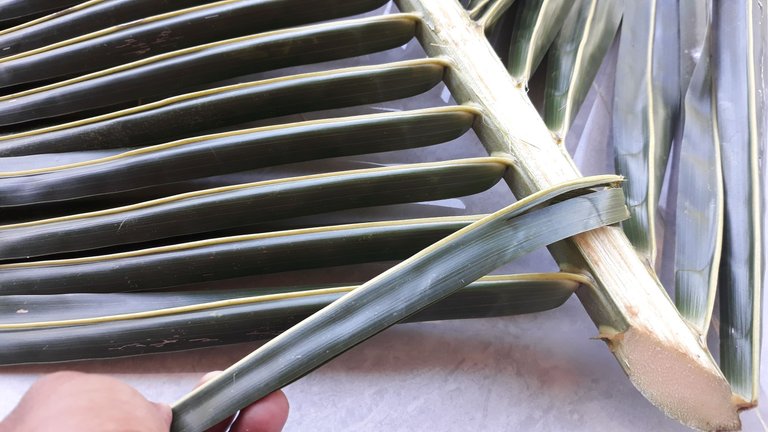

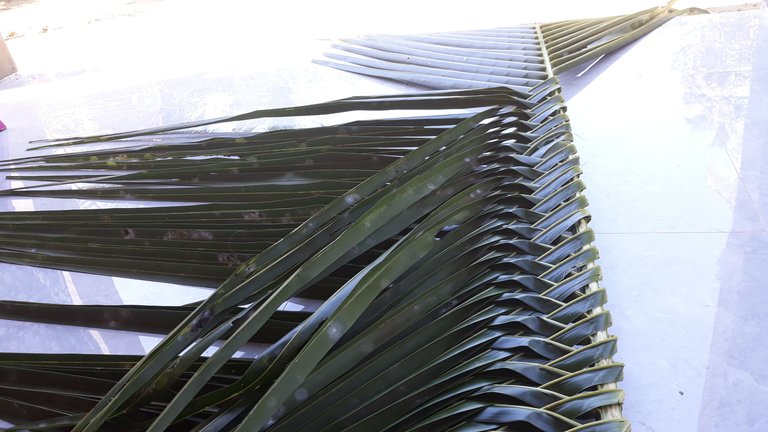
I continued weaving it to the end, the weaving technique was made one to two so that it looked neat and beautiful
stage 3
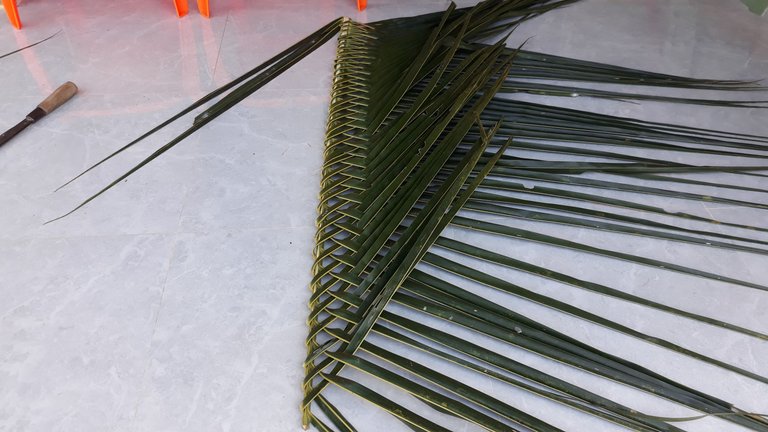
After completing the first weaving to the end then we start again from the base and weave it like at the beginning
stage 4
After completing the second row of weaving now we start again as before at the base and make the third row of weaving the weaving technique is still the same
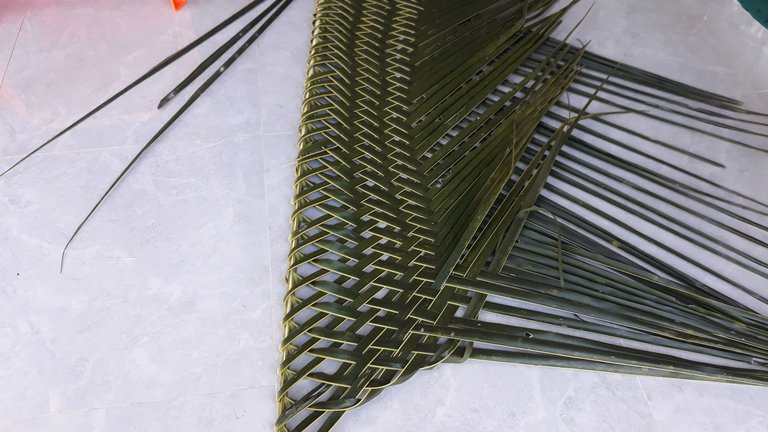
stage 5
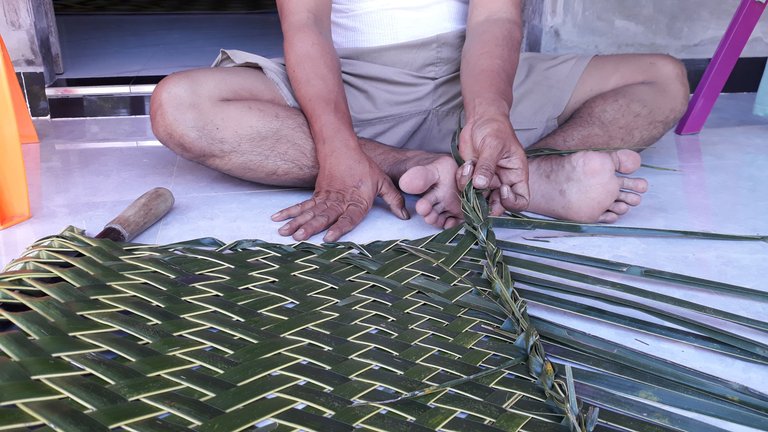
Now we start again from the base to weave so on until the seven rows of weaving, at this stage we can adjust the ends and bases so that they are not sharp


stage 6
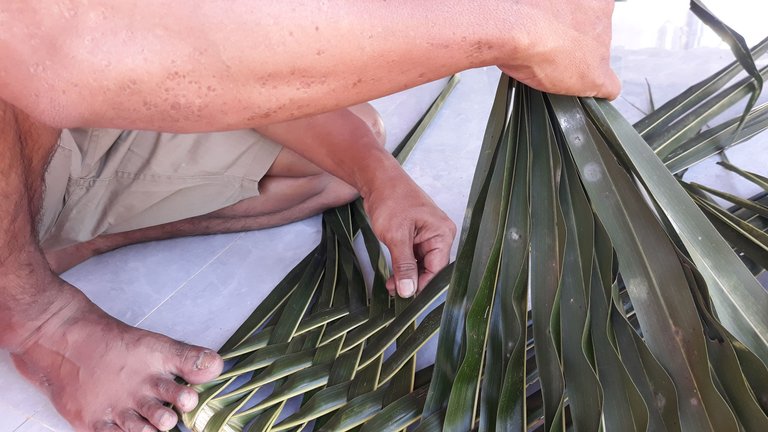
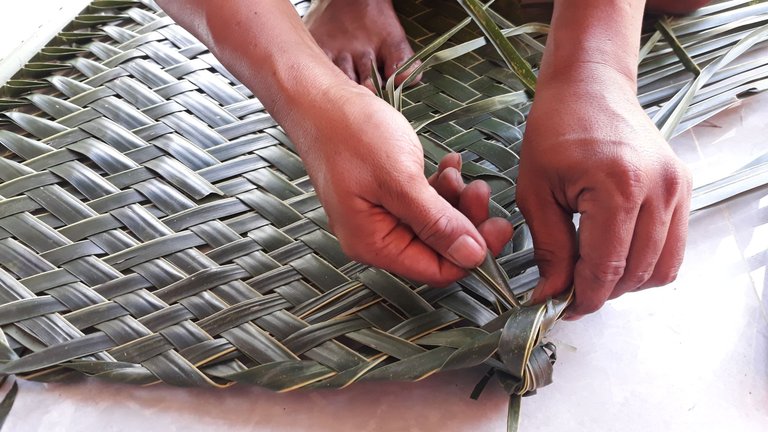
At this stage we can connect the damaged and short coconut leaves with other coconut leaves by inserting other coconut leaves into the gaps between the damaged coconut leaves as in the example below
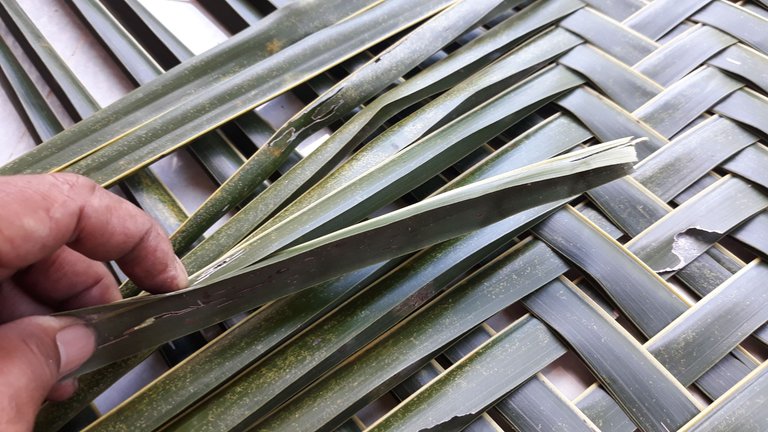

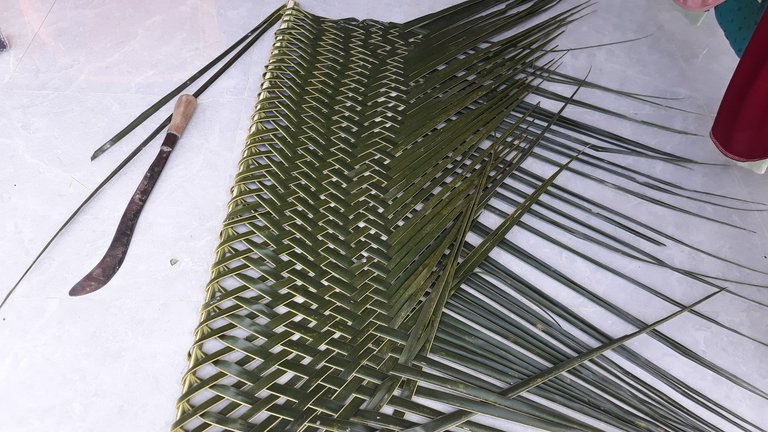
After finishing connecting we continue weaving until finished
stage 7
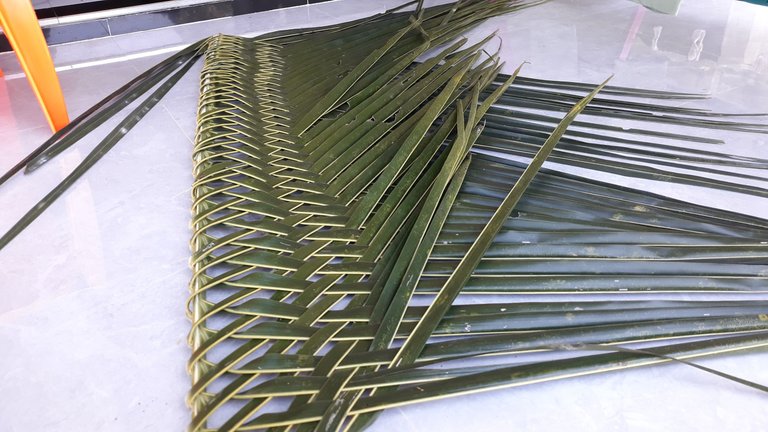
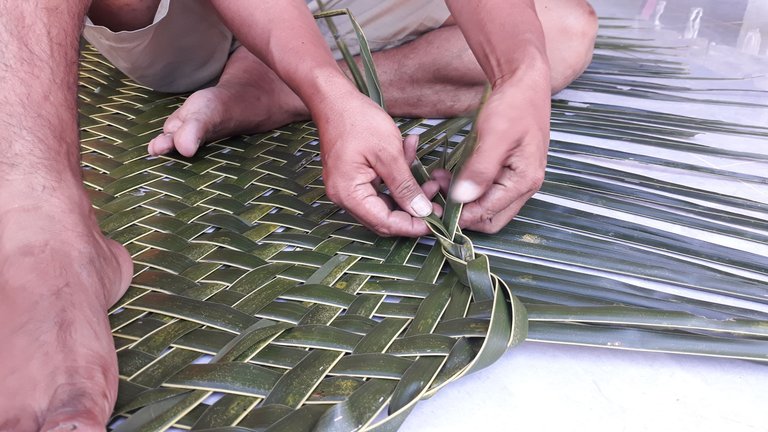
After finishing weaving all of them then we need to tidy up the scattered ends we will make into neat knots, we start from the inside by rotating the remaining ends of the leaves and rolling them slowly, see the picture below

step 8
After reaching the end, then we continue to the outside, we will do the same rotation while rolling it

step 9
This is the last stage at the end after we rotate all the remaining ends of the leaves, then we tie them with a knot so that they don't come loose, then we cut and tidy them up
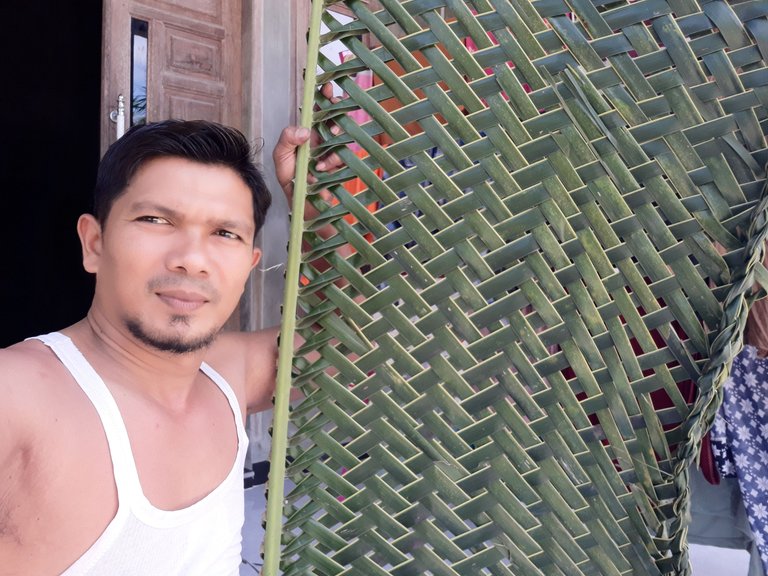
Okay, now we have finished making a traditional mat from coconut leaves with another name in our area, bleut

benefits and uses of this mat
This mat has many benefits for villagers, as I said earlier, this mat can be a base for lying down, sitting, relaxing and drying food
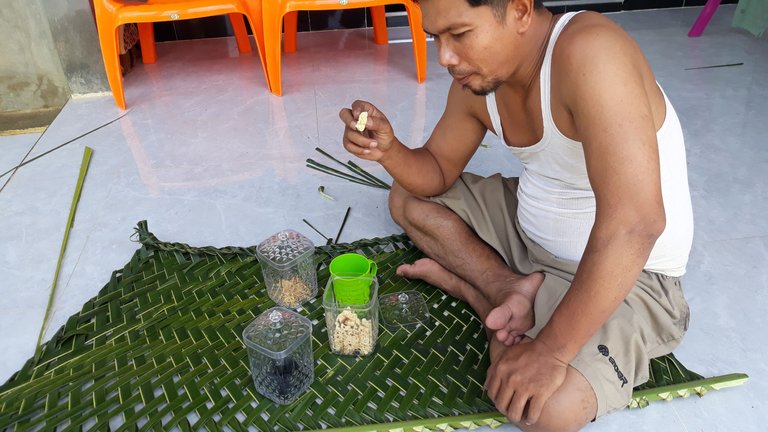
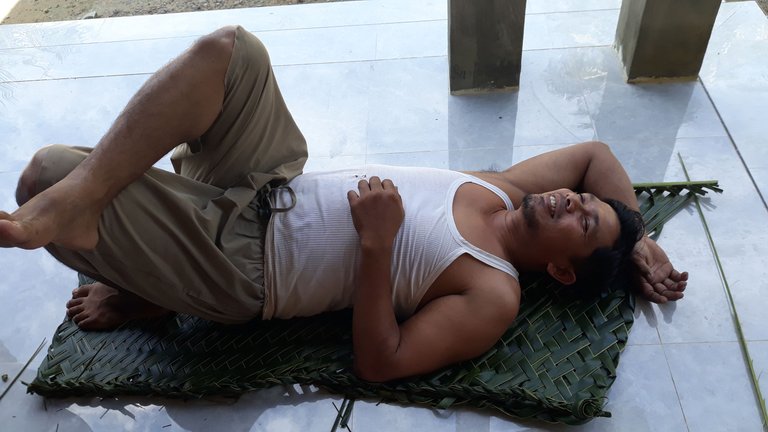
I can relax on this mat, I can sit, sleep and serve food, if I'm outdoors or doing activities in forest and also the coast we can use this mat as a base, I think with my post this can help you find a solution when you need a mat in nature, thank you for reading my post, I hope you enjoy it, are entertained and also provide benefits when we are in nature
Sunday, June 8, 2025
greetings
@yuliadi
Wow, this is quite creative. I have seen these mats before but never tried it, doesn't it itch because I know that plant itches.
I would love to give this a try when the opportunity comes.. thanks for sharing mate.
This mat is not itchy at all, I'm glad to hear that, I hope you have success with your experiment.
It is beautiful and lovely. It looks great. Good to see step by step guide about how you made this. Love it. Thanks!
selected by @rezoanulvibes
Thank you somuch sir