Making A Mini Wallet
Hello everyone ✨
After going through the prompts for this week, I immediately knew which one I was going to be responding to. Recently, I started making short videos of my crochet projects and it has been a really amazing journey. There’s no doubt that making videos of a project actually doubles the amount of time one spends on a project but in the end, it’s for the love of it.
Uploading videos through 3speak using the app hasn’t been easier. The process is fast and really smooth. If you haven’t tried it out, you definitely should.
The niche I picked for today is #needlework. I would be sharing with you the process involved in making a crochet wallet. Before going into the process proper, I must say that wallets are life savers. They come in very handy; especially for people who walk around with cash and tons of cards.
The idea to make this wallet came out of the blues but after the completion of the project, I smiled. I smiled not because I had come to the end of the process but because I knew that I just made something that I would use for a very long time, especially for my cards. Without further ado, let me take you through the process.

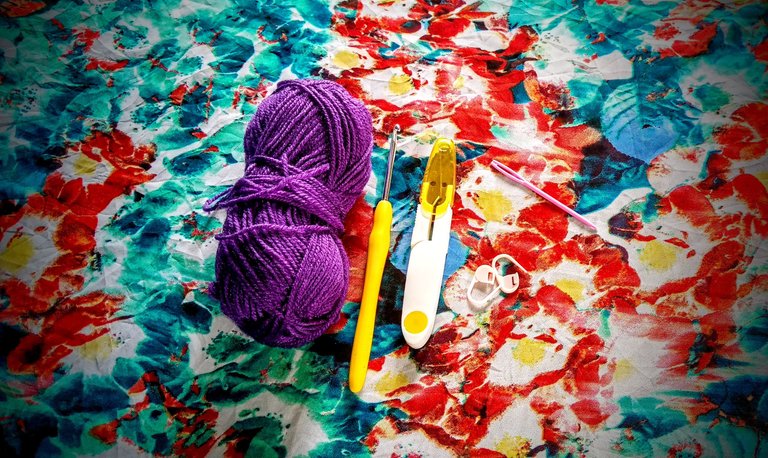
Materials Used
- Yarns
- 3.5mm hook
- A pair of scissors
- Darning needle
- A button
- Stitch markers
Procedure
First of all, I sketched out the plan for my wallet. This part is very vital. After making the sketch I started making the wallet with a picture in mind.
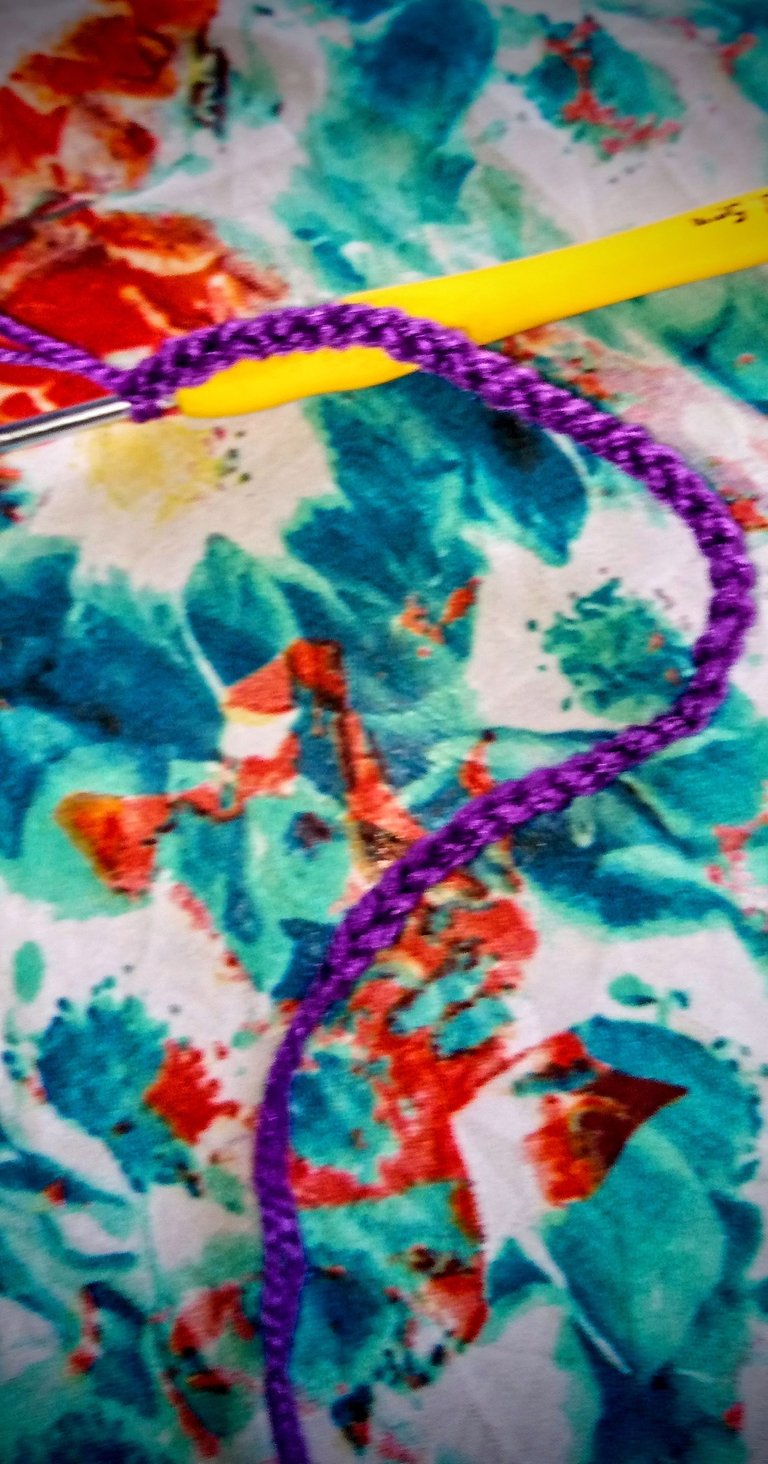
For starters, I made thirty-eight chains. It is best to keep it at an even number as you would be folding the chains along the line.
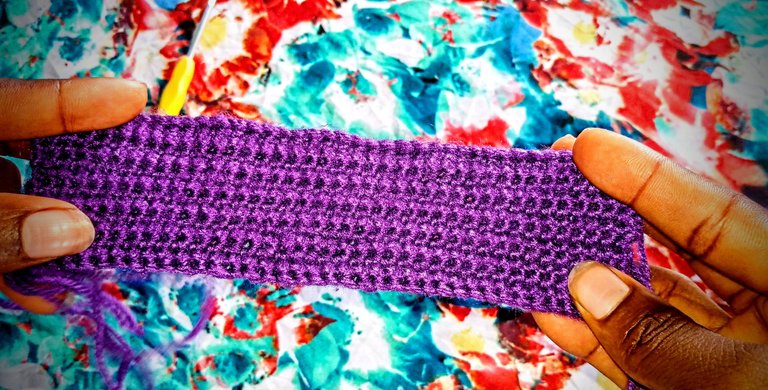
After making thirty-eight chains, I went back into the chains using a single crochet stitch. For the succeeding rows, I kept repeating this pattern till I got to the twelfth row.
After the twelfth row, I counted nineteen stitches and placed a stitch marker. This is because thirty-eight divided by two would give nineteen. From the nineteenth stitch, I kept repeating the initial pattern but only on the nineteen stitches. I did this for a total of twelve rows again.
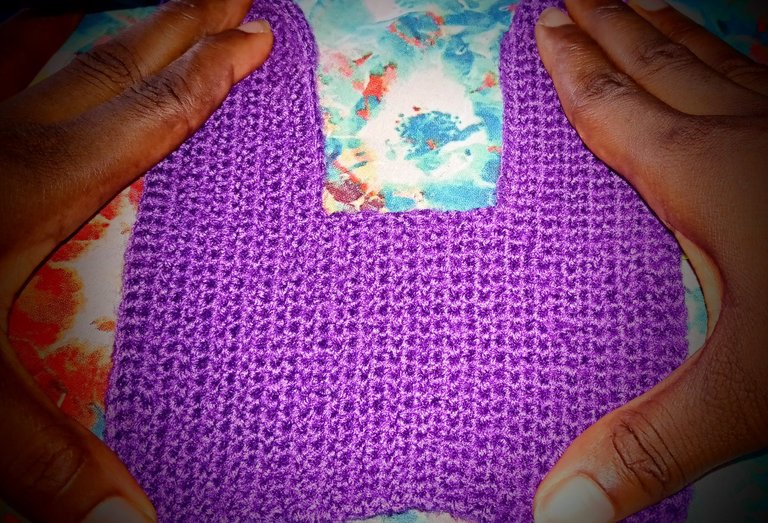
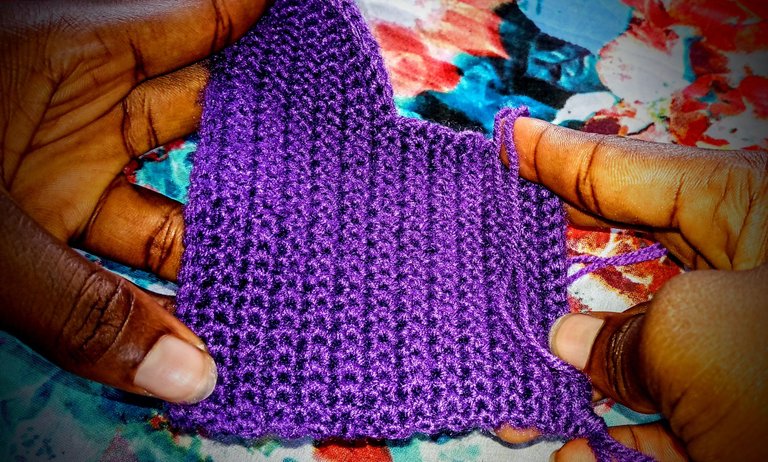
By the end of the twelve half rows and twenty four rows in total, I made an extension of nineteen and made another twelve rows. This is to ensure that the wallet is balanced. So you would get twelve rows of thirty-eight chains, twelve rows of nineteen chains and another twelve rows of thirty-eight chains.
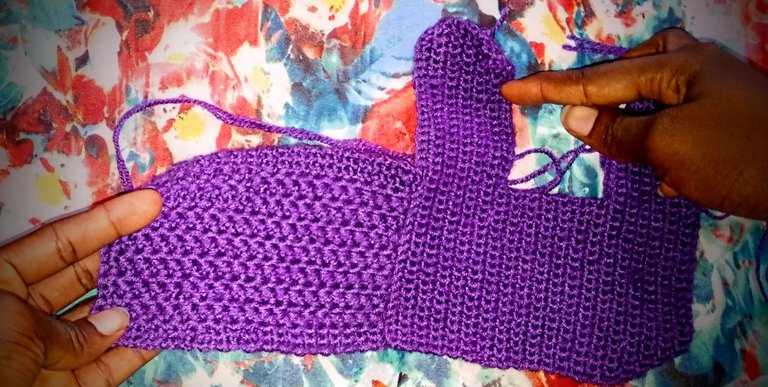
After that, it was time to make the outer covering of the wallet. For this part, I continued from where I stopped. The only difference however, was the stitch. I kept making slip stitches but I alternated between the original holes and the holes underneath. This gave it the leather-like appeal.
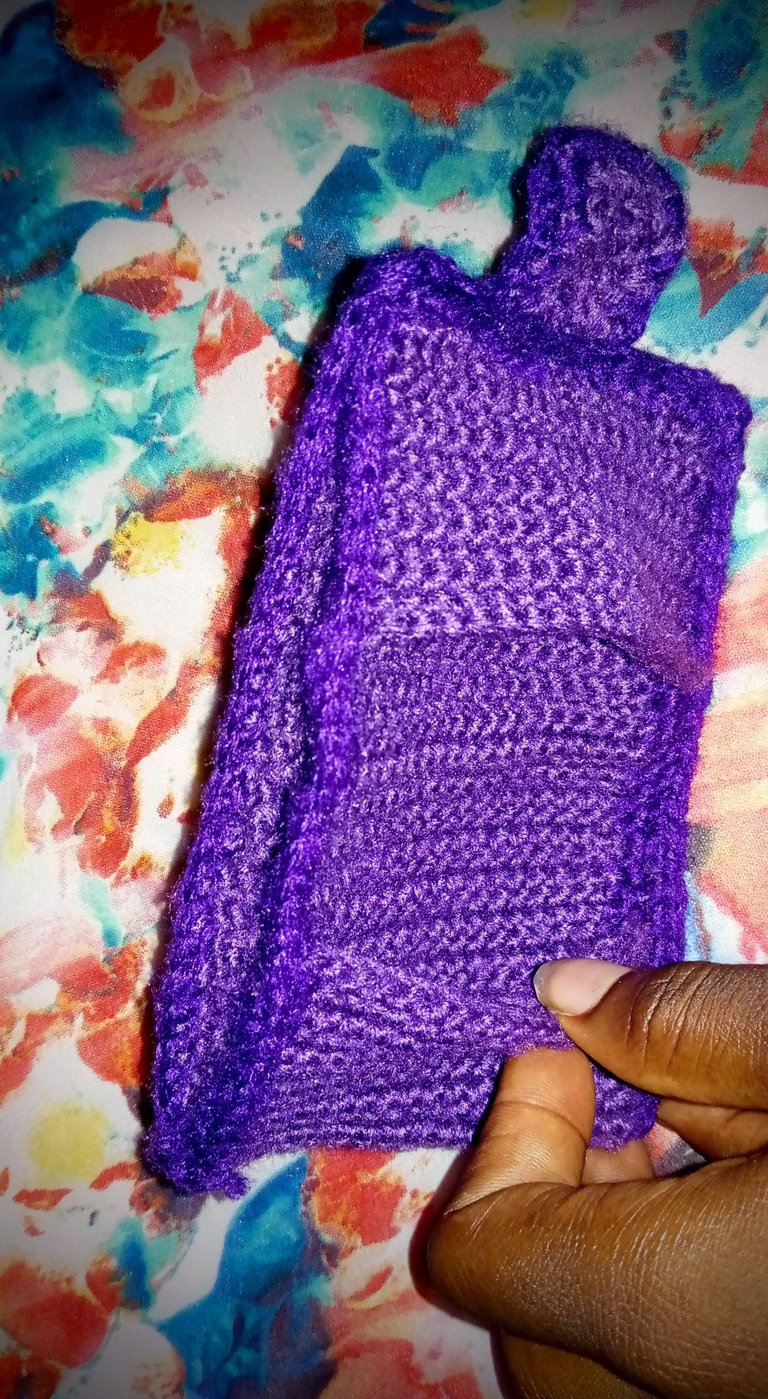
After making an additional thirty-seven rows of alternating single crochet stitches, I made the little extension for the button.
The final part of this project was the coupling phase. I coupled all the sides using a different shade of purple yarn. I just felt that adding a different shade would create a beautiful contrast. I was careful not to join all the openings. I left space for the centre of the wallet.
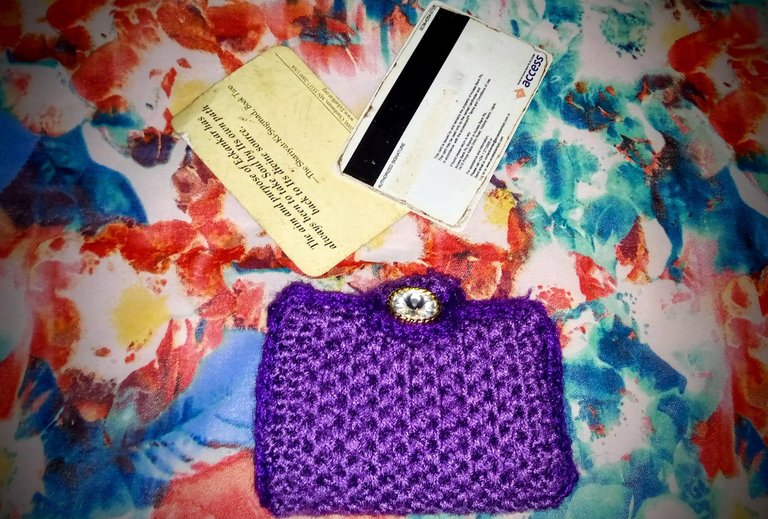
With that, I was done with my project. I added my button and sewed in the loose ends. I would say it took me approximately four hours to make this piece. Those were the longest fours of my life.
Just a little tip: if you ever decide to recreate this, I would advise that you use a small hook and your stitches should be very tight. If the stitches aren’t tight, you wouldn’t get a firm wallet.
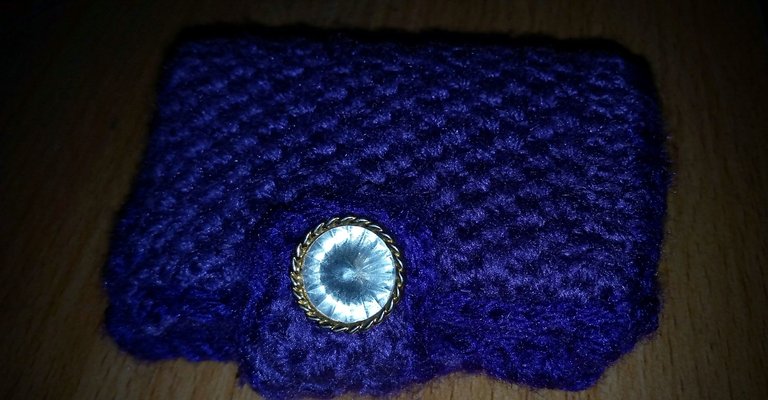
So there you go, a mini crochet wallet that can come in very handy. I really should make this wallet in black colour, what do you think?I would love to hear your views on the project and on the short video too:)
All images used belong to me and were taken with my mobile device except stated otherwise
Love, Wongi ✨
▶️ 3Speak
View or trade
BEER.Hey @wongi, here is a little bit of
BEERfrom @pixresteemer for you. Enjoy it!Learn how to earn FREE BEER each day by staking your
BEER.Niiiice. A black colour version would be perfect. The button is also a fine touch.
Pro tip: the video bit is brilliant 😉
Keep it up.
Thank you so much @diyhub😊. I really appreciate
❤️
Wow,this is a wonderful project you have done.
I would love the black colour of it,because it won't be choosy.
I agree with you. Black would be more universal.
Thank you so much for stopping by 😊