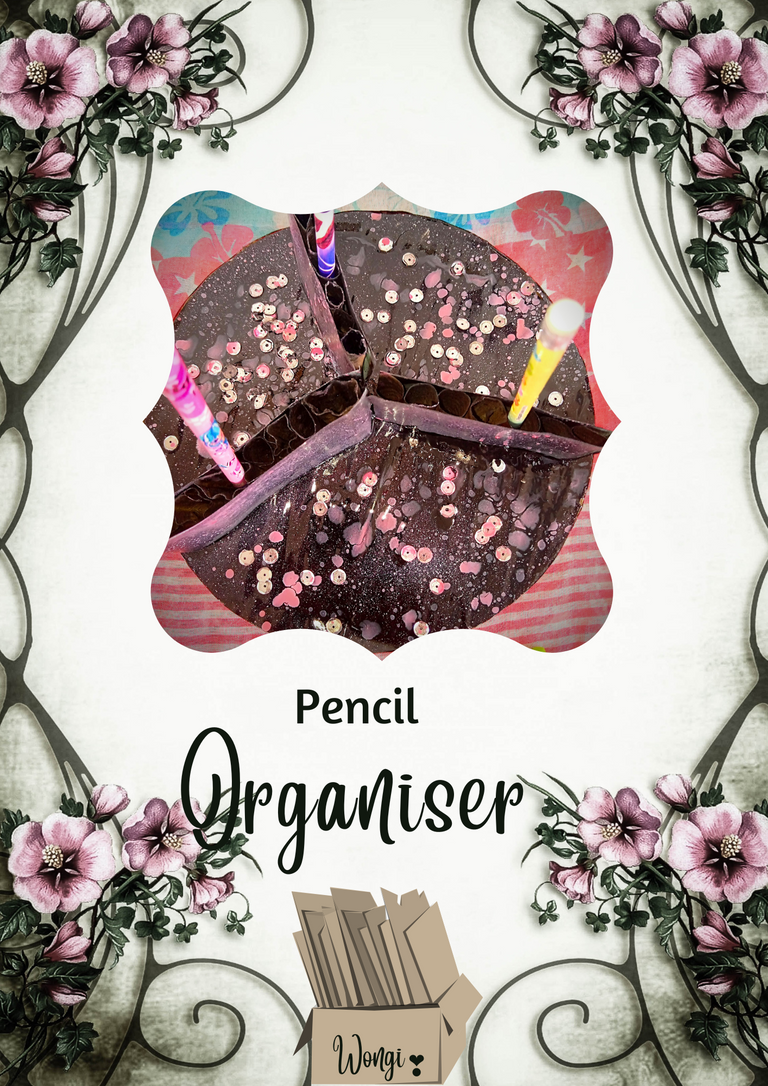
Eng-Esp|| Diy Pencil Organiser.
English
There is a list of things that I want and a pen/pencil organiser was on the top of that list. My reading table always looks somewhat untidy because of the numerous pens and pencils I have laying around. Today being Saturday, I decided to arrange my room. After I put all the stationery into a container, I realised that one way or another, they would get disorganized again and so I thought of making a pencil and pen organiser. What makes this organiser outstanding is the fact that it's made from carton and cardboard; recycling.

Resources used
- Carton
- Cardboard or Calendar
- Cutter
- A pair of scissors
- Glitters
- Any colour of your choice.
- Gum
Procedure
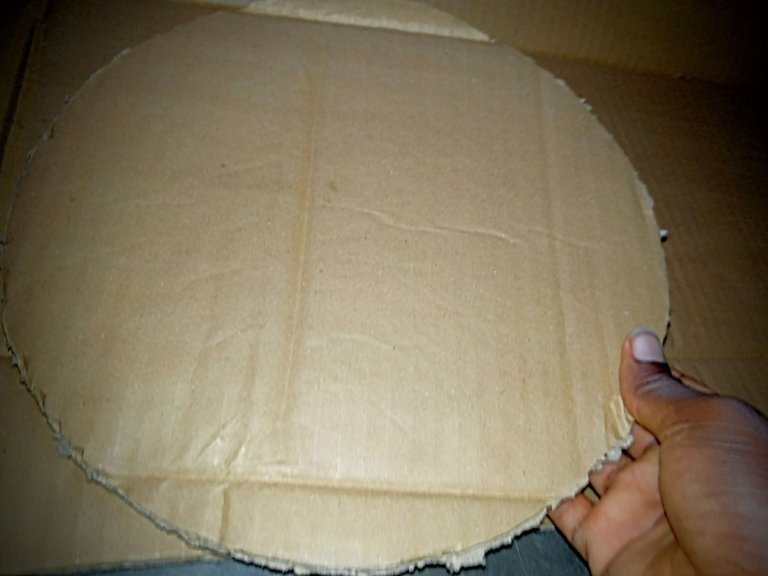
I started by making my base. With a flat plate, I cut a circle out of my carton. Then I went ahead to cover the circle in white calendar. With my base out of the way, I moved on to the dividers.
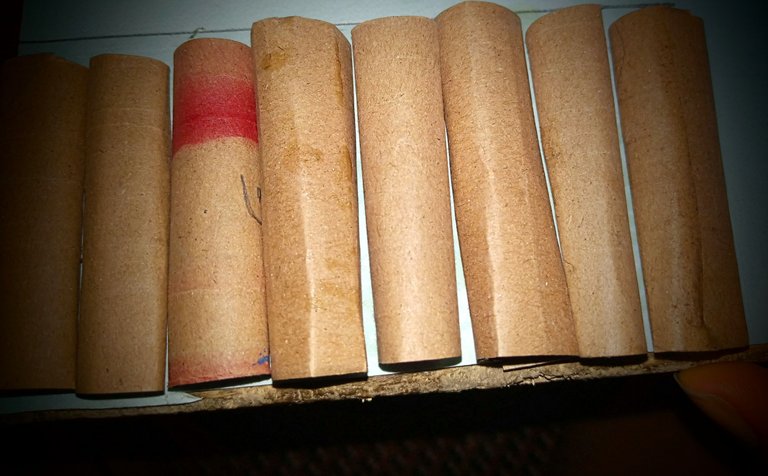
Making the dividers requires precision. I sliced the carton into thin bits then folded the thin bits to form circles. If you ever want to replicate this organiser, be careful so that you don't make very tiny circles. A pen or pencil is supposed to fit properly into the circle, to avoid complications.
After making about 25 small circles, I carefully attached them on the cardboard using my gum. They came out looking really nice.
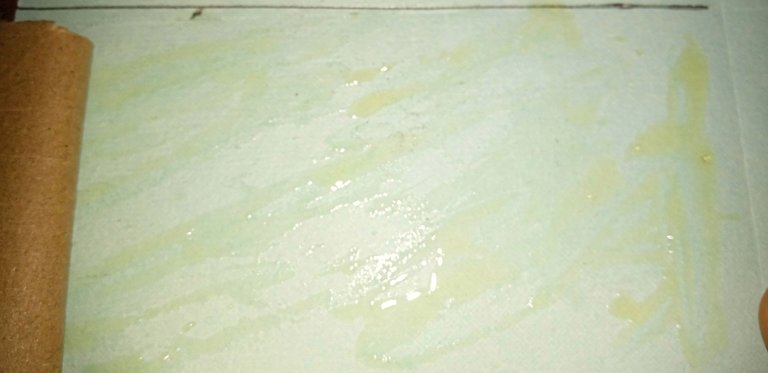
After the above stage, I had pretty much everything to make my organiser and so it was time to couple everything together using the gum. My dividers kept falling off at this point. I'd advise you to use a very sticky gum so as to ensure that your dividers stand firm.
At this point, I was glad. My organiser was ready but the colour wasn't striking. It looked really bland and boring to me. What to do? Add more colours.
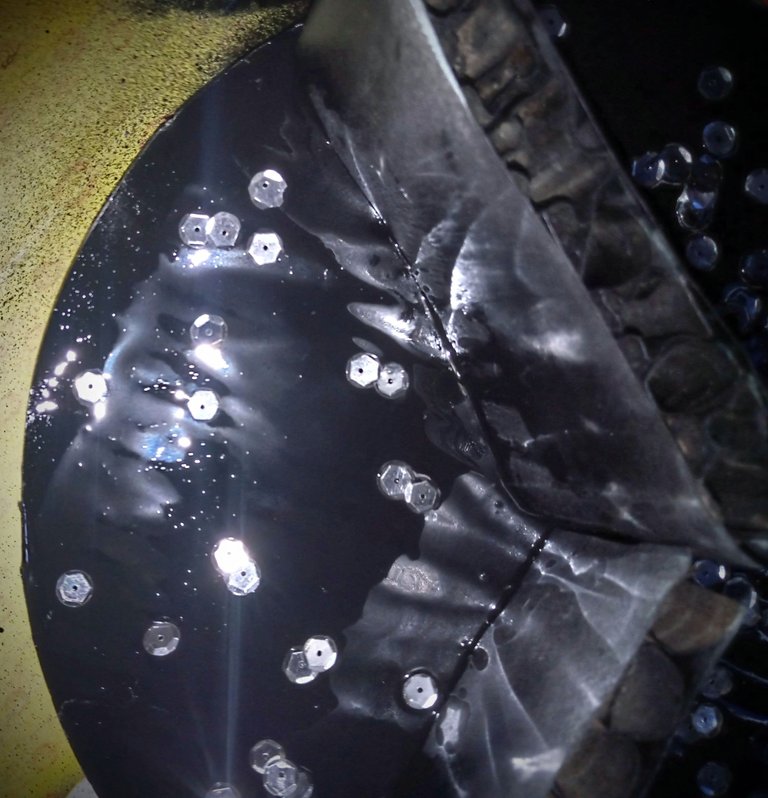
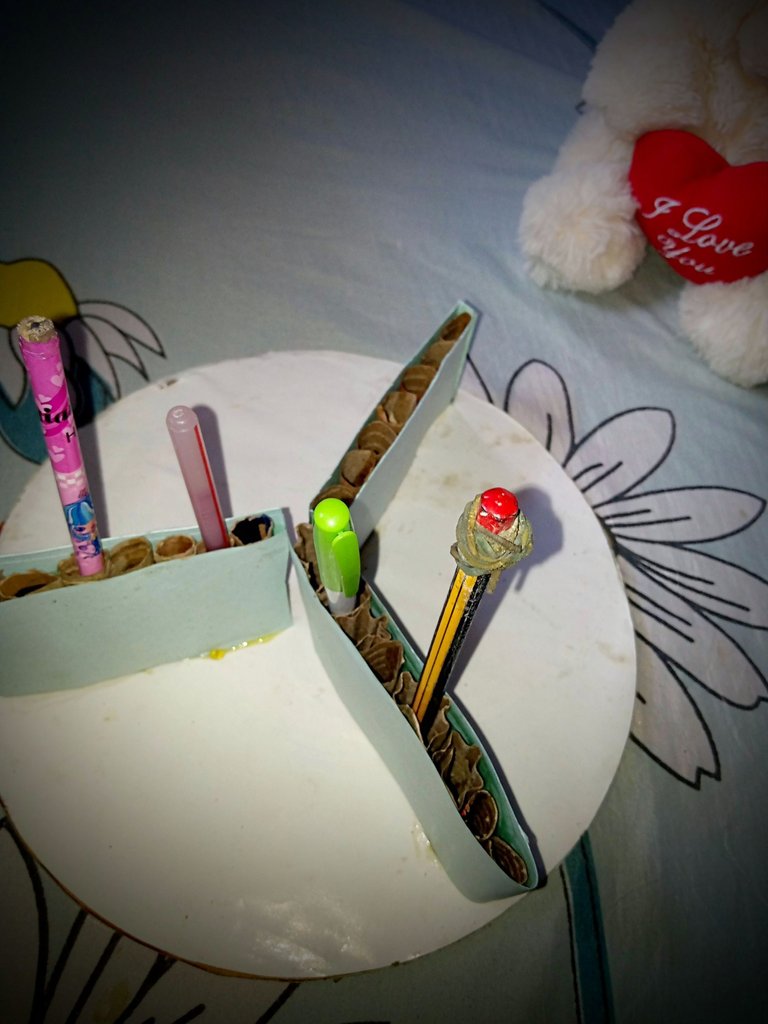
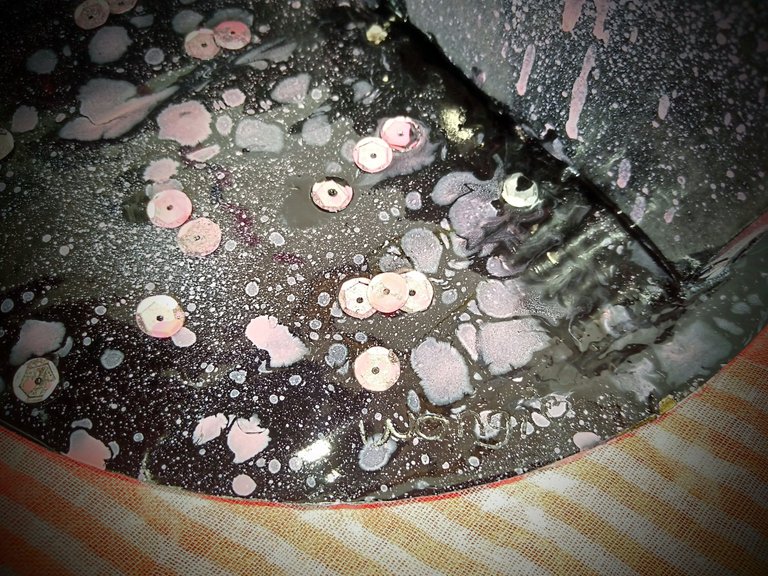
I used a black spray paint to cover the entire organiser. Then, I added some glitter; or like the fashion designers would call it–sequence. The sequence was already glittering and I loved it. To give it a proper finish, I sprinkled pink spray paint all over.
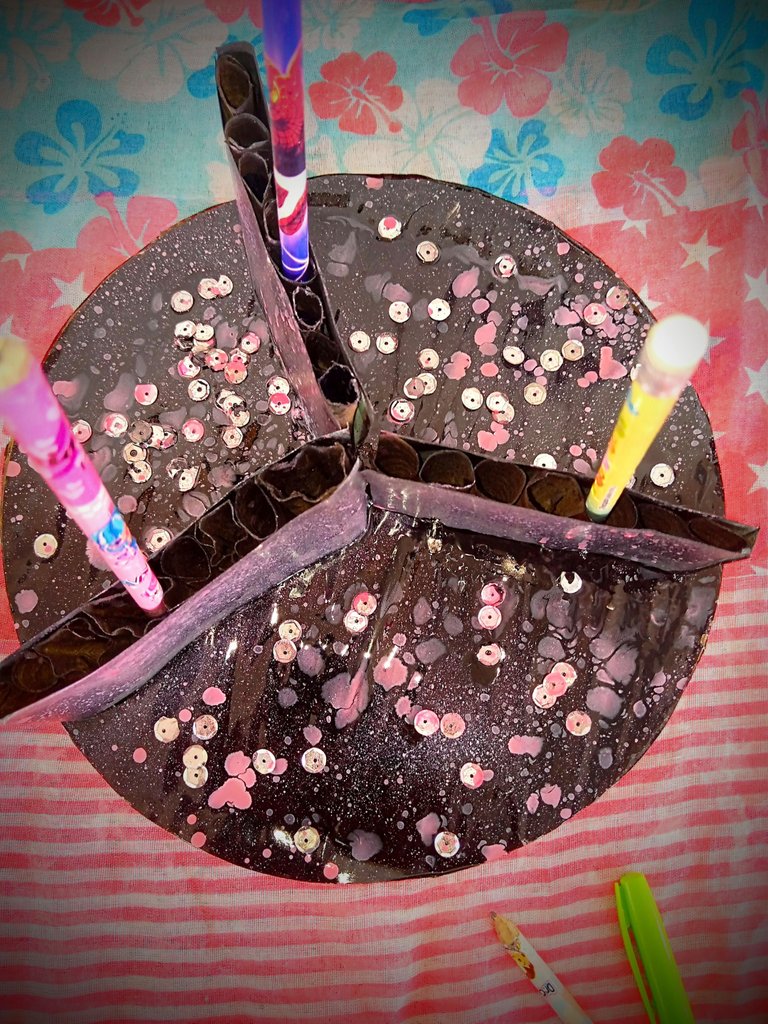
What's the first thing that comes to mind when you see the final look?
For a minute, the organiser looked like a cake. I sent a picture to a friend and the friend confirmed that it looked like a cake. Well, an organiser that looks like a cake is an amazing sight to behold any day and anytime.
One other thing I love about spray paints is the fact that it makes things shine. Spray paints give that extra shine to any object making the object glow.
I really love how this came out in the end. What do you think of the organiser? If you by any chance make an organiser too, I'd totally love to see it.
All images used above belong to me and were taken with my mobile device except stated otherwise. Translated with DeepL
With love, wongi ✨
Español
Hay una lista de cosas que quiero y un organizador de lápices y bolígrafos estaba entre las primeras. Mi mesa de lectura siempre está un poco desordenada por culpa de los numerosos bolígrafos y lápices que tengo por ahí. Como hoy es sábado, he decidido ordenar mi habitación. Después de guardar todos los artículos de papelería en un contenedor, me di cuenta de que, de un modo u otro, volverían a desorganizarse, así que se me ocurrió hacer un organizador de lápices y bolígrafos. Lo que destaca de este organizador es que está hecho de cartón y cartulina; reciclaje.
Recursos utilizados
- Cartón
- Cartón o Calendario
- Cúter
- Unas tijeras
- Purpurina
- Cualquier color de su elección
- Chicle
Procedimiento
Empecé por hacer mi base. Con un plato plano, corté un círculo de mi cartón. Luego pasé a cubrir el círculo con calendario blanco. Con mi base fuera del camino, pasé a los divisores.
Hacer los separadores requiere precisión. Corté el cartón en trozos finos y los doblé para formar círculos. Si alguna vez quieres reproducir este organizador, ten cuidado de no hacer círculos muy pequeños. Se supone que un bolígrafo o un lápiz deben encajar bien en el círculo, para evitar complicaciones.
Después de hacer unos 25 círculos pequeños, los pegué con cuidado sobre la cartulina utilizando mi goma de mascar. Quedaron muy bonitos.
Después de la etapa anterior, tenía casi todo para hacer mi organizador, así que llegó el momento de acoplarlo todo con la goma de mascar. En este punto se me caían los separadores. Te aconsejo que utilices una goma muy pegajosa para que los separadores se mantengan firmes.
Llegados a este punto, me alegré. Mi organizador estaba listo, pero el color no era llamativo. Me parecía muy soso y aburrido. ¿Qué hacer? Añadir más colores.
Utilicé pintura en aerosol negra para cubrir todo el organizador. Después añadí purpurina, o como dirían los diseñadores de moda, una secuencia. La secuencia ya tenía purpurina y me encantó. Para darle un acabado adecuado, esparcí pintura en aerosol rosa por todas partes.
¿Qué es lo primero que te viene a la mente cuando ves el look final?.
Por un momento, el organizador parecía un pastel. Le envié una foto a un amigo y me confirmó que parecía una tarta. Bueno, un organizador que parece una tarta es algo increíble de ver cualquier día y en cualquier momento.
Otra cosa que me encanta de las pinturas en spray es que hacen brillar las cosas. Las pinturas en spray dan ese brillo extra a cualquier objeto haciendo que el objeto brille.
Me encanta el resultado final. ¿Qué te parece el organizador? Si por casualidad haces un organizador también, me encantaría verlo.
Todas las imágenes utilizadas arriba me pertenecen y fueron tomadas con mi dispositivo móvil salvo que se indique lo contrario.Traducido con DeepL
Con amor, wongi ✨
looks a bit huge though. I reckon you have a lot of pencils to store.
Nice creation.
I actually have a lot of pencils laying around.
Thanks for stopping by ✨
I'm coming to steal this one tomorrow tho. I bought lots of pens while writing exams last semester and this would be nice to store all of them. I've lost up to four already and I don't want to lose more. Imagine buying two pens on every exam day because you don't want to be embarrassed in the hall and then forgetting the pens at home the next day😭😂
Carrying two pens to exams hall is very important but forgetting them 😂😂.
You need an organiser too.
I'll send you a message on watsapp
🤸🤸
Such an amazing craft. Very creative and beautiful. Tomorrow I'll make this for my practical exam
Thanks @wongi .
You have an art practical exams today?
Thank you for your kind words ✨
not actually art! having some practical in the lab that relate to drawing and recording measured values.
You're welcome.
I'm guessing you're in the science world.
yeah..😃😃
https://leofinance.io/threads/seunruth/re-leothreads-9iahymeo
The rewards earned on this comment will go directly to the people ( seunruth ) sharing the post on LeoThreads,LikeTu,dBuzz.
That's quite a unique and pretty pencil organiser. It looks like it can fit up to 24 pencils and it does look like a cake😊. Nice!
It definitely can fit a lot of pencils. I realized that it could fit a scissors too. I guess it would turn multipurpose 😅
Oh cool!⭐
Que trabajo mas brutal! felicidades!
Muchas gracias ✨
hola buena idea la manera de presentar tu post. De verdad por un momento parecia una torta😁😆
Oh querido, tu también viste un pastel a primera vista😅
Muchas gracias por pasarte por ☺️✨
Wooooongiii🤭🤭, you're getting really good at this. I better come sign up for some serious lessons.
This is really beautiful.
😂😂😂
Your comment just made my morning hazzi☺️. Thank you so much. Ah, yes, you can sign up for classes 😅
That's a very pretty pencil organizer. It's very creative and I love the colors.
Oh hun. Thank you so much. I'm glad you liked it.
You're welcome 🤗
Oh my. This is beautiful and it calls my name. It will be bad if I don't answer and take it from your clutch. That will be much more preferable😁.
😂😂😂
I should warebill it for you🌜
I know you are a good person so do it🥺
Send me your location 🌜
You gave me half sun, why?😓
so sorry , see the other half here 🌛
A chocolate cake😄🤣
How you always come about all these makes me to wonder if actually my brain is working at all....how come it hasn't thought of anything? Lol.
That's a good work Wongi!
But keep it safe from reach of 'challenging' children when they visit 😄
Well, I don't have children around my room so I'm safe.
Thanks for popping in ✨
Okay,
I mean if your children visit 😎
So from minimised image I though it will be something to eat :D I actually agree with @kingsleyy, definately looks like a cake, birthday cake with candles🤣
Recycling at its finest, very nice!
😂😂
For a moment, after I added the peach colour, I thought it was a cake too.
Thank you so much ✨
I wish I knew art, great work
#dreemport
Thank you for coming around and appreciating.
Everyone knows a bit of art🌜
This is really fascinating and unique! I admire this creativity! I popped in from Dreemport!
Thank you so much for your compliments.
I do appreciate.
Wowww.. just wow
I never knew you got this amazing skill wongi..this is beautiful 😍❤️
You did great here
Well done ✅👍
#dreemport landed me here oo 😂
Oh, thank you very much. It's one skill I'm still developing.
I'm glad it brought you here😂. Thank you for coming ✨
Uwc my dear ❤️😍🥰
Very nice
Thank you
You are welcome