Crochet Rose Bag.
Hello Needlework Lovers✨
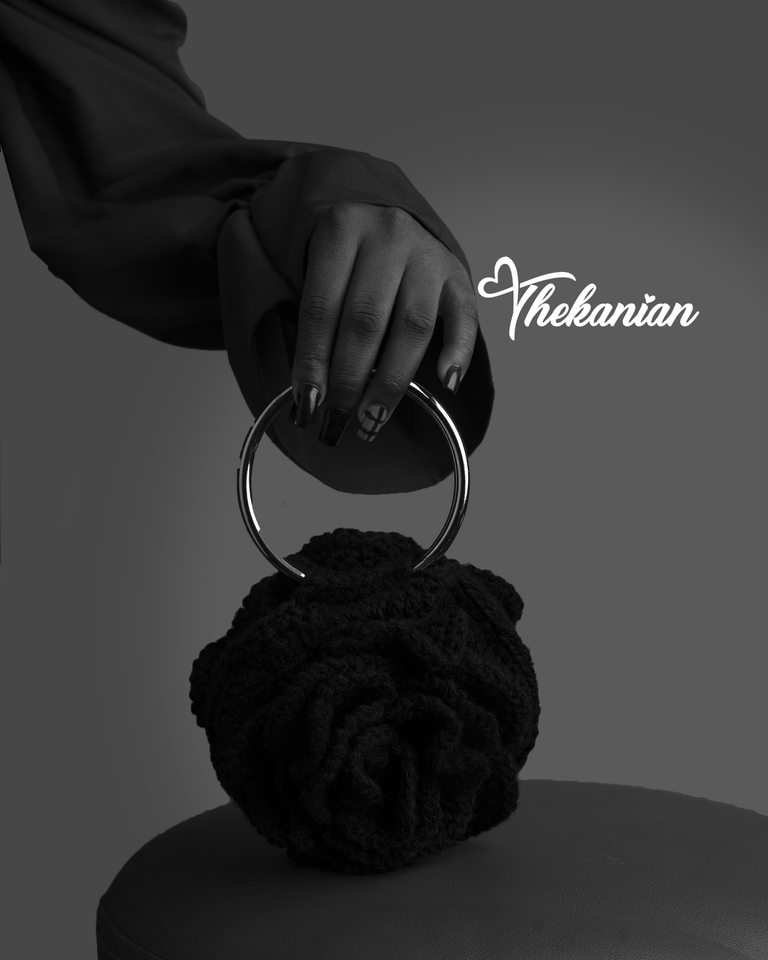
It's a really beautiful Monday today and a great day to share amazing crafts. Today, I will be sharing with you something phenomenal, made solely out of wool and a bit of steel:) I took it upon myself to make a crochet rose bag for a photoshoot I had this week and I was absolutely impressed by the final result. Allow me to take you through every step I took up until the completion of this very project.

Materials Needed
- 120 grams of yarn
- 4.0mm crochet hook
- Darning needle
- A pair of scissors
- Steel bag handles
Procedure
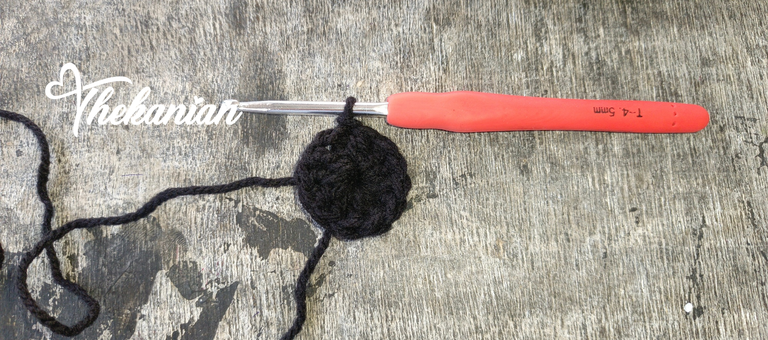
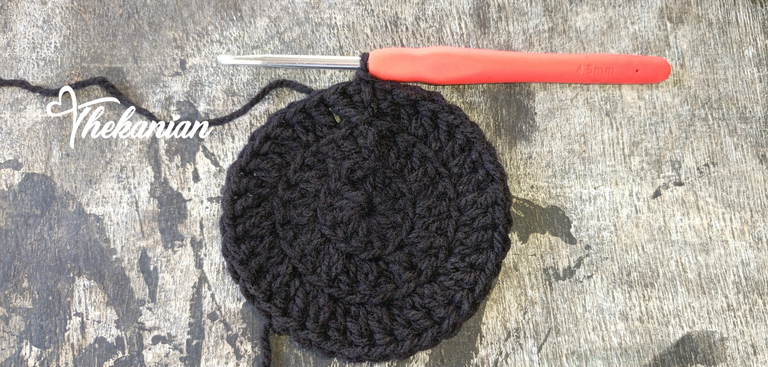
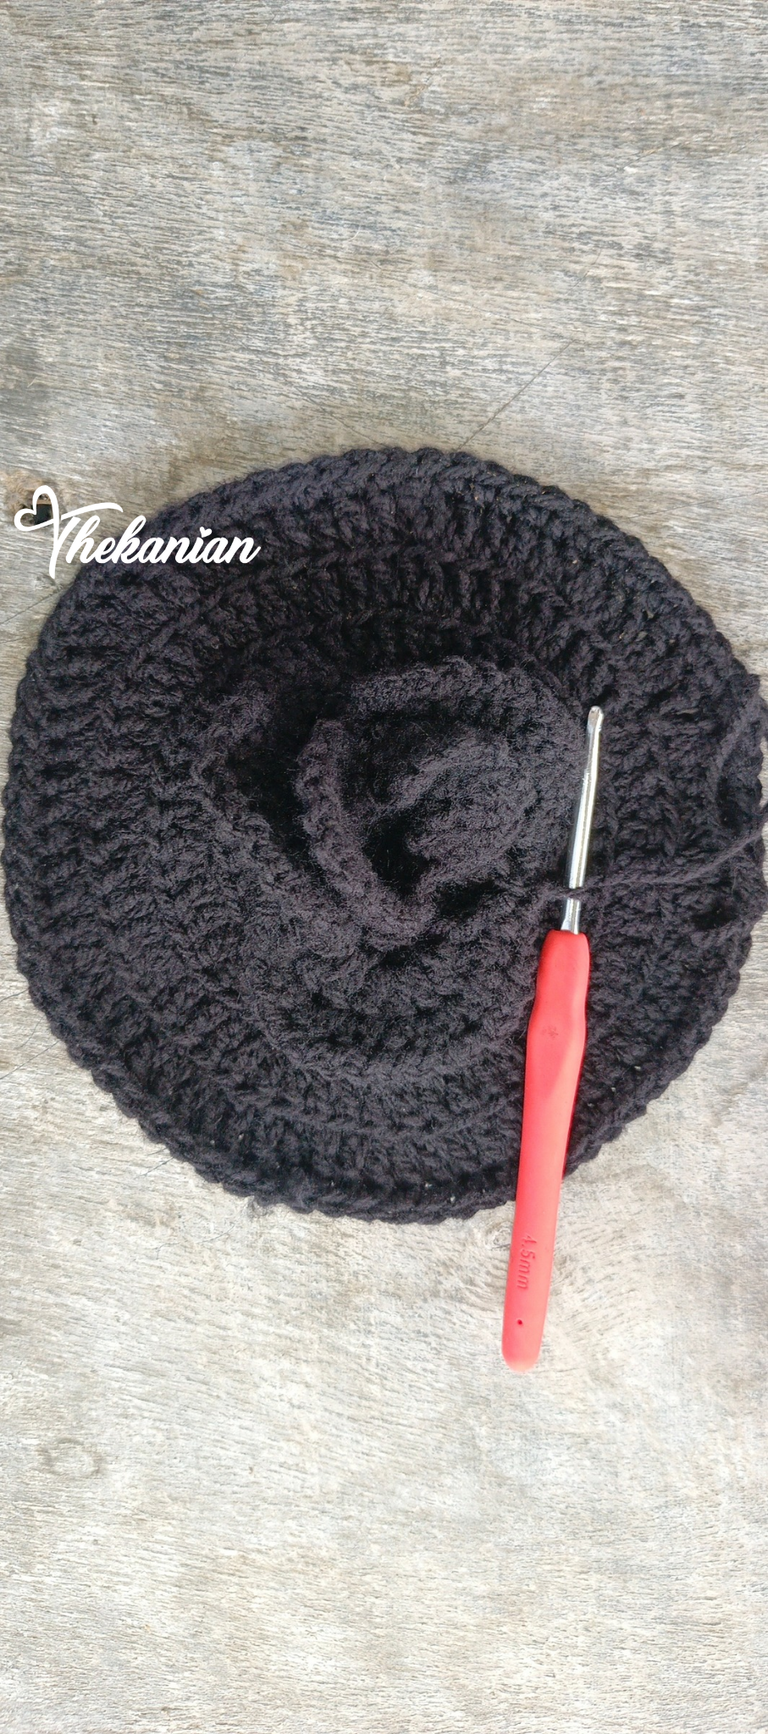
First, I started by making a magic circle, a chain two and into the magic circle I made eleven double crochet stitches. This gave me a final stitch count of twelve stitches for the first row. Making a magic circle was very easy because of the thickness of the yarn I used. The thicker the yarn strand, the easier it is to make a magic ring. This theory was of course proposed by me :)
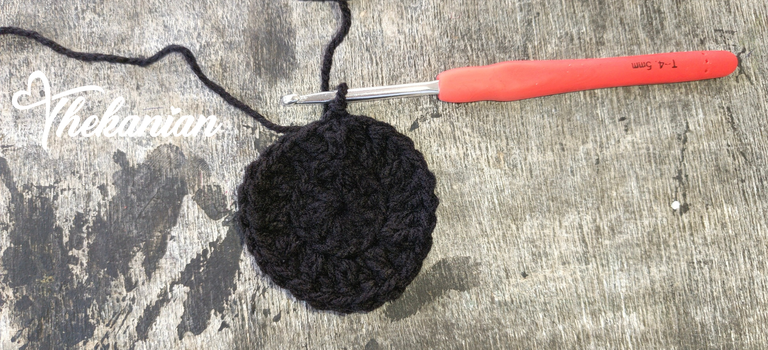
For the second row, I made two double crochet stitches into every previous stitch but in the back loops only. It is pertinent to place the stitches in the back loops because the front loops are going to be used to create the roses. This brought my stitch count to a total of twenty-four by the end of row two.
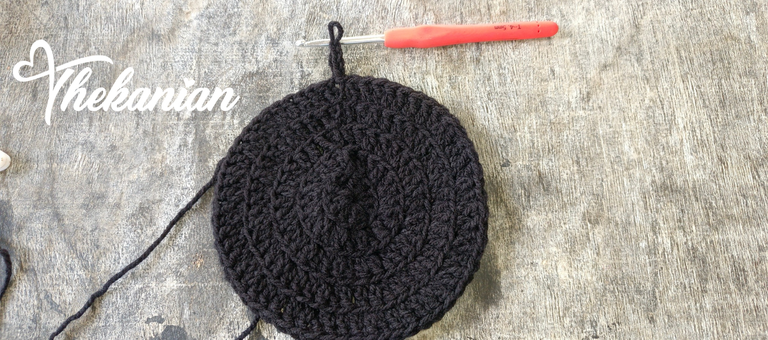

For row three, I made an increase in the first stitch, and the next increase was made two stitches after. I repeated this till the end, ensuring to place my stitches in the back loops only.
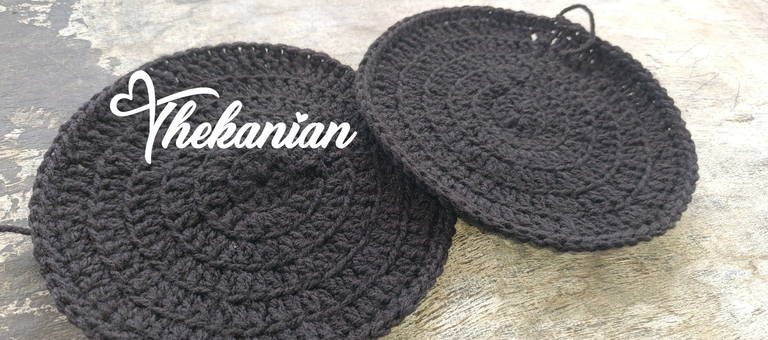
For row four, I repeated the third row but made my increases after three stitches. I pretty much repeated this pattern till I got to the last row; row seven. To conclude the base and give it a fine finish, I went round it with single crochet stitches and then cut off the yarn.
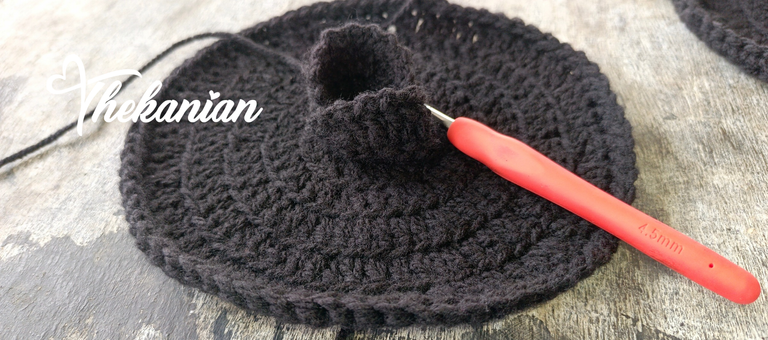
To make the rose detail, I made a slip knot with my yarn and into a front loop from the second row, I inserted my hook and made a chain of two and made two more double crochet stitches into that same stitch. Next, I made another cluster of double crochet stitches into the very next space. This brought my stitch count to six.
The next thing I did was count five front loop spaces from my last stitch and made a slip stitch into the sixth space. Next, I turned my work, chained one and inserted my hook into the first of the six initial double crochet stitches I made. The pattern is a slip stitch and a chain one in every space till the end. At the end, I made another slip stitch and started making another round of six double crochet stitches to make the second petal. My first rose layer had two petals in total.
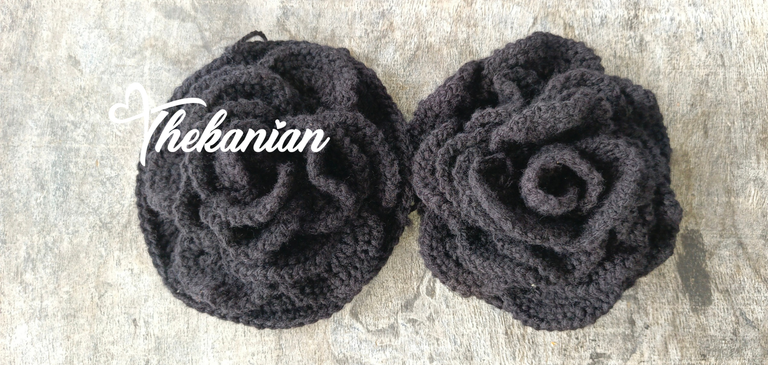
I repeated this pattern till the very end but from the second round of rose petals, I made an initial cluster of nine instead of six like on the first row.
I repeated this for the second half of the bag too. Once I was done with the petals, I attached the steel bag handles to each half of the bag after making proper calculations to ensure that both handles are asymmetrical and that there was an extra space kept for the bag opening.
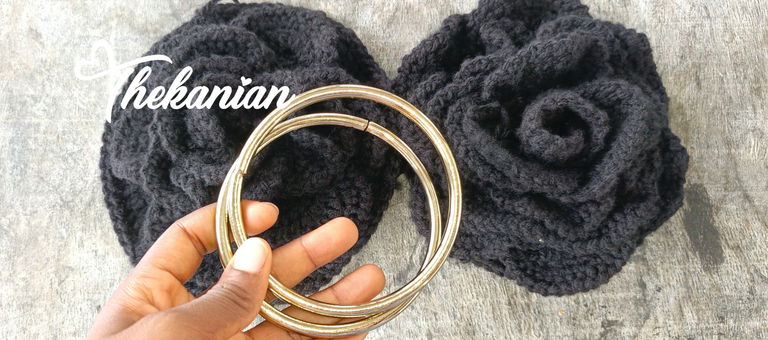
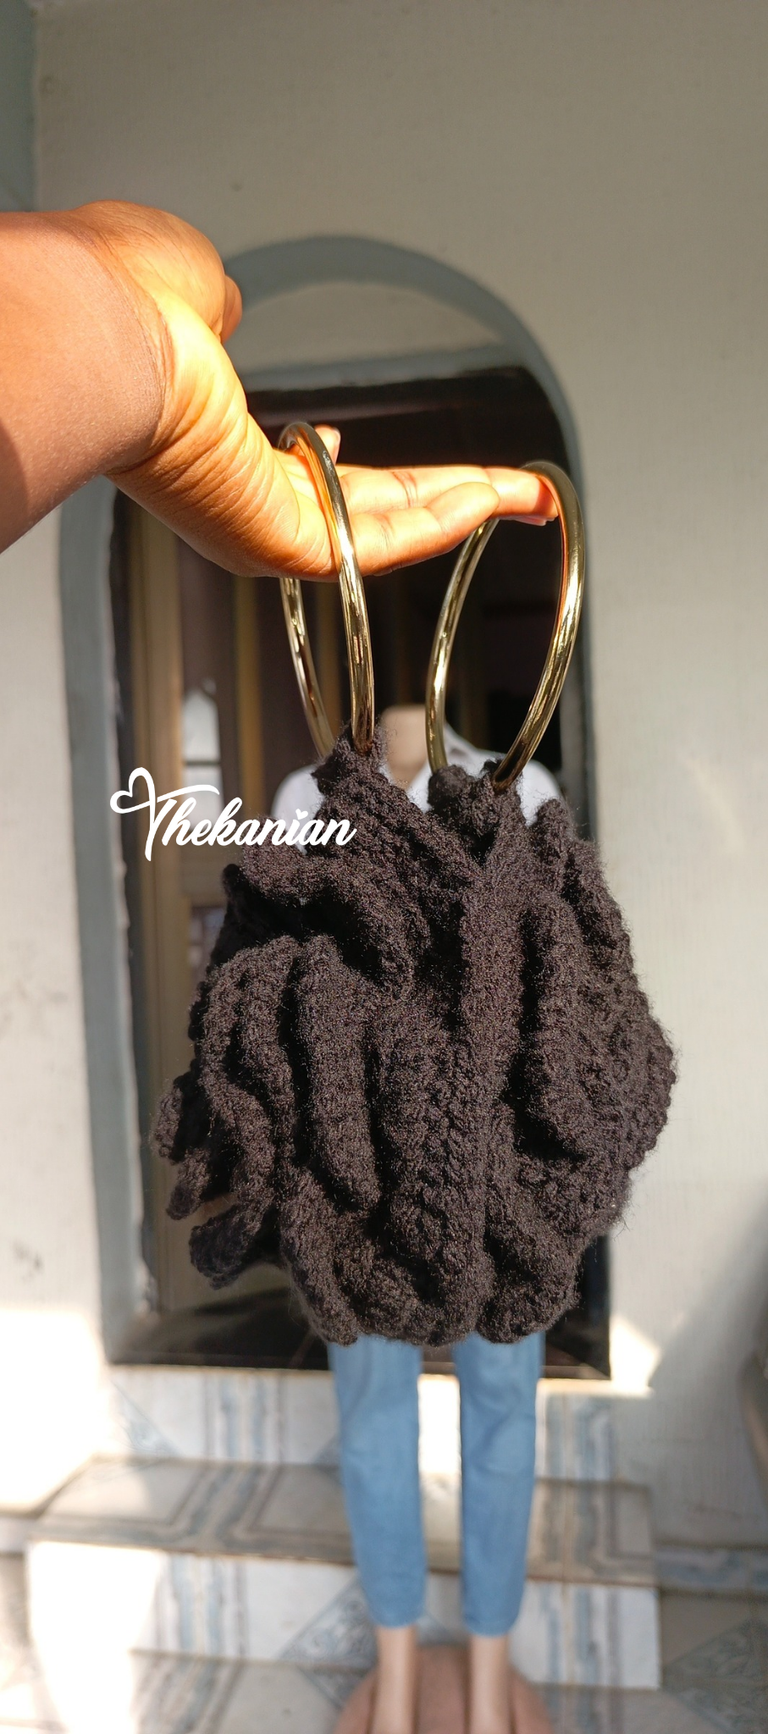
After attaching both handles, I went ahead to join both halves of the bag. Finally, I sewed in my loose ends and my bag was pretty much ready.
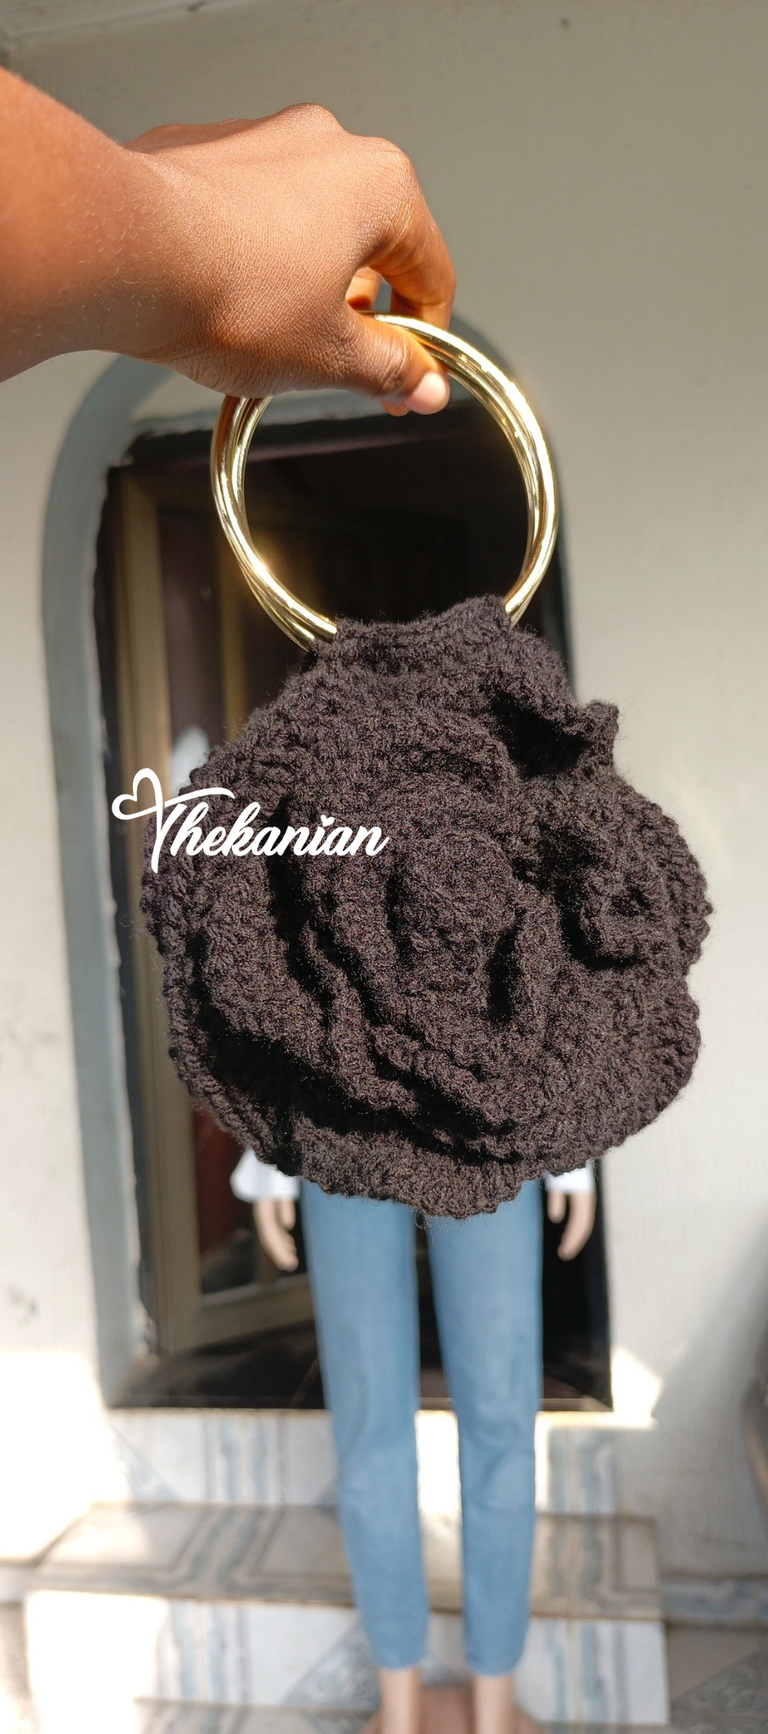
Proud would be an understatement if i were to describe how i felt after making this crochet rose bag. The pattern is a really simple one and with the right amount of patience, anyone can try it out.
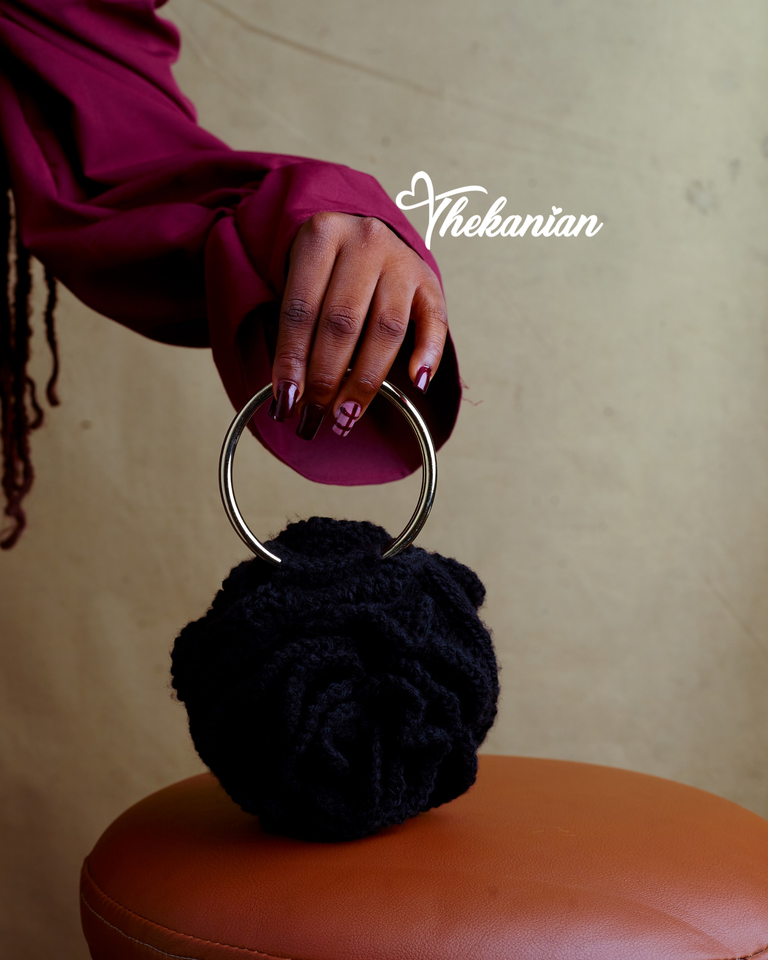
What do you think of this crochet rose bag? Would you like to add it to your bag collection? I paired it with a really lovely dress for the shoot and I was impressed by the outcome.

Images belong to me except stated otherwise.
Wow this is beautiful, i love it but is too small it won't contain much, is just to do guy with it, is a neat work you have done 🥰😊
On the contrary, it can fit a full Android phone, alongside some other necessities.
Thank you so much for stopping by🤍
Thanks too
Hi Wongi, that is original.
Thank you 🤍
so cute, I'll definitely want to buy this rose bag, if I saw it at the market but will prefer a brighter colour to pop the rose more, beautiful creation, well done @wongi
I agree. The roses will definitely pop in a brighter colour.
!LUV
@glorydee, @wongi(1/4) sent you LUV. | tools | discord | community | HiveWiki | <>< daily
Love the picture presentation of the lovely creation, I'd want one if I saw it available to buy 🥰
We can always make one for you, if you're up for it😌
And thank you very much🤍
Excellent job Lady. Your rose bag is so lovely and it screams luxury. Well done and thanks for sharing.
selected by @ibbtammy
Thank you for the appreciation 😊
What a beautiful job.
I always wondered how they did this type of weaving and you show us in a simple way. Thank you so much for sharing it.
It is always my pleasure.
Thank you too🤍
This bag is so pretty✨✨✨
Thank you so much🤍
Wow what an elagancia, it looks spectacular.
Thank you dearest.