Crochet Choker.
One of my colleagues rushed up to me yesterday during one of my ward rounds with an image. “Wongi, can you make this for me?”
Of course I found it funny because her mode of approach and abrupt question were unexpected. However, I took a look at the image and inwardly thought to myself “This is a project I can finish in an hour or less” and luckily I had scrap yarn that matched the colour in the image, so I said “yes!”
I've come to realise that a good number of the crochet projects I make are usually for people and even when I make something for myself, people still end up going home with them after a visit. Do I have a problem with this? Absolutely not! I wouldn't have it any other way. All I'm always happy to see is the smile on these people's faces, hence my most recent project–a crochet choker.
Materials Used
- Scrap yarn
- 3.0mm hook
- A pair of scissors
- Tape measure
- Darning needle
Procedure
The first thing I observed was the back loop's only pattern. This is one of my favourite patterns because they make the item being worked on look really appealing.
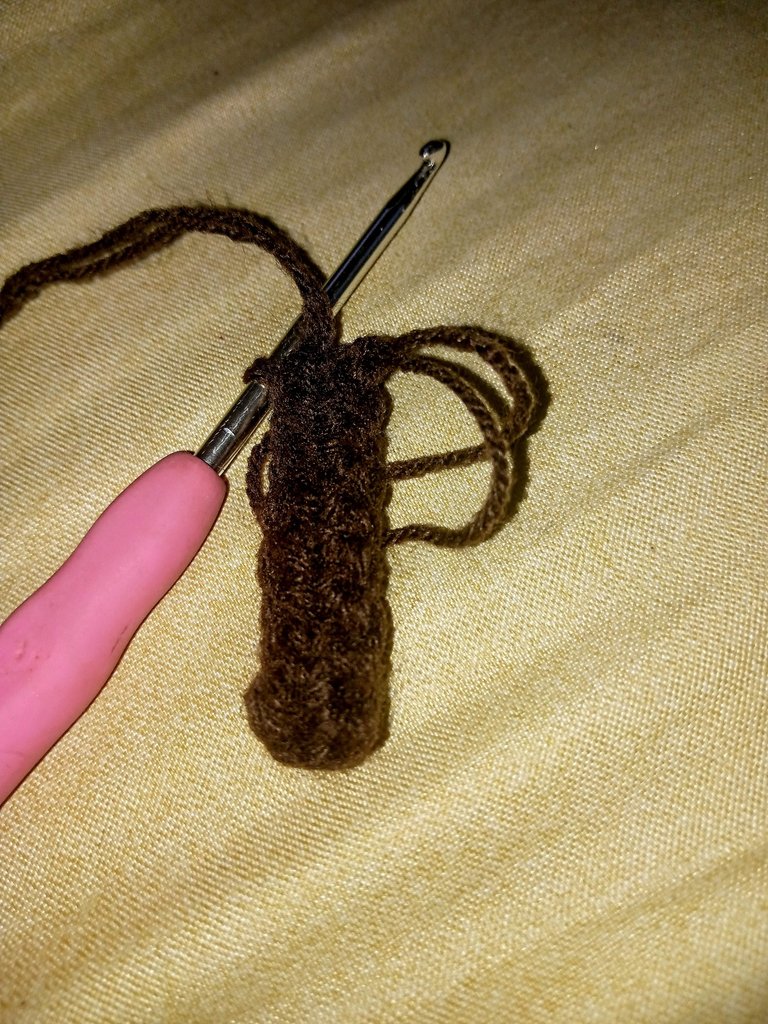
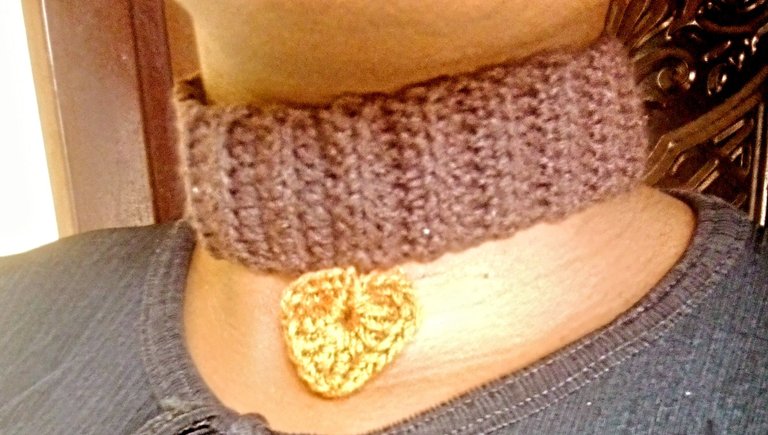
I started by making a chain of nine. My colleague doesn't have a very wide neck, so to prevent the choker from becoming so wide, I made just a few chains.
For this project, I worked vertically. Two chains were used as the turning chain, leaving me with just seven chains.
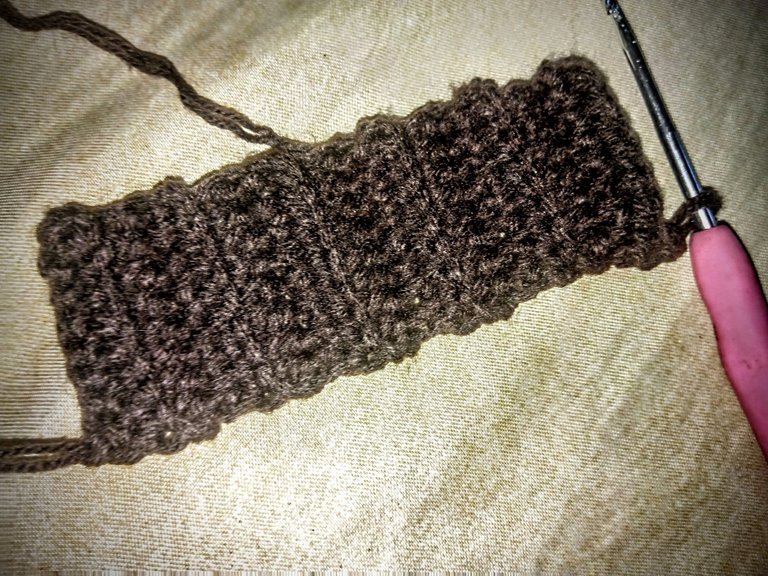
For the first row, I made half double crochet stitches into the seven chains. To begin the second row, I chained two, turned my work over and made seven more half double crochet stitches but into the back loops only.
I repeated the second two till I got my desired length; which is the measurement of the entire span of the neck.
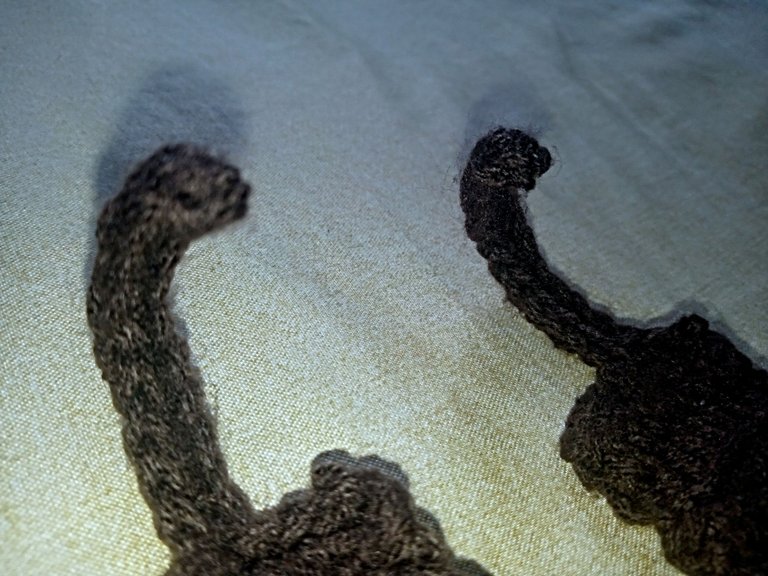
After this, the next thing I did was to make the ties(fasteners) at the back. I didn't want to make the ties too long or too wide, so I opted for a chain of ten half double crochet stitches only.
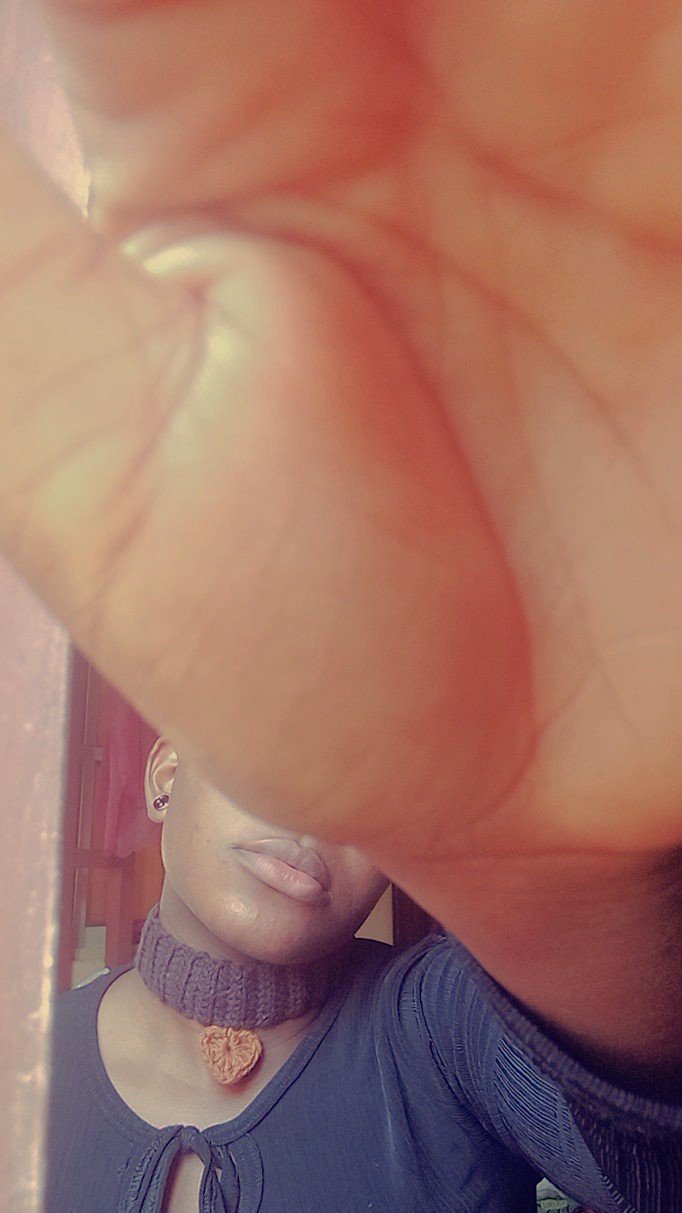
With that, I was done with the choker and although it was a little bit tight on me, it would be the perfect fit for the rightful owner.
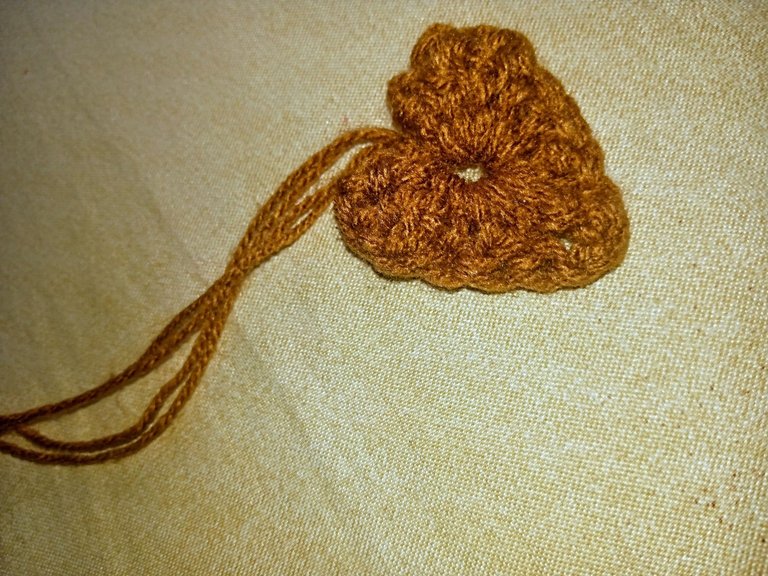
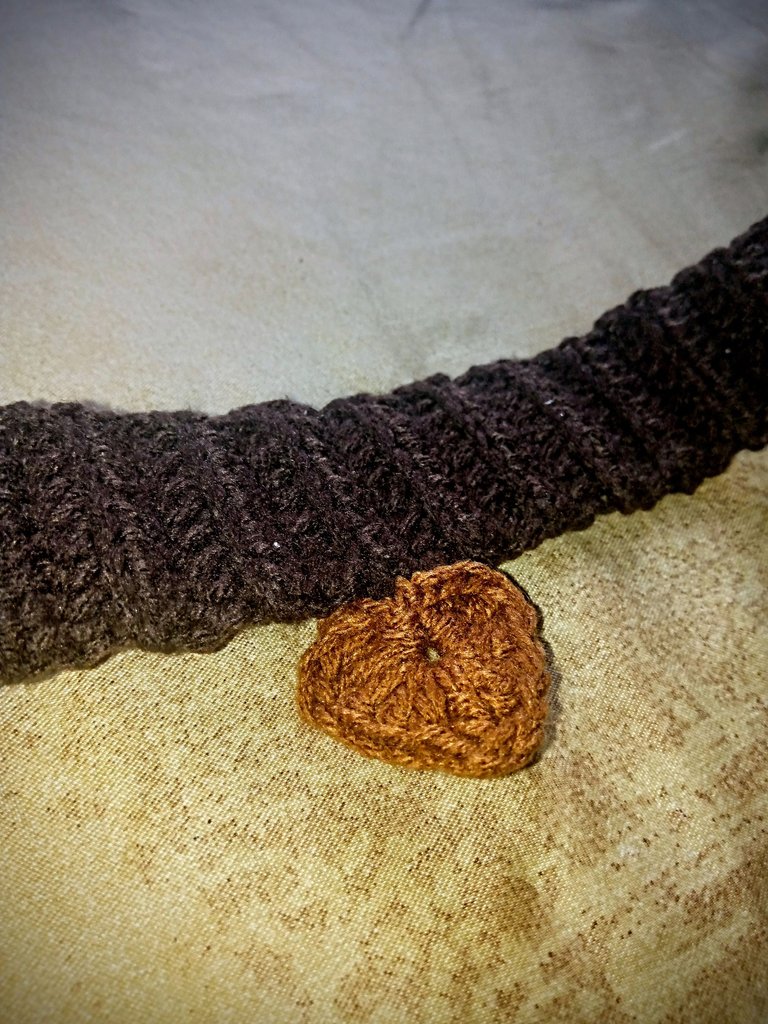
The next thing I ventured into was the crochet heart. In the image my colleague showed to me, the heart was made of metal, however, I told her I was going to make a heart with a different colour of yarn and she agreed.
To make the heart, I started by creating a magic ring and fastened it off with two chains. Into the ring, I made three treble crochet stitches, three double crochet stitches, one single crochet stitch, one treble crochet stitch, another round of three double crochet stitches and three treble crochet stitches. Finally, I made a chain of two again, fastened off, pulled my stitches closer and cut off my yarn.
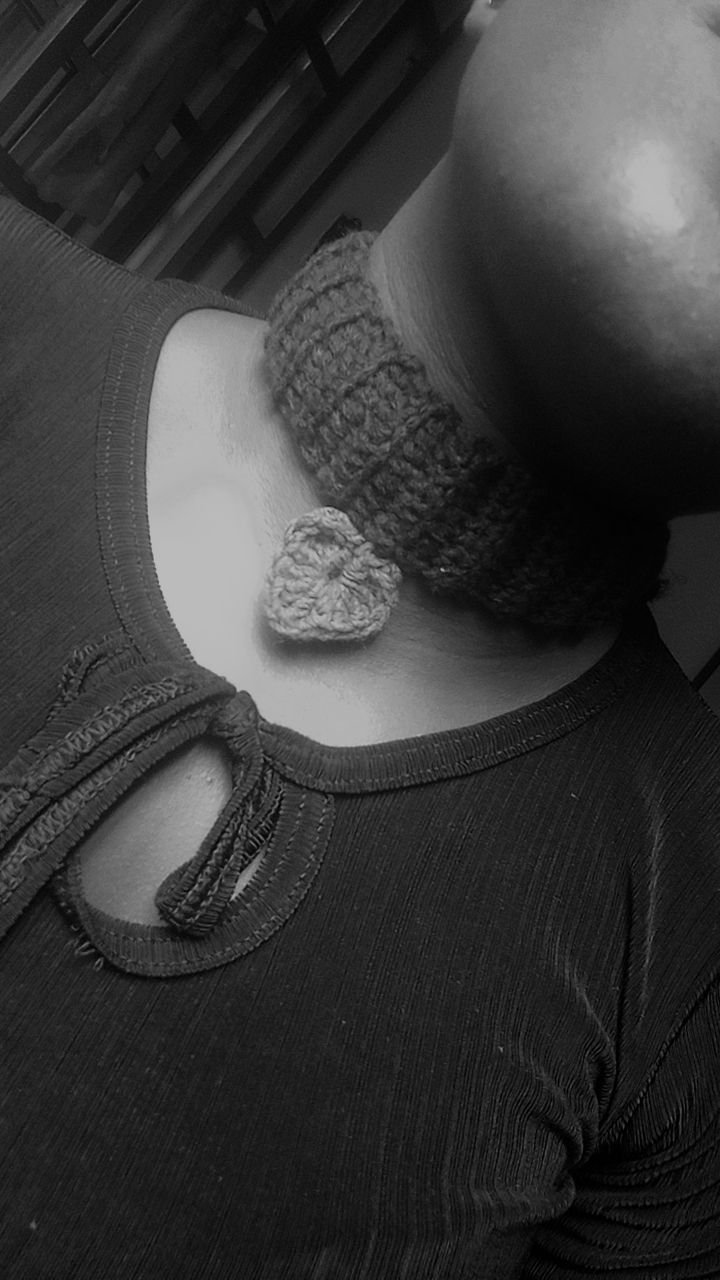
I use the loose end from the heart to carefully attach the heart to the body of the crochet choker.
Finally, I sewed in the loose ends, cut off what needed to be cut off and I was done with the crochet choker.
I actually like how well it came out and I'm definitely going to replicate it for myself soon. I will be delivering this gift to the colleague tomorrow and I hope she likes it.
All images used belong to me and were taken with my mobile device except stated otherwise.
Love🤍
You did a very neat job. Thanks for sharing
Thank you for stopping by 😊
Looks beautiful, Best of the globe. Hope you sha got the measurement of her neck well, because as it's looking fit and beautiful on you now, I just hope...😆
I did dearest best. We measured it 😄.
But let's see what today holds.
WOW! It is beautiful, stylish, and elegant. Love its design. It shows your creativity. Well done!
Thank you so very much ✨
Woah! I didn't know crocheting choker necklaces could be this beautiful. It looks really beautiful on you.
Your work of hand is beautiful
Maybe I can equally rock a crochet chocker to cover my collar bones 😂, but I might likely desire a different kind of stitch.
Thanks for sharing this beautiful piece
Collar bones are beauty bones you know😄😄
Congratulations @wongi! You received a personal badge!
Wait until the end of Power Up Day to find out the size of your Power-Bee.
May the Hive Power be with you!
You can view your badges on your board and compare yourself to others in the Ranking
Check out our last posts:
Thank you @hivebuzz 😌😊
Thank YOU, @wongi, for adding your power to Hive Power Up Day!