A Multi–Patterned Crochet Bag.
Hello Hello✨
It is yet another Monday, one I've been looking forward to:)
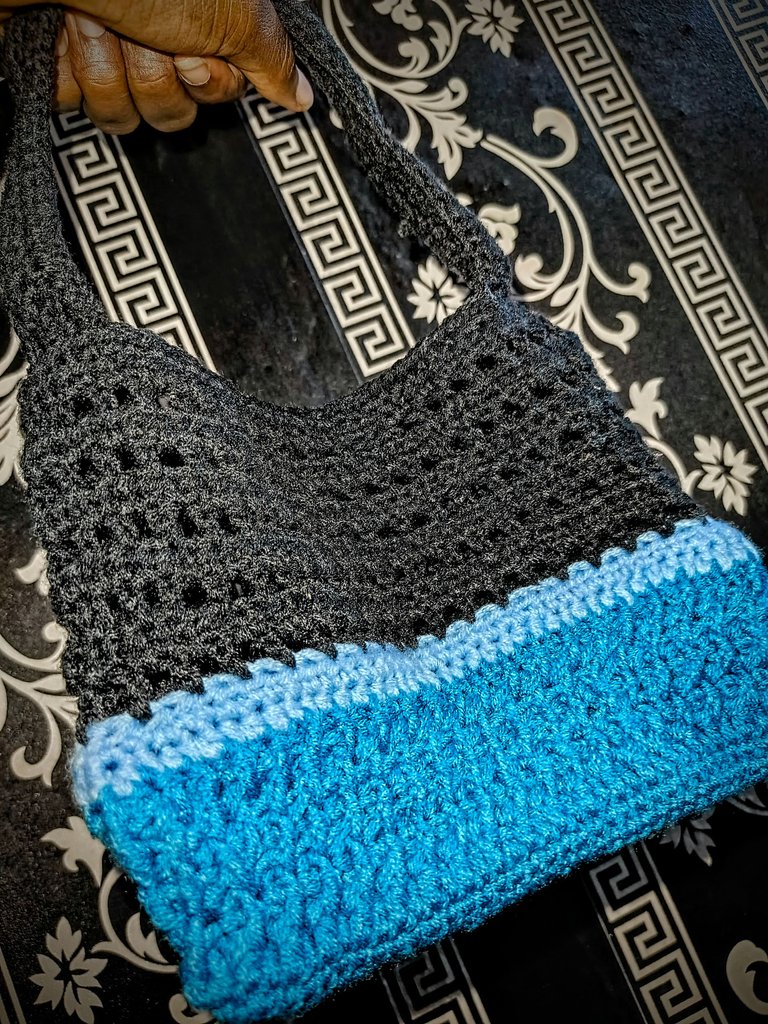
For this week, I will be sharing with you one of my most recent crochet projects. Sometime last week, I was supposed to briefly meet an acquaintance. For this meeting, I didn't want to carry so many items so I opted to go with just my phone, a small notepad and a pen.
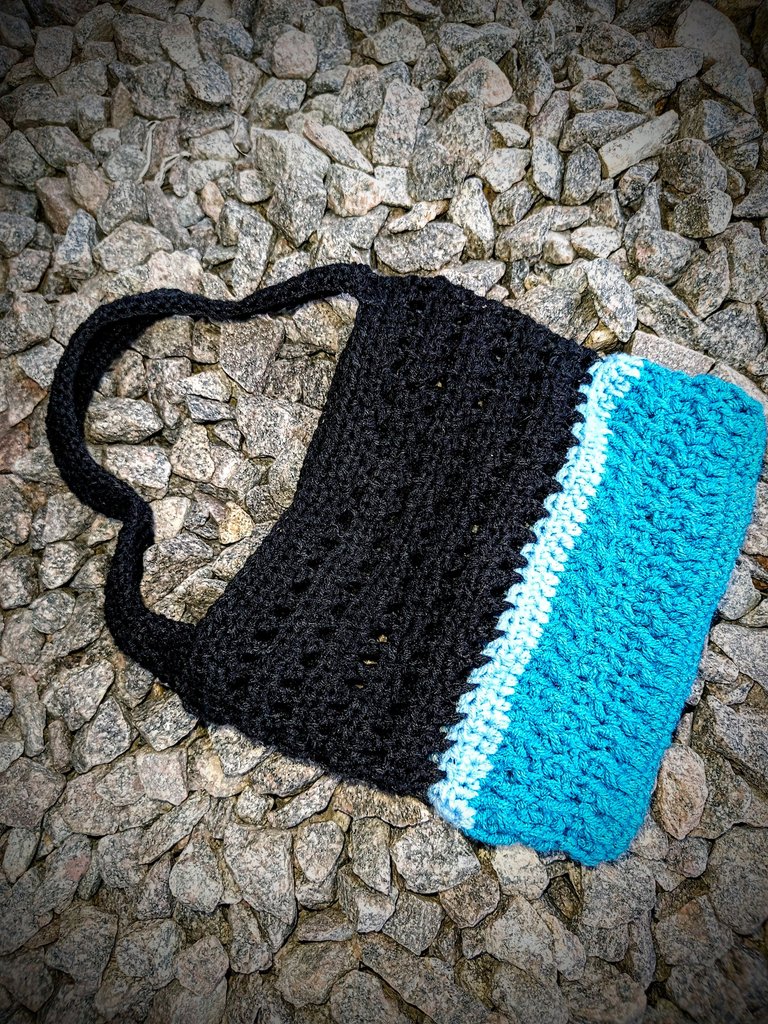
I rummaged through my closet for a bag that would fit these items perfectly but the bags I saw were either too big or too small. Nothing moderate enough to fit a few items. Eventually, I dropped every other thing and went out with just my phone; moreover, the phone has an inbuilt notepad right?
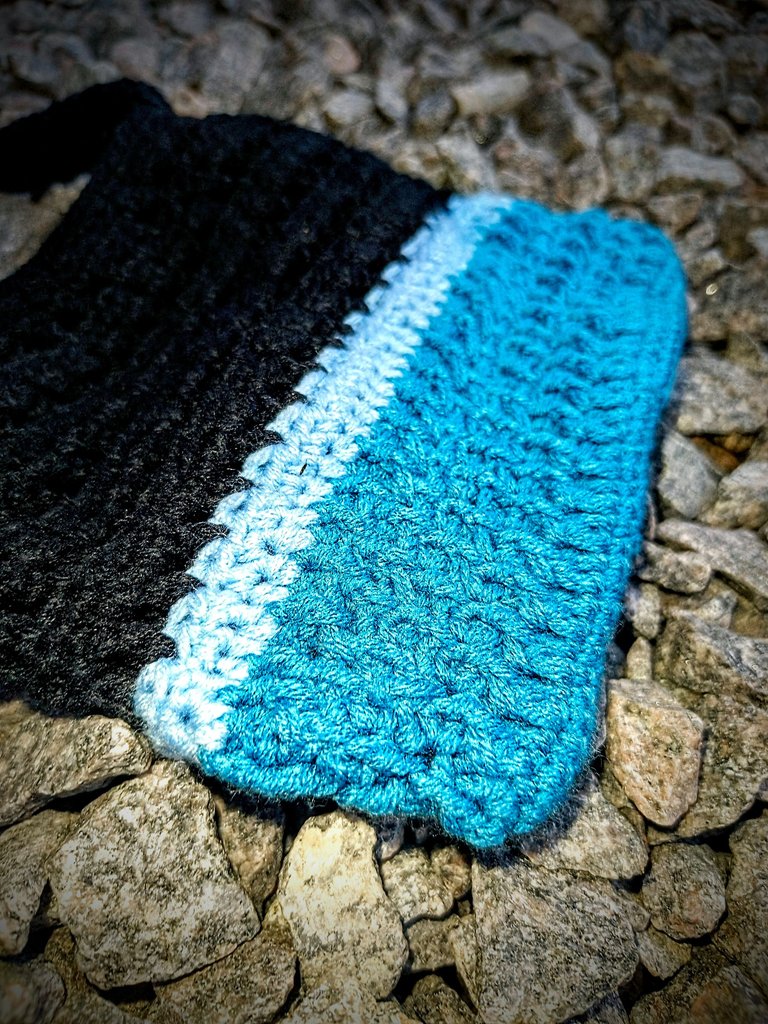
Before leaving the house that day, I made a mental note to crochet a moderate looking bag. I had no particular design or colour combination in mind at the time.
Once it was time to make the project, I went through my yarn cupboard and found the perfect colour for the base–blue. It turns out that this particular yarn was gifted to me many months back by a darling friend and a fellow crocheter.
Special coverage; one of the best gifts to give a crocheter is yarn!
Tools Used
For this project, I used the following items:
- 4.0mm crochet hook
- Measuring tape
- Yarns
- Darning needle
- A pair of scissors
Procedures
The first step to achieving this lovely looking bag is making the base of the bag. For the base, I made a chain of thirty-five. With the initial chain intact, I went ahead to make single crochet stitches into every chain except the last.
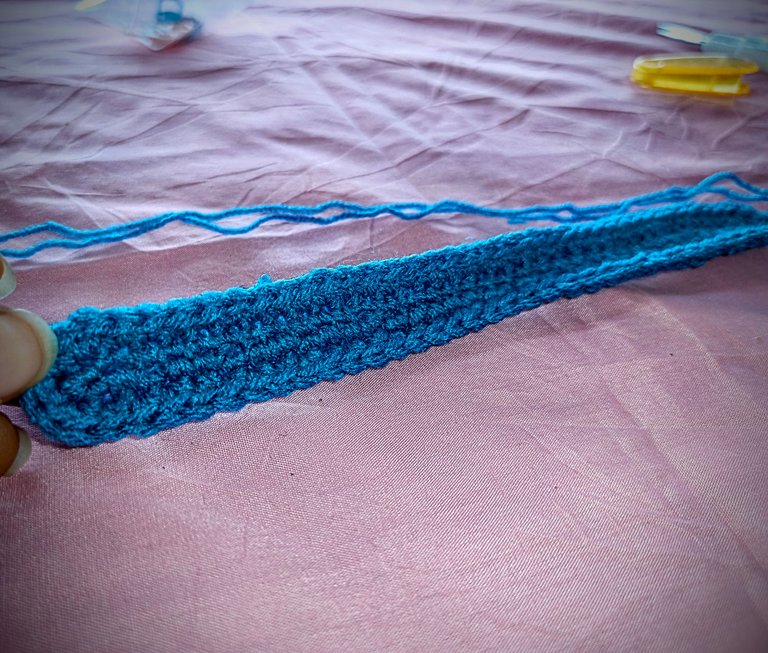
Into the last chain, I made three single crochet stitches instead of one. With that,I finished row one and proceeded to row two.
Still with single crochet stitches, I went round the stitches in row one and made an increase of three on both ends. For row three, I made a slip stitch and repeated row two.
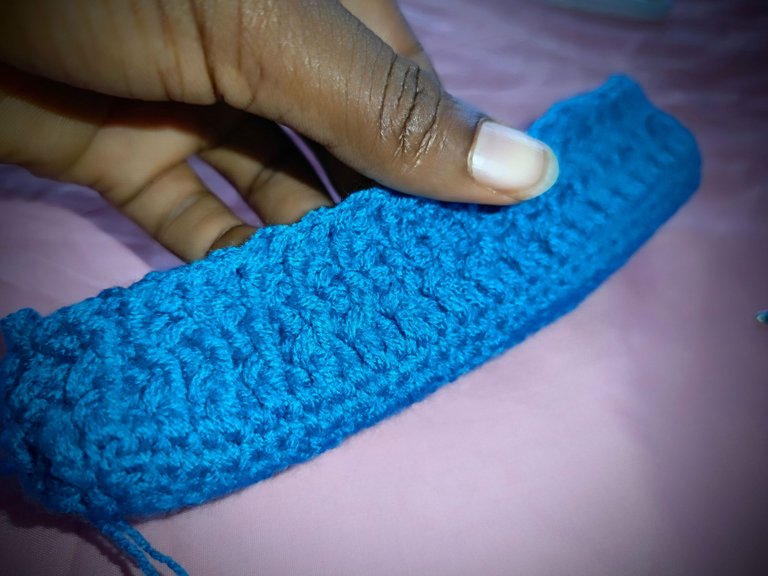
After this, I went around row three using half double crochet stitches in order to define the project properly. After this, I began making a seemingly new pattern. For this pattern, I made a chain of four, skipped one stitch and made a double crochet stitch into the body of the next stitch. This causes the bulge. Afterwards, I went back to the stitch I skipped and made a regular double crochet stitch there. I pretty much repeated this pattern till the end of the eighth row.
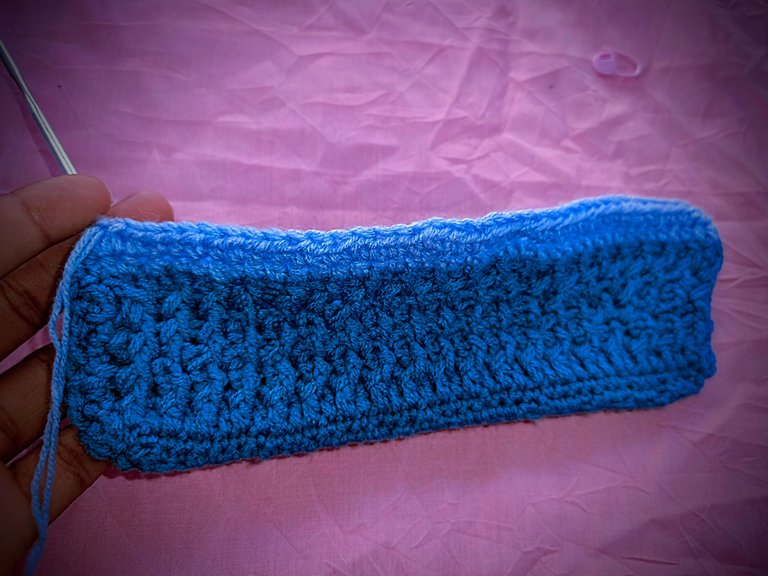
For rows nine and ten, I changed the colour of my yarn to a lighter shade of blue and made half double crochet stitches round.
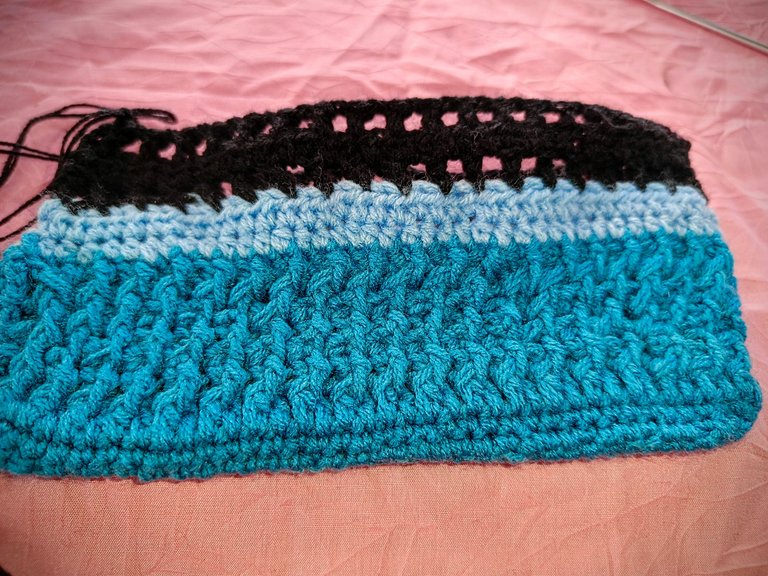
From row eleven, I started alternating mesh stitches and half double crochet stitches. For every row of mesh stitch I made, a row of half double crochet stitches followed. This is what creates the properly defined mesh pattern. Also, for the mesh stitch, I skipped only one chain each time.
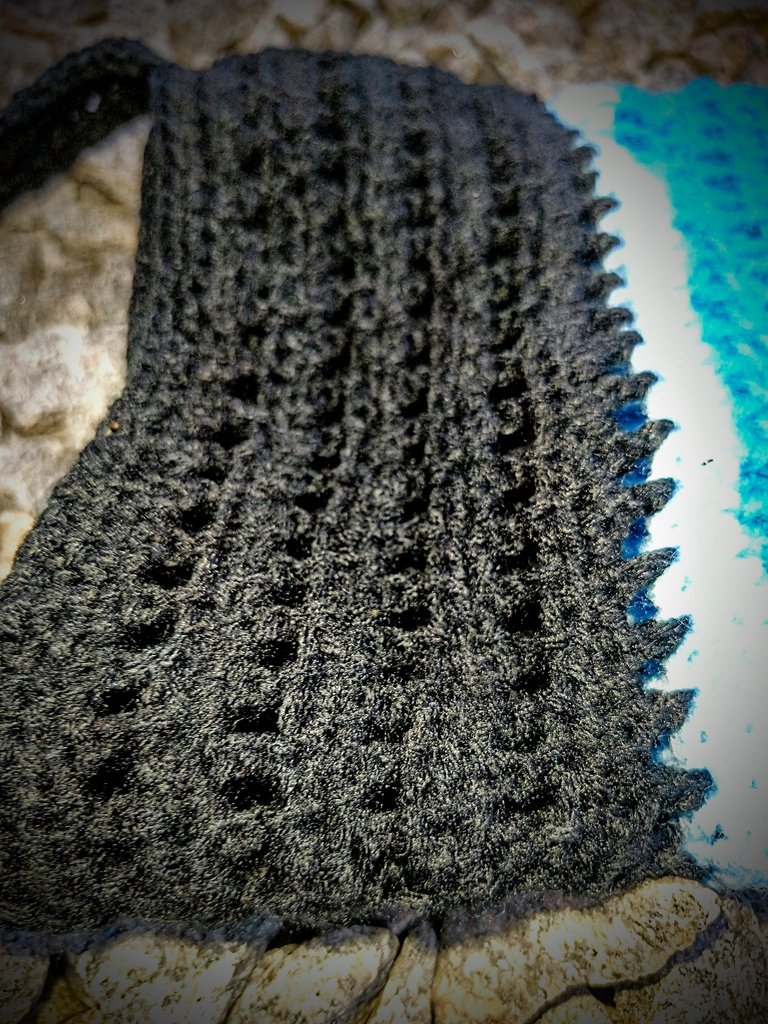
On the twentieth row, I stopped making the mesh pattern and made two rows of half double crochet stitches for the finishing look.
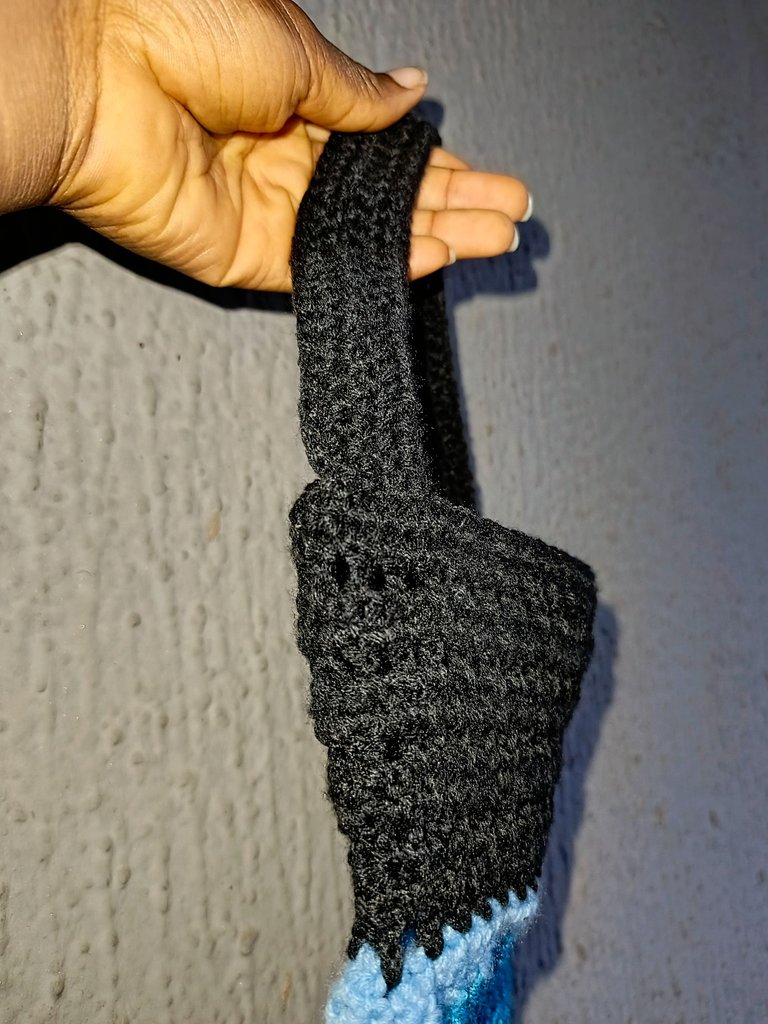
The last part of this project was the bag handle. I opted to make just one handle instead of the regular two I usually make.
I made a chain of fifty from one side of the bag and into this chain, I made half double crochet stitches. For the handle, I made a total of six rows from one end and connected the other end of the handle using slip stitches.
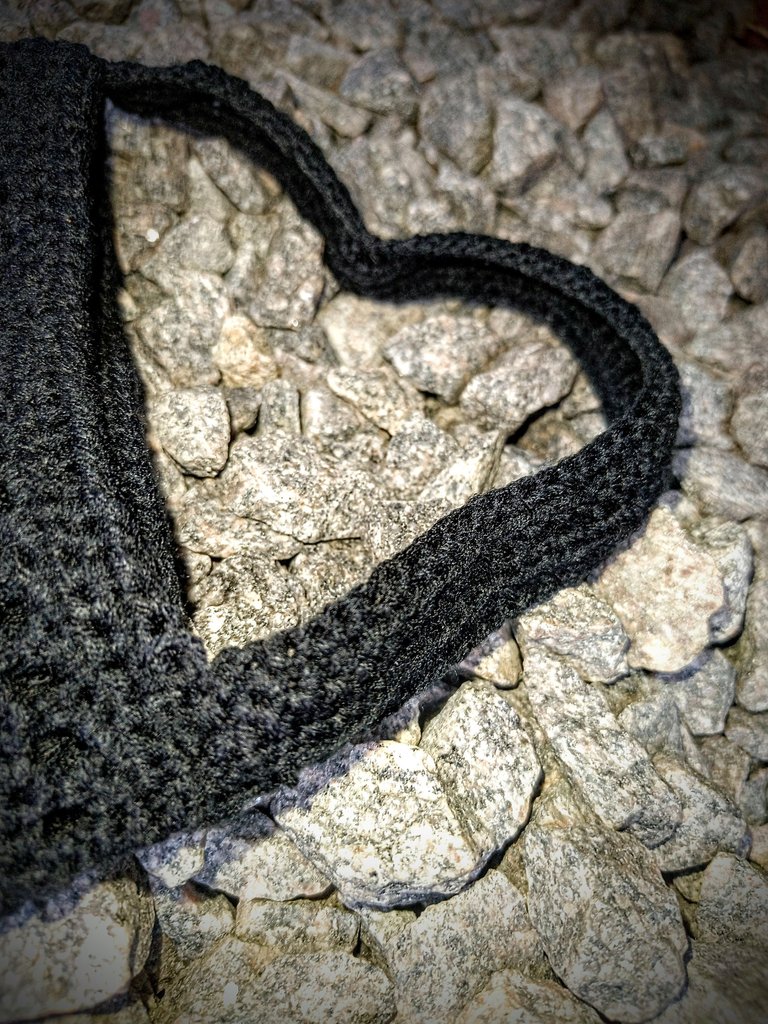
The last thing I did was sew in loose yarns that I didn't work over and my bag was pretty much ready. Hopefully, the next time I need to carry just a few items out, this crochet bag would come in handy.
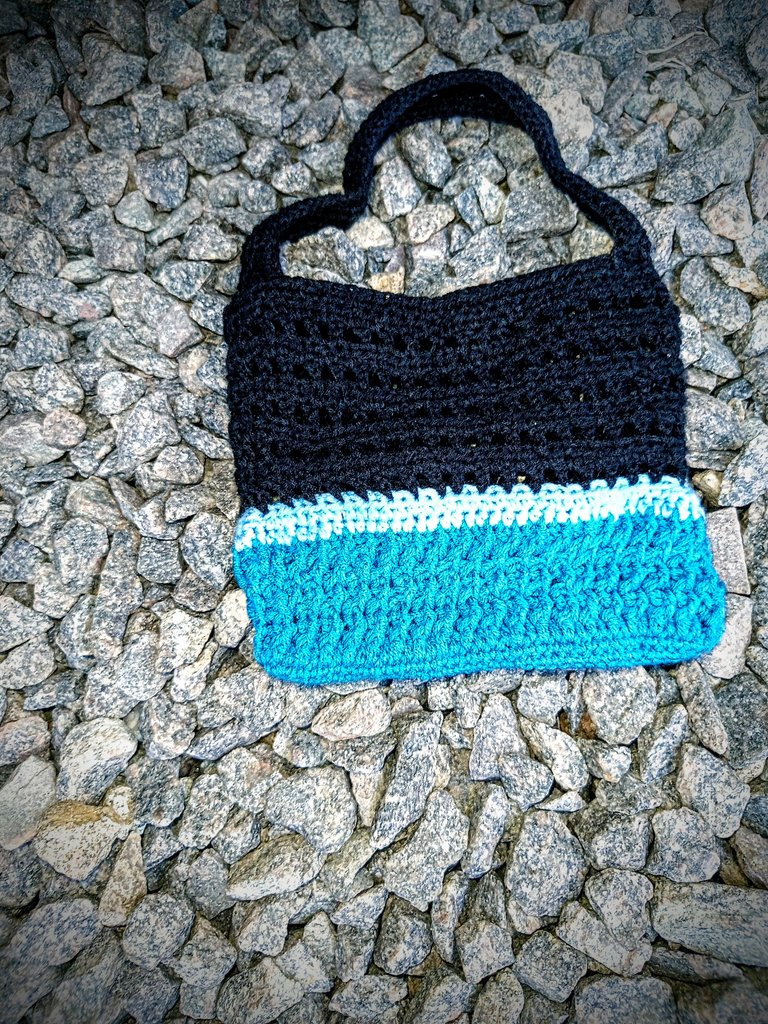
What do you think of the colour combinations? The patterns used? And the bag in general?
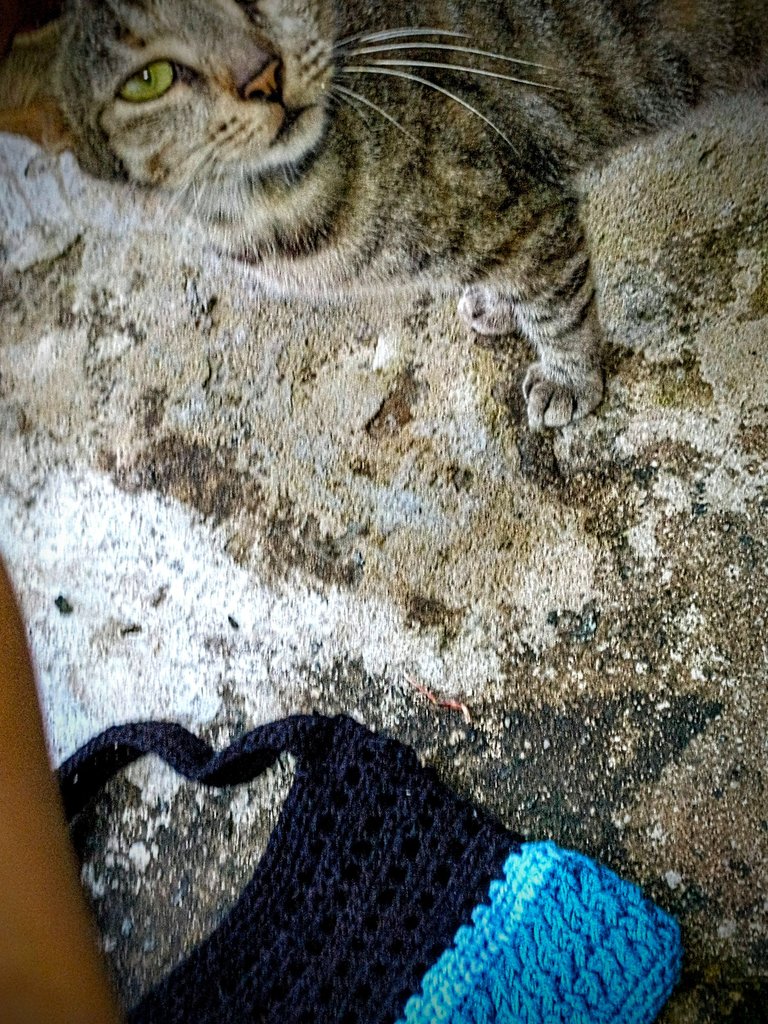
Look who wanted to be part of the photoshoot
All images used belong to me and were taken with my mobile device except stated otherwise.
Love🤍
Wongi has made another beautiful masterpiece, please I want to be your apprentice 😍😘
Thank you so much dear😊.
And I'm always open to new apprentices😌
Thank you 😊👍
Wow this is just beautiful, you did an amazing job and I'm loving the bag.
That means a lot to me vickoly, thank you so much ✨
It is the perfect bag for the next meeting, you will be able to carry what you need and feel comfortable. It was very nice, what luck to be able to use that yarn, your friend will recognize it when she sees you wearing the bag.
Yes, the friend should recognize the yarn once she sees it.
Thank you so much karen.art😊
Nice combination of color, beautiful bag!
Thank you so much Kattycrochet😊
Sending you an Ecency curation vote
Thank you😊
The bag is so beautiful. One thing about sewing or crocheting you can make just anything for yourself as long as you have all the necessary materials. Well done Wongi and thanks for sharing your beautiful bag with us.
It is always my pleasure.
Thank you too✨
That’s a really lovely bag you have there. You are really creative and smart with how you alternate stitches. Once again, crochet queen for a reason. Please take your flowers.
Receiving the flowers with love. Thank you Abenad😌
Limitless Wongi💫. I really like the fact that you can DIY anything you put your mind to.
That's a beautiful bag and lovely colour contrast too. Nice work!😊🌺
I like this fact too. It helps to save a lot of cost most of the time.
Thank you so much manager 😙😊
Indeed, it helps one save and customize things to their own liking.
You're welcome CEO 💫😙😊