Hollow Crochet Bow Hairband.
Hello Hello✨
Last month, I decided to embark on a hair accessorising journey courtesy of my hair stylist who complained of me wearing my braids in one style until I took them down. The idea of embarking on this journey didn't seem like such a big deal but little did I know that a little part of my lifestyle was going to change, for the better? Maybe.
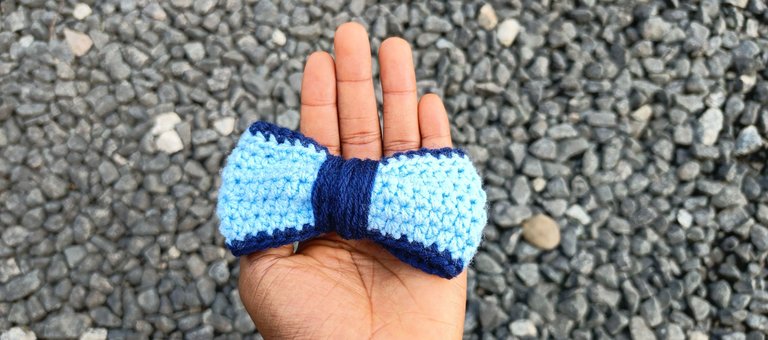
The aspect of my lifestyle that has been adjusted is picking out outfits for the next day. Usually, all I did was wake up and pick any outfit that suited my mood for the day but with the hair accessorising journey, this has changed. To ensure I use the proper accessories, I try to pick my outfits out a bit earlier than normal.
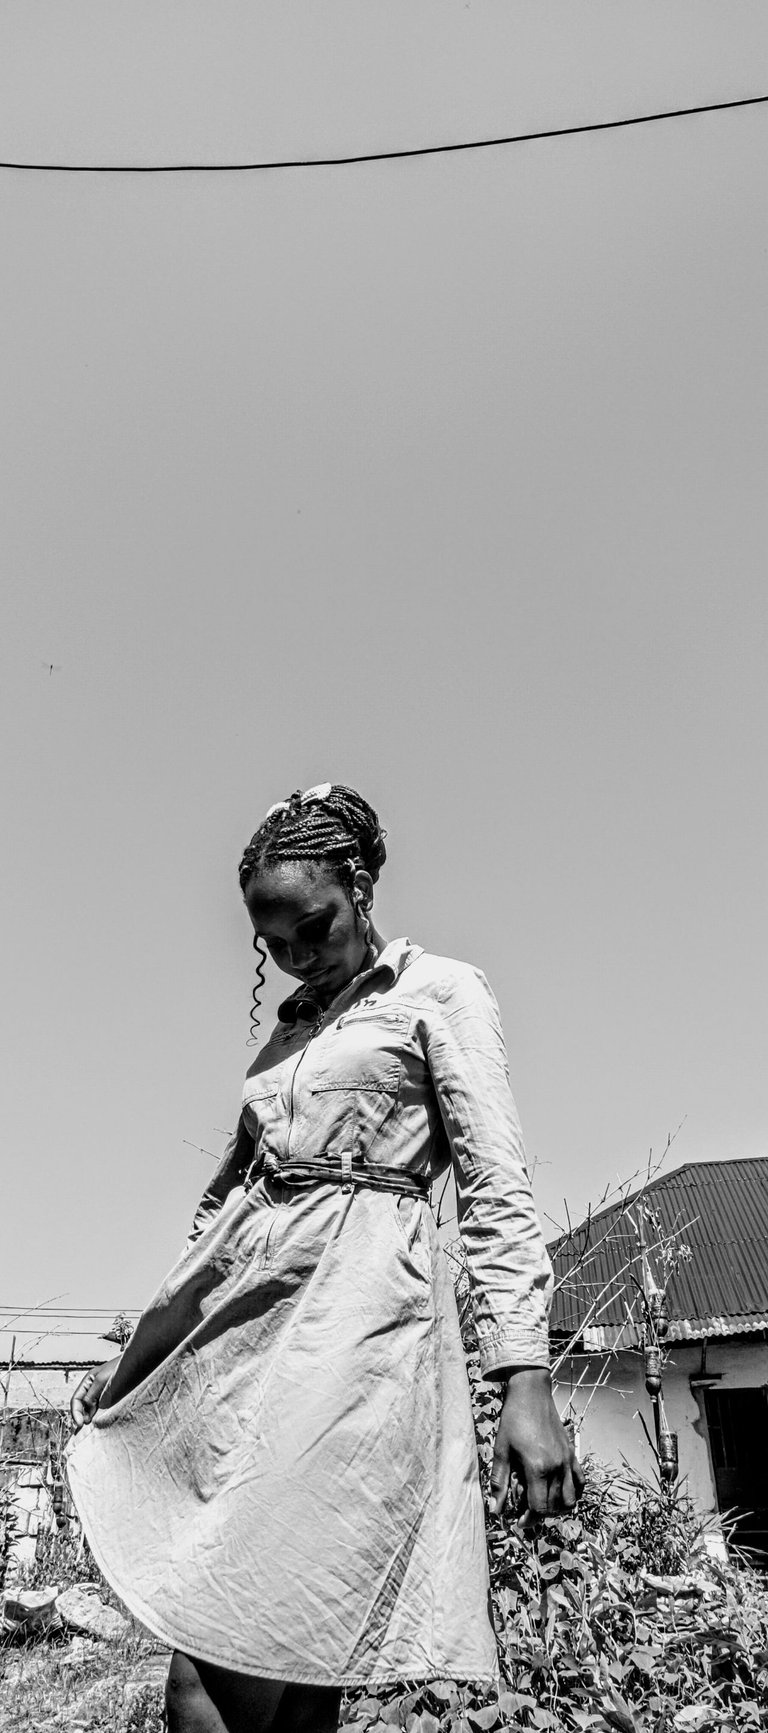
For today, I will be sharing with you a hair accessory inspired by my outfit for the day. The outfit for today was picked out yesterday and after a proper search, I realised I didn't have any hair accessories that could go with the dress. I have blue hair accessories no doubt, but not just the right shade of blue.
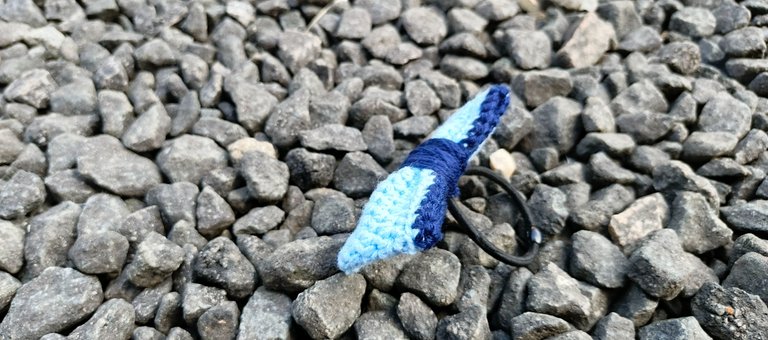
Materials Needed.
- Yarn
- 4.0mm crochet hook
- A pair of scissors
- Darning needle
- a regular hair band
Procedure.
I have made crochet bows before but never a hollow crochet bow. For this hairband, I used a hollow crochet bow and now I believe that the hollow crochet bows are more firm than the regular ones. Let me take you through the process.
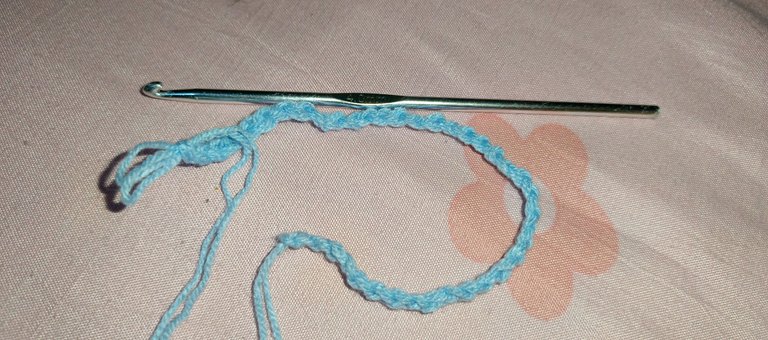
First, I made a chain of forty crochet stitches with my sky blue yarn. The length of the base stitches determines how wide the crochet bow turns out to be.
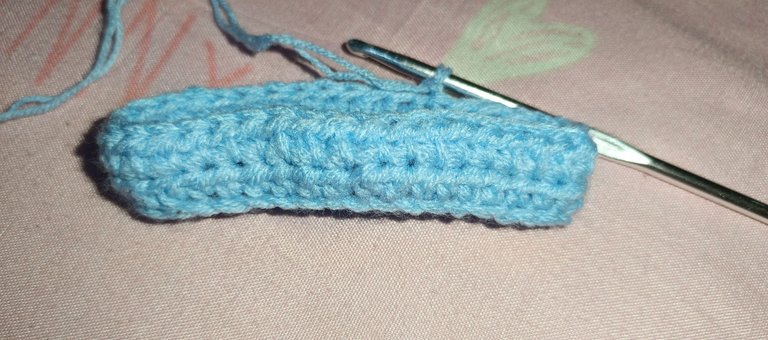
After making a chain of forty, I made a slip stitch into the very first stitch. This creates a circle.
With the circle in place, I made a chain of two followed by a half double crochet stitch into the same space.
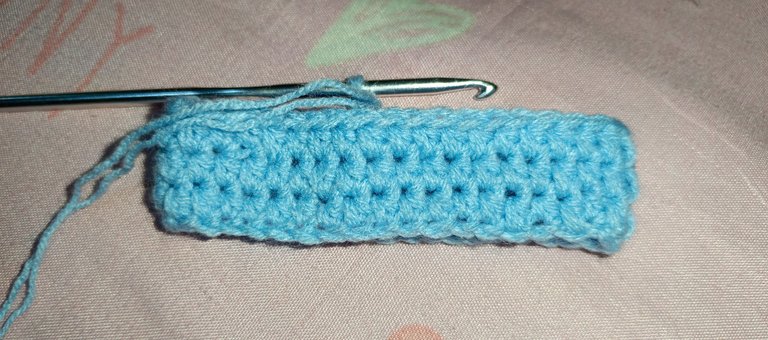
From here, I made half double crochet stitches into every single initial stitch till I got back to the first chain two I made at the beginning of the row. I made a slip stitch into the second chain, made another chain of two and repeated the half double crochet pattern, forming my second row.
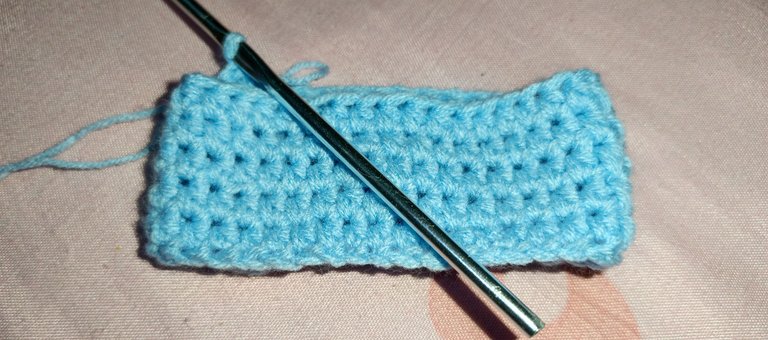
I repeated this pattern till I got to the sixth row. On the sixth row, I made the final slip stitch and then proceeded to change the yarn colour.
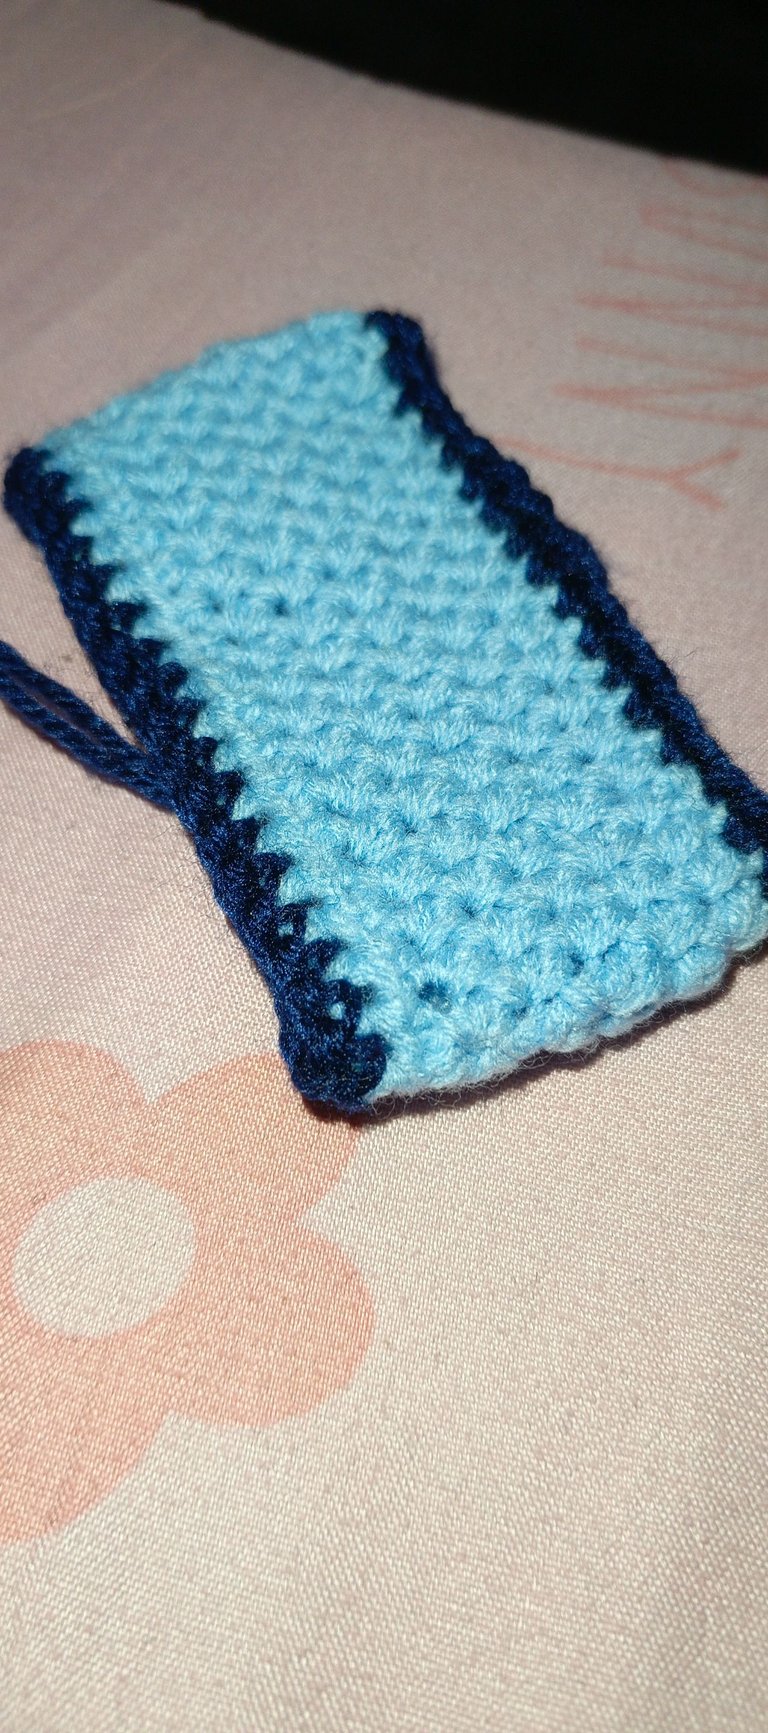
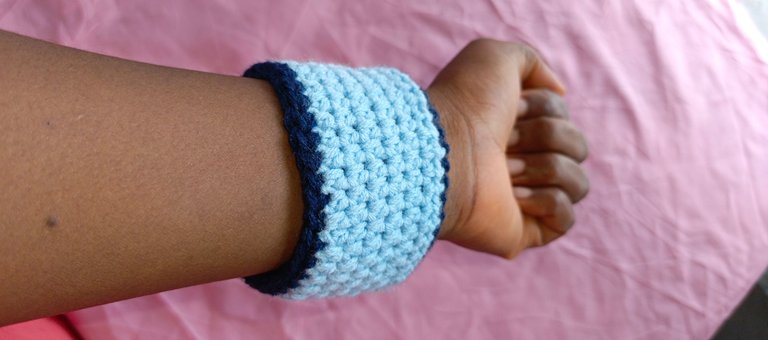
With the new yarn, I made two rows of single crochet stitches round the top and the bottom of the hollow crochet rectangle.
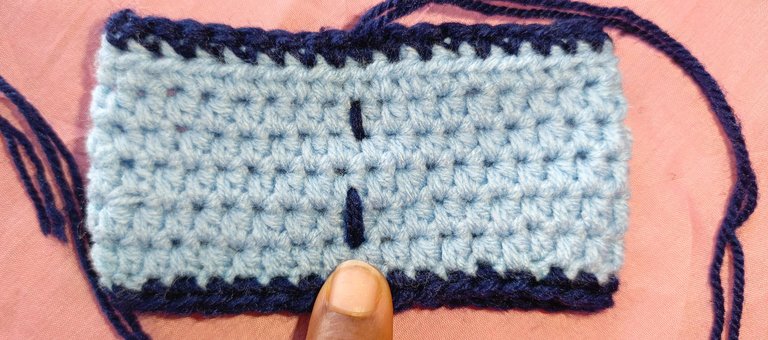
With that, I was done with the body of the bow tie. It was time to create the bow. To do this, I passed a line of deep blue yarn through the middle of the hollow crochet rectangle and pulled the ends together.
With the longer strand, I went round the middle about twenty times and then tied it up and cut off the extra yarn.
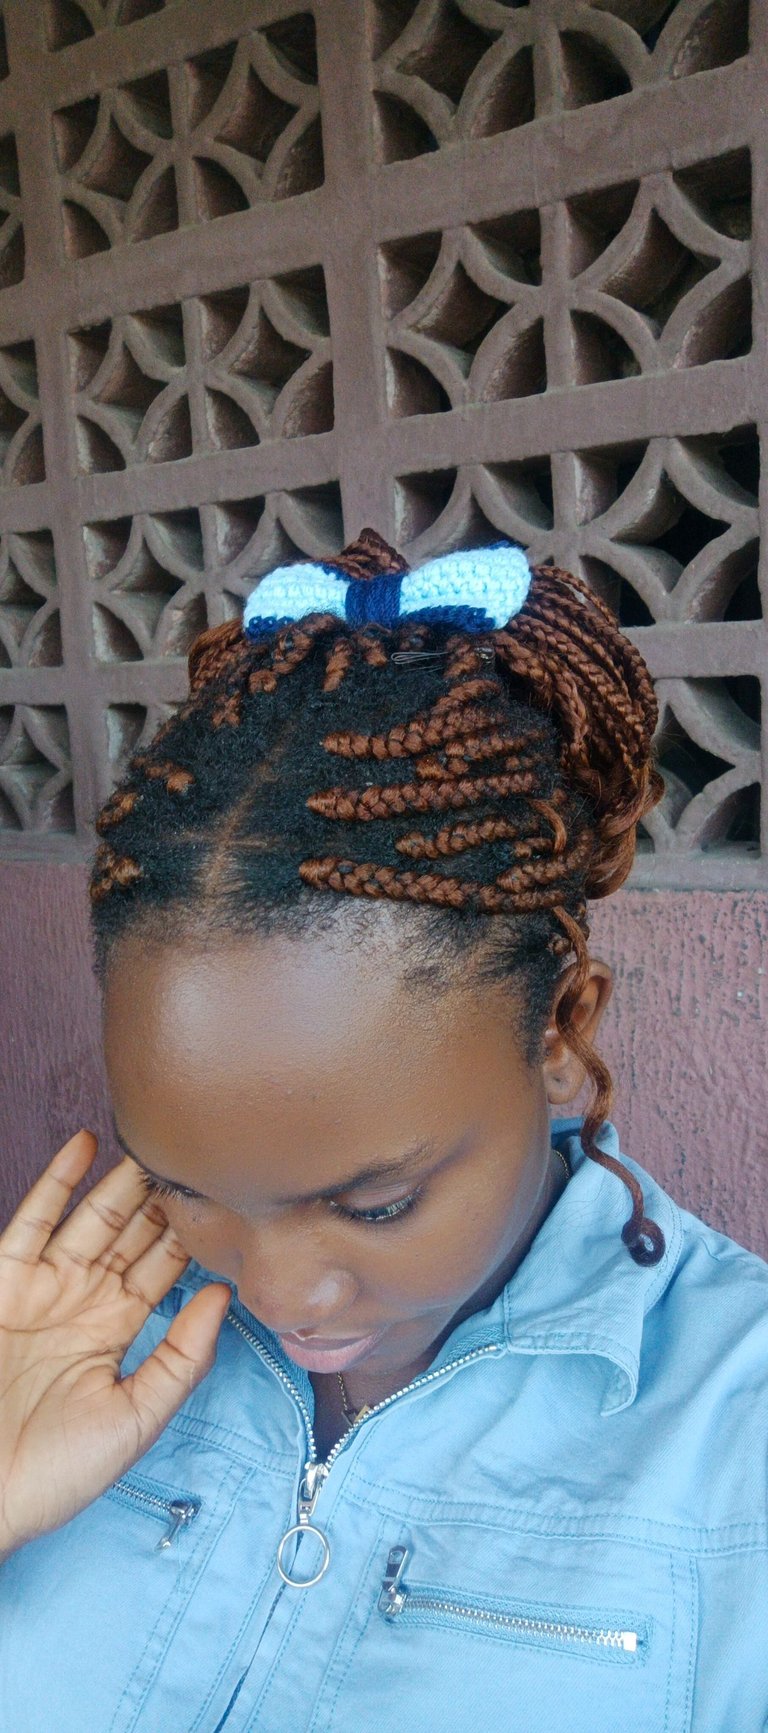
This brought me to the end of the project. This hollow crochet bow hair tie went really well with my outfit for the day and it also added a nice touch to my month old hair extensions.
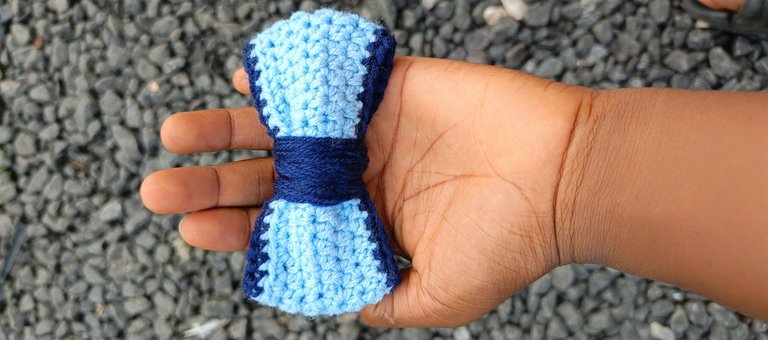
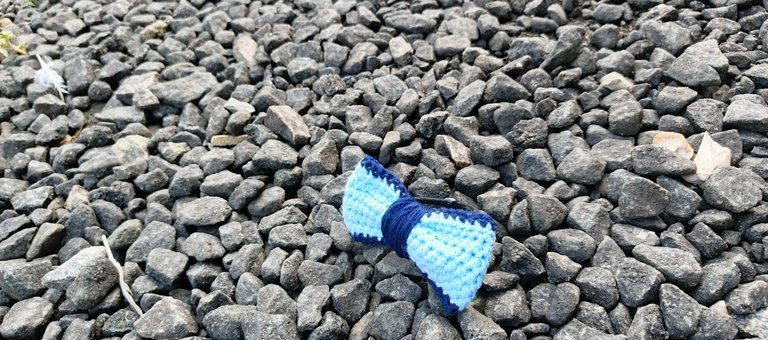
What do you think of the hollow crochet hair band?
All images used belong to me and were taken with my mobile device except stated otherwise.
Liebe🤍
Posted Using InLeo Alpha
A cute little bow. A great accessory. Simple and lovely m well done
Thank you lots😊
My own is that I have seen packing style for my hair tomorrow... Nice bow btw 😌
Fun fact, the style is s really decent one and doesn't take so much time.
Oh really? Would definitely give it a trial 🙂