Esp/Eng Diy UV Black-Light with Mobile | Diy ambiance/beauty light at home

Happy day my friends and welcome back to my tutorial, i have got a go-to easy peasy and fun diy tutorial you can try with our daily utility essential which is our mobile device, i show you to create a really unique lighting ambience on hand whenever you want. see below to learn about it.
Esp
Feliz día mis amigos y bienvenidos de nuevo a mi tutorial, tengo un go-to fácil peasy y divertido tutorial diy puede intentar con nuestra utilidad diaria esencial que es nuestro dispositivo móvil, te muestro para crear un ambiente de iluminación realmente único en la mano siempre que lo desee. ver a continuación para aprender sobre él.
Essentials Needed
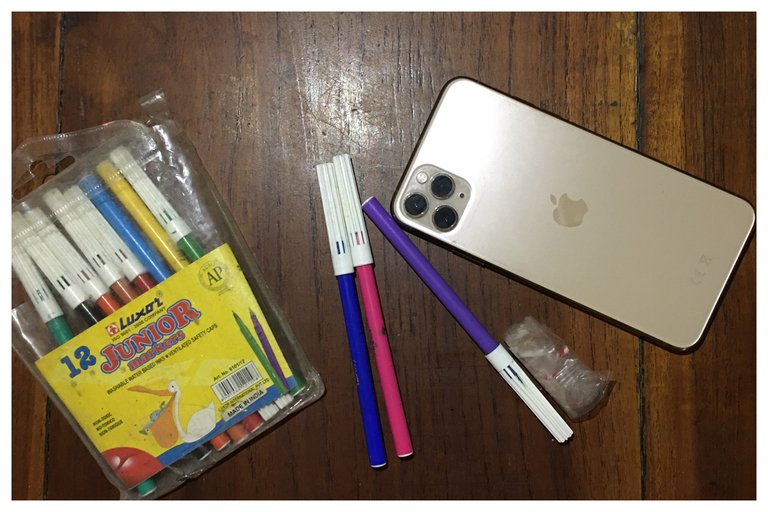
colouring ink markers
Mobile phone with torch glass
scissors
transparent tape
esp
Rotuladores de tinta para colorear
Teléfono móvil con linterna
tijeras
cinta adhesiva transparente
Step By Step Process
Step 1
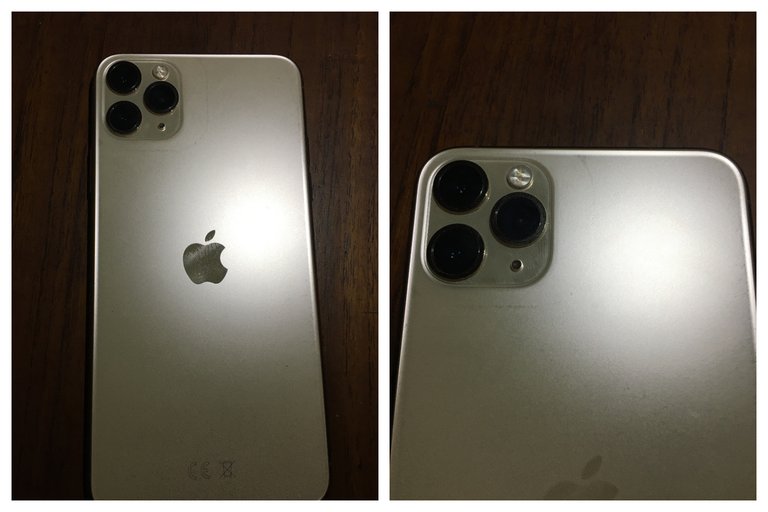
We begin immediately with the mobile phone, i show you an upclose look of what the torch glass at the back looks like, this is where the projection of our light is going to come from, the bigger the torch glass the better the brightness of our light. for my diy i am using the iphone 11 promax.
Empezamos inmediatamente con el móvil, os muestro de cerca como es el cristal de la linterna en la parte trasera, de aquí es de donde va a salir la proyección de nuestra luz, cuanto más grande sea el cristal de la linterna mejor será la luminosidad de nuestra luz. para mi diy estoy utilizando el iphone 11 promax.
Step 2
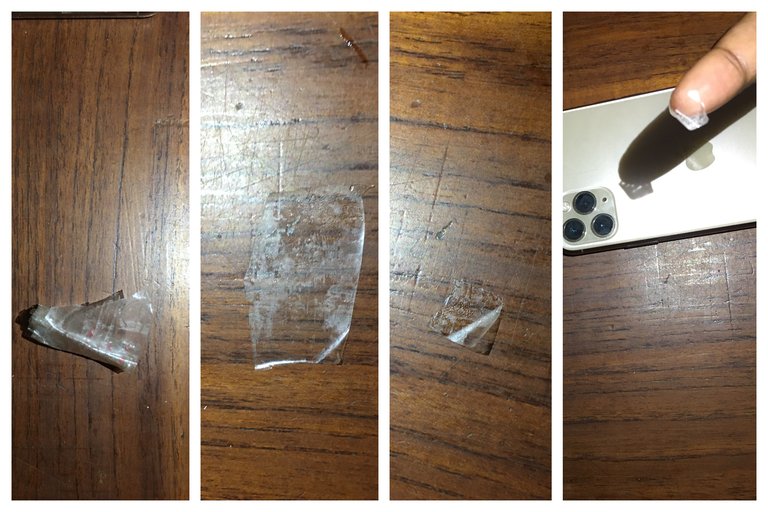
in this step i am taing the transaprent transparent tape wich i ahve cut with scissors in small squared i am going to be placing tit above the flash glass.
Step 3
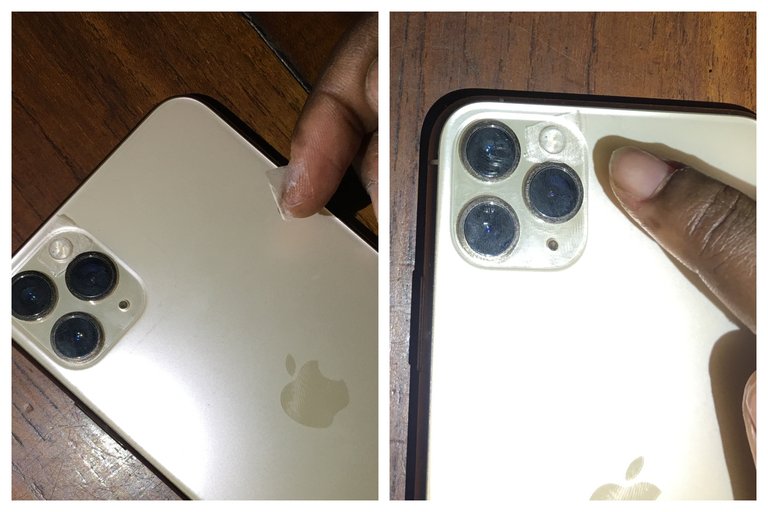
i have palced it above the glass and this is the look which i show you in photo2 in the grid.
before next step
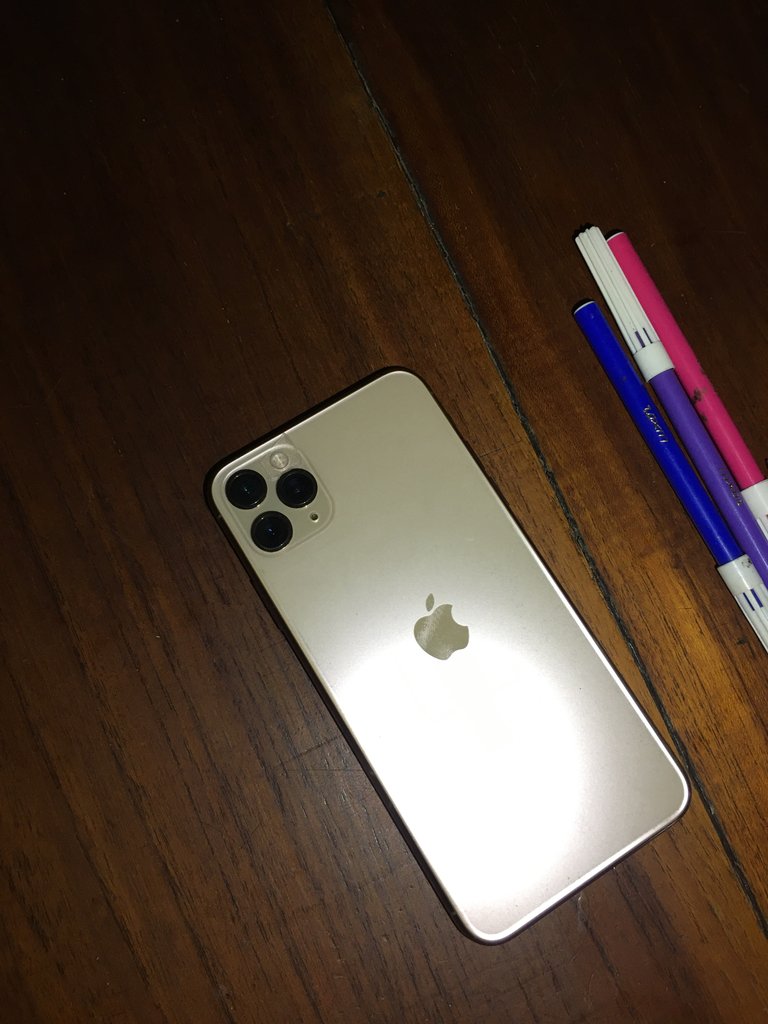
i prepared my markers in the other i am using them. we have the blue, pink and purple marker line up for use.
Step 4
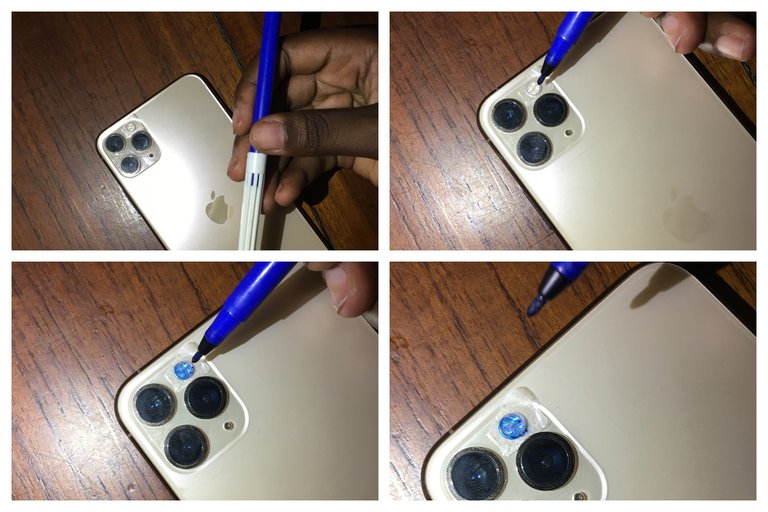
i began with the blue marker, paining over the tape till i have a prominent colour on the glass.
before next step
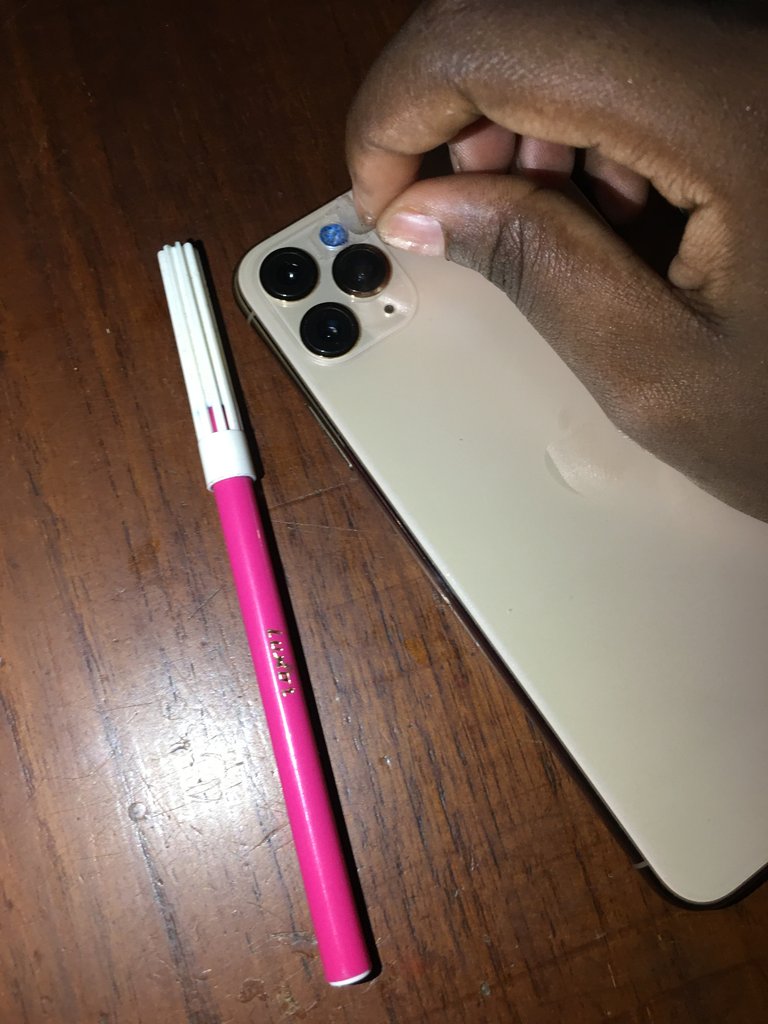
before the next step it take another squareshaped tape and place it over the blue colour tape.
Step 5
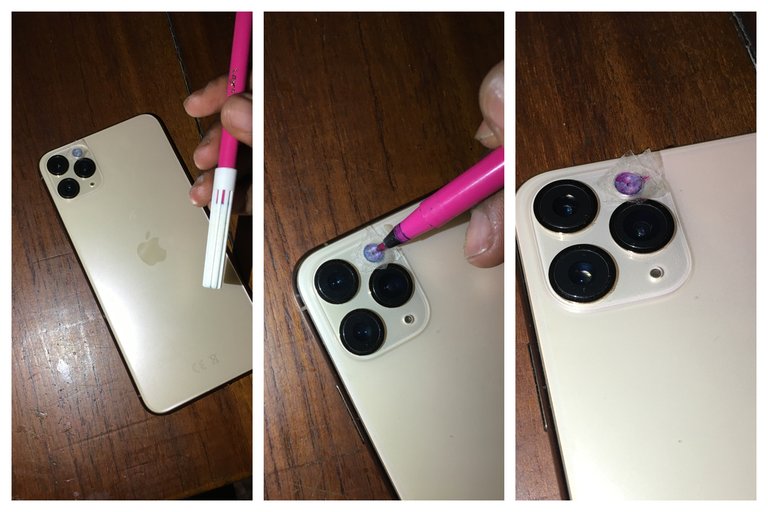
In this step i repeat the same process again, painting over the tape once more with the pink marker.
Step 6
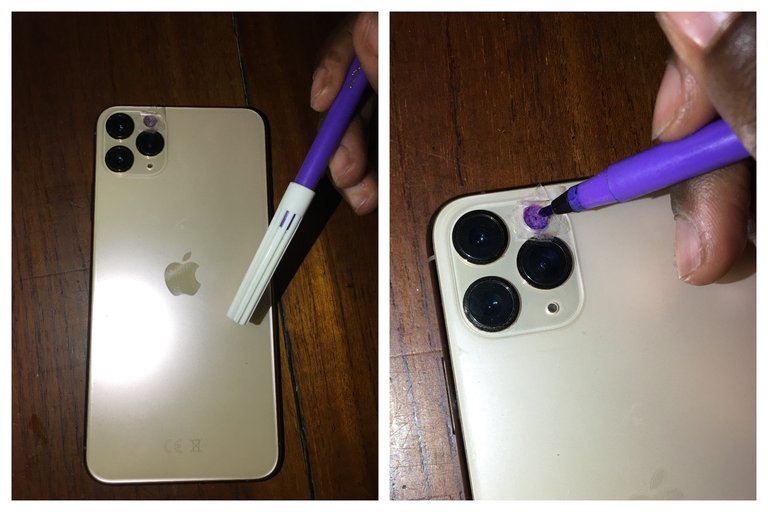
I repeat the same process over again this time i am lastly using the purple marker painting over a third tape once more.
Step 7
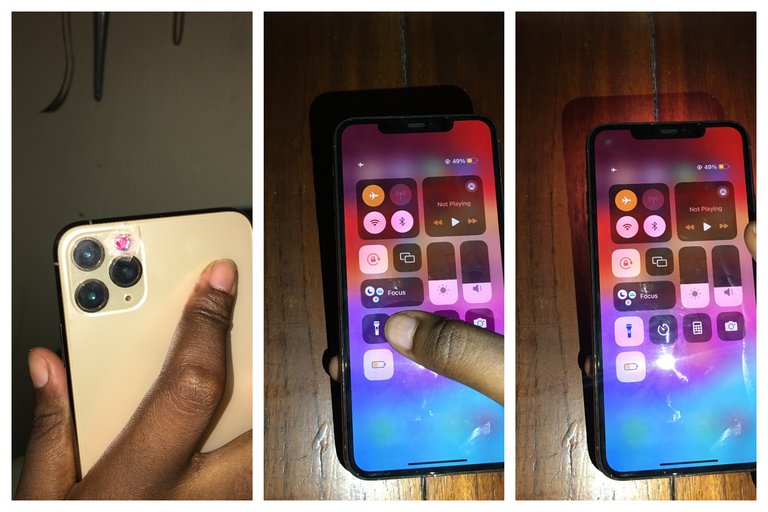
In this step we proceed to put on the flash light
Result!
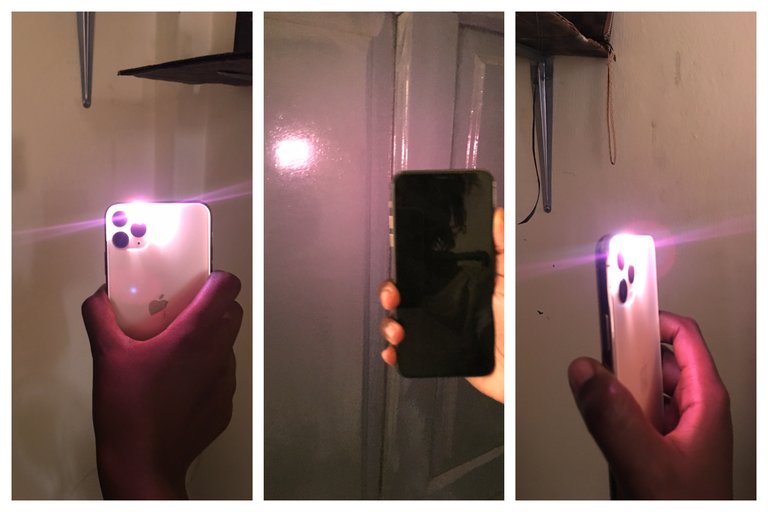
i really love the aesthetic of the result, to create even more lighting colours you can do this process with other colours of markers.
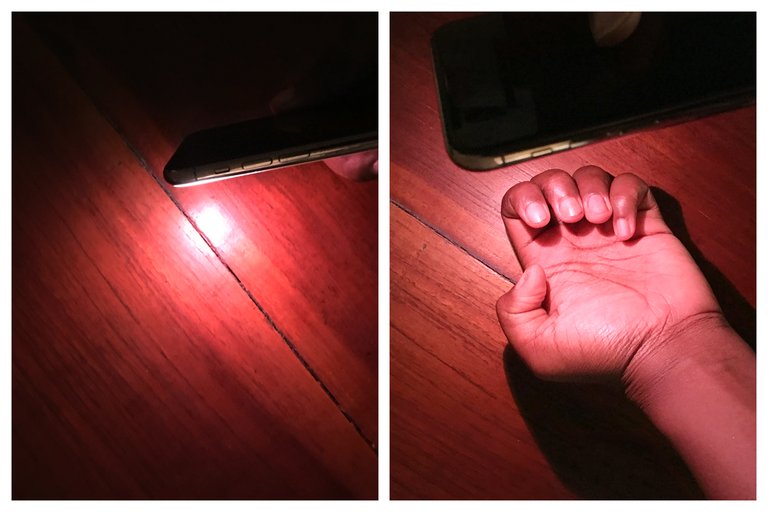
This is the resulting lighting look, it provides a soft neon inspired ambience to your light, which i believe comes in very handy if you are looking to capture content with a light like this, this si just a quick hack you can do with several other colours to and it will turn out beautifully.
Thank you for stopping by today, Lets hear your thoughts on this tutorial, i want to know how you like it in the comments below..see you soon.
All images are mine captured on mobile device
Posted Using INLEO