Esp/Eng 💅Affordable Beauty passion red Diy | press-on nails tutorial
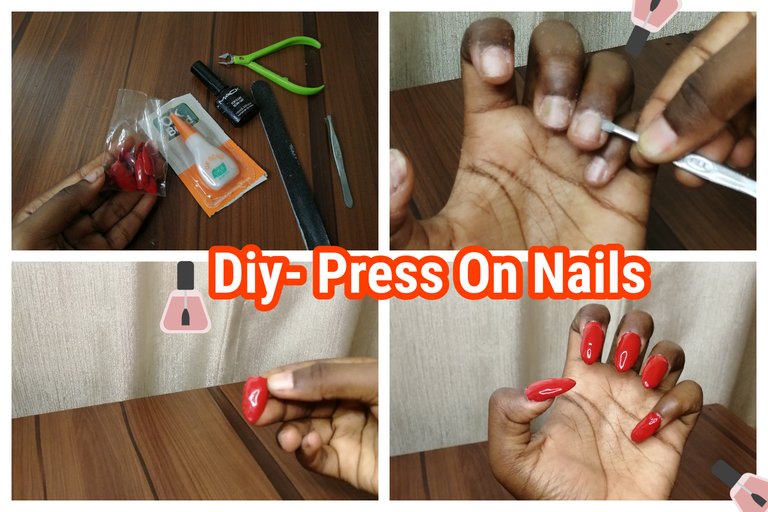
Happy new year my creative friends, today we have got an very simple beauty diy tutorial that enables one be economical with maintenance routine, i show you the best way to look polished and classy with a next to nothing cost on products. read below
Esp
Feliz año nuevo mis amigos creativos, hoy tenemos un tutorial de belleza diy muy simple que le permite a uno ser económico con la rutina de mantenimiento, te muestro la mejor manera de mirar pulido y con clase con un costo de casi nada en productos.
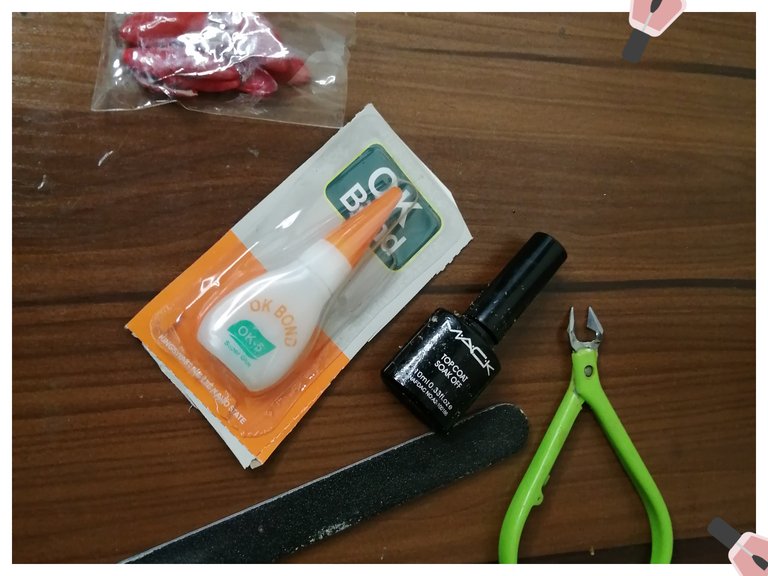
Products Used
Nail glue
acrylic top coat
nail file
cuticle cutter
fake press-on nails
cuticle pusher
esp
pegamento para uñas
top coat acrílico
lima de uñas
corta cutículas
uñas postizas a presión
empujador de cutículas
Step By Step Process
Step1
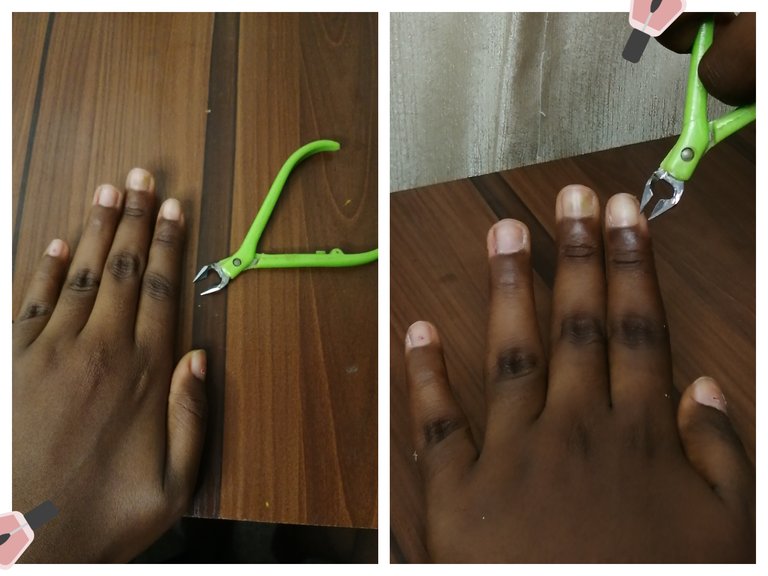
i first started with the cutting of my cuticle, with cuticle cutter, i trimmed each finger beds properly before proceeding.
primero empecé con el corte de mi cutícula, con cortador de cutícula, recorté cada lecho de los dedos correctamente antes de proceder.
Step 2
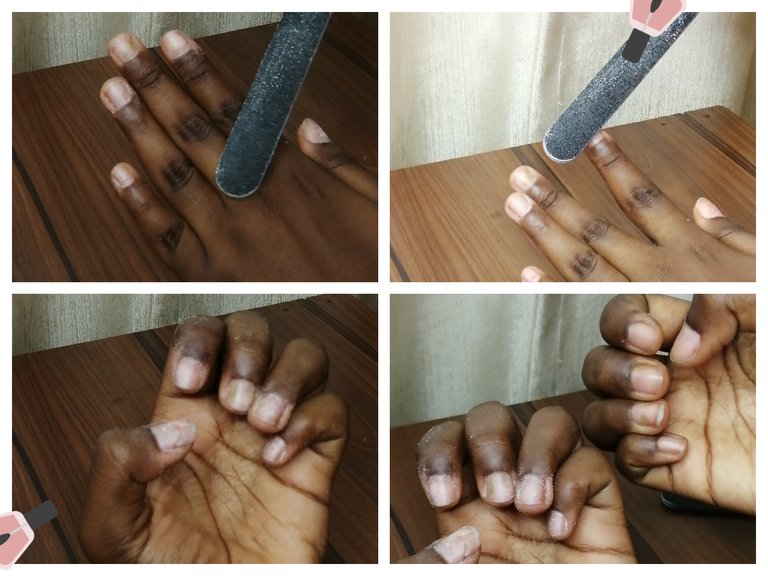
next i do the filing step , using the file i my all my finger nail bed,s this is done to remove extra nails shine and provide a rough surface so that the press on adheres well.
A continuacion, limo todas las uñas de los dedos con la lima para eliminar el brillo sobrante de las uñas y dejar una superficie rugosa para que el adhesivo se adhiera bien.
Step3

My next step i and using the cuticle pusher to push back my nail beds.
Mi siguiente paso es usar el empujador de cutículas para empujar hacia atrás el lecho ungueal.
Step 4
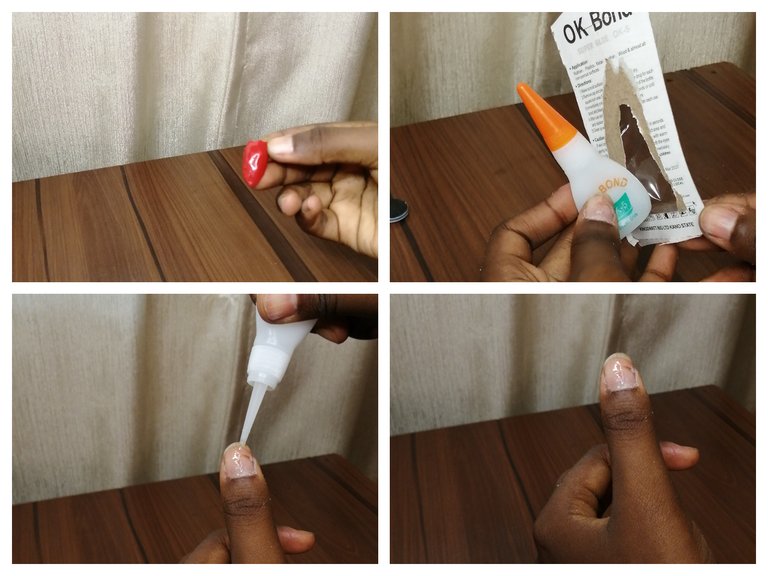
Here we have proceeded to the gluing of the press-on nails after my fingernails must-have been prepped well and ready to stick the fake nails.
Aquí hemos procedido al pegado de las uñas postizas después de que mis uñas hayan estado bien preparadas y listas para pegar las uñas postizas.
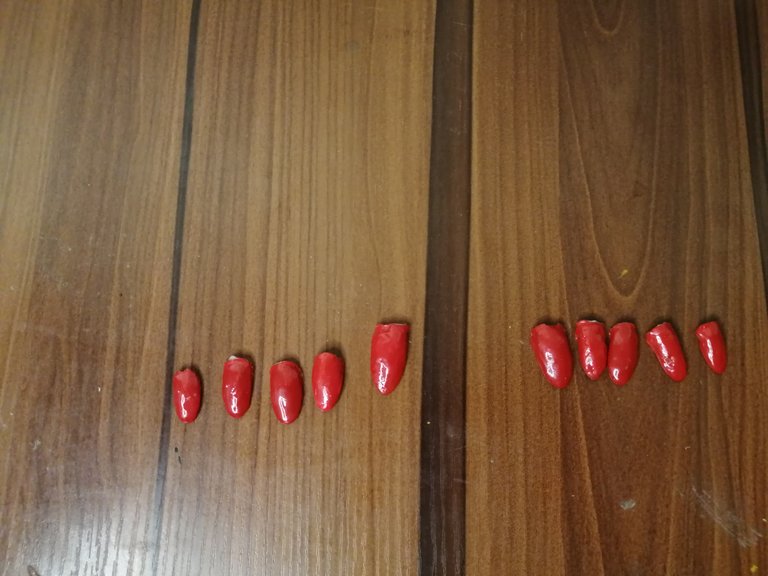
i have aligned the press on-nails in the order i am applying them
Step 5
i began applying the glue to my finger nails and pressing on the nails unto my fingers simultaneosuly, pressing down on hold to make sure they stick properly. an i did this for the rest of the press-on and completed this step.
step 6
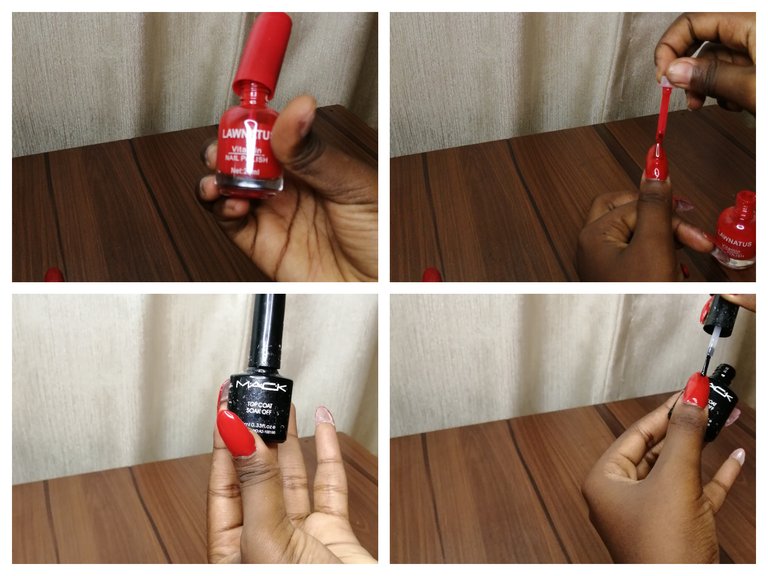
in this step i am doing a top coat application, applying a red gel polish to make the colour more vibrant , i also proceeded to add a top-coat acrylic shine to create a glossy look and shine to the surface.
The Result!
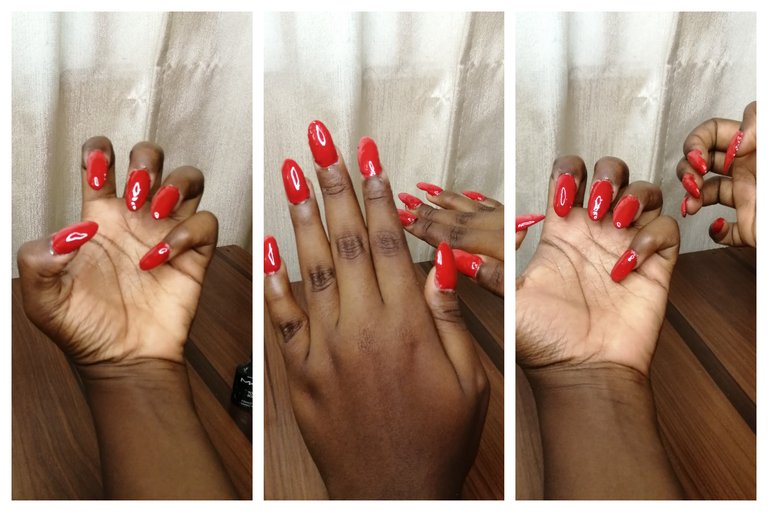
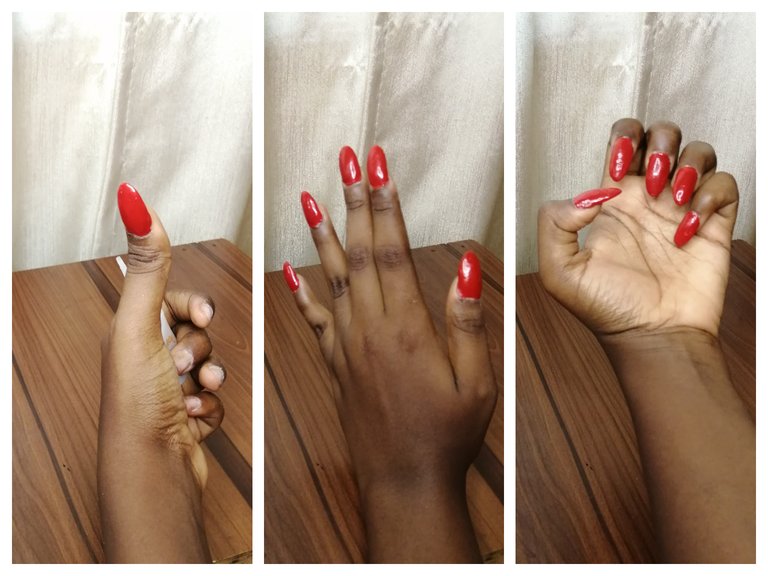
i completed my other finger and this if the final look
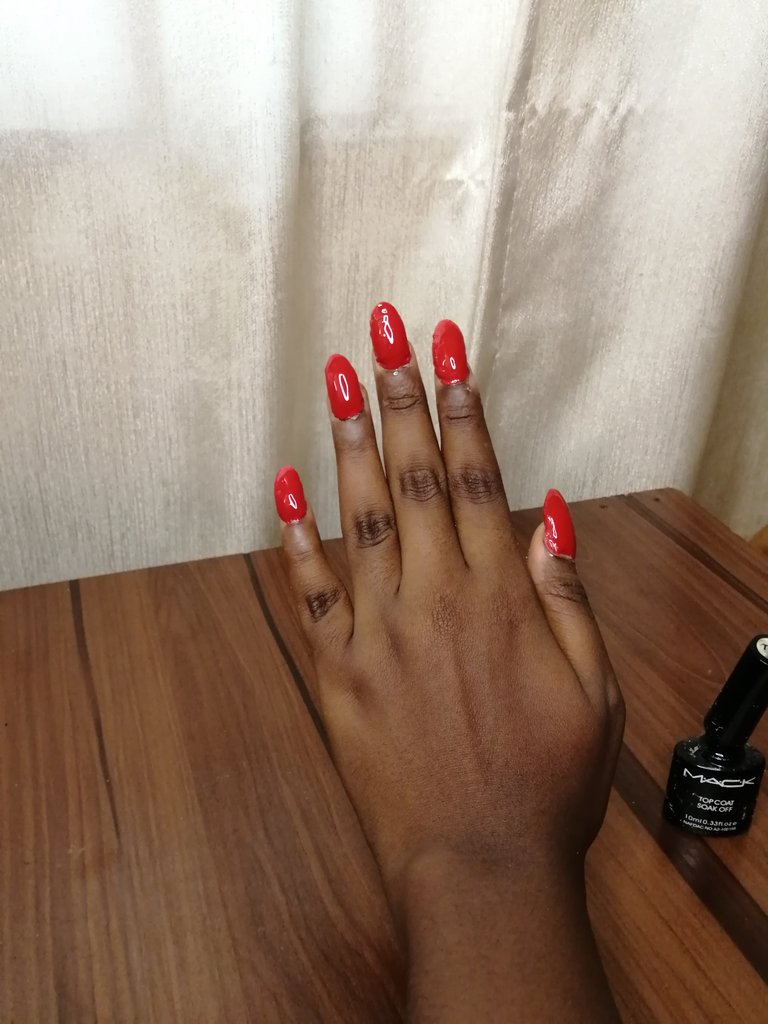
here is a more uplcose symmetrical angle view of the nails
what are your thoughts on press on nails, i personally feel it is indeed economical and pretty easy to do, it is something you can wake you and take 5 minutes to complete before attending any engagement you have for your day, lets here yiur opinion
All images are mine captured on mobile device
Traducción realizada con la versión gratuita del traductor DeepL.com
Posted Using INLEO
Que hermosas amiga, soy manicurista y me encanta este mundo. Bendiciones 😘.
I know right, i am glad to have shared with you, thank you for your review it is much appreciated.. 🙏
♦️ You got 0.01 FELT for sharing high vibes on Hive.
♦️ FELT gifts sponsored by Aquarius Academy school of consciousness.