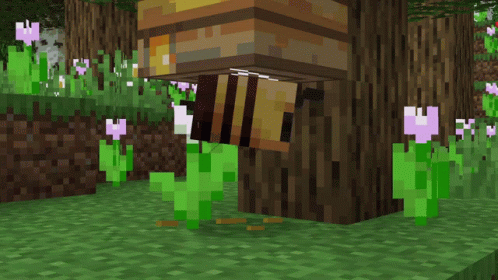
Minecraft - Bee / Crafting (ESP/ENG)
Hola crafters y amantes de Minecraft, hoy quiero compartirles una manualidad super divertida y fácil de hacer, nuestra propia abejita de Minecraft en versión papelcraft y Lo mejor de todo es que no necesitas ser un experto en manualidades para crearla, basta con un poco de tiempo, ganas y creatividad.
Esta abejita no solo es un detalle perfecto para decorar tu escritorio o estantería, sino también una forma genial de expresar arte con lo que tengas a la mano. Así que si eres fan de Minecraft y te gusta dar vida a tus personajes favoritos anímate.
El resultado es un accesorio exclusivo, alegre y coleccionable, ideal para fans que quieren darle un toque único a su día a día, porque hasta algo tan simple puede convertirse en una experiencia llena de magia y aventura.

Los materiales que utilizaremos son muy sencillos de conseguir y con cosas que sencillamente puedes tener en tu casa voy a explicar paso a paso como realizar esta sencilla manualidad.
Los materiales son:
— Cartulina color amarilla (también puedes usar hoja blanca y pintarla)
— Marcadores de diferentes tonos (amarillo, naranja, marrón y beige)
— Tijeras
— Pegamento escolar
Una vez reunidos todos estos materiales, comenzamos a pintar, para esto no hay que ser experto, solo tener cuidado para no mancharlo todo y dejaré una guía por si acaso prefieren guiarse de allí.
Así se pueden apreciar mejor los colores y todos los elementos por separados y la paleta de colores opcionales que vamos a utilizar.

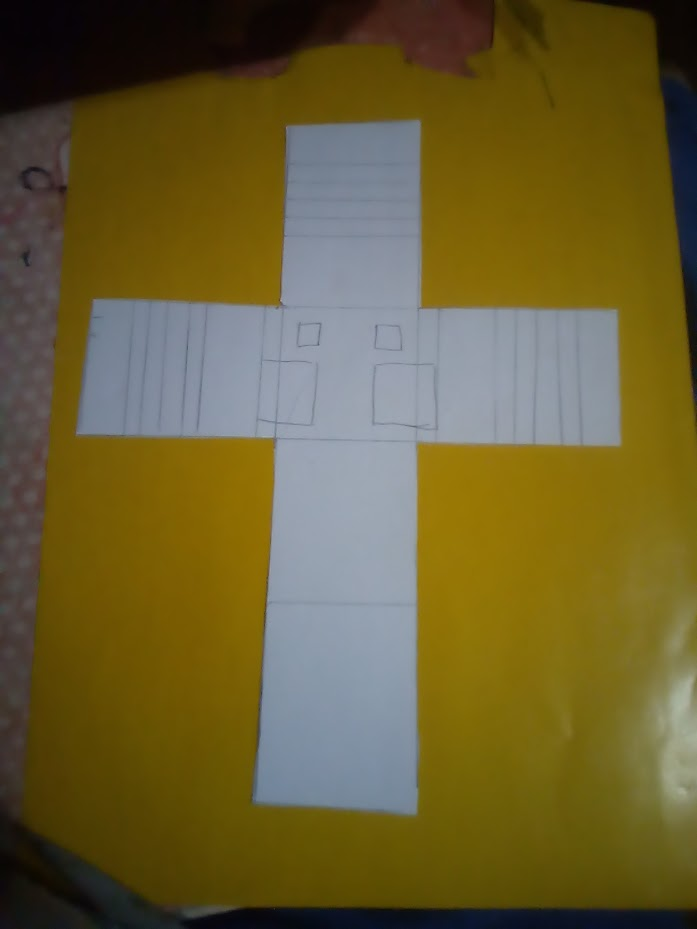
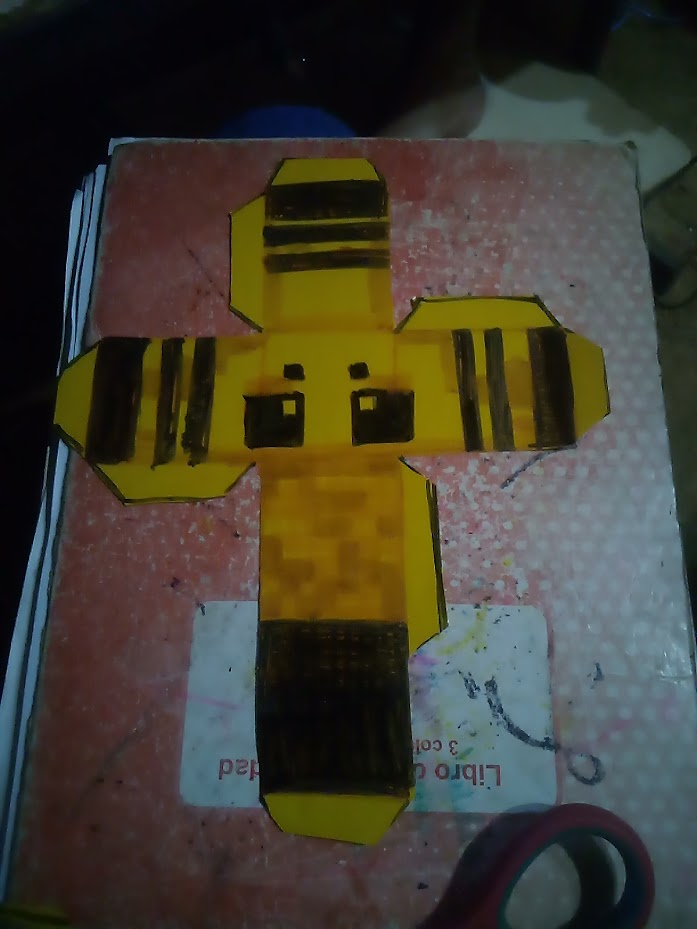
Comenzamos trazando una especie de cruz en una hoja en blanco para saber donde irán cada elemento de la abeja.

 |  |
|---|
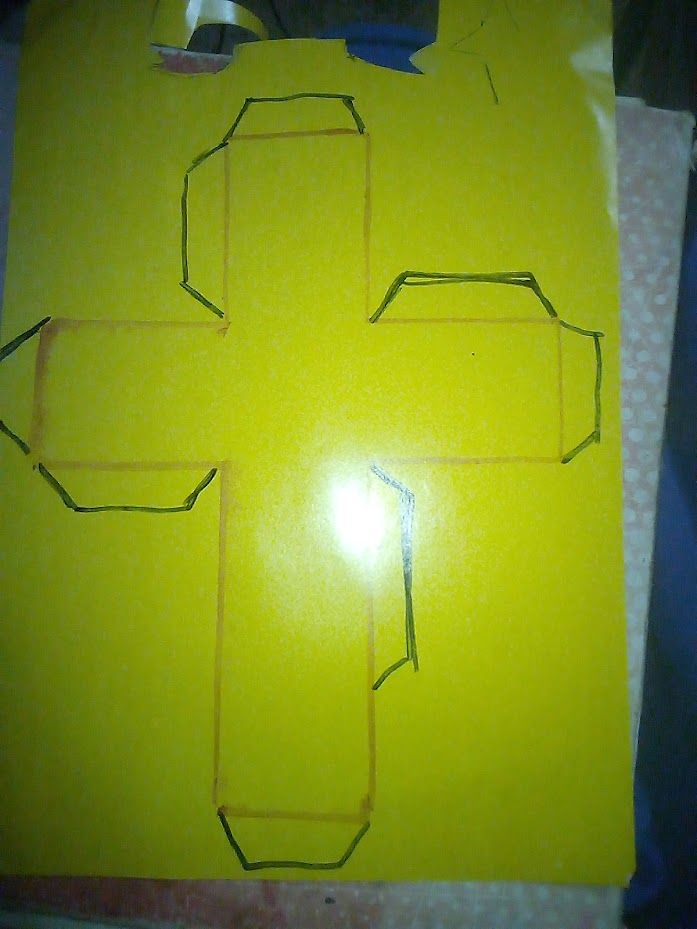
Luego con la cartulina, papel lustrillo u hoja blanca marcamos de nuevo la abeja, pero esta vez dejando unas uniones a los lados porque allí es donde se unirá nuestro diseño, incluso puedes tratar de hacer la abeja con foami, cualquier material es válido.

 |  |
|---|
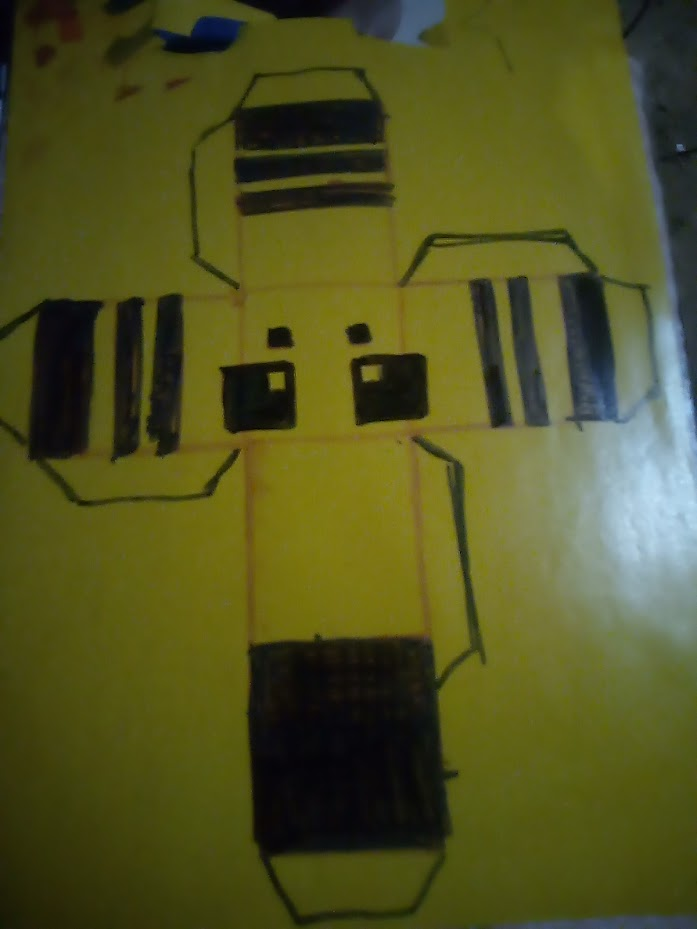
Vamos colocando los detallitos como mejor les parezca, yo los coloqué de esta manera, sin embargo, ustedes pueden improvisar en como colocarlos.

Para estos detalles decidí usar marcador porque se me terminó la tinta china y también vamos a hacer una especie de degradado con los colores simplemente colocando una capa de amarillo, uno más fuerte que el anterior en dirección horizontal y vertical.
Así nos dará ese efecto de cuadrícula que tanto se caracteriza el juego o para reforzar más ese concepto.
Con un lapicero negro y una regla vamos a marcar varias líneas, esto pueden hacerlo antes de pintar, así les queda todo derecho, en mi caso no lo aplique porque la tinta podría manchar el diseño cuando aplicara el marcador.
 |  |  |
|---|
Para las antenas de la abeja solo vamos a hacer este sencillo trazo con marcador, no hace falta ser perfectos.

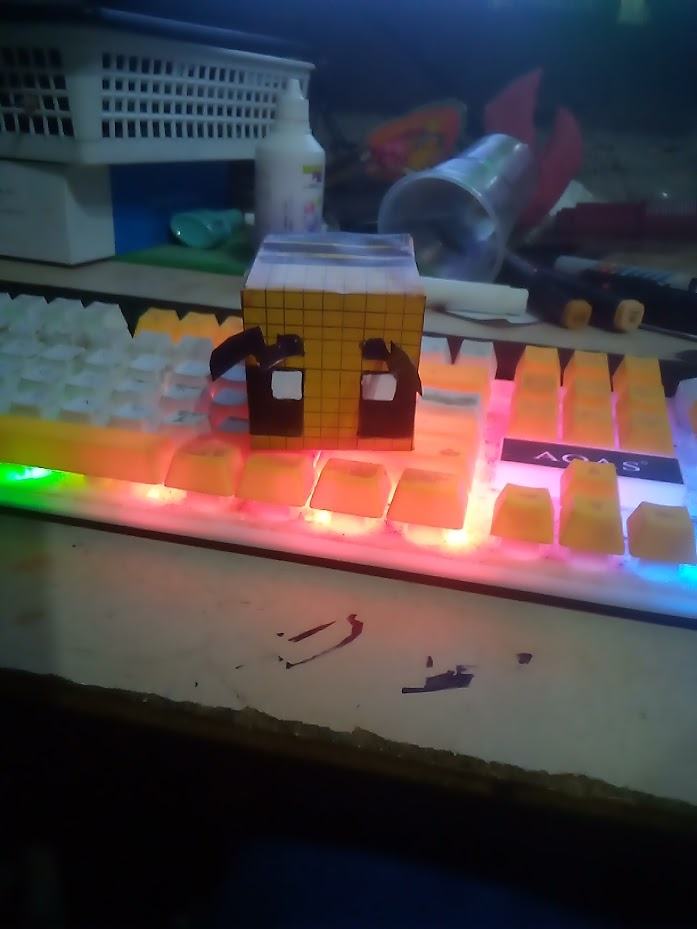
Y aquí es cuando viene lo divertido el momento de plegar cada esquina y pegar con pegamento blanco para unir todas las piezas como si se tratara de un rompecabezas.
 |  |
|---|
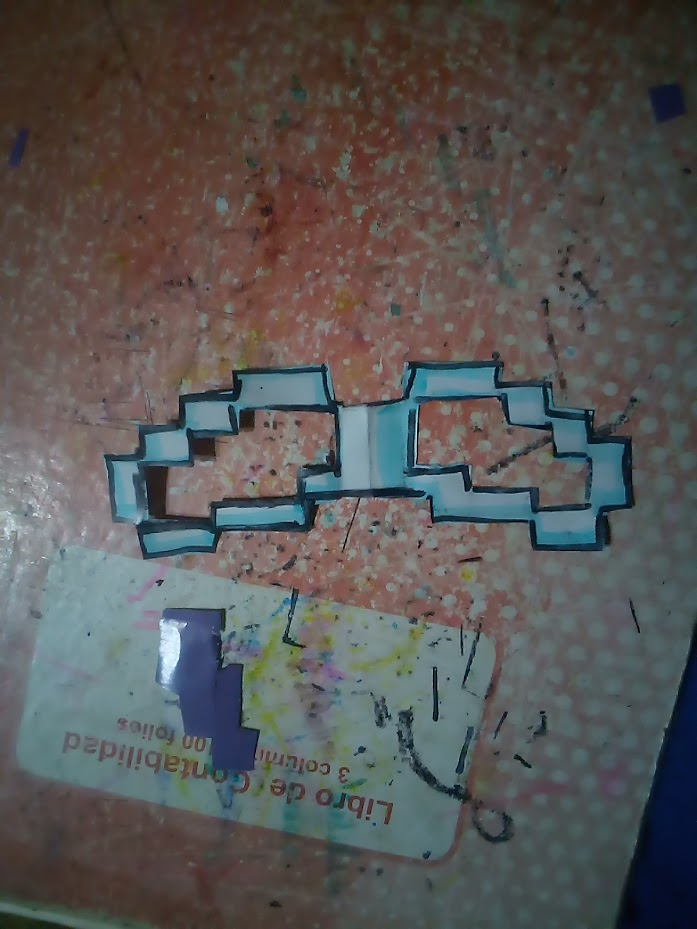
Ya solo nos faltan las alas, las delineamos con azul y cortamos como se muestra en la foto.

 |  |
|---|
.................................................................
F U L L // A R T
.................................................................
 |  |
|---|
Considera unirte a nuestro trail de curación en HIVEVOTE haciendo clic en la imagen inferior, Les agradecemos todo el apoyo.

A todos los artistas ahí afuera en HIVE, si alguna vez se sienten solos y perdidos, únanse al canal de Discord de Bokura No Digital World
! [ENGLISH VERSION GENERATED BY GOOGLE TRANSLATE]
Hello crafters and Minecraft lovers, today I want to share with you a super fun and easy craft: our very own papercraft version of the Minecraft bee. The best part is that you don't need to be a craft expert to create it; all you need is a little time, enthusiasm, and creativity.
This bee is not only a perfect accent to decorate your desk or shelf, but also a great way to express art with whatever you have on hand. So, if you're a Minecraft fan and like to bring your favorite characters to life, give it a try.
The result is an exclusive, cheerful, and collectible accessory, ideal for fans who want to add a unique touch to their everyday life, because even something so simple can become an experience full of magic and adventure.
The materials we'll be using are very easy to obtain, and with things you can easily find at home, I'll explain step by step how to make this simple craft.
The materials are:
— Yellow cardstock (you can also use white paper and paint it)
— Markers of different shades (yellow, orange, brown, and beige)
— Scissors
— School glue
Once all these materials are gathered, we'll begin painting. You don't have to be an expert for this; just be careful not to stain everything. I'll leave a guide in case you prefer to follow that path.
This way, you can better appreciate the colors and all the elements separately, along with the optional color palette we'll be using.
We begin by drawing a kind of cross on a blank sheet of paper to know where each element of the bee will go.
| |
|---|
Then, using the cardboard, glossy paper, or white paper, we mark the bee again, but this time leaving some joins on the sides because that's where our design will be joined. You can even try making the bee with foam; any material is valid.
| |
|---|
Let's place the little details as you see fit. I placed them this way, but you can improvise on how you place them.
For these details, I decided to use a marker because I ran out of India ink. We're also going to create a sort of gradient with the colors by simply applying a layer of yellow, one stronger than the previous one, horizontally and vertically.
This will give us that grid effect that characterizes the game, or to further reinforce that concept.
With a black pen and a ruler, we'll mark several lines. You can do this before painting so everything looks straight. In my case, I didn't apply it because the ink could stain the design when I applied the marker.
| | |
|---|
For the bee's antennae, we're just going to make this simple marker line; you don't need to be perfect.
And this is where the fun part comes: folding each corner and gluing it with white glue to join all the pieces together like a puzzle.
| |
|---|
Now we only need the wings, we outline them with blue and cut them as shown in the photo.
| |
|---|
.................................................................
F U L L // A R T
.................................................................
| |
|---|
Grateful to all of you who are also part of my life. 💖
Well, from here I say goodbye, I hope you like my work like I do every day that I see and know that there are people dedicated to commenting on me and giving me encouragement to continue.

¡Felicitaciones!
Estás participando para optar a la mención especial que se efectuará el domingo 7 de septiembre del 2025 a las 8:00 pm (hora de Venezuela), gracias a la cual el autor del artículo seleccionado recibirá la cantidad de 1 HIVE transferida a su cuenta.
¡También has recibido 1 ENTROKEN! El token del PROYECTO ENTROPÍA impulsado por la plataforma Steem-Engine.
1. Invierte en el PROYECTO ENTROPÍA y recibe ganancias semanalmente. Entra aquí para más información.
2. Contáctanos en Discord: https://discord.gg/hkCjFeb
3. Suscríbete a nuestra COMUNIDAD y apoya al trail de @Entropia y así podrás ganar recompensas de curación de forma automática. Entra aquí para más información sobre nuestro trail.
4. Visita nuestro canal de Youtube.
Atentamente
El equipo de curación del PROYECTO ENTROPÍA