Home ceiling insulation #2
About three weeks ago, I mentioned the renovation we did inside the house. Because the renovation took so long and was so extensive, I divided it into two parts.
https://hive.blog/hive-146620/@tht/home-ceiling-insulation-1
We waited for the work done in the first section to dry. Moving on to the next step before the plaster has dried would cause problems. In this section, the plasterboard installation and painting were carried out.
Yaklaşık 3 hafta önce evin içinde yaptığımız tadilattan bahsetmiştim. Tadilat oldukça uzun sürdüğü için ve çok kapsamlı olduğu için iki bölüme ayırdım. İlk bölüm için buraya tıklayın. . İlk bölümde yaptığımız işlemlerin kurumasını bekledik. Alçılar kurumadan bir sonraki adıma geçmek sorunlara neden olur. Bu bölümde kartonpiyer döşenmesi ve boyama işlemleri yapıldı.
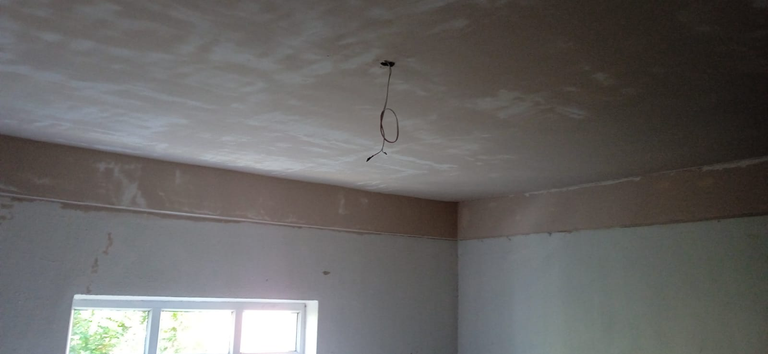
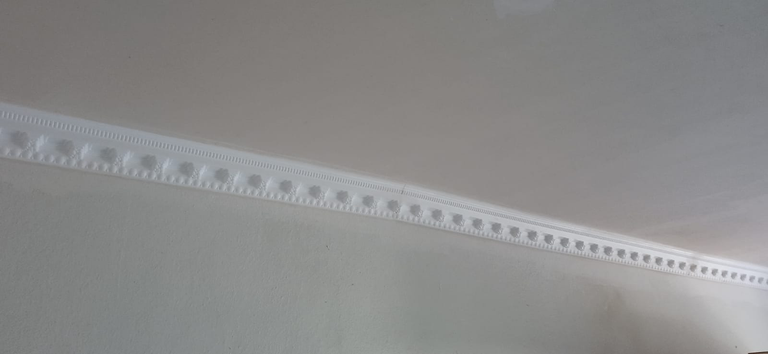
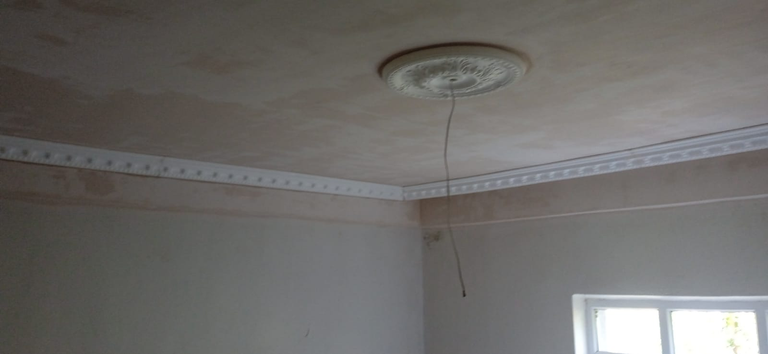
Before the satin plaster dries, it appears red. After it dries, it turns a pure white. We removed the lamps and removed the wiring. *Saten alçı kurumadan önce bu şekilde kırmızı renkte gözüküyor. Kuruduktan sonra bembeyaz bir renge dönüşüyor. Lambaları söküp, kablolarını uzakttık.
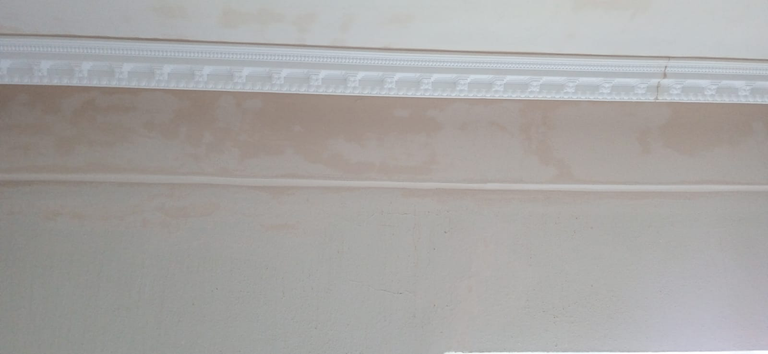
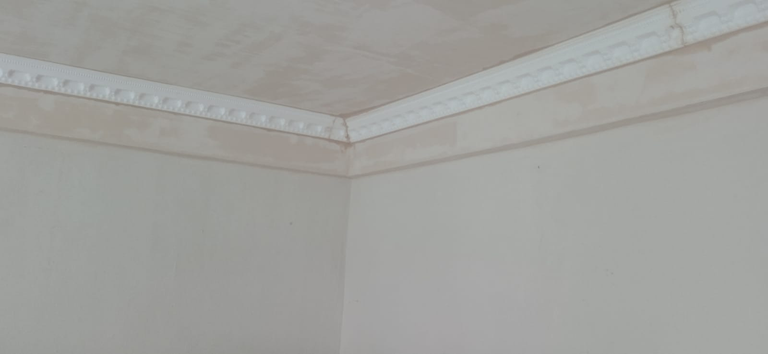
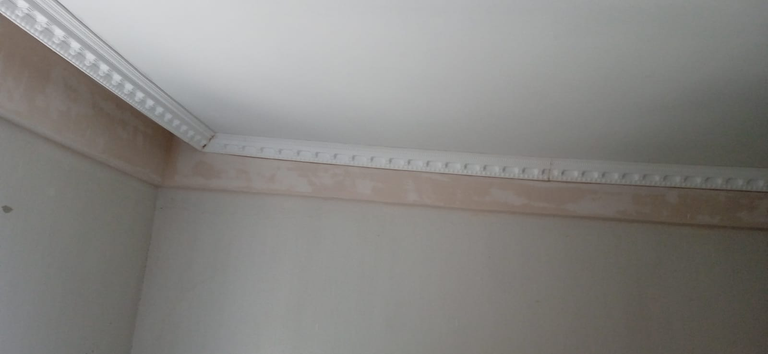
The plasterboards are several meters long. They need to be glued together. They adhere easily with satin plaster. Once the plaster dries, it turns the same color as the plasterboard. Even if you look closely, it's hard to tell that they're glued together.
Kartonpiyerler bir kaç metre boyunda. Bunların birbirine yapıştırılması gerekiyor. Saten alçı ile kolayca birbirine yapışıyor. Alçı kuruduktan sonra kartonpiyer ile aynı renge dönüşüyor. Dikkatlice bakılsa dahi bunların birbirine yapıştırıldığı zor ayırt ediliyor.
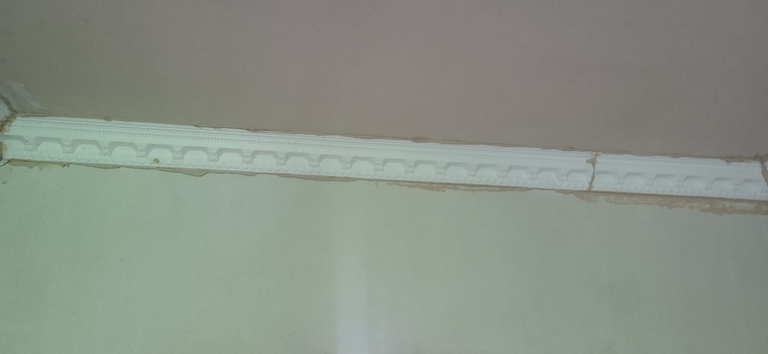
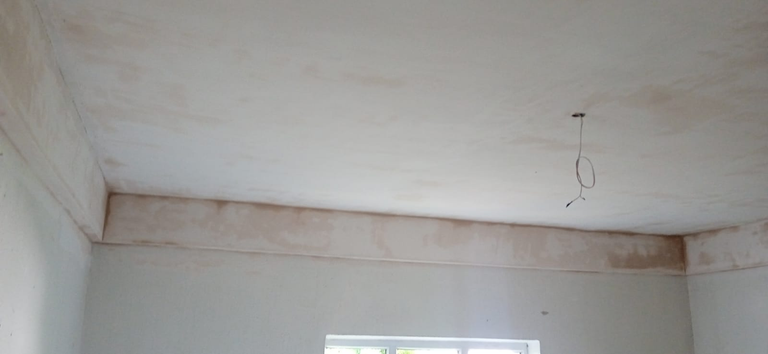
As you can see in the picture, the difference between wet plaster and dried plaster is evident. Excess plaster can be wiped away with a sponge to create a more aesthetically pleasing appearance.
Resimde gördüğünüz gibi yaş alçı ile kuruyan alçı arasındaki fark. Fazla sürülen alçı bir sünger yardımı ile silinip daha estetik görünmesi sağlanıyor.
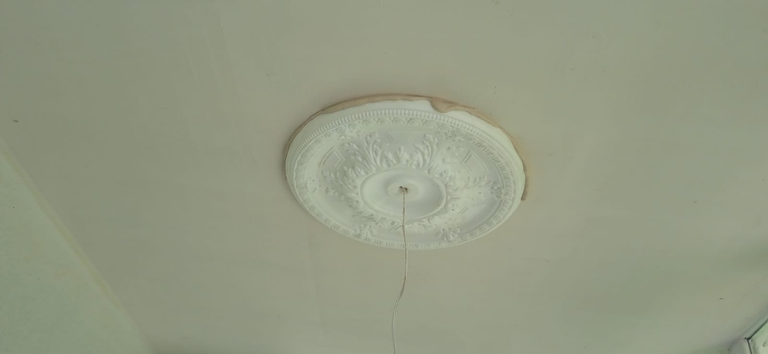
We used plaster to adhere the core foam to the area where the lamps were located. We then cleaned off the excess plaster with a sponge.
Lambaların olduğu bölgeye alçı yardımıyla göbek köpüğü yapıştırdık. Fazla alçıyı yine sünger yardımı ile temizledik.
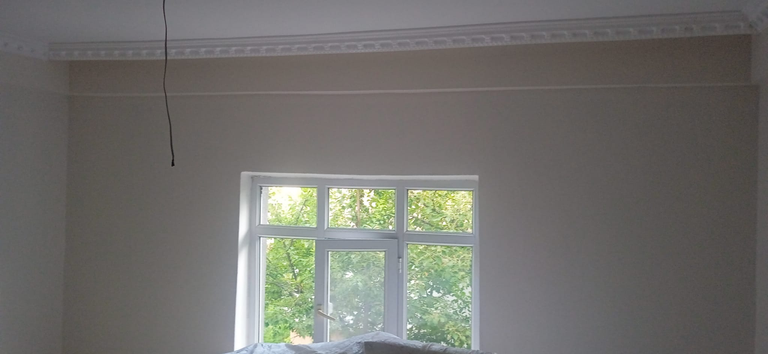
We took another day off to allow the plaster to dry thoroughly. Then, we started painting. Our house is approximately 110 square meters. Approximately 25 kg of paint was used. Here's what the house looks like after it's painted. Once the paint dries, it begins to look more aesthetically pleasing.
Alçıların iyice kuruması için bir gün daha ara verdik. Ardından boyama işlemine geçildi. Evimiz yaklaşık 110 metre kare. Yaklaşık 25 kg boya kullanıldı. Evin boyamış hali de bu şekilde. Boya kuruduktan sonra daha estetik gözükmeye başlar.
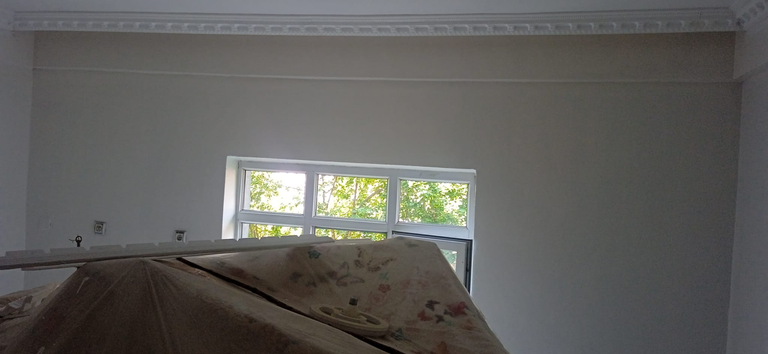
Once the painting was complete, the hardest part remained: removing the tarpaulins and covers we'd placed over the furniture and then returning it to its original location. We were very careful because there was dust on the covers. We wiped up the small amount of dust on the floor and then returned the furniture to its original location.
Boyama işlemi de bittikten sonra işin en zor kısmı kaldı. Eşyaların üzerine serdiğimiz örtüleri, brandaları kaldırmak ardından eşyaları eski yerlerine bırakmak. Oldukça hassas davrandık çünkü örtülerin üstünde toz vardı. Yerde çok az miktarda bulunan tozları sildik, ardından eşyaları yerlerine bıraktık.
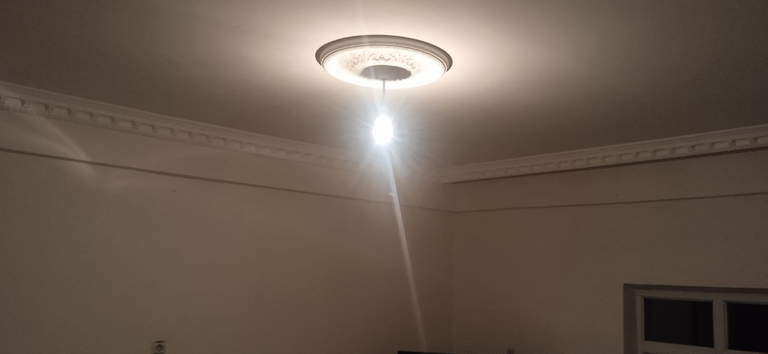
This is the current state of the house. I took the photo at night, so it looks a bit dark. Our house is old, but with this renovation, it's become a bit younger. :)
Evin son hali bu şekilde. Fotoğrafı gece vakti çektim, bir miktar karanlık gözüküyor. Evimiz eski ev, bu tadilat ile birlikte gençleşti biraz:)