🎨 {25/03/25} ✦ 𝐓𝐮𝐭𝐨𝐫𝐢𝐚𝐥: "How to prepare a puzzle to frame?" 🌙 🌸 🎐 カードキャプターさくら (easy and safe way) ✦ 🇪🇸 │ 🇺🇸
✦ It's been 84 years! - Collage & Edition in FotoJet, photos by @Tesmoforia ✦

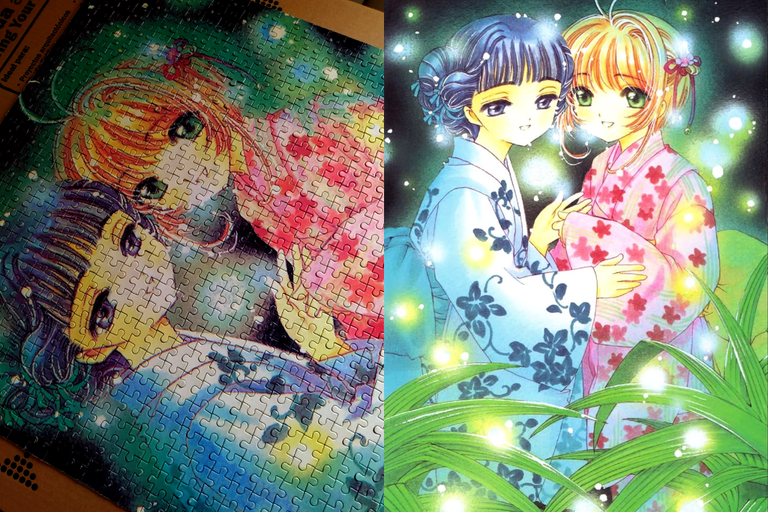
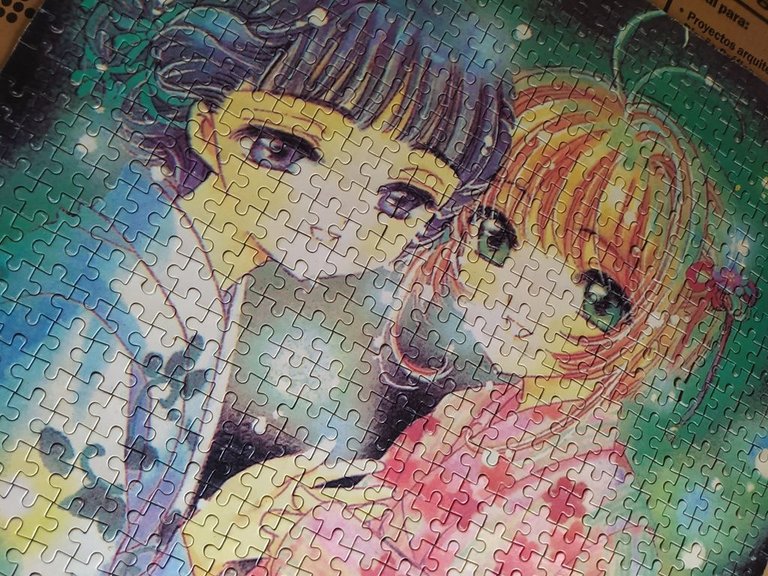
🇪🇸 ~ Hace 15 años me regalaron este rompecabezas, muchas veces lo armé y lo desarmé por temas de mudanza.
Decidí que éste es el año en que por fin hara su viaje con el carpintero y POR FIN podré colgarlo en el lugar de honor que merece.
🇺🇸 ~ Fifteen years ago I was given this puzzle, and I have put it together and taken it apart many times due to moving.
I have decided that this is the year it will finally make its journey with the carpenter and I will FINALLY be able to hang it in the place of honor it deserves.

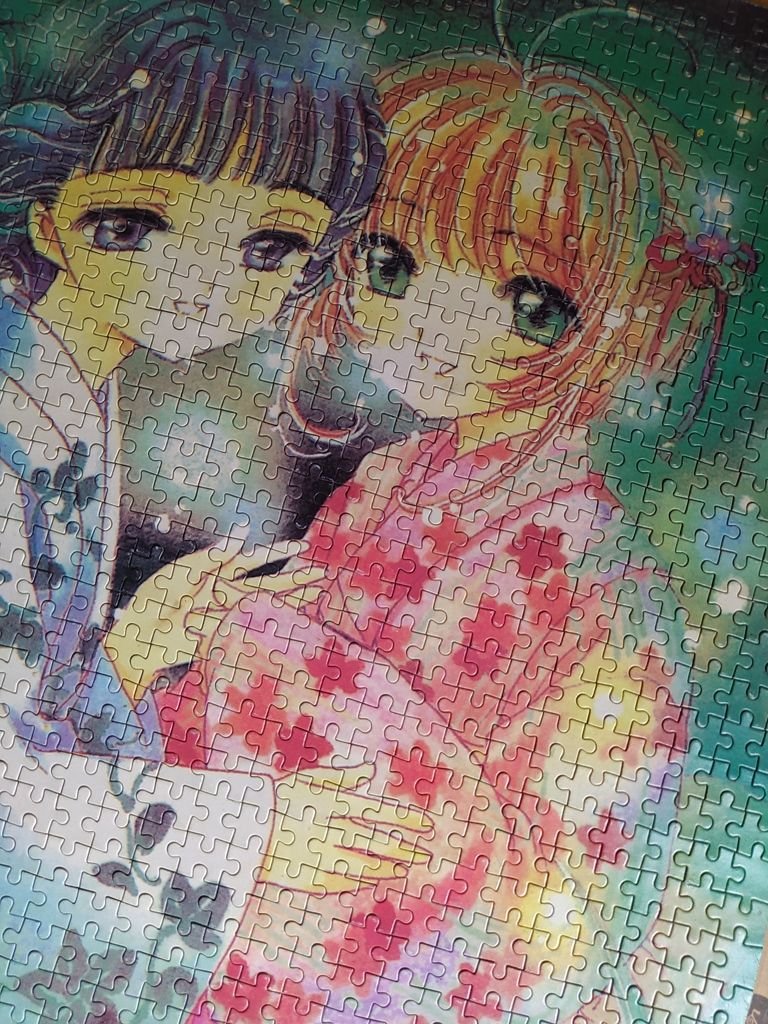
✦ カードキャプターさくら - Cardcaptor Sakura 1998 / CLAMP ✦
Hay distintas maneras de hacerlo, muchos accidentes pueden ocurrir en el camino, es una necesidad fijar las piezas... ¿verdad que da miedo?.
Superemos ese miedo a estropearlo y vamos a fijar nuestros queridos rompecabezas.
⏳ Tiempo: ⭐⭐⭐/ 5.
🚀 Dificultad: ⭐⭐⭐/ 5.
🪙 Costo aproximado: ⭐⭐/ 5.
There are different ways to do it, many accidents can happen along the way, it's a necessity to fix the pieces? isn't that scary?.
Let's get over that fear of messing it up and fix our beloved puzzles.
⏳ Time: ⭐⭐⭐/ 5.
🚀 Difficulty: ⭐⭐⭐/ 5.
🪙 Approximate cost: ⭐⭐/ 5.

« 𝕋 𝕆 𝕆 𝕃 𝕊 • 𝔸 ℕ 𝔻 • 𝕄 𝔸 𝕋 𝔼 ℝ 𝕀 𝔸 𝕃 𝕊 »
 |
|---|
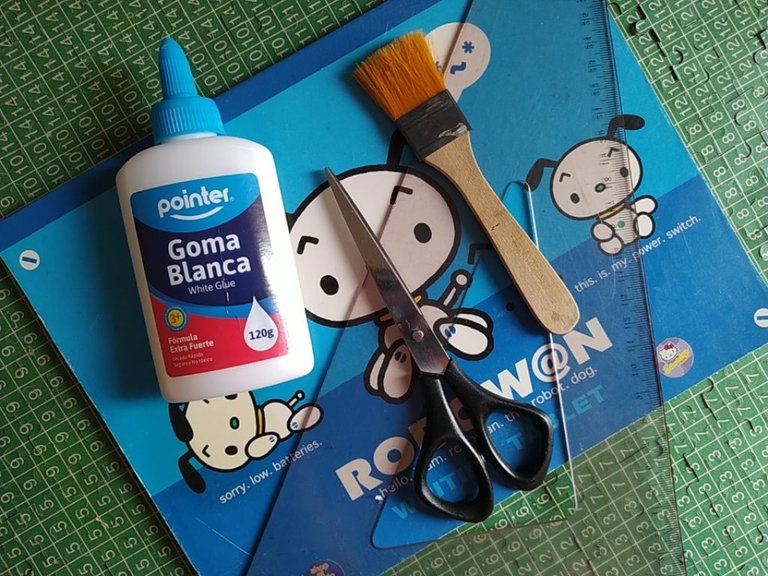
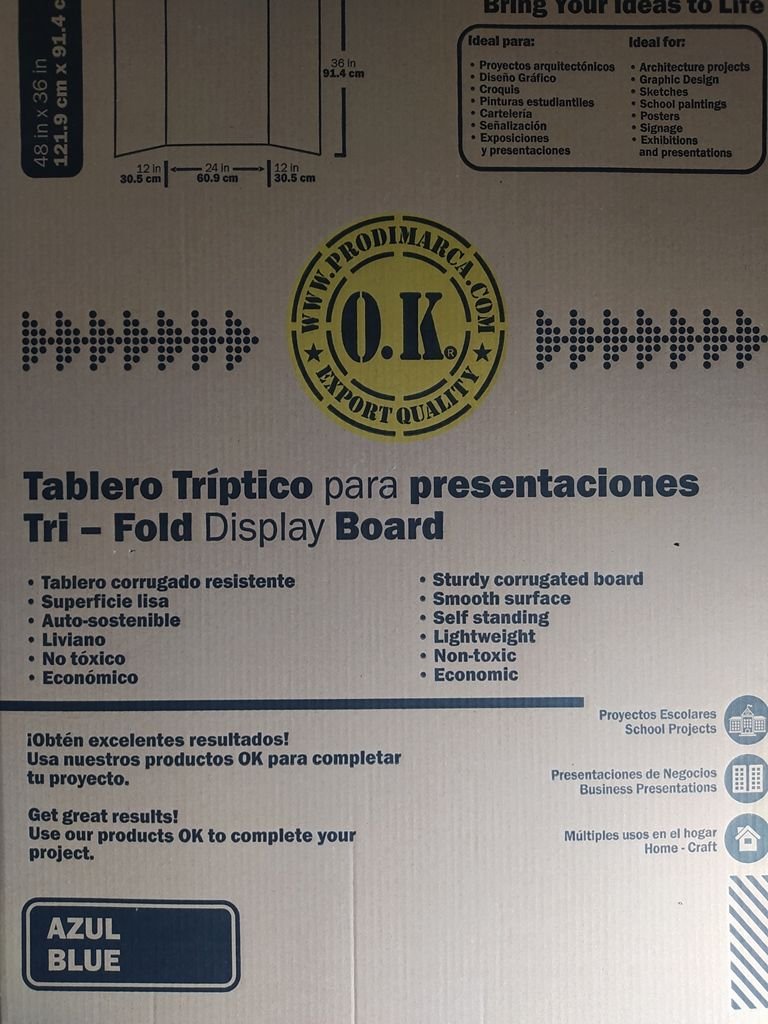
| 🇪🇸 ✦ Las herramientas y materiales que necesitas para elaborar este proyecto son: Hojas de papel regular, escuadra grande, tijeras, pegamento blanco extra fuerte, brocha pequeña o medianas de cerda suaves, lamina de papel grande, lamina de carton grueso grande. |
| 🇺🇸 ✦ The tools and materials you need to make this project are: Sheets of regular paper, large square, scissors, extra strong white glue, small or medium sized soft bristle paintbrush, large sheet of paper, large sheet of thick cardboard. |
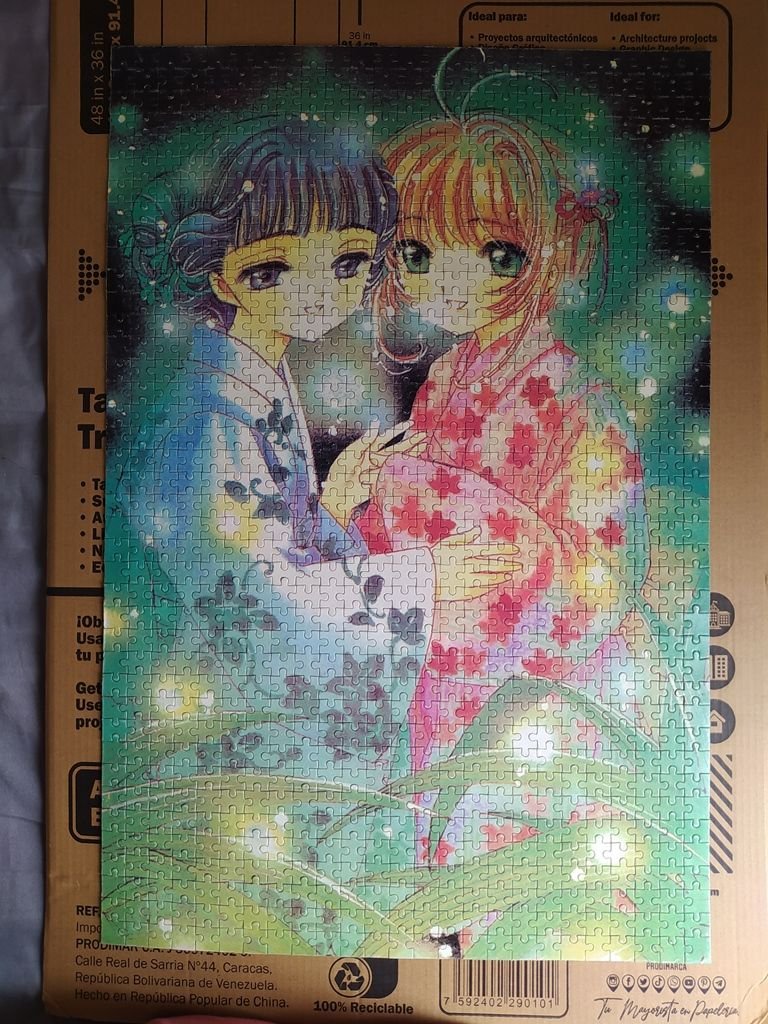
• "CardCaptor Sakura" Puzzle •
« An economical and effective way to permanently fix your puzzles »

 |  |
|---|
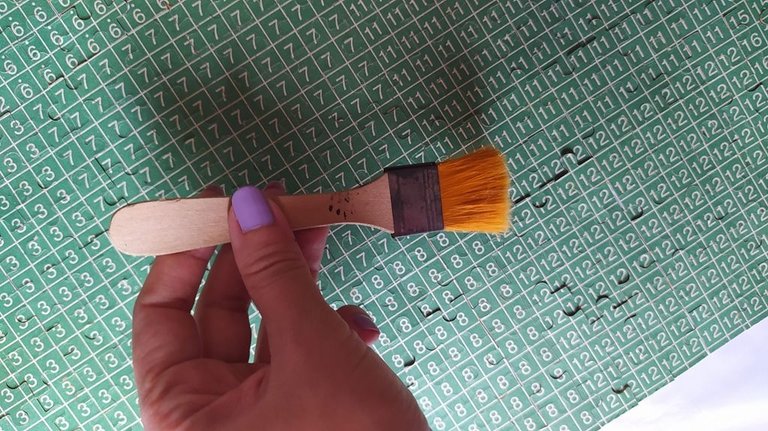

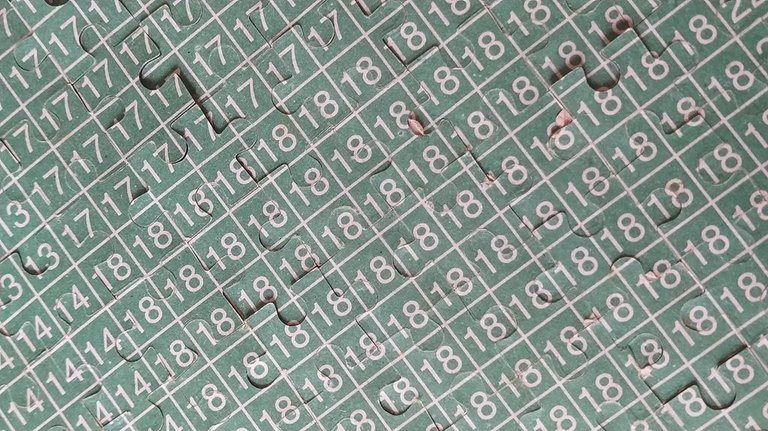
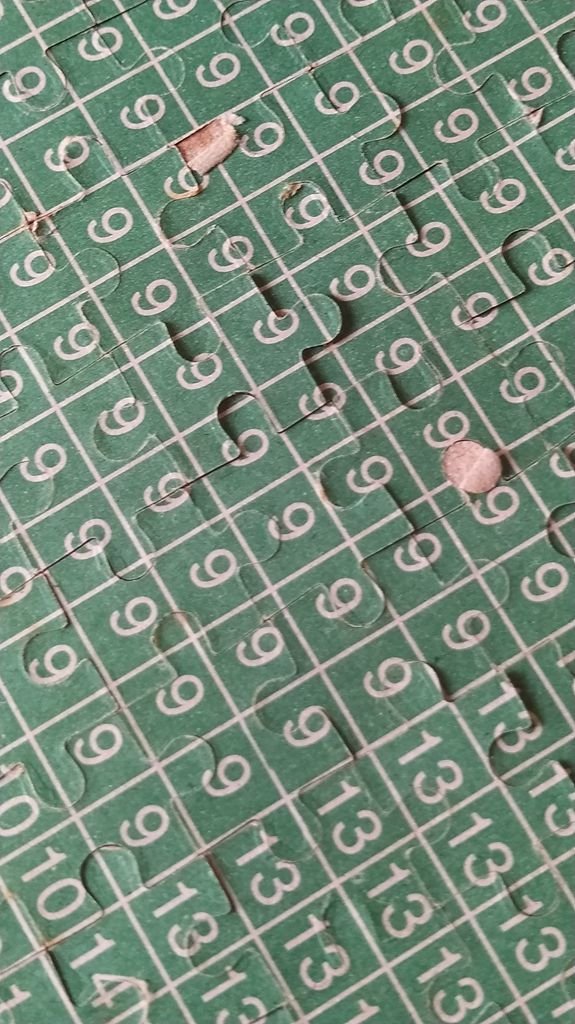
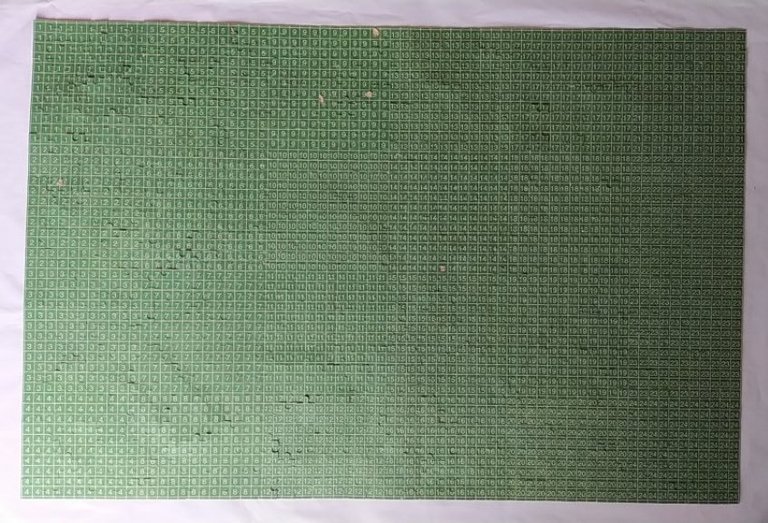
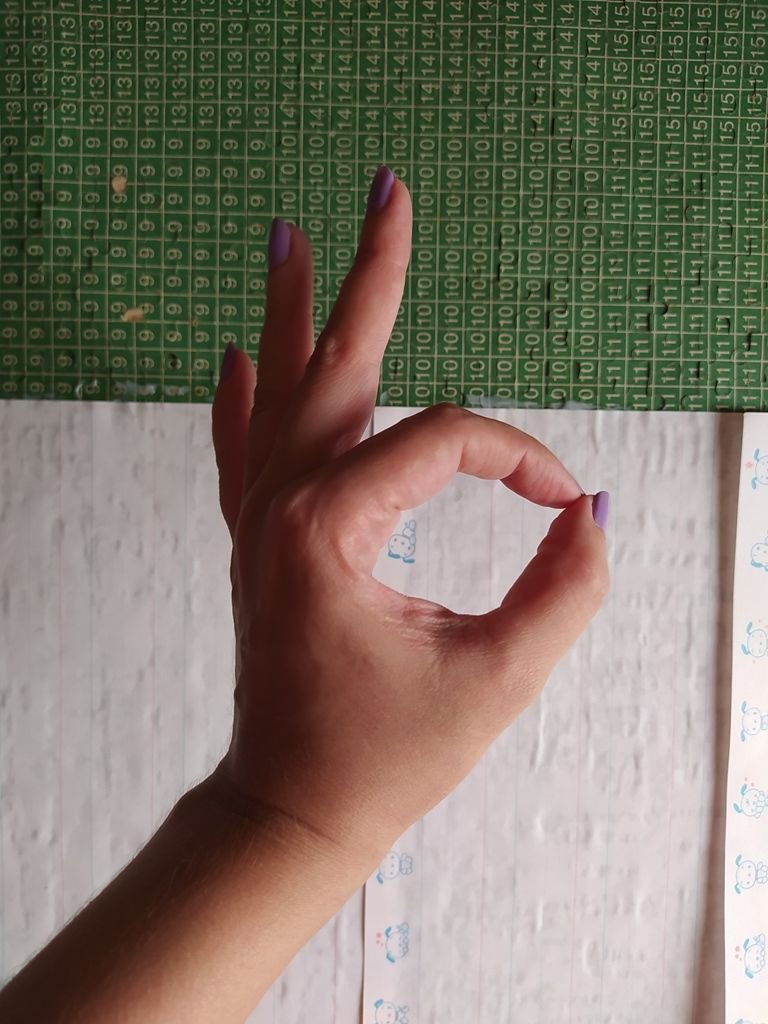
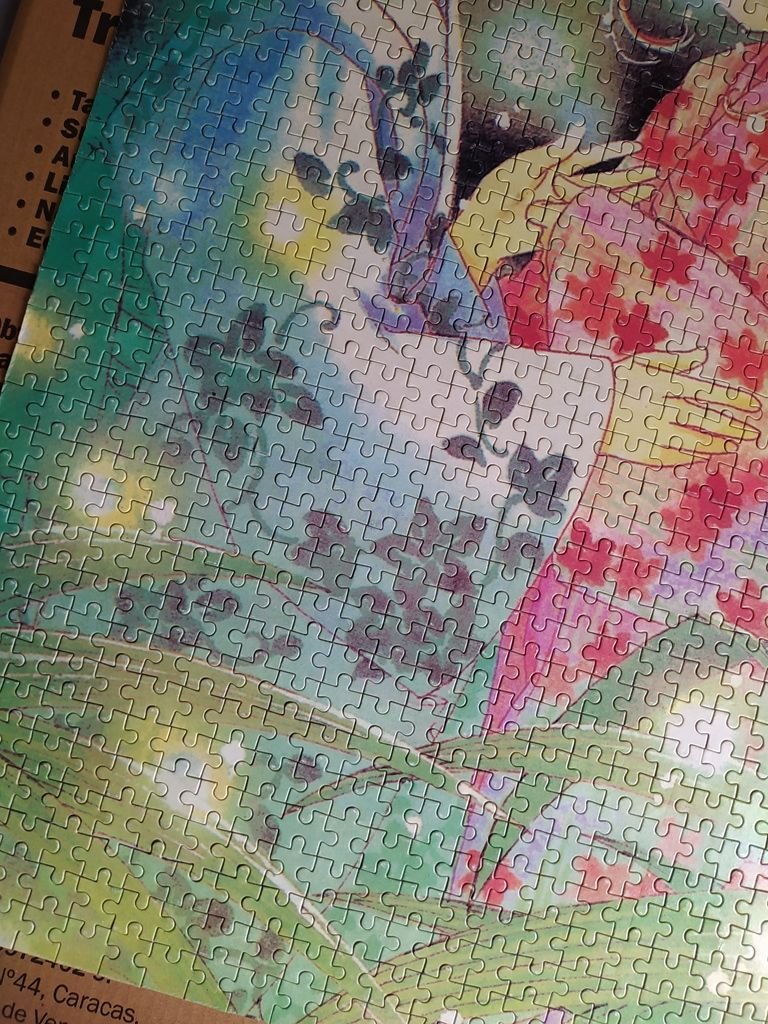
【 PASO 1 】 Después de ensamblar correctamente todo el rompecabezas, colócalo boca abajo y pasa suavemente la brocha sobre las piezas para retirar cualquier partícula de polvo o suciedad.
【 STEP 1 】 After properly assembling the entire puzzle, turn it upside down and gently brush over the pieces to remove any dust or dirt particles.
 |  |
|---|
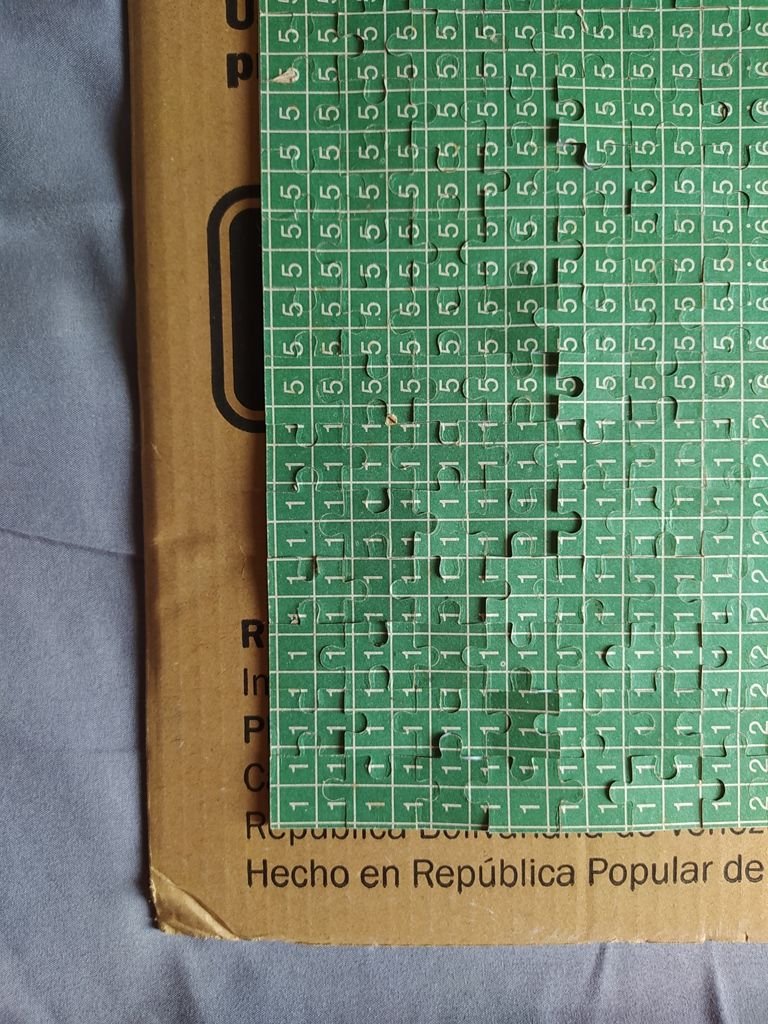
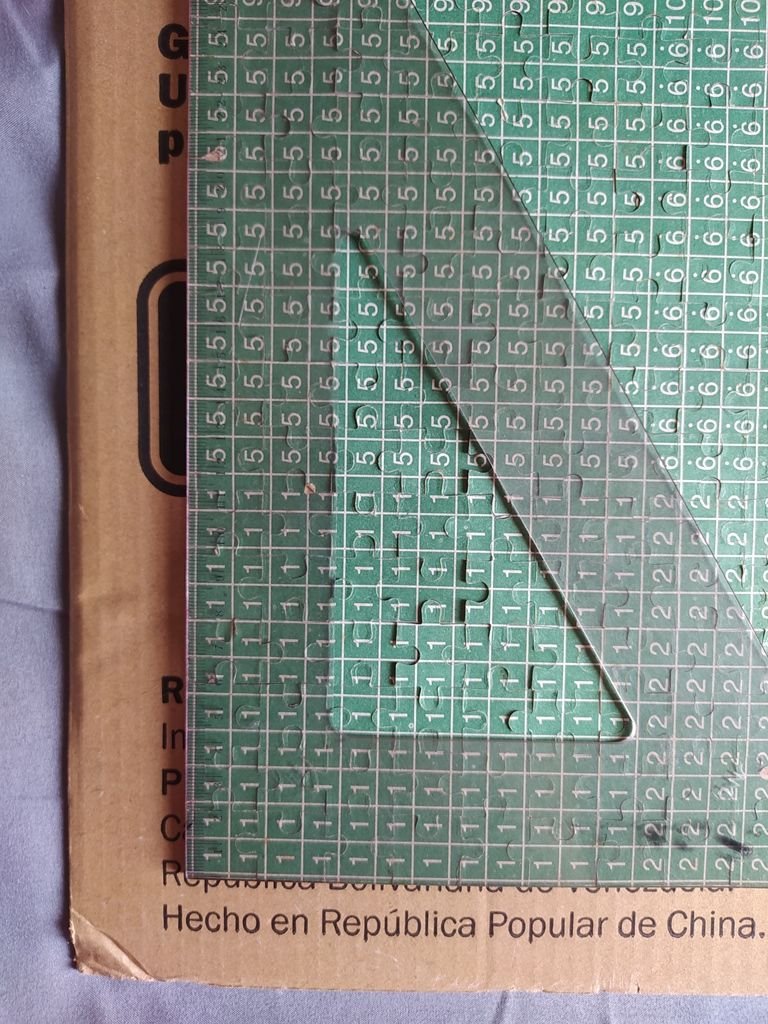
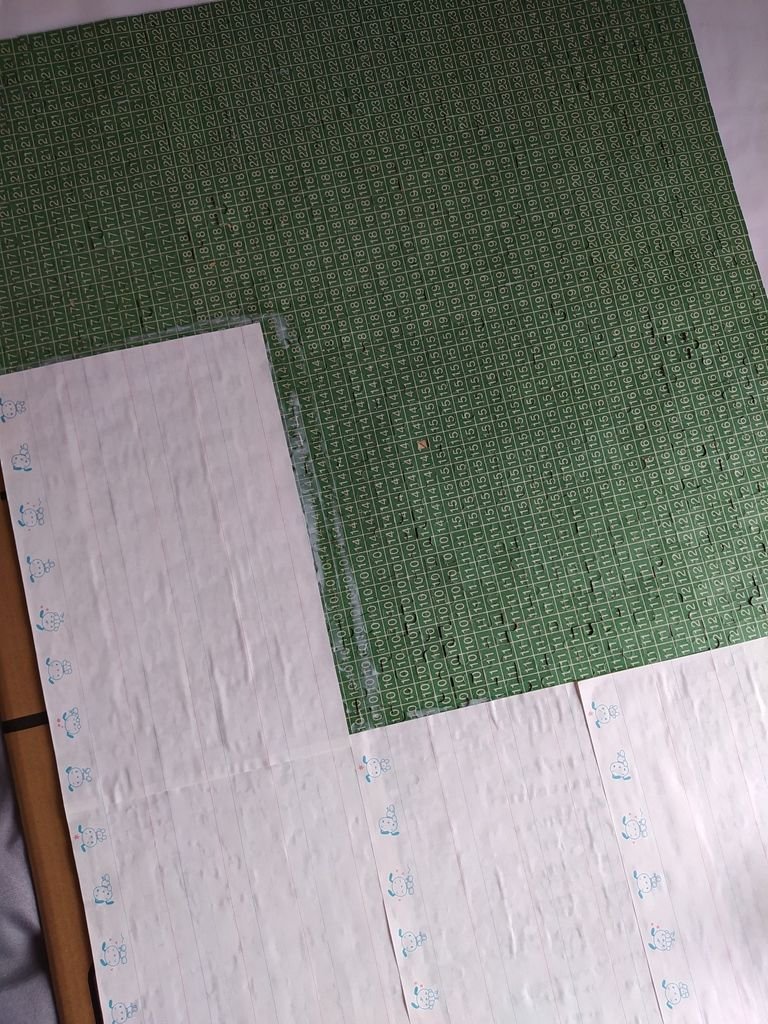
【 PASO 2 】 Traslada el rompecabezas con ayuda de la lámina de papel desde la superficie donde lo armaste, a la lámina de carton grueso. Notarás que "esta torcido": Con ayuda de la escuadra grande endereza las 4 esquinas del rompecabezas hasta que este perfectamente alineado.
【 STEP 2 】 Using the paper sheet, transfer the puzzle from the surface where you assembled it to the thick cardboard sheet. You will notice that it is "crooked": Using the large square, straighten the 4 corners of the puzzle until it is perfectly aligned.
 |  |
|---|---|
 |  |
 |  |
|---|---|
 |  |
 |  |
|---|
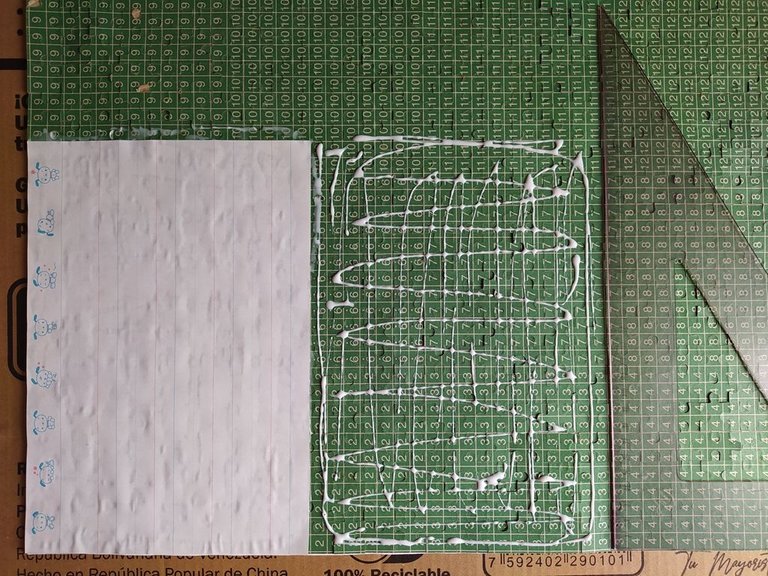
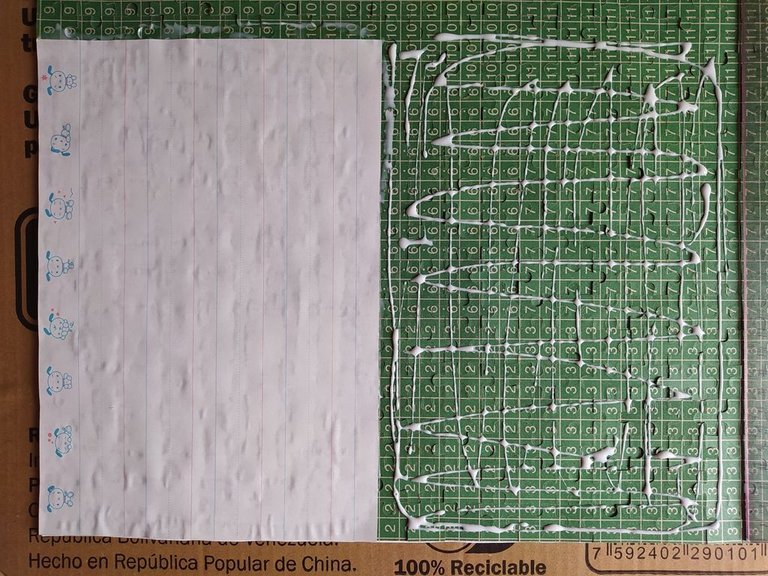
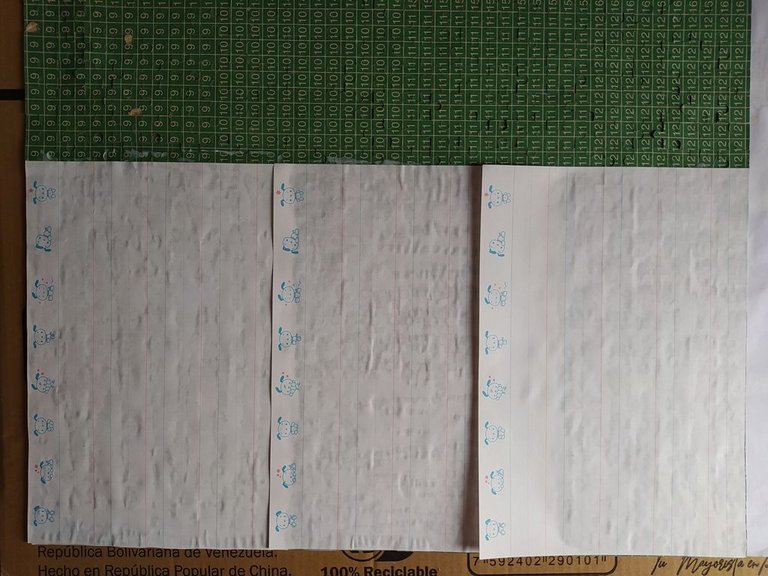
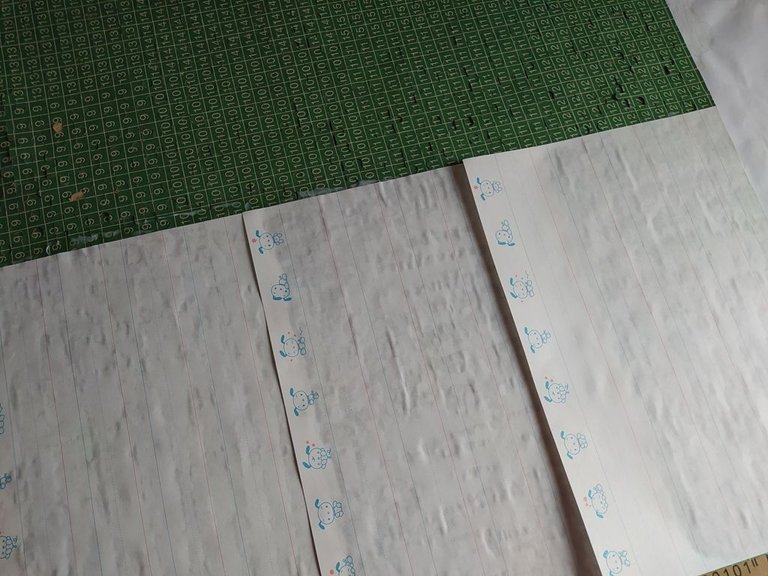
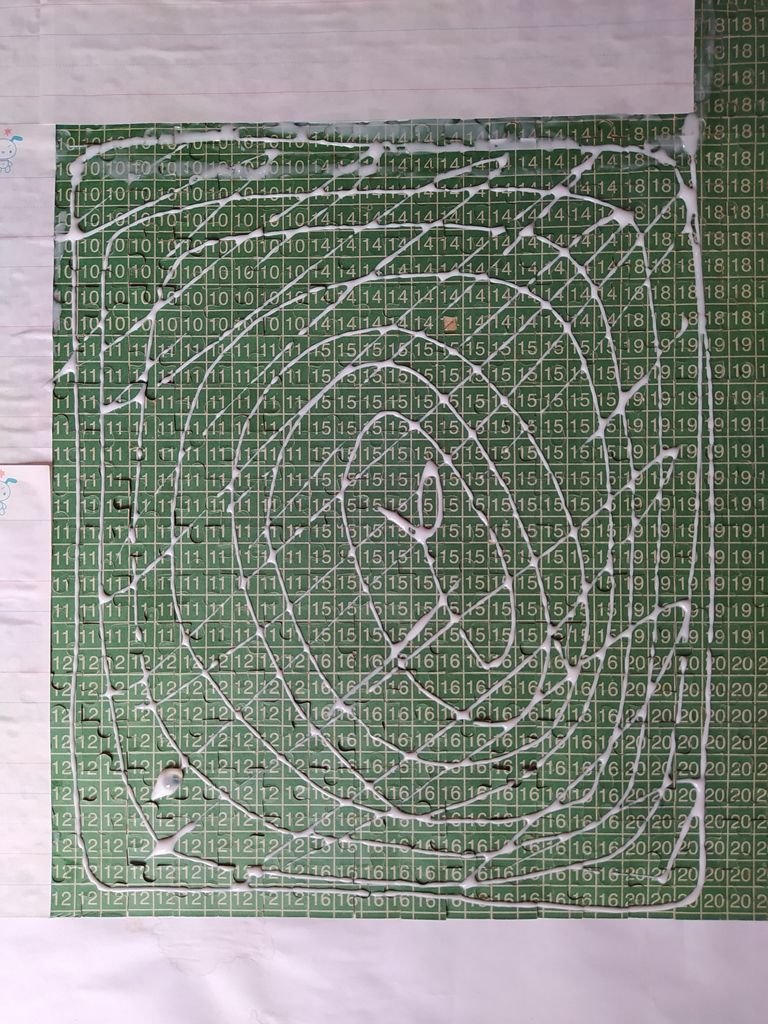
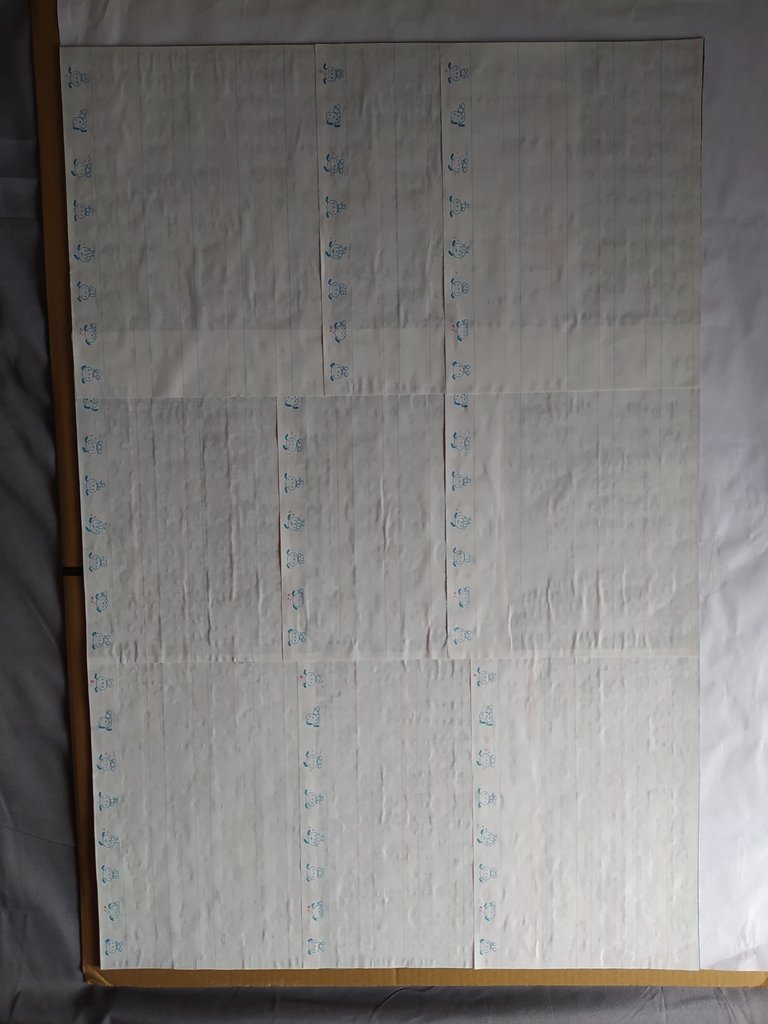
【 PASO 3 】 Mide con la escuadra cuánto espacio ocupa las hojas de papel que escogiste, y agrega pegamento poco a poco por secciones pegando las hojas una a usa. Esparce con el dedo suavemente el pegamento.
【 STEP 3 】 Measure with the square how much space the sheets of paper you chose occupy, and add glue little by little in sections, gluing the sheets one by one. Gently spread the glue with your finger.
 |  |
|---|---|
 |  |
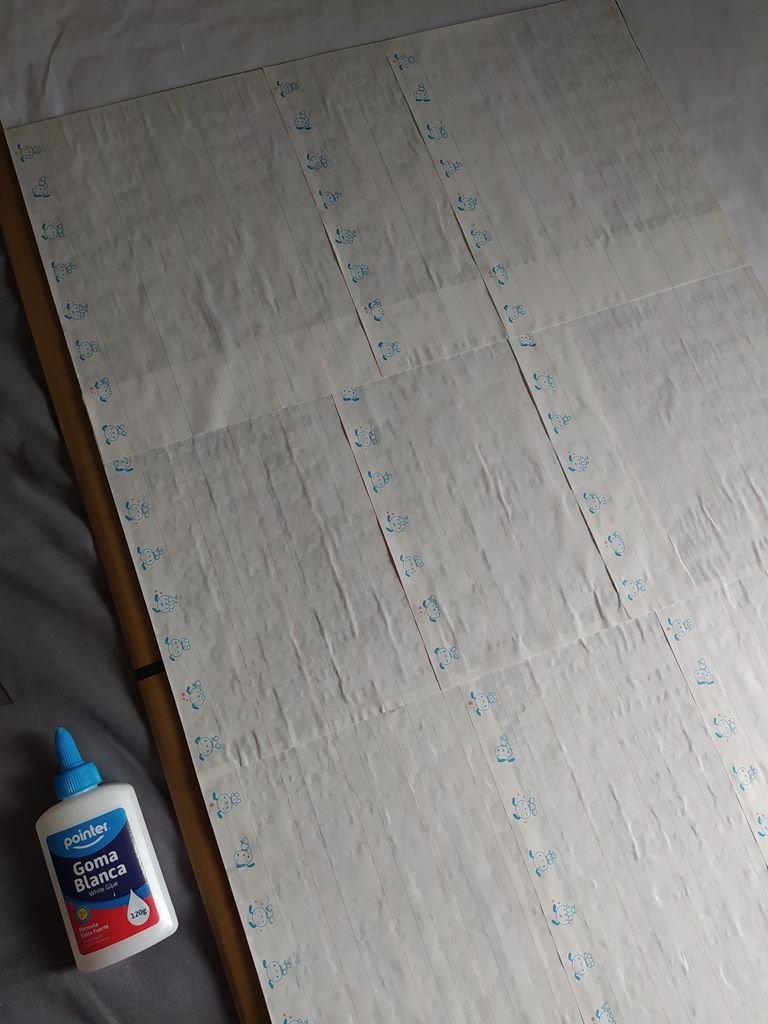
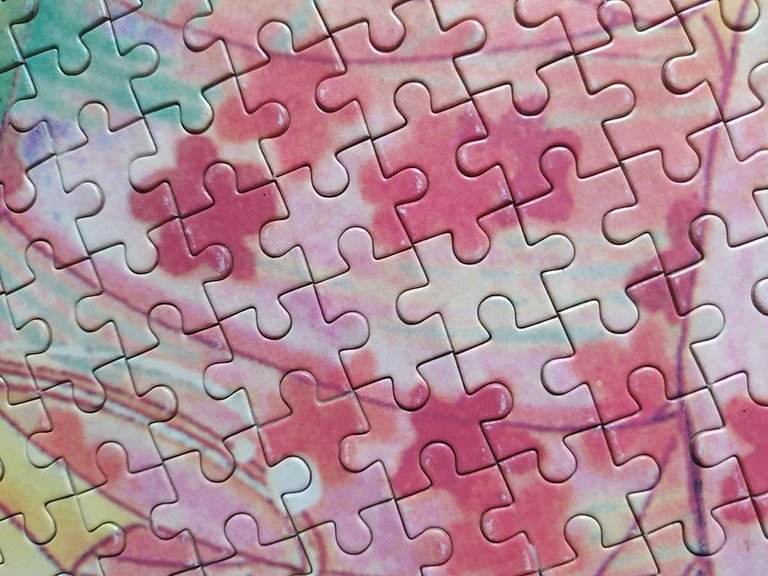
【 PASO 4 】 Voltea el rompecabezas con cuidado sobre la lámina de cartulina gruesa, y limpia con cuidado cualquier filtración de pegamento sobre la imagen.
【 STEP 4 】 Carefully flip the puzzle over onto the thick cardboard sheet, and carefully wipe off any glue seepage on the image.
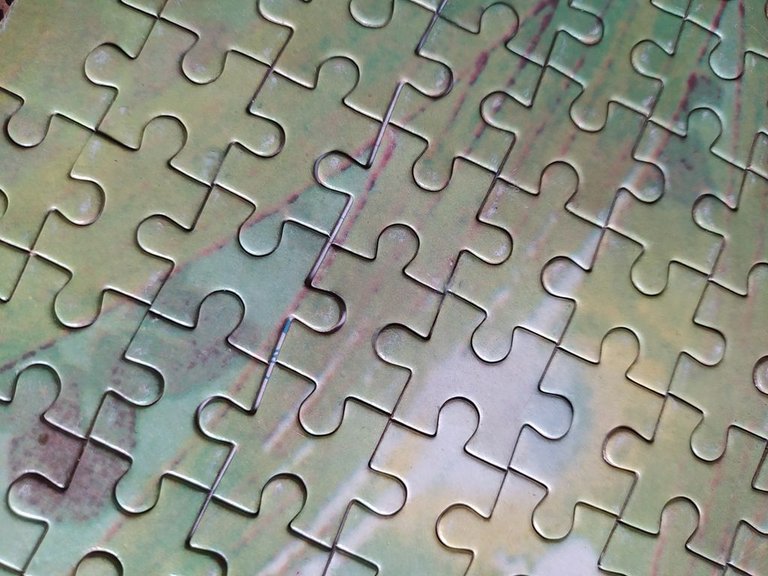
【 PASO 5 】 Notaras que algunas piezas se levantan por la humedad del pegamento o que hay algunos pequeños espacios, no te preocupes, colócale la lamina de papel grande encima y ubica libros pesados sobre toda la superficie del rompecabezas, y deja reposar hasta el día siguiente.
【 STEP 5 】 You will notice that some of the pieces are lifted up by the humidity of the glue or that there are some small spaces, don't worry, place the large sheet of paper on top and place heavy books over the entire surface of the puzzle, and let it rest until the next day.
« This puzzle is a treasure for me. I've been a CLAMP fan since I was very young »
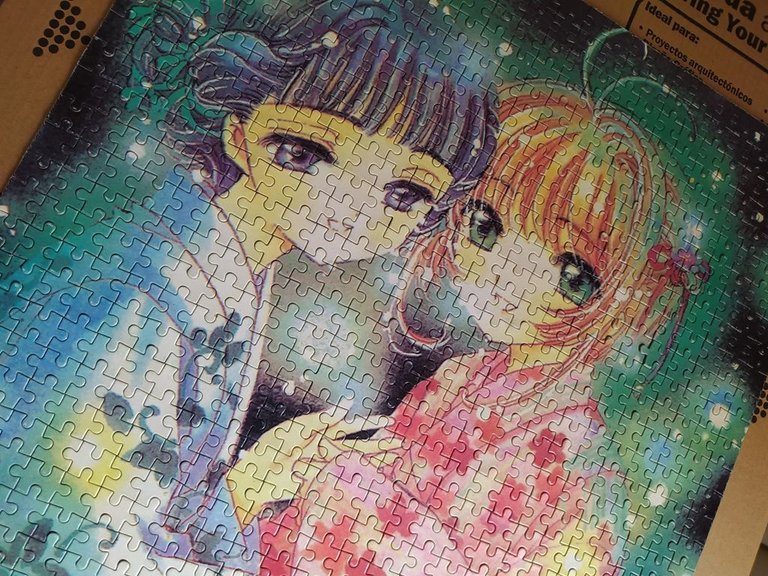
✦ This process took about 30 to 40 min ✦
| 『 Recomendaciones Finales 』 🇪🇸 | 『 Final Tips 』🇺🇸 |
|---|---|
| 📌 Después de las hojas de papel, puedes tambien pegarlo a la lamina de cartulina gruesa si quieres mayor resistencia. | 📌 After the sheets of paper, you can also glue it to the thick cardboard sheet if you want more strength. |
| 📌 Este procedimiento funciona para cualquier tamaño de rompecabezas. | 📌 This method works for any size jigsaw puzzle. |
✦ Follow me for more useful and beautiful tutorials to improve your daily life ✦


 |  |  |  |  |  |  |  |  |
|---|
✨ 🍓 All texts and images by @Tesmoforia 🍓 ✨
📸 Tools: Smartphone 📲 Snow 🎬 Remini 🌓 FotoJet 📐
🚨 ¡Please do not take, edit or republish my material without my permission! 🚨
💌 ¿Do you wish to contact me? Discord #tesmoforia 💌
🌙 Banner, signature and separators by Keili Lares - InstaLog
Posted Using INLEO
Congratulations @tesmoforia! You have completed the following achievement on the Hive blockchain And have been rewarded with New badge(s)
You can view your badges on your board and compare yourself to others in the Ranking
If you no longer want to receive notifications, reply to this comment with the word
STOPMe encanta, una idea bastante genial y preciosa para decorar
Worales que lindo le quedo y el proceso uff uff de primera.
!HUESO
!LUV
Wow! This is super cute! You are such a genius friend. Everything looks so balanced and beautiful, we love the final look. Great work.
La verdad sí está complicado y da miedo, pero que bueno que lo lograste, además está bellísimo, amo los rompecabezas. 🥰 Gracias por compartir. ❤️