🎨 {21/03/25} ✦ 𝐓𝐮𝐭𝐨𝐫𝐢𝐚𝐥: Restoration of a wooden tray 🪑 🔨 ✨ + Rewiew of Pointer's "Extra Strong Formula" ✅ 💯 ✦ 🇪🇸 │ 🇺🇸
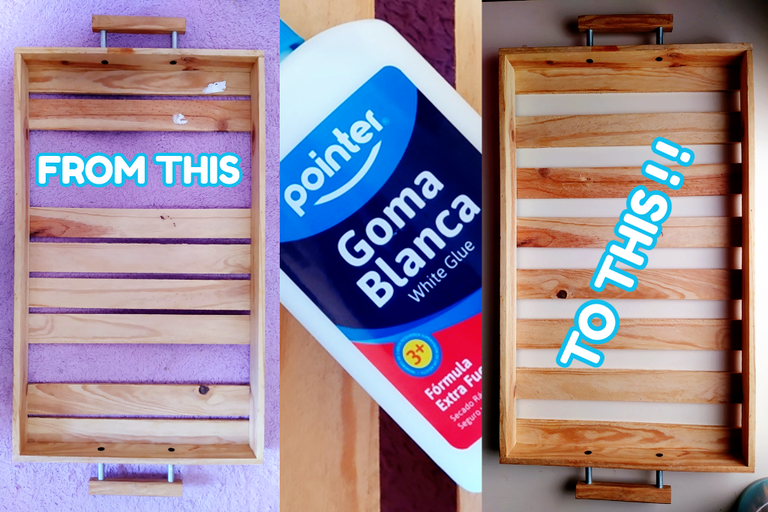
✦ Yes, I still like taking things from trash, no regrets - Collage & Edition in FotoJet, photos by @Tesmoforia ✦

🇪🇸 ~ Recoger cosas de la basura y arreglarlas es mi pasión (o˘◡˘o) te prometo que no es un pasatiempo tan anti-higiénico como suena ~
Si no estan sucios con alguna sustancia de perturbadora procedencia te aseguro que es un proyecto de reciclaje o restauración que valdrá la pena.
🇺🇸 ~ Picking things out of the trash and fixing them up is my passion (o˘◡˘o) I promise it's not as unhygienic a hobby as it sounds ~
If they're not dirty with some substance of disturbing provenance I assure you it's a worthwhile recycling or restoration project.

✦ Let's exaggerate for humorous reasons ✦
⏳ Tiempo: ⭐⭐/ 5.
🚀 Dificultad: ⭐/ 5.
🪙 Costo aproximado: ⭐⭐/ 5.
⏳ Time: ⭐⭐/ 5.
🚀 Difficulty: ⭐/ 5.
🪙 Approximate cost: ⭐⭐/ 5.

« 𝕋 𝕆 𝕆 𝕃 𝕊 • 𝔸 ℕ 𝔻 • 𝕄 𝔸 𝕋 𝔼 ℝ 𝕀 𝔸 𝕃 𝕊 »

 |
|---|
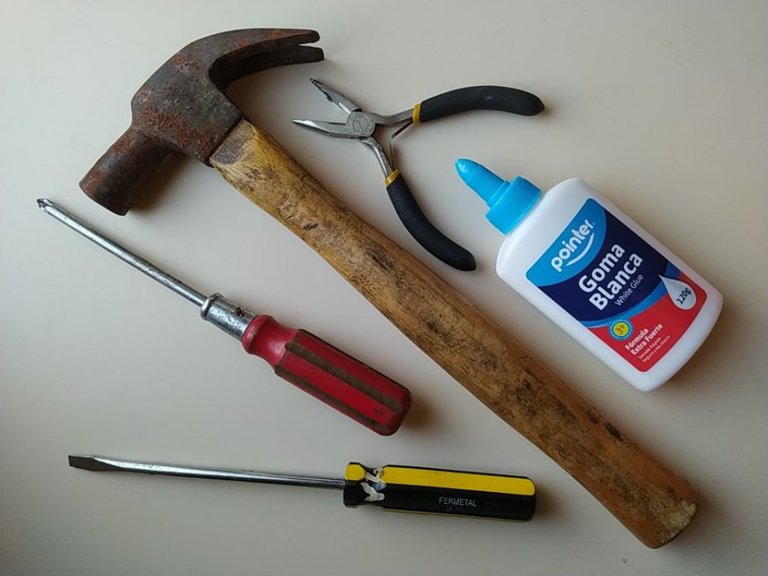
| 🇪🇸 ✦ Las herramientas y materiales que necesitas para elaborar este proyecto son: Pegamento escolar marca Pointer, martillo (opcional), pinzas, destornillador de estría, un paño limpio, alcohol o algún liquido desinfectante incoloro, y clavos para madera pequeños (opcional). |
| 🇺🇸 ✦ The tools and materials you need to make this project are: Pointer brand school glue, hammer (optional), tweezers, screwdriver, a clean cloth, alcohol or colorless disinfectant liquid, and small wood nails (optional). |
TODAY WE ARE GOING TO RESTORE A:
« Large wooden tray »

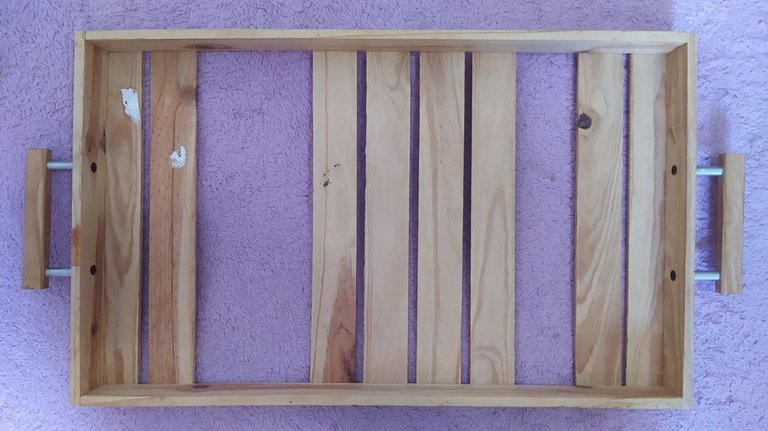
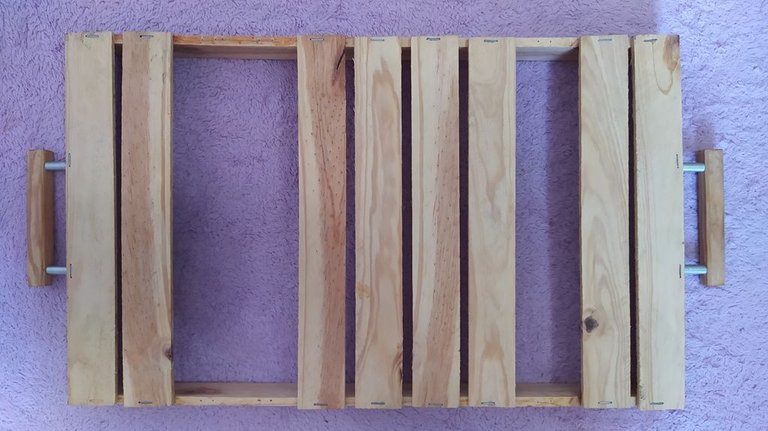
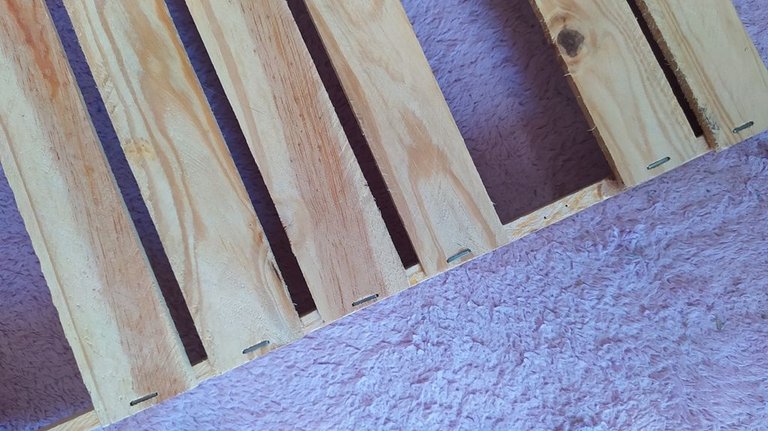


【 PASO 1 】 Lo primero que debes hacer es desinfectar muy bien toda la superficie del objeto, para eso moja un trapo de tela limpio con alcohol y frótalo suavemente en cada sección del objeto.
【 STEP 1 】 The first thing to do is to disinfect the entire surface of the object very well, so wet a clean cloth rag with alcohol and rub it gently on each section of the object.
Otra opción es cargar un atomizador y rociarlo, pero ten cuidado de no exagerar, recuerda que agua y madera no se llevan bien.
Another option is to load an atomizer and spray it, but be careful not to overdo it, remember that water and wood do not get along well.
Tambien retira cualquier adorno pegado a la bandeja, en mi caso le retire unas cintas de plástico y unos residuos de silicón caliente.
Also remove any decorations stuck to the tray, in my case I removed some plastic strips and some hot silicone residue.

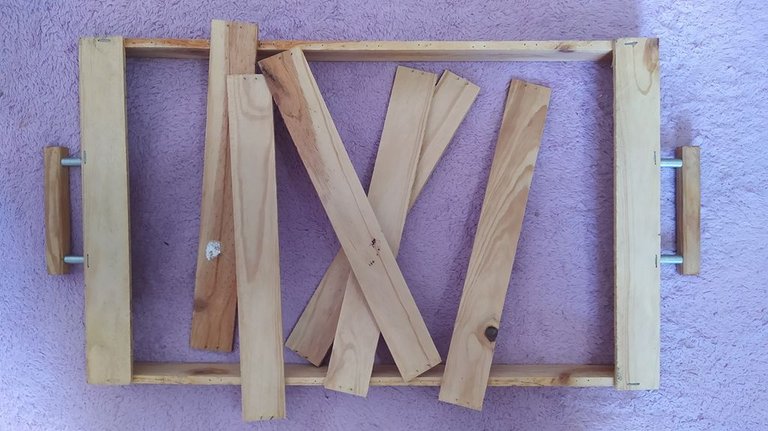
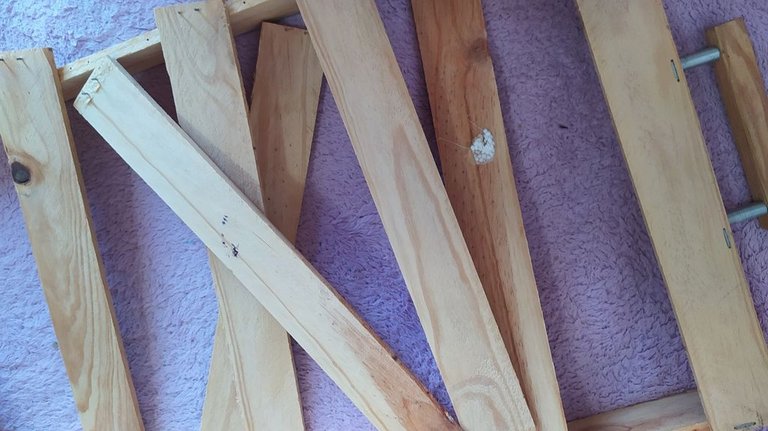
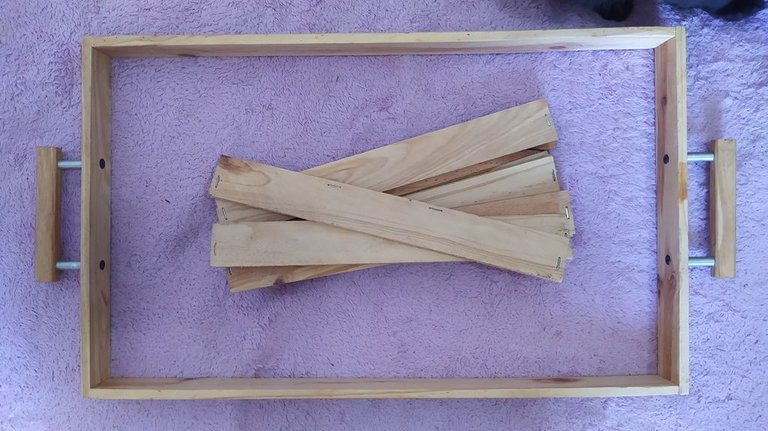
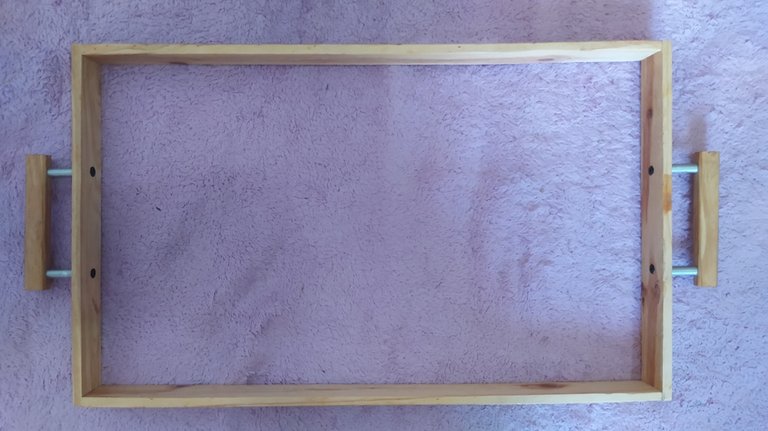

【 PASO 2 】 El siguiente paso es retirar todas las tablas, al estar grapada es algo que pude hacer a mano sin necesidad de otras herramientas.
【 STEP 2 】 The next step is to remove all the boards, as they are stapled together this is something I can do by hand without the need for any other tools.
Una vez quites todas las tablas, usa el destornillador para asegurar las agarraderas de la bandeja en caso estén flojas o torcidas.
Once all the boards are removed, use the screwdriver to secure the tray handles in case they are loose or bent.
Once all the boards are removed, use the screwdriver to secure the tray handles in case they are loose or bent.

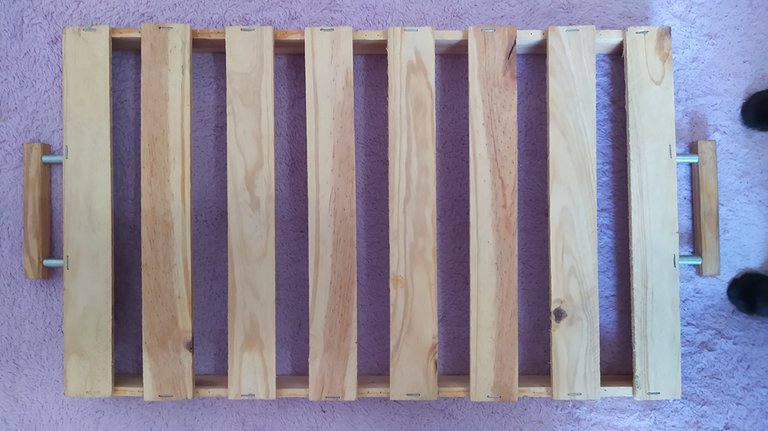
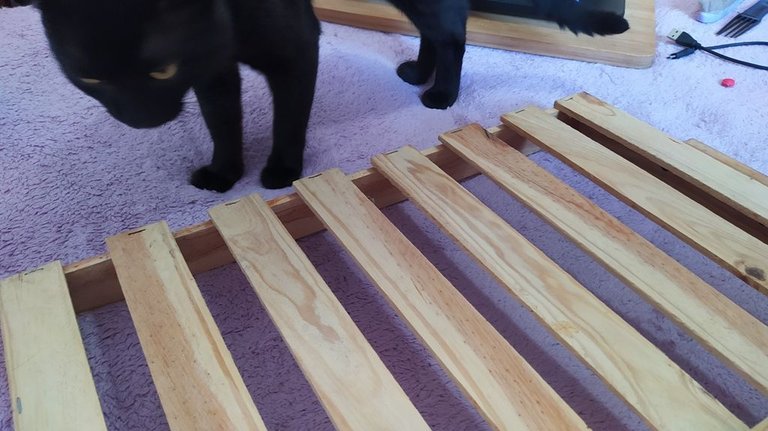
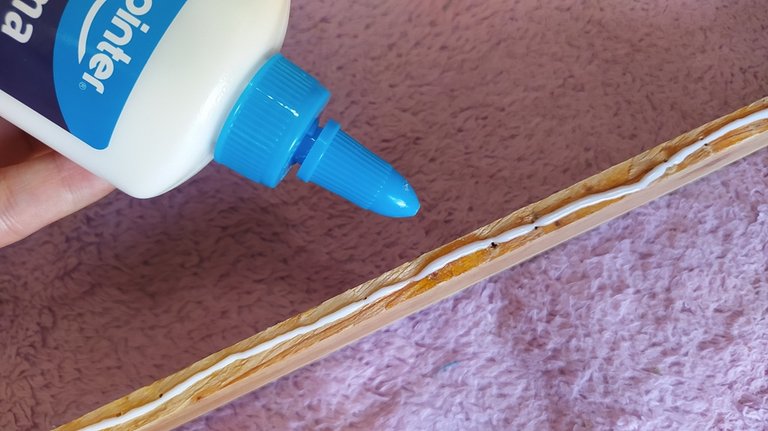
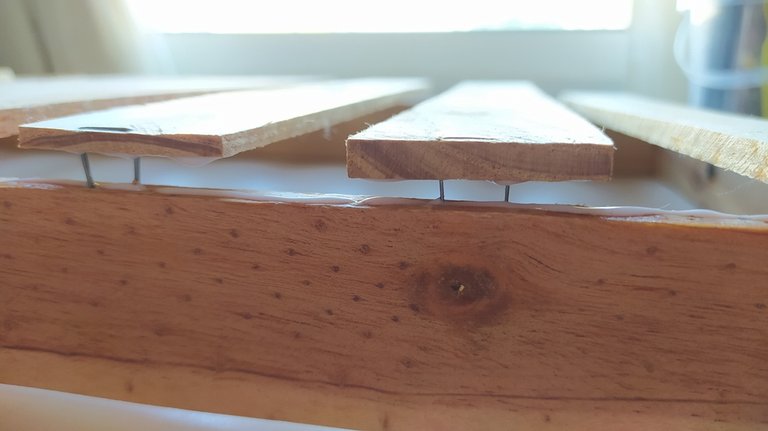

【 PASO 3 】 Ahora ubica las tablas tentativamente en los nuevos espacios donde quieres fijarlas, yo trate que fueran lo mas similares posibles.
【 STEP 3 】 Now place the boards tentatively in the new spaces where you want to fix them, I tried to make them as similar as possible.
Puedes agregar pegamento y colocarlas contra el marco de la bandeja y presionar para que las grapas perforen la madera y se instalen como estaban antes...
You can add glue and place them against the frame of the tray and press them so that the staples pierce the wood and install them as they were before?
¡PERO TAMBIEN PUEDE SALIR MUY MAL, LAS PATITAS DE LAS GRAPAS SE DOBLARAN EN SENTIDOS EXTRAÑOS Y LAS TABLAS QUEDARAN TORCIDAS!
BUT IT CAN ALSO GO VERY WRONG, THE LITTLE LEGS OF THE STAPLES WILL BEND IN STRANGE DIRECTIONS AND THE BOARDS WILL BE CROOKED!
! [SPOOOOOILEEEEEEER!]
✦ Yes, that idea went wrong hahaha ~ ✦

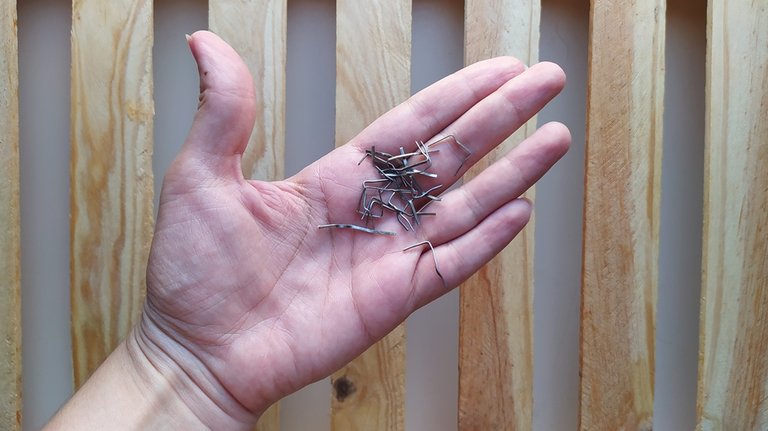
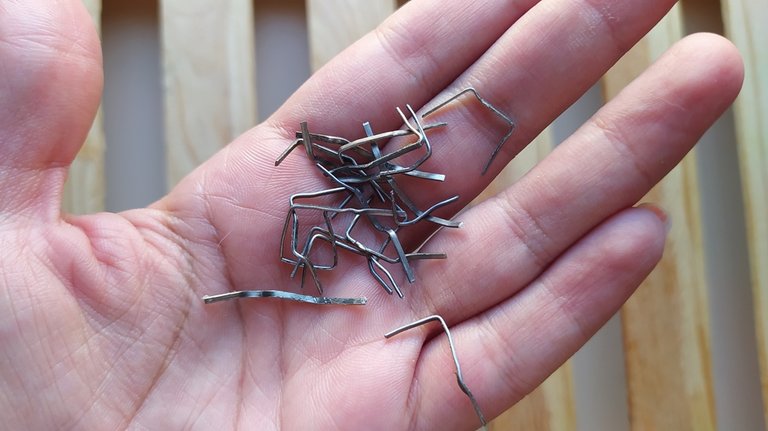
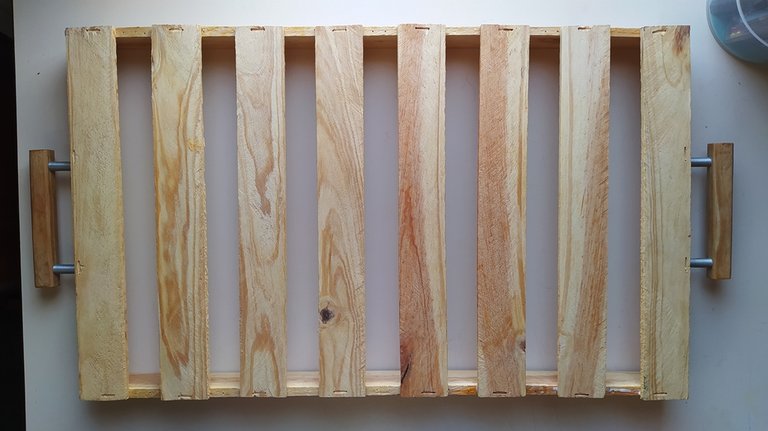
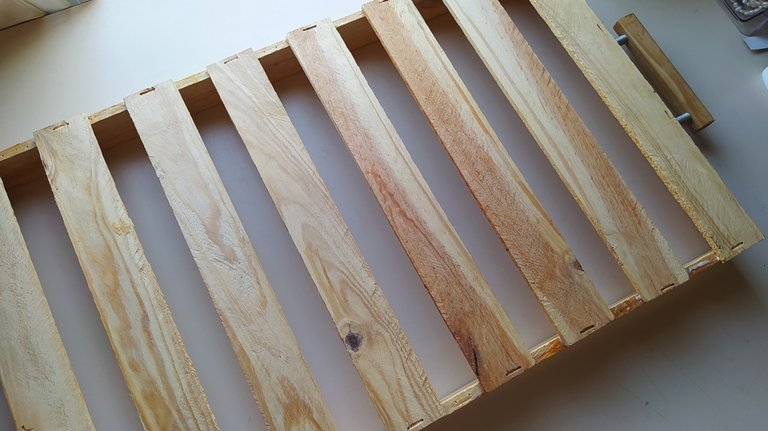

【 PASO 4 】 ¡Retrocedamos y retiremos las grapas con ayuda de las pinzas!, ya sin las grapas, agrega nuevamente una cantidad generosa pero no demasiado de pegamento, y coloca las tablas haciendo una ligera presión.
【 STEP 4 】 Let's go back and remove the staples with the help of the tweezers, now without the staples, add again a generous but not too much glue, and place the boards with light pressure.

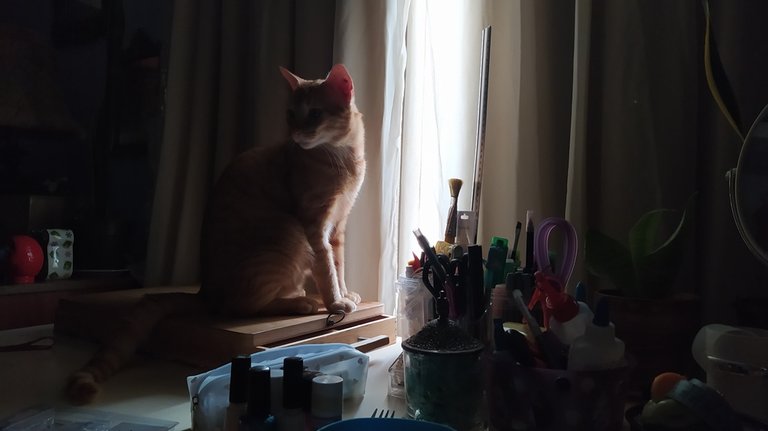
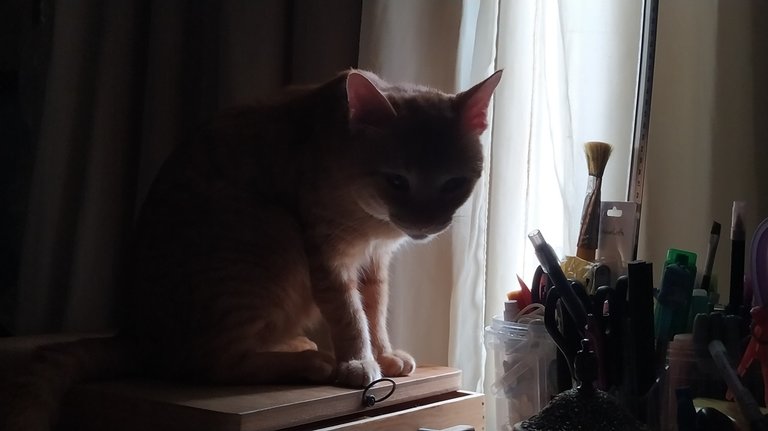
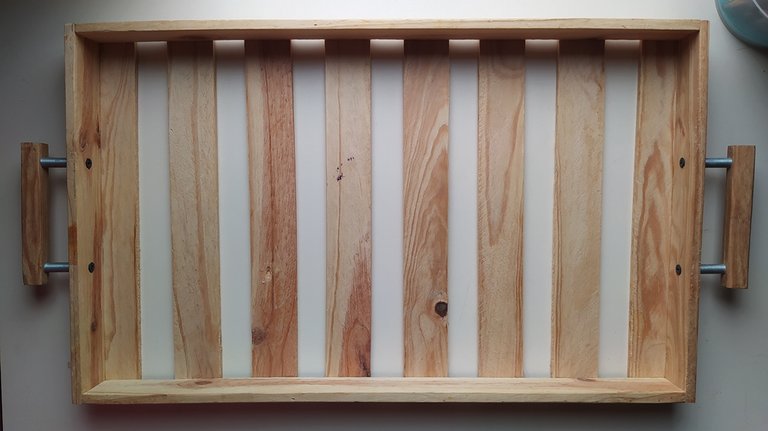

【 PASO 5 】 Voltea la bandeja boca abajo, y colócale encima una tabla o algo pesado como libros... o la tabla con libros... o la tabla con libros y un gato (◕‿◕) deja la bandeja descansar hasta el próximo día antes de usarla.
【 STEP 5 】 Turn the tray upside down, and place on top of it a board or something heavy like books... or the board with books... or the board with books and a cat (◕‿◕) let the tray rest until the next day before using it.
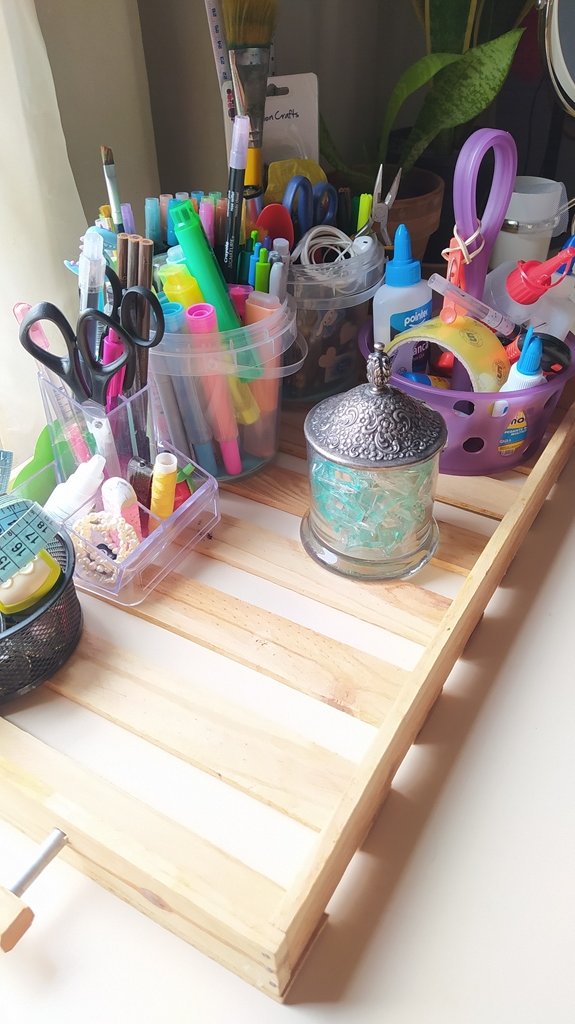
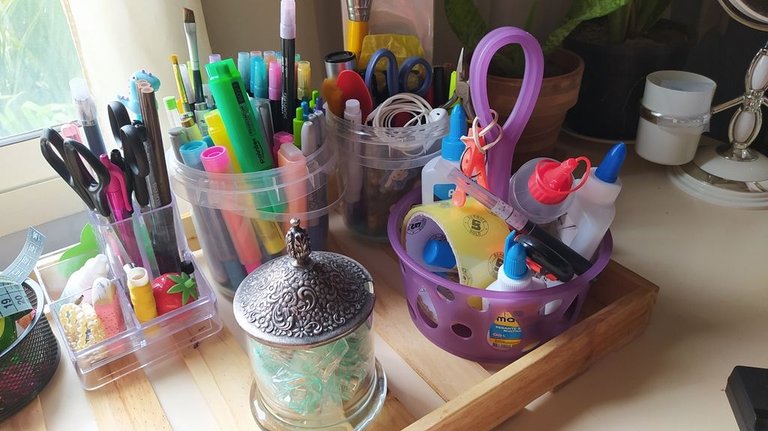
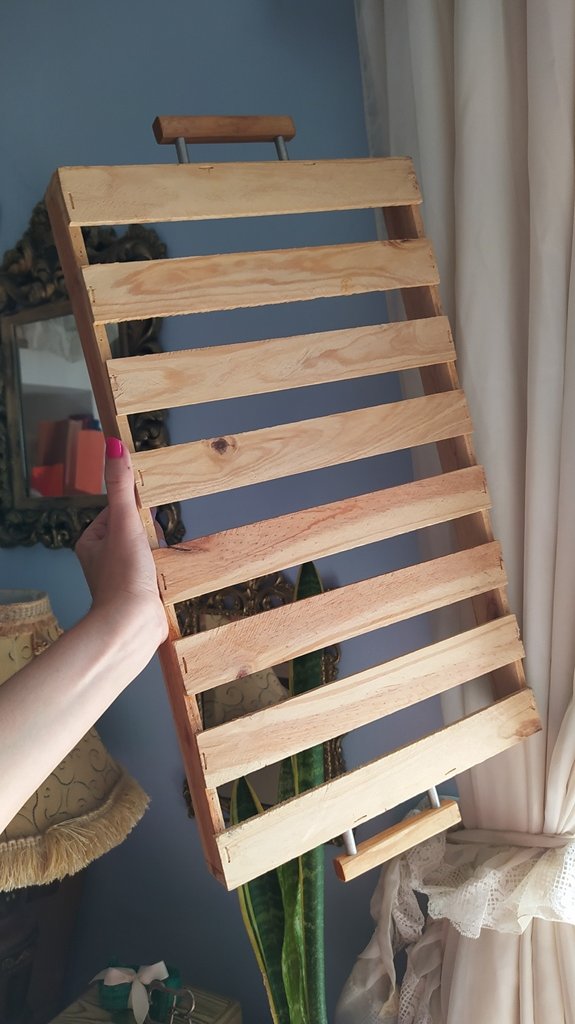
« Did we manage to save the tray or was it a waste of time? »

 |  |
|---|

| 『 Recomendaciones Finales 』 🇪🇸 | 『 Final Tips 』🇺🇸 |
|---|---|
| 📌 Deja que la bandeja con el pegamento seque en un lugar fresco y donde reciba sol tenue. | 📌 Allow the tray with the glue to dry in a cool place where it will get some light sunlight. |
| 📌 Aunque es opcional, si tu plan es colocarle cosas pesadas, tambien usa clavos pequeños de madera para fijar mejor las tablas. | 📌 Although optional, if you plan to put heavy things on it, also use small wooden nails to better fix the boards. |
| 📌 Puedes pintarla de colores, queda muy bonito, pero yo prefiero el color natural de la madera, quiza en el futuro le aplique un barniz simple. | 📌 You can paint it in colors, it looks very nice, but I prefer the natural color of the wood, maybe in the future I will apply a simple varnish. |

✦ Testing, one, two, three... can you hear me? ✦
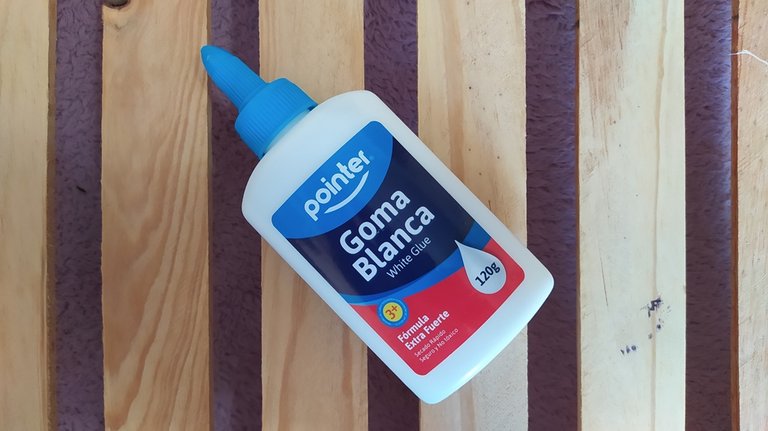
¿Qué opino del pegamento extra fuerte de la marca "Pointer"?:
¡Es excelente!, para proyectos simples o para proyectos pesados, los resultados en la adherencia parecen muy buenos. No deja demasiados residuos y su secado fue bastante rapido, no es demasiado liquida ni demasiado viscosa y definitivamente la recomiendo para este tipo de proyectos. Y su precio esta genial también.What do I think of the “Pointer” brand extra strong glue:
It is excellent, for simple projects or for heavy projects, the adhesion results seem very good. It doesn't leave too much residue and it dries pretty fast, it's not too runny or too viscous and I definitely recommend it for this kind of projects. And the price is great too.


 |  |  |  |  |  |  |  |  |
|---|
✨ 🍓 All texts and images by @Tesmoforia 🍓 ✨
📸 Tools: Smartphone 📲 Snow 🎬 Remini 🌓 FotoJet 📐
🚨 ¡Please do not take, edit or republish my material without my permission! 🚨
💌 ¿Do you wish to contact me? Discord #tesmoforia 💌
🌙 Banner, signature and separators by Keili Lares - InstaLog
Posted Using INLEO

Quedó súper bonita ✨, asi como está quedó perfecta, y barnizada también debe de verse super bien
Gracias @Torbil 🌹 fue tentador pintarla pero disfrutare un tiempo con ella asi en su color natural, también creo que barnizada debe quedar súper 😄
Saludos bella amiga, me encanto este trabajo quedo espectacular.😘🤗
Hermosa Lauuuu 🌺 Que chévere saber que te gustó! Hace tiempito quería hacer algo reciclaje simple. Espero todo vaya super bien para ti y estes pasando un lindo fin de semana 🍵
Muchas gracias por tus bellos y amorosos deseos, mi querida y preciosa amiga, me alegro que hayas podido lograr este trabajo tan importante, te felicito, esperamos seguir viendo muchos más como este. ¡Feliz y bendecido fin de semana, abrazos!!💞
Me encantó este post. Muy ilustrativo . Gracias por compartir
Me alegra muchisimo saber que te gusto este tuto @maiasun84 gracias a ti por tu lindo feedback! 💙 💙 💙
Gracias a ti por compartir 🙏🏻☺️
Una restauración que ha quedado excelente. Y en tu escritorio se ve muy en armonía con todo lo demás.
Esa palabra es una de mis fav, "armonía", que lindo saber que tienes esa impresión del resultado Yenny, graciaaas! 🌻 💛
¡Felicitaciones!
Estás participando para optar a la mención especial que se efectuará el domingo 23 de marzo del 2025 a las 8:00 pm (hora de Venezuela), gracias a la cual el autor del artículo seleccionado recibirá la cantidad de 1 HIVE transferida a su cuenta.
¡También has recibido 1 ENTROKEN! El token del PROYECTO ENTROPÍA impulsado por la plataforma Steem-Engine.
1. Invierte en el PROYECTO ENTROPÍA y recibe ganancias semanalmente. Entra aquí para más información.
2. Contáctanos en Discord: https://discord.gg/hkCjFeb
3. Suscríbete a nuestra COMUNIDAD y apoya al trail de @Entropia y así podrás ganar recompensas de curación de forma automática. Entra aquí para más información sobre nuestro trail.
4. Visita nuestro canal de Youtube.
Atentamente
El equipo de curación del PROYECTO ENTROPÍA
💚 ¡Muchas gracias amigos! 💚