RECREATE A DAMAGED LOGO (SCHOOL LOGO TUTORIAL) ADOBE ILLUSTRATOR

Good day everyone today I am going to introduce to you to how we can design a particular logo and bring the logo back to life.
This Logo is very complex based on your design experience but follow me step by step.
We are going to bring this logo back to life this logo is blurry. I want to show you how you can do it.
Maybe your client gives you a freelance job to work on and you cannot use the sent logo for other projects because it loses details.
Let's see how we can do that in the Adobe Application (Illustrator)
I open my Adobe Illustrator and it comes out with the interface.
You may not be familiar with this. I am going to record another tutorial that will give us an introduction to the various tools of this application. for now I am going to do a screen-friendly logo. I am not going to choose my CMYK color. CMYK color is mainly for press printing formats. In my previous Photoshop tutorials you will see the color I choose. Now I am going to choose my RGB color. Choose the Web Large option. You will be able to view this format on your phone and also use it for web designs and other online packaging projects my document set up with a transparent background.
This type uses typographer quotes but for now maybe when you open it you can just leave it. Another way around. You can still go to the file menu . Click on new instead of picking the particular project you can just choose 1080 by 1080. Because I am using I am working on the logo 1080 by 1080 then I click on my Advance option my screen color I will use it high 300 PPI then RGB color mode. I click on create it and my work environment will be arranged
The next option I am going to look at, is to bring in the project the file e.g a png, jpeg or any other compactible designs
Open the file from Adobe Illustrator and use it as a REFERENCE Object or content.
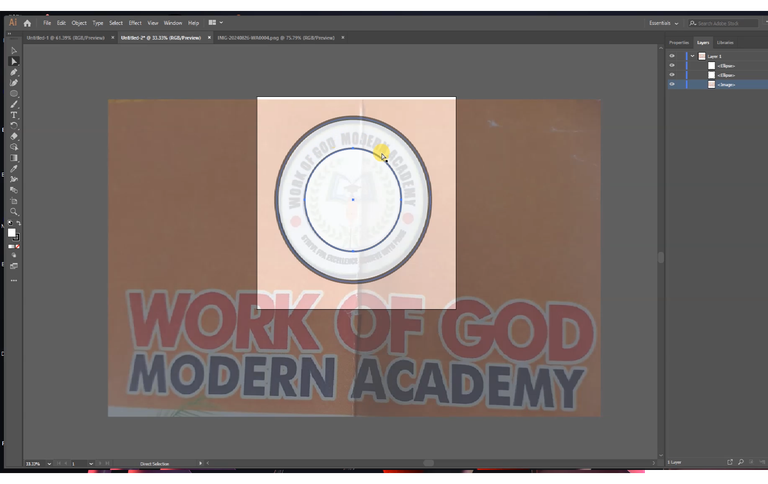
What I am going to design now without wasting our time I will drag it from this interface to the new tab which has the untitle I place it here. I need to expand
I need to expand (CTRL ++) and make all the orientations stable. I am going to do now I am going to press down my (SHIFT KEY + DRAG) and expand the shape
I press my (CTRL + -) to take it back.
Because it is a reference object what I am going to do now I am going to reduce the opacity you can see the opacity at your right-hand side under the property tab. I reduce my opacity and start my design I am going to come to my shape my TOOL section here I will right-click this rectangle tool and choose my (Ellipse tool) I need to press the shift key and I draw so that I will have a perfect equal orientation. Now you can see that I have a perfect circle on the screen but when you look at this you see that there's a kind of difference because this circle here has an outline I am going to first reduce the opacity of the shape please reduce the opacity that I can see through then I change the outline stroke 6 points then I can increase from here. As I have increased the outline.
I need to have a duplicate of this object (Circle).
I will use my (ALT + DRAG) so that I will have a duplicate and I resize it to that Circle you found at the center. You can see the perfect circle I have in the center. I am going to reducing the stroke okay I have a smaller outline for the Inner Circle the next aspect I am going to look at I am going to look at the layers that because we are going to the next Point hereby we are going to work with layers. We will take off the visibility of those layers. So we can have a chance to work on other objects.
This is the layers you see I have it by my upper right the property the layers and the libraries. I am going to choose the layers. I click on this drop down I can see different layers there to select a particular layer you see this section you're going to click on the point. there's a hidden point at the right hand side of those layers. click on the point and it shows blue that particular layer is selected I am going to continue I am going to bring in the text let me say to fit into this circle part that is why I am going to take off the visibility of this layer that I can see the reference
Object but I am going to draw a shape and that shape is what I am going to align this text to fit the part of that shape and the shape I am going to use is the circle shape starting with the WORK OF GOD MODERN ACADEMY line. After I have drawn the circle I am going to click on my TEXT TOOL. I will right-click the TEXT TOOL and I go to TYPE ON A PART TOOL. I click on it I align it.
Hope you can see how it looks it changes. I can click on that line and I will the text will appear. it is very tiny but when I zoom in you will see it. I am going to take my (CTRL + +) to zoom in you can see the tiny text surrounding that line
I pressed my Tab Key and I slide. My Tab Key can give me the hand sign
I have got that set. I am going to double click on this place to have an editable cursor. Then I (CTRL + A) to highlight all the text.
I go to my property to increase my font size. I choose font size 90.
I am going to type the WORK OF GOD MODERN ACADEMY. I will make it
bold. I am going to point at this node at the edge of this part and now rotate it to fit what I need at this moment.
I want to change this font and I will try to make use of my BAHNSCHRIFT FONT. I think will be okay let me try this the BAHNSCHRIFT FONT BOLD CONDENSE
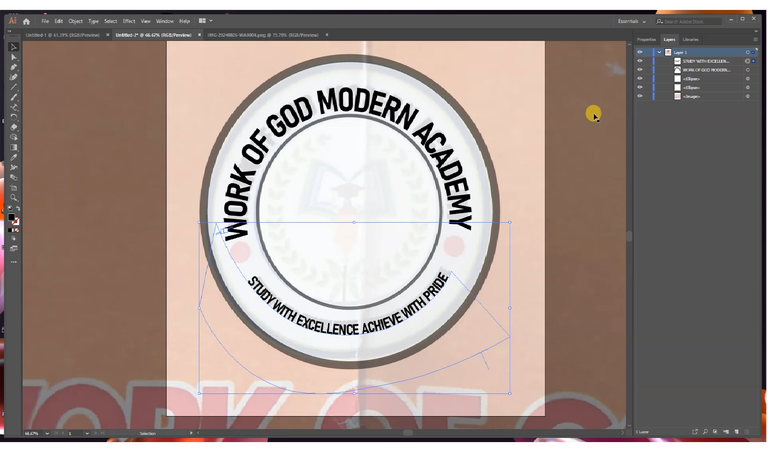
Now this is it we have THE WORK OF GOD MODERN ACADEMY that is how to move this thing within the part. I am going to toggle my other layers visibility on. Then you can see the difference.
The next thing I am going to put in this STUDY FOR EXCELLENCE ACHIEVED WITH PRIDE down how am I going to do that now I am going to toggle these layers off and work with that first of all I am going to look at the concepts at which I am going to employ on this part.
I want to create a curve layer that I can be able to insert the text. I take my (curvature tool) to then I start from this point
I can double click here to create a sharp edge come down here, double click here. I am going to extend this point by using my tool then extend this point that I will have a good extension
I just click on my Type on a Part Tool (By right-clicking the text tool) that I see STUDY WITH EXCELLENCE ACHIEVE WITH PRIDE
I can click on this section and tap it gently close and control a let me I think let me increase to font size 40. Okay for me now I have got that I can come back to my layer section at my upper right and toggle this other section on and you see that at least we have gone far in this project.
Next step is to remove the visibility of everything except the reference image. I am going to try how I will create this kind of leaf. I click on mine tool I am going to zoom close to make it big I press my space key and the drag it off
I will start from here click this you see why it is good to make use of the reference image
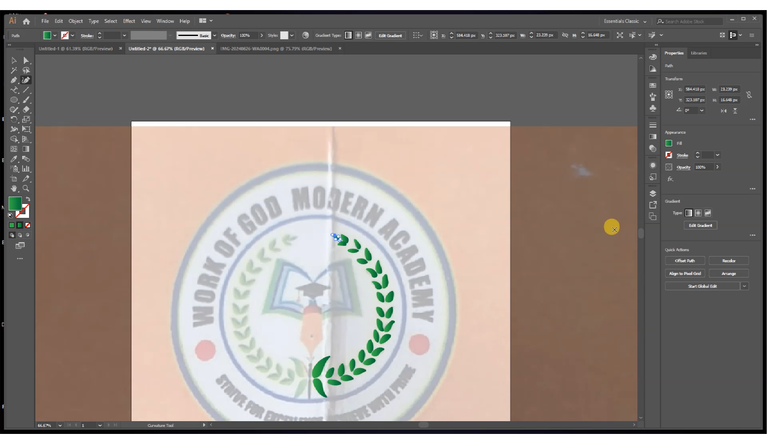
This is a particular leaf that I will just try to draw. I am going to add a gradient color to make one side look dark green and the other side light green.
Let me go to the PROPERTY SECTION. I double-click on the color mixer this is
one color but I am going to click change this from ESSENTIAL to CLASSIC ESSENTIAL. let me see if more options come out okay I can see a gradient option that comes out hope you can see it you click this as the gradient option come out you click this to have this kind of fill you click this you double click we change from black select the color dark green I am still going to repeat the same process on the next Leaf.
Double click light green you can see how it looks like with this gradient effect now this I am going to do do same with this.
I can do I can still just go forward and get my other Leaf.
You can see now that I am through with this section what I am going to do I am going to highlight all these shapes. I have just created I will group them together and I will duplicate them and flip them to the other side. Let's get that done this is my layer it is like the essential classic section once I click here all my layers will appear.
Let me select them I will press my shift key and select each layer that they will be selected together before I group them please I am going to select this point this section here that I can group them together because what I just did now I just highlighted the layers but I am going to select the object layers by layers
I have selected all the layers then I will right-click and click on the group. I have grouped everything together what now I cannot use this direct selection tool I am going to use this selection too I click on it and I will press my ALT key down and drag. I am going to right click, transform then reflect horizontal vertical click okay I can drag it to position it here
DRAW THE BOOK ART
I am going to draw several layers of books inside and the academic sign and this big pen. I am going to toggle the visibility of other layers off.
I click this pen to my (curvature tool) Click to start a point, Click to drop a curve point, Double click to create a straight line or sharp point or edge.
I have this what I am going to do now I am going to drag it out I will check these points.
I am going to double click this point to make it have a Sharp drop down. then I am going to give it a dark outline dark green outline okay dark green outline then I will duplicate the second and change the color and everything I press my ALT KEY and draw. I am going to use the selection tool.
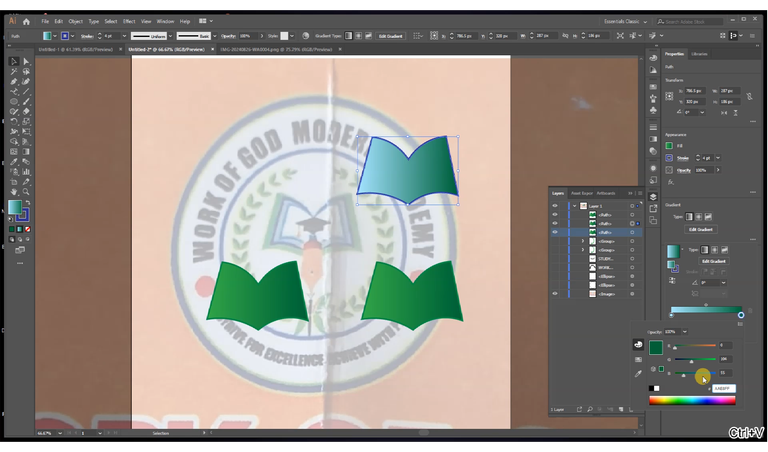
I have three duplicates. The second one will be a blue outline a blue outline this sky blue gradient fill. I click on this section here to edit the Gradients sky blue double click.
Let me choose here to make it a little bit Lighter and choose this
Point. I copy this code right click I copy that code come to this point double - click highlight and I paste the P to the code (CTRL + V) I hit enter then at the
center I am going to have a lighter color there it is okay.
Then the next point is for me to overlay it here I will drag it here and reduce the size I will press then my SHIFT you can see it.
I will work on this give this light sky blue outline and the background will be white.
Fill what I need to do now I need to edit the gradients by clicking this point double click here and choose the white. I am going to reduce the size.
You can see it. I am going to select these three parts and group them together.
In the second the next one is this academic I am going to zoom it press my I am going to take my (CURVATURE TOOL) follow the Straight line and curve principle when use the curvature tool. I remove the outline and then make it dark I am going for plain color let me remove it from gradient. I just give it black.
Let me create this Edge inside this shape. I will give this Ash color. I need to drag it below this layer it is going to come down. I need to double click here to track this down because I create a kind of rough shape there. I need to delete.
I will create the shape outside that I can drag it. I will give it a gradient color I come here edit gradients once I double click. I give it a light Ash color. I drag it down below this layer drag it again below this layer. I have something like this then I can click on this duplicate and I will transfer reflect now I am not going to use vertical I am going to use Horizontal I bring it up and I change the gradients color all the gradient fill.
I am going to draw this pen. I am going to draw this Pen. I will change the color gradient now the next step is for me to draw the other shape. What I am going to do now I am going to change the gradient color I want to draw this pen.
I will drag this out and create me kind of different gradients for this and double-click and pick your color. I click on this shape that I can edit the gradients okay they will be slightly different when I click this I place it under this part at this top I am going to click that and give it a stroke that create a kind of little difference. I double click and I come back I pressed my (CTRL + -) and I bring in this book, okay undo I need to select these layers for the book these are the book layer press my shift and select the point.
The Audio when off from the other part of the video. I will love to answer any question from the comments in my tutorials.
Posted Using InLeo Alpha
Posted Using InLeo Alpha