Realizando una pulsera Miyuki con estampado de fresa 🍓.//making a Miyuki bracelet with a strawberry print🍓.(Esp-Eng)

Hello everyone! 😃👋 How are you on this beautiful Sunday? I hope you enjoyed a great weekend, full of special moments and relaxation. For my part, I've been very busy creating jewelry, an activity that I am passionate about and that allows me to express my creativity. Today I am working on a Miyuki bracelet with a strawberry print 🍓. This bracelet has a special meaning for me, as it will be a gift for my sister, who loves strawberries. I showed her a design I found and, seeing her excitement, decided I had to make it myself.
Besides being a gift, I thought this would be an excellent opportunity to practice my skills. I've been getting better at creating these bracelets, and each new project represents a challenge that motivates me to keep learning. The Miyuki technique is fascinating, and I love the precision and detail that can be achieved with it. While researching new Miyuki bracelet models, I came across an incredible variety of designs, some much more complex than I'd attempted before. The creativity in this art is endless, and sometimes I feel overwhelmed by the number of options. There are bracelets with geometric patterns, others with vibrant color combinations, and some that tell stories through their designs. I can't help but think I'd like to make them all. I'm excited about the process of creating this bracelet. Every time I start a new project, I feel a mix of nerves and excitement. I love selecting the bead colors, planning the design, and watching it slowly come to life. I hope you love this project as much as I do, and I invite you to join me in the process of making this bracelet. Maybe you'll even be inspired to create one for yourself or someone special. Jewelry is a wonderful way to share love and creativity!

🍓(Materiales a usar:)(Materials to use:)🍓
- Hilo de bordado de color verde, blanco
- Aguja de mostacillas
- Mostacillas de color verde, rojo y blanco
- Tijeras
- Tapa nudos
- Dos argollas
- Un pico de loro
- Green and white embroidery thread
- Beading needle
- Green, red, and white beads
- Scissors
- Knot cover
- Two rings
- A parrot's beak
🍓(Procedimiento:)(Procedure:)🍓

Paso nro 1
Paso nro 1
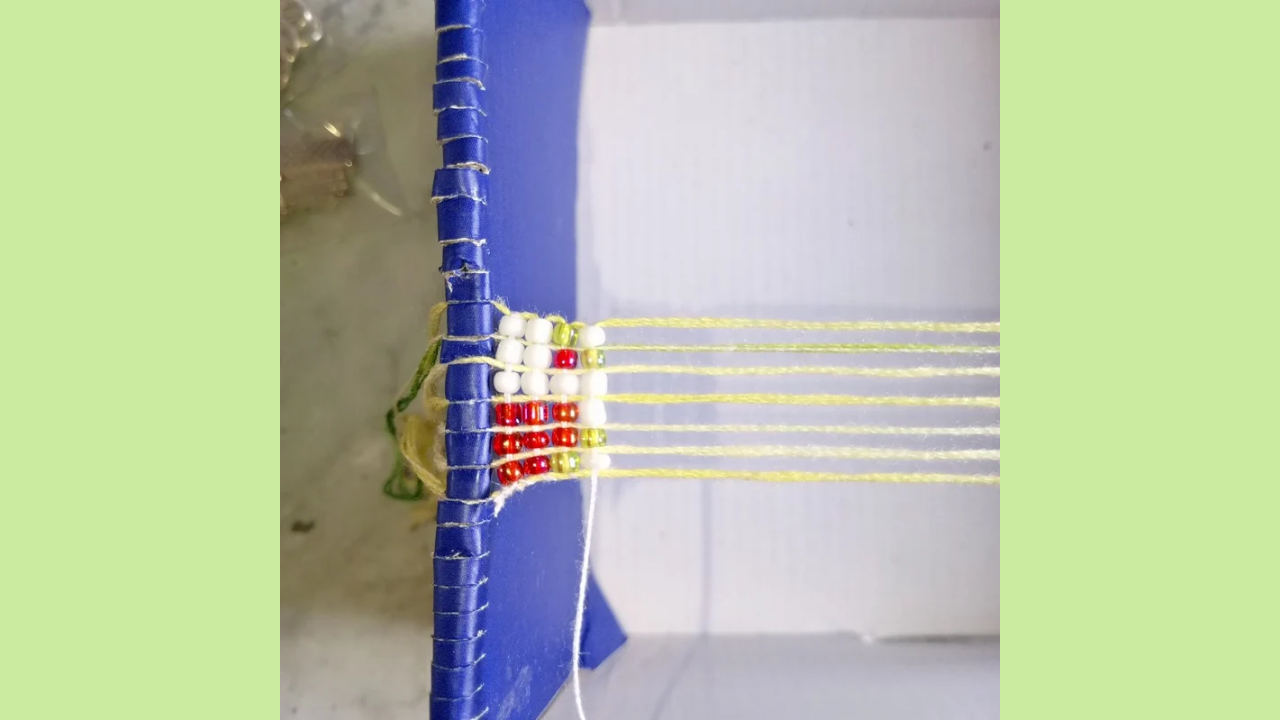
Before I begin making the bracelet, I want to mention that I'm using new materials. I got a bead needle, which is ideal for this type of work, and I also managed to find knot covers, jump rings, and parrot beaks. I'm not entirely sure if that's the correct name, but I'm glad I was lucky enough to find them, as I'd been looking for these materials for a while and just now found them. The first thing I'm going to do is prepare my loom. To do this, I'll lay down light green threads, which will give the bracelet a fresh and cheerful touch. I've decided to lay down seven rows of threads, as I feel that will be enough to achieve the design I have in mind. Also, to make the process easier, I drew the design on paper; this will serve as a guide as I progress through the weaving. Now, I'm ready to start weaving. First, I knot the thread on the needle to ensure the beads don't slip while I work. Then, I begin laying out the beads following the instructions in my design guide. It is important that the beads are well aligned in each row, since the needle will have to pass through the middle of them in the next step.


Paso nro 2
Paso nro 2
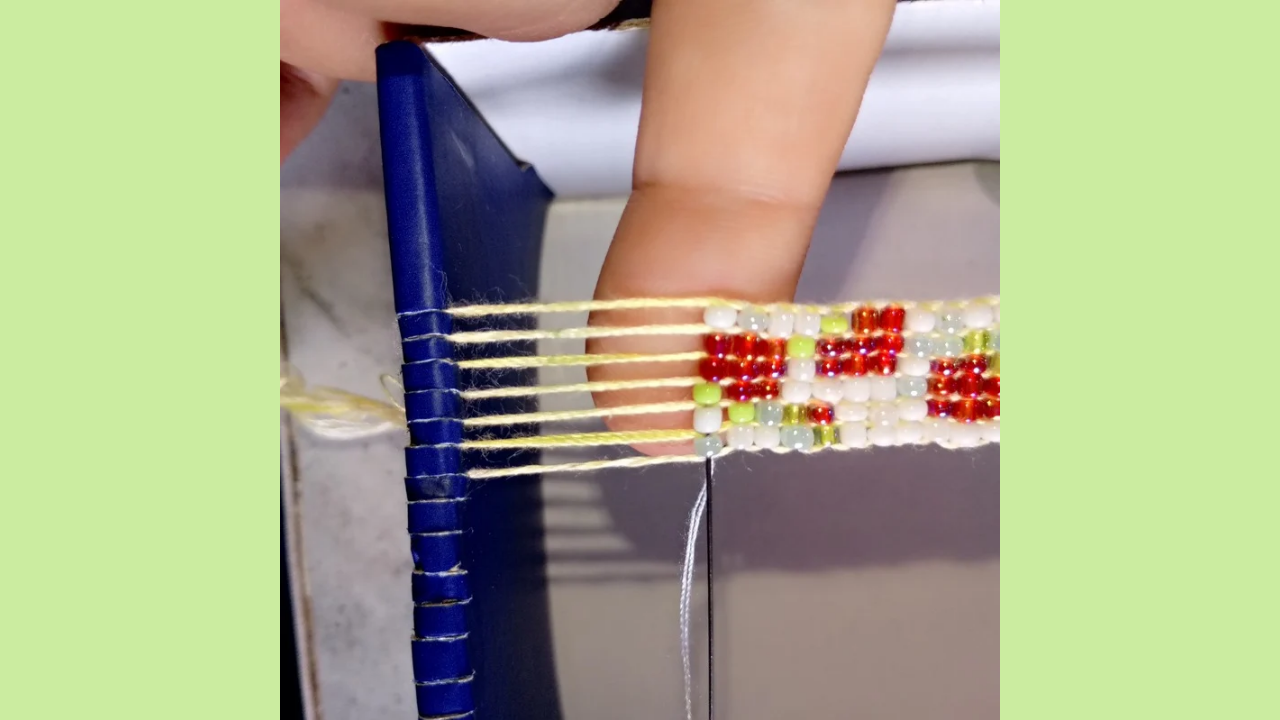
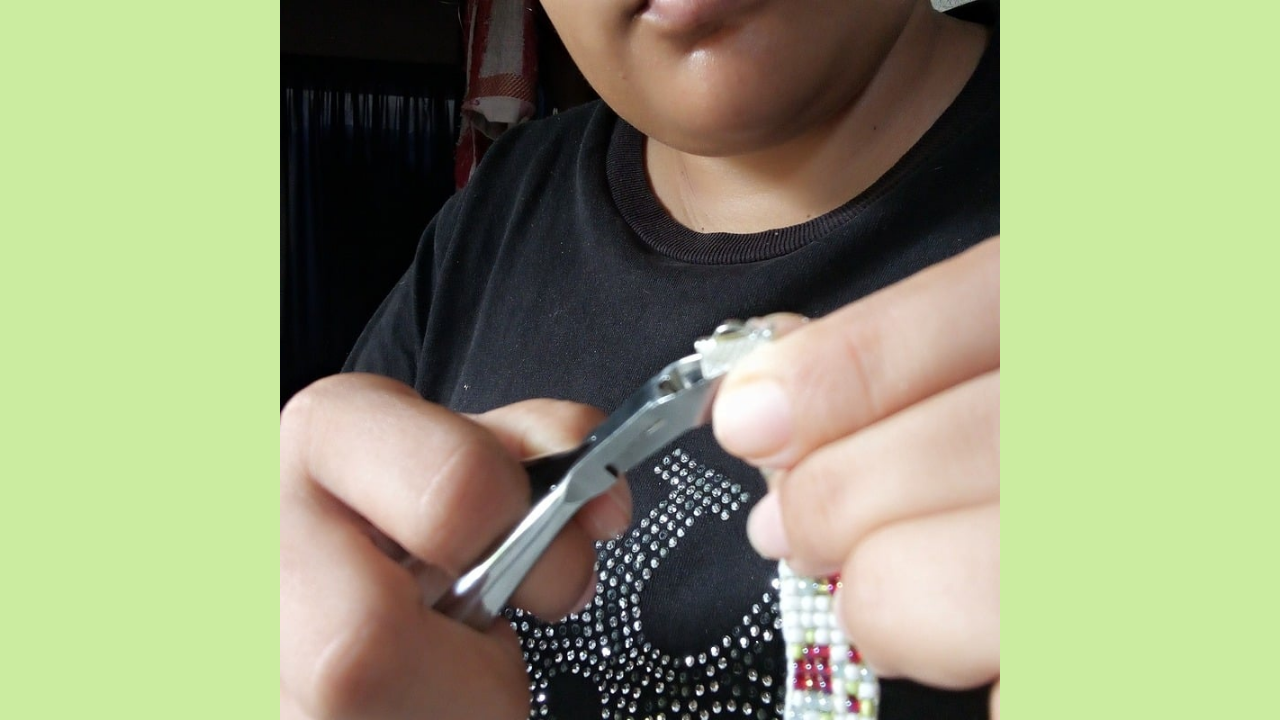
I placed the beads on each row, making sure to follow the pattern I'd drawn. Then, I brought the needle up and carefully inserted it through the middle of the beads. This process requires concentration, as every movement counts to ensure the design stays the same as I had in mind. I continued doing this, always careful to follow the design I'd previously outlined. As I progressed, I began to see the strawberries taking shape.

Paso nro 3
Paso nro 3
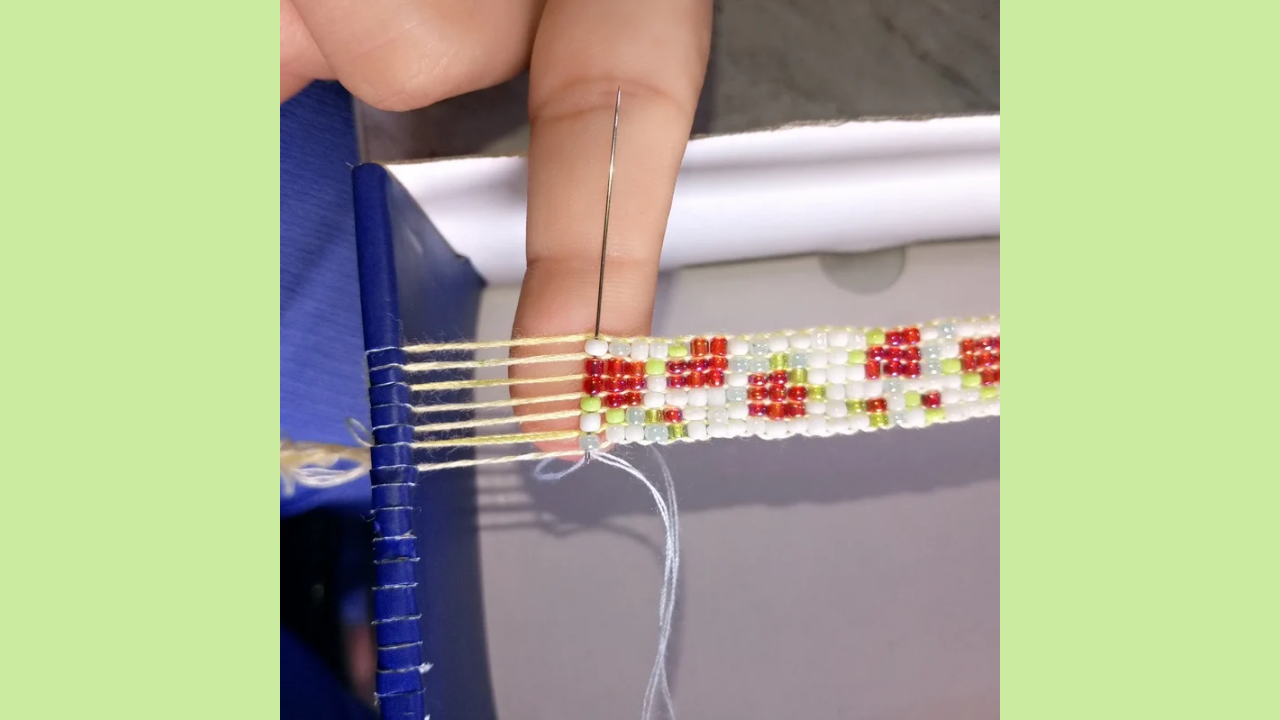
At this stage, I was already making good progress, and the bracelet was almost ready. I realized that I used to spend much more time making these bracelets, whereas now I feel like the process moves faster. Perhaps it's because I've been practicing and improving my skills, which allows me to work more efficiently. As I approach the final stage of weaving, I keep in mind how to ensure everything is perfectly finished. Once I complete the design, I'll use the leftover thread to tie a strong knot. This is crucial to ensure the weave doesn't come undone and the bracelet maintains its shape and durability.

Paso nro 4
Paso nro 4
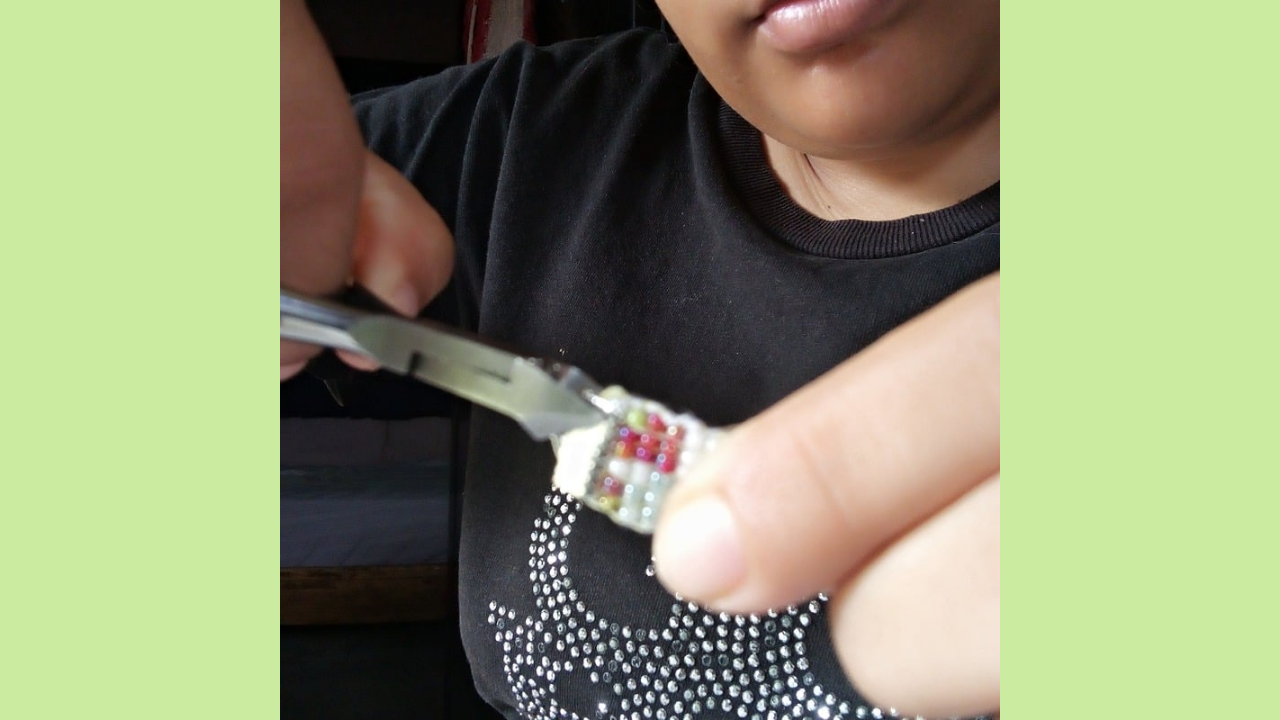
Once I had the most important part of the bracelet ready, I moved on to adding the knot covers on each side. This step is crucial to ensure the weave is well protected and doesn't unravel with use. I carefully adjusted the knot covers so they were firm and aesthetically pleasing. After that, I added the jump rings. I decided to include a jump ring at one end, to which I will add a parrot's beak. This detail will not only add a special touch to the bracelet, but will also facilitate closing and opening, ensuring that it is easy to put on and take off.
🍓(Resultado final:)(Bottom line:)🍓
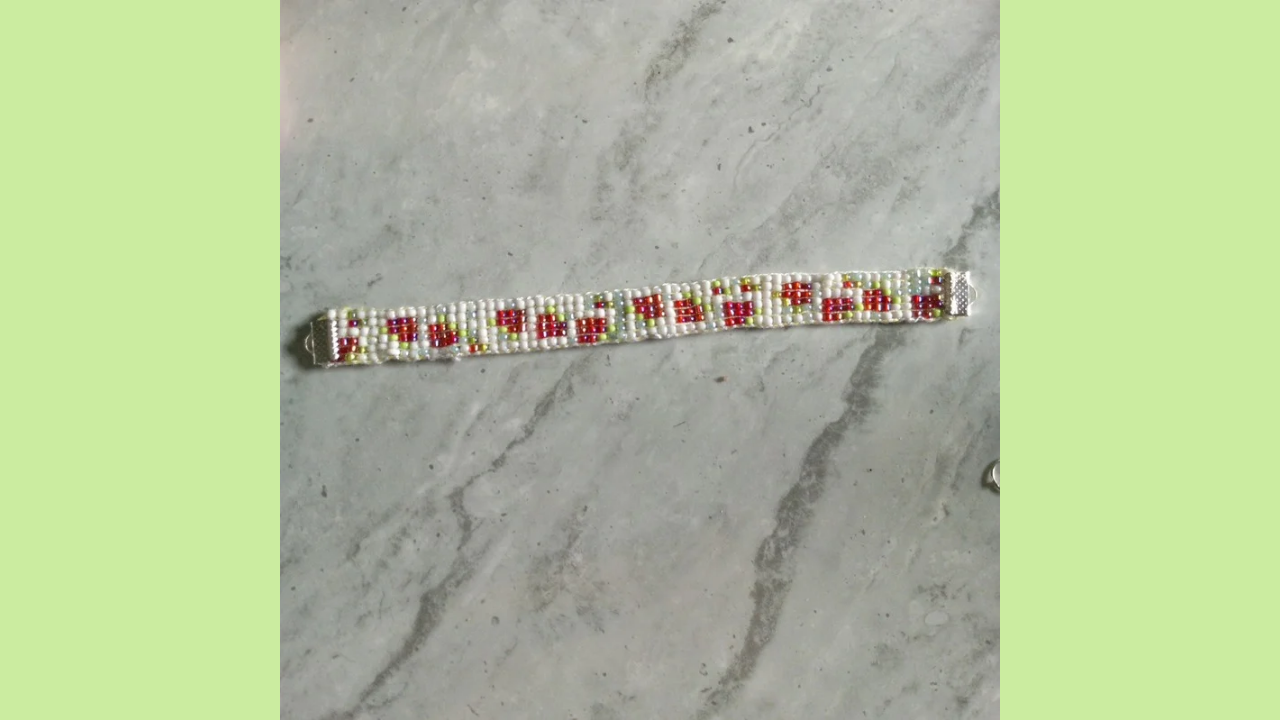
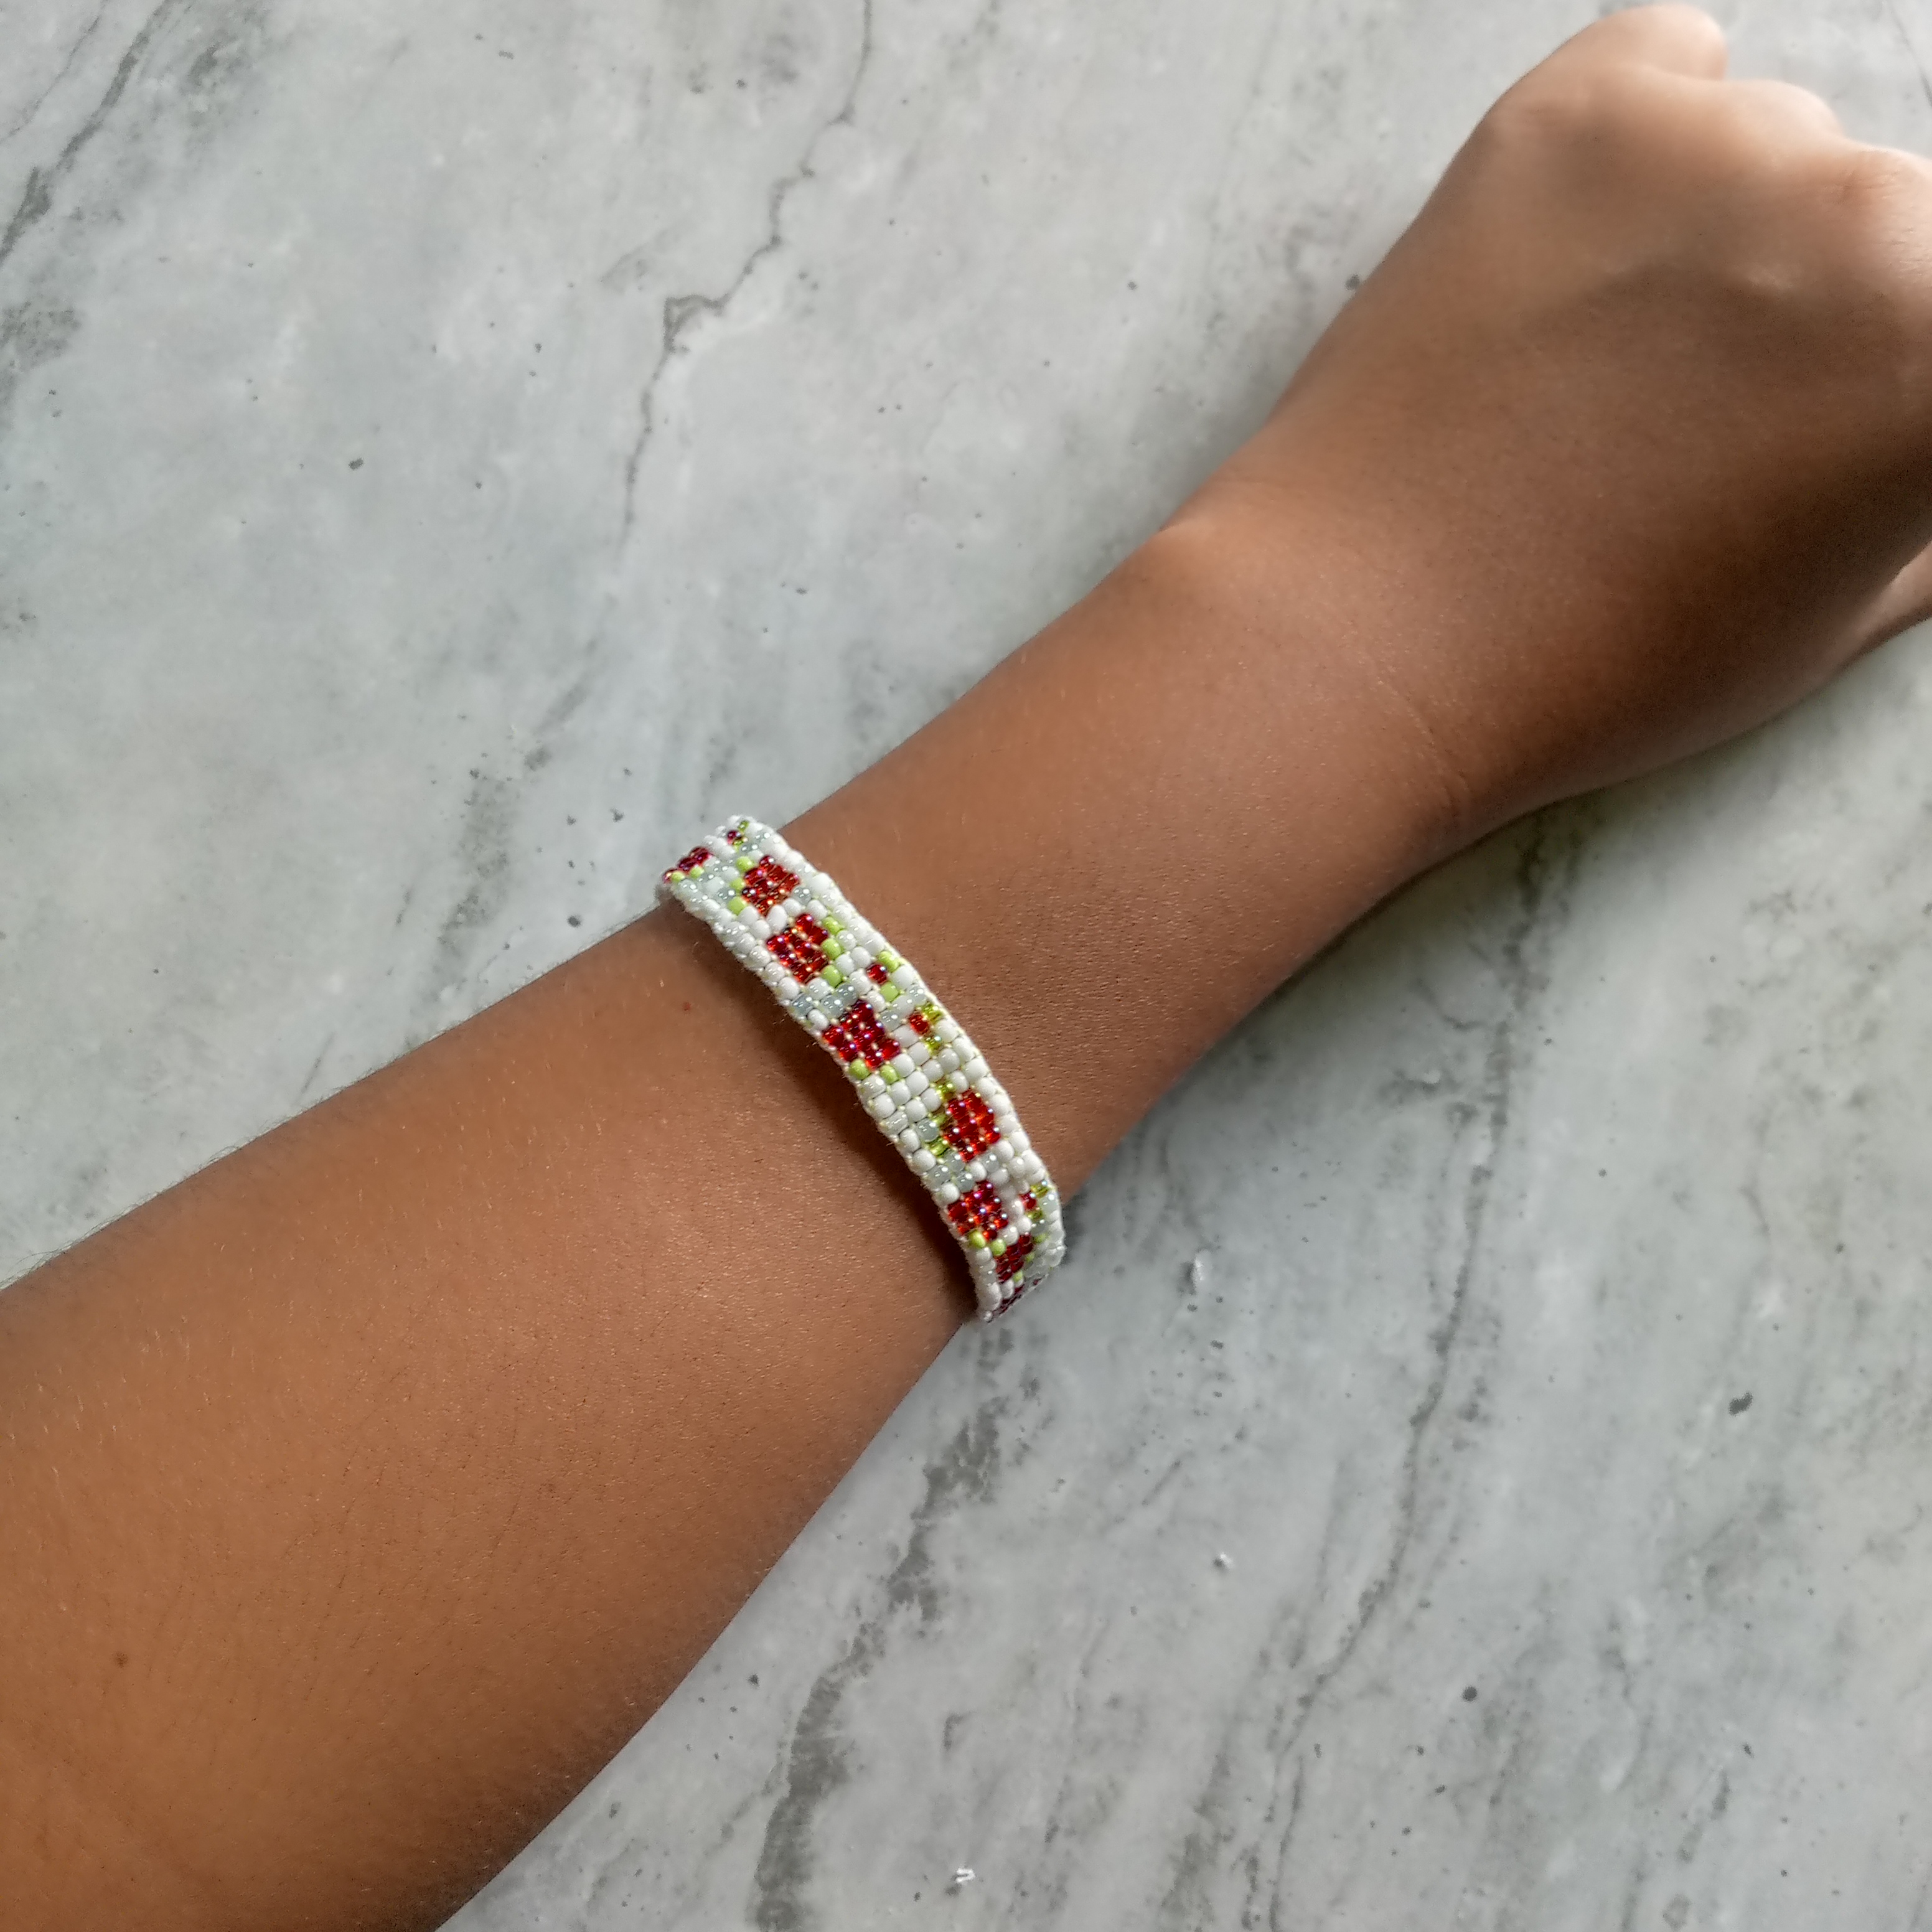
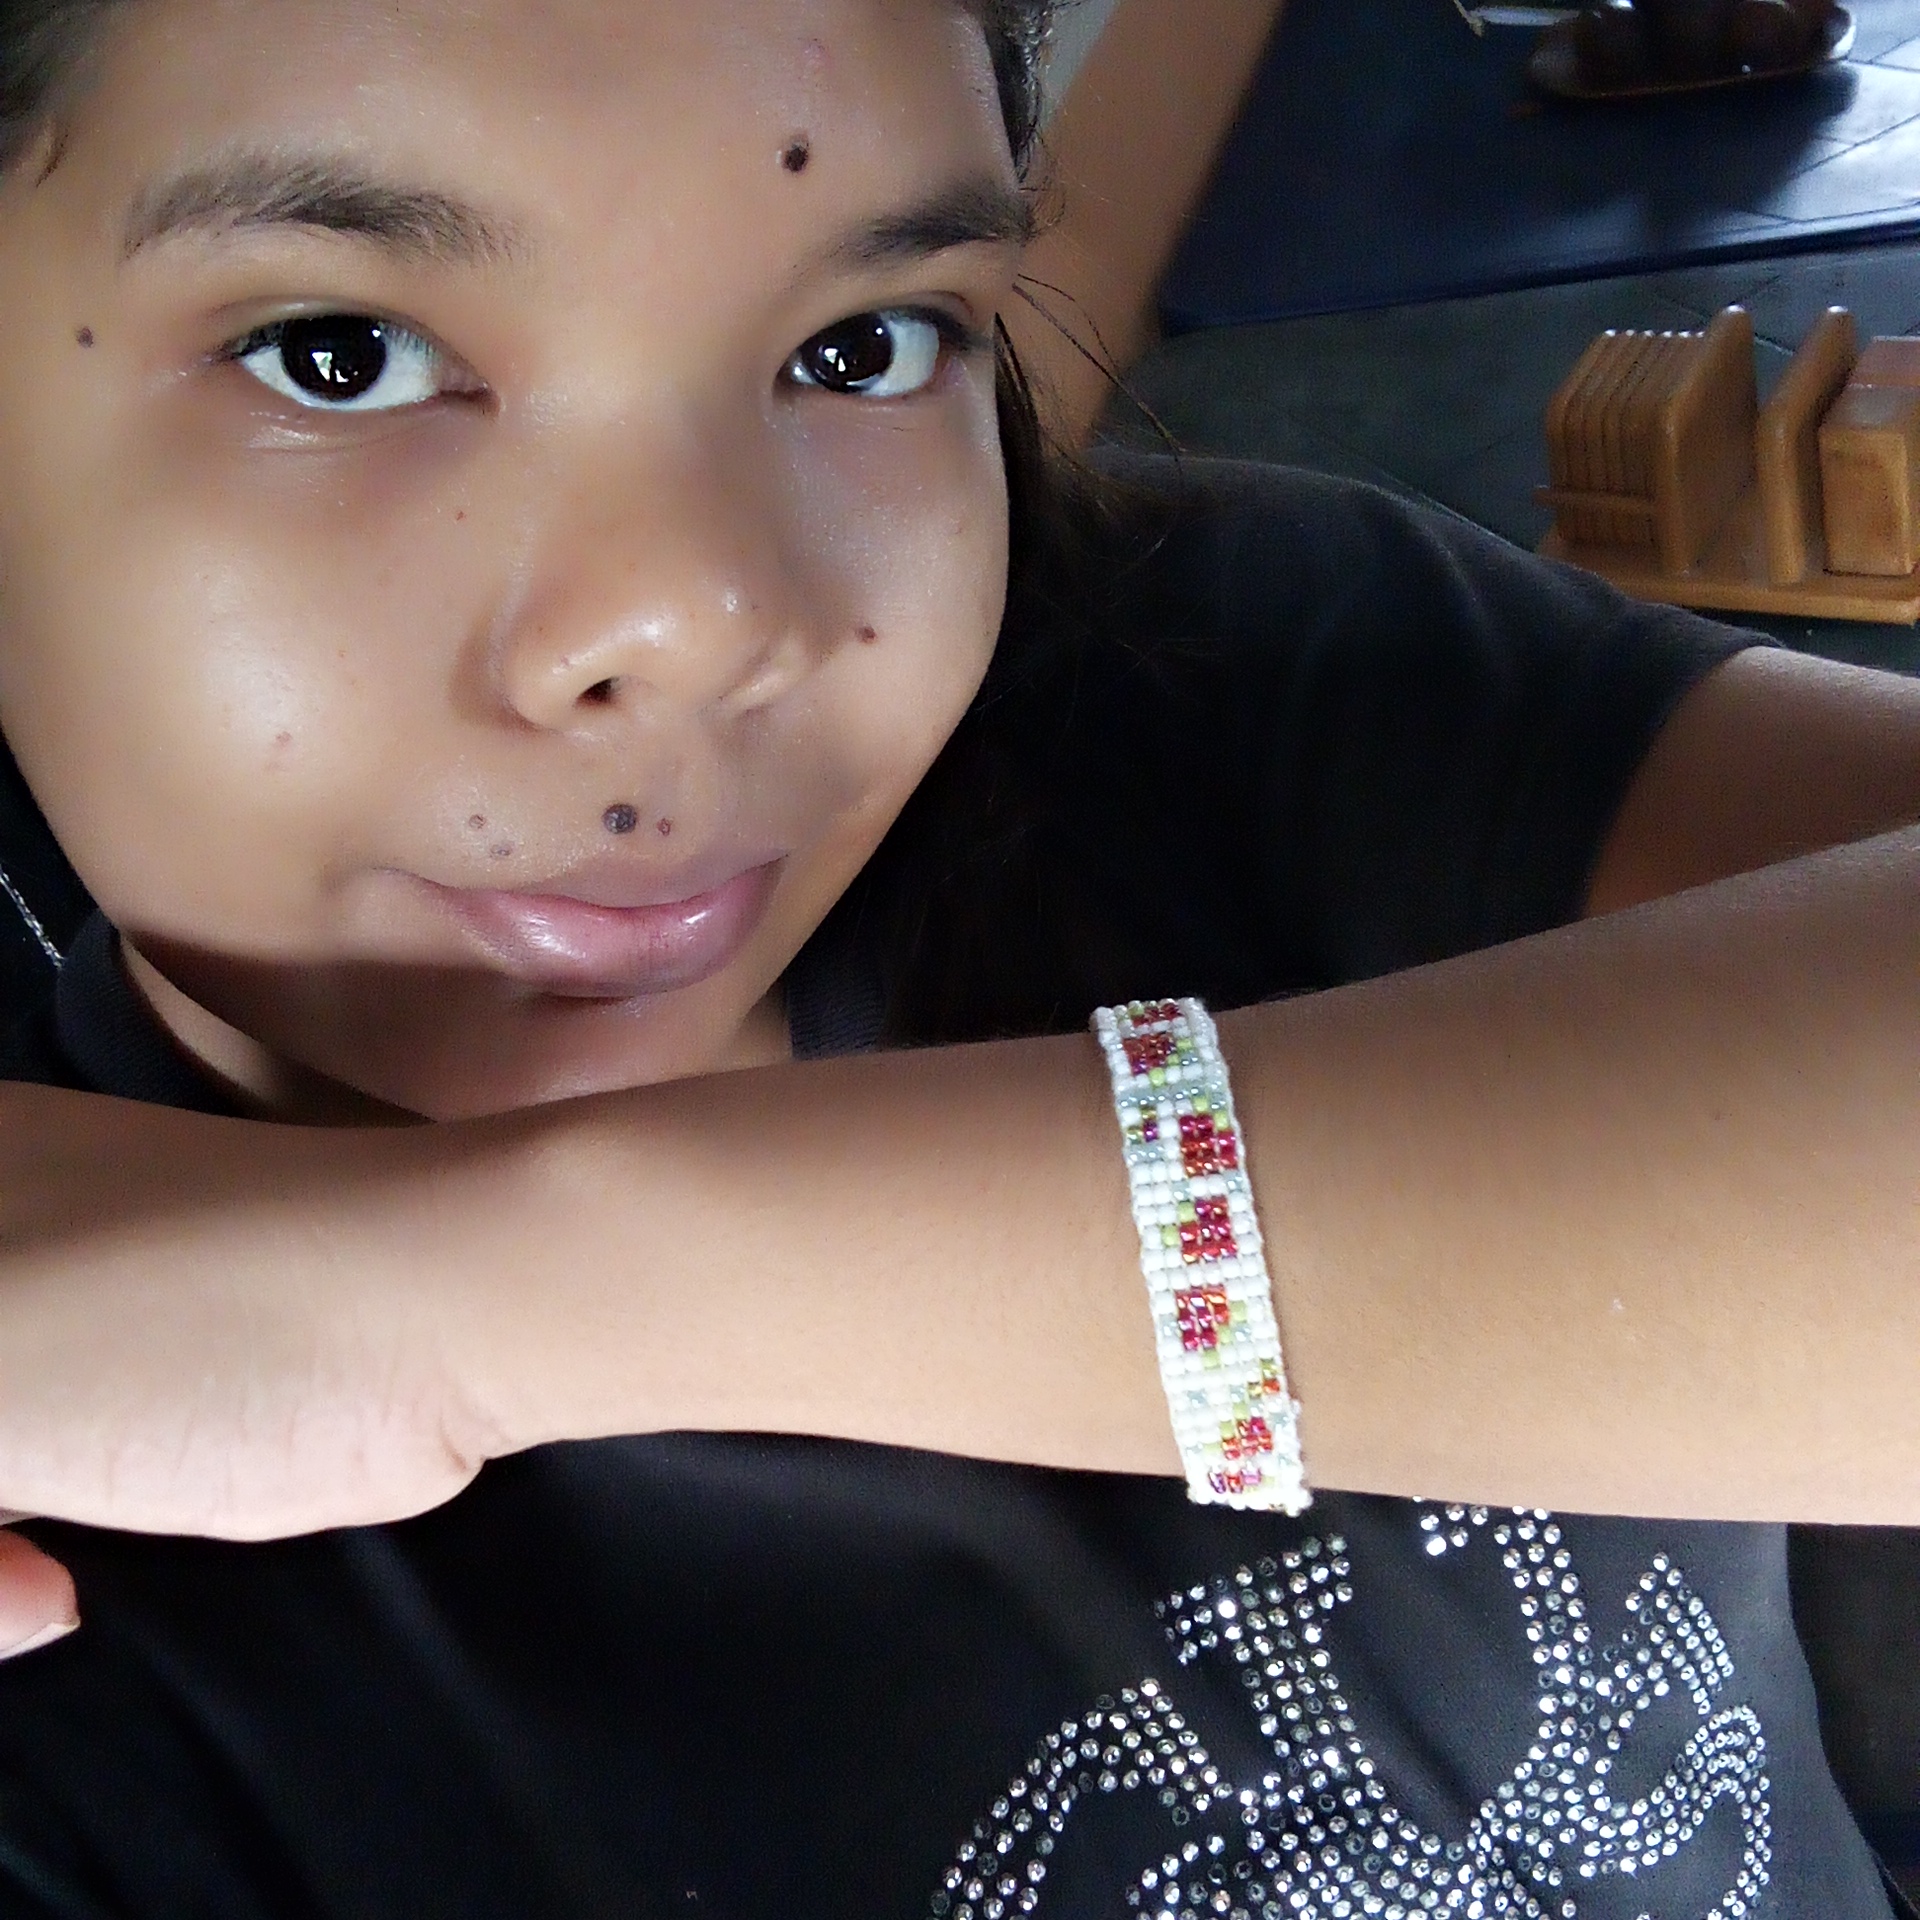
And so, after dedicating time and effort to this beautiful project, the strawberry bracelet is finally ready. Every bead, every knot, and every detail reflects not only my creativity but also the love I have for my sister. I hope that when she receives it, she feels all the love and dedication I put into every step of the way. Thank you for joining me, and I hope to continue sharing more beautiful bracelets with you.

🍓Las fotos de este blog son de mi propiedad|Las imágenes son editadas en canva|Fotografías tomadas en mi celular infinix Smart 7|El contenido está traducido en el traductor de Firefox.🍓
Wow, it's very beautiful, the color is very fresh, like strawberries in a flower garden.
Thank you, I'm glad to know that you liked the bracelet. Thank you very much for your comment.
You're welcome, keep up the good work.
¡Enhorabuena!
✅ Has hecho un buen trabajo, por lo cual tu publicación ha sido valorada y ha recibido el apoyo de parte de CHESS BROTHERS ♔ 💪
♟ Te invitamos a usar nuestra etiqueta #chessbrothers y a que aprendas más sobre nosotros.
♟♟ También puedes contactarnos en nuestro servidor de Discord y promocionar allí tus publicaciones.
♟♟♟ Considera unirte a nuestro trail de curación para que trabajemos en equipo y recibas recompensas automáticamente.
♞♟ Echa un vistazo a nuestra cuenta @chessbrotherspro para que te informes sobre el proceso de curación llevado a diario por nuestro equipo.
🥇 Si quieres obtener ganancias con tu delegacion de HP y apoyar a nuestro proyecto, te invitamos a unirte al plan Master Investor. Aquí puedes aprender cómo hacerlo.
Cordialmente
El equipo de CHESS BROTHERS
Que lindo el diseño de fresas, Es hermoso que hayas creado algo con valor sentimental. Tu hermana estará feliz-
Muchas gracias 😌
¡Felicitaciones!
Estás participando para optar a la mención especial que se efectuará el domingo 11 de mayo del 2025 a las 8:00 pm (hora de Venezuela), gracias a la cual el autor del artículo seleccionado recibirá la cantidad de 1 HIVE transferida a su cuenta.
¡También has recibido 1 ENTROKEN! El token del PROYECTO ENTROPÍA impulsado por la plataforma Steem-Engine.
1. Invierte en el PROYECTO ENTROPÍA y recibe ganancias semanalmente. Entra aquí para más información.
2. Contáctanos en Discord: https://discord.gg/hkCjFeb
3. Suscríbete a nuestra COMUNIDAD y apoya al trail de @Entropia y así podrás ganar recompensas de curación de forma automática. Entra aquí para más información sobre nuestro trail.
4. Visita nuestro canal de Youtube.
Atentamente
El equipo de curación del PROYECTO ENTROPÍA
Waal this is unique and elegant bracelet I love the design and elegancy.
Hi, thanks, I'm glad you liked it and found it elegant. Thanks 😊