Cómo hice un llavero con dije de ballena azul.//how I made a blue whale charm keychain(Esp-Eng)
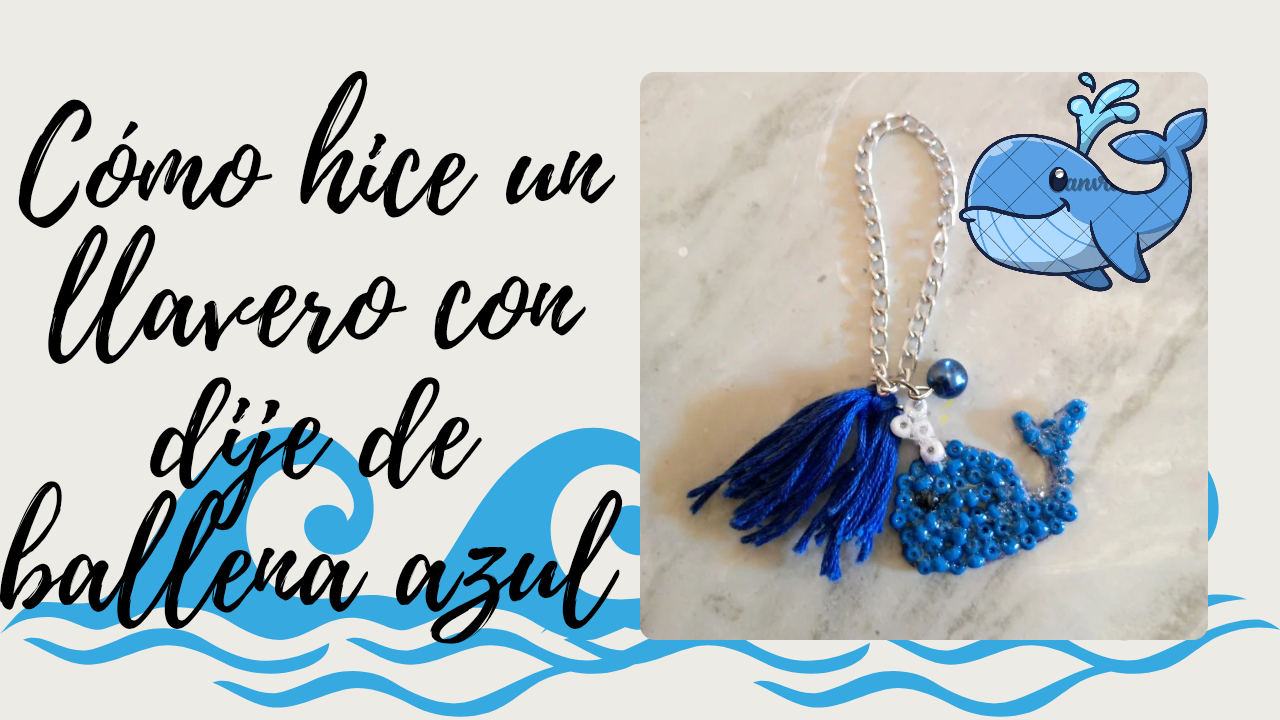
Hello everyone! How are you doing on this beautiful day? I'm delighted to be here with you to share one of my favorite crafts. I often make things as a way to relax and unwind from my daily routine. I don't always look to make something extraordinary; sometimes I just want to experiment and have fun with different materials. Today, I want to show you how I made a very special keychain. The idea came from my desire to have a unique accessory that reflects my personal tastes. I've also included a charm representing one of my favorite animals:The blue whale. This marine mammal fascinates me for many reasons. Its imposing size, beauty, and behavior are truly astonishing. I'm especially intrigued by the way it expels water through a blowhole in its head, creating a breathtaking spectacle. The blue whale is not only the largest animal on the planet, but it's also a symbol of the majesty of marine life. It's incredible to think that, despite living in the water, it's a mammal that breathes air, just like us. This duality is what makes this species so unique and fascinating. In this tutorial, I'll show you step-by-step how I created this blue whale keychain and charm. I'll be using simple materials that you probably already have at home, so don't worry if you're a beginner. I hope this craft will not only inspire you to create something beautiful but also provide a moment of relaxation and fun. So, without further ado, I invite you to join me in this exciting creative process. Let's begin!
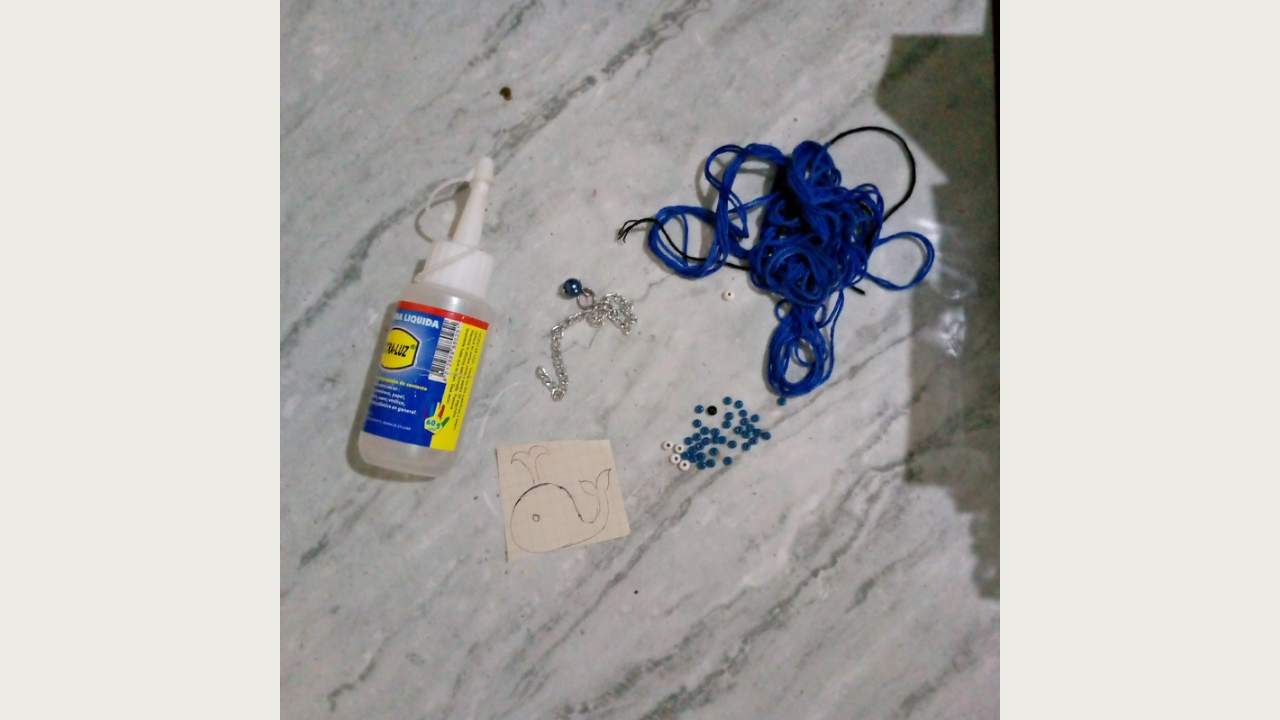
(Materiales🐳:)||(Materials🐋:)
- Cuentas de color azul, blanco y una negra
- Hilo de tejer azul también sirve el estambre
- Silicón líquido
- Tijeras
- Dibujo de la ballena azul
- Cadenita
- Adorno extra(puede ser un aro con una perla guindando)
- Blue, white, and one black beads
- Blue knitting yarn (yarn also works)
- Liquid silicone
- Scissors
- Blue whale drawing
- Small chain
- Extra embellishment (can be a hoop with a pearl dangling from it)
(Procedimiento:)||(Procedure:)

Paso nro 1
Paso nro 1
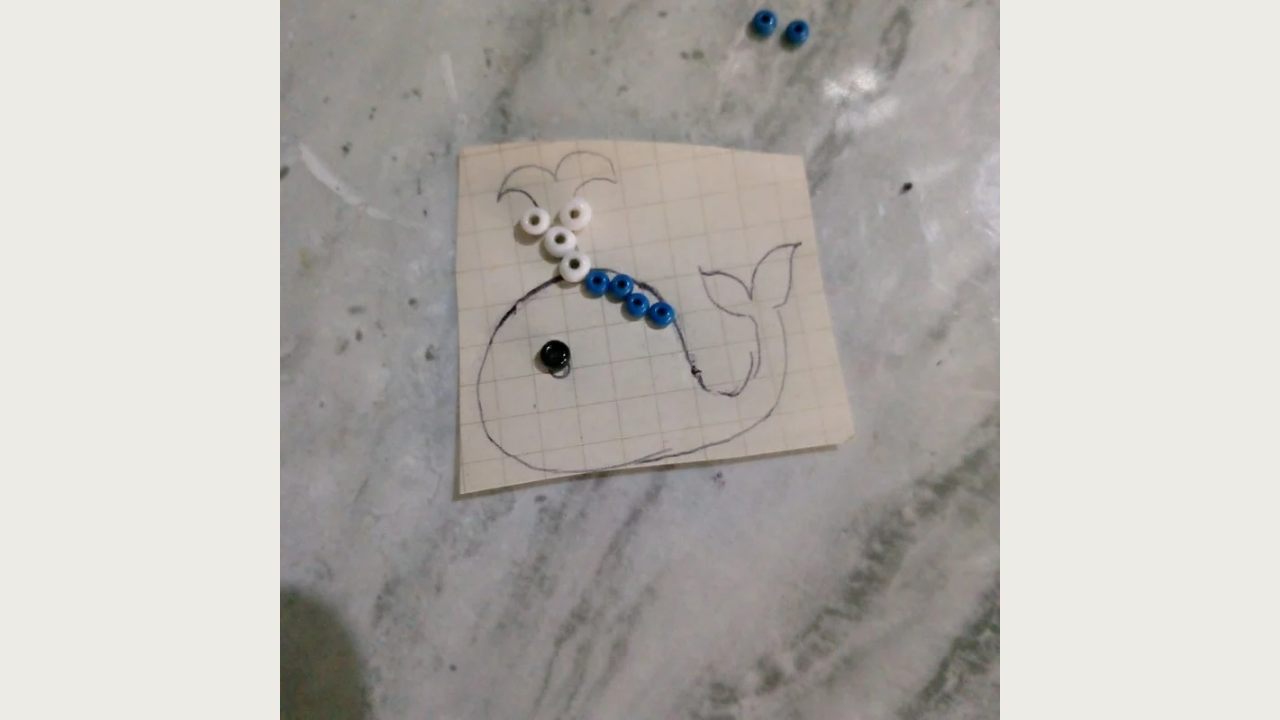
First, I drew a small whale on a piece of paper. Making sure the design was simple and easy to follow, I cut out the drawing to use as a template. Next, I selected the blue beads I would use for the whale's body. I chose different sizes to give it more texture. I also chose a black bead for the eye and several white beads to represent the spout of water.
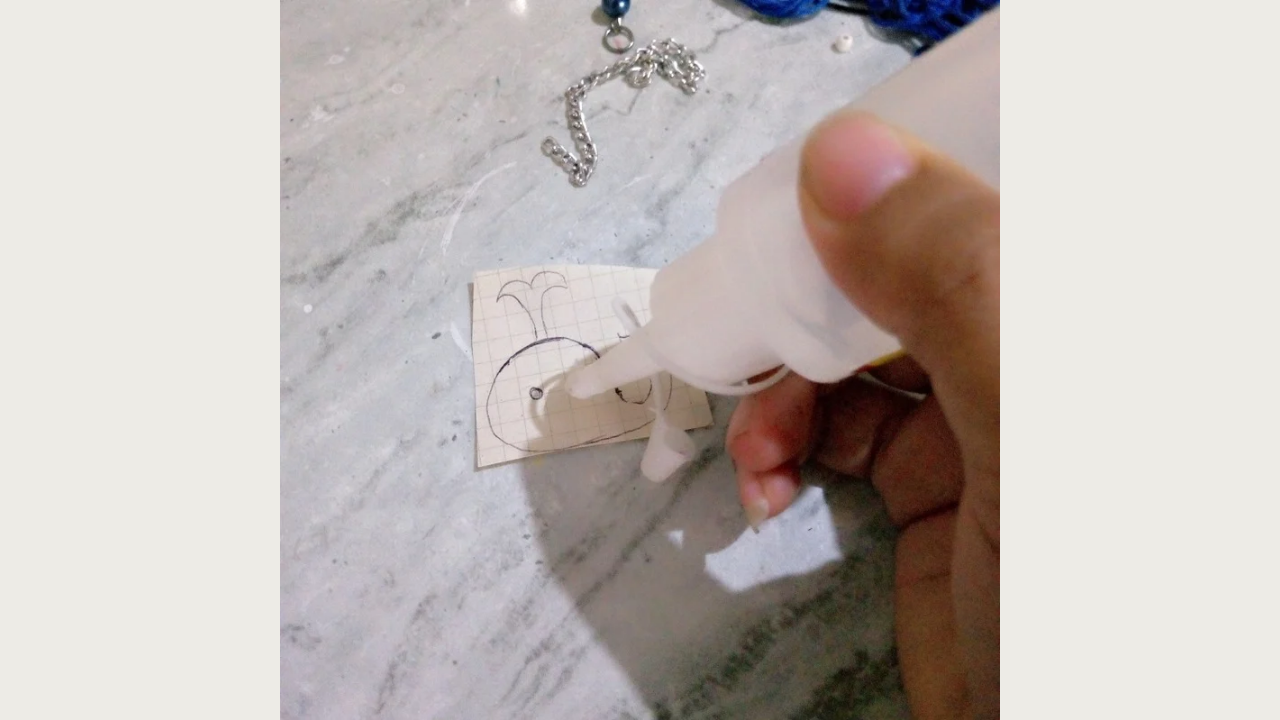
Paso nro 2
Paso nro 2
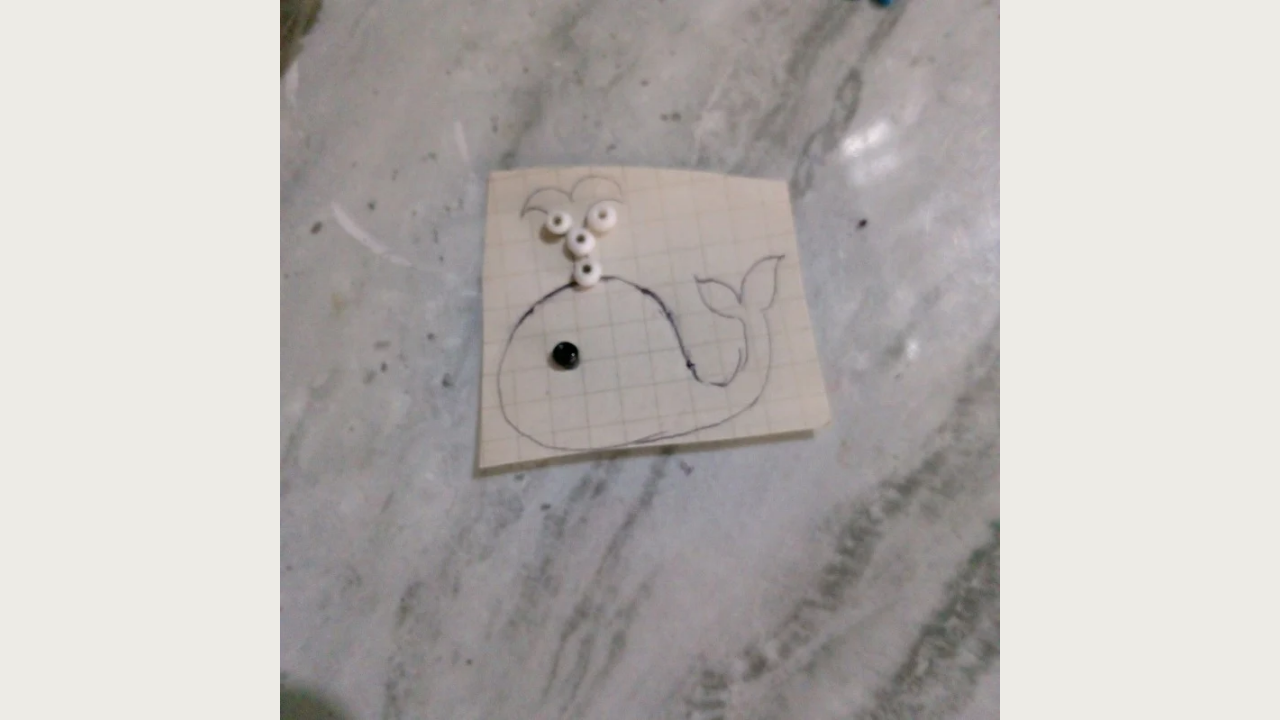
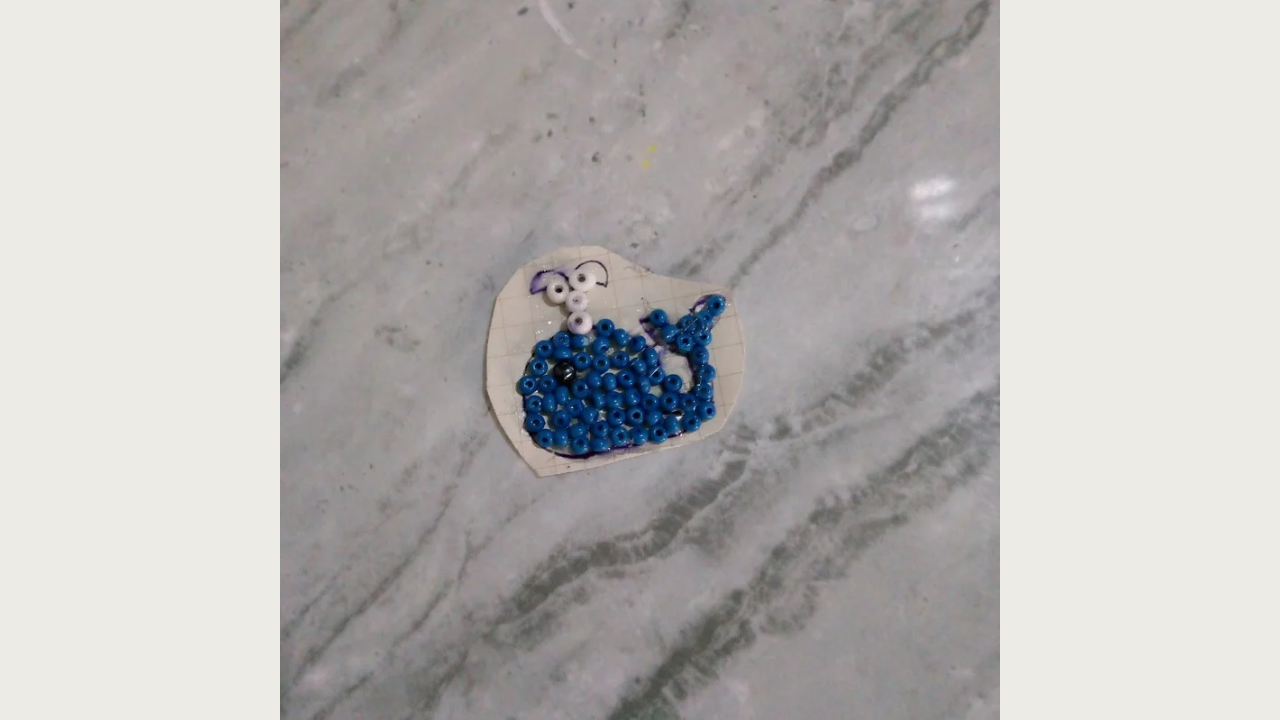
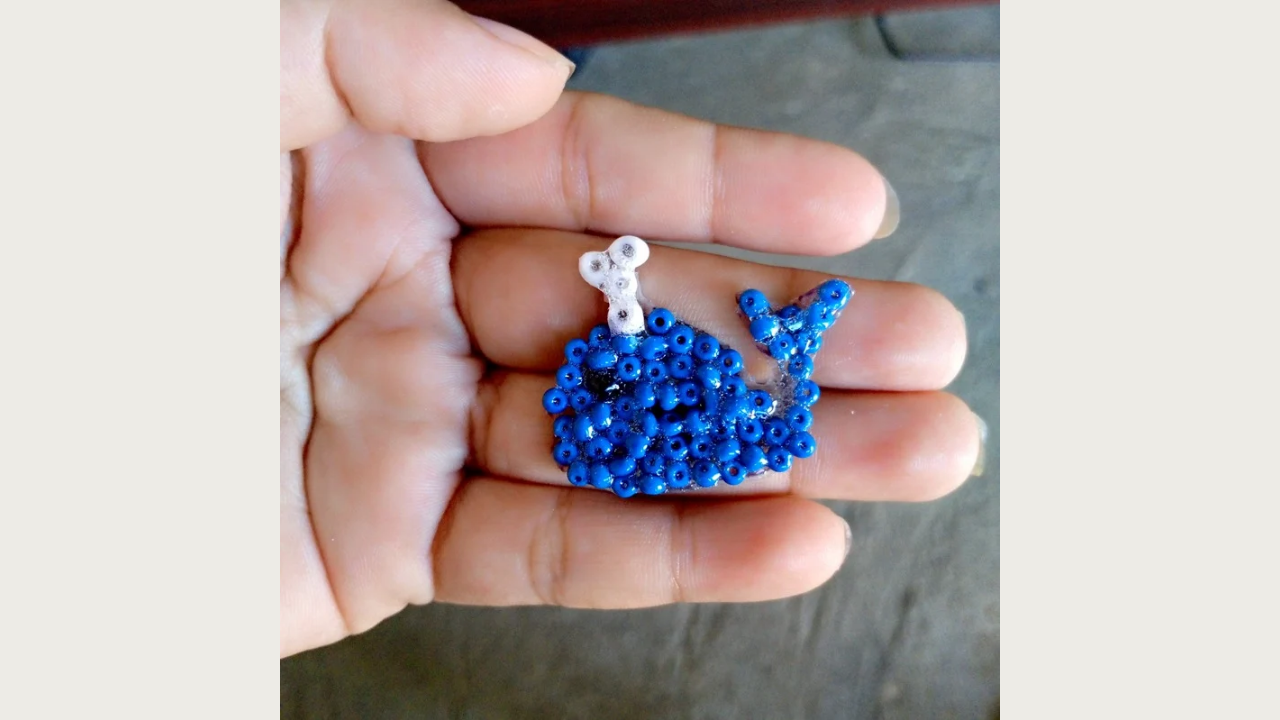
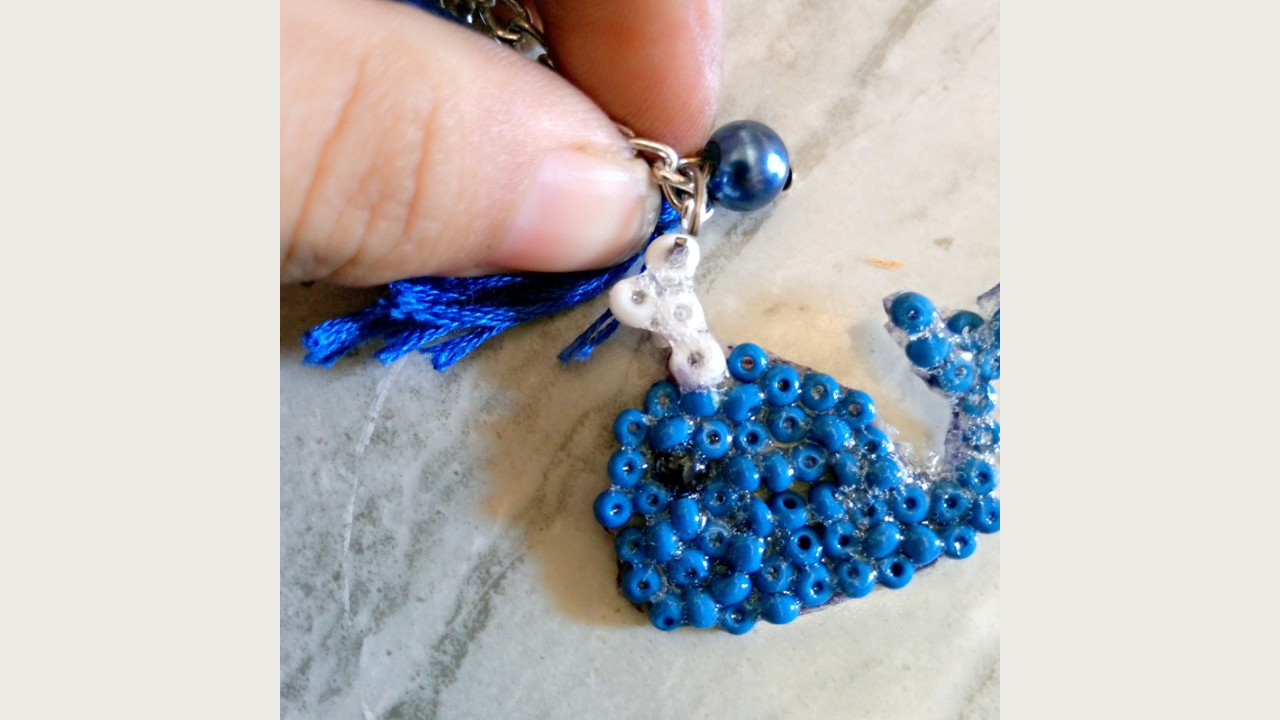
I applied the liquid silicone to the area where I would glue the beads to the paper. I started with the largest bead as the base of the whale's body. Then, I placed the blue beads around the base bead, forming the body shape. I secured the black bead in the spot I'd chosen for the eye and used the white beads to create the stream of water coming out of the whale, grouping them together in droplets. I let the glue dry completely before moving on to the next step.

Paso nro 3
Paso nro 3
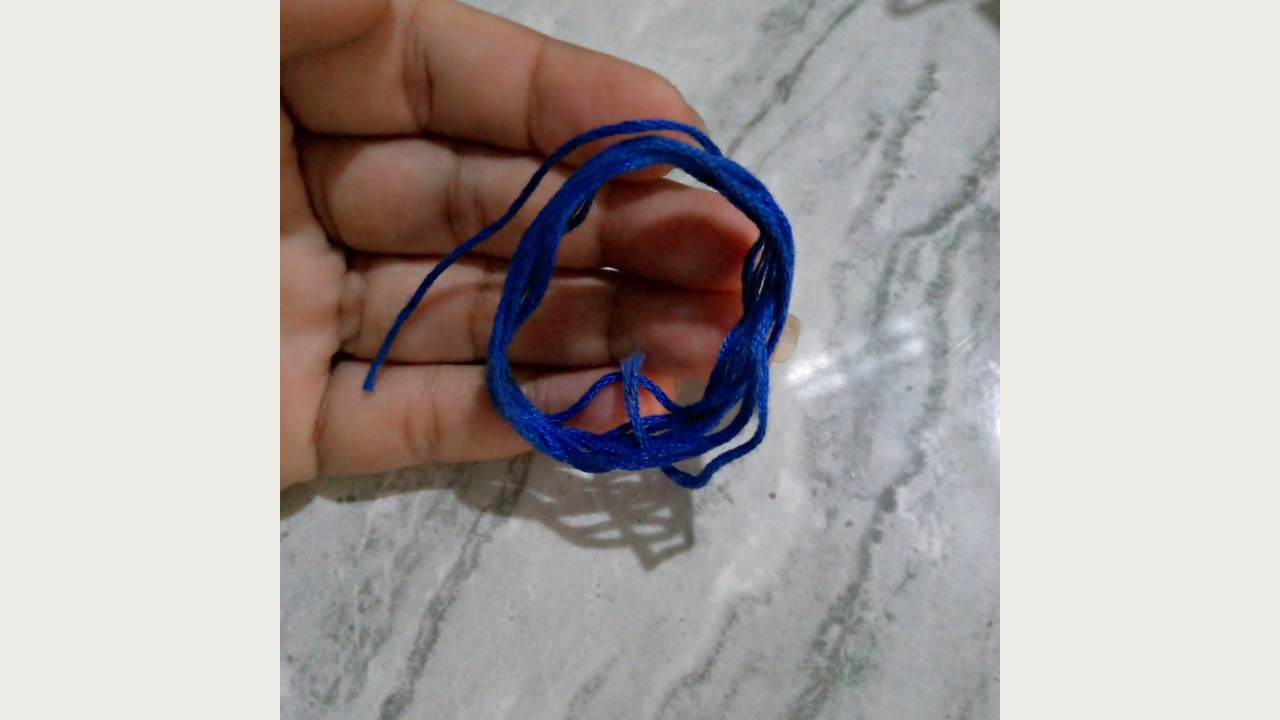
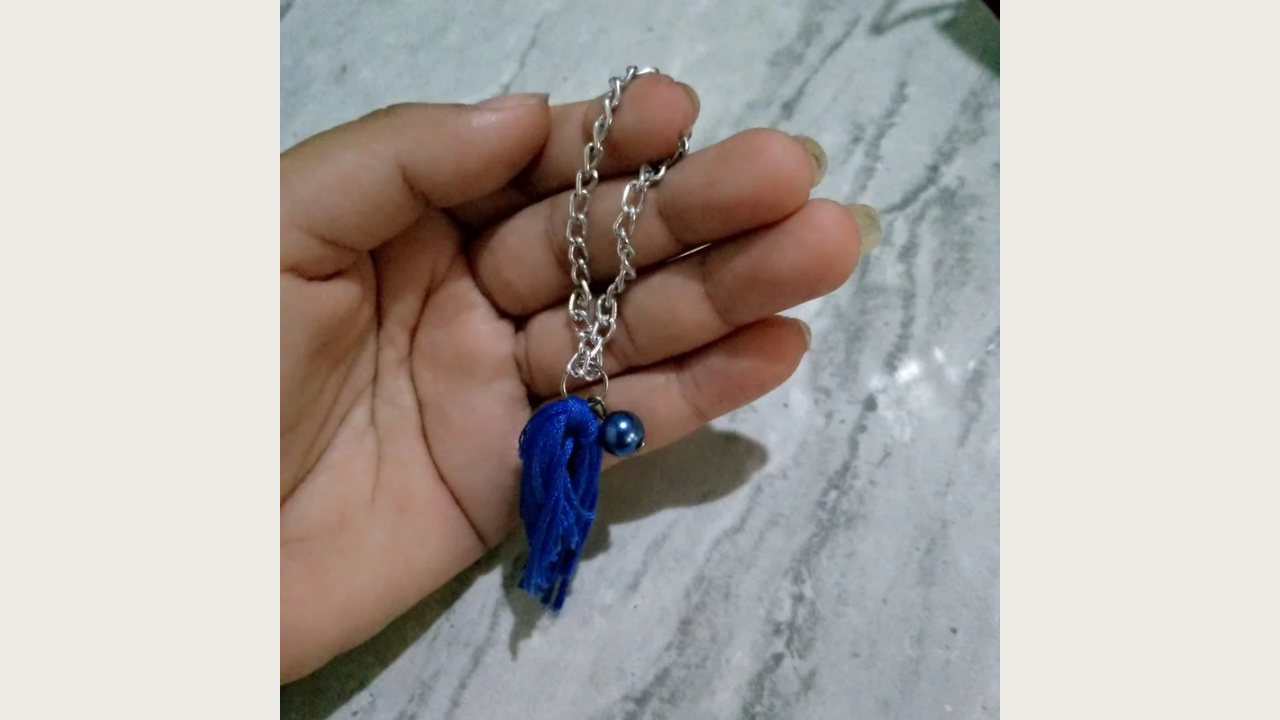
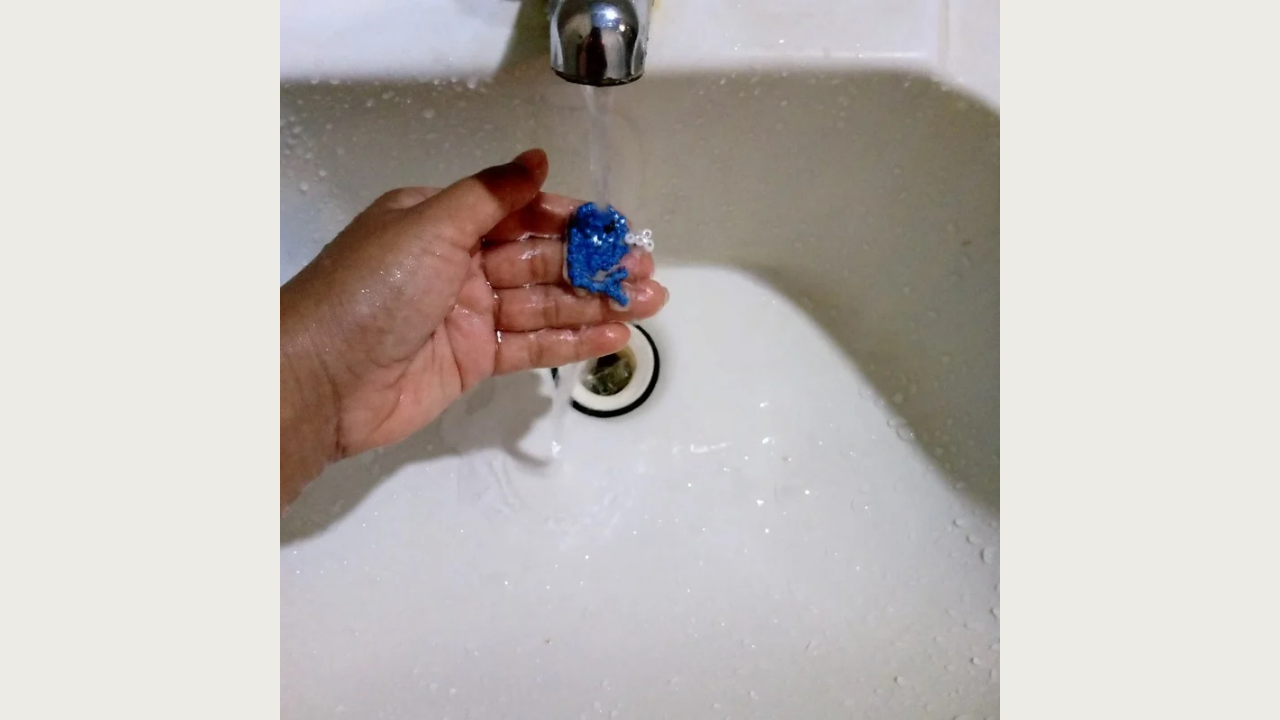
Now I'm going to prepare the rest of the keychain decoration. I'm going to make an ornament with blue knitting yarn. I did this by wrapping the yarn around my hand, then I tied a knot in the middle. Once that was done, I added a ring with a pearl hanging from it, and I also attached the little chain that will hold the entire keychain together. Once the glue was dry, I moistened the paper with water. I made sure not to soak the beads too much. Then, I let the paper soften for a few minutes. I gently rubbed the paper with my fingers to loosen it, and carefully peeled it back, leaving only the beads attached.
Paso nro 4
Paso nro 4
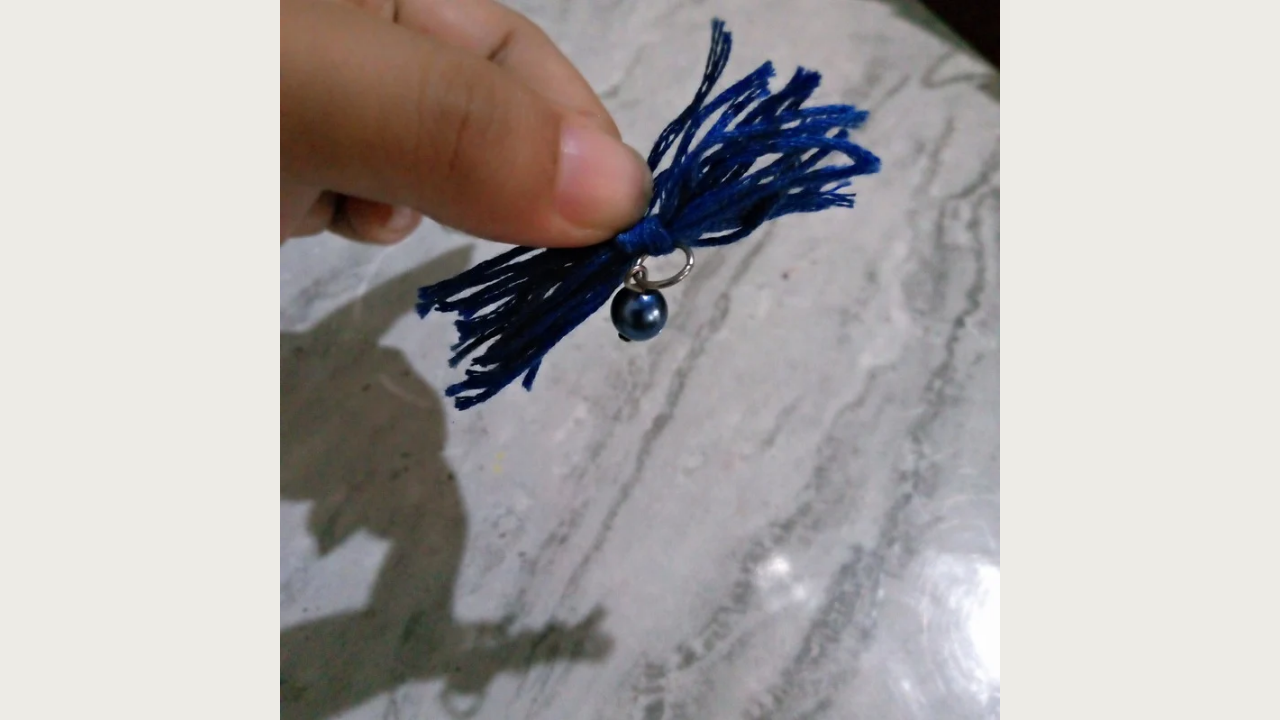
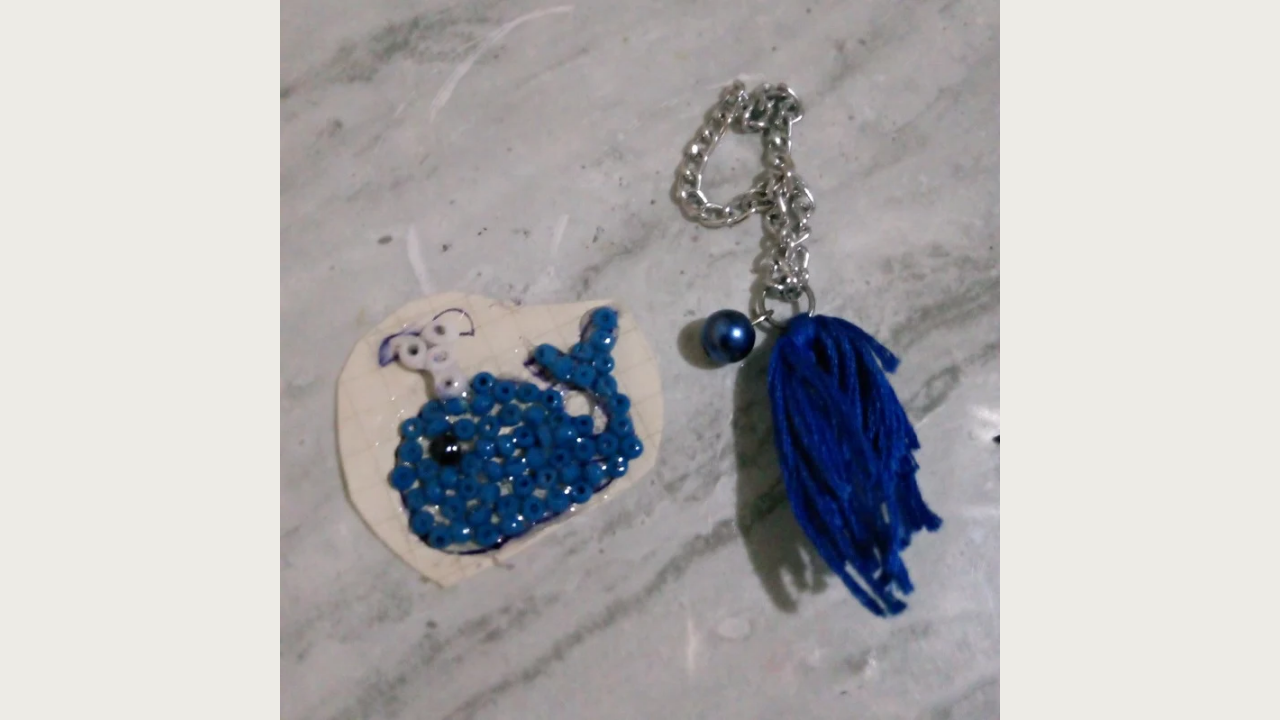
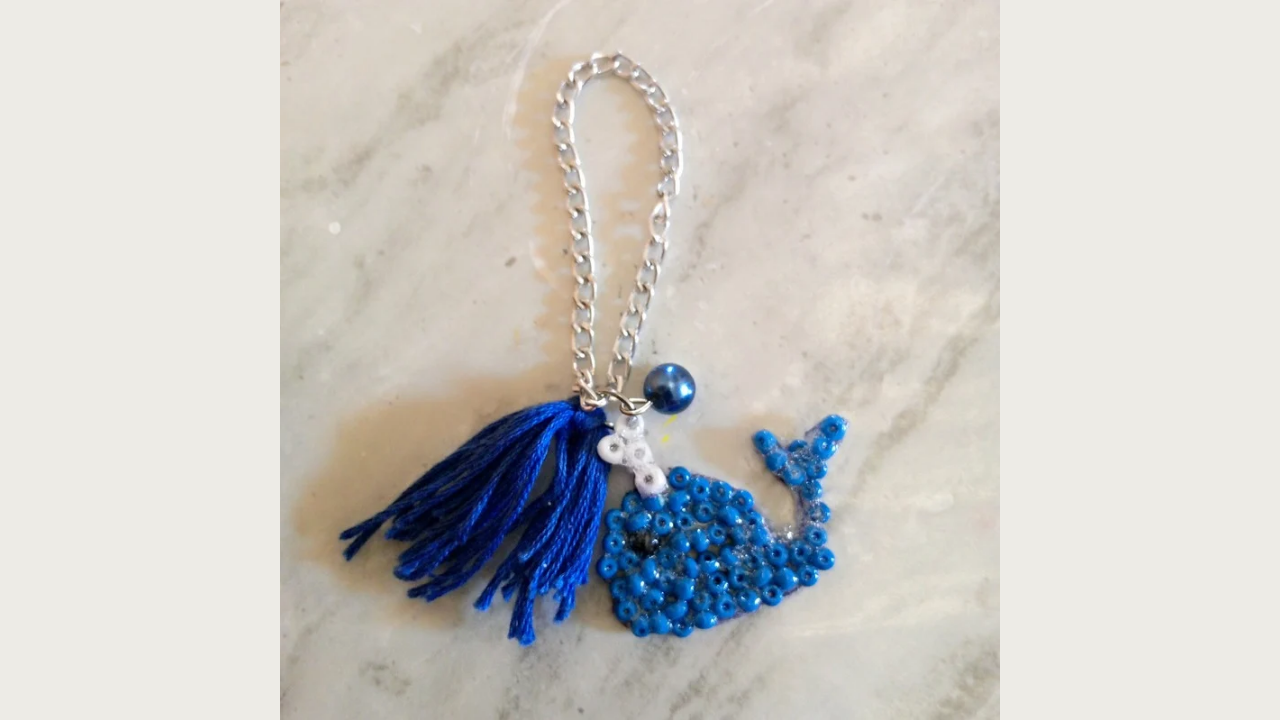
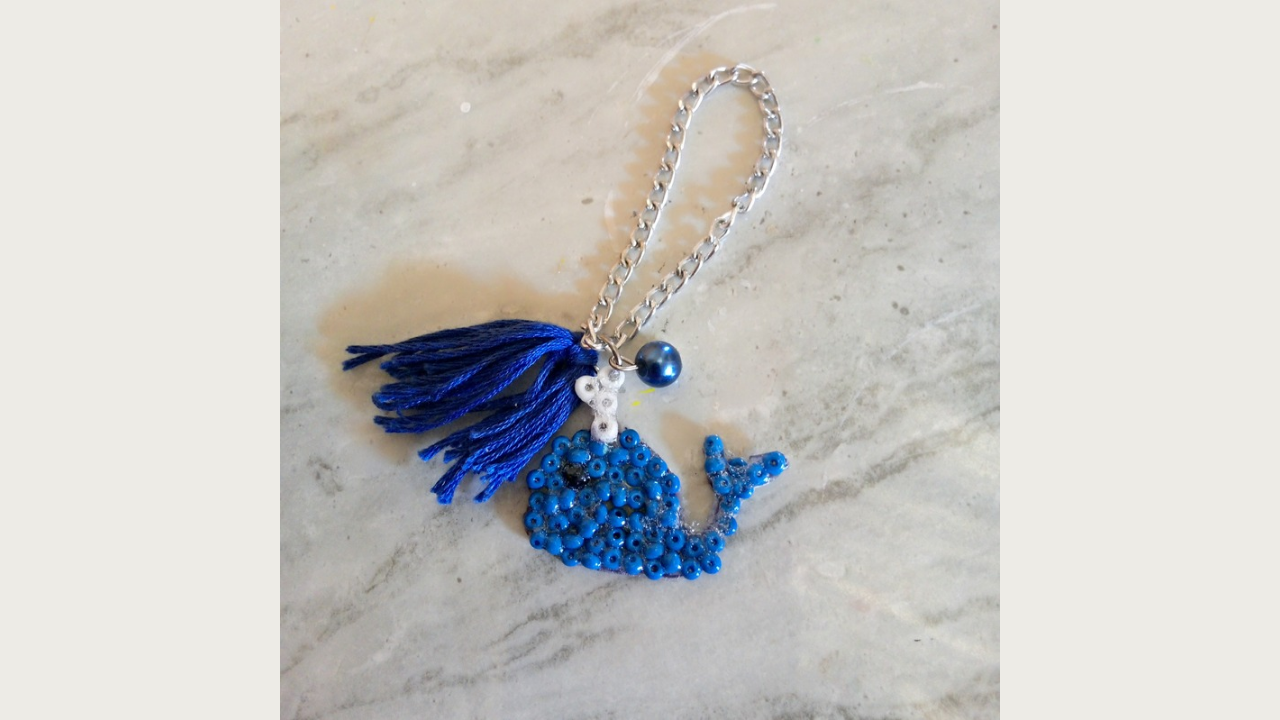
Now that I have everything ready, what I'm going to do next is to place the pendant attached to the ring along with the pearl, making sure it's securely fastened. Ready! And so, now I have a beautiful blue whale keychain.
(Resultado final:)||(Bottom line:)
And so my blue whale keychain is ready to use. I'm going to attach it to a purse, giving it a personalized look. I hope you enjoyed creating this keychain. I can't wait to share more crafts with you another time.
Las fotos de este blog son de mi propiedad|Las imágenes son editadas en canva|Fotografías tomadas en mi celular infinix Smart 7|El contenido está traducido en el traductor de Firefox.
¡Enhorabuena!
✅ Has hecho un buen trabajo, por lo cual tu publicación ha sido valorada y ha recibido el apoyo de parte de CHESS BROTHERS ♔ 💪
♟ Te invitamos a usar nuestra etiqueta #chessbrothers y a que aprendas más sobre nosotros.
♟♟ También puedes contactarnos en nuestro servidor de Discord y promocionar allí tus publicaciones.
♟♟♟ Considera unirte a nuestro trail de curación para que trabajemos en equipo y recibas recompensas automáticamente.
♞♟ Echa un vistazo a nuestra cuenta @chessbrotherspro para que te informes sobre el proceso de curación llevado a diario por nuestro equipo.
🥇 Si quieres obtener ganancias con tu delegacion de HP y apoyar a nuestro proyecto, te invitamos a unirte al plan Master Investor. Aquí puedes aprender cómo hacerlo.
Cordialmente
El equipo de CHESS BROTHERS
elegant blue whale