Cociendo una camisa con pedazos de tela👕.//Sewing a shirt from scraps of fabric👕.(Esp-Eng)

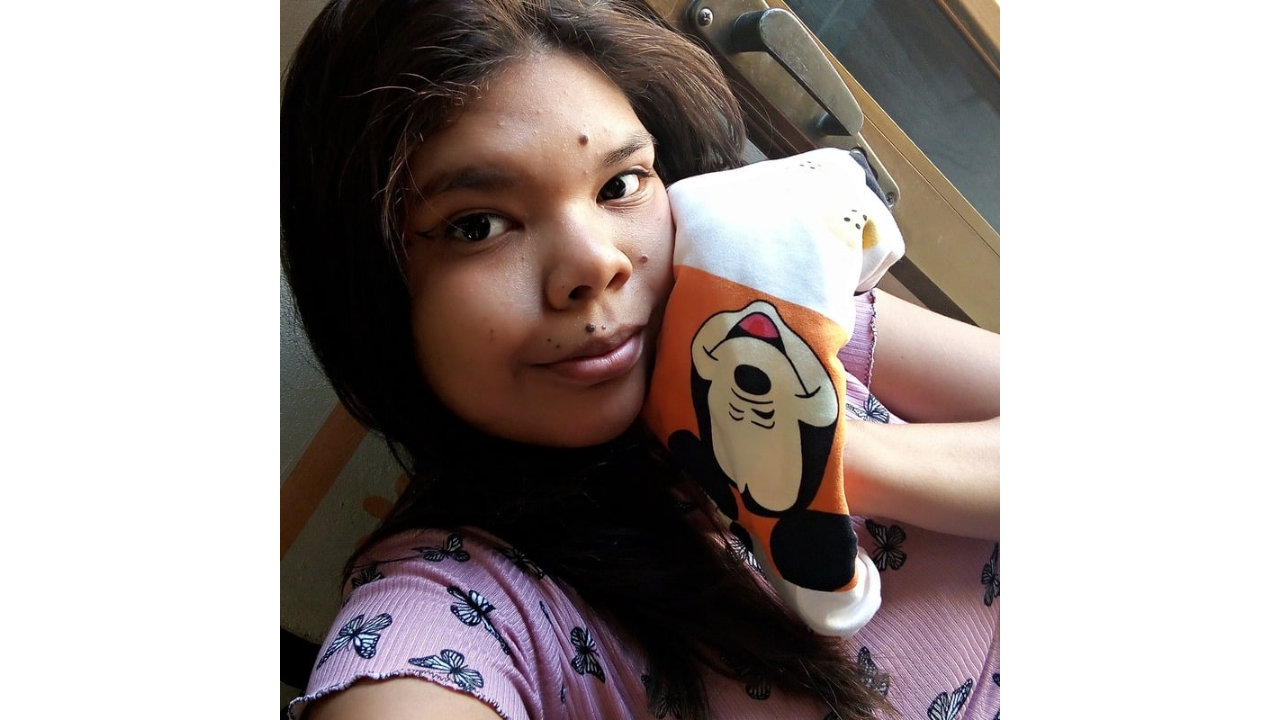
Hello, Needlework Monday friends! It's a real pleasure to be back with you all. It's been a while since I last shared anything about my sewing projects, and I must confess I've been a bit absent due to a lack of time and, occasionally, inspiration. Sometimes, life gets so busy that it's hard to find time to pursue our passions. However, I've decided to revisit my love of sewing, and as part of this comeback, I set out to create something special. Today I want to show you a shirt I made using scraps of fabric I had stored away. This project has not only been a way to recycle materials but also an opportunity to let my creativity run wild and explore new color and texture combinations. I hope you enjoy the process as much as I did.
A while ago, I embarked on creating several shirts and tops using scraps of assorted fabric. It was a very exciting process, as I strove to combine colors harmoniously. I remember being very motivated at the time; I had made several garments in a short amount of time. However, since I started studying, I haven't had the opportunity to sew as much as I would like. I should also mention that the sewing machine I use isn't mine, but my mom's. This has also influenced my ability to dedicate time to sewing. I used to spend almost the entire day working on a single top, and since my sewing experience is limited—I only know the basics—I felt a little discouraged and stopped sewing. However, recently I realized I could take up this beautiful hobby again. I decided to make a shirt with several prints that I really liked and thought would work well together. I'm excited to share the process of creating this garment with you. Next, I'll tell you about the materials I used and how I made it.
(Materiales:)||(Materials:)
- Pedazos de tela
- Hilo blanco
- Tijeras
- Alfileres
- Patrón de camisa talla M
- Lapiz
- Fabric scraps
- White thread
- Scissors
- Pins
- Shirt pattern size M
- Pencil
(Procedimiento:)||(Procedure:)
Paso nro 1
Paso nro 1
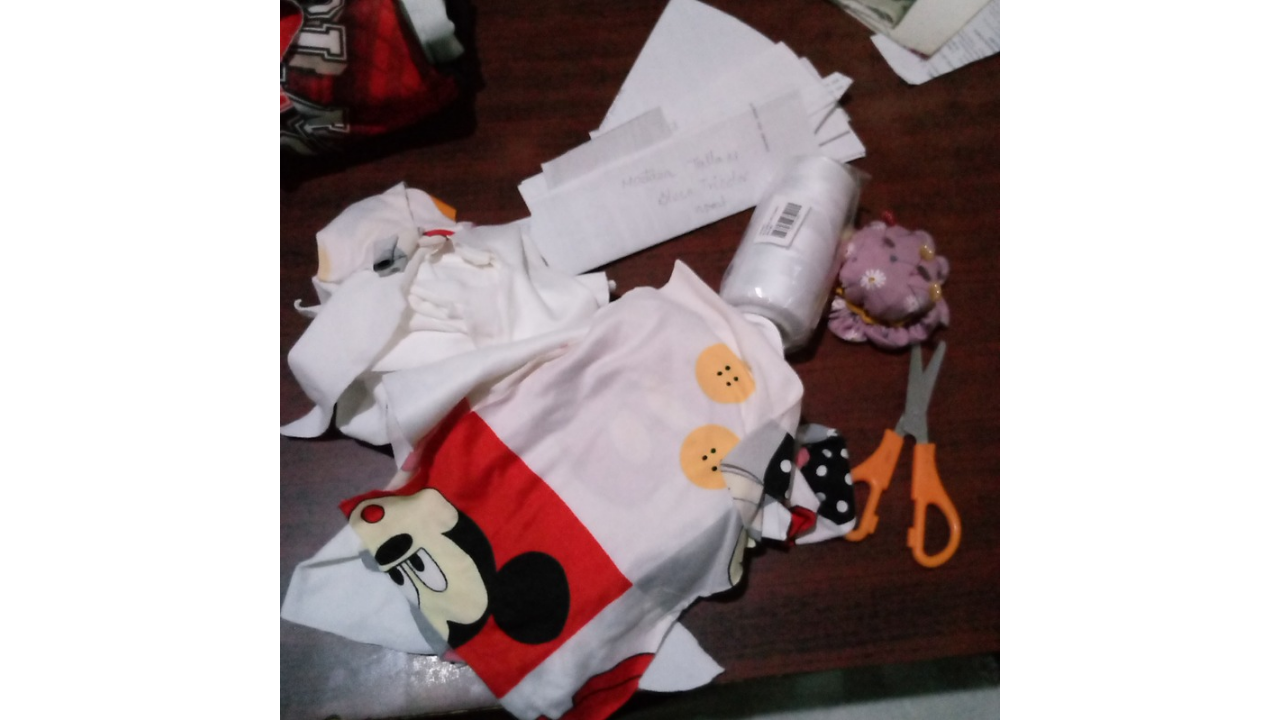
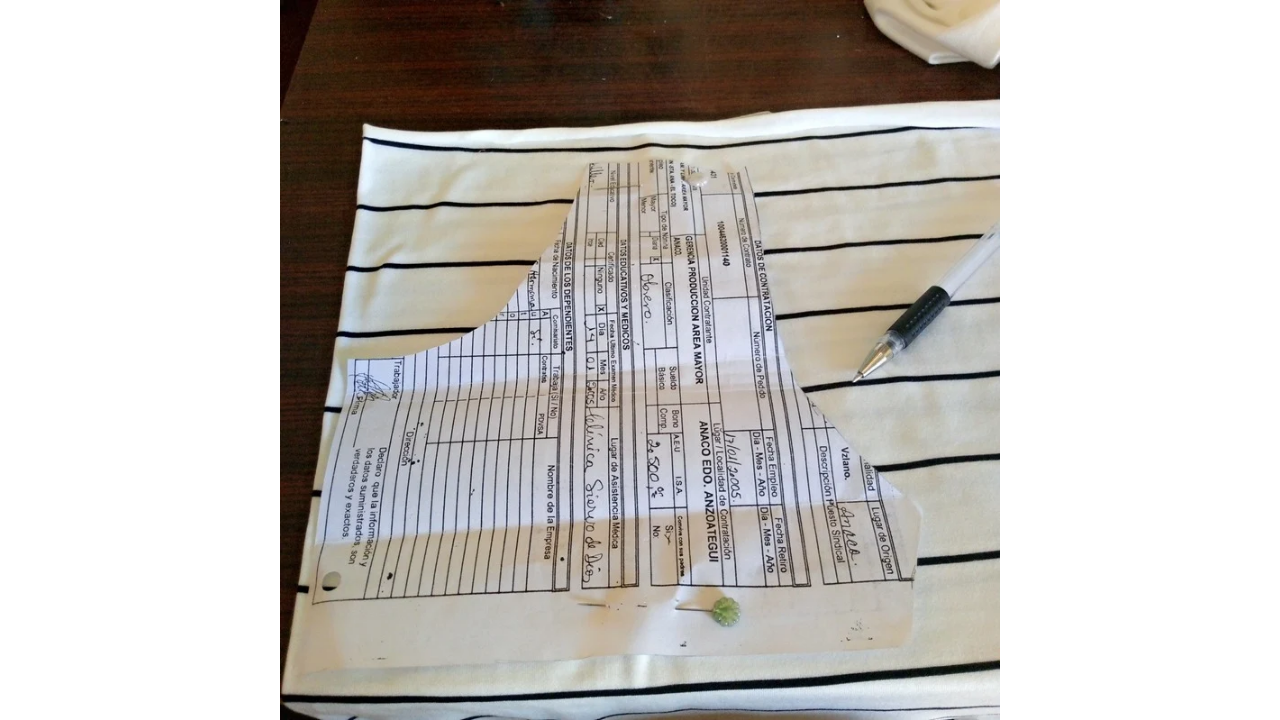
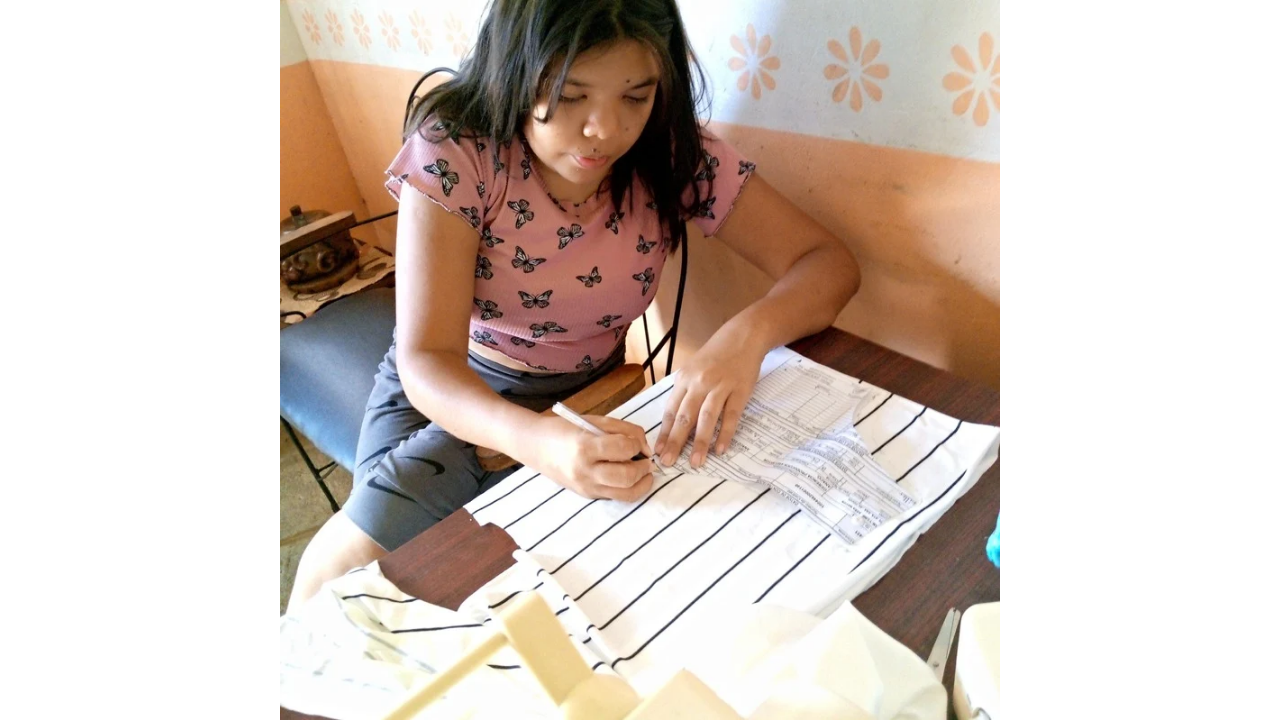
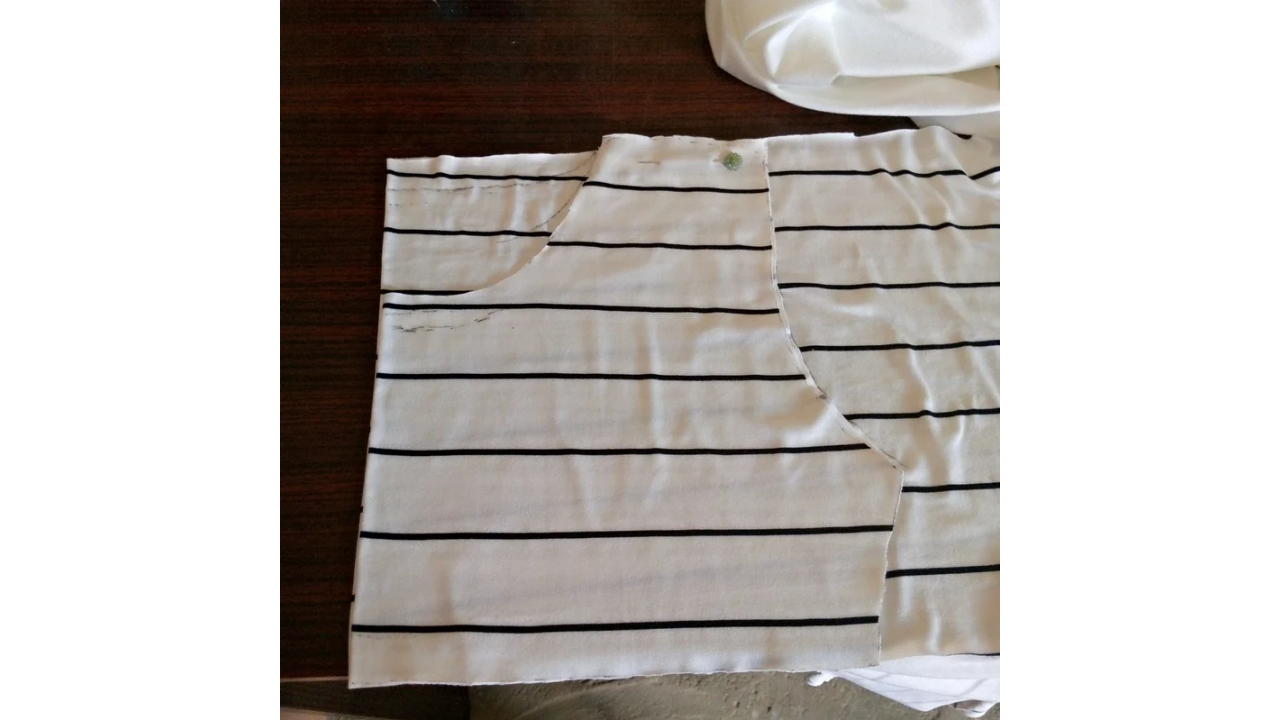
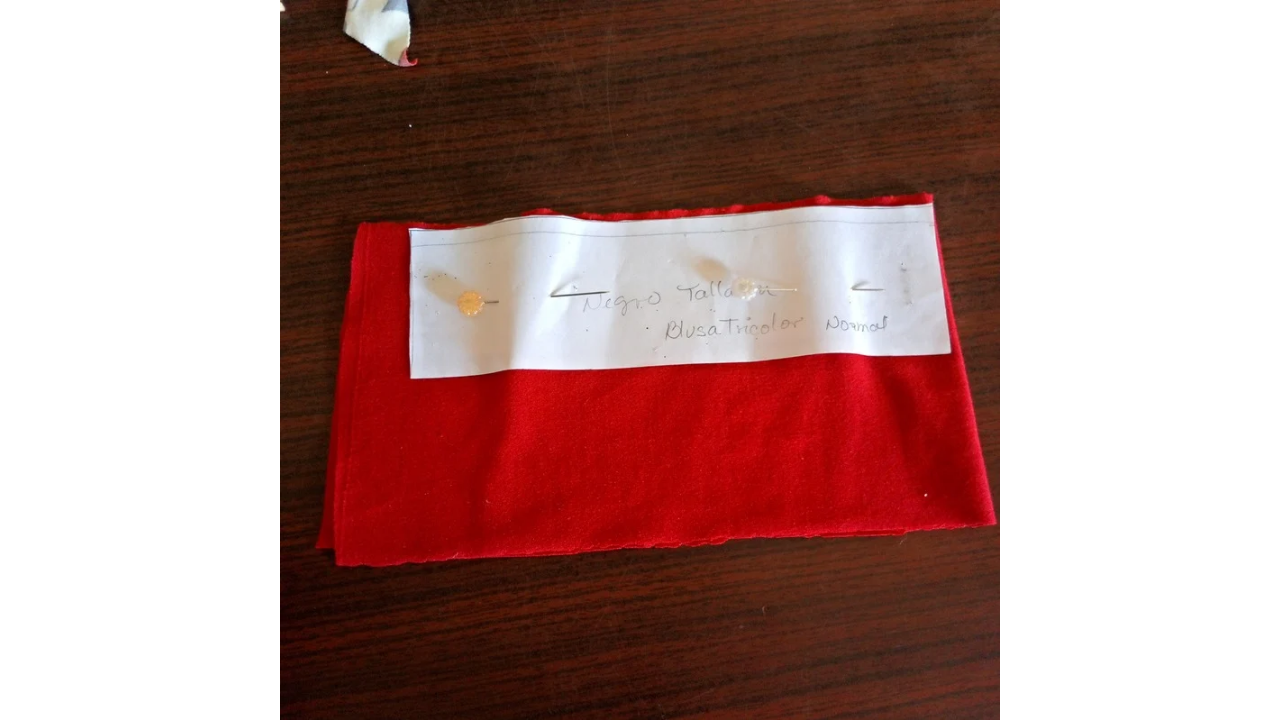
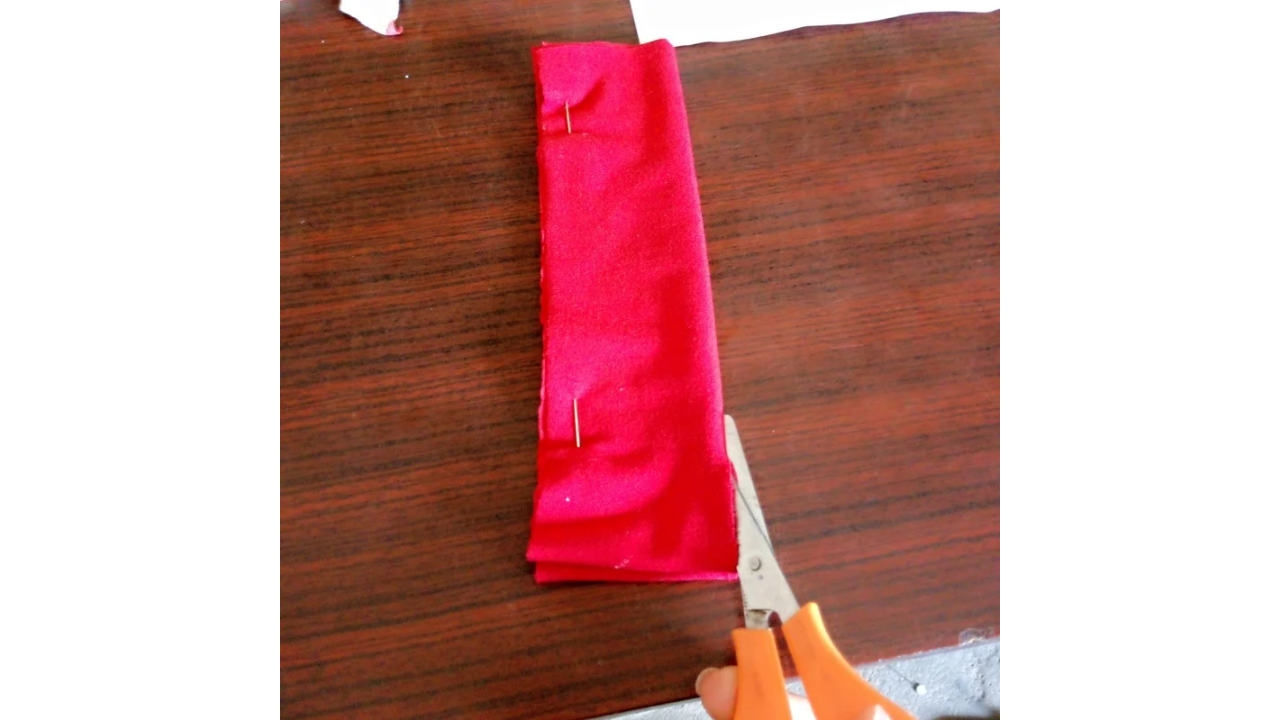
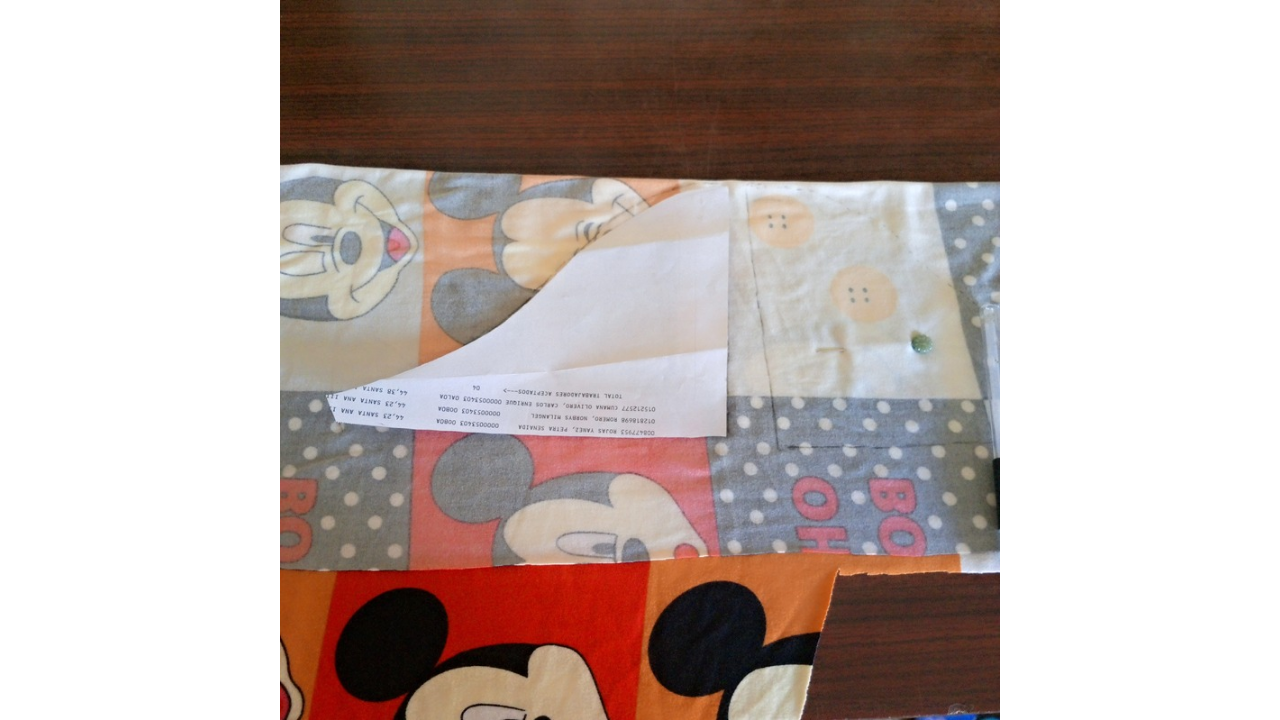
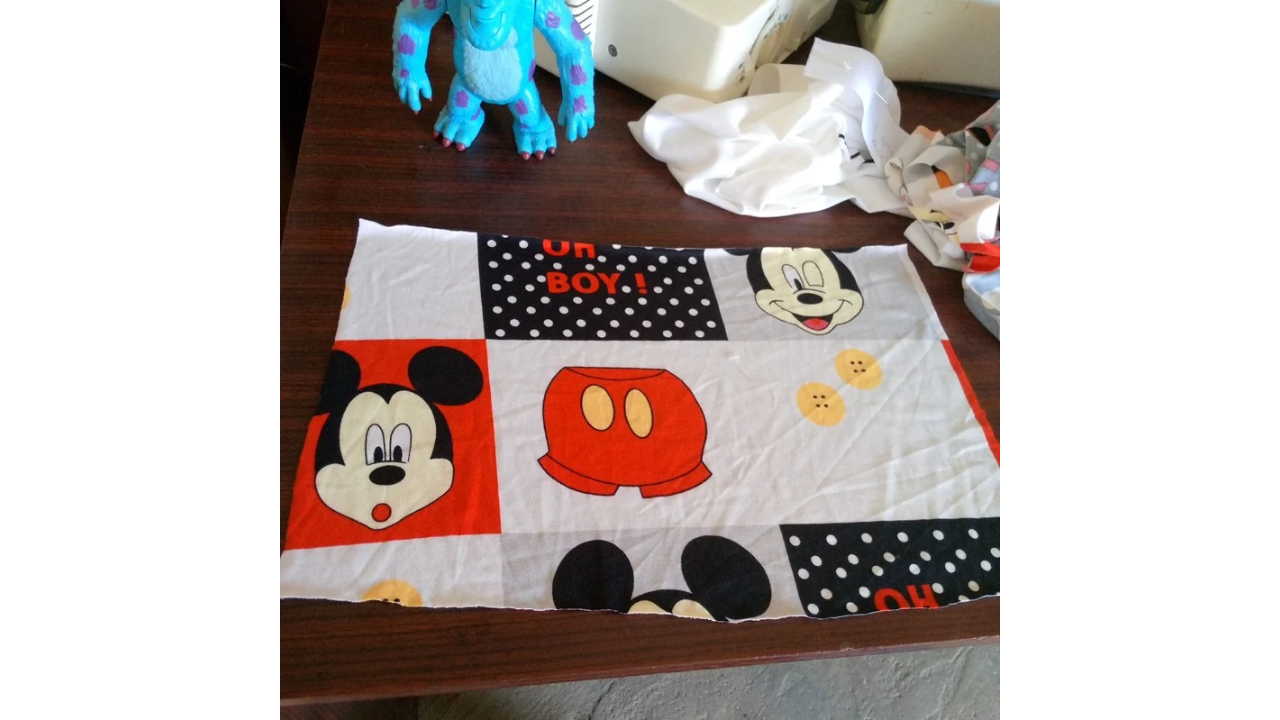
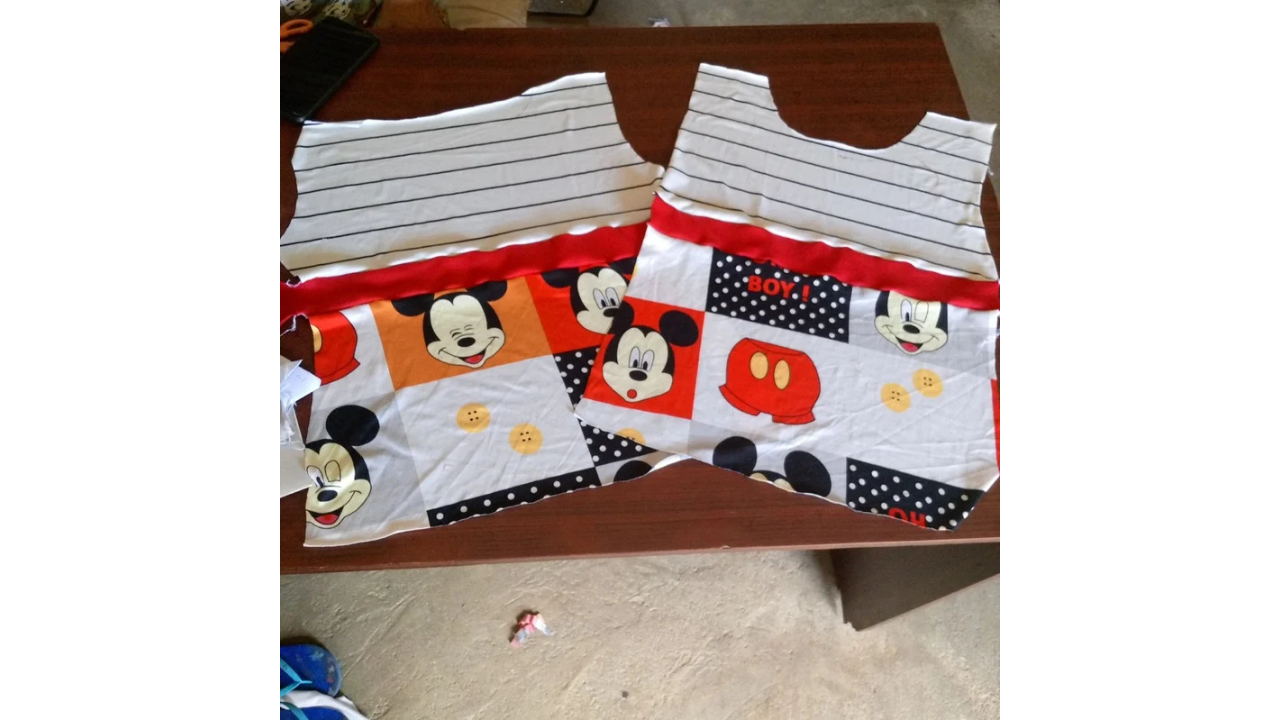
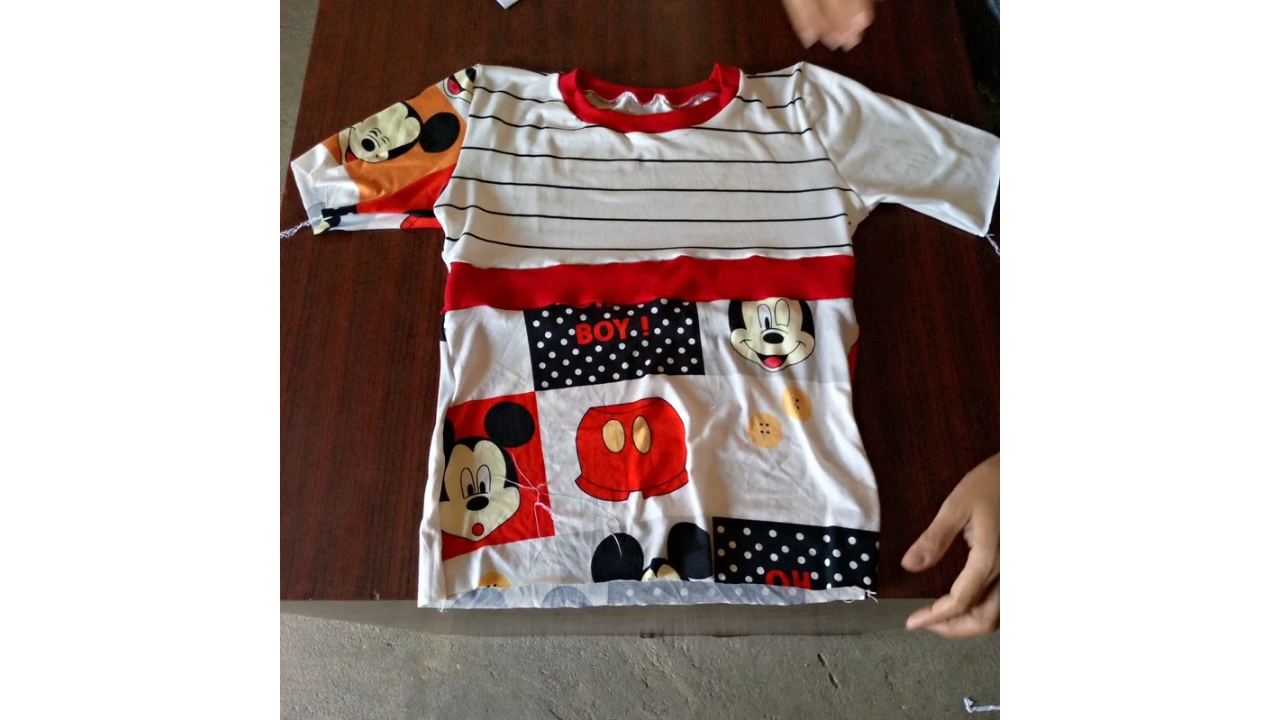
To begin creating my shirt, I carefully selected pieces of fabric that were both patterned and color-coordinated. Among my choices, I have a piece of Mickey Mouse-print fabric, a piece of striped fabric, and a piece of red and white fabric. I decided the striped fabric would be perfect for the shoulders and chest, while the Mickey Mouse fabric would be used for the bottom of the shirt. I made sure both fabrics were long enough to cover both the front and back of the garment. Additionally, I will add a piece of red fabric as a stripe that will be located in the middle of the two fabrics. For the sleeves, I have decided that one will be white fabric and the other will be Mickey Mouse, creating a fun contrast. As for the collar, I will use red fabric to give the shirt a finishing touch. Now, with the help of a pattern, I began cutting the pieces of fabric.
Paso nro 2
Paso nro 2
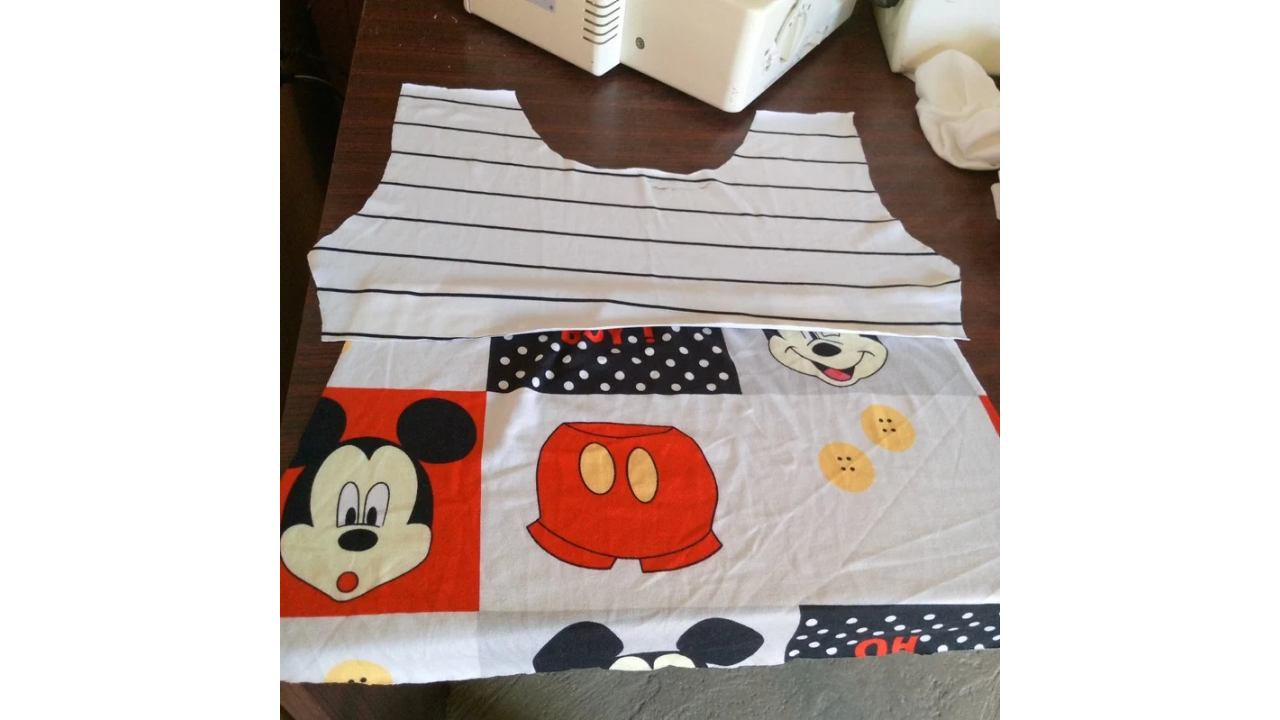
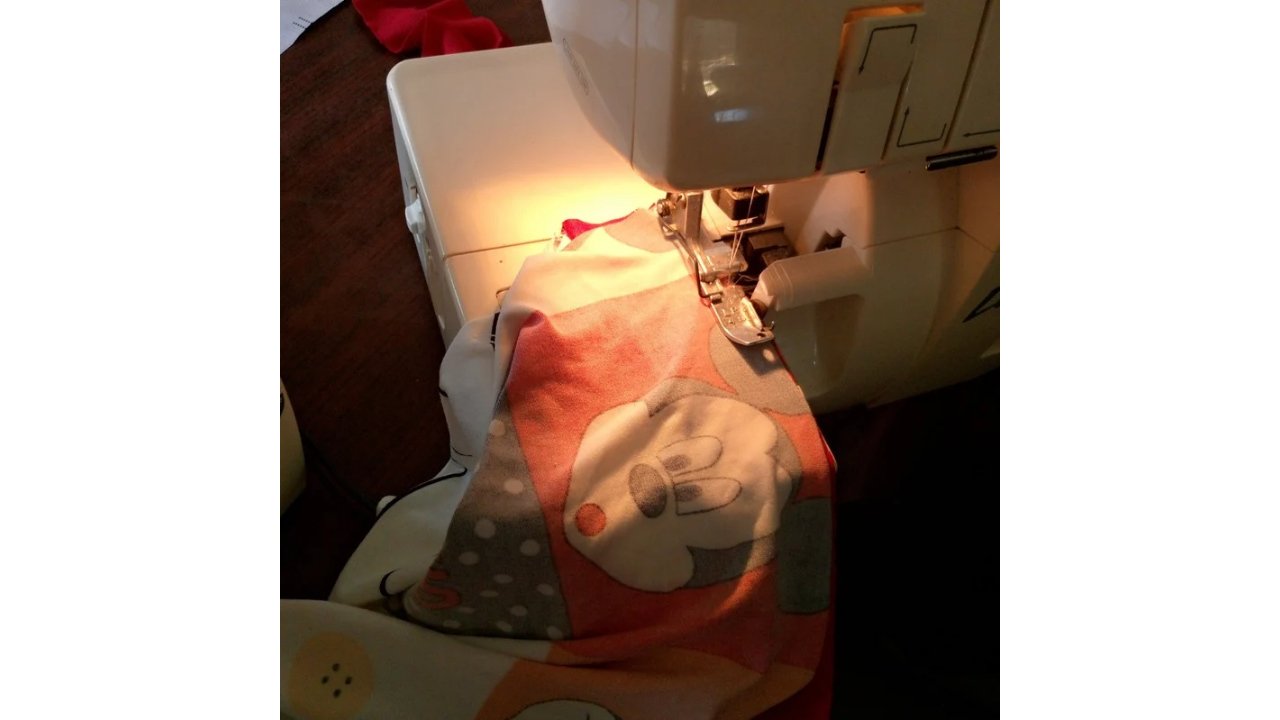
Once I had all the fabric pieces cut, I moved on to the exciting stage of sewing the pieces together. I started by joining the fabric pieces together, making sure everything was aligned correctly. First, I sewed the shoulder seams, joining the striped fabric to the top of the shirt.
Paso nro 3
Paso nro 3
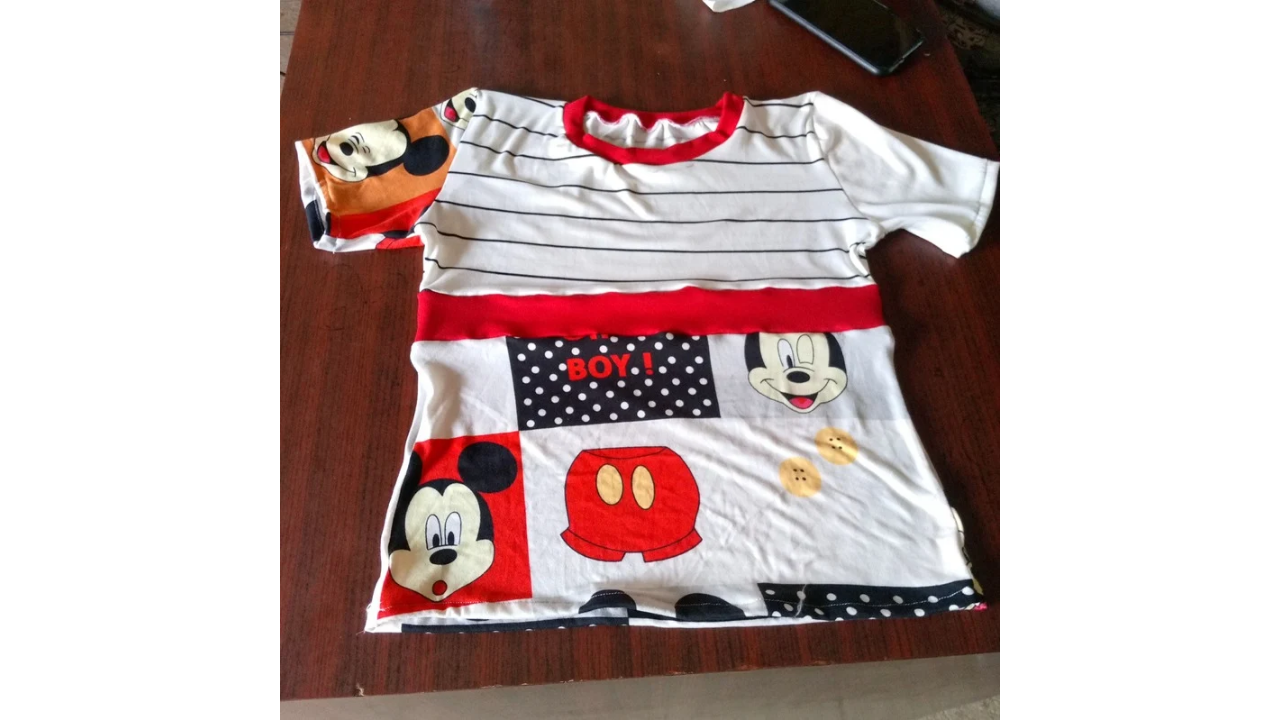
After sewing the shoulders, I moved on to sewing the sleeves. For this, I decided that one sleeve would be made of white fabric and the other with a Mickey Mouse print, which would give the shirt a fun, asymmetrical touch. I started by joining each sleeve to the body of the shirt, making sure they were properly aligned. As I sewed, I paid special attention to the seams so everything was even and wrinkle-free. Once the sleeves were sewn, I paused for a moment to admire the progress. The combination of colors and prints was starting to look really good.
Paso nro 4
Paso nro 4
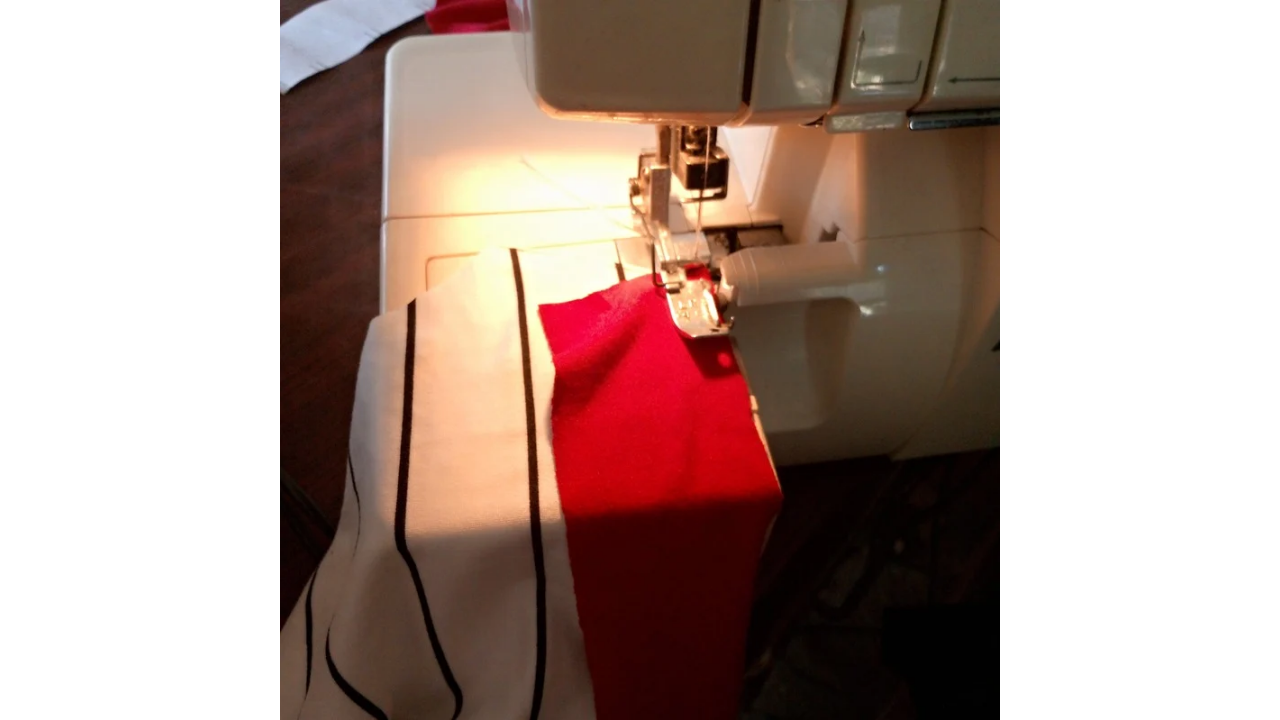
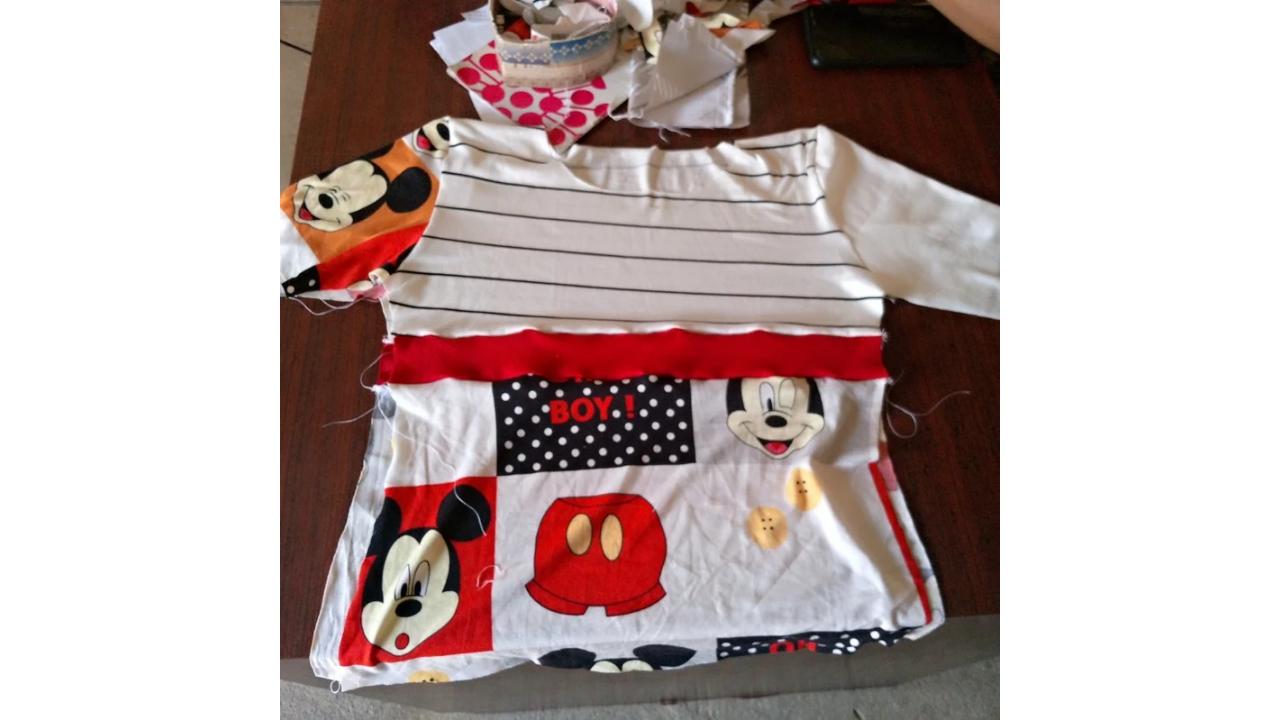
To finish, I'm going to sew the collar. To do this, I used the red fabric I had selected earlier. When joining the collar, I made sure it was snug and complemented the rest of the shirt. Once the collar was sewn, I moved on to sewing the sides of the shirt. This was crucial for giving the garment shape and structure. I made sure everything was aligned correctly so the seams would be even. After sewing the sides, I tackled the hem. I folded the bottom edge of the shirt over and sewed it to give it a clean, professional finish. This final step really made a difference, as it gave the shirt a polished look.
(Resultado final:)||(Bottom line:)
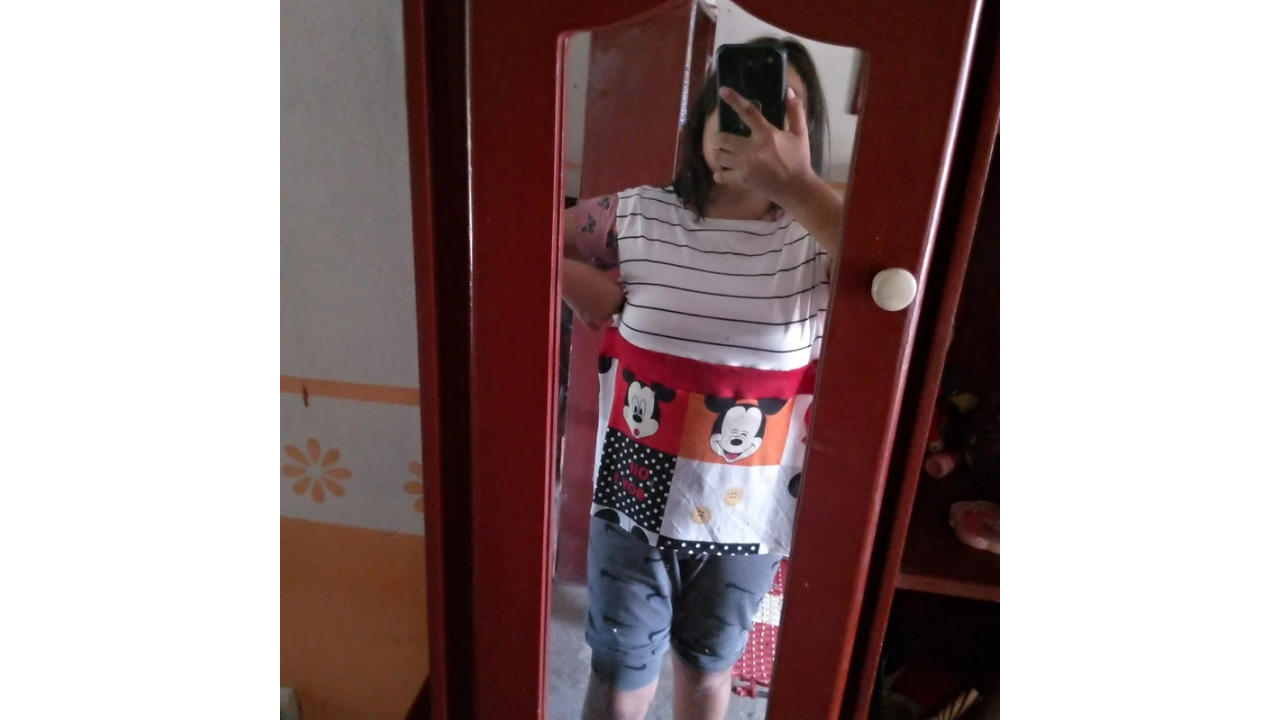
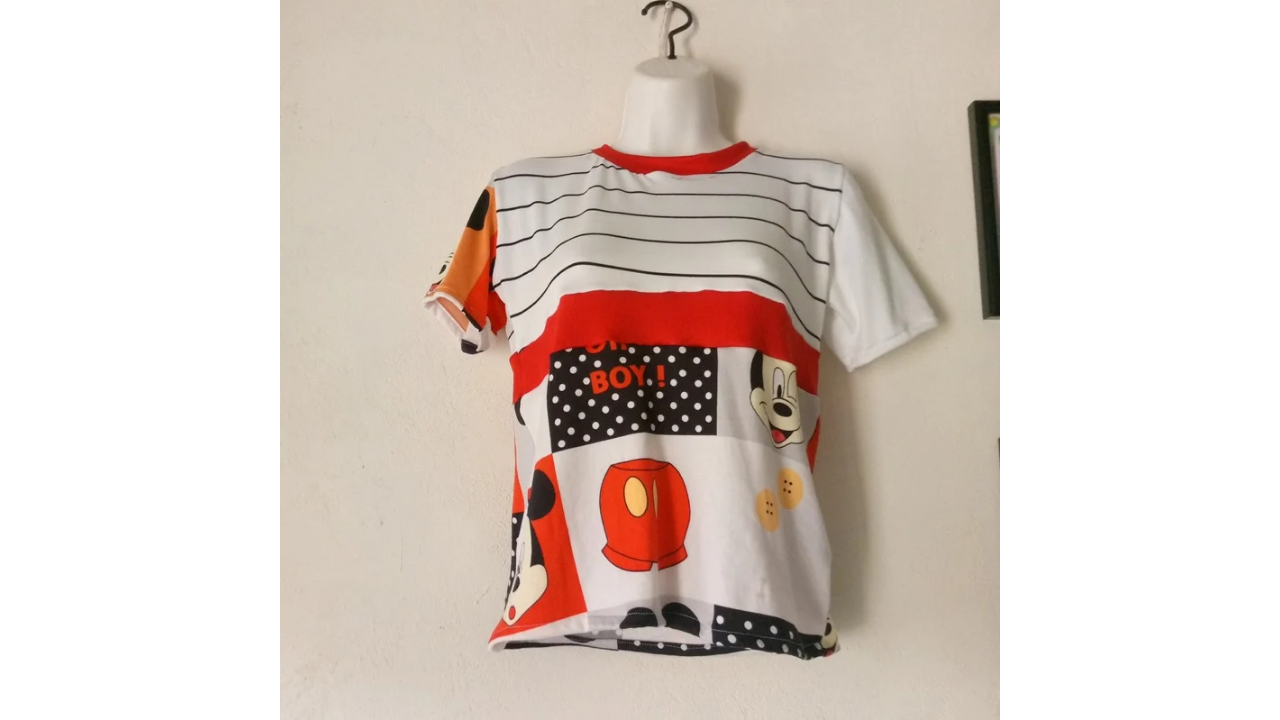
When I finished, I couldn't help but feel proud of what I had created. The combination of prints and colors looked incredible, and I was excited to try the shirt on. I can't wait to share the final result and hear your thoughts. Thank you for joining me on this sewing journey! I hope it has inspired you to continue creating and experimenting with your own projects.
Las fotos de este blog son de mi propiedad|Las imágenes son editadas en canva|Fotografías tomadas en mi celular infinix Smart 7|El contenido está traducido en el traductor de Firefox.
Wow que interesante está blusa, me encantó
Gracias
Es un proceso muy creativo y unico. Me gustó mucho el resultado final. Exitos siempre
Gracias 😊
Qué bonita te quedo, me encanto, así estoy pensando hacerme una.💙
Hola la verdad estás camisas quedan más personalizadas y estoy segura que quedara bonita también tu camisa
Gracias cariño ojalá sea así, eso espero, haré todo lo posible.😊
¡Felicitaciones!
Estás participando para optar a la mención especial que se efectuará el domingo 20 de abril del 2025 a las 8:00 pm (hora de Venezuela), gracias a la cual el autor del artículo seleccionado recibirá la cantidad de 1 HIVE transferida a su cuenta.
¡También has recibido 1 ENTROKEN! El token del PROYECTO ENTROPÍA impulsado por la plataforma Steem-Engine.
1. Invierte en el PROYECTO ENTROPÍA y recibe ganancias semanalmente. Entra aquí para más información.
2. Contáctanos en Discord: https://discord.gg/hkCjFeb
3. Suscríbete a nuestra COMUNIDAD y apoya al trail de @Entropia y así podrás ganar recompensas de curación de forma automática. Entra aquí para más información sobre nuestro trail.
4. Visita nuestro canal de Youtube.
Atentamente
El equipo de curación del PROYECTO ENTROPÍA
¡Enhorabuena!
✅ Has hecho un buen trabajo, por lo cual tu publicación ha sido valorada y ha recibido el apoyo de parte de CHESS BROTHERS ♔ 💪
♟ Te invitamos a usar nuestra etiqueta #chessbrothers y a que aprendas más sobre nosotros.
♟♟ También puedes contactarnos en nuestro servidor de Discord y promocionar allí tus publicaciones.
♟♟♟ Considera unirte a nuestro trail de curación para que trabajemos en equipo y recibas recompensas automáticamente.
♞♟ Echa un vistazo a nuestra cuenta @chessbrotherspro para que te informes sobre el proceso de curación llevado a diario por nuestro equipo.
🥇 Si quieres obtener ganancias con tu delegacion de HP y apoyar a nuestro proyecto, te invitamos a unirte al plan Master Investor. Aquí puedes aprender cómo hacerlo.
Cordialmente
El equipo de CHESS BROTHERS
¡Felicidades! Esta publicación obtuvo upvote y fue compartido por @la-colmena, un proyecto de Curación Manual para la comunidad hispana de Hive que cuenta con el respaldo de @curie.
Si te gusta el trabajo que hacemos, te invitamos a darle tu voto a este comentario y a votar como testigo por La Colmena.
Si quieres saber más sobre nuestro proyecto, te invitamos a acompañarnos en nuestro servidor de Discord.