Book stand [Eng+Spa]
Greetings to the Hive DIY community. I finally get to use the new version we have for publishing. I hope everything goes well.
I wish you good health and good spirits as you create new content to share with our community.
This time, I'm sharing how I made a homemade book stand.
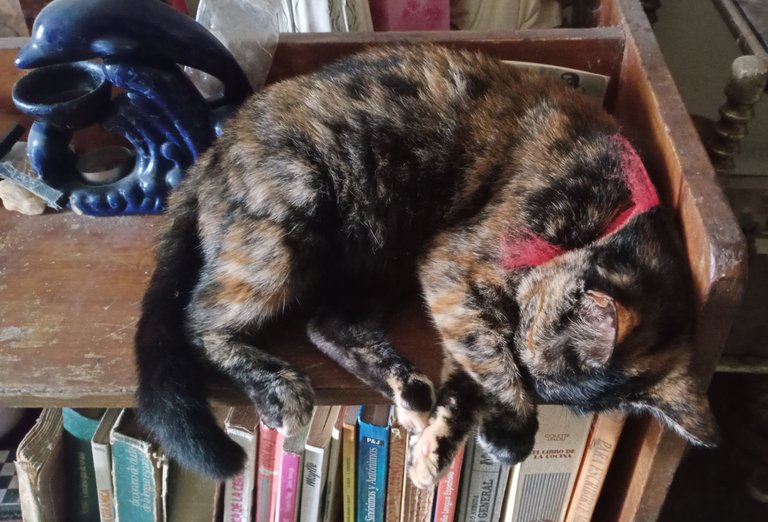
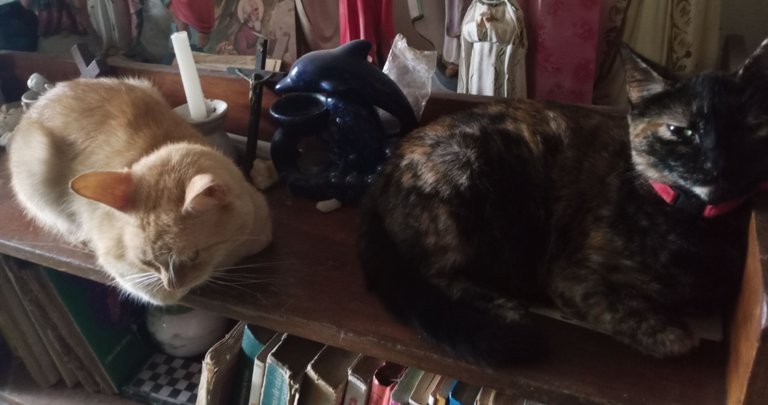
Lately, the neighbor's cat has taken to staying at my house, and I often find her lying on the shelves.
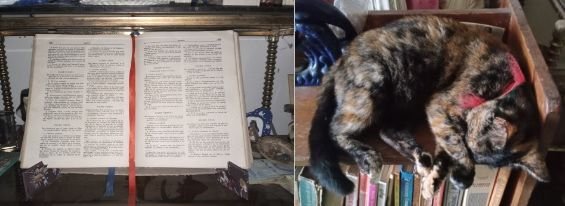
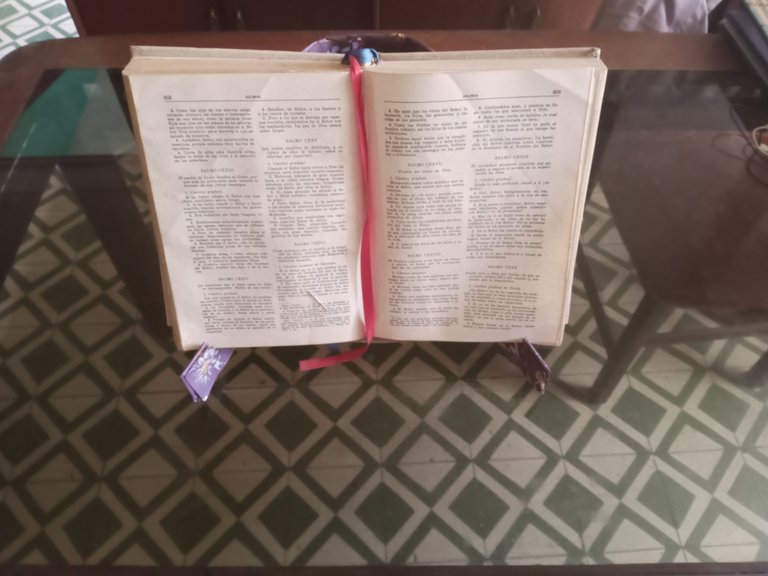
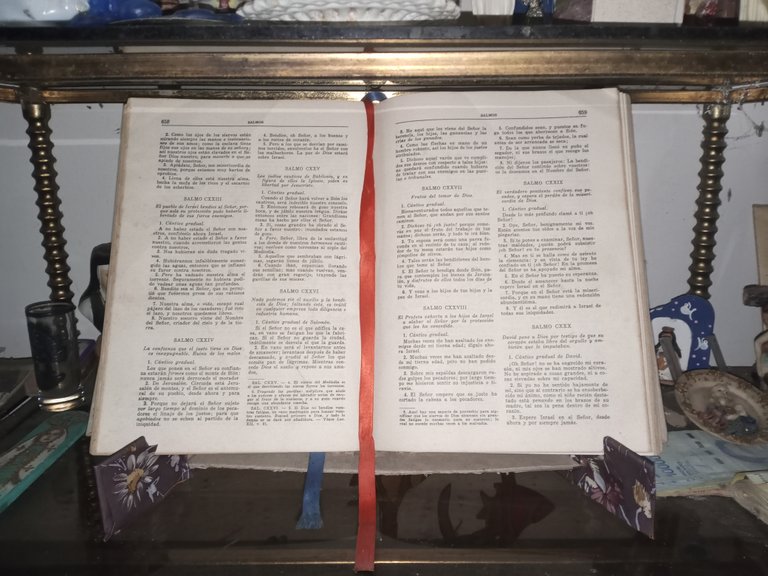
More than once, I have to carry it up and down from the shelf to where I keep the Bible at home. You know, as is tradition, we have the Bible on a shelf, open to our favorite passage from the Psalms.
Well, the cat lies on the book and ends up damaging the pages when she settles, so I have to remedy the situation by making a stand to hold the book upright.
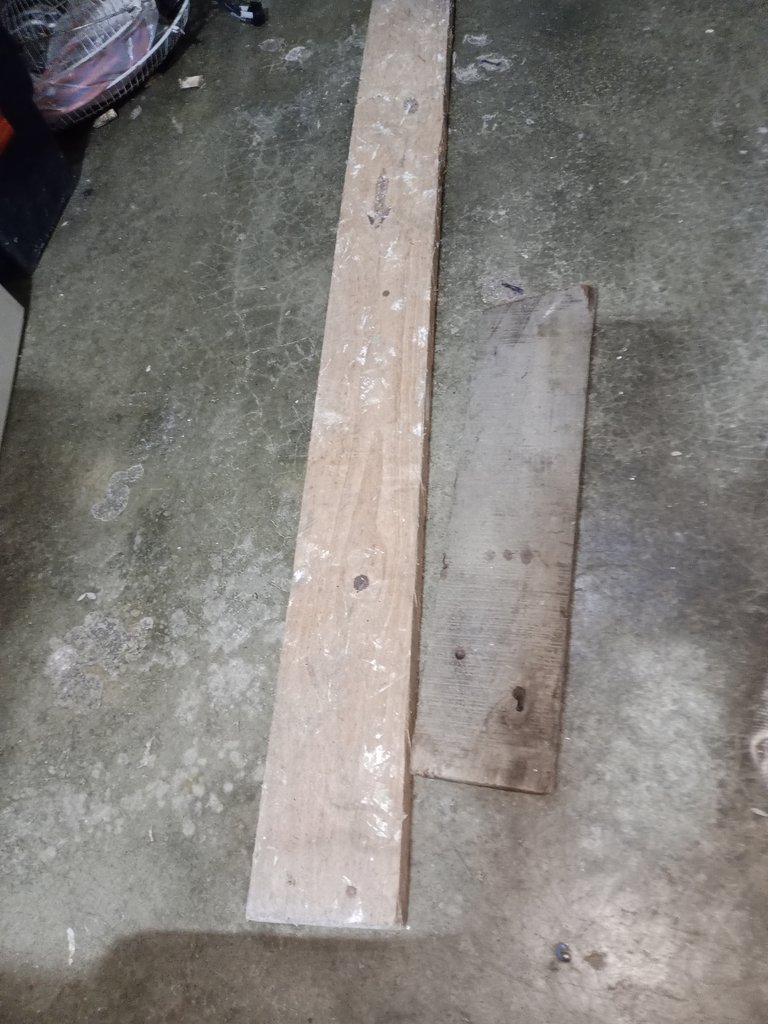
The recycled wood I had in storage was fine, but it was very thick; the stand would be too heavy for a glass shelf.
I could use metal covers recovered from PCs or damaged DVD covers; that was a good option.
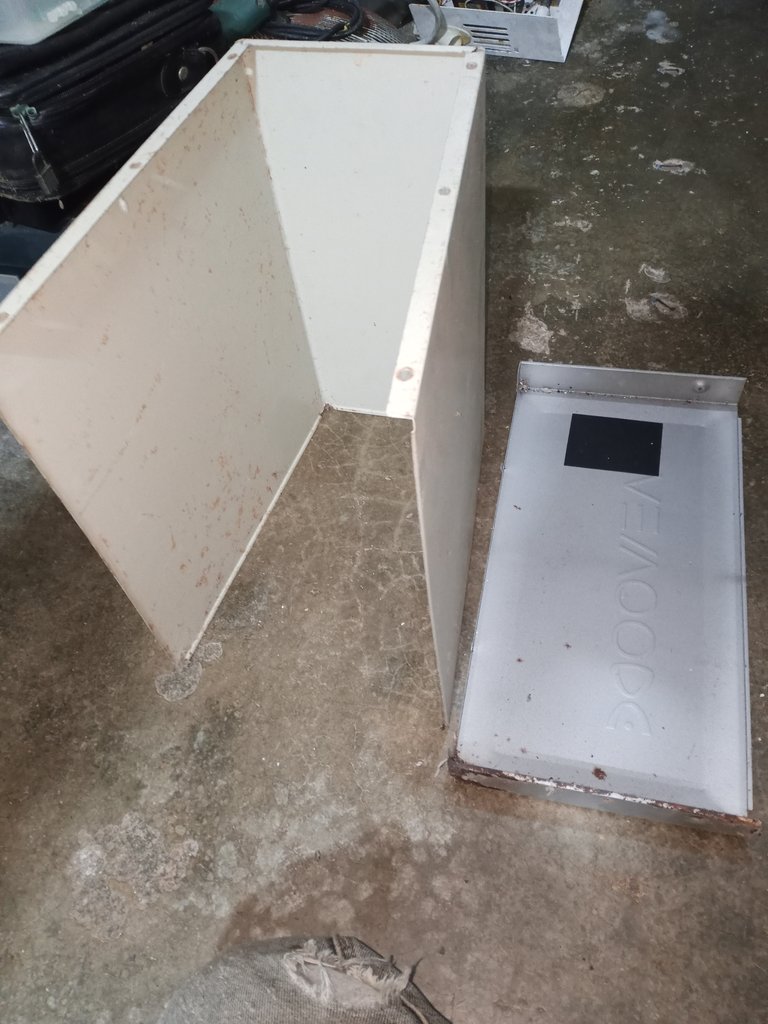
I finally found some file folders I had for recycling at the back of the warehouse, and that's the material I'll use. Obviously, they're not in the best condition (they're pretty beat up), but we'll fix them up and give them a new life.

It seems its prime is long gone.

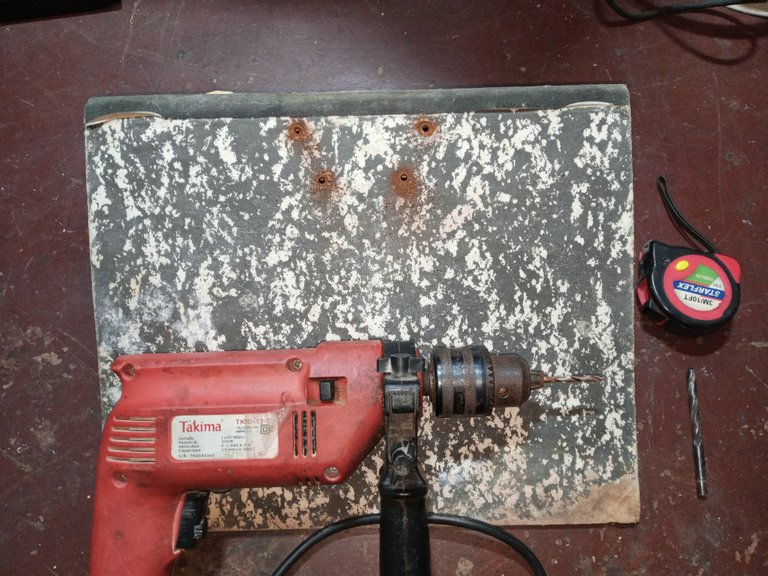
Before I start cutting and cleaning the material, I remove the hook mechanism with the help of a drill.
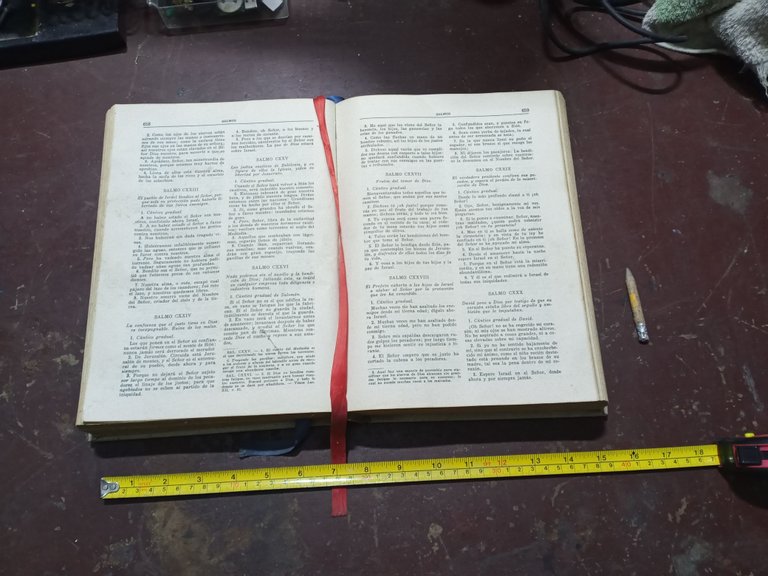
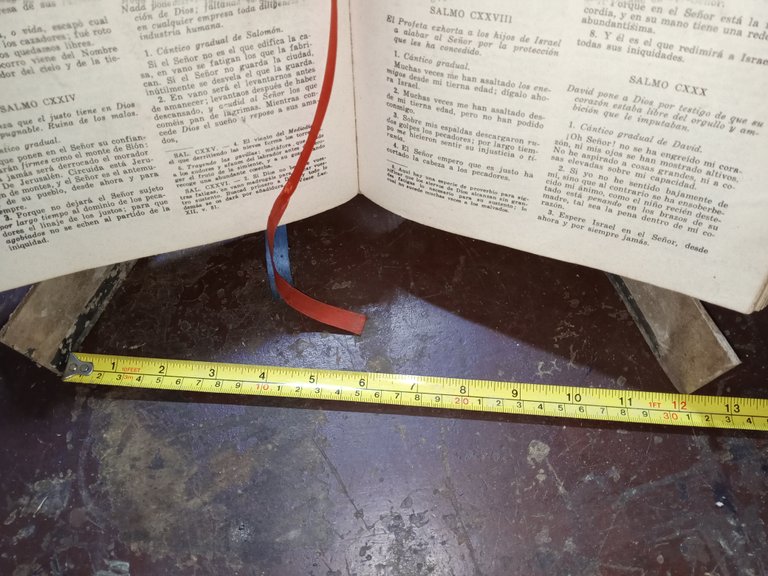
The book is 40 cm wide when open, 28 cm high, and about 10 cm between the front and back covers of the book when closed.
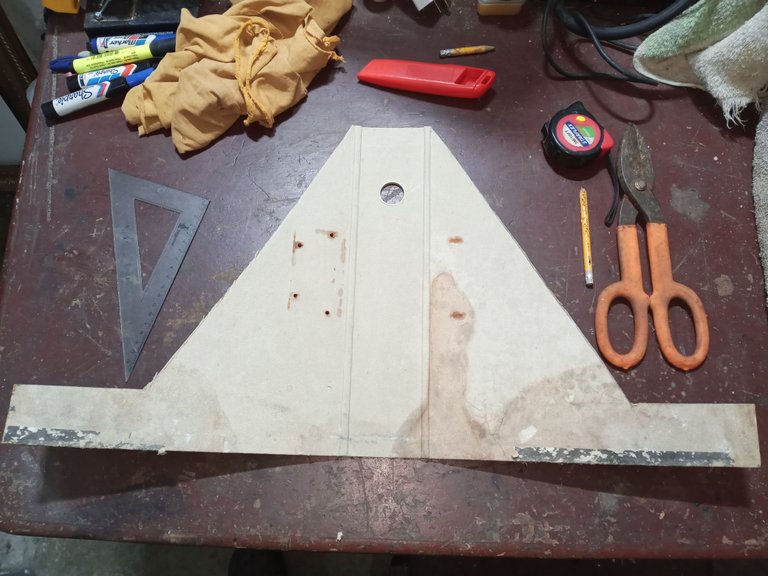
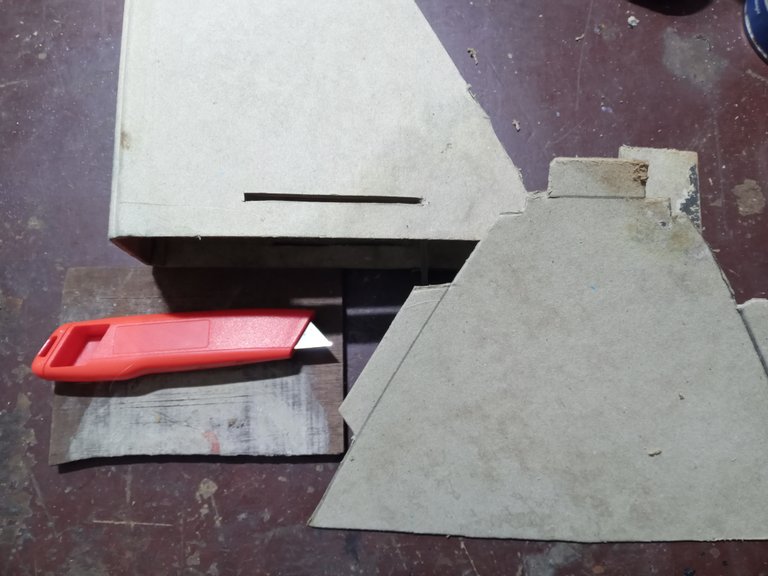
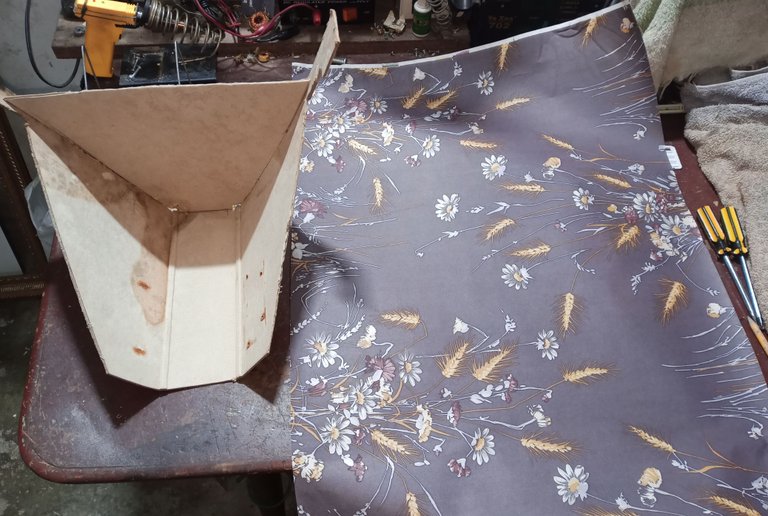
Cut a to make a thick tab 5 cm by 10 cm long. I made the tab for the book stand thick because it's a heavy book. I cut all the way to the top corner of the cover without cutting the spine of the binder.

The cardboard of the folder is sturdy, but the book I'll be putting inside is quite heavy, so I try to leave as much support material as possible.
I test the book on the stand to get an idea of how long the bottom cover should be, which will support the base.
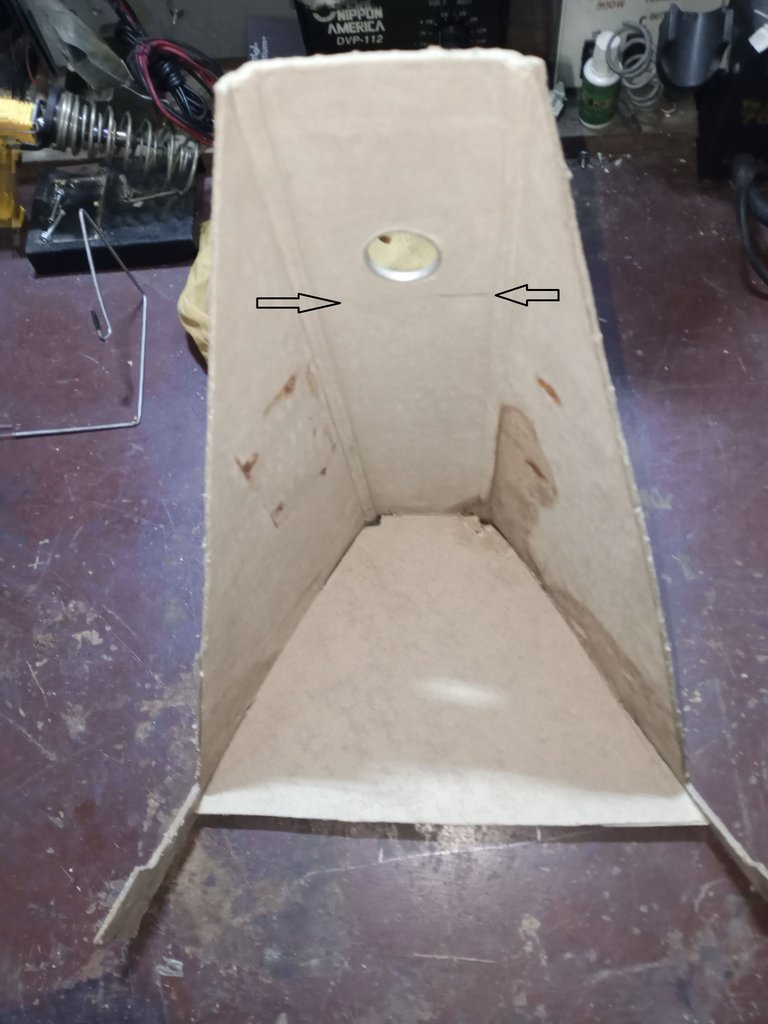
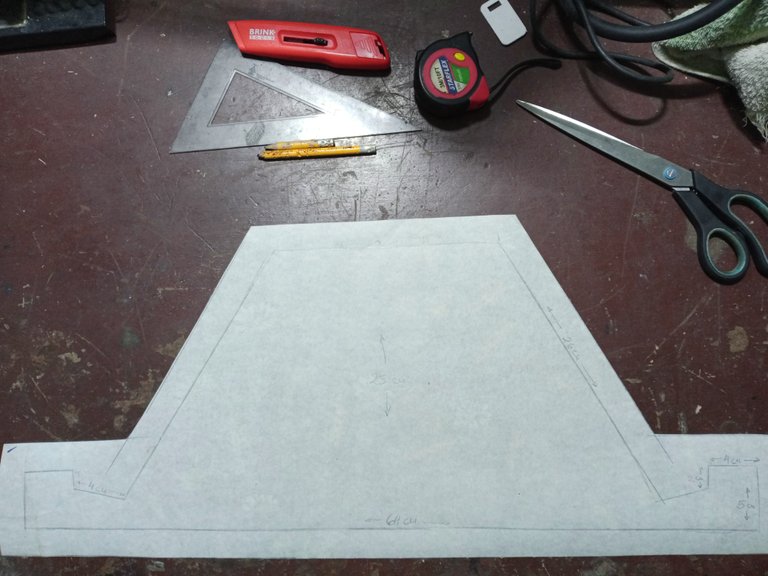
The 5 cm I left for the bottom tab is enough to make the 2 cm notch where the book will fit to secure it to the stand.
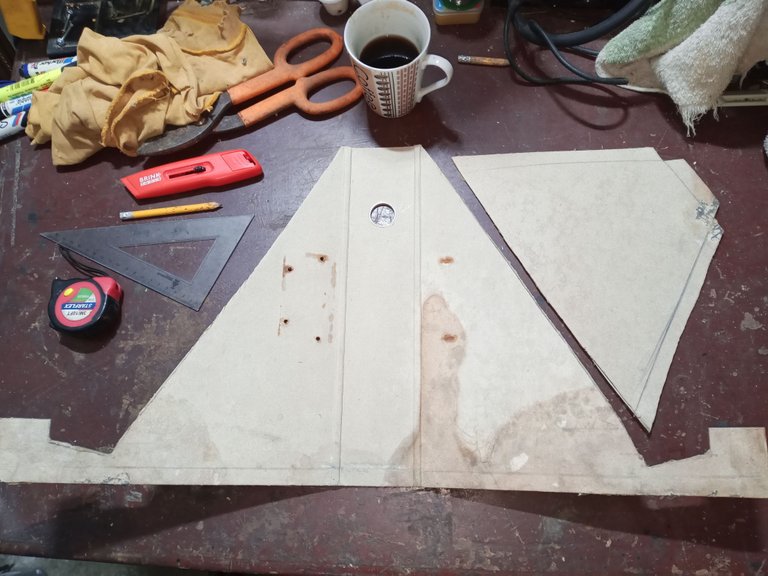
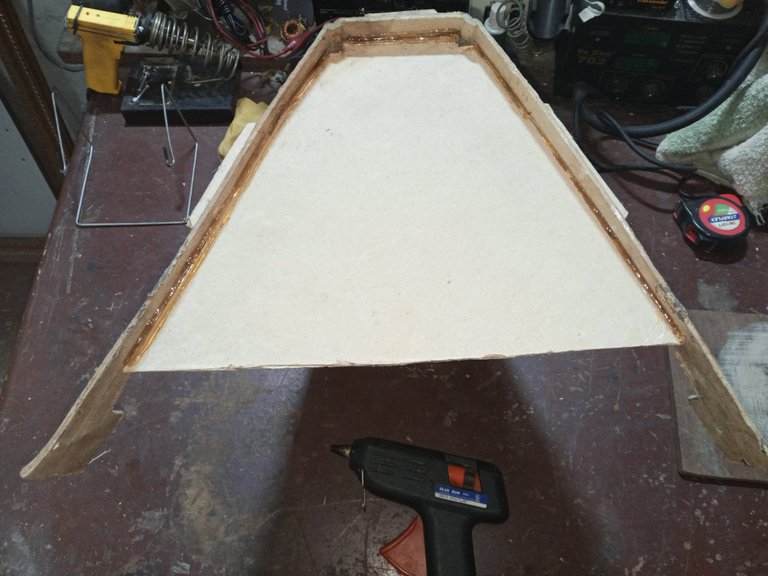
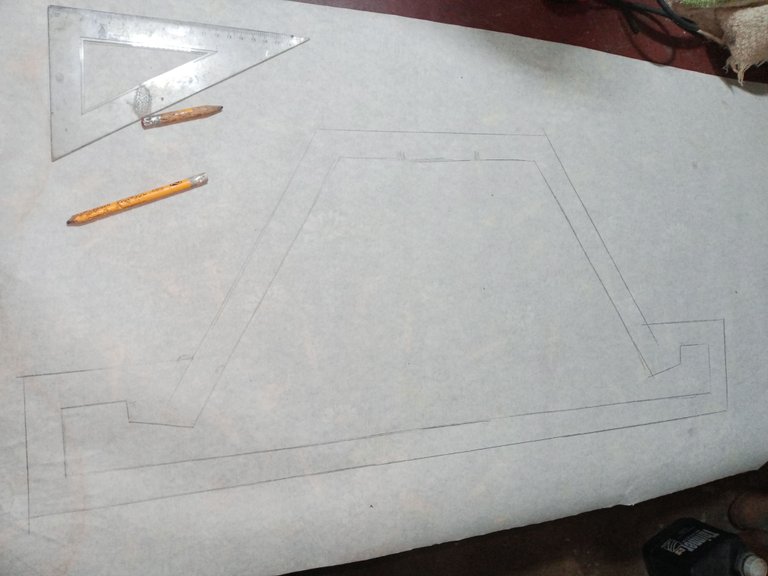
With the healthy parts that I cut from the folder, I make the bottom base that will secure the covers of the book.
I left a little extra space above the required size to make tabs on the cardboard that will serve as the base, so I can assemble the whole thing securely.
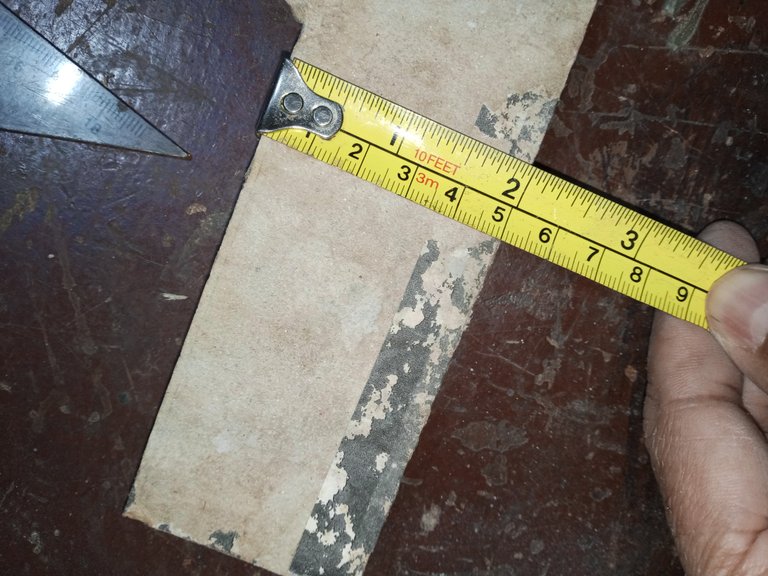
Draw a guide line a little over 1 cm from the bottom of the folder to position the base cover.
The cut where the book fits can't be straight; it's 1 cm below the cut of the tab. This is done this way because the book will be at an angle.
I make the base tabs by cutting with metal scissors, and with the help of a utility knife, I make the slots to fit the base tabs.
After assembly, all that's left is to cut off the excess tabs.
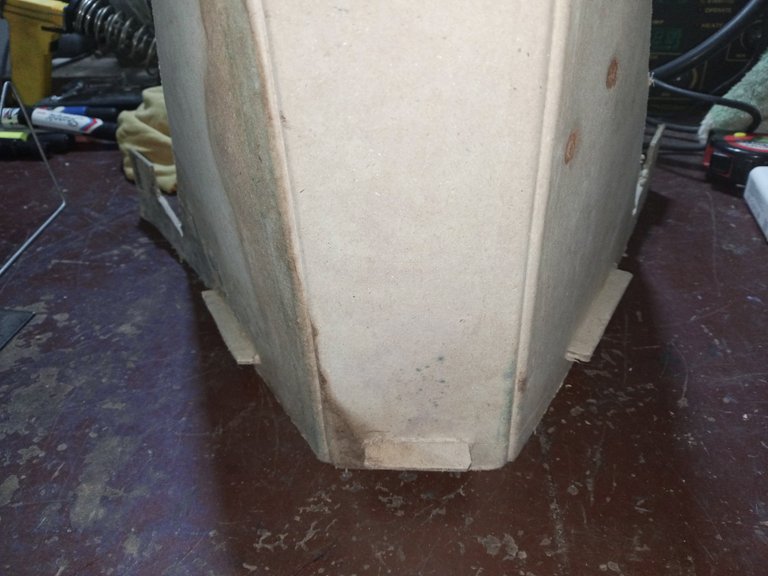
We adjust the assembly of the base cover, and I apply silicone with the gun to make sure everything is secure.
Because I'm custom-making this book stand for this book, and the binder is much larger, there's excess material on the spine of the binder.
To adjust the size, place the book on the stand, mark a line on the excess part of the folder spine to trim that part.
I decided to cover the backing with paper, because of the type of material the binder was made of. I don't think I'd like the final painted finish.
Covering with paper is one of those skills I need to perfect, but I did my best.
This guide is more about sharing the basic idea of the work I did. It's not a step-by-step guide, but I did include some measurements in case anyone had any questions.
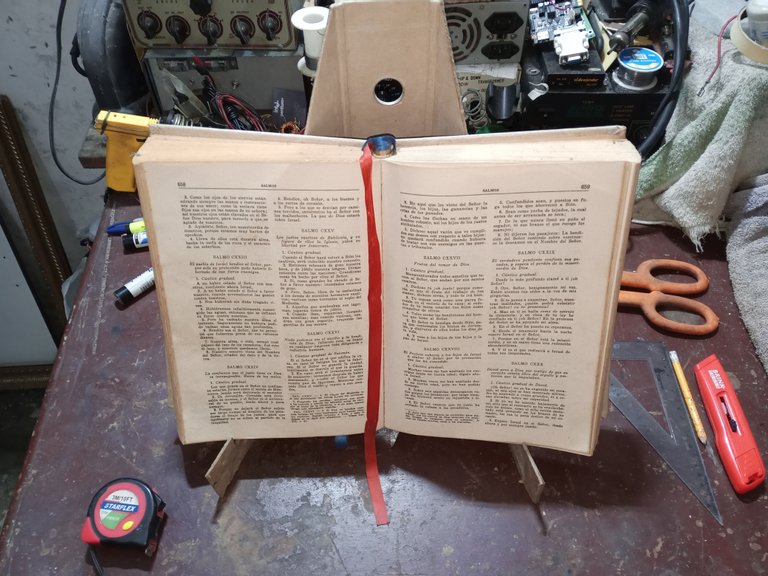
The final result, before placing it on the shelf.
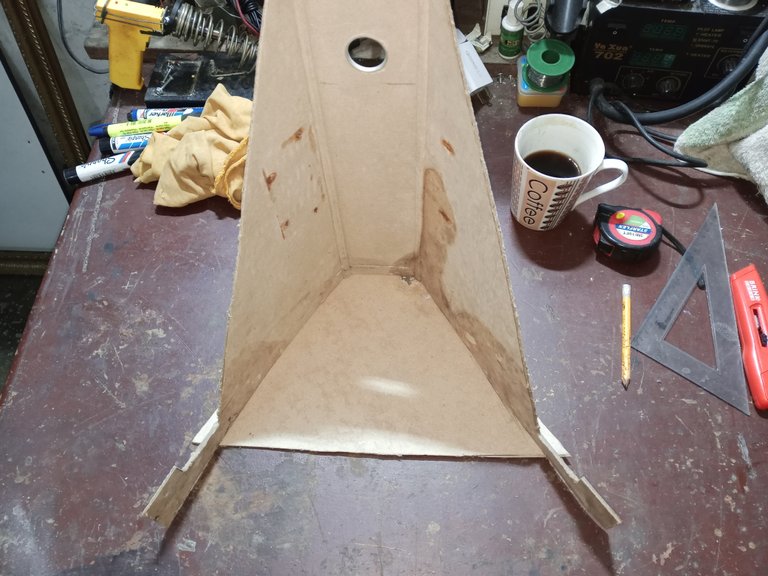
The view from behind.

It's safe for now, but next I have to figure out how to repair the damaged book pages.
Thank you so much for stopping by and reading.
Have a great week.
Peace.

- I used Google Translate for the English language.
- I used TextStudio for the Spanish header.
- Unless otherwise noted, the images are screenshots of my workshop work.

Saludos a la comunidad de Hive DIY, al fin me toca estrenar la nueva versión que tenemos para publicar, espero que salga todo bien.
Les deseo mucha salud y buen ánimo creando nuevo contenido para compartir en nuestra comunidad.
En esta ocasión les comparto como hice un soporte o atril para libros casero.
Últimamente, la gata del vecino le ha dado por quedarse en mi casa y la suelo encontrar acostada sobre los estantes.
Más de una vez la tengo que cargar y bajar del estante a donde tengo la biblia de la casa, saben que como es tradición de tener la biblia en una repisa, abierta en el pasaje favorito de los salmos.
Pues, pasa que la gata se acuesta sobre el libro y termina por dañar las páginas cuando se acomoda, por lo que tengo que poner remedio a la situación, fabricando un soporte para poner en pie el libro.
Las maderas recicladas que tenía en el depósito estaban bien, pero eran muy gruesas, el soporte sería muy pesado para una estantería de vidrio.
Podía usar tapas de metal recuperadas de PC o tapas de DVD dañados, era una buena opción.
Al final conseguí en el fondo del depósito unas carpetas de archivo que tenía para reciclar y es el materia que usaré, obviamente no está en el mejor estado (están bastante hechas polvo), pero le haremos arreglos y le daremos una nueva vida.
Se ve que su mejor momento paso hace mucho.
Antes de empezar a cortar y limpiar el material, le retiro el mecanismo de gancho, con la ayuda del taladro.
El libro tiene 40 cm de ancho estando abierto, 28 cm de alto y unos 10 entre la portada y la tapa final del libro estando cerrado.
Corte a para hacer una pestaña gruesa de 5 cm por 10 cm de largo (una pestaña gruesa, porque es un libro pesado), lleve el corte hasta la esquina superior de la tapa sin cortar el lomo de la carpeta.
El cartón de la carpeta es robusto, pero el libro que colocaré es bastante pesado, así que procuro dejar la mayor cantidad de material de soporte posible.
Pruebo el libro en el soporte para tener idea de cuanto debe medir la tapa inferior que hará de soporte de la base.
Los 5 cm que deje para la pestaña inferior, son suficientes para hacer la muesca de unos 2 cm donde encajara el libro para asegurarlo en el soporte.
Con partes sanas que corte de la carpeta, hago la base inferior que asegurar las tapas del libro.
Deje un sobrante sobre la medida que necesito, para hacer unas pestañas en el cartón que servirá de base, para poder ensamblar el conjunto firmemente.
Trace a poco más de 1 cm en la parte inferior de la carpeta, una línea de guía, para colocar la tapa de la base.
El corte en que encaja el libro no puede ser recto, está a 2 cm más abajo del corte de la pestaña, porque el libro quedara en posición inclinada.
Hago las pestañas de la base cortando con una tijera de cortar metal y con la ayuda de un cutter, hago las ranuras para encajar las pestañas de la base.
Después de armar, solo queda cortar los sobrantes de las pestañas.
Ajustamos el ensamble, de la tapa base, aplico silicona en barra con la pistola, para que todo quede bien seguro.
Como estoy haciendo este soporte a la medida para este libro, y la carpeta es mucho más grande, sobra material en el lomo de la carpeta.
Para ajustar el tamaño, coloque el libro en el atril, marque una línea en la parte del lomo de la carpeta que sobra para recortar esa parte.
Decidí forrar el soporte con papel, por el tipo de material de la carpeta, no creo que el acabado final con pintura me agradara.
Forrar con papel es una de esas habilidades que tengo que perfeccionar, pero hice lo mejor posible.
Esta guía es más compartir la idea base del trabajo que hice, no es un paso a paso, pero marque unas medidas por si alguien tenía alguna duda.
El resultado final, antes de colocarlo en la repisa.
La vista desde atrás.
Por ahora está segura, luego tengo que buscar de como reparar las páginas del libro que se dañaron.
Muchas gracias por pasar y leerme.
Que tengan una excelente semana.
Paz.
- He usado el traductor de Google para el idioma inglés.
- Use el programa de TextStudio para el encabezado en español.
- Las imágenes a menos que lo indique son capturas de mi trabajo en el taller.
Buen trabajo, la foto final con los dos gatos durmiendo en el estante me ha resultado graciosa.
!HBIT !BBH !ALIVE !LUV
Delegate to Ecency and earn 100% daily curation rewards in $Hive!
Thank you so much for reading and supporting my work, curator @seckorama.
I wish you a great week.
Thanks, you're welcome.
¿ᴺᵉᶜᵉˢᶦᵗᵃˢ ᴴᴮᴰ? ᵀᵉ ˡᵒ ᵖʳᵉˢᵗᵃᵐᵒˢ ᶜᵒⁿ @ruta.loans
Thanks @rutablockchain, for the kind gesture and supporting me.
Have a great week.
Greetings @soltecno!
This is nothing but a masterpiece. Love all the details and step-by-step technique. Upvoted this!
We appreciate the effort and time you put into this and want you to keep up the DIY spirit! Maybe on your next craft, try using the #build-it #buidl tag so we can spot you and reward your valued #DIY craft.
Thank you so much @build-it for reading and appreciating my work.
Don't worry, I'll definitely add the tag.
Have a nice day.
El lugar favorito de tu gatita para descansar, me ha encantado tu idea, te quedó genial, ahora veo que me hace, mucha falta y que puedo aplicar la idea en muchas cosas, muchas gracias mi corazón.
Muchas gracias por leerme, aprecio que le gustara la publicación. Por algún motivo algunas criaturas suelen acercarse a saludar, algunas no se quieren ir.
Y no vea usted la cantidad de arreglos que tengo que hacer luego, hacen la vida bastante entretenida.
Este amigo era muy cariñoso, pero al final tenía que irse, el perro es muy inquieto y podía salir herido.
Todo sirve querido amigo, todo sirve. Eso es lo que he aprendido en la vida y lo que me demuestras constantemente con cada post jajaja y no es solo que reciclas o arreglas y ya sino que buscas un sentido estético, buscas hacer algo bello y eso es muy rescatable de tu trabajo
Amigo, gracias por pasar a leerme y comentar, aprecio mucho sus palabras.
Que tengan una excelente semana.