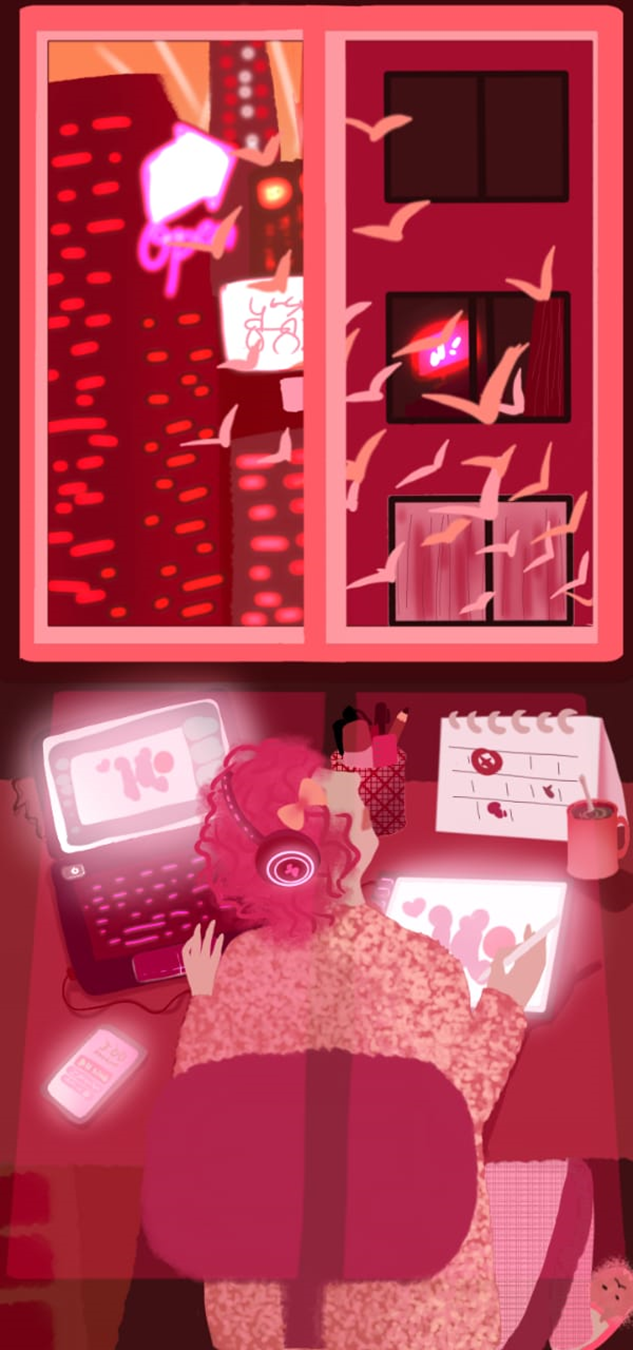
'Art by the window' - Authentic Digital Illustration
Hey everyone! How are all of you guys doing? I hope you are doing well. My today’s illustration is about the one-colored illustration done in Autodesk. Now I am going to let you guys guess which color could it be and also I want to know your thoughts about it too.
I might mess up some details about the tricks or tools I used in this illustration because I forgot most of them all. As I was full in a mist of concentration, I didn’t look or thought what I was doing. Fortunately, I know Autodesk tools and therefore I can figure out which one is which, I hope so. Anyways guys let’s begin!
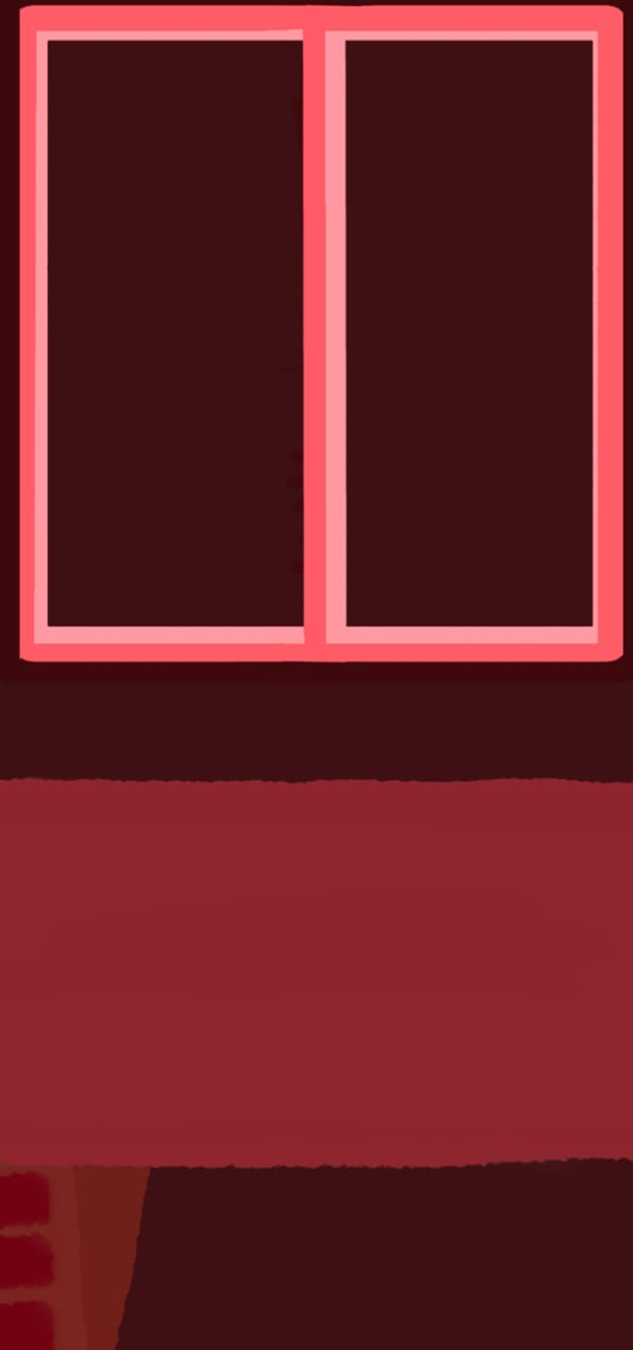
So as you guys can see here, I did a rough basic drawing of a window frame and a desk. Pretty easy and simple. Oh, the tools! Yes, excuse me for that! I used my favorite tool in Autodesk the magical one and only ‘Color Builder’. Unfortunately, the color builder tool is a bad idea when doing the window frame because of the rough lines. So I used the fountain pen tool to do the frame. Works pretty well.
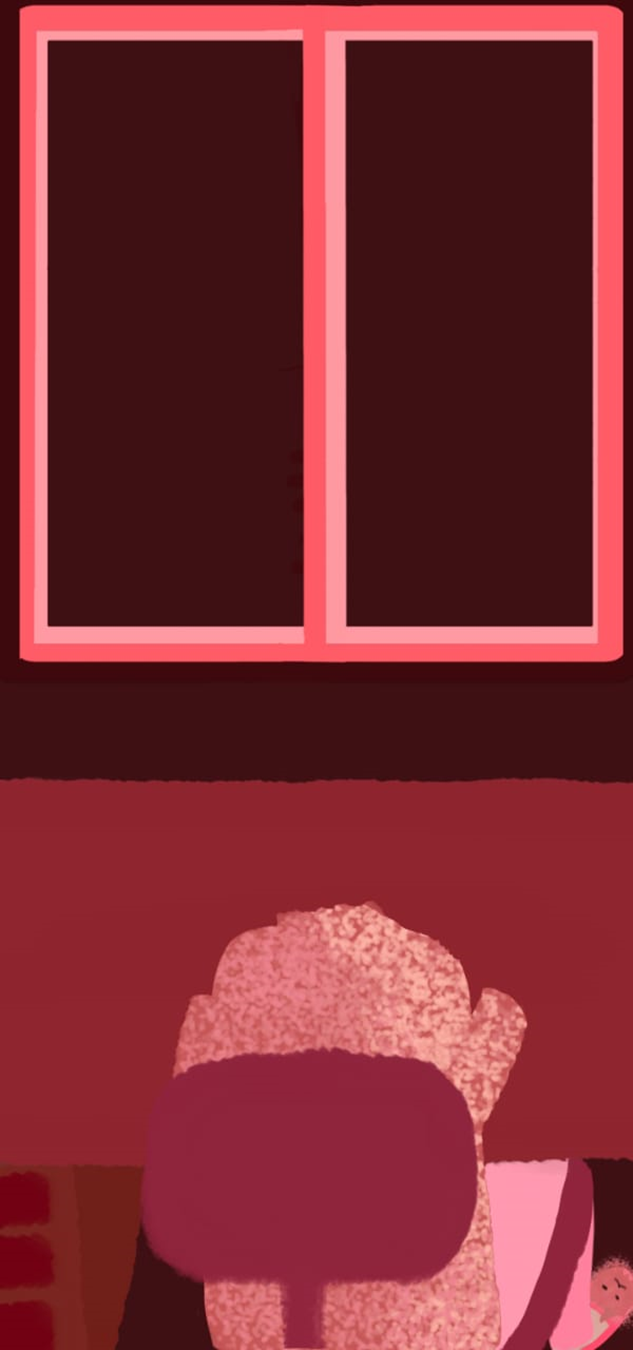
Owkiae! Let’s begin with this part here, I used the color builder tool to draw everything in here with each part in a separate layer. So when I have to erase or retrace, it won’t affect the other things that I drew. Now when it came to details I had to use different tools and I am going to mention tools. Let me first start with the sweater, I used the charcoal and soft erase tool to give the detail in the sweater. First I selected the sweater area then in a new layer, put that layer in screen effect, and used the charcoal tool. Later, I used the soft eraser to lighten the brightness so it becomes a shaded look. I think that’s the look, I have given a fancy detail. The rest looks simple.
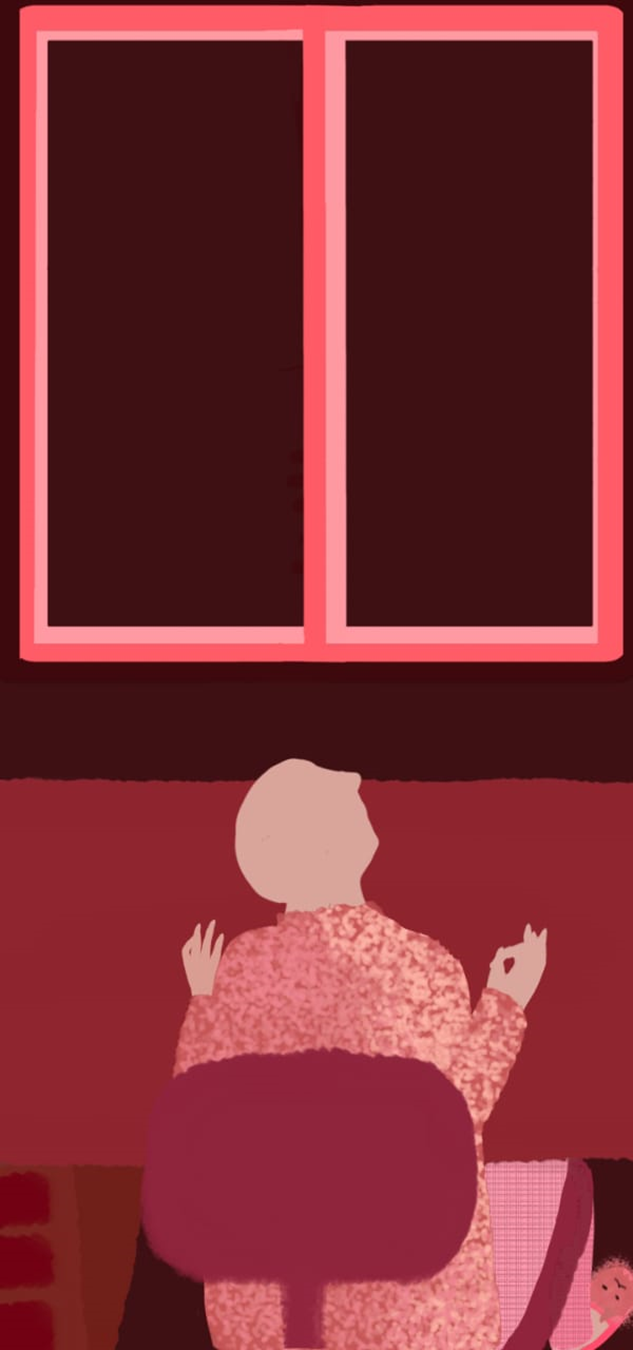
The cursed features in an incomplete art, especially humans. I didn’t use the color builder tool. I used the fountain pen tool.
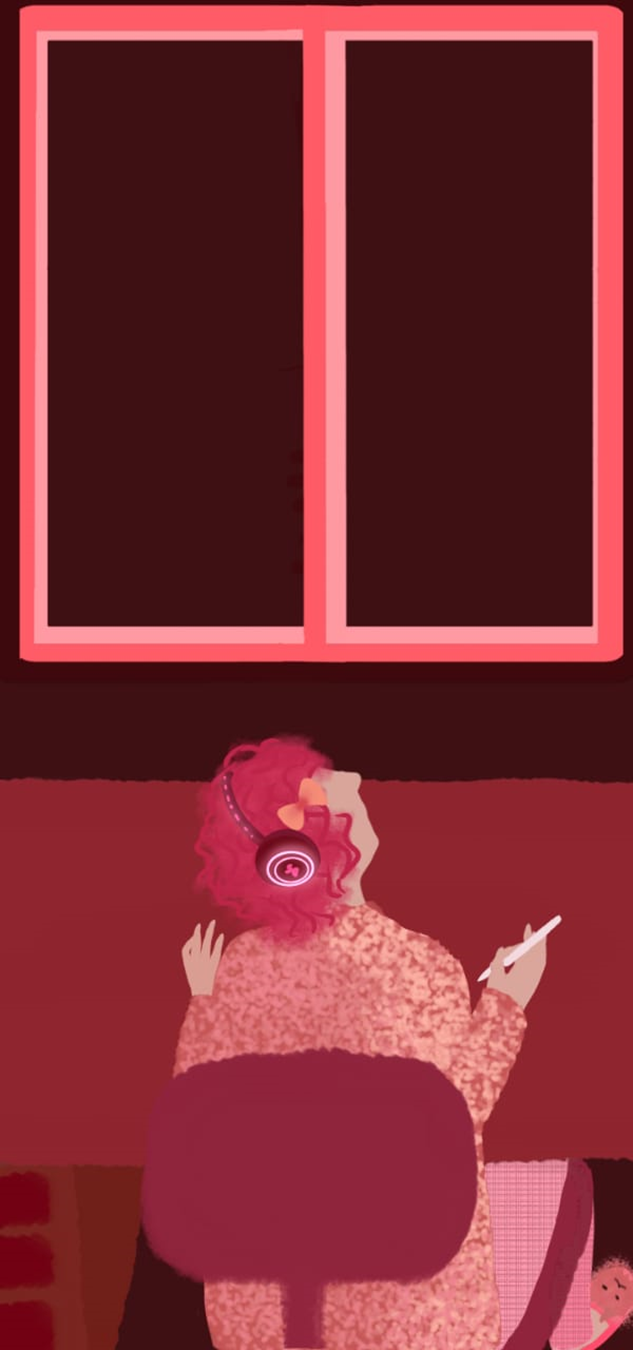
There! No more cursed. Well for her hair I used two tools. I first used chalk pastel to give the bushy hair look but this tool isn’t a good tool to make a singular strand. So I had to switch to an inking pen tool. For the headphones glowing part, I just used the neon pen tool to draw around it. The rest I drew using a fountain pen tool.
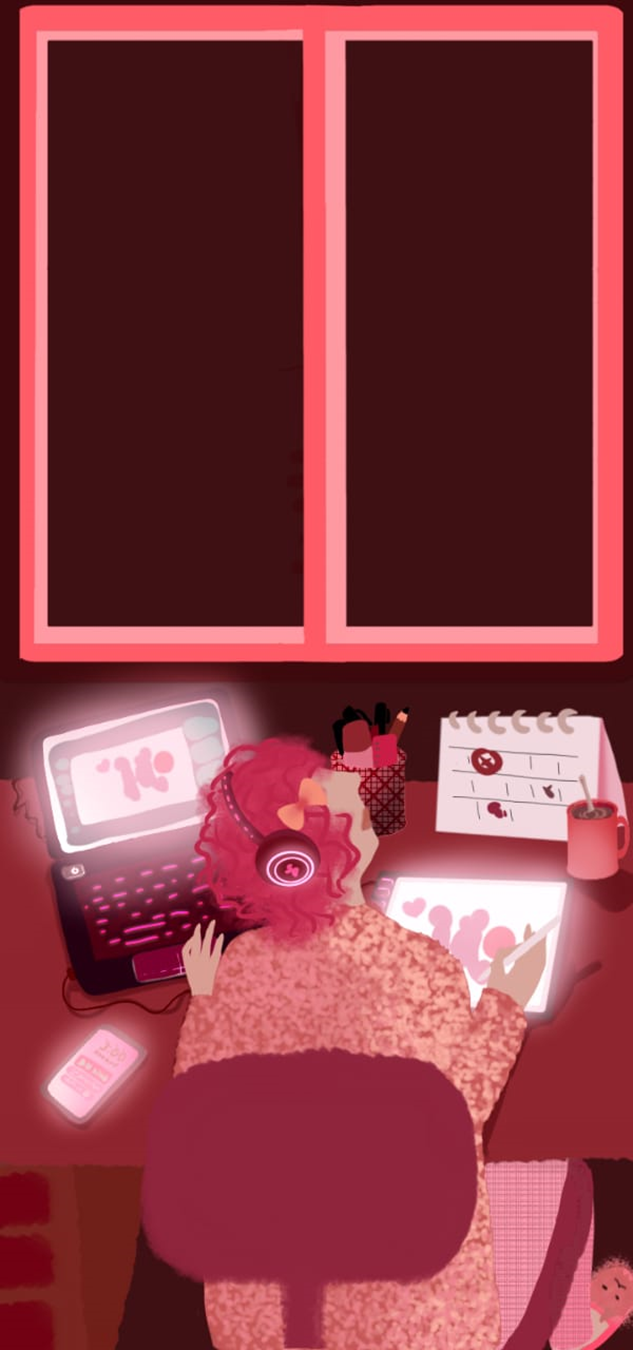
Next, I drew normal random things to fill up the table. Now if you guys are wondering how to create the glowing part of the screen. It’s quite simple just use the flow airbrush tool around the edge of the screens. That mostly does the trick. Now I don’t know how other artists do it.
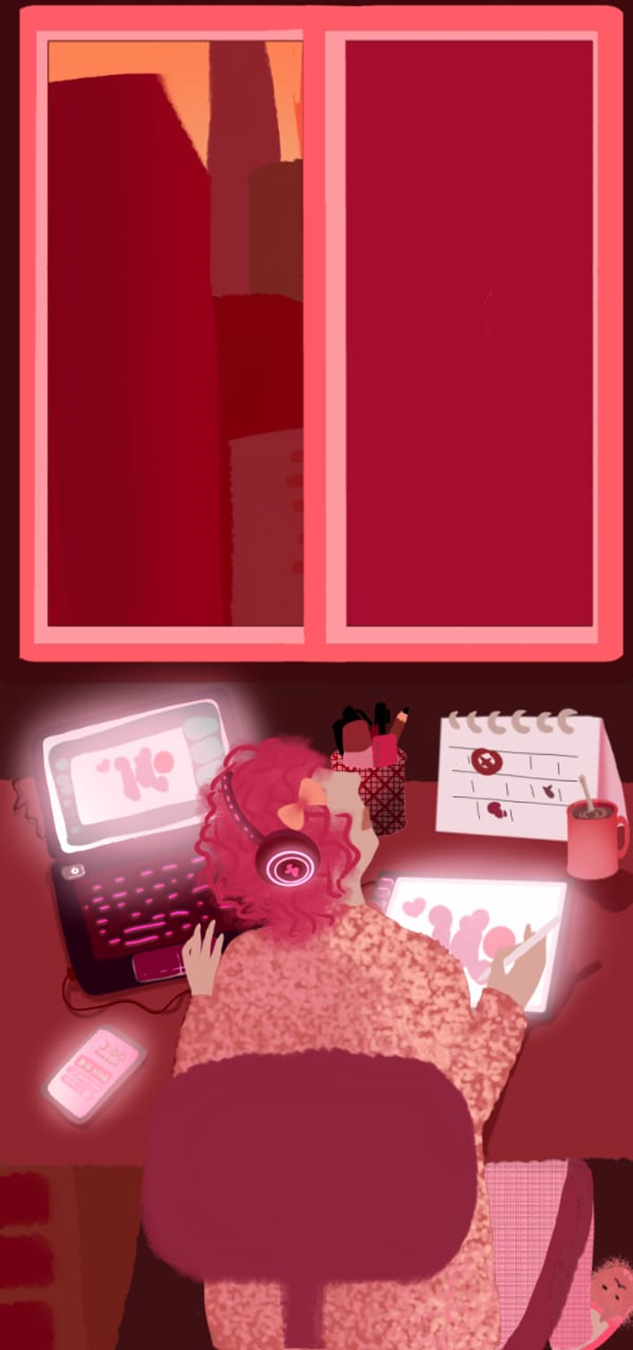
Next, I wanted to add some views by the window and I thought of giving a city view. So I drew some blocks. Just some rectangular blocks.

First I gave the farthest buildings some rough details, doesn’t have to be very detailed, using the neon pen tool.
Lastly, I gave the closest building a bit more detailed look with some birds flying past. Also, I gave a light reflection through the window, putting this layer in the screen effect or lowering the opacity. I prefer the second option cause that’s easier.
So that’s it for today’s illustration. I will be coming back with another illustration soon. I hope you guys have enjoyed the post and the illustration. Until the next post take care and bye. Have a great day, guys.
Congratulations @sakura21! You have completed the following achievement on the Hive blockchain And have been rewarded with New badge(s)
Your next target is to reach 8000 upvotes.
You can view your badges on your board and compare yourself to others in the Ranking
If you no longer want to receive notifications, reply to this comment with the word
STOPCheck out our last posts: