Hagamos un arreglo de rosas [Esp/Eng]
Definitivamente amo crear, usar mis manos para dar vida a cosas nuevas es algo que me apasiona desde que tengo uso de razón, por lo que si alguna vez iba a emprender tenía que ser por ese camino, y aunque comenzamos ofreciendo cajitas con dulces, a medida que fueron pidiendo cosas diferentes asumí el desafío.
Y entre esas cosas están los arreglos de flores, y aunque me daban un poco de miedo al principio, la verdad es de lo que más disfruto hacer, y hoy les quiero compartir un poco como fur el proceso de armar un arreglo de rosas y chocolates que debía entregar el día lunes.
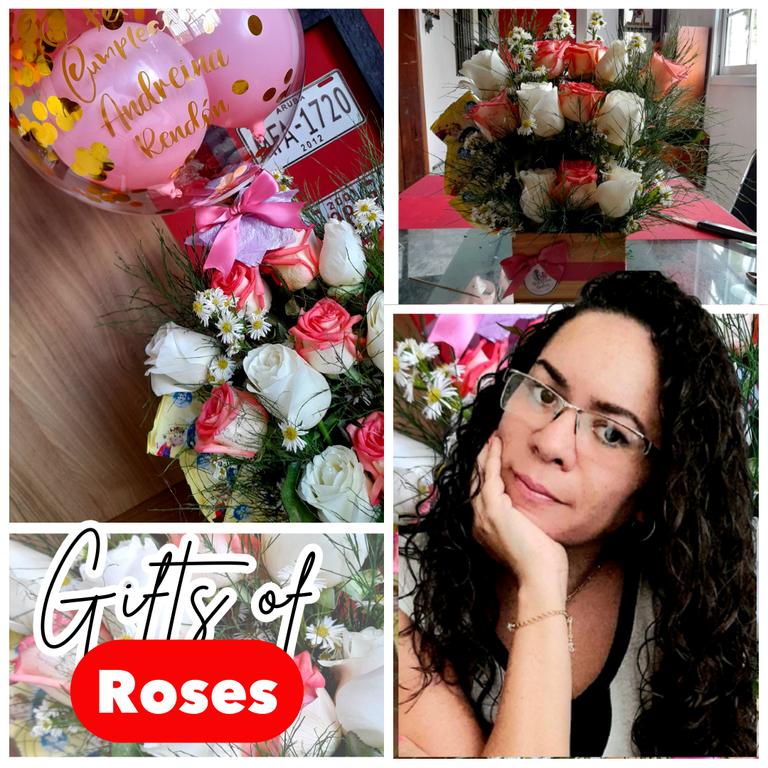
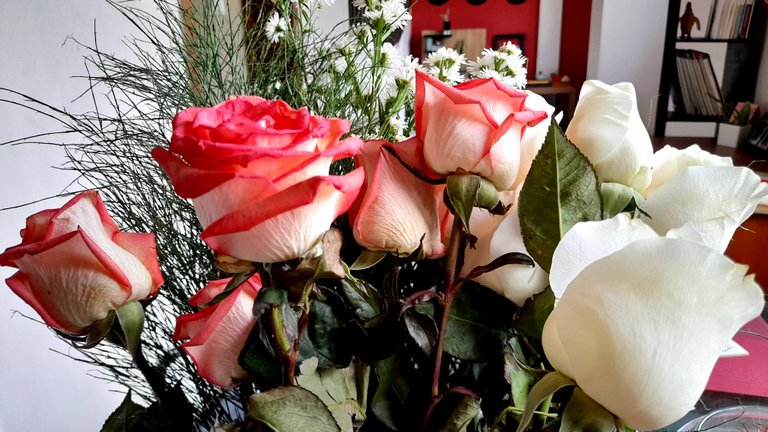
En este caso, el cliente quería un arreglo con una docena de rosas blancas y rosadas, tres chocolates Galak grandes, y un globo burbuja personalizado, así que lo primero fue ir a comprar todos lo que iba a necesitar para armar el arreglo, y aquí les dejo los materiales.
MATERIALES
Caja de pino
2 metros de cinta de raso
Oasis
6 rosas blancas
6 rosas rosadas
Follaje
Globo personalizado
3 chocolates Galak
Palitos de altura
Silicón caliente
Pistola de silicon
Tijera
Cuchillo
Tenaza
Bolsa plástica
PROCEDIMIENTO
Lo primero que vamos a utilizar es el oasis, que es un material especial para trabajar en floristería, y lo que hace es absorber agua para que las flores se mantengan vivas por varios días.
Lo genial de este material es que es muy fácil de cortar y no derrama el agua, a menos que lo satures claro está, pero es realmente bueno, y lo que haremos con él es cortarlo de acuerdo al tamaño de nuestra cajita.
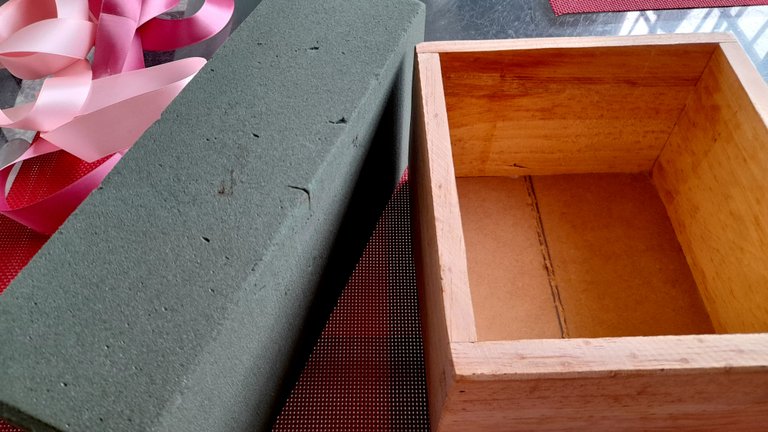
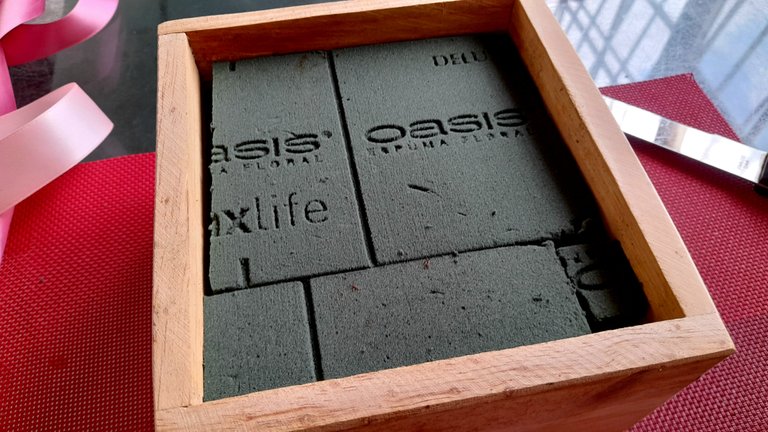
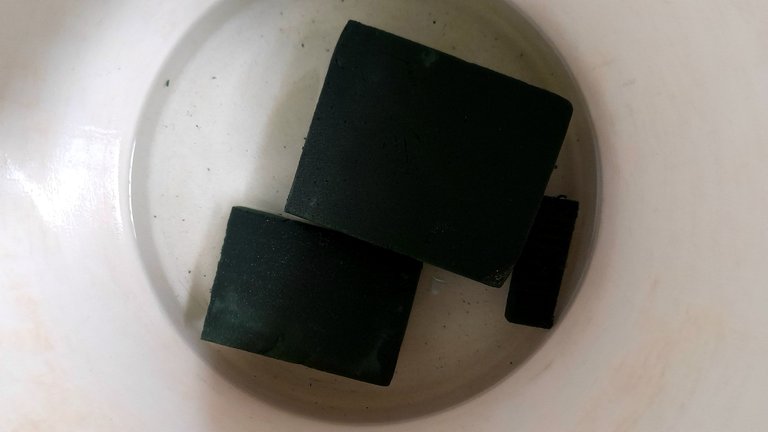
Seguidamente vamos a humedecer el oasis, y esto lo hacemos llenando un envase con agua, y dejando que la absorba hasta quw se torne todo de un color intenso y por supuesto el peso aumente, indicando que tiene agua suficiente.
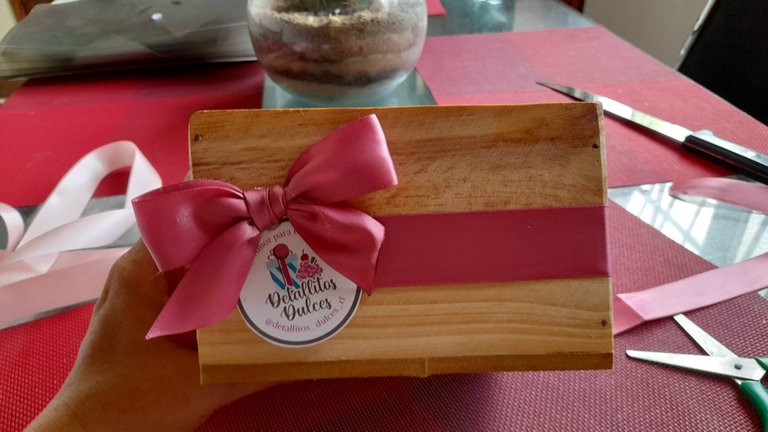
Mientras esto sucede, me dedico a decorar la cajita con la cinta, para lo que me ayudé con el silicón caliente, fijando la cinta alrededor de la caja, terminando con un lazo y el logo de nuestro emprendimiento.
Hago esto antes porque ya con el oasis y las flores ubicadas en la cajita sería mucho más complicado y podría maltratar las flores.
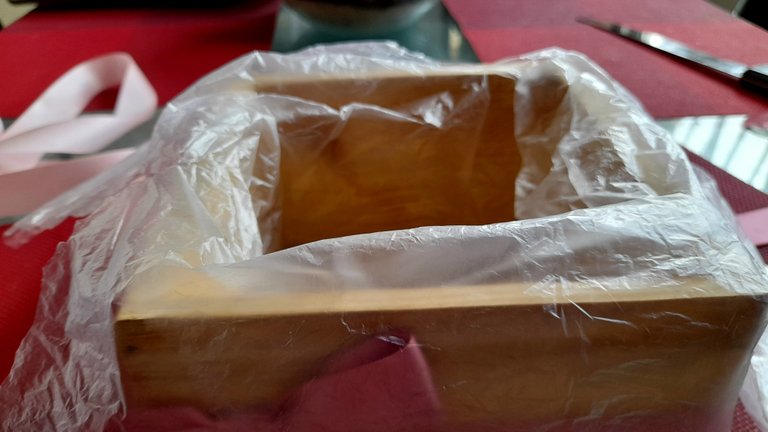
Una vez lista la cajita, introduzco dentro de ella una bolsa plástica gruesa para evitar que esta pueda humedecerse con el oasis, ya que nuestra cajita es de madera, así que este paso es importante.
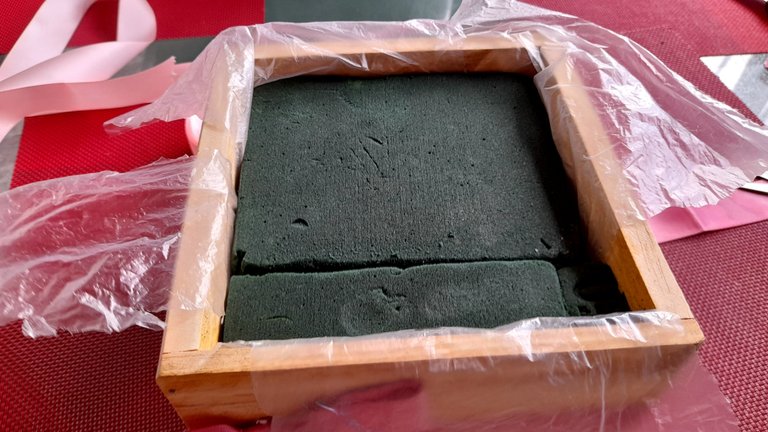
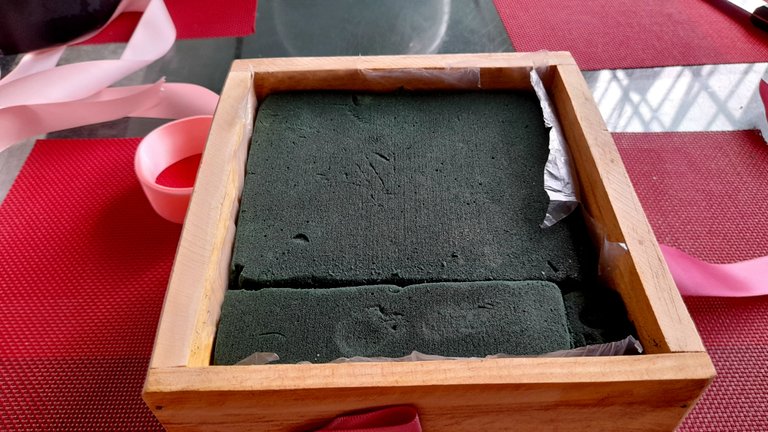
Luego procedemos a colocar el oasis ya húmedo, y recortamos los extremos sobrantes de la bolsa plástica.
El siguiente paso es comenzar a colocar nuestras rosas, y para ello necesitamos cortarlas con ayuda de la tenaza según el tamaño que necesitemos e introducirlas en el oasis donde consideremos deben ir.
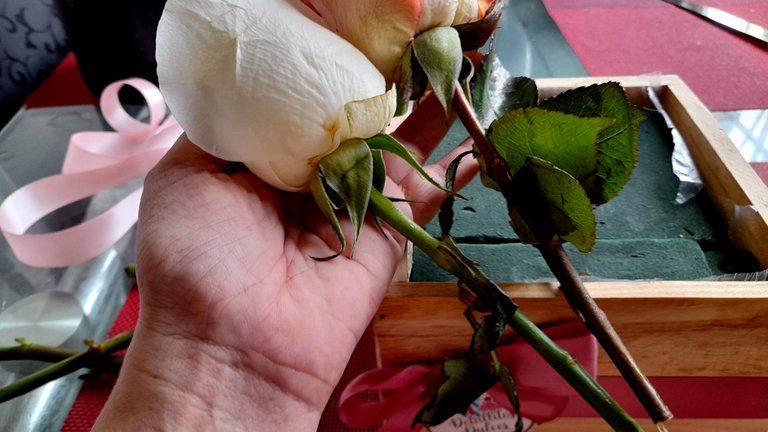
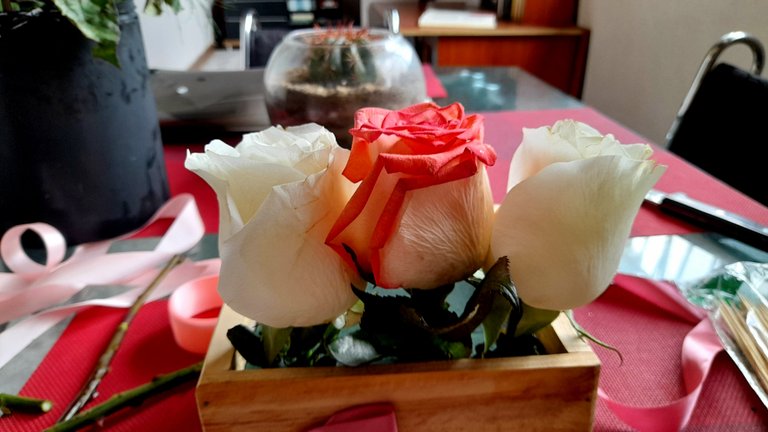
Para ello yo tenía un patrón definido, que serían 3 rosas por fila, por lo que haría 4 filas, intercalando entre cada una un chocolate, pero luego todo el plan cambio (como cosa rara en mí), y una vez que había avanzado decidí quitar las cosas y ponerlo de otra manera, así que reubiqué las rosas, y con silicón caliente pegue palitos de altura a los chocolates, para hacer el abanico en la parte trasera.
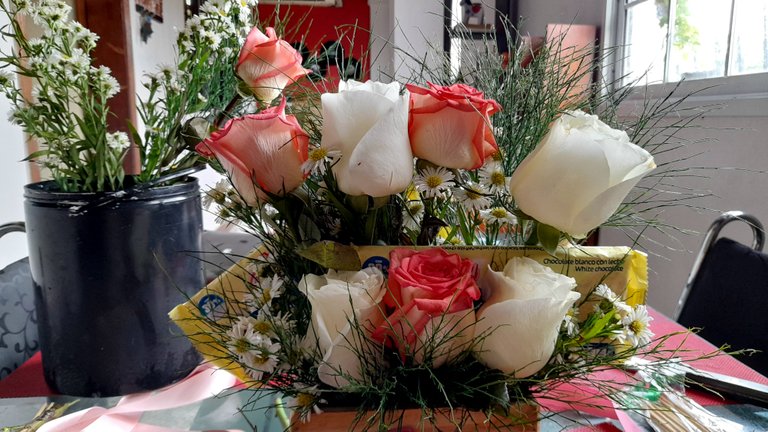
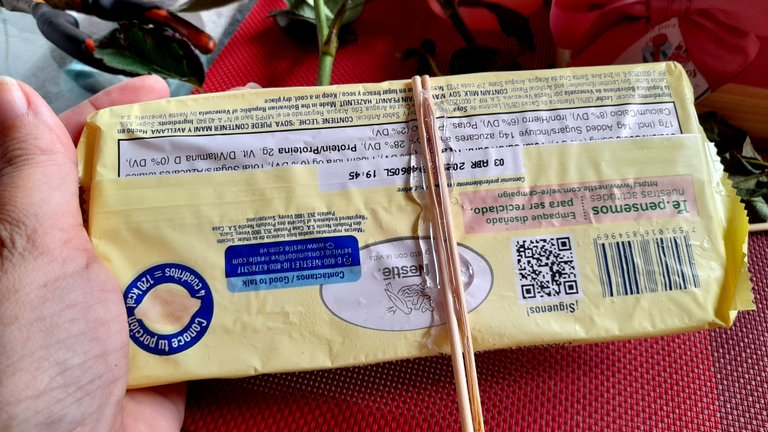
Ya con el nuevo plan en mente,fui trabajando por filas, así que coloco la primera fila de rosas, y follaje delante, detrás y a los lados de ellas, sigo con la siguiente fila de rosas que esta vez son más altas, y repito el procedimiento con el follaje, y finalizo con la última fila de rosas y follaje y ubico los chocolates en su lugar.
Como ven, yo utilicé dos tipos de follaje, unas florecitas blancas y ramitas verdes que aportan mucho volumen y vistosidad.
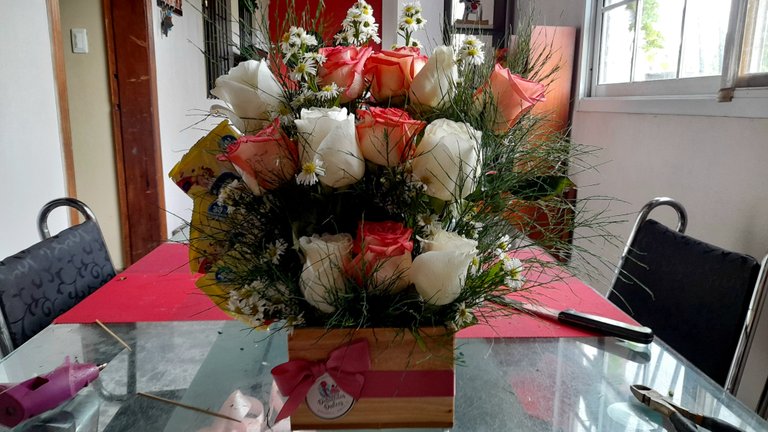
Listo ese paso, solo incorporé el glogo, una tarjetita con una mariposa, y listo, el arreglo estaba listo para entregar.
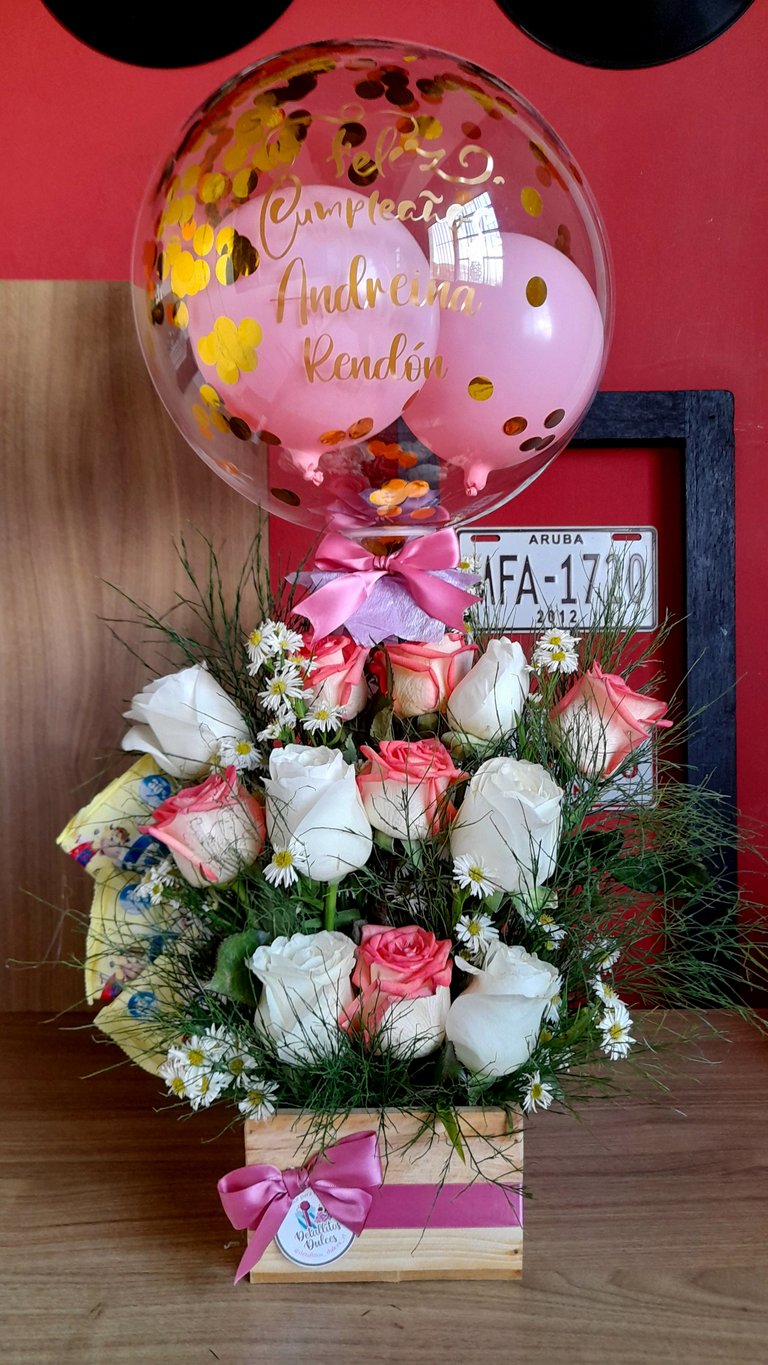
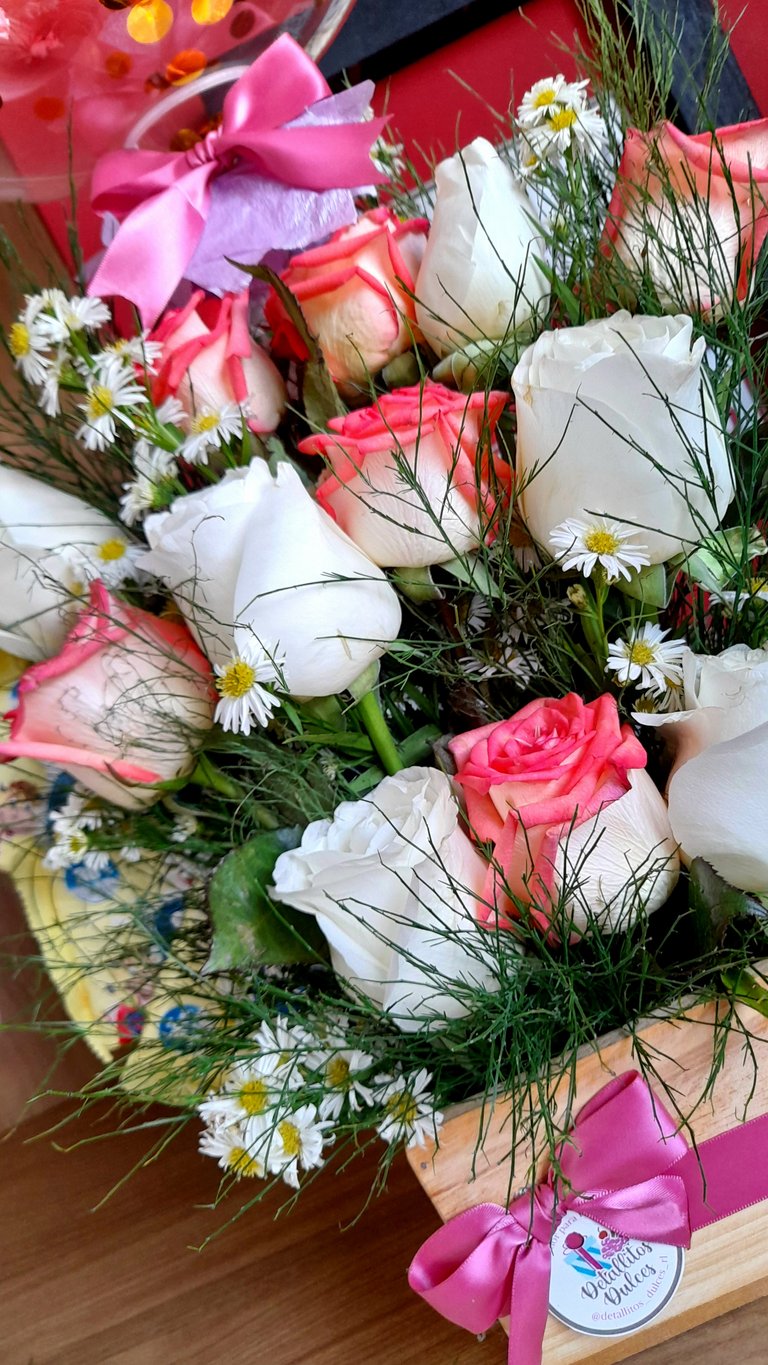
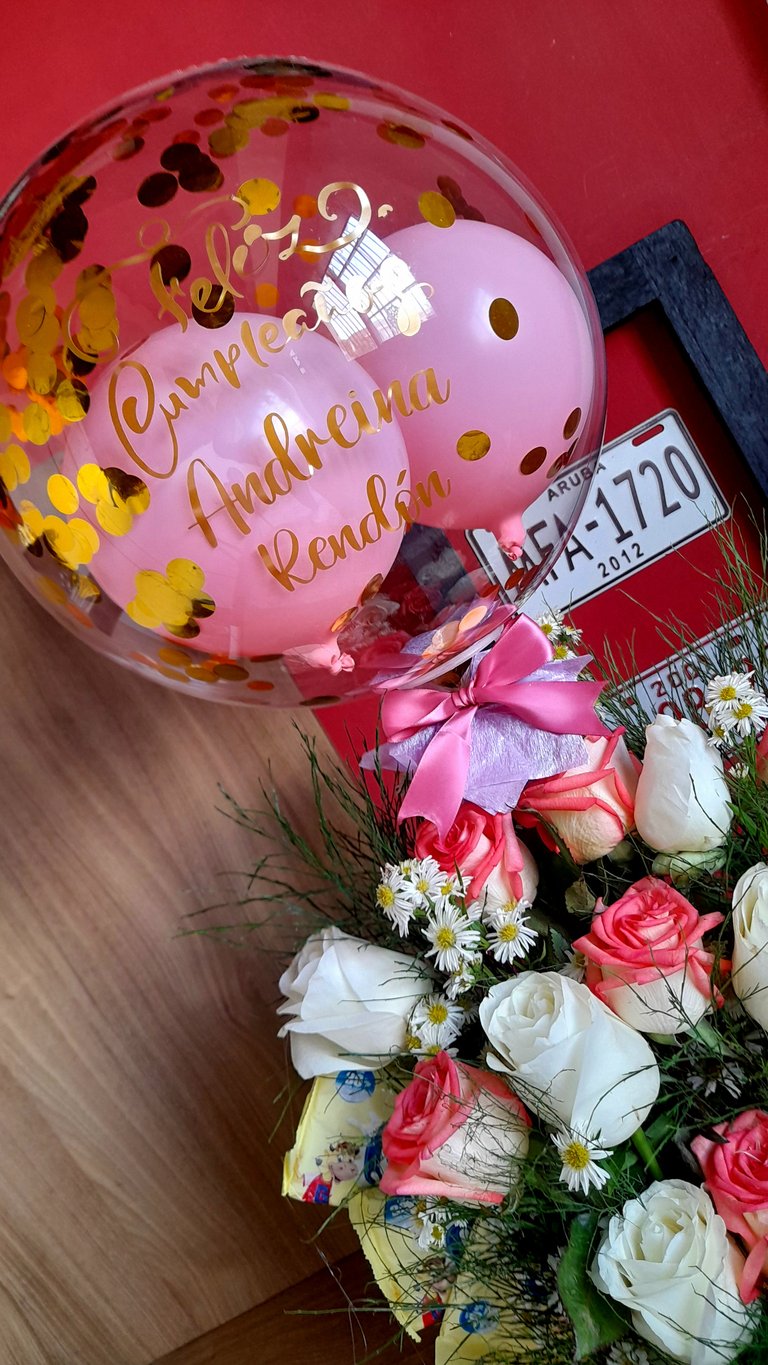
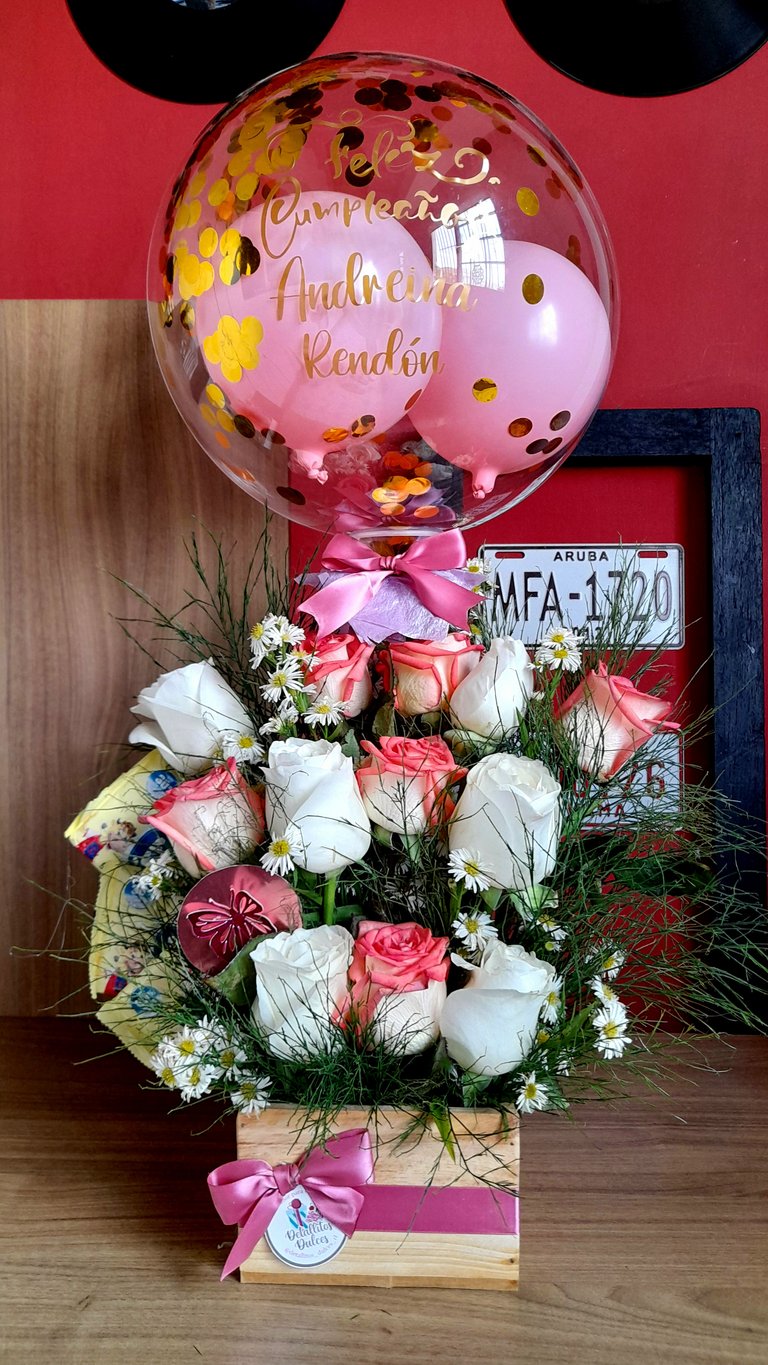
Como pueden ver no tiene mayor complicación, solo debemos ir colocando las flores según nuestro gusto, tratando de no dejar espacios vacios y lograr una composición armoniosa, para lo que pueden ayudarse con ideas en la web.
Y ya para terminar, les dejo un tip para conservar las flores, ya que en mi caso las tuve que comprar el viernes, y eran para entregar el lunes, así que era algo que me preocupaba, así que lo que hice fue ponerlas en un envase con agua en la nevera. Por supuesto tuve que sacar varias bandejas para ubicarlas, y a las rosas les puse una bolsa encima sin cerrarla para evitar que el frío las maltratara y la verdad que se mantuvieron intactas hasta el día de la entrega.
Si tienen alguna otra idea para esto, los leo en los comentarios.

I definitely love to create, using my hands to give life to new things is something that I have been passionate about since I can remember, so if I was ever going to undertake it had to be that way, and although we started offering little boxes with candy, as they were asking for different things I took the challenge.
And among those things are flower arrangements, and although I was a little scared at first, the truth is what I enjoy doing the most, and today I want to share with you a little bit about the process of putting together an arrangement of roses and chocolates that I had to deliver on Monday.

In this case, the client wanted an arrangement with a dozen white and pink roses, three large Galak chocolates, and a personalized bubble balloon, so the first thing I did was to go shopping for everything I was going to need to make the arrangement, and here are the materials.
MATERIALS
Pine box
2 meters of satin ribbon
Oasis
6 white roses
6 pink roses
Foliage
Personalized balloon
3 Galak chocolates
Height sticks
Hot Silicone
Silicone gun
Scissors
Knife
Pliers
Plastic bag
PROCEDURE
The first thing we are going to use is the oasis, which is a special material to work in floristry, and what it does is to absorb water so that the flowers stay alive for several days.
The great thing about this material is that it is very easy to cut and does not spill water, unless you saturate it of course, but it is really good, and what we will do with it is to cut it according to the size of our box.


Next we are going to moisten the oasis, and we do this by filling a container with water, and letting it absorb it until it becomes an intense color and of course the weight increases, indicating that it has enough water.

While this happens, I decorate the box with the ribbon, for which I use hot silicone, fixing the ribbon around the box, finishing with a bow and the logo of our project.
I do this first because it would be much more complicated and I could damage the flowers with the oasis and the flowers already placed in the box.

Once the box is ready, I put a thick plastic bag inside it to prevent it from getting wet with the oasis, since our box is made of wood, so this step is important.

Then we proceed to place the already wet oasis, and trim the excess ends of the plastic bag.


The next step is to start placing our roses, and for this we need to cut them with the help of the pliers according to the size we need and insert them in the oasis where we consider they should go.


For this I had a defined pattern, which would be 3 roses per row, so I would make 4 rows, interspersing between each one a chocolate, but then the whole plan changed (as a rare thing in me), and once I had advanced I decided to remove things and put it in another way, so I relocated the roses, and with hot silicone glued sticks high to the chocolates, to make the fan in the back.


With the new plan in mind, I worked by rows, so I put the first row of roses, and foliage in front, behind and to the sides of them, I continue with the next row of roses that this time are taller, and I repeat the procedure with the foliage, and I finish with the last row of roses and foliage and place the chocolates in their place.
As you can see, I used two types of foliage, white flowers and green twigs that add a lot of volume and color.

That step was done, I just added the logo, a little card with a butterfly, and that was it, the arrangement was ready to be delivered.


As you can see it is not very complicated, we just have to place the flowers according to our taste, trying not to leave empty spaces and achieve a harmonious composition, for which you can help with ideas on the web.
And finally, I leave you a tip to preserve the flowers, because in my case I had to buy them on Friday, and they were to be delivered on Monday, so it was something that worried me, so what I did was to put them in a container with water in the refrigerator. Of course I had to take out several trays to place them, and the roses I put a bag over them without closing it to prevent the cold from mistreating them and the truth is that they remained intact until the day of delivery.
If you have any other ideas for this, I'll read them in the comments.

Posted Using InLeo Alpha
En esa foto la rosa eres tu.
Congratulations @rlathulerie! You have completed the following achievement on the Hive blockchain And have been rewarded with New badge(s)
Your next target is to reach 140000 upvotes.
You can view your badges on your board and compare yourself to others in the Ranking
If you no longer want to receive notifications, reply to this comment with the word
STOPCheck out our last posts:
Please, I love your posts, but you are wasting the vote I give you, since I have a large amount of the waivio token in my possession and every time I go to you, you win it, so I advise you to put the waivio token in all your posts so that you can win them with me.
Greetings
I will take it into account
Ami ese arreglo te quedó precioso, las rosas me encantaron 😍 Estoy segura de que quien lo recibió lo amó tanto como yo ❤️
Gracias ami bella, a mi me gustó mucho, es delicado. La chica quedó contenta con su sorpresa
Quedo bellísimo amiga y tan delicado🤩 Dios Bendiga tus manos, siempre creando hermosos detalles. Gracias por compartir. Saludos
Amen amiga, muchas gracias. El rosado hace que se vea muy tierno. Este arreglo me gustó bastante.
Un abrazo
Que hermoso te quedó el arreglo. Tienes habilidad para las manualidades. Cualquiera monta las flores pero que queden bien es otra cosa
Gracias amigo, a mi me encantan las manualidades la verdad. Y tienes razón, hay que tener un poquito de estética para armar el arreglo y que todo se vea bien.
Saludos
Te quedó muy bonito amor
Gracias ♥️
De verdad que tú creas unas bellezas mi Rosa! Yo quiero un regalo así de bello también, muero de amor. 🤭💕
Gracias ami bella! Te mereces uno así y hasta más grandote 💗
Hermoso arreglo amiga..! Abrazos
Gracias amiga 🤗
Que preciosidad de arreglo y haberlo hecho por ti misma es maravilloso, me encanta...
Gracias por regalarnos tu buen paso a paso.
!discovery 35
Gracias amiga, la verdad es súper relajante trabajar con arreglos, yo lo disfruto un montón.
Me alegra te haya gustado
This post was shared and voted inside the discord by the curators team of discovery-it
Join our Community and follow our Curation Trail
Discovery-it is also a Witness, vote for us here
Delegate to us for passive income. Check our 80% fee-back Program
Thank you so much
Que arreglo tan bello,eres muy creativa , hace como un mes mi hermana le compro un arreglo floral a mi mama y donde iba las rosas no tenía bolsa que protegiera el oasis, por ende las rosas se marchitaron rápido, gracias por compartir tus tip, saludos @rlathulerie
Muchas gracias amiga, me alegra te haya gustado el arreglo. Yo la verdad prefiero algo que me pueda comer jaja me da lástima que las flores luego mueren. Lo de la bolsa ayuda bastante a que el agua dure un poco más en el oasis.
Gracias por pasar
Ahora yo también quiero uno ajajajjaja, gran trabajo amiga.
Y yo jajajaja y si me dan solo los chocolates no me pongo brava jajaja
Que hermoso arreglo amiga, me encanto el globo!Gracias por regalarnos el paso a paso