Splinterlands 🐉| Match Analysis - Prunda vs Zeddica!
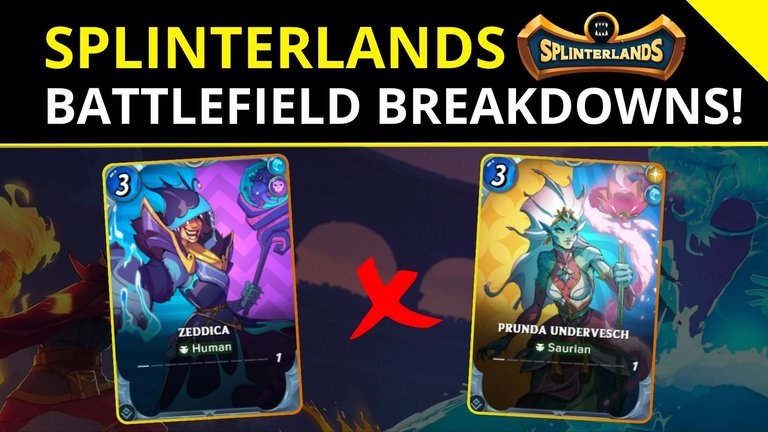
This week's Splinterlands Community Engagement Challenge event will focus on Battlefield Breakdowns. The goal of this event is to encourage the community to discuss some aspects of the web3 card game, Splinterlands. In this specific event, players will choose a match to share their decision-making process for each card, explaining the reasons and context of the battle that led them to choose that particular team. Interestingly, it doesn't have to be a victory, or even a perfect battle, as the idea is for you to discuss your decision-making process and possible improvements to your strategy. If this topic interests you, come check out all the details of the brawl match in which mana was not a problem (99).
I'll be much appreaciated if you Upvote, Reblogs or give any Tips ( PIZZA 🍕, PGM 🎮, LOLZ 😆, ALIVE ❤️, etc ). Thanks and have good reading! 🍀

[ENGLISH VERSION]
Match Details (Brawls)

I like to choose Brawl matches to analyze because they offer a greater variety of combinations in the match details. The first point is the number of combat rules, which usually come in three Gold Spots. In this match, the first ability was All units have Deflect, which nullifies cards that have the ability to reflect damage (return fire) or that deal damage when attacked, such as Thorns. The second rule removes armor from cards and prevents them from gaining shields. Finally, Melee Mayhem allows melee units to attack from any position, removing the limitation of being able to attack from the first position, or using abilities like Reach, Sneak, or Opportunity.
Regarding the elements, in this match the options were quite limited, with only two elements (water and dragon) to choose from. This led both teams to choose water-related summoners, who have more options among the Rebellion and are more accessible. Finally, we have the maximum possible mana of 99 mana. This is a very curious amount of mana, because on the one hand, it allows you to choose any card you want, since it's difficult to reach this limit, but as we'll see later in the opponent's strategy, they ended up making some less efficient choices because of it.
Allied Strategy: Uludin + Commander Slade

Having presented the context of the match in the previous topic, let's now seek to understand the allied strategy chosen, highlighting the positives and negatives of the choices. The first point is that, like my opponent, in this 99-mana match, it seems that both teams ended up choosing cards with average mana amounts for at least half of the team. In my case, the available tanks with a good amount of HP were Uludin Overseer, Commander Slade, and Giant Alipne Skink.

I believe I could have chosen a better option to place in Uludin's position, since in the Melee Mayhem rule, his Flank ability, which allows the second-position unit to gain Reach, isn't very useful. However, he ended up making a difference because he was able to tank many attacks thanks to his large amount of HP.

Another point that could have been improved, but which, given the opponent's composition, ended up being effective, was the choice of Sergeant Grauzral. The matchup didn't present conditions for her Immunity ability to be relevant, and her stats aren't as incredible as those of the Shock Trooper, for example. However, given that the opponent has 3 monsters with only 2 HP and she has a 2-damage ranged attack, opportunity ended up making all the difference in this battle.
Opponent Strategy: Mix Damage & Low Life

As the opponent's strategy had some similarities to the strategy I chose, I repeated some units like Uludin and Commander Slade, focusing half on monsters with high melee damage and the other half on ranged damage. I believe he made a mistake by placing too many ranged monsters with low HP. Even though he increased HP by 1 with the skill, with two attacks most of the opportunity monsters would be defeated, which is exactly what happened.

Para essa semana, o evento do Splinterlands Community Engagement Challenge terá como tópico para abordar o seguinte tema: Battlefield Breakdowns. O objetivo desse evento é fazer com que a comunidade discuta alguns pontos do jogo web3 de cartas, Splinterlands. Nesse evento em específico, os jogadores vão escolher uma partida para compartilhar o seu processo de decisão de cada carta, explicando os motivos e o contexto da batlha que fez com que ele escolhesse aquele time em específico. O interessante é que não precisa ser uma vitória, e nem mesmo uma batalha perfeita, já que a ideia é você falar do seu processo de decisão e possíveis melhorias na sua estratégia. Se esse assunto te interessa, venha conferir todos os detalhes da partida de brawl em que a mana não foi um problema (99).
Fico agradecido se você puder dar um Upvote, Reblogs ou algum Tips ( PIZZA 🍕, PGM 🎮, LOLZ 😆, ALIVE ❤️, etc ). Obrigado e boa leitura! 🍀
[VERSÃO PORTUGUÊS]
Detalhes da Partida (Brawls)
Eu gosto de escolher as partidas de Brawls para analisar, porque nelas encontramos uma maior variedade de combinações nos detalhes da partida. O primeiro ponto é na quantidade de regras de combate, que geralmente costumam vir 3 no Gold Spot. No caso dessa partida a primeira habidade foi a All units have Deflect, que anula cartas que tenham habilidade de refletir dano (return fire) ou que causam quando atacadas como thorns. A segunda regra retira as armaduras das cartas e impede com ela elas ganhem shield. Por fim, a Melee mayhem permite com que as unidade melees ataquem de qualquer posição, retirando a limitação de conseguirem atacar da primeira posição, ou usando habilidades como Reach, Sneak ou Opportunity.
Já com relação aos elementos, nessa partida as opções foram bem restritas, havendo apenas dois elementos (água e dragão) para serem escolhidos, o que fez com que ambos escolhessem summoners ligadors à água que tem mais opções dentre os rebellion e são mais acessíveis. Por útlimo temos a quantidade de manda da partida, que foi o máximo possível de 99 de mana. Essa é uma quantidade de mana bem curiosa, porque por um lado ela permite você escolher a carta que você quiser já que é difícil de alcançar esse limite, mas como veremos em seguida na estratégia do oponente, ele acabou fazendo algumas escolhas não tão eficientes por conta disso.
Estratégia Aliada: Uludin + Commander Slade
Apresentado o contexto da partida no tópico anterior, vamos buscar entender agora a estratégia aliada escolhida, apresentando pontos positivos e pontos negativos das escolhas. O primeiro ponto é que assim como meu oponente, nessa partida de 99 mana, parece que ambos os times acabaram escolhendo cartas com quantidades de mana medianas em pelo menos metade do time. No meu caso os tanks disponíveis com uma boa quantidade de HP eram o Uludin Overseer, Commander Slade e Giant Alipne Skink.
Acredito que poderia ter escolhido uma opção melhor para colocar na posição do Uludin, já que na regra Melee Mayhem, a a sua habilidade Flank que permite a unidade da segunda posição ganhar Reach, não tem muita utilidade. Entretanto, ele acabou fazendo diferença porque conseguiu tankar muitos ataques graças à grande quantidade de HP que ele possui.
Ainda, outro ponto que poderia ter sido melhor, mas que conta a composição do oponente acabou sendo efetiva foi a escolha da Sergeant Grauzral. A partida não apresentava condições para que a habilidade de Immunity fosse relevante, e seus status não são tão incríveis como os do Shock Trooper por exemplo. Entretanto, no contexto que o oponente possui 3 monstros com apenas 2 de HP e ela tem um ataque ranged de 2 de dano, com opportunity acabou fazendo total diferença para essa batalha.
Estratégia Oponente: Mix Damage & Low Life
Como a estratégia do oponente teve algumas semelhanças com a estratégia que eu escolhi, repetindo algumas unidades como o Uludin e o Commander Slade, focando metade em monstros com grande dano melee e a outra metade em dano ranged. Acredito que ele acabou errando em colocar muitos monstros ranged com pouco HP, mesmo que tenha aumentado 1 de HP pela habilidade, com dois ataques da maioria dos opportunity seriam derrotados, que foi exatamente o que aconteceu.


Obrigado por promover a comunidade Hive-BR em suas postagens.
Vamos seguir fortalecendo a Hive
[@PowerPaul:]
Hey! Because of your participation in the @CryptoCompany community and your participation in the "Banner for Boost" campaign you received a vote from your CryptoCompany and its trail! Thank you & Hive a great day!
Recent posting from @PowerPaul or the CryptoCompany network:
by @powerpaul
by @yourfairy
Thanks for sharing! - @yonilkar
