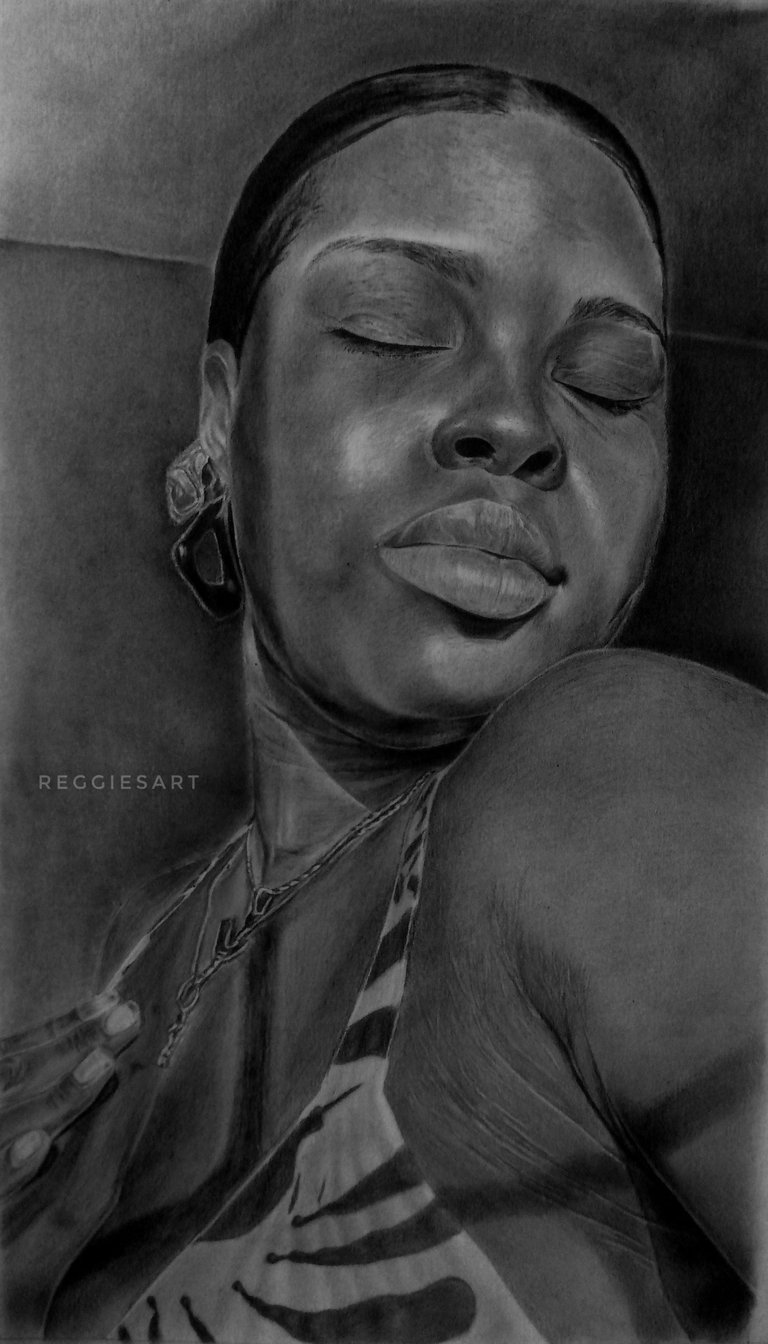
Ecstasy
Hi Hivers and Visitors!!! Greetings to everyone.
Today, I'll be sharing with Y'all my Artwork of a beautiful lady within my neighborhood.
I never really got her name but her Boyfriend showed me her picture and I was so captivated with the entirety of the picture that I had to draw everything in it, When I say everything, I mean, I drew Her and her background.
This was my first attempt at working with my muse's background and it was exciting, thrilling experience.
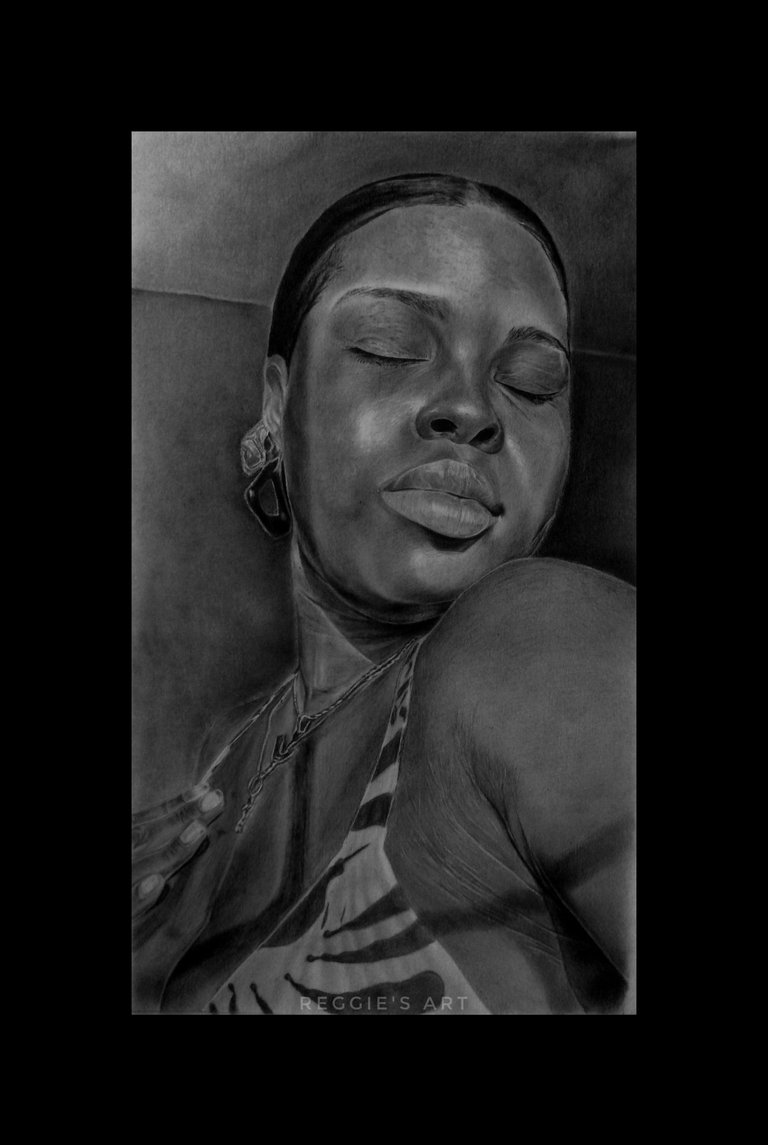
Title: Ecstasy
Medium: Graphite Pencils( 4b, 6b, 8b, 10b, 12b), kneaded eraser, monozero eraser, brushes and FBB paper
size: 12*16 inches
Technique: hatching, cross hatching and rubbing
Duration: 20 hrs
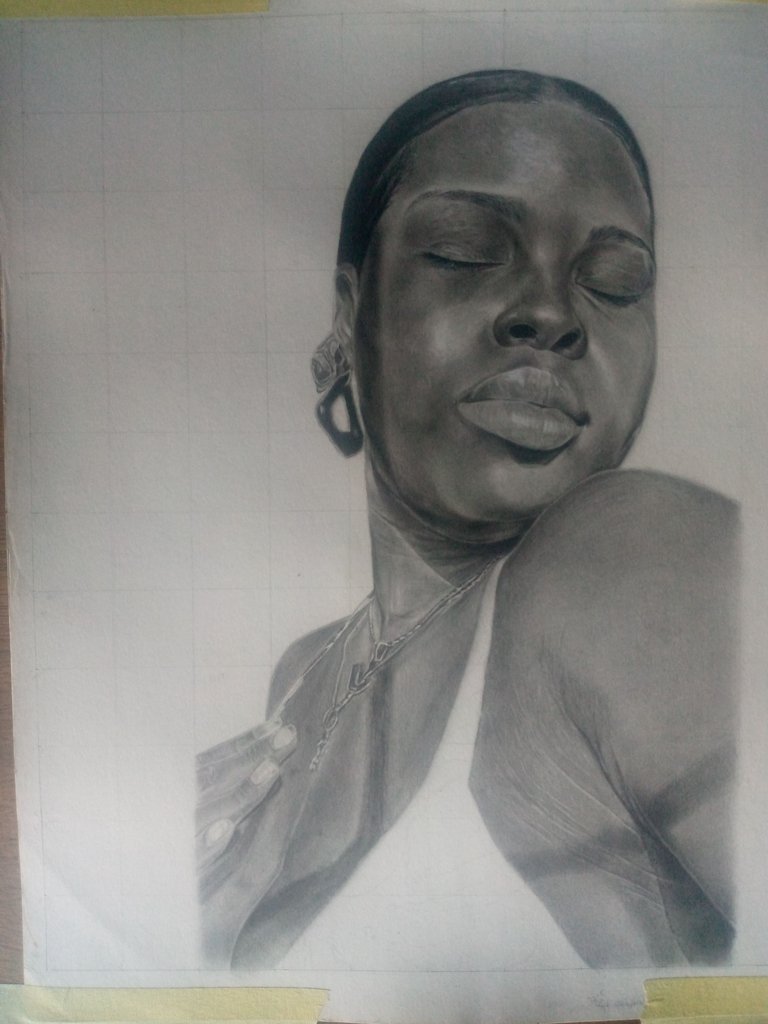
Below are the work in progress pictures.
Once again, Forgive me, I get so excited sometimes that I start without taking the pic of my sketch but I tried to get some sufficent work in porgress pictures on this one.
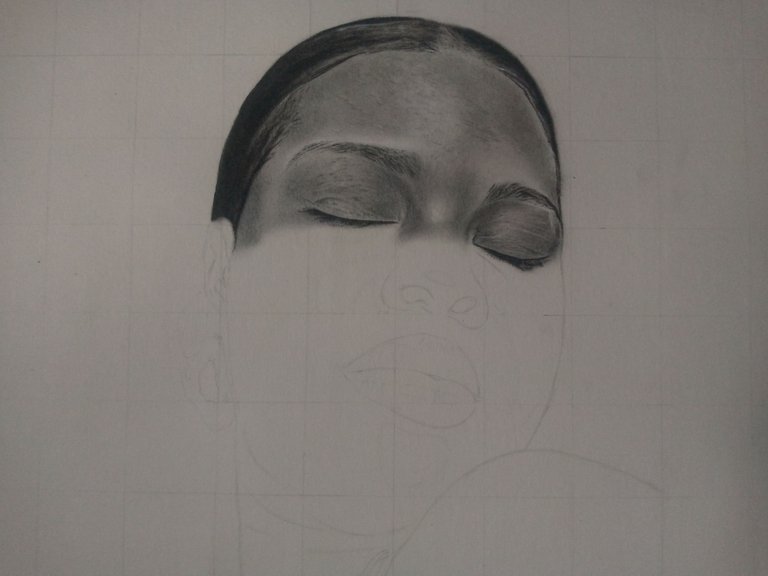
A very important tip I got from an artist I found on youtube. The tip is really helpful. it's best to shade the hair first before going for the forehead, that way, you'd blend the hair nicely with forehead and build an even and smooth tone into the forehead, to avoid having bold highlight variations in between the hair and the forehead.
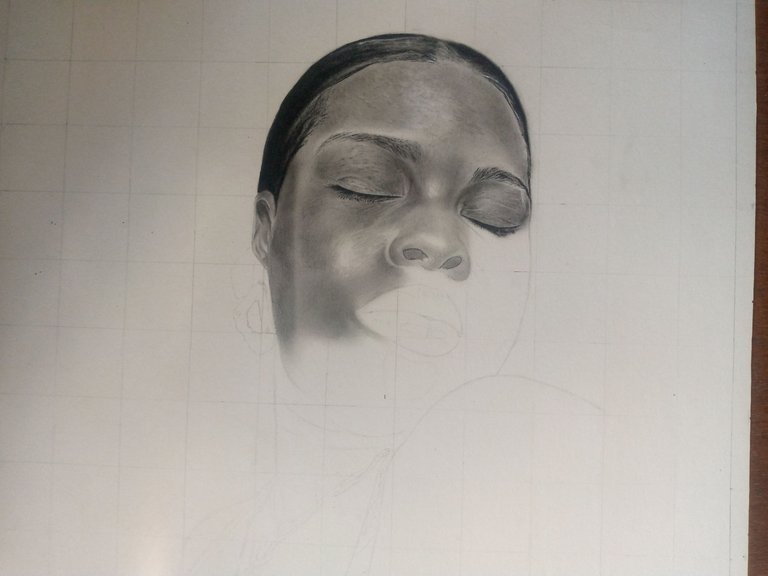
Another tip, Whatever section you'll be shading on, make sure you observe the ref image and can observe the base tone so you shade that in, then add some depth on the darker tones. I made the mistake of not doing this on the left side of the face, you can see the bold difference in texture between the left and right sides of the face.
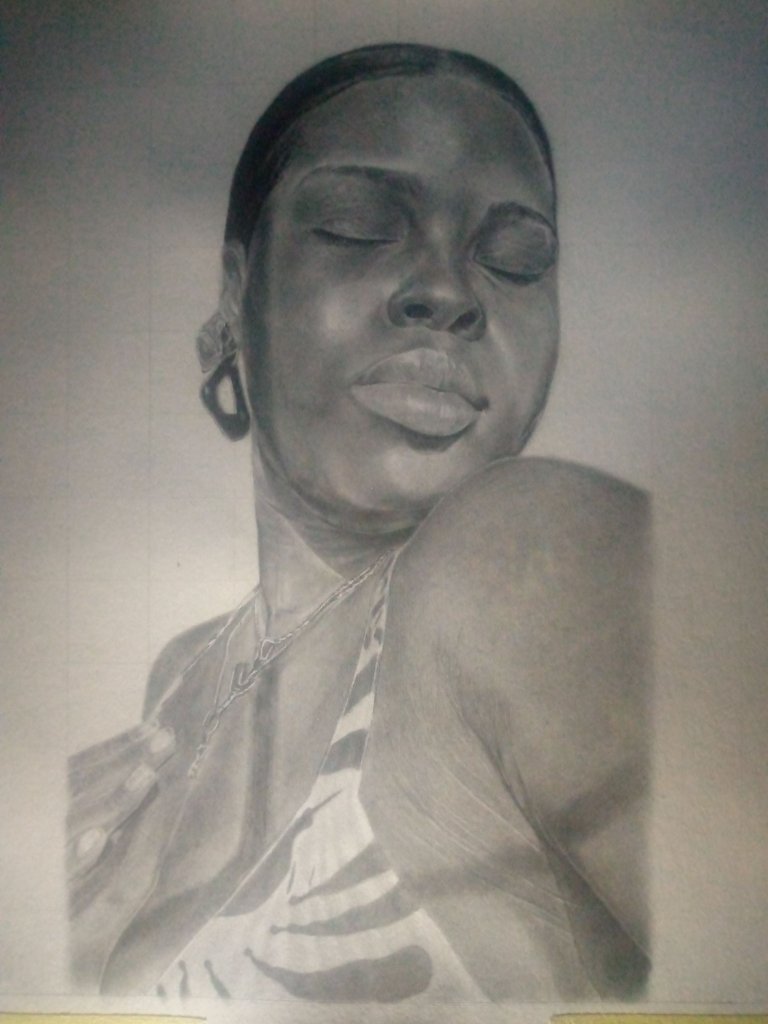
Another helpful tip I learnt after I had made the mistake, Avoid shading on a graphite shaded surface with a charcoal pencil, If you have to, use a bruush to apply Charcoal powder instead, It'll be smoother. You can see the bold black shadow I tried to shade on her chest with my charcoal pencil, It looks rough cos I used the pencil instead of the powder.
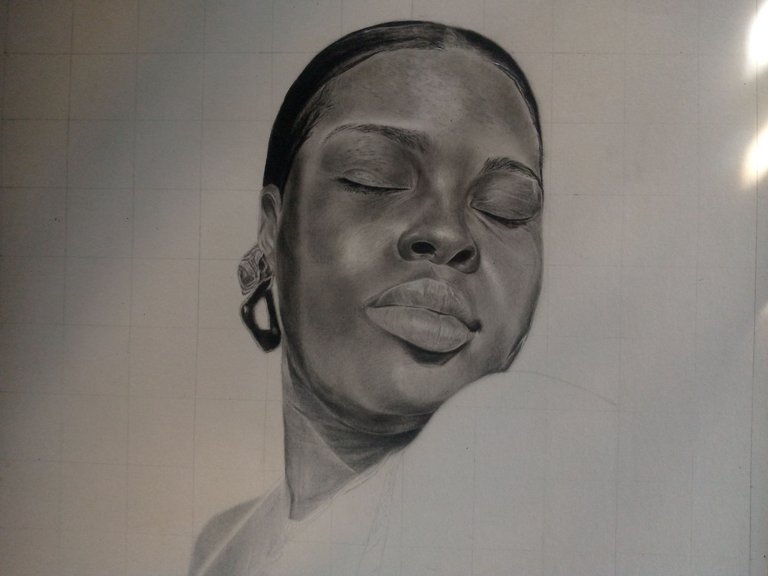
When it comes to applying details, It's really tricky. I'm still learning that as well but I have learnt that I shouldn't force details into my drawings, Some details are to be left unseen or smudged to blur or smooothness. but when you have to make bold eye catching details, you'll need your eraser and pencils cos these details are made of light and darkness. A good example is the details by the armpit.
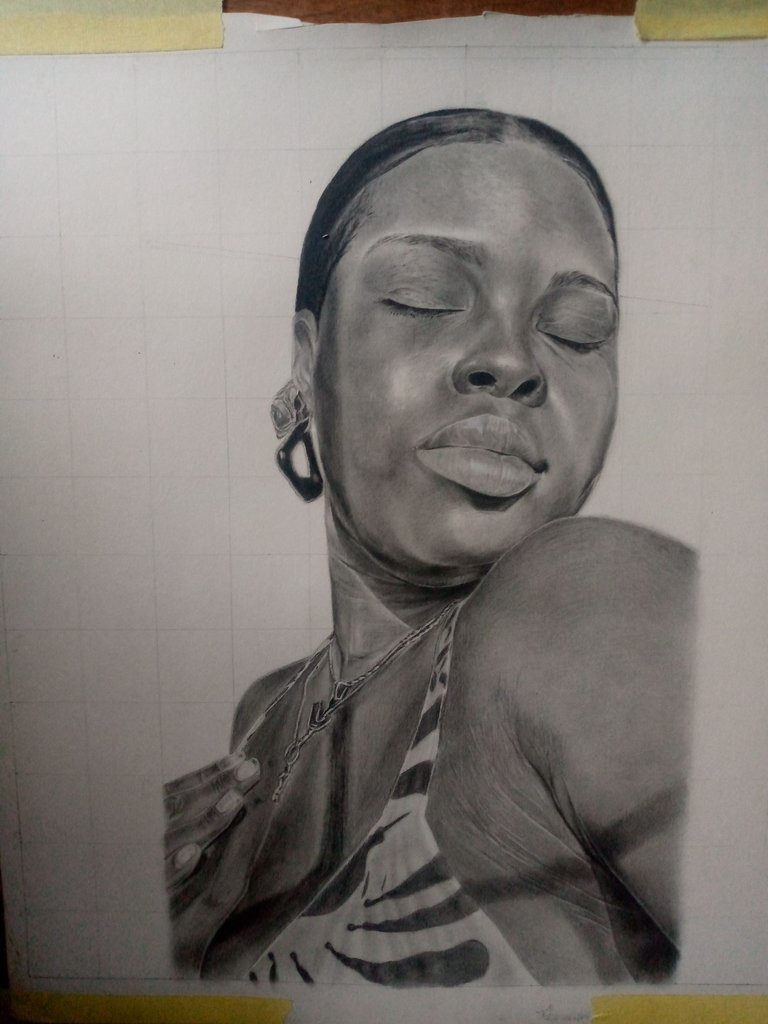
And Our final tip for today's post is this; make sure you shade your background before you shade the subject of focus( in my case, the lady). This would help you distinguish the level of boldness in your subject's tone and that of the background and also give you smooth transition from background to object. I didn't do this so you can see the light border between my subject and background which I have taken notes from.
And that would be all for now.
Thank you for always stopping by. Till my post hits your timeline again or you can catch me in the comments.
Enjoy your day/ night.
Congratulations @reggiesart! You received a personal badge!
You can view your badges on your board and compare yourself to others in the Ranking
Incredible how the beauty emerges little by little you work so beautifully. Greetings!
Thank you very much. I try to make the processes feel like art also . I guess the process can also be art.