NWM ~ MY DIY 2x6 CLOSURE VENTILATION JOURNEY

How I Ventilated a 2x6 Closure (And How You Can Too – Step-by-Step)
Hey everyone! I wanted to share my process on how I ventilated a 2x6 lace closure from scratch. If you’ve been thinking about customizing your own closures or learning the art of ventilating, I hope this helps you out. I’m just a girl who has passion for ventilation and just someone who enjoys the craft and wants to pass along what I’ve learned.
Ventilating can be tedious at first, but once you get into the rhythm, it’s really therapeutic and satisfying. Plus, there’s something special about wearing a unit you made entirely by hand. Let’s get into it.
What You’ll Need:
• 2x6 lace piece (Swiss or HD lace – your choice)
• Hair (I used 100% human hair, you can use what you have)
• Ventilating needle (choose the right size for your lace holes, for me I’m using a 2-3 pin)
• Dummy head, canvas head (For me I’m using a dummy head)
• T-pins to secure the lace
• Small scissors
• Patience (a lot of it!)
Step-by-Step: How I Ventilated the Closure
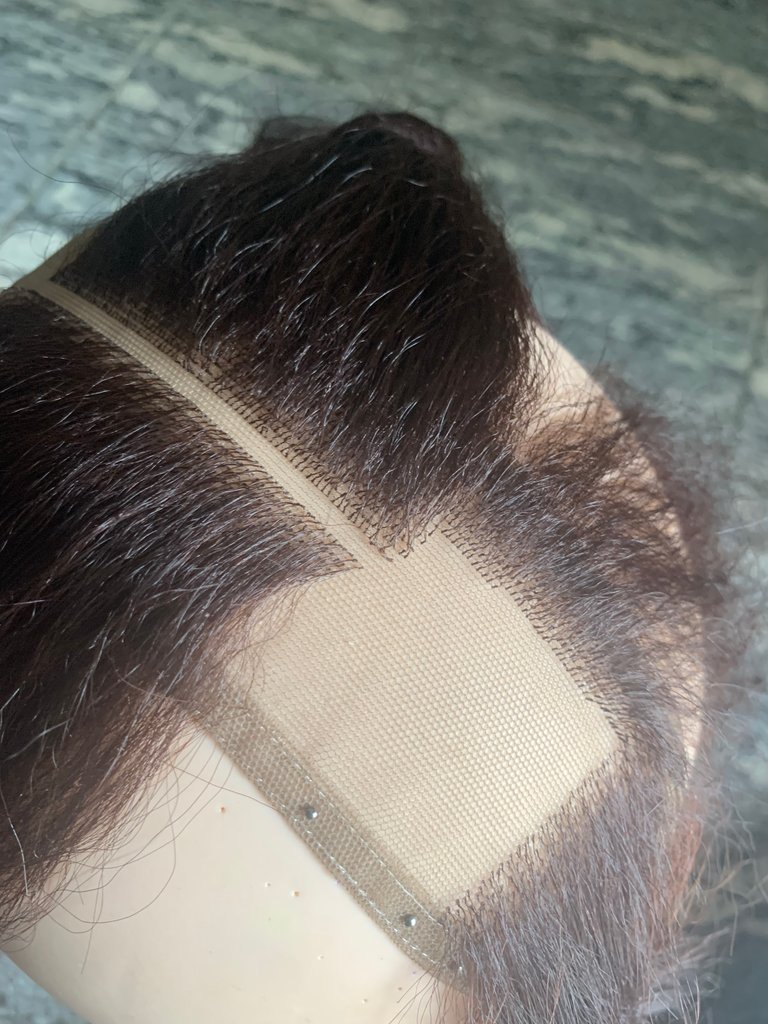
Step 1: Prepping the Lace
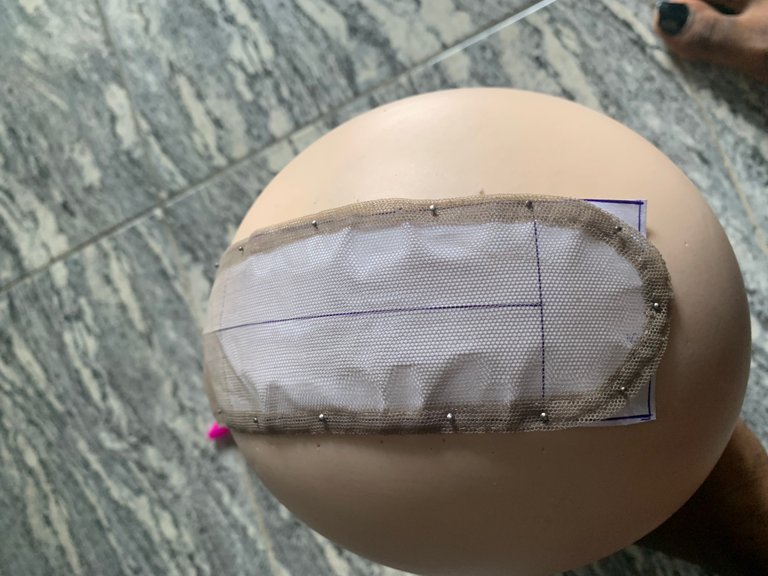

First, I placed my 2x6 lace on the dummy head and pinned it down really tight using pins. You want the lace to be as flat and firm as possible so it doesn’t move around while you work. Make sure it’s centered and smooth to avoid any weird puckering.

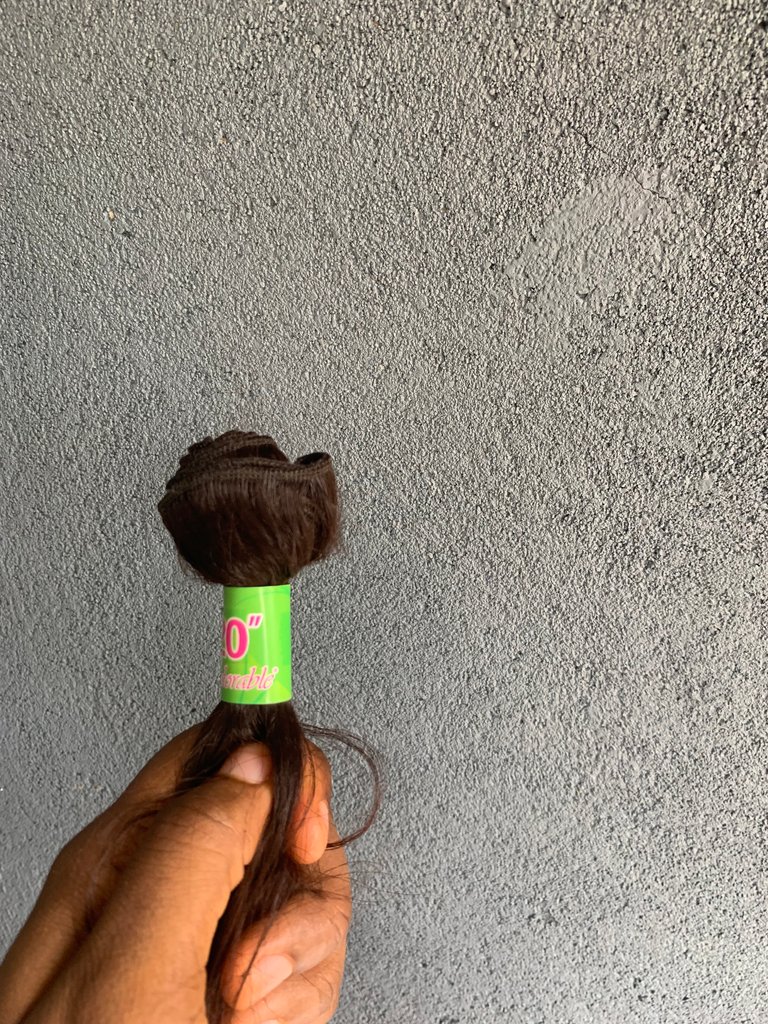
Step 2: Sectioning the Hair
Next, I prepped the hair. I cut a little portion of the hair from the weft to hold so they’d be easy to grab while ventilating. Trust me, being organized at this point saves time later.
Step 3: Starting the Knotting
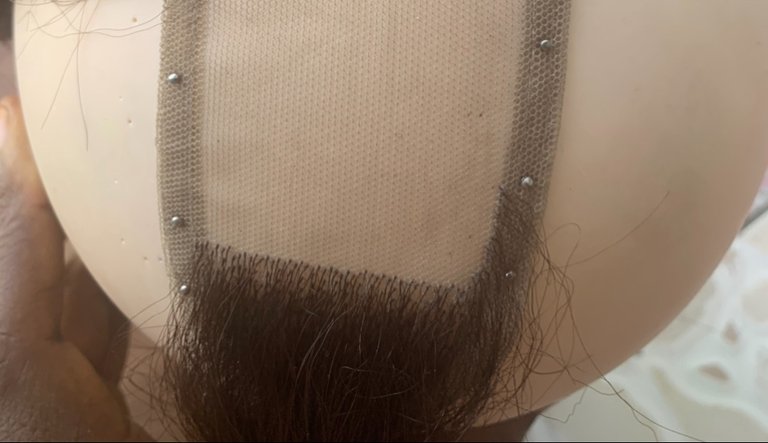
I used a double knot method for my clients to make it last longer, and make sure the hair is secure and fuller. I started at the back of the lace, ventilating 1 inch for my base using the holes method of ventilation to make it lay flat.
To ventilate, you basically take a small section of hair with your ventilating needle, loop it through one of the lace holes, and tie it in. It sounds simple, but it definitely takes some practice to get the hang of it. My tip: don’t overload each hole with too much hair—less is more for a natural look, I usually recommend 1-2 strands of hair considering the thickness of the hair for a normal hair two strands is enough.
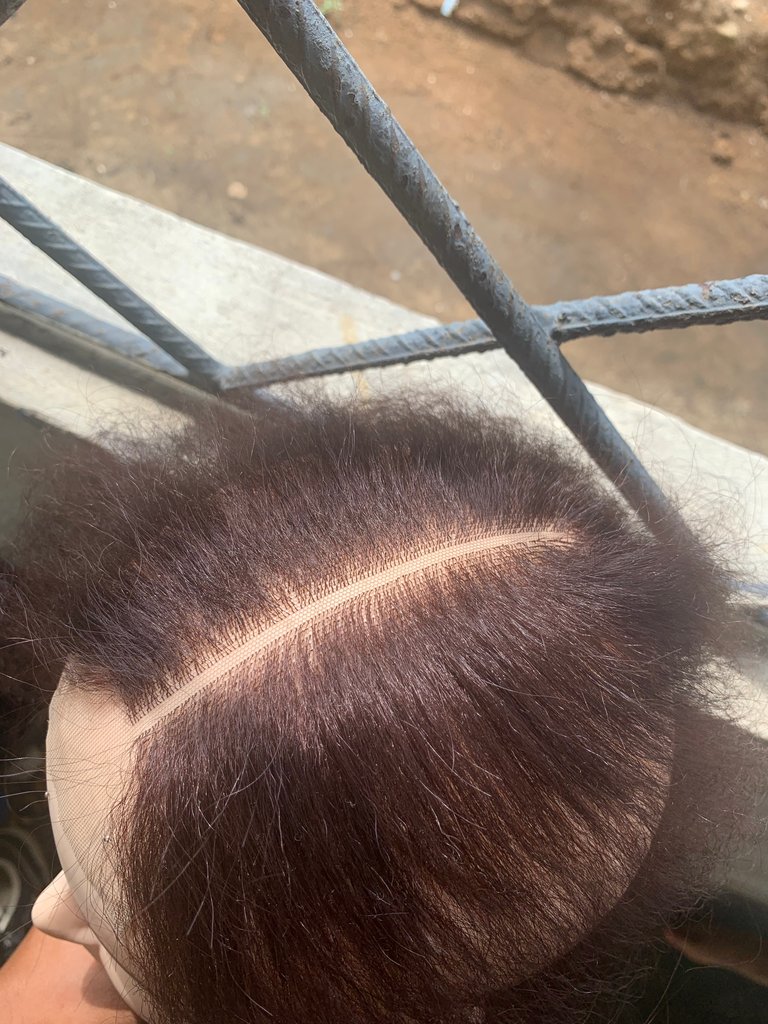
Step 4: Working in Lines
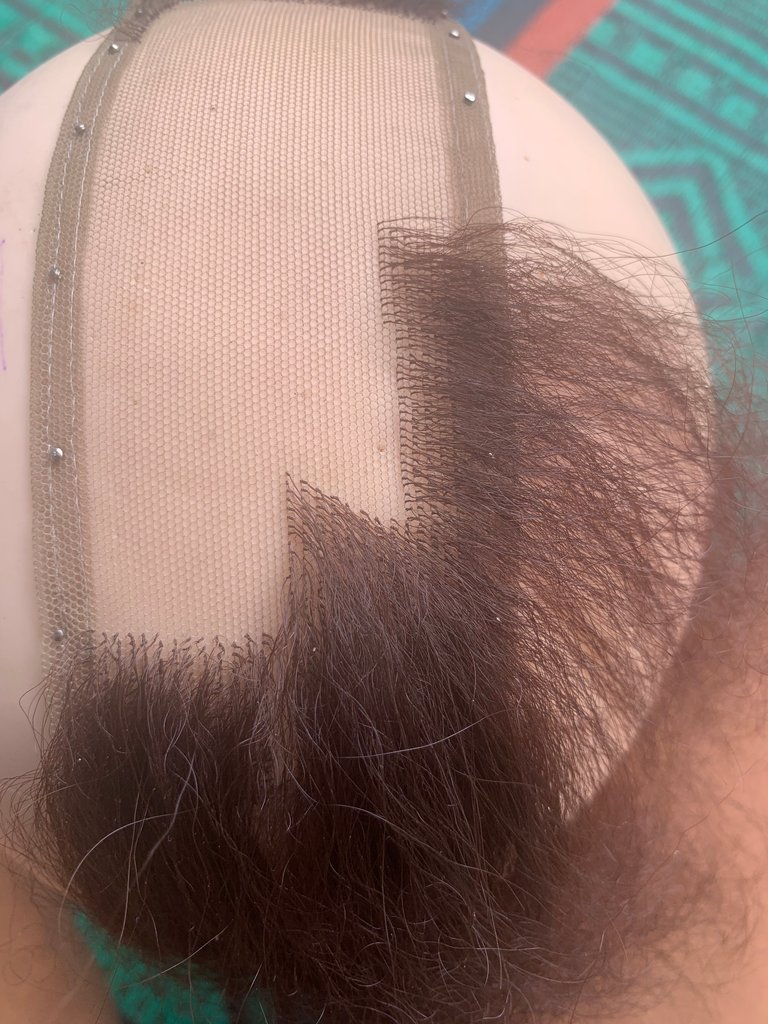
I create neats lines leaving a one line spacing apart, depending on how dense I wanted the section. It’s better to space out the rows slightly if you want a more breathable and natural finish. I took breaks often so I didn’t rush and mess it up. It’s better to go slow and get it right than hurry and regret it.
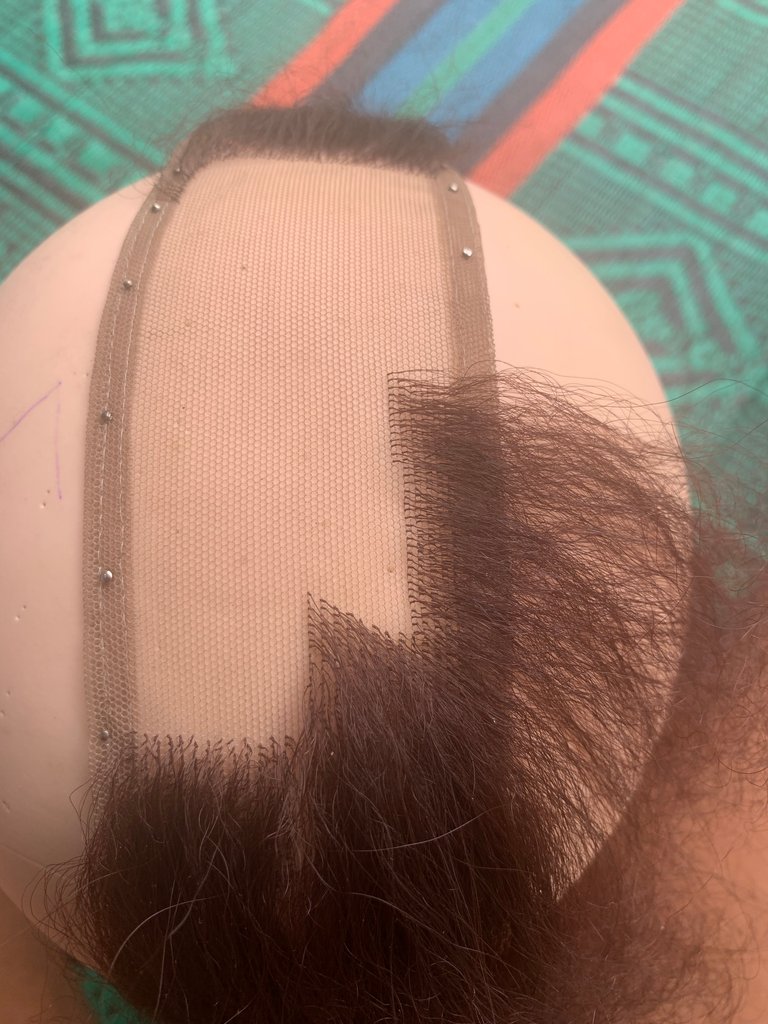
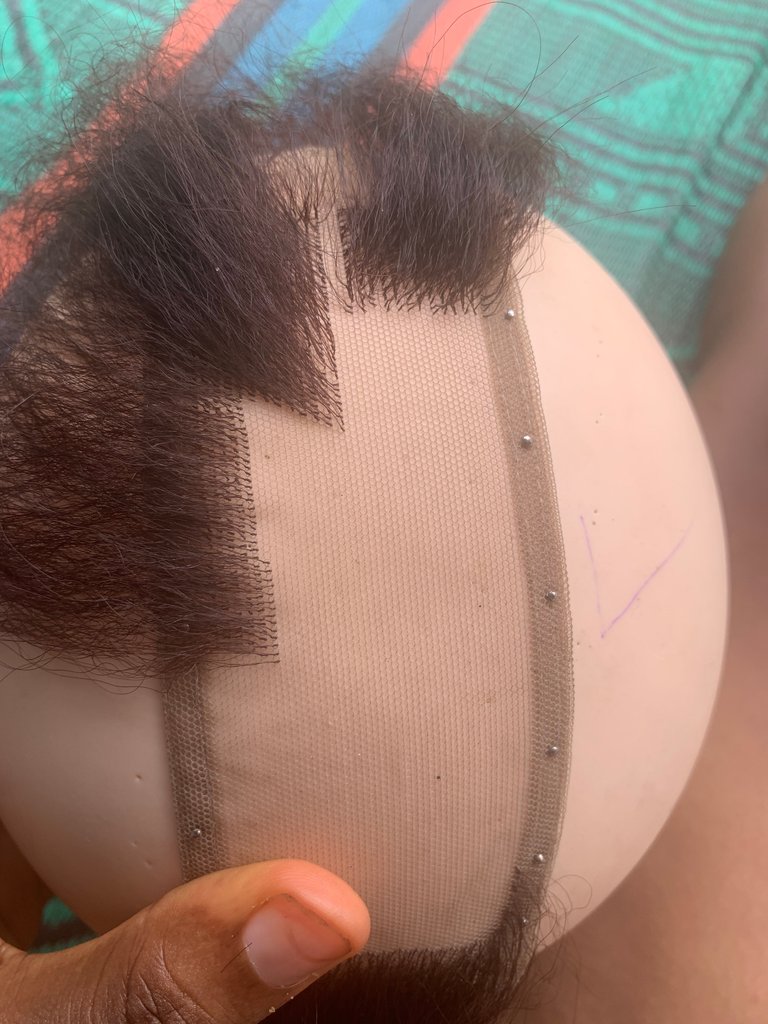
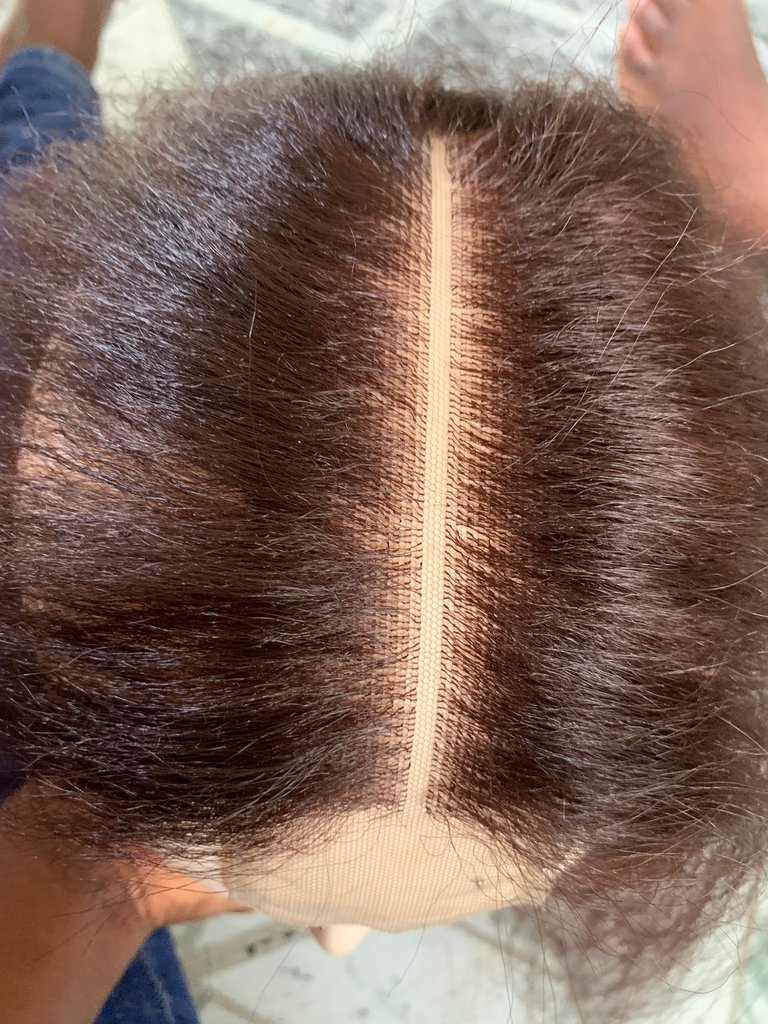
Step 5: Creating the Parting

Once I got to the middle of the closure, I decided where I wanted the parting to be (center part). Around this area, for this closure I kept a 3 line spacing for my client was her preferred option.
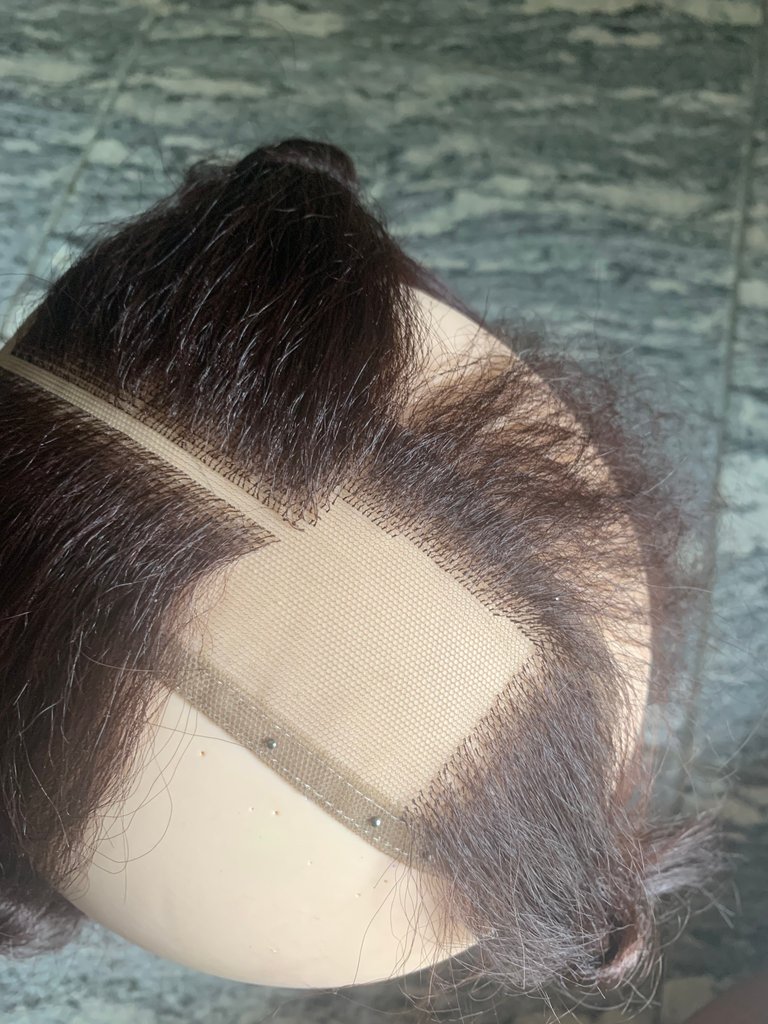

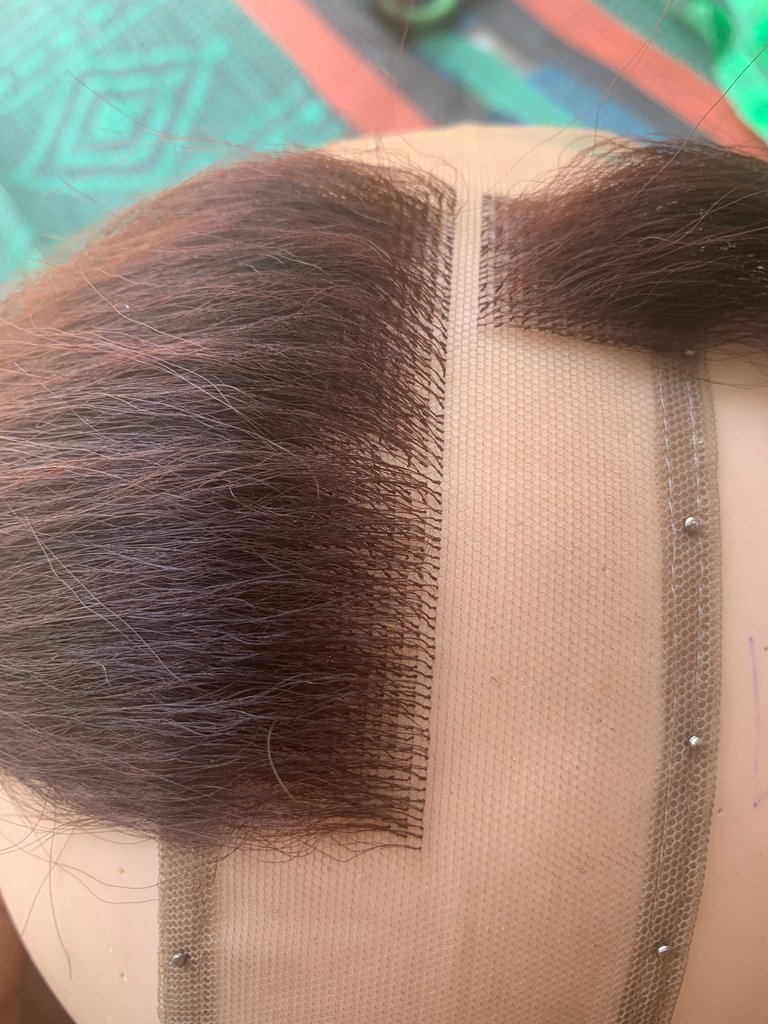
Step 6: Final Touches
After ventilating the entire 2x6 piece (which took a few hours over 2 days), I trimmed any flyaways and style it my clients preferred way and went on to make a full wig.(will make a post for that later this was just for ventilation)
Finally

Ventilating a closure is definitely a labor of love, but so worth it. It’s not something you rush through—you have to be patient and focus on the details. I actually found the process kind of peaceful once I got into a groove.
If you’re just starting out, I’d recommend practicing on a small piece of lace first, like 2*4 lace closure first. Your hands might cramp up a bit, and your eyes might need a break (lol), but keep going—it gets easier with practice.
Let me know if you have any questions, or should i be more detailed next time or if you want a video tutorial next time.
The work of your hands is so beautiful
I love the details
Thank you so much I really appreciate it.
Thank you so much
I’m honored.
You're welcome. Keep going!