DIY/ the making of cat with beads
Crafting things is what I have loved ever since I was little but I didn't know it could be useful like it is now. When I became an adult I didn't like throwing things away because I believed that they could be used for something meaningful.
I got a pair of slippers some time ago and I didn't like how they looked so instead of throwing them away or neglecting them, I rebranded it and gave it a new look and it came out so beautiful. Some items are not really a waste because they can still be used to create something else just like what I will be doing today.
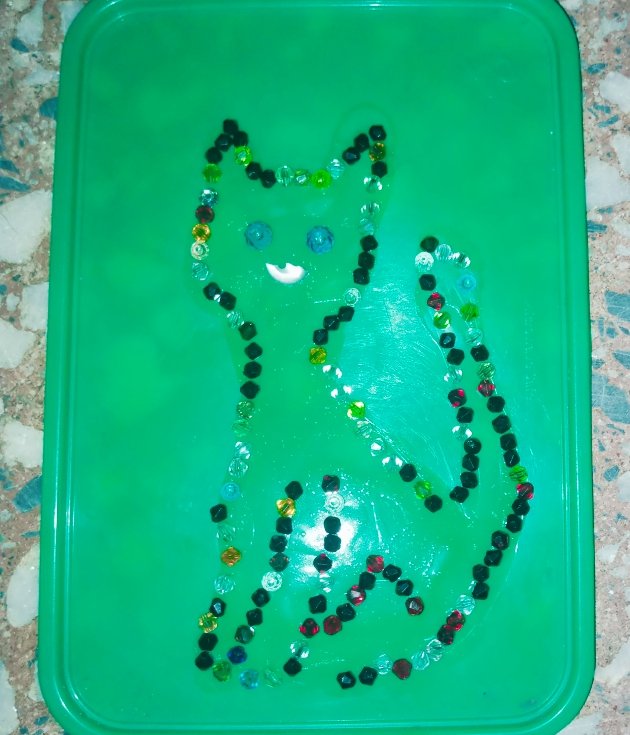
Today I will be making a cat with used beads, here is the contest link if you still want to join the cat contest.
Material used are:
Beads
Scissors
Gum
Plastic cover
Toothbrush
Cuticle
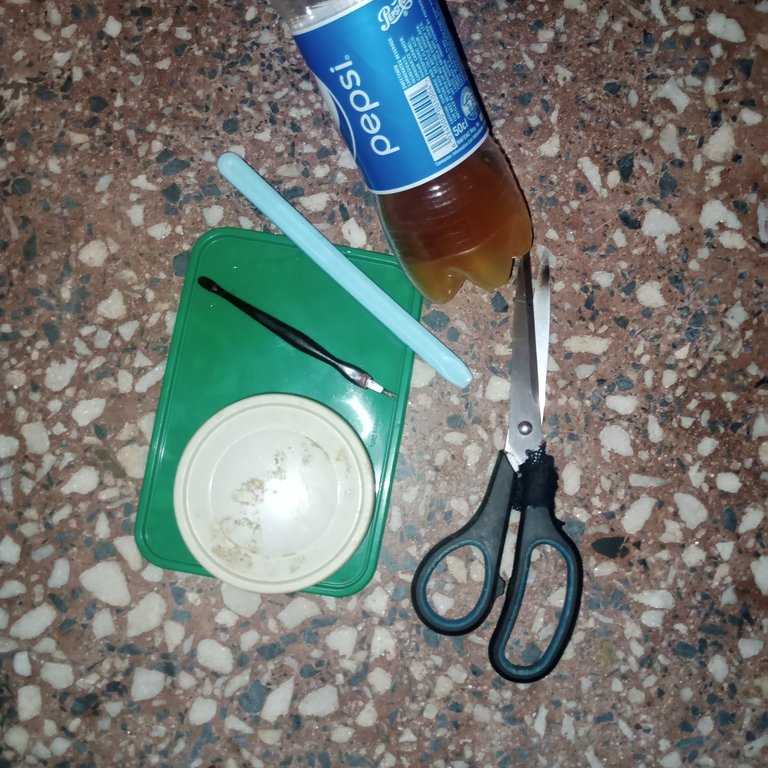

Procedure
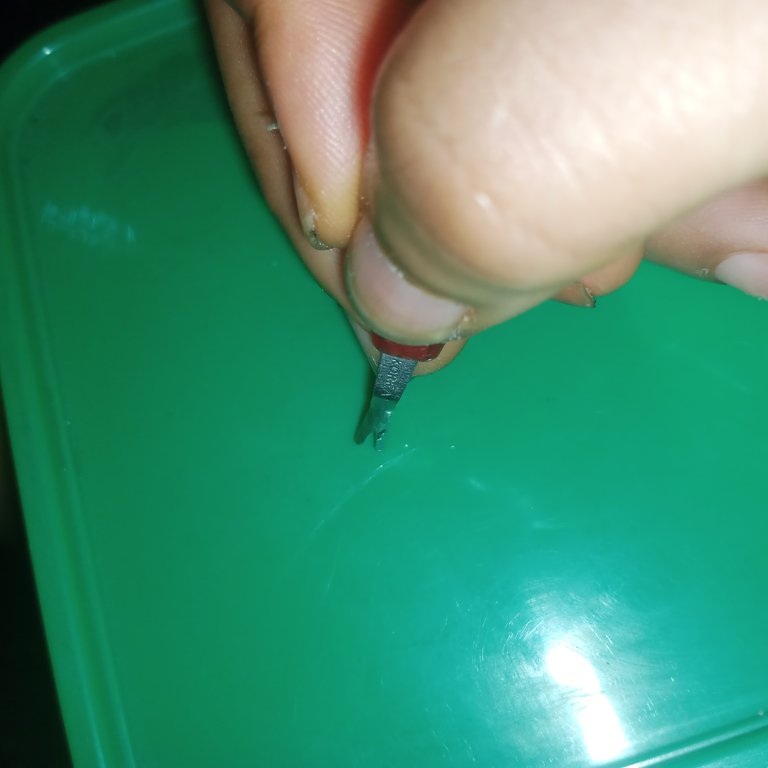
I made use of the cuticle to shape out the cat structure on the plastic cover, just to be sure of the shape I needed.
After that, I poured the gum on the sketch then spread it with the toothbrush, and then allowed it to dry a little bit before placing the beads on it.
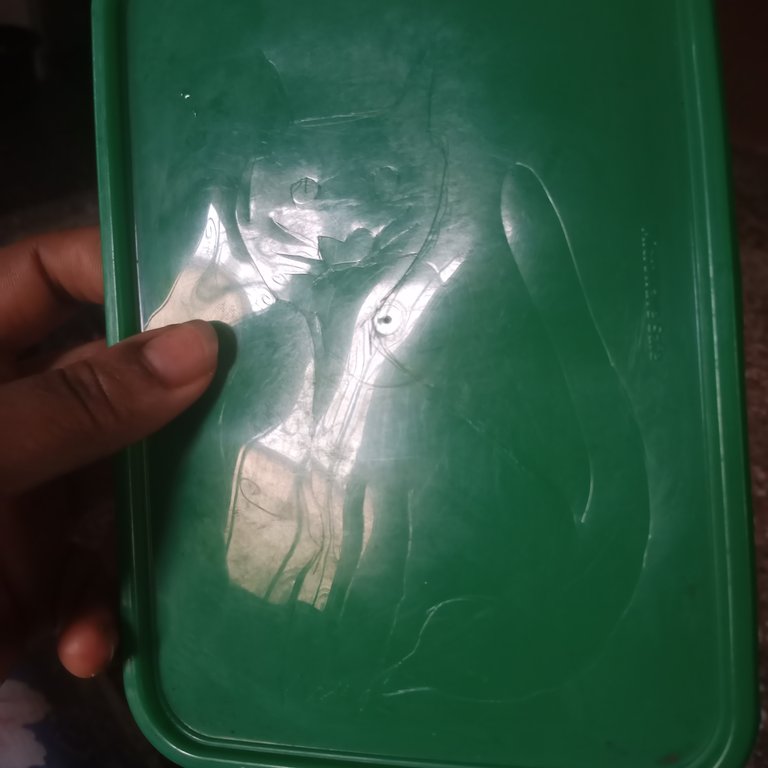
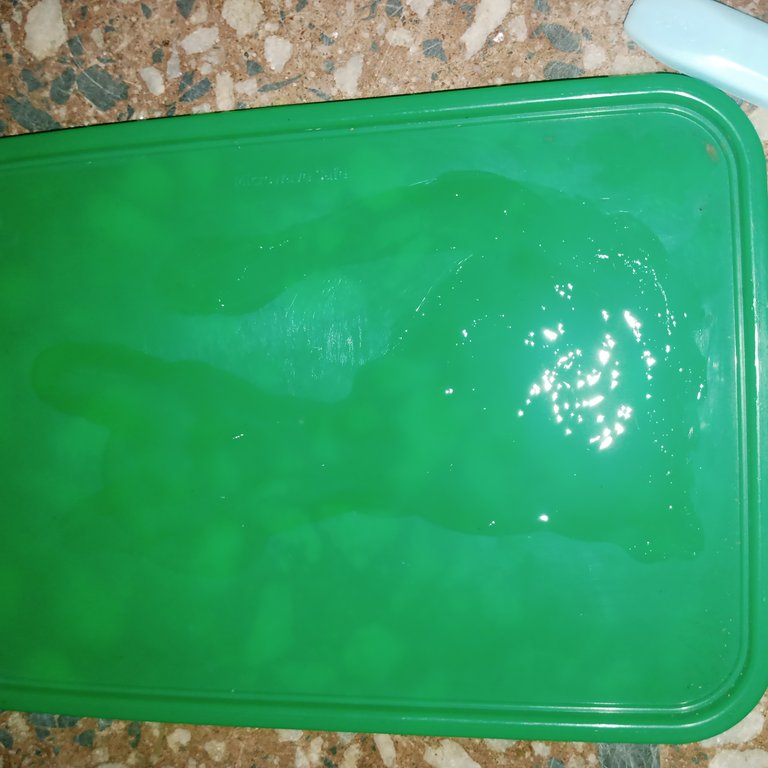
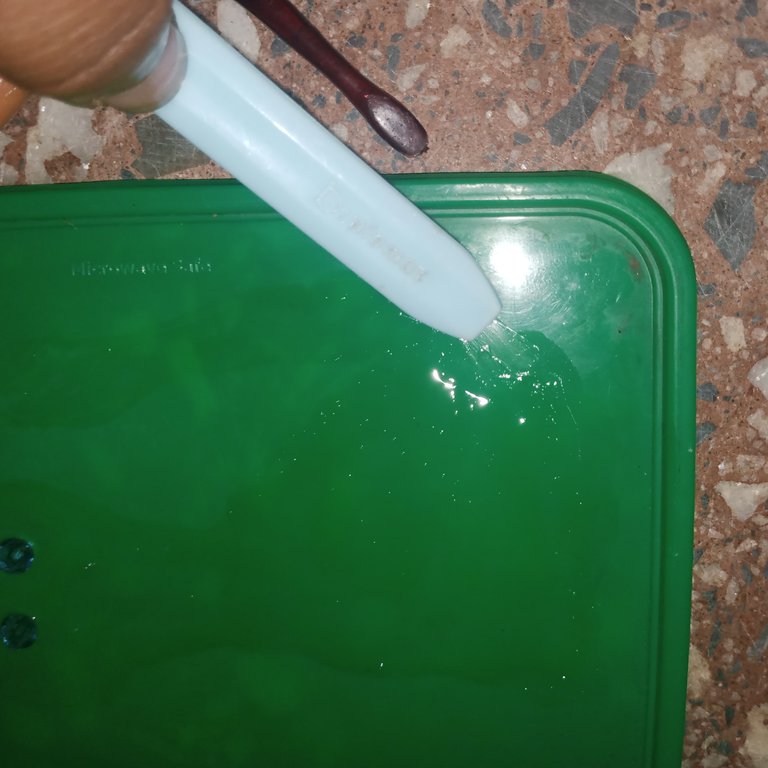
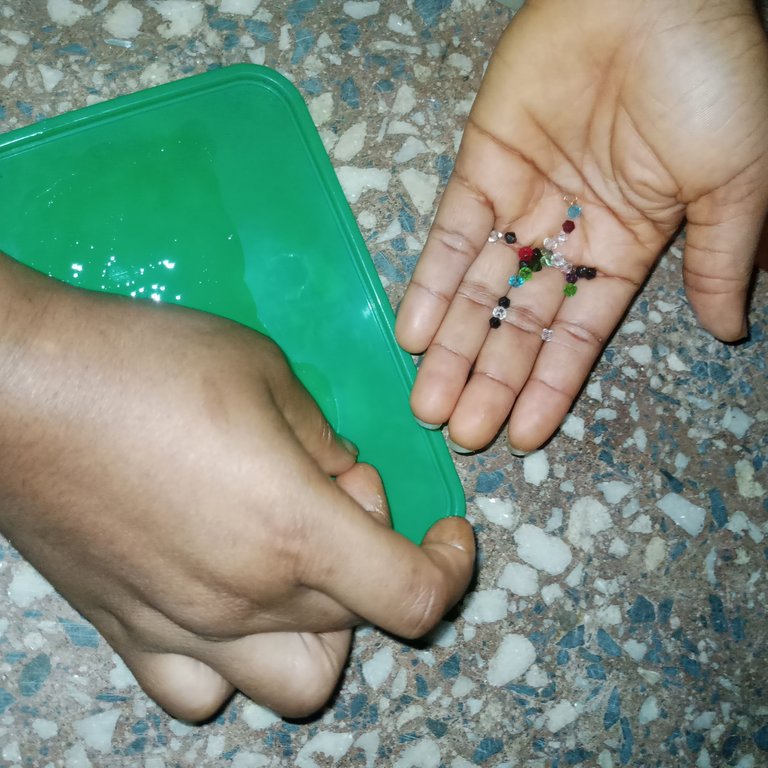
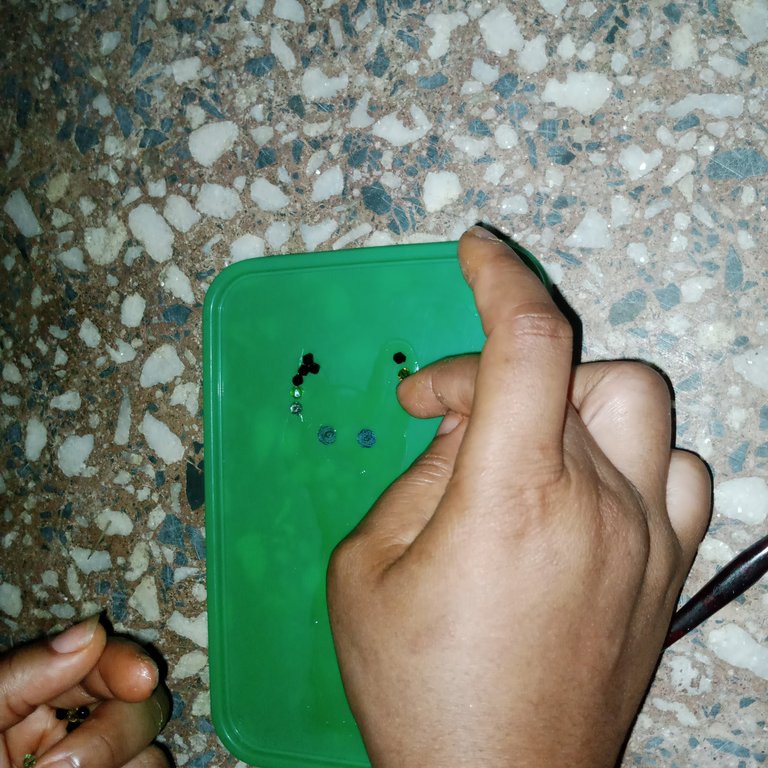
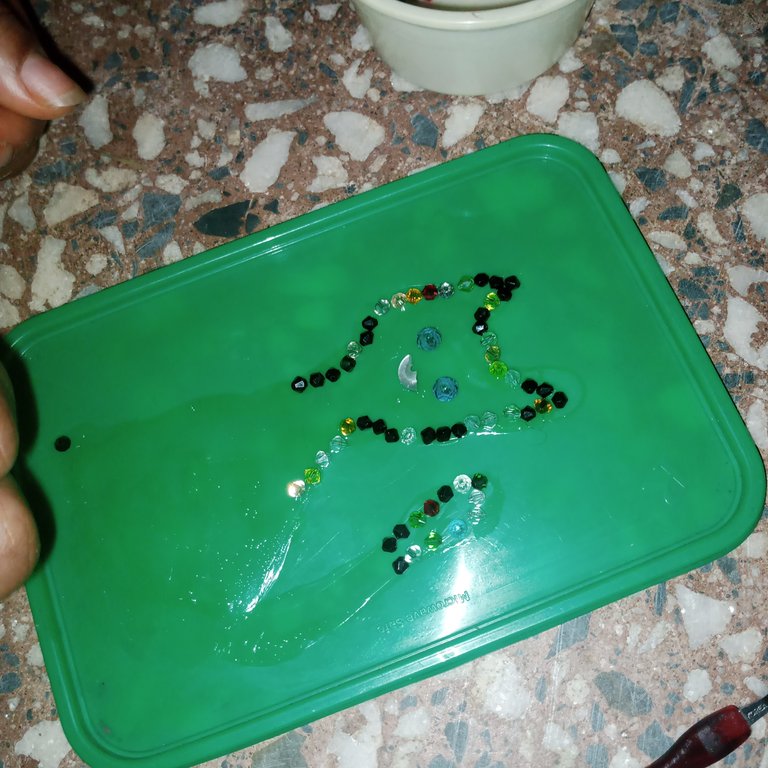
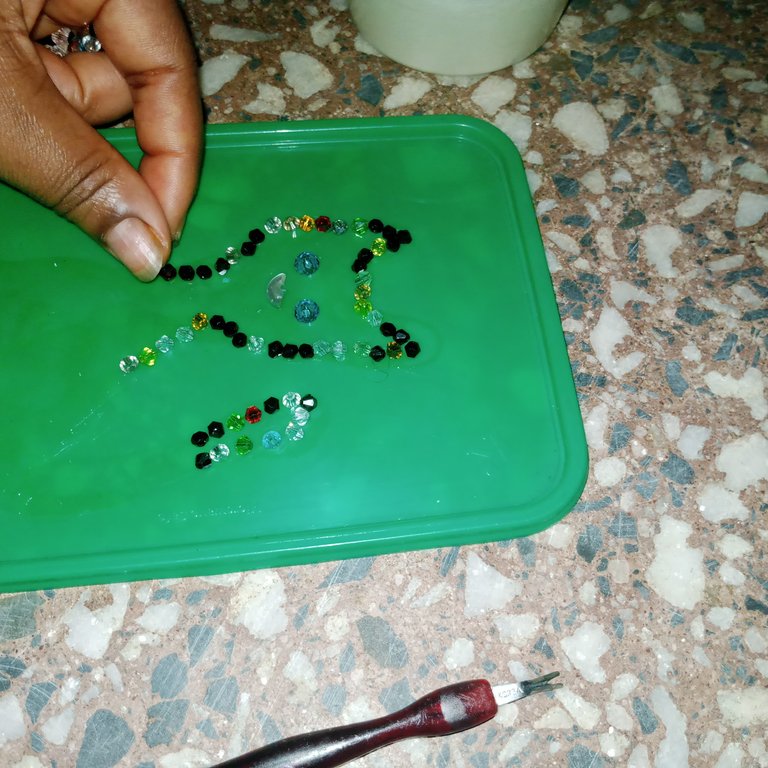
I started placing the beads on the gum while I was tracing the sketch under the gum, I made use of the biggest bead to do the eyes and then made use of a broken button to do the nose.
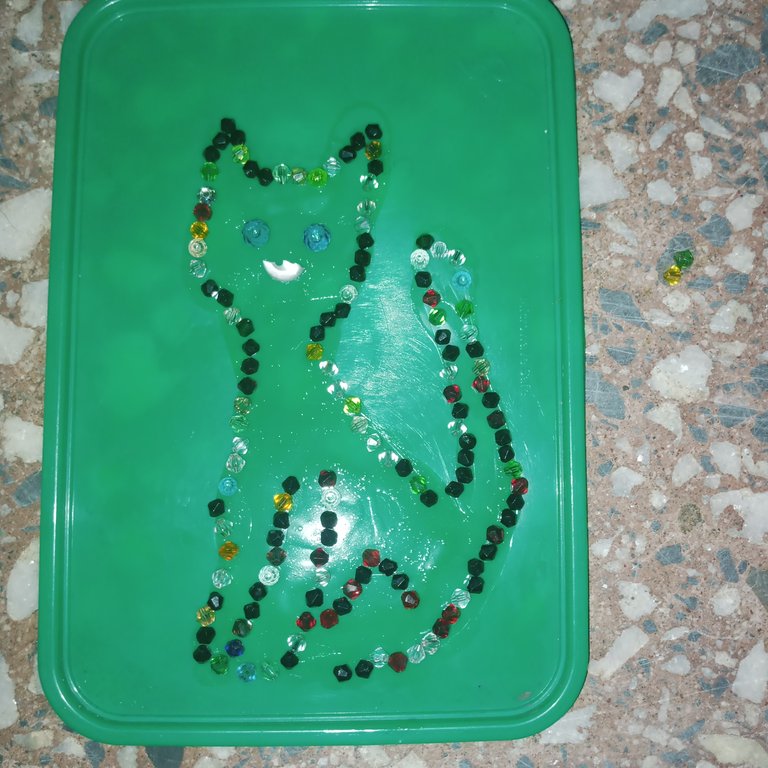
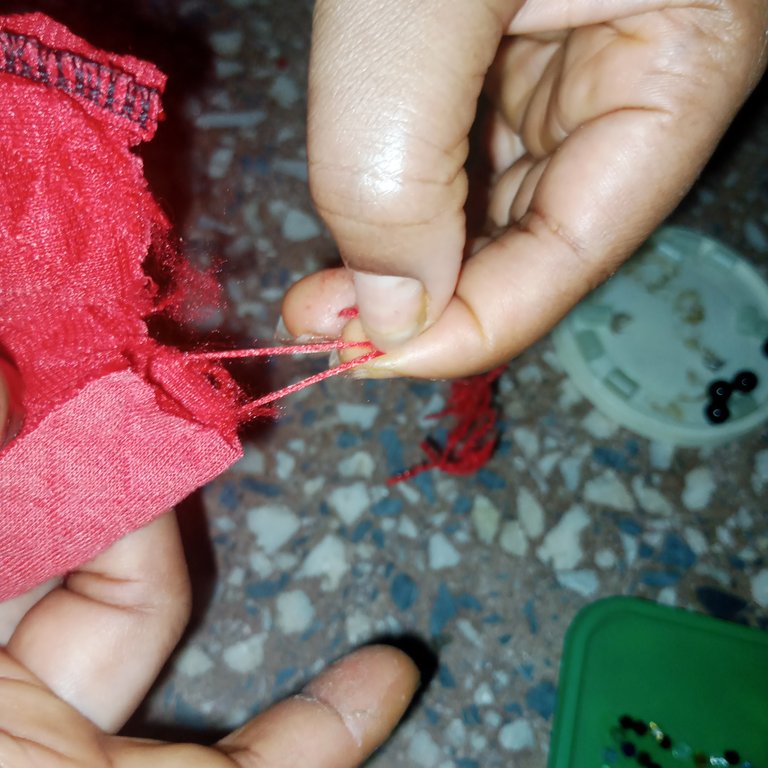
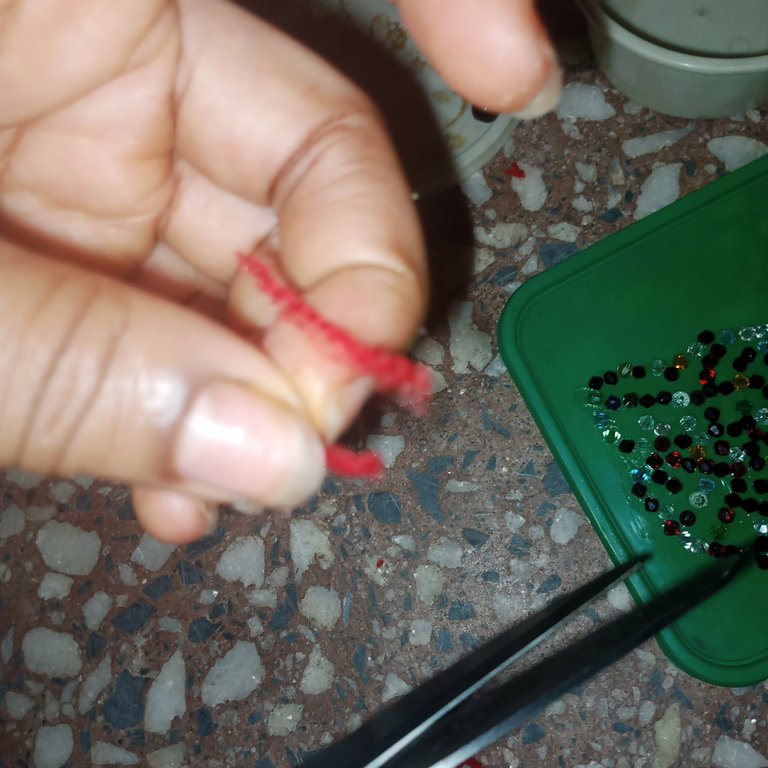
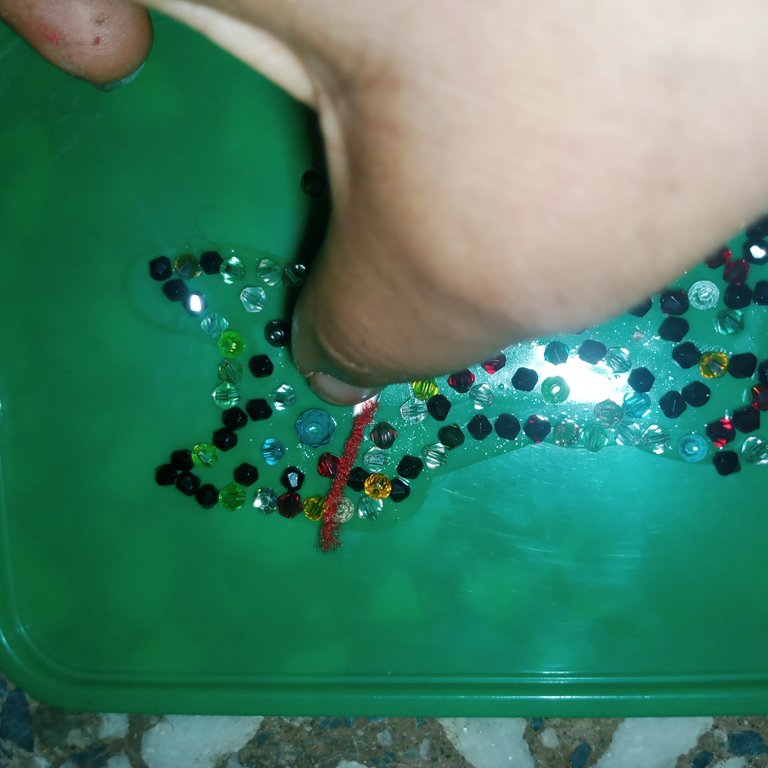
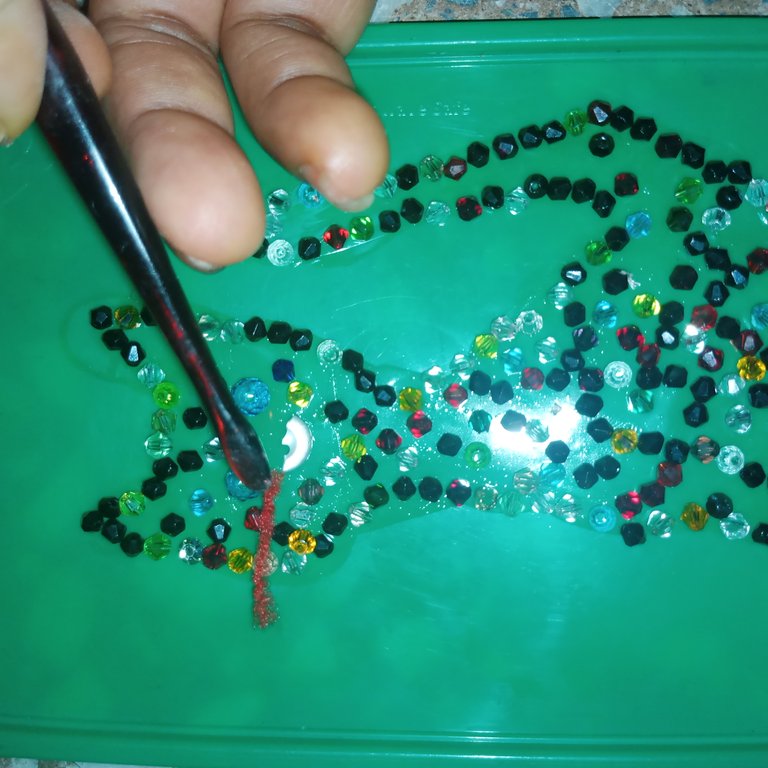
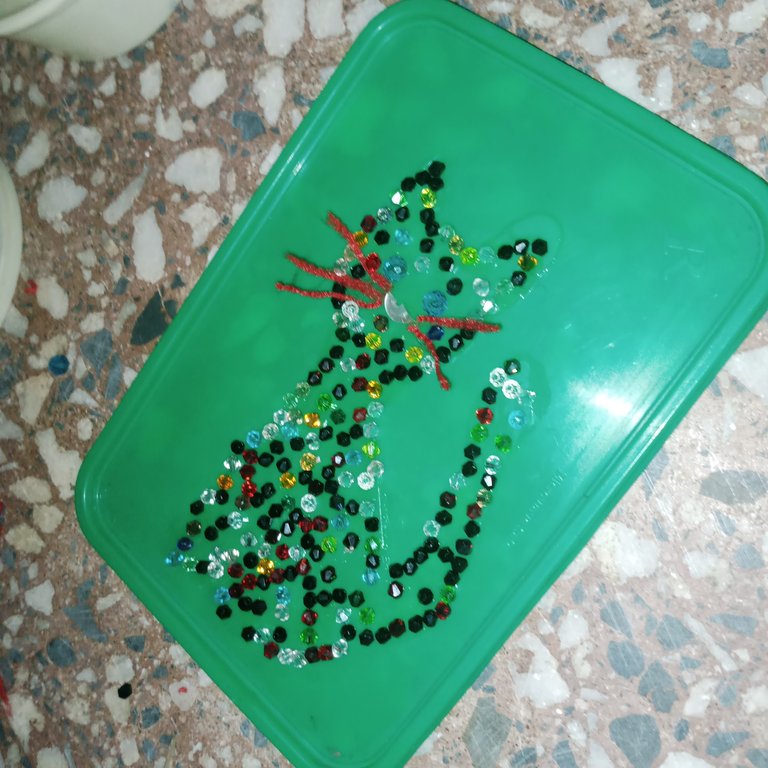
Then I pull out some thread from my used cloth to make the whiskers and then I gum it in between beads. I poured the remaining beads in the middle to give the cat a perfect look and it came out so beautiful.
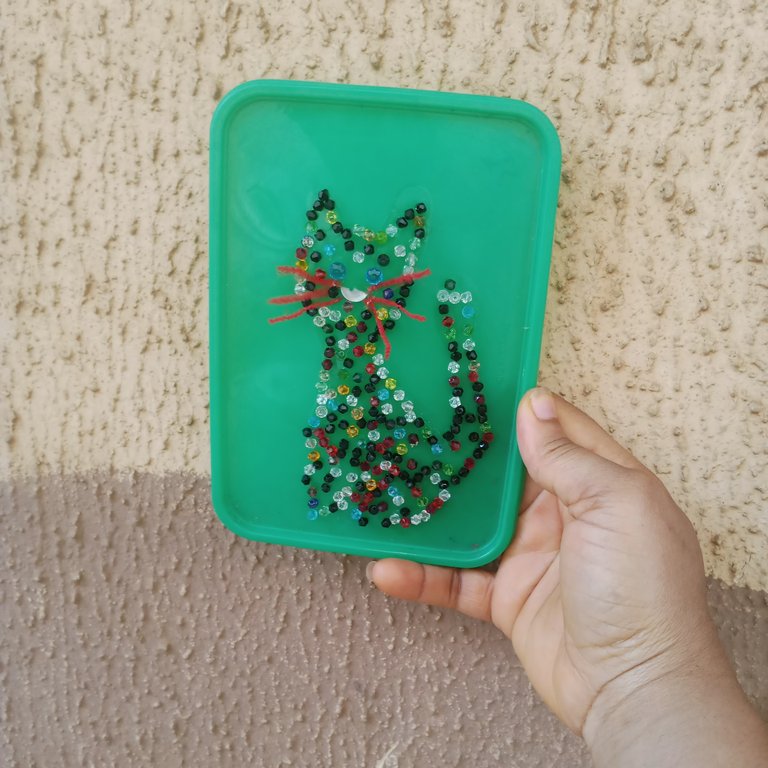
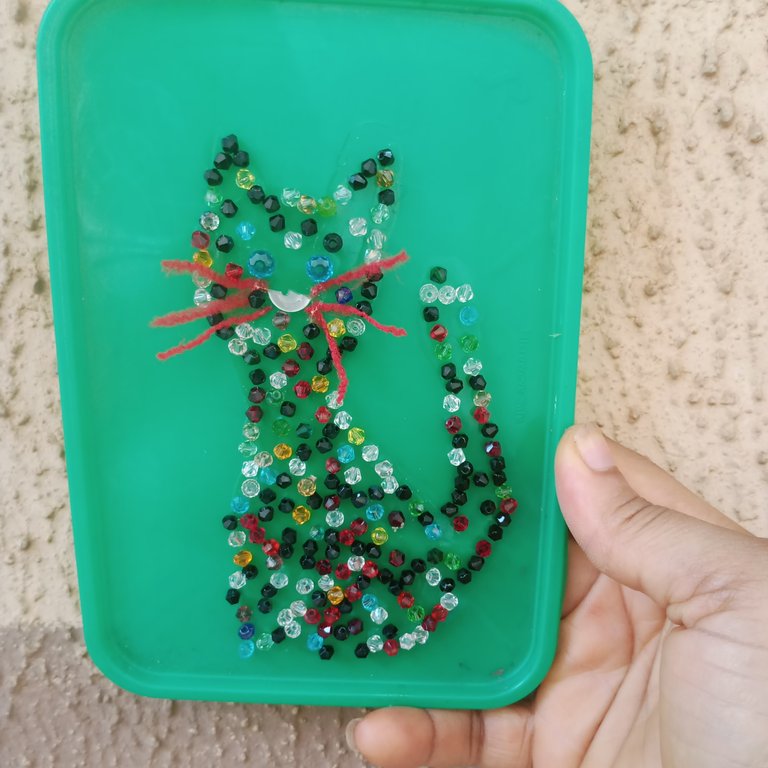
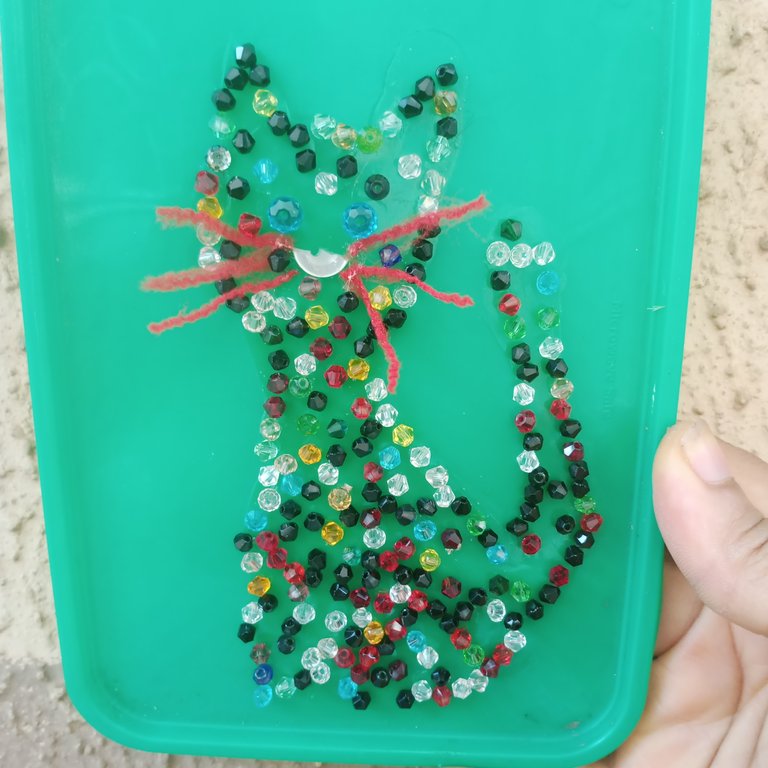
Thanks for stopping by and I hope you like my cat made with beads
Yay! 🤗
Your content has been boosted with Ecency Points, by @princess-dara.
Use Ecency daily to boost your growth on platform!
Support Ecency
Vote for new Proposal
Delegate HP and earn more
Is that a smiling cat with whiskers I see, 😅
Brilliant
!DIY
You can query your personal balance by
!DIYSTATS